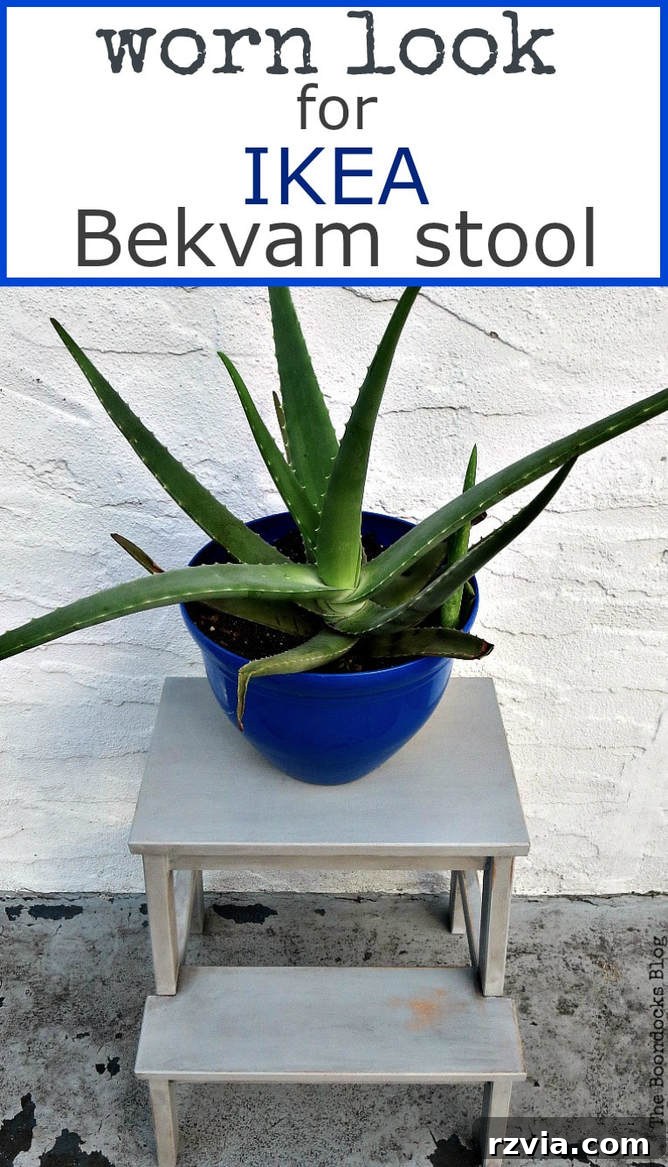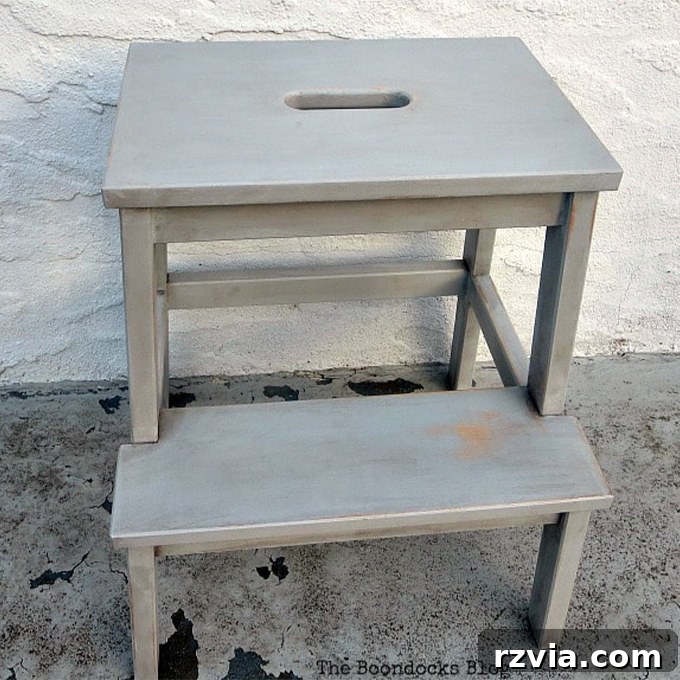
If you’re seeking to infuse character and a charmingly aged aesthetic into your living space, then a DIY IKEA Bekvam step stool hack is the perfect project for you! This comprehensive guide will walk you through transforming an ordinary IKEA Bekvam step stool into a statement piece with an effortlessly worn, distressed look. Forget expensive vintage finds – you can achieve a bespoke, rustic appeal with just a few simple steps and readily available materials. This versatile tutorial is designed to be easily adaptable, allowing you to customize your step stool in any color to perfectly complement your home décor. Get ready to unleash your inner artist and craft a unique, functional item that tells a story.
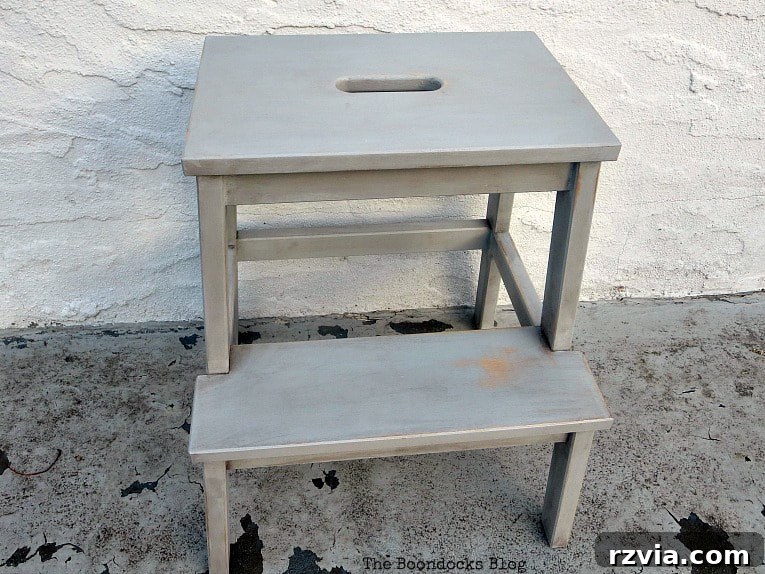
Reimagining Your Space: The Art of IKEA Bekvam Step Stool Upcycling
There’s a special kind of satisfaction that comes with an IKEA trip, isn’t there? It’s almost impossible to leave empty-handed. On my last visit, I found myself in possession of the beloved Bekvam step stool – not for a decorative purpose initially, but out of sheer necessity. Standing at a modest 5 foot 2 inches, I frequently struggled to reach the uppermost cabinets in my kitchen. The Bekvam was destined to be my trusty kitchen companion, offering that crucial extra height. However, its raw, unfinished wood quickly sparked an idea for a more ambitious project.
For several months, the Bekvam sat patiently, serving its practical purpose while my mind churned with creative possibilities. I pondered various finishes, from sleek modern paints to bold, vibrant hues. But then, a brilliant realization struck me: why try to preserve its newness when daily use would inevitably lead to wear and tear? Instead of fighting the inevitable, I decided to embrace it. I would fast-forward the aging process and give it a beautifully authentic worn look right from the start. This approach not only pre-empted future scuffs and dings but also allowed me to infuse the stool with a unique character that felt both timeless and inviting. And so, with a little help from my trusty paints and waxes, I embarked on a journey to transform a simple step stool into a cherished piece of furniture. Today, I’m thrilled to share precisely how you can achieve this easy, charmingly worn finish for your very own IKEA Bekvam step stool, turning a functional item into a decorative highlight.
Essential Materials for Your IKEA Bekvam Step Stool Hack
Disclosure: This post contains affiliate links for your shopping convenience. If you purchase any of these products through the links, we receive a small commission at no extra charge to you. You can find our full disclosure here. We only recommend products we genuinely love and use ourselves.
Before diving into the creative process, gathering all your materials is key to a smooth and enjoyable DIY experience. Each item on this list plays a vital role in achieving that perfect worn and cozy aesthetic for your Bekvam stool:
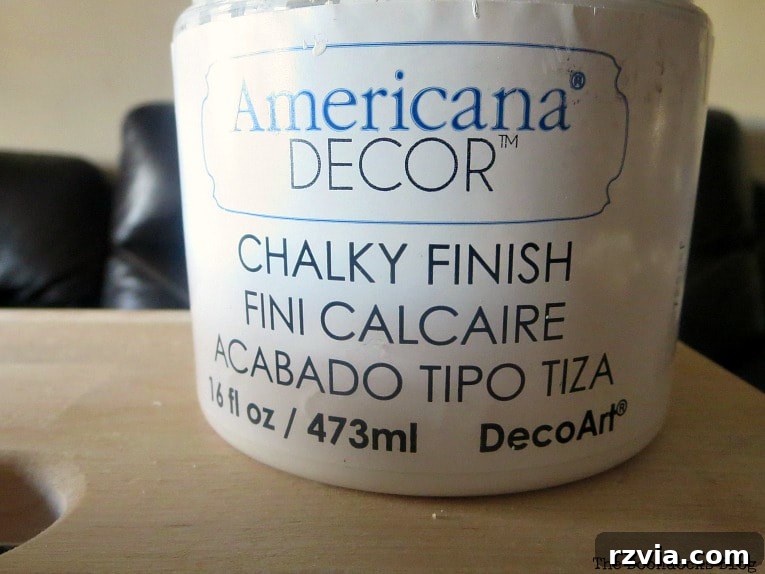
- DecoArt Americana Decor Chalky Finish in Everlasting: This chalk paint is a fantastic choice because it typically requires minimal to no prep work, adhering beautifully to various surfaces without extensive sanding or priming. Its matte finish is also ideal for achieving a distressed look.
- DecoArt Acrylic paint in black and yellow: These acrylic paints will be used to customize your chalk paint color, allowing you to create a unique shade of warm gray that perfectly suits your preference.
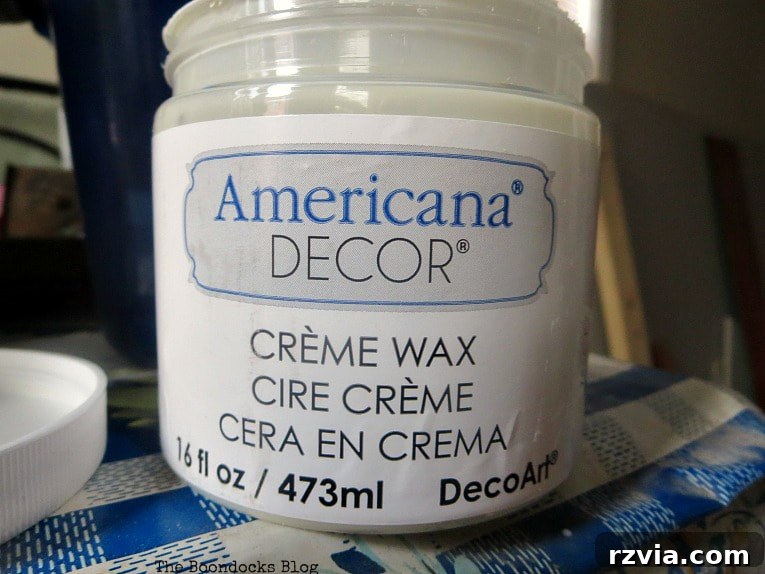
- DecoArt Americana Decor Cream Wax: A clear or cream wax serves as a protective topcoat for your chalk paint. When layering with a darker wax, it acts as a barrier, allowing the darker wax to be manipulated more easily and preventing it from fully penetrating the paint, giving you more control over the antiquing effect.
- Daddy Van’s Decorative Wax in Cafe Noir: This dark wax is your secret weapon for creating that authentic, aged appearance. It settles into crevices and softens the paint color, adding depth and a rich, time-worn patina.
- Round paint brush: A good quality brush is essential for smooth paint application. For wax, a round brush can help work the product into all the nooks and crannies of your stool.
- Clean rags for rubbing and buffing: You’ll need these to wipe away excess wax and buff the surface to a subtle sheen, revealing the beautiful depth of your finish.
- Sandpaper (various grits, e.g., 220-grit): While chalk paint minimizes prep, sandpaper is crucial for distressing. It allows you to strategically remove paint from edges and high-traffic areas, simulating natural wear and tear.
- Vinegar and water solution (for cleaning): An eco-friendly and effective way to clean your stool before painting, ensuring proper paint adhesion.
The Step-by-Step Guide: How to Hack Your IKEA Bekvam Step Stool for a Worn Look
The IKEA Bekvam step stool, crafted from solid birch, is a wonderfully sturdy and reliable piece. While I cherished its natural wood beauty, my vision for this particular stool involved a painted finish that would be both easy to clean and possess a charmingly aged, worn aesthetic. Given how often I anticipated using it, a durable yet character-filled finish was paramount. The journey begins with meticulous preparation, ensuring your paint adheres beautifully and your finished piece stands the test of time.
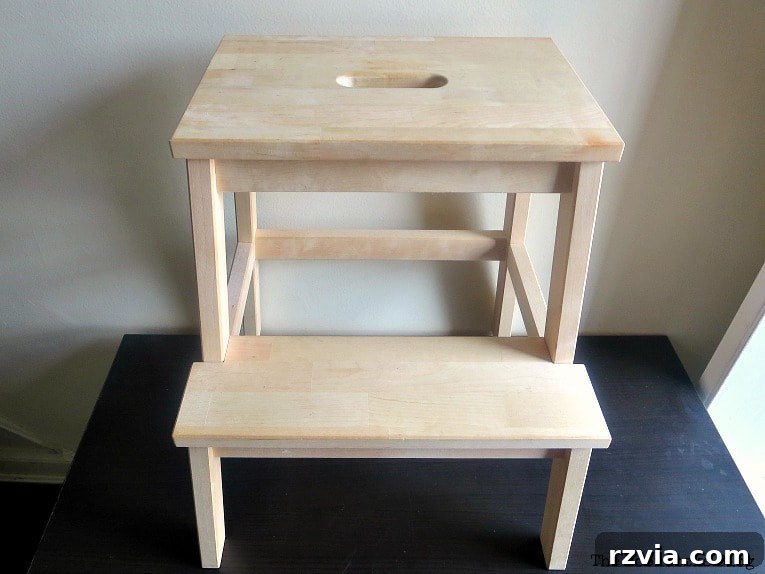
Disclosure: While I was compensated for this post with product, all opinions expressed here are entirely my own. I am committed to recommending only products I genuinely love and would confidently use myself. Your trust is important to me.
Step 1: Preparing Your Stool for Painting
Even with chalk paint, which is known for its minimal prep requirements, a clean surface is crucial for optimal adhesion and a flawless finish. I began by giving my Bekvam stool a thorough wipe-down using a simple yet effective solution of vinegar and water. This removed any dust, grime, or manufacturing residues, creating a pristine canvas for our creative work. After cleaning, allow the stool to dry completely before moving on. This ensures no moisture is trapped beneath your paint layers.
Step 2: Crafting Your Custom Warm Gray Hue
My initial idea involved using Americana Chalky Finish in Everlasting white. However, I soon decided I wanted a color with more depth and warmth than a pure white. This is where the magic of custom color mixing comes in! I took a small amount of the Everlasting white chalk paint and added a tiny dab of black acrylic paint. Mixing thoroughly, I watched as the white slowly transformed into a soft, elegant gray. This process allowed me to control the intensity of the gray, adjusting it to my liking.
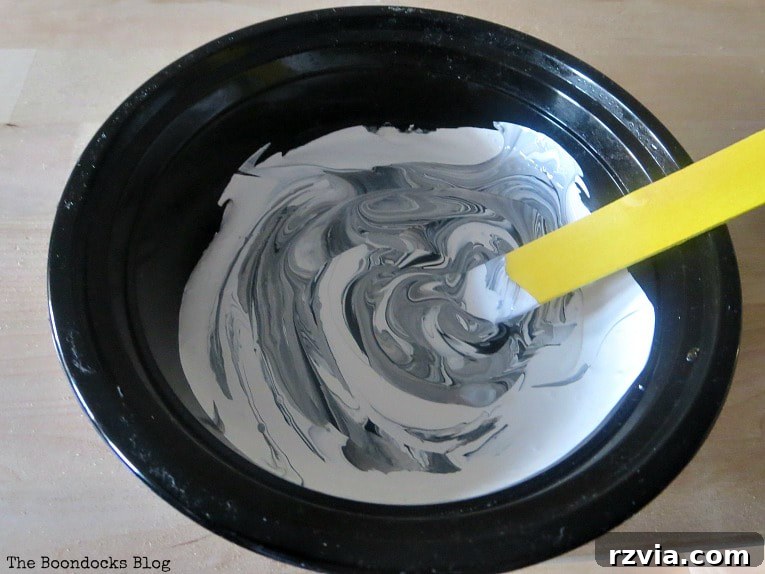
Upon reviewing my newly mixed gray, I felt it still lacked a certain vibrancy and warmth. To rectify this, I introduced a minuscule amount of yellow acrylic paint into the gray mixture. The addition of yellow subtly shifted the cool gray to a warmer, more inviting tone – a crucial step in achieving that cozy, lived-in feel I was aiming for. Remember, when mixing colors, always start with a tiny amount and gradually add more, testing as you go. It’s easier to add more pigment than to lighten a color!
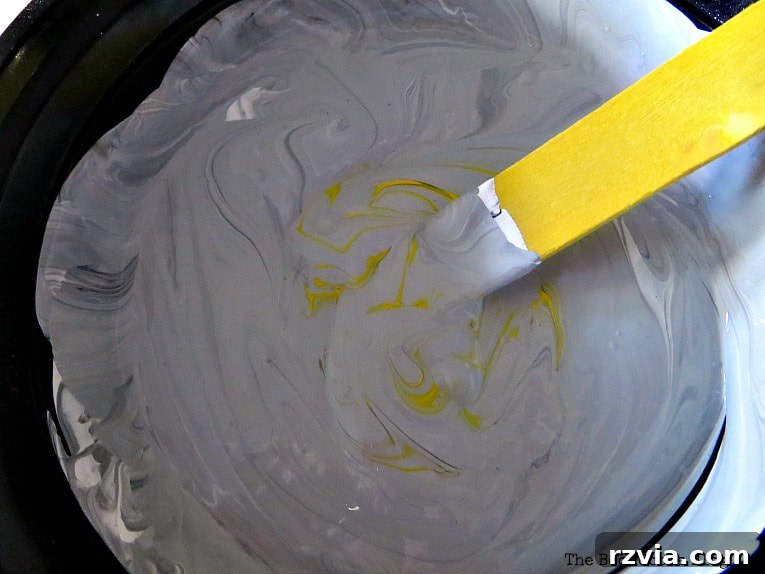
Step 3: Painting the IKEA Bekvam Stool
With my custom warm grayish color perfected, it was time to paint! Using my round paint brush, I applied even coats of the mixed chalk paint over the entire IKEA Bekvam step stool. I made sure to cover all surfaces, including the legs, steps, and underside, for a cohesive finish. I was genuinely thrilled with the warm gray color that emerged; it felt sophisticated yet incredibly welcoming. Allow each coat to dry completely before applying the next, typically 1-2 hours depending on humidity. You might need two or three thin coats to achieve full coverage and a consistent color.
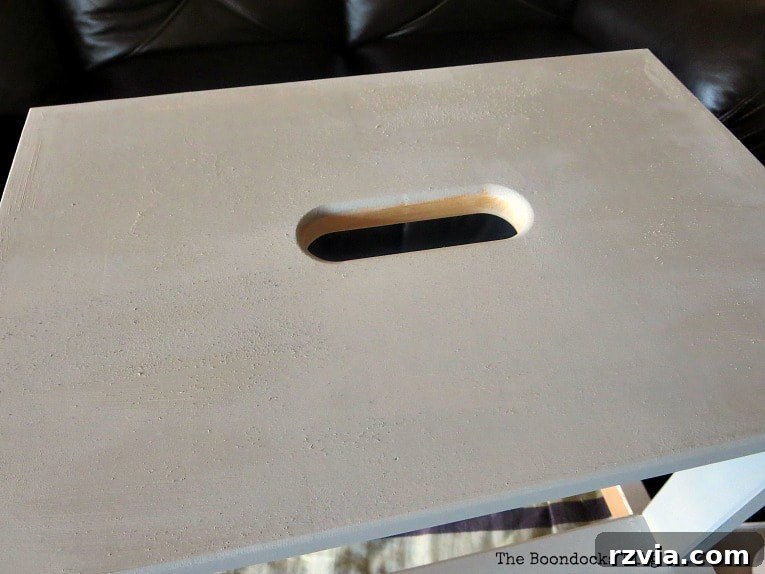
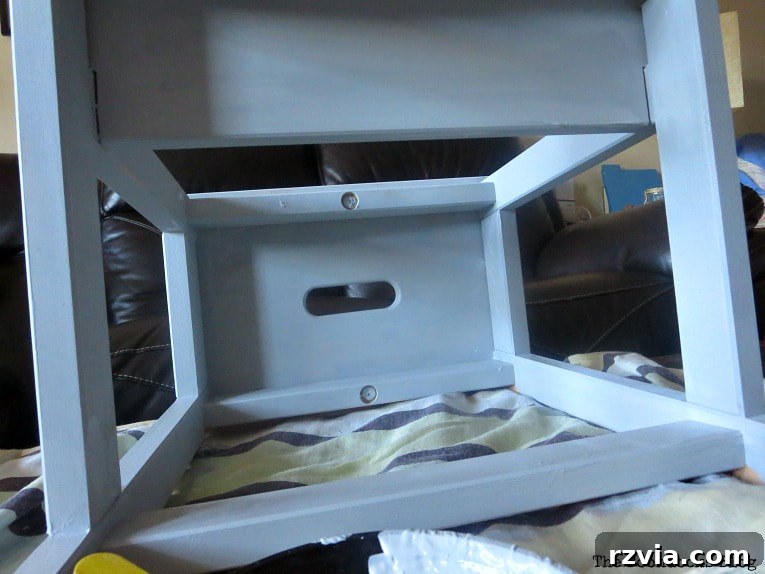
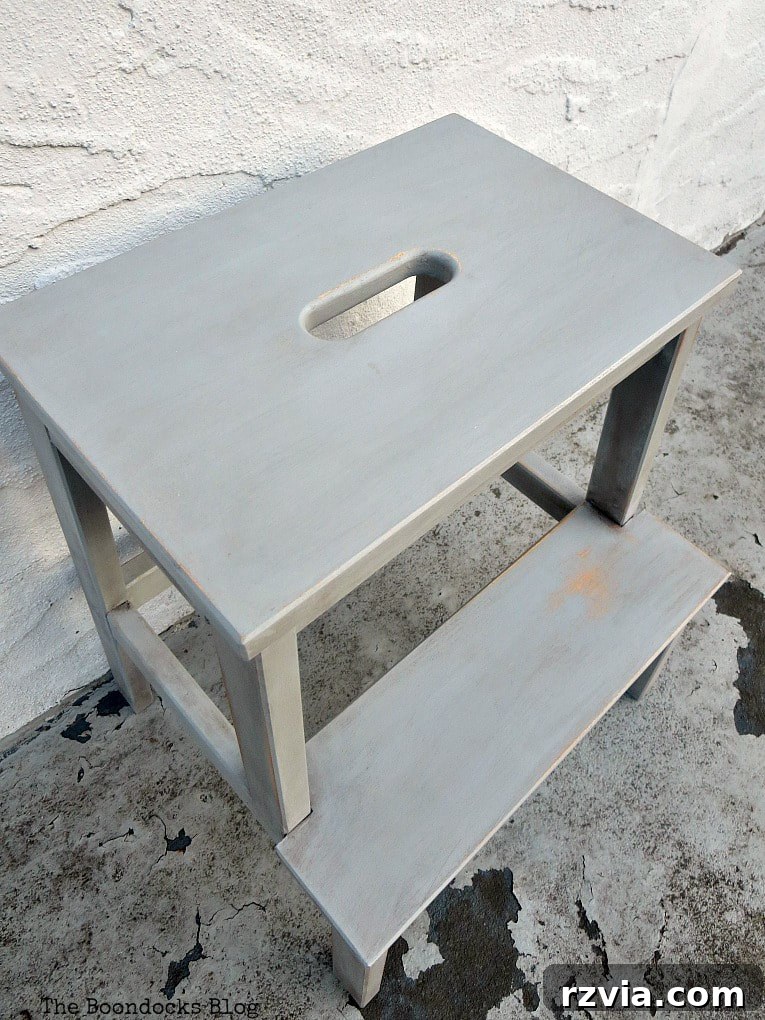
Once the final coat was dry, I gently sanded the entire stool with fine-grit sandpaper. This step is essential for two reasons: firstly, it ensures a wonderfully smooth surface, enhancing the tactile quality of the finished piece. Secondly, it creates an ideal base for the wax application, allowing it to glide on evenly and penetrate just enough to create that rich, aged effect. While the lighting in the photo might give the color a slightly bluish cast, rest assured that the entire IKEA Bekvam stool was covered in the beautiful warm gray hue, ready for the next stage of its transformation.
Step 4: The Waxing Conundrum & Solution
At this juncture, I found myself at a crossroads, pondering the best way to seal and enhance my IKEA step stool makeover. The big question was: should I use a protective wax or a durable varnish for a hard finish? And critically, which should I apply first if I wanted both? I knew for certain I wanted to add another layer of warmth and depth using a dark colored wax, but I was unsure if combining it with varnish was feasible or advisable. This internal debate lasted for a while, fueled by my desire for both aesthetics and durability.
After much consideration and, crucially, a valuable conversation with some experienced blogger friends – a testament to the power of a supportive creative community – I decided to play it safe. I opted to forgo the varnish this time, choosing instead to rely solely on waxes to achieve the desired look and protection. This decision simplified the process and allowed me to focus purely on the distressed, aged finish I envisioned.
Therefore, the first layer applied was the Cream Wax. This clear wax serves as a foundational sealant, protecting the paint and preparing the surface for the subsequent application of the darker wax. It’s an important step for control and a professional finish.
Step 5: Applying Dark Wax for Depth and Antiquing
Once the cream wax had cured sufficiently (typically a few hours), I moved on to applying the darker wax: Daddy Van’s Cafe Noir. The cream wax acts as a crucial barrier, creating a smoother canvas for the darker wax to be applied and manipulated. Without the clear wax base, the dark wax could penetrate the chalk paint too deeply and quickly, making it difficult to control the antiquing effect and potentially resulting in a muddy finish. While you *can* skip the cream wax and go straight for the darker wax for a more intense effect, I preferred the control and gradual build-up that the layered approach offered, especially as I wanted to minimize any potential for “messing up.”
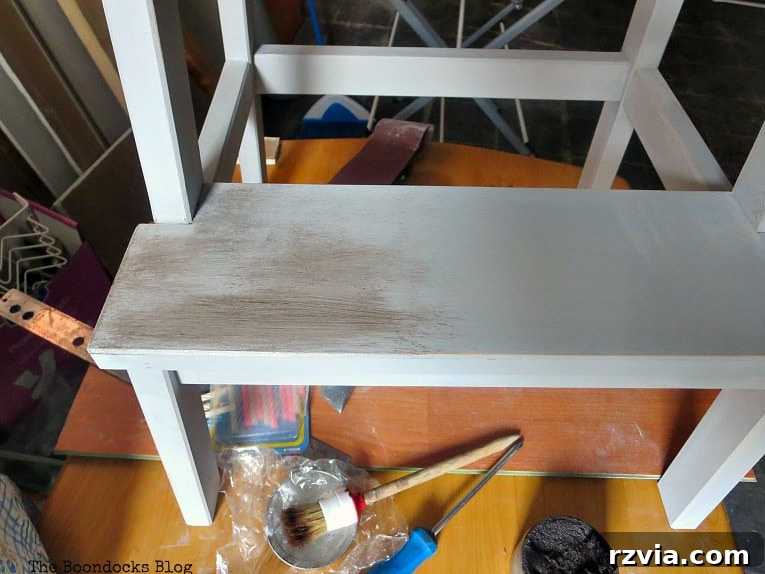
The immediate effect of the dark wax was remarkable. As you can see in the comparison, it instantly warmed up the left side of the stool step, adding an incredible depth and a subtle, rich patina that beautifully complemented the warm gray paint. This layering technique allows for greater control over the intensity of the aged look, letting you build up the color and character gradually.
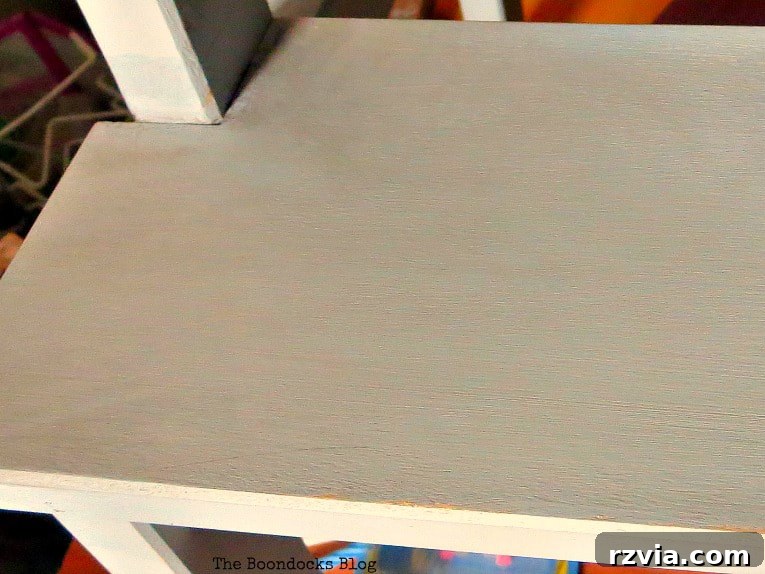
Next, I used one of my round brushes to carefully apply the dark wax. The bristles of a round brush are excellent for working the wax into all the natural nooks, crannies, and carved details of the stool, ensuring an authentic aged appearance. After applying the wax, I immediately used a clean, lint-free towel to rub off any excess. This buffing action is crucial not only for removing surplus product but also for activating the wax’s protective qualities and enhancing its subtle sheen, bringing out the true depth of the finish.
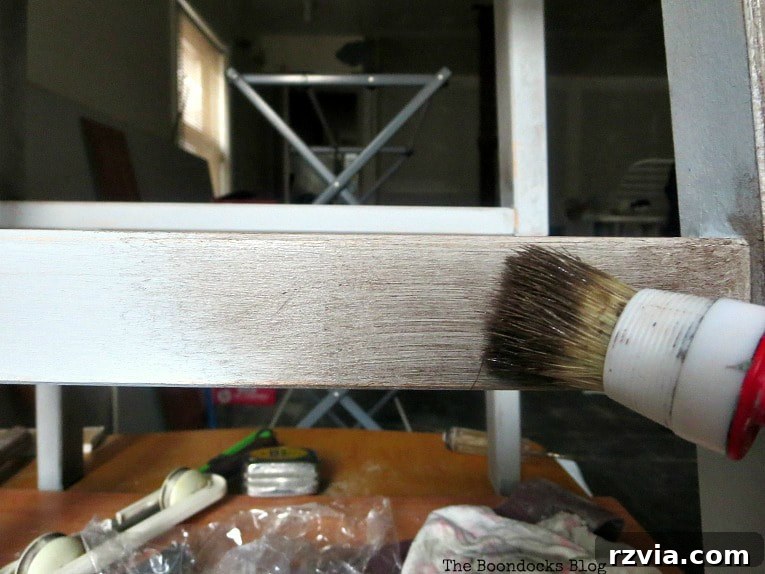
Step 6: The Art of Distressing
Throughout the waxing process, I also added some strategic distressing. Now, traditionally, distressing is often done before the final protective coats are applied. I’ll admit, I’m a bit “sloppy” in my creative process sometimes, and things don’t always go strictly by the book! However, for a rustic, worn look, these slight deviations are perfectly acceptable and often lead to beautifully authentic results. Using sandpaper, I gently (or sometimes a bit more vigorously!) rubbed away paint from edges, corners, and areas that would naturally see wear and tear over time. This exposes small hints of the natural wood beneath or earlier paint layers, enhancing the “story” of the piece.
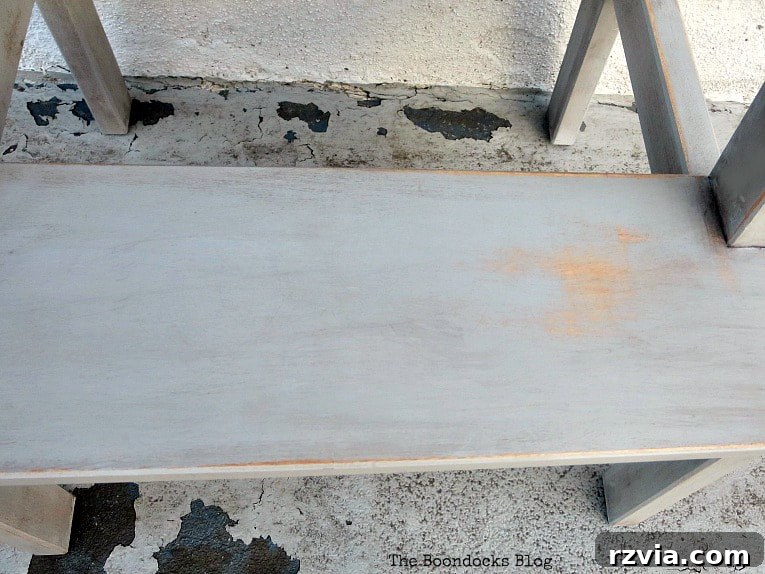
The Grand Reveal: My “Old” New IKEA Bekvam Stool
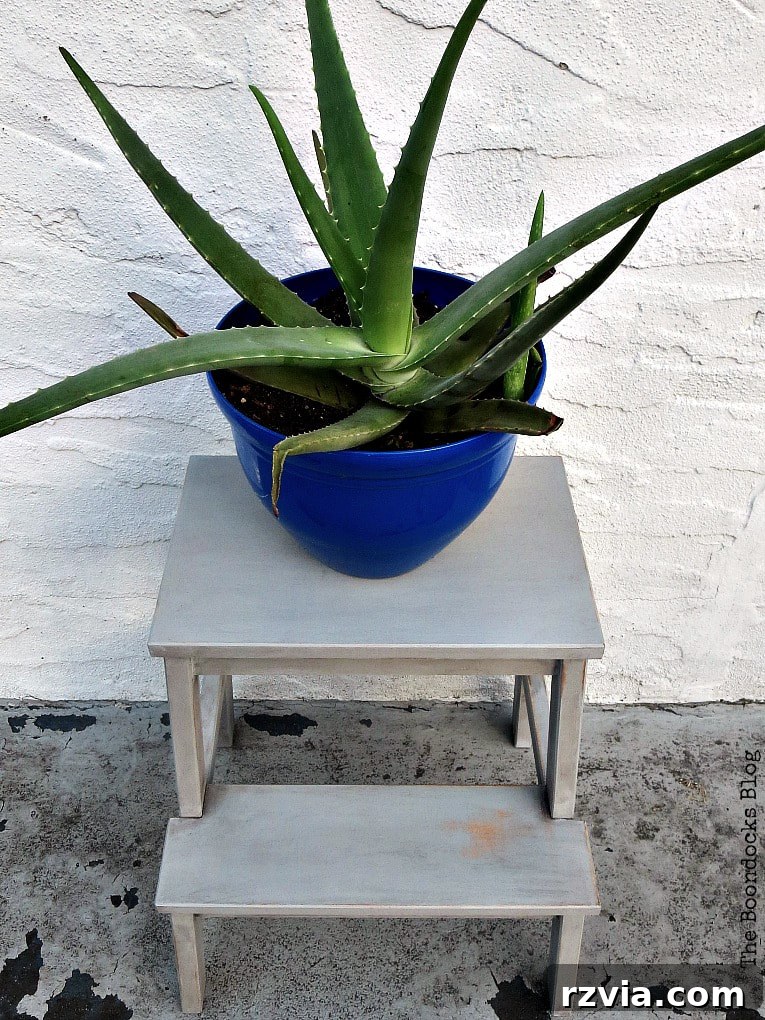
And there it is – my beautifully transformed, “old” new IKEA Bekvam step stool! The journey from a plain, functional item to a piece brimming with character was incredibly rewarding. The final result perfectly embodies the cozy, lived-in aesthetic I envisioned. This is more than just a stool; it’s a statement of personal style and the charm of handmade pieces.
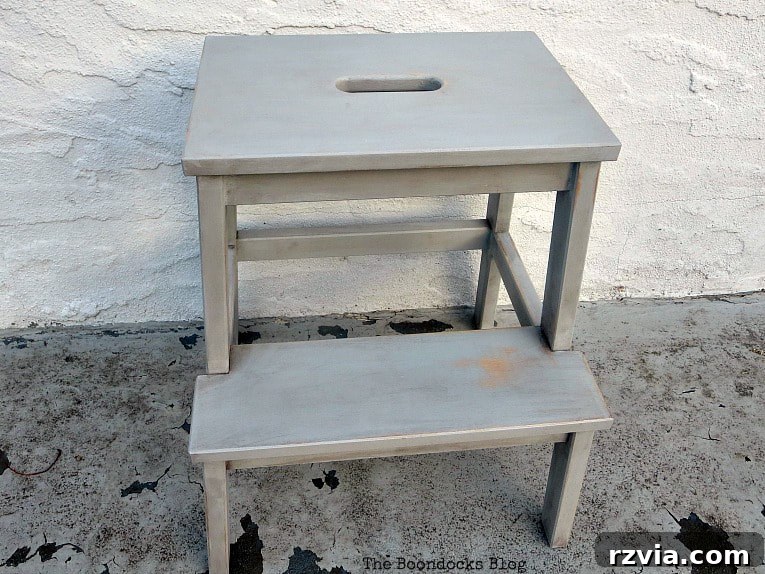
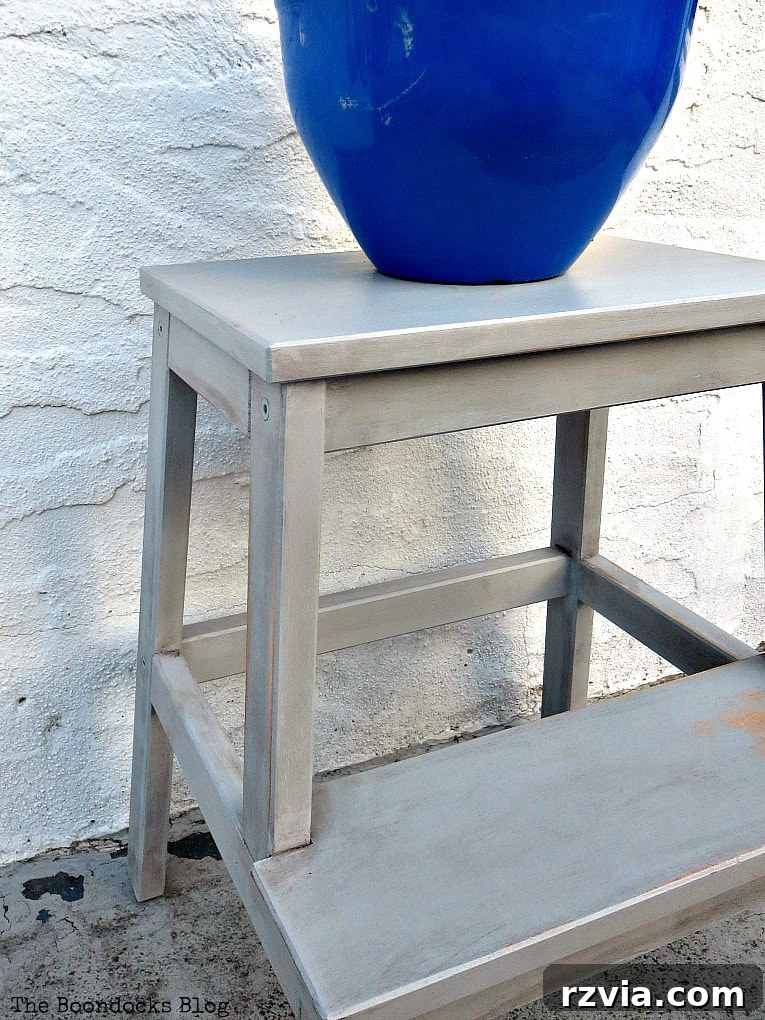
I truly wish you could experience this piece in person. Photographs, while helpful, can only capture so much. The warm gray hue is even richer and more inviting up close, and when combined with the subtle distressing and the depth provided by the waxes, it gives the wooden stool an unparalleled cozy, worn look that I absolutely adore. It feels like it has a history, even though its story has just begun in my home.
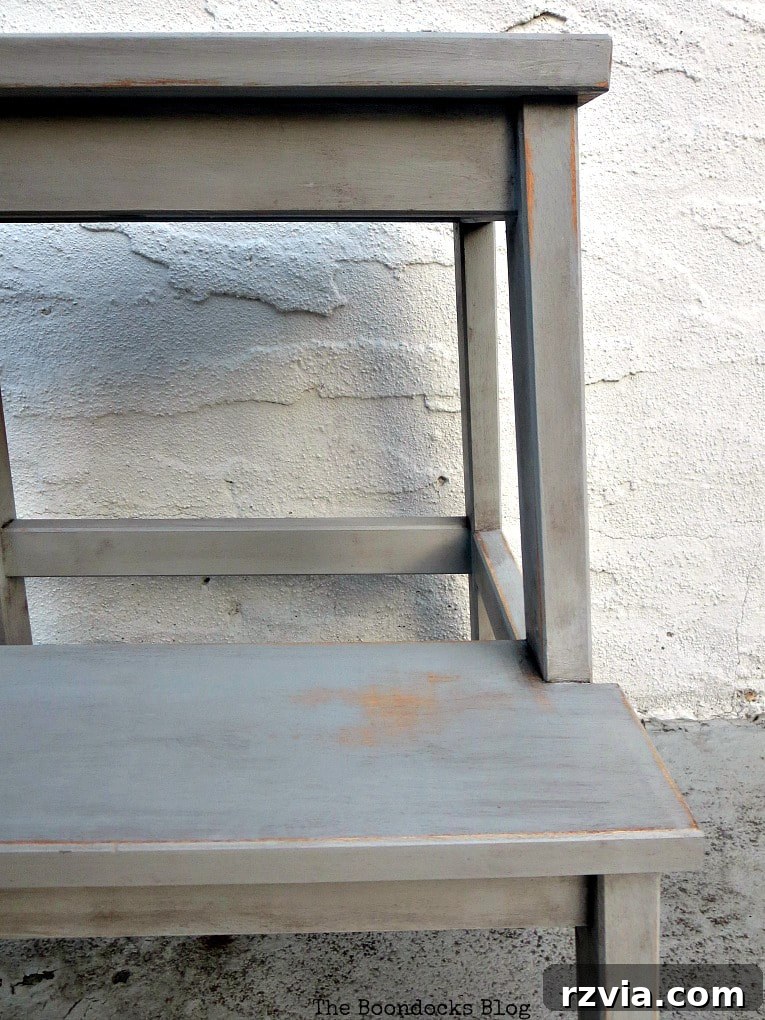
Beyond its aesthetic appeal, the stool retains its primary function, now enhanced with style! I can confidently reach those top cabinets in the kitchen, adding a touch of rustic charm to an everyday task. It proves that utility and beauty can, and should, coexist harmoniously in our living spaces.
Sometimes, I also repurpose it as a charming display stand. With so much “stuff” and not always enough dedicated storage, this versatile little stool occasionally holds a small plant or a stack of books, adding a delightful touch to any corner of the room. Its distressed finish perfectly complements various decorative items.
Always eager to experiment, I’m already planning my next project where I’ll attempt the method I considered for this stool: applying varnish first, then wax. I’m keen to see how that finish turns out and compare it to this wax-only approach. As a dedicated DIY enthusiast, I simply can’t resist trying new techniques and products to continuously expand my skills and knowledge.
I genuinely hope you’ve enjoyed this simple yet impactful IKEA Bekvam step stool hack. It’s a testament to how easily you can transform ordinary items into extraordinary pieces that reflect your personal style and enhance your home’s aesthetic.
Engaging in projects like this has been a profound journey of self-discovery for me. When I first started blogging, I confess I wasn’t particularly drawn to the distressed look. However, over time, I’ve come to deeply appreciate and embrace the beauty of these old, worn, and imperfect pieces. They tell a story, add warmth, and bring an undeniable authenticity to a space. And if you don’t have access to such vintage treasures, why not create your own? This is precisely why I wanted to share this tutorial: to empower you to achieve an easy worn look for your IKEA stool, or indeed, any piece of furniture you wish to infuse with character and charm.
Now, I’d love to hear from you! Do any of you ever apply varnish first, and then follow it with wax? Share your experiences and tips in the comments below – let’s learn from each other!