
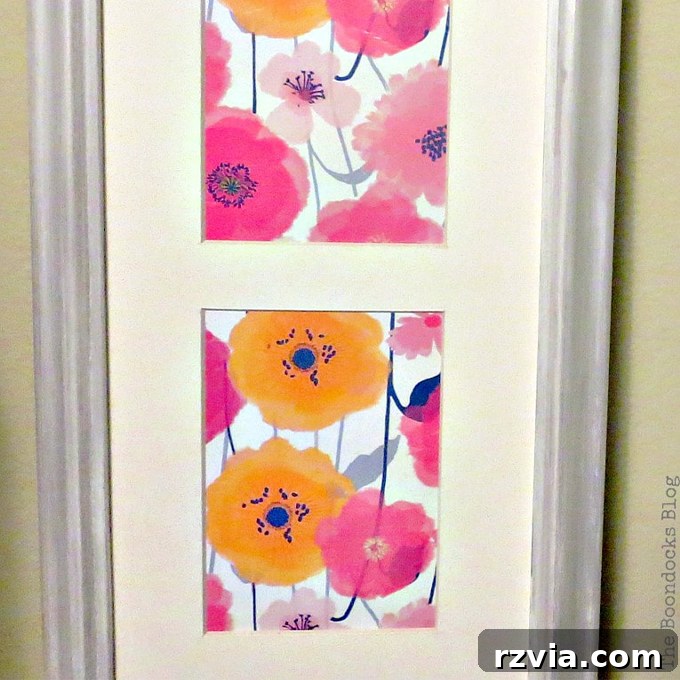
Bring Spring Indoors: Instant Floral Art for Your Home
As the days grow longer and the promise of spring fills the air, there’s an undeniable urge to refresh our living spaces. While we patiently await the full bloom of nature outdoors, why not invite that vibrant energy into our homes right now? Creating beautiful spring artwork doesn’t have to be a daunting or time-consuming task. In fact, with this simple DIY project, you can infuse your home with the joyful essence of the season in mere minutes, achieving a stunning visual impact that will lift your spirits.
This effortless method transforms everyday items into captivating decor, proving that remarkable home accents don’t require extensive artistic skill or a hefty budget. Prepare to be delighted by how quickly and easily you can craft personalized floral wall art, making your home feel fresh, vibrant, and perfectly prepared for the beauty of spring.
The Story Behind the Spring Artwork: A Budget-Friendly Transformation
This month marks another exciting “Ten on the Tenth” collaboration, where I join a fantastic group of friends to share inspiring projects, all crafted for less than ten dollars. It’s a testament to creativity on a budget, and this time, our focus is firmly on ushering in spring. Last month we delved into Valentine’s Day themes, but with the crisp chill still lingering, our hearts are now set on vibrant spring transformations.
The genesis of this particular spring decor project dates back to a serendipitous find at my very first yard sale since moving to my current home. There, amidst an array of forgotten treasures, I stumbled upon a truly remarkable picture frame. Its unique design, featuring five distinct openings, instantly sparked my imagination. You can see its original state below, a classic, albeit somewhat dated, gold finish. While many might appreciate its original charm, I confess to a long-standing aversion to gilded frames. It’s a recurring theme in my DIY endeavors, as evidenced by my previous frame makeovers where gold was swiftly replaced with a more contemporary aesthetic.
Armed with my trusty chalky finish paint, the transformation began almost immediately. The gold quickly disappeared beneath a fresh, clean coat, laying the groundwork for the stunning spring artwork it was destined to become. This initial step proved just how versatile and adaptable a simple thrift store find can be with a little creative vision and the right tools.
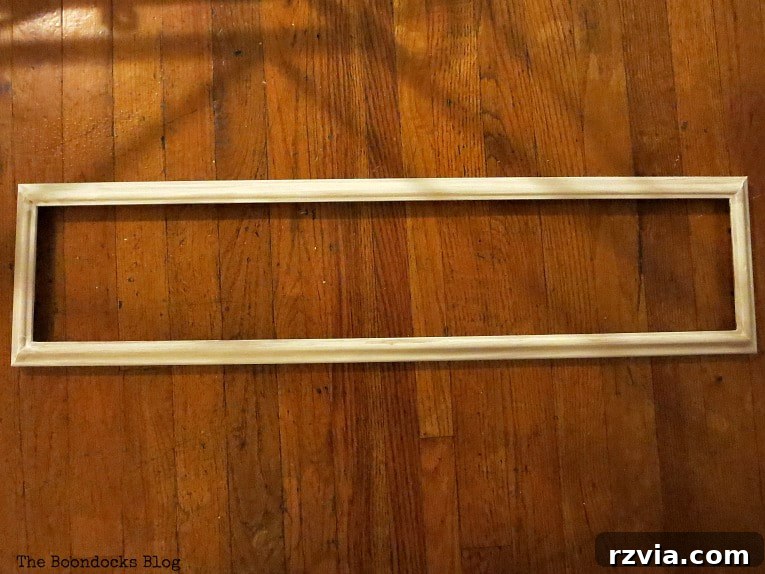
After its initial repaint, the frame now boasted a pristine white hue, but it wasn’t just a simple repaint. I layered the chalky paint with DecoArt Metallic Lustre in White Frost, imparting a subtle shimmer and frosty elegance. This combination created a neutral yet special frame, perfect for showcasing a variety of artwork, with just a hint of sparkle to catch the light. It’s this versatility that makes it an ideal canvas for seasonal decor.
Disclosure: I received product compensation for creating this post. However, all opinions expressed here are entirely my own. I exclusively endorse and recommend products that I genuinely love and believe will benefit my audience.
Materials Needed to Make this Stunning Spring Artwork
Disclosure: This post includes affiliate links for your convenience when shopping. Should you choose to purchase any of these products via the provided links, we may earn a small commission at no additional cost to you. For comprehensive details, please refer to our full disclosure policy here.
- Picture frame with an opening for five photos: The star of our show, offering multiple canvases for your chosen paper.
- DecoArt Americana Decor Chalky Finish in Everlasting: Provides a smooth, matte base that adheres beautifully to most surfaces without extensive prep.
- DecoArt Metallic Lustre in White Frost: Adds a touch of elegant shimmer and depth to your frame, elevating its appearance.
- Paint brush: Essential for applying paint evenly and smoothly.
- Gift wrapping paper: The creative heart of this project, offering endless patterns and colors to suit any season or style.
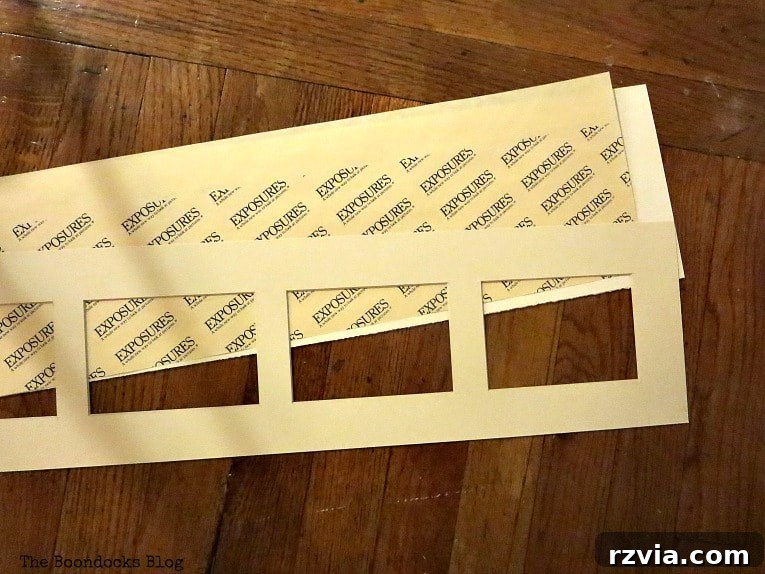
Below, you can see the disassembled components of the picture frame: the mat with its five precise openings and the background board. These elements are key to creating a clean, professional look for your new spring artwork.
Crafting Your Spring Masterpiece: A Simple Step-by-Step Guide
From Concept to Creation: Finding the Perfect Floral Design
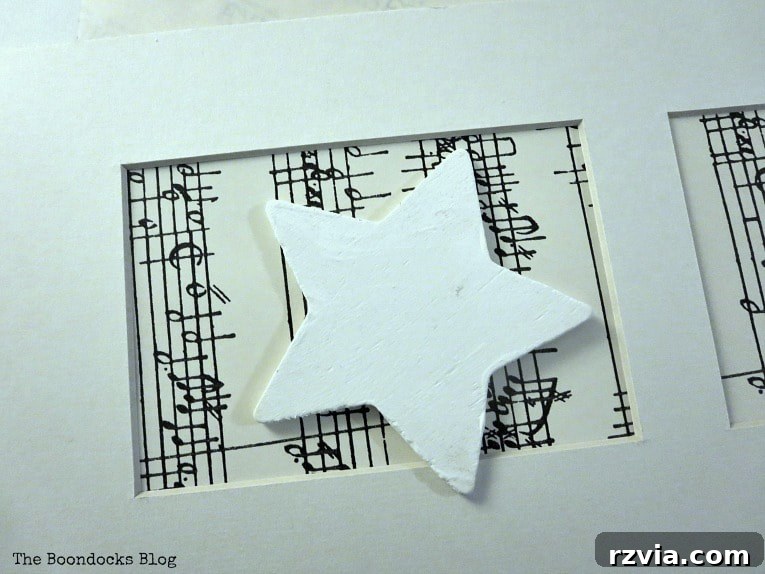
The journey to the perfect spring artwork often involves exploring various creative avenues. Initially, I envisioned a different aesthetic for this versatile frame. My first thought was to use music paper as the backdrop, complemented by charming stars placed in the foreground. This idea held a certain whimsical appeal, combining a love for melody with a celestial touch. However, as often happens in the creative process, ideas evolve and preferences shift.
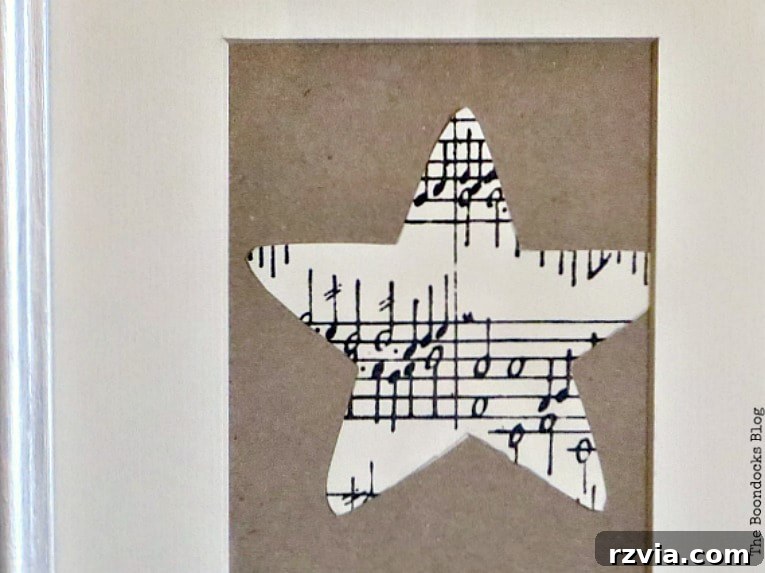
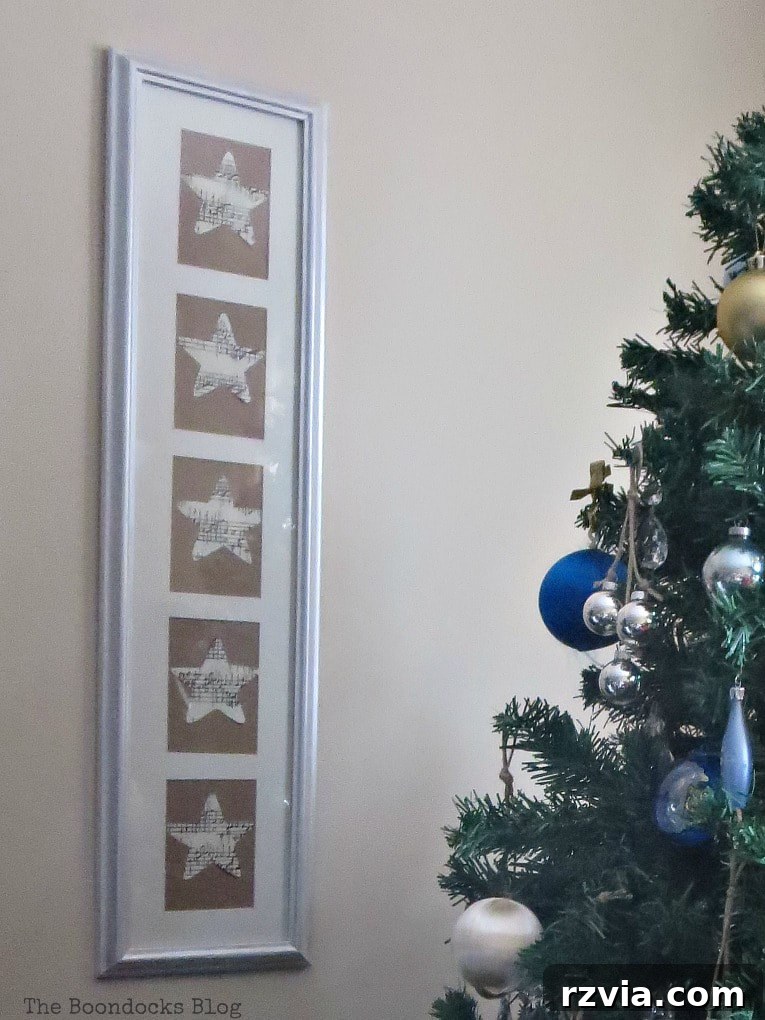
Eventually, I gravitated towards a slightly different combination that offered a rustic yet elegant feel: musical stars set against a backdrop of simple brown kraft paper. This design had previously found a home in my Christmas decor. In fact, if you recall my Christmas Tree display, you might recognize this very frame in the background. It truly is a beautiful and adaptable piece, demonstrating its capacity for various seasonal expressions.
When the “Ten on the Tenth” group decided on a spring project, this particular picture frame immediately came to mind. Its five openings offered the perfect opportunity to create a cohesive piece of spring-themed wall art. The challenge was to find the ideal imagery to fill those spaces. I scoured my house for inspiration, looking through old calendars and various decorative papers, but nothing felt quite right. The goal was to capture the essence of spring – vibrant, fresh, and full of life.
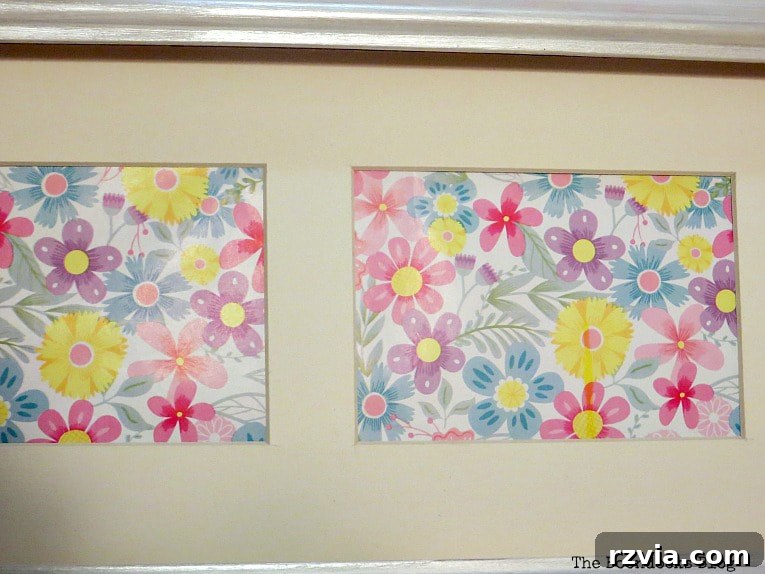
My quest for the perfect design led me to the local Dollar Tree, a treasure trove for budget-friendly finds. There, I discovered some lovely floral wrapping paper. It was pretty, subtle, and certainly evoked a sense of nature. I briefly considered using it, imagining how its delicate blooms would look across the five frame openings.
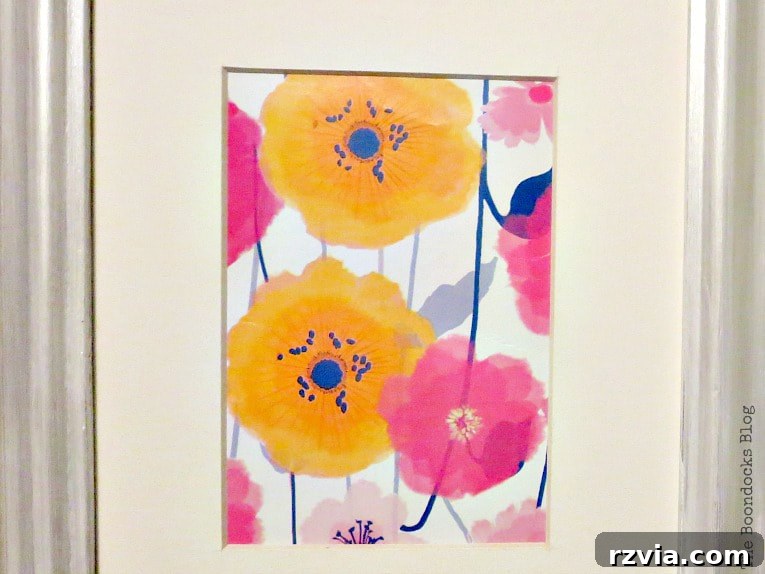
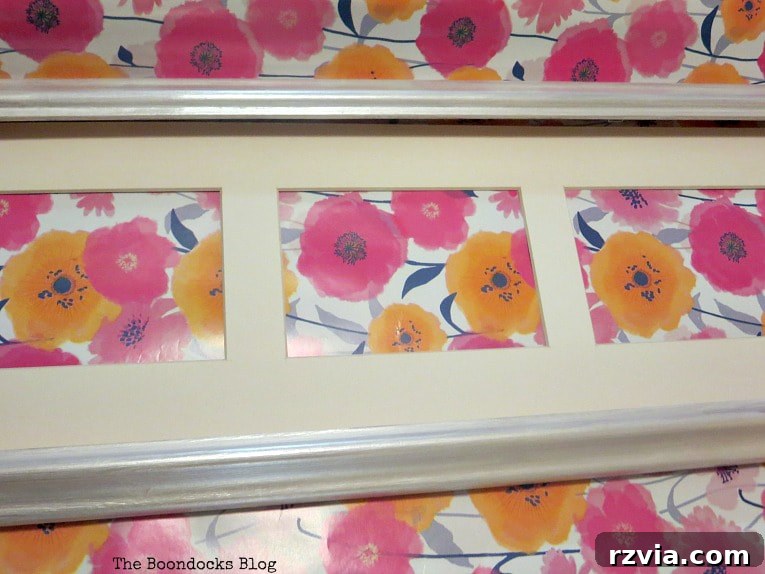
However, a subsequent trip to a local drugstore proved to be the turning point. It was there that I found the wrapping paper that truly spoke to me – and for just five dollars! The flowers on this paper were noticeably bolder and larger than the Dollar Tree option, and the color palette was simply irresistible. With just a few vibrant hues of yellow and pink, it practically sang of spring. This was it – the perfect print to transform my multi-opening frame into a dazzling piece of spring artwork.
The Final Touch: Effortless Installation and Seasonal Versatility
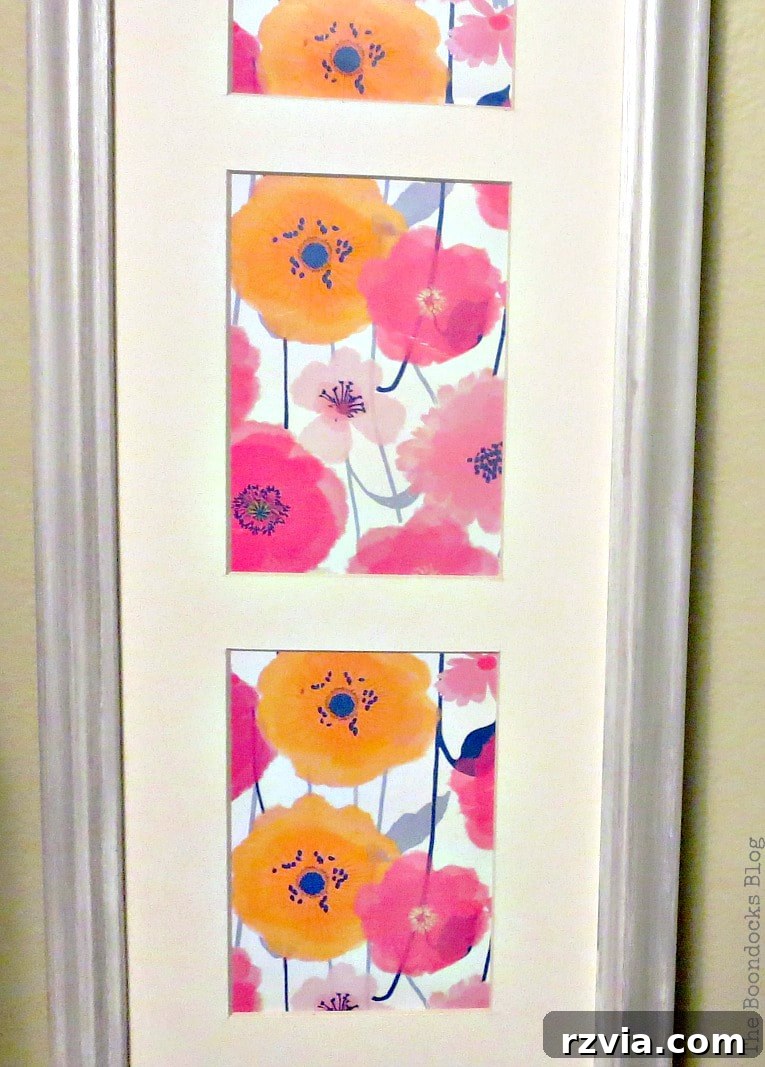
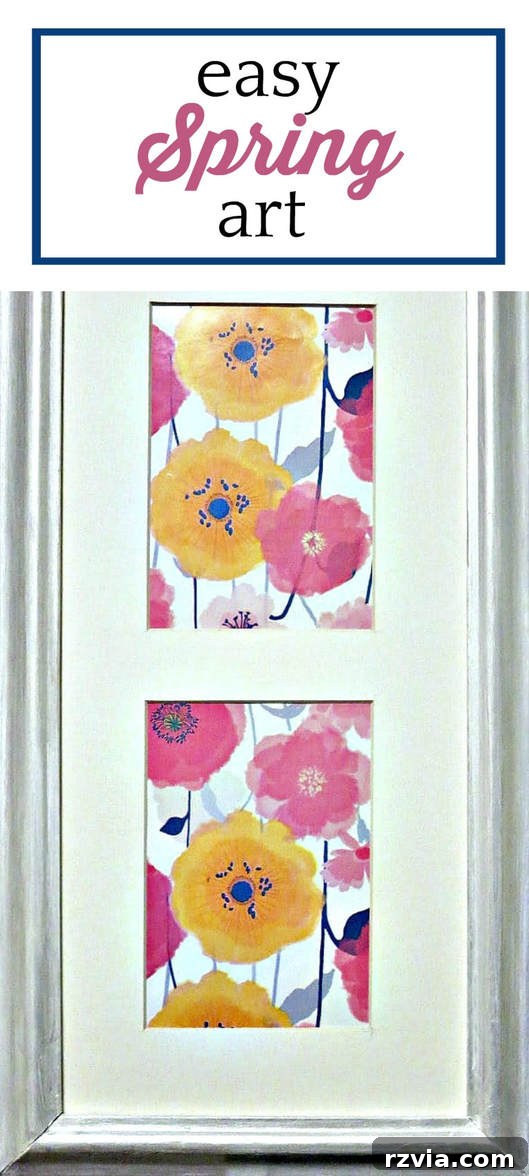
With the ideal wrapping paper in hand, the actual assembly of the spring artwork was astonishingly swift. It took no more than two minutes to carefully cut and insert the floral paper into each of the five openings of the picture frame. The simplicity of this step truly underscores the “quick and easy” promise of this DIY project. The vibrant yellow and pink blooms instantly brought life and energy to the neutral white frame, creating a cohesive and eye-catching display.
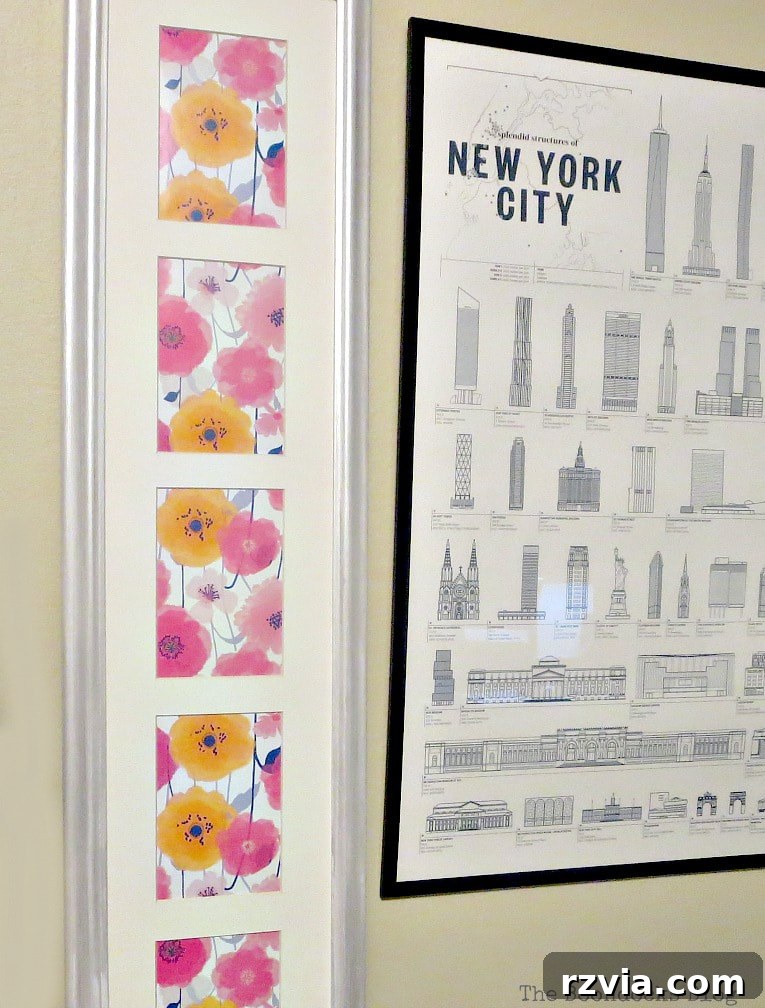
Just behold those striking yellows and captivating pinks! They are a perfect symphony of spring, declaring that the season has truly sprung within my home. This isn’t just a piece of decor; it’s a burst of joyful color and a welcoming nod to warmer days and blooming gardens. The transformative power of a simple piece of paper is truly remarkable, elevating a plain frame into a focal point of seasonal charm.
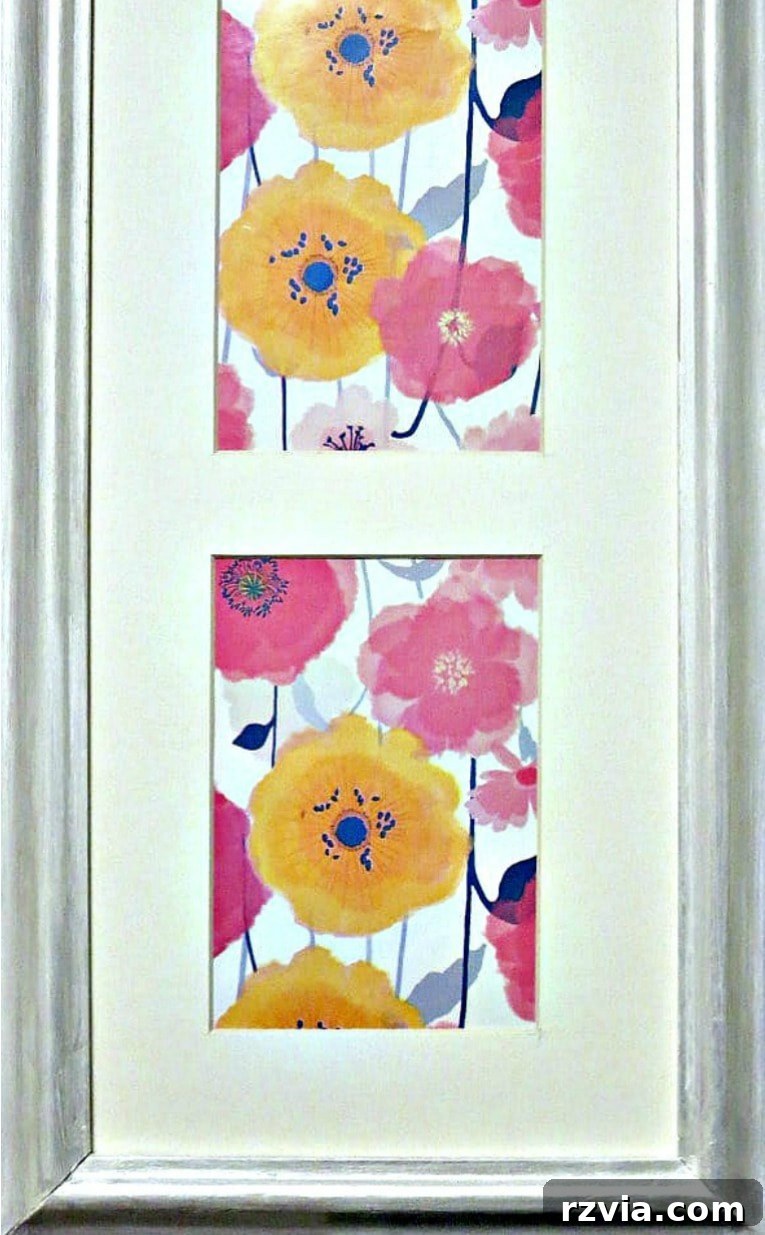
Perhaps the most appealing aspect of this DIY spring artwork is its incredible versatility. The concept is so wonderfully simple that you can effortlessly change out the wrapping paper in a matter of minutes. This means you’re not limited to just spring; you can usher in any look or season you desire, transforming your wall decor to match holidays, personal moods, or evolving interior design themes. Imagine swapping florals for autumn leaves, festive holiday patterns, or even minimalist geometric designs – the possibilities are endless and always budget-friendly.
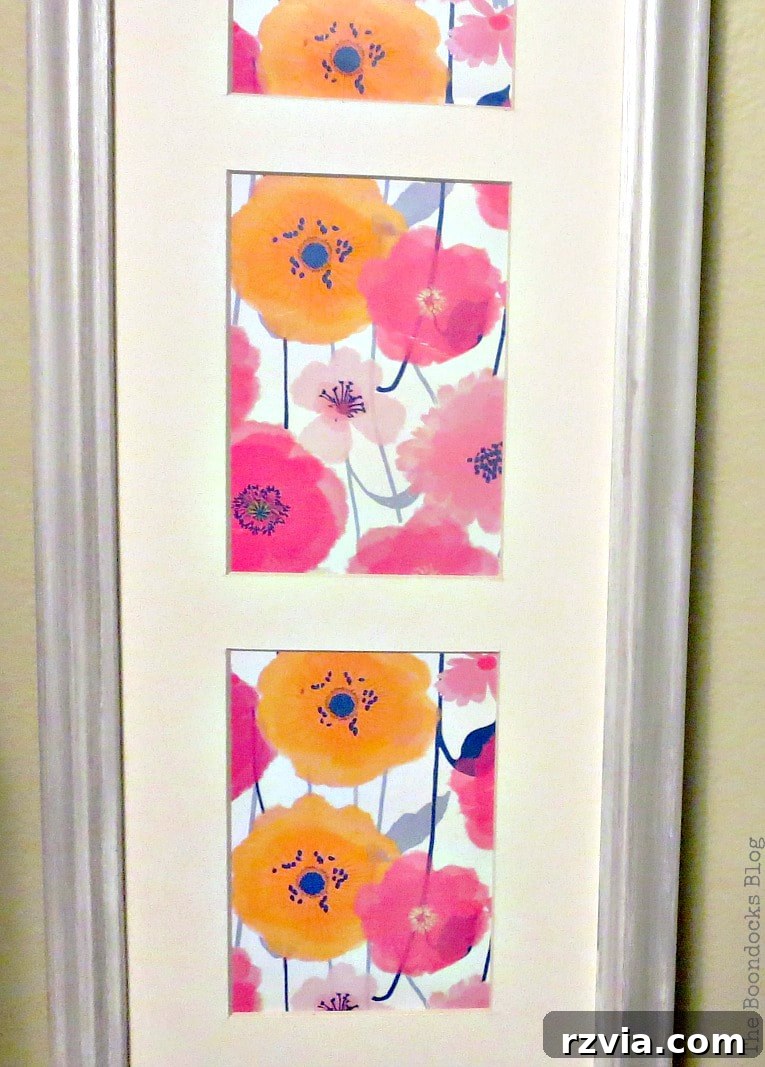
And there you have it – my super easy, incredibly quick project on how to infuse your home with delightful spring artwork. Having one of these versatile five-opening picture frames certainly makes the process even more convenient, allowing for a cohesive display with minimal effort. Now, I’m curious to hear your thoughts: which floral wrapping paper did you prefer – the bold yellow and pink blooms, or the more delicate pattern with smaller flowers? Share your preference and let me know how you’re bringing spring into your home!

Join Our Creative Community: More Inspiration Awaits
I sincerely hope you enjoyed this journey into quick and easy spring decorating. Now, I wholeheartedly encourage you to “pop on over” to my talented friends in the “Ten on the Tenth” community. They’ve also been busy crafting wonderful, budget-friendly projects, many of which are perfect for ushering in the spring season. You’ll find a wealth of diverse ideas and creative solutions, all designed to inspire your next DIY endeavor without breaking the bank. Don’t miss out on their incredible contributions!

The Purple Hydrangea
At Home With Jemma
The Boondocks Blog
Exquisitely Unremarkable
Pandora’s Box
White Spray Paint
Patina and Paint
Poofing the Pillows
Cottage at the Crossroads
Let’s Add Sprinkles
Explore More Picture Frame Ideas:
If you loved this project and are looking for more ways to creatively use picture frames in your home decor, you’re in luck! Frames are incredibly versatile tools for adding personality and style to any room. Below, you’ll find links to a couple of my other frame-related DIYs, offering even more inspiration for transforming everyday items into unique pieces of art.