
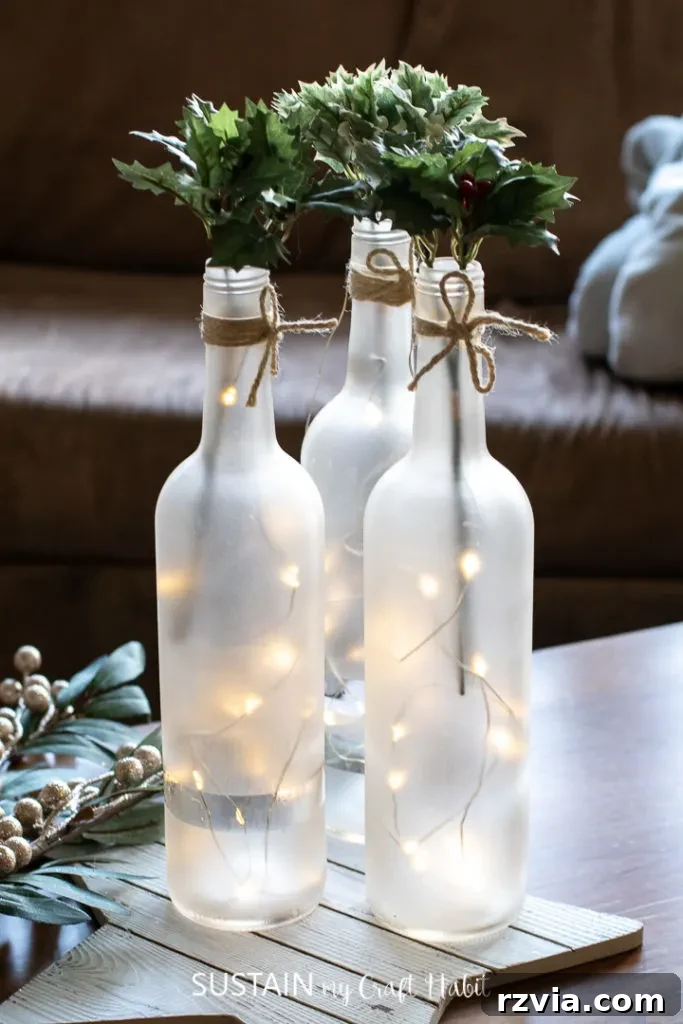
Upcycling Wine Bottles: Crafting Stunning Holiday Decorations
Do you have a collection of empty wine bottles waiting to be recycled? Before you toss them away, consider transforming them into beautiful and unique holiday decorations. This guide explores creative ways to upcycle those old wine bottles into elegant centerpieces that are perfect for adding a festive touch to your home.
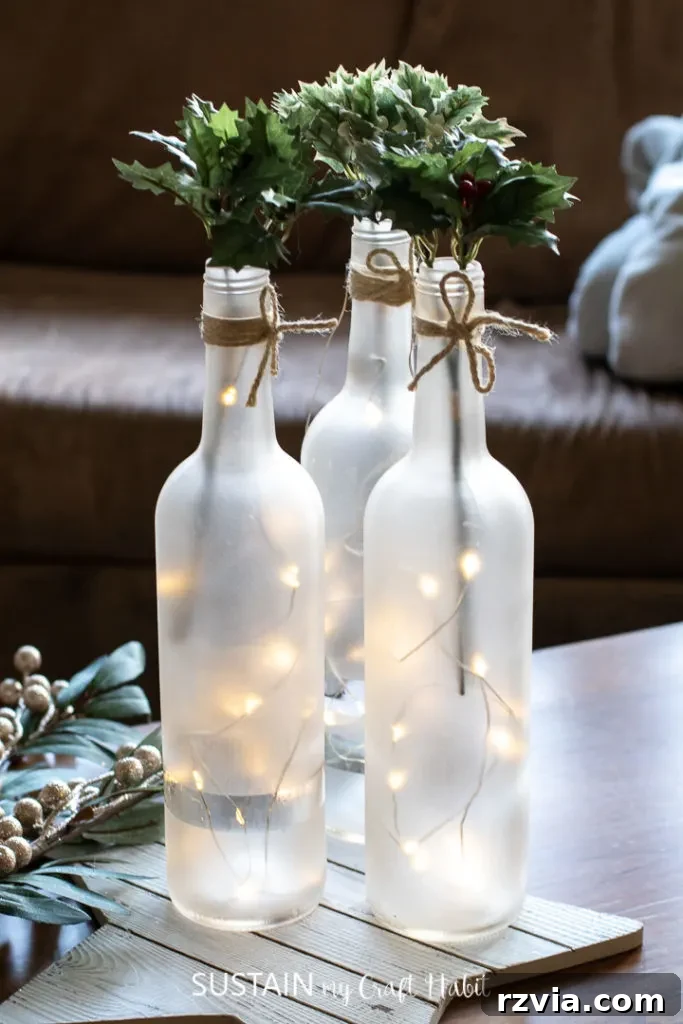
DIY Frosted Wine Bottle Centerpiece: A Step-by-Step Guide
This crafting project is an exciting way to combine simplicity with striking results. With just a few readily available supplies and some empty wine bottles, you can create stunning decorative pieces that will infuse rustic charm into your living space, serving as beautiful indoor or outdoor décor.
Materials You’ll Need:
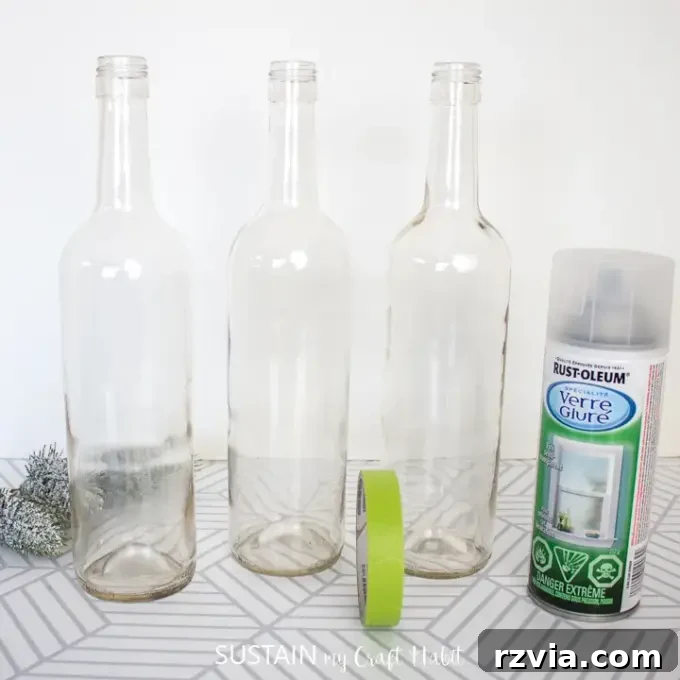
- Clean wine bottles (clear glass bottles work best for optimal light diffusion)
- Frosted glass finish spray paint
- Painter’s tape (for creating clean lines and patterns)
- Fairy lights or string lights (LED lights recommended for energy efficiency and safety)
- Fresh greenery or high-quality faux alternatives (pine branches, berries, or eucalyptus)
- Dish soap (for cleaning the bottles)
- Hot water (for removing labels)
- Adhesive remover (if needed, for stubborn label residue)
Preparing Your Wine Bottles: A Crucial First Step
The first crucial step involves gathering your empty wine bottles and ensuring they are thoroughly cleaned. Removing stubborn labels is essential for a professional-looking finish. A highly effective method is to soak the entire bottle in hot water mixed with a small amount of dish soap for approximately 15-20 minutes. This process helps to loosen the adhesive. For any persistent residue that remains, using an adhesive remover is highly recommended. Gently scrub the area with a soft cloth until the residue is completely gone.
Creating Unique Designs with Painter’s Tape
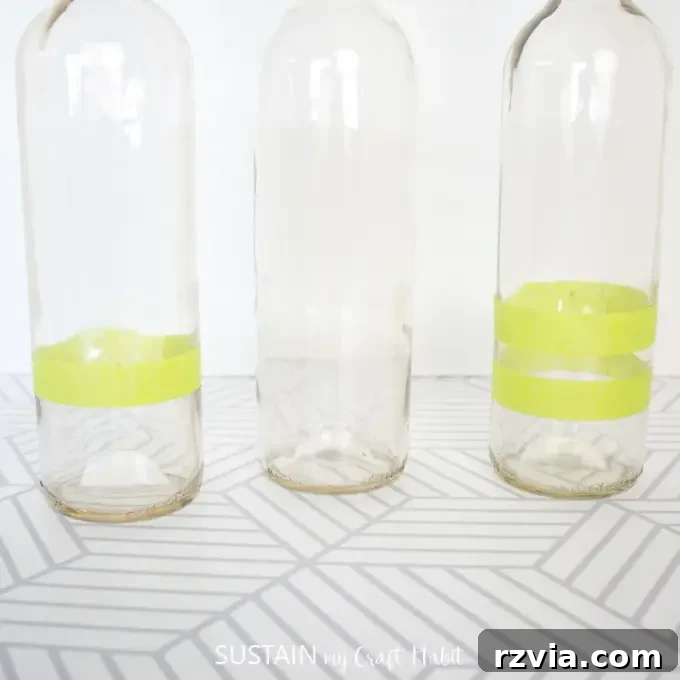
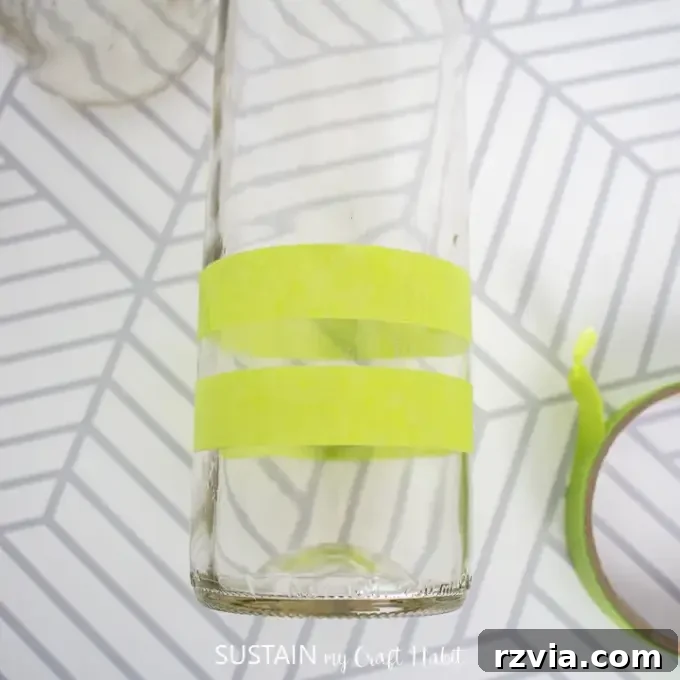
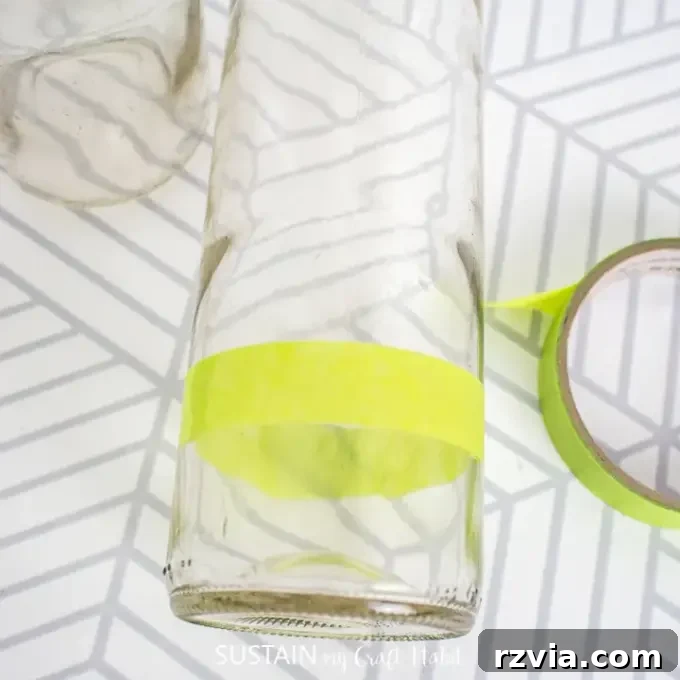
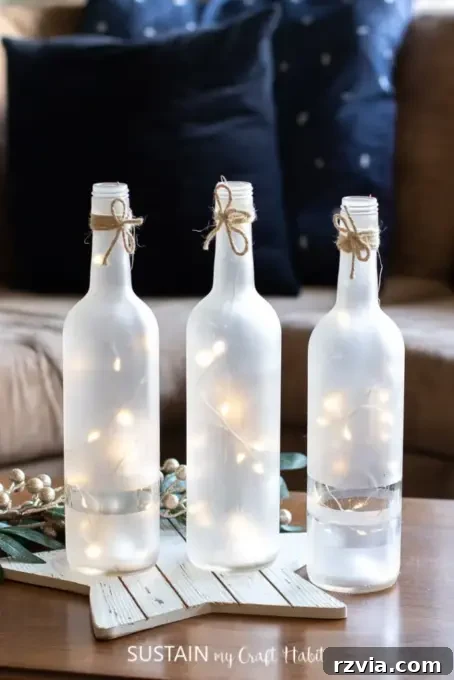
Here’s a fantastic idea to personalize your wine bottles: experiment with different applications of painter’s tape to create diverse and eye-catching patterns. Consider wrapping a single strip around the base of the bottle for a minimalist look, or create multiple horizontal or vertical bands for a more complex design. Alternatively, you could choose to leave certain bottles completely frosted for a contrasting effect. The possibilities are truly endless and allow for ultimate creative expression.
Applying the Frosted Finish: Painting Your Masterpiece
Now for the exciting part! Here’s a detailed guide on how to achieve that flawless frosted finish:
- Choose a Well-Ventilated Area: Work outdoors or near an open window to ensure adequate ventilation.
- Protect Your Work Surface: Lay down old newspapers or a drop cloth to prevent paint from getting on your work area.
- Apply Thin, Even Coats: Hold the spray paint can approximately 10-12 inches away from the bottle and apply the paint in light, even strokes. Move the can smoothly from side to side to avoid drips and uneven coverage.
- Multiple Coats for Best Results: The first coat may appear clear upon application, but it will dry to a frosted finish. Allow the first coat to dry for approximately 5 minutes. Apply a second light coat for even coverage.
- Drying Time is Key: Allow the paint to dry completely for at least 10-15 minutes before handling the bottles. This ensures the paint adheres properly and prevents smudging.
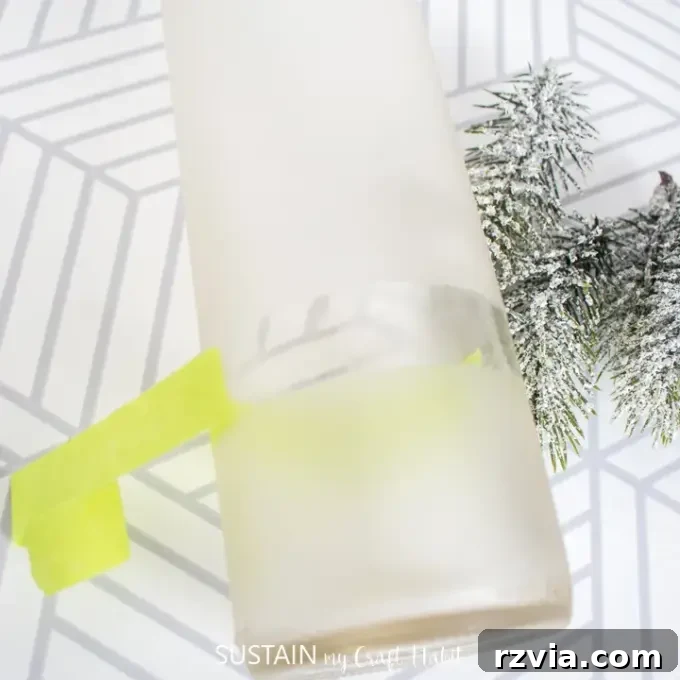
- Carefully Remove the Tape: Once the paint is completely dry, carefully peel off the painter’s tape at a 45-degree angle to reveal your crisp, clean design.
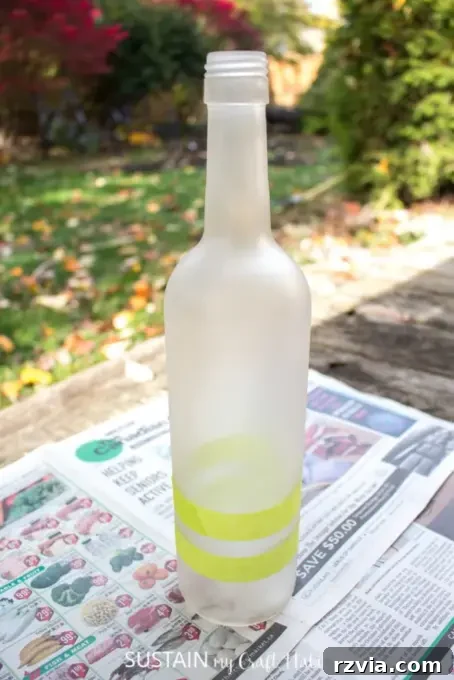
Pro Tip: Experiment with different colors of spray paint to create unique and personalized effects. Consider using a pearl finish for a more sophisticated and elegant look. Metallic spray paints can also add a touch of glamour to your creations.
Adding the Magic: Lights and Greenery
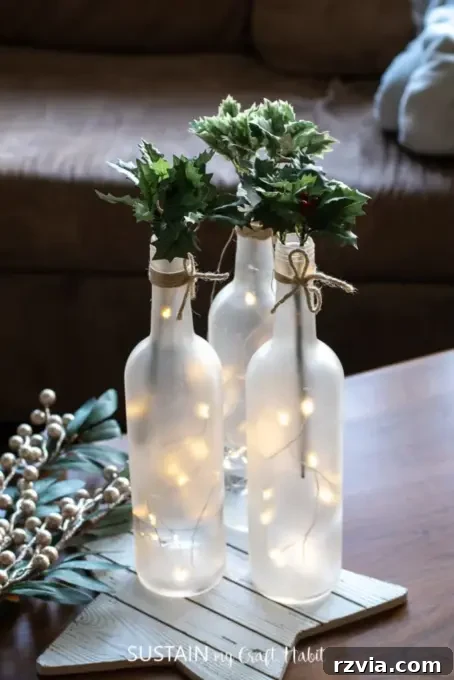
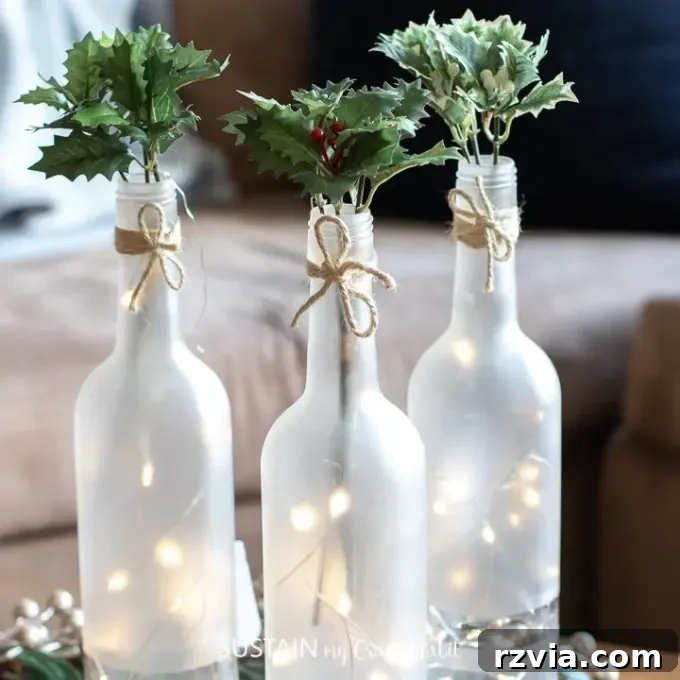
Once your bottles are completely dry, it’s time to add the finishing touches that will bring your centerpiece to life! Carefully thread fairy lights or small Christmas lights inside each bottle, distributing them evenly for a consistent glow. As these are upcycled wine bottles, the battery pack might not fit inside the bottle. Discreetly position the battery pack behind your display, concealing it from view. To complete the look, add some fresh greenery around the base of the bottles, such as pine branches, berries, or eucalyptus. The combination of frosted glass, twinkling lights, and natural greenery will create a truly magical and festive centerpiece.
Beyond Centerpieces: More Creative Wine Bottle Uses
This frosted centerpiece is just one of countless wine bottle craft ideas that you can explore. Here are some other imaginative ways to repurpose those old glass bottles and add a unique touch to your home décor:
- Elegant Candle Holders: Transform wine bottles into elegant candle holders by inserting taper candles or using specialized bottle-top candle holders.
- Unique Vases for Fresh Flowers: Create stunning wine bottle vases for displaying fresh flowers. Simply clean the bottles thoroughly and add water. You can decorate the bottles with paint, twine, or ribbons for a personalized touch.
- Wine Bottle Bird Feeders: Construct unique wine bottle bird feeders for your garden. There are various designs available online that you can easily follow.
- Colorful Painted Vases: Design vibrantly colored vases using glass paint. This is a great way to add a pop of color to any room.
- Natural Room Fresheners: Fill wine bottles with essential oils and decorative reeds or flowers to create natural room fresheners.
Essential Tips for Crafting Success
- Collect a Variety of Bottles: Start collecting wine bottles of different colors, shapes, and sizes to have a wider range of options for future projects.
- Thorough Cleaning is Key: Always clean your wine bottles thoroughly with hot water and dish soap before using any stronger adhesive removers.
- Embrace Alternative Finishes: Remember that craft paint, acrylic paint, and Mod Podge can also create stunning effects if you’re looking for alternatives to spray paint.
- Outdoor Ambiance: For outdoor projects, consider using citronella oil in your wine bottle crafts to keep bugs away while adding a warm and inviting ambiance.
Whether you’re creating festive holiday decorations or year-round decorative displays, these DIY wine bottle crafts provide a fun and engaging way to reduce waste while simultaneously creating beautiful and personalized decor pieces. This accessible craft delivers professional-looking results – perfect for adding a personalized touch to your home or creating thoughtful and unique handmade gifts.
Frequently Asked Questions About Wine Bottle Decorating
How many empty wine bottles should I save for a centerpiece?
For a well-balanced and visually appealing display, aim to save between 3 and 5 empty wine bottles. Utilizing different sizes and shapes adds significant visual interest, so don’t be afraid to mix it up! Both wine and liquor bottles can work exceptionally well for these types of projects.
What’s the best way to clean wine bottles effectively?
Start the cleaning process by soaking the bottles in hot water combined with dish soap for approximately 15-20 minutes. If any label residue stubbornly remains, try using an adhesive remover or even essential oils like lemon or orange to effectively break down the sticky residue. A final wipe with rubbing alcohol will ensure your bottles are perfectly clean and ready for painting or decorating.
Can I use plastic bottles instead of glass?
While plastic bottles can be used for certain crafts, glass bottles are generally preferred for this particular project. The key advantage of glass lies in its ability to interact beautifully with fairy lights, creating a magical and enchanting glow that is simply not achievable with plastic.
How long does this craft project typically take to complete?
Plan to allocate approximately 2-3 hours in total, including the necessary drying time. The hands-on work itself is a fun and enjoyable way to spend an hour or so, but it’s essential to allow the paint ample time to cure properly for the best and most durable results.
What should I do if I make a mistake with the spray paint application?
Before you begin painting your wine bottles, it’s always a good idea to practice your spray technique on the bottom of the bottle first. This allows you to get a feel for the paint and avoid any major mistakes on the visible areas. If you do need to start over, you can remove the frosted glass paint with paint thinner and try again. However, always remember to test the paint thinner in a small, inconspicuous area first to ensure it doesn’t damage the glass.
Are these wine bottle decorations suitable for outdoor use?
Yes! These upcycled wine bottle decorations can add a touch of charm and elegance to your outdoor space. For a durable and long-lasting display, consider using citronella oil or LED string lights, which are specifically designed for outdoor use. These can create a bug-free and inviting outdoor ambiance. Just be sure to secure your bottles properly to prevent them from being knocked over by the wind.
Do I need a bottle cutter for this particular project?
No, a bottle cutter is not required for this specific design. While a bottle cutter opens up a whole new world of crafting possibilities with wine bottles, such as creating unique candle holders or bird feeders, this project focuses on using the whole wine bottles in their original form.
Can I customize the colors or finish of the wine bottle decorations?
Absolutely! While this guide focuses on using frosted spray paint, you have complete freedom to experiment with different colors, finishes, and embellishments. Consider using vibrant glass paints to create bold and eye-catching designs. Alternatively, you can try different finishes, such as glitter, metallic paint, or even decoupage techniques. Some crafters enjoy using Mod Podge and glitter to achieve a sparkling and glamorous effect – it’s entirely up to your personal creative vision!