
From Childhood Relic to Rustic Chic: A Storage Unit’s Stunning Twine Transformation
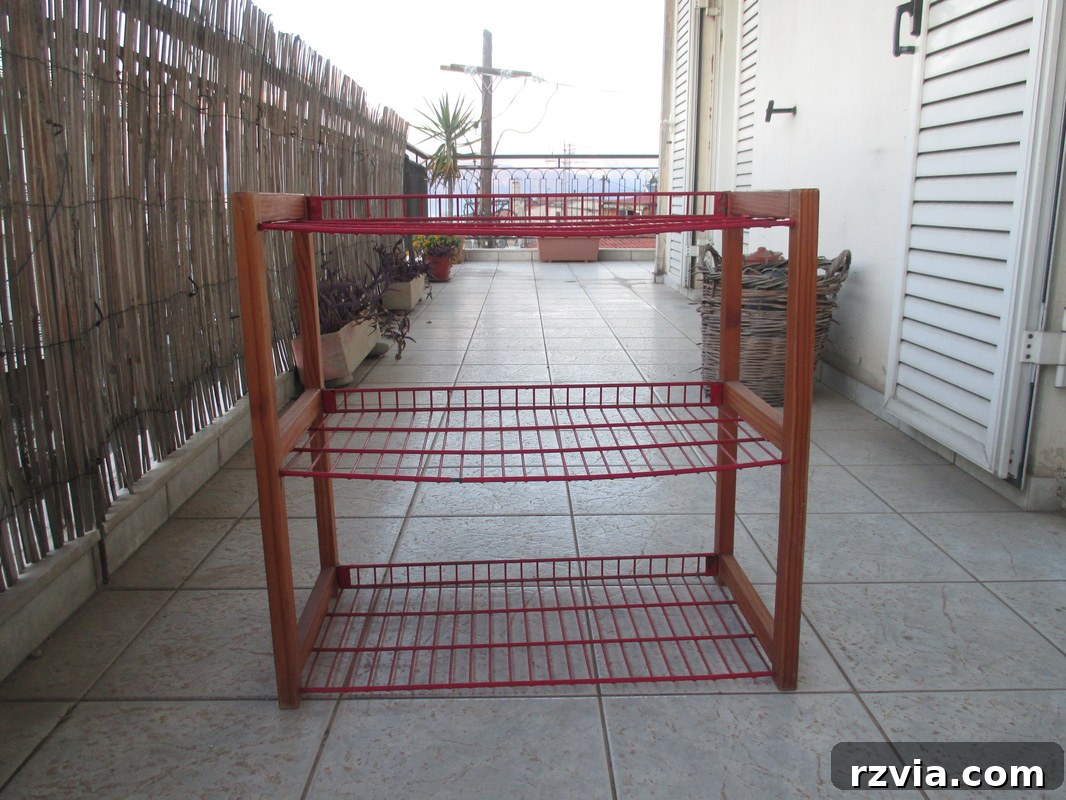
Every home tells a story, and often, our furniture pieces are central characters in those narratives. I’ve always been a proponent of giving beloved items a second, third, or even fourth life, rather than succumbing to the culture of disposability. This philosophy has guided me throughout the years, leading me to hold onto pieces that hold sentimental value. One such item, a functional yet aesthetically challenged storage unit, has been a steadfast companion in our home for over two decades. Acquired 22 years ago, it dutifully served its purpose as a colorful repository for my children’s toys and various odds and ends. However, as seasons changed and my children grew into teenagers, its vibrant, youthful facade no longer aligned with our evolving home decor. The time for a significant transformation had arrived.
Reimagining Functionality and Style: A Design Dilemma
While this storage unit was once the perfect splash of color for a bustling kids’ room, its bright red plastic was now a jarring presence amidst our more refined aesthetic. My goal was to repurpose it into a discreet yet stylish under-desk storage solution, ideal for organizing boxes and various office supplies. The challenge was clear: how to integrate a piece of its origin into a room adorned with black and natural wood accents? The existing color scheme was a non-negotiable, demanding a complete visual overhaul for the unit. Beyond aesthetics, I also envisioned enhanced functionality. The original internal shelving, while practical for smaller toys, limited its capacity for bulkier items. Therefore, an essential part of my plan was to remove the top shelf, creating ample space for larger storage containers or perhaps even a printer, making the unit significantly more versatile for its new role.
The Upcycling Process: Step-by-Step Transformation
1. Enhancing Structural Integrity with Wood Reinforcement
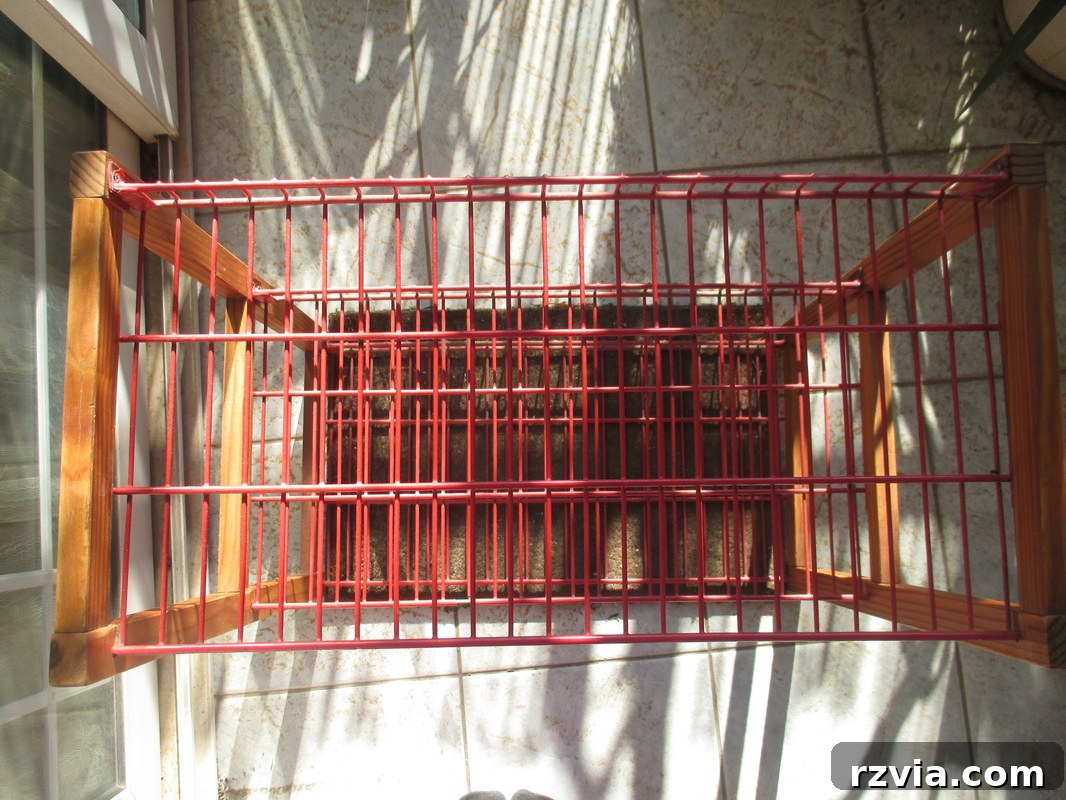
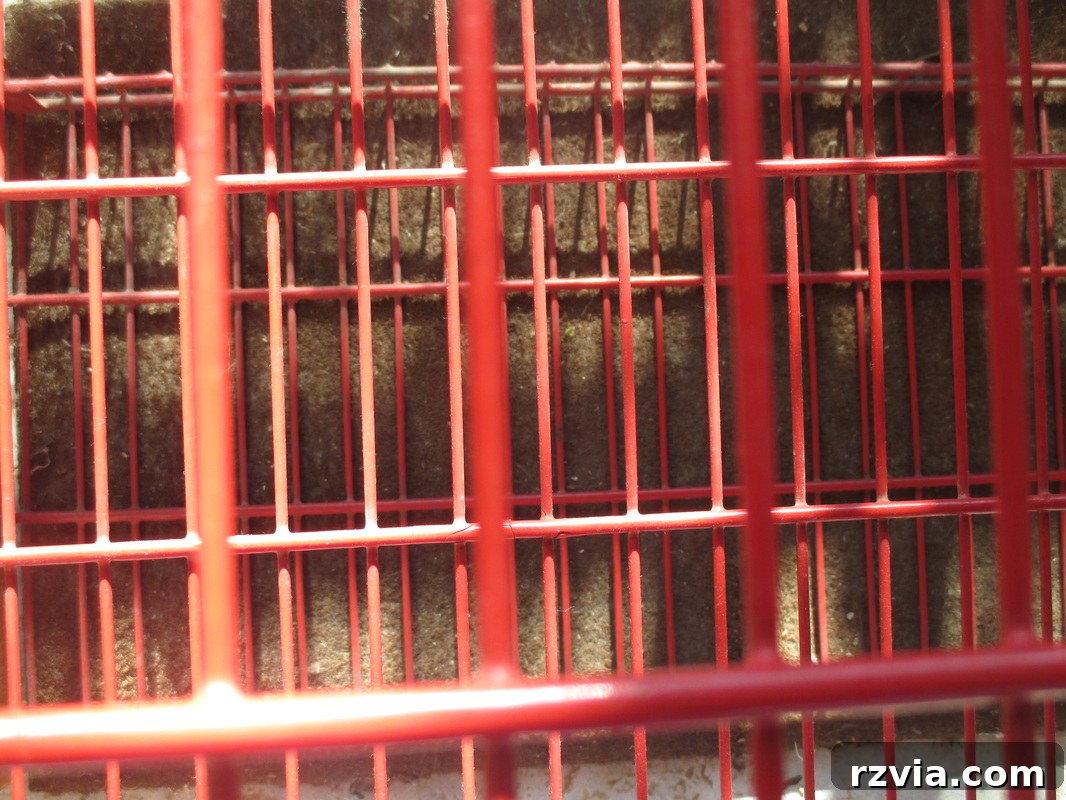
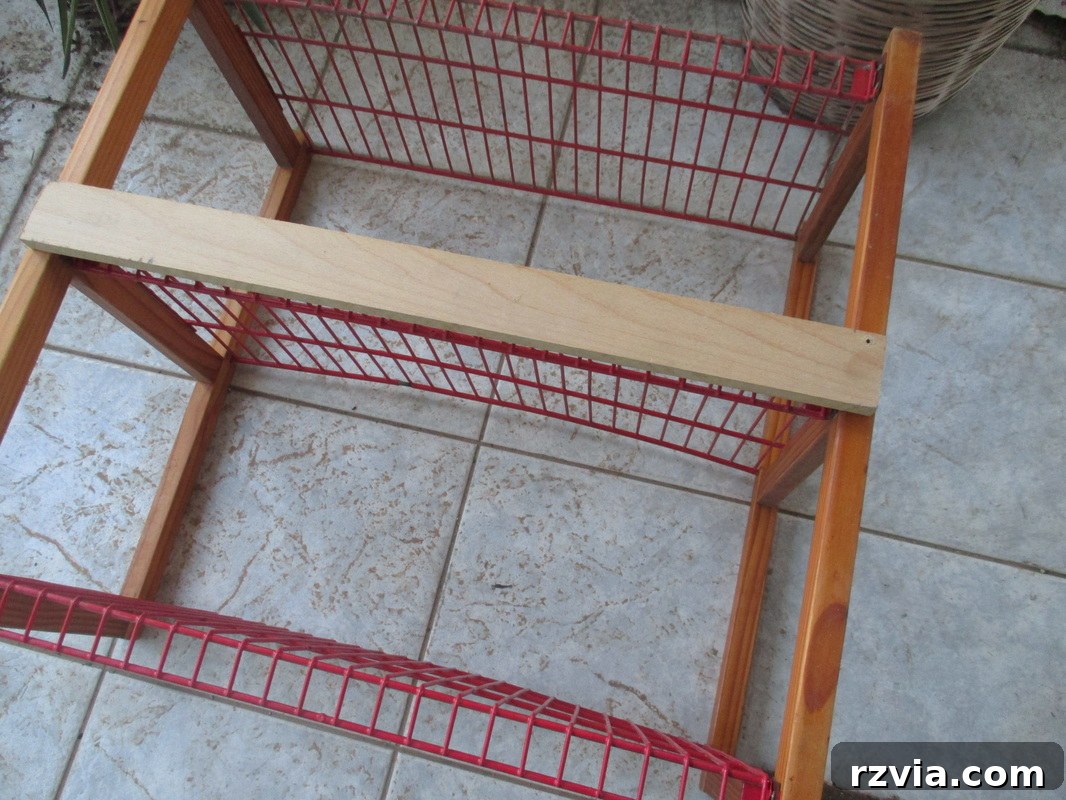
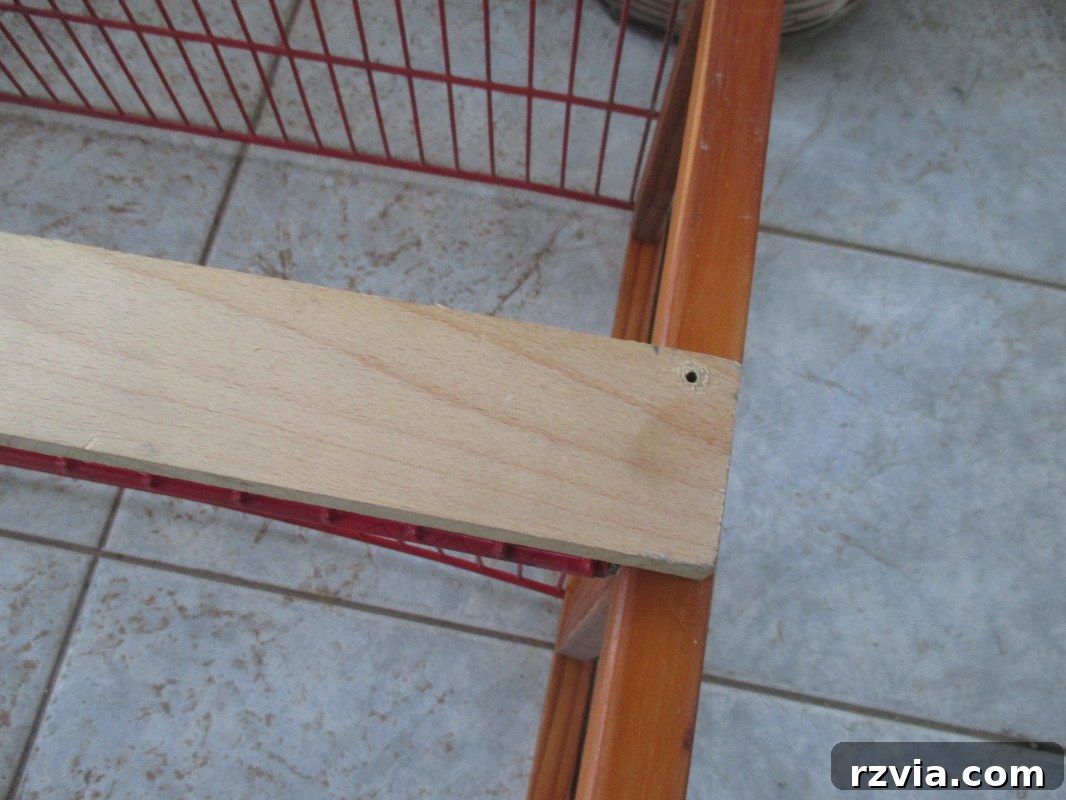
The first crucial step in this ambitious upcycling project was to address the structural integrity and provide a solid foundation for its new look. The existing plastic frame, while sturdy enough for toys, felt somewhat flimsy for its intended future use and wouldn’t easily accept the paint and twine I envisioned. I sourced several pieces of scrap wood, carefully selected for their sturdiness and straight grain. With the help of my husband, these pieces were precisely cut to size, ensuring they would fit snugly against the back of the storage unit. Using a drill, we securely fastened these wood strips into place. This addition not only provided much-needed reinforcement, making the unit more robust and stable, but also created a reliable surface to which subsequent decorative elements could be applied. This foundational work was pivotal in transforming a simple plastic bin into a more substantial piece of furniture.
Disclosure: The items below are affiliate links and link to Amazon.com. If you purchase any of these products through the links, I receive a small commission, which helps me continue to provide you with lovely content. There is no extra charge to you for purchasing through my affiliate links.
2. Creating Flexible Storage: Removing the Top Shelf
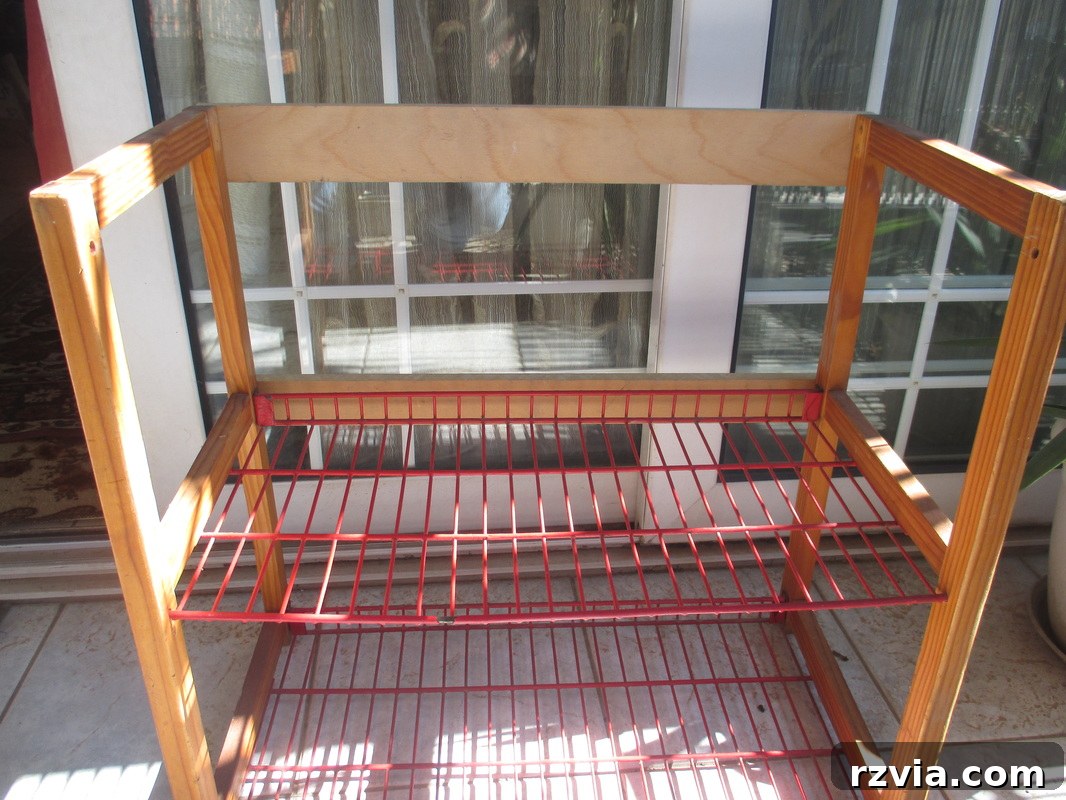
With the structural reinforcement complete, the next step was to enhance the unit’s functionality by adapting its internal layout. As planned, I carefully removed the top shelf. This modification was crucial for accommodating the larger boxes and bulkier items I intended to store beneath my desk. The removal instantly opened up the space, providing a more versatile compartment. This seemingly simple alteration drastically improved the unit’s adaptability, transforming it from a multi-compartment toy organizer into a more open, accessible storage solution perfectly suited for office essentials or craft supplies. Here is how the unit looked after this modification, beginning to take on its new, streamlined form.
3. A Sleek Base: Painting the Wood Black
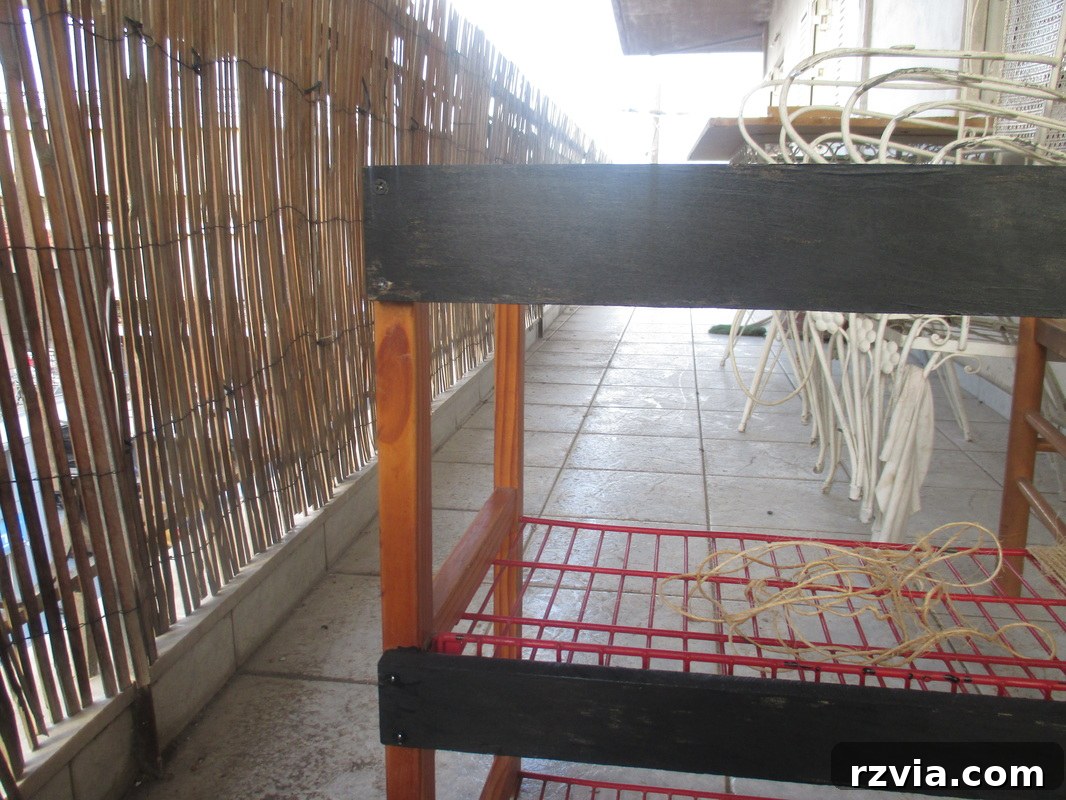
With the structural changes complete, it was time to address the aesthetics. The newly added wood pieces, while functional, needed to blend seamlessly with the room’s black and wood decor. I opted for a rich black paint, a classic and versatile choice that would provide a sophisticated contrast and complement the natural twine I planned to use. Before painting, I ensured the wood surfaces were clean and lightly sanded to promote optimal paint adhesion. I then proceeded to apply several thin, even coats of black paint, allowing adequate drying time between each application. This step was critical in establishing a cohesive and elegant base, preparing the unit for its final, dramatic transformation. The black finish immediately elevated the piece, giving it a more polished and intentional look.
4. The Twine Transformation: A Labor of Love and Texture
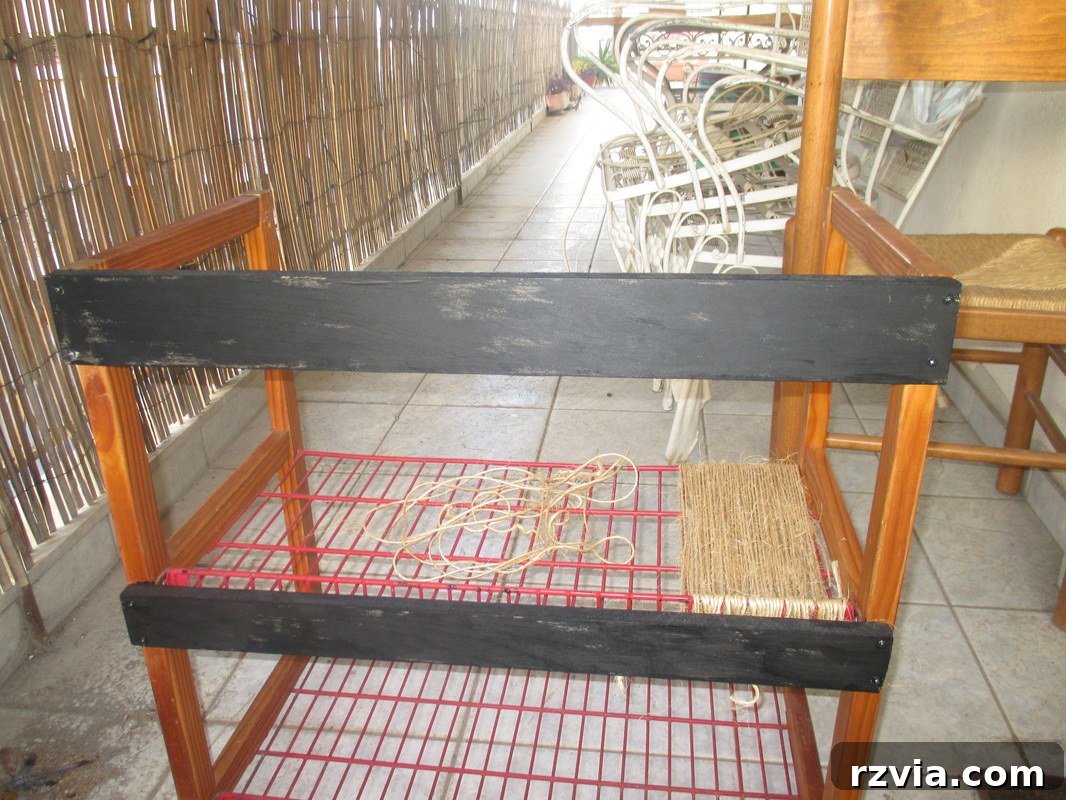
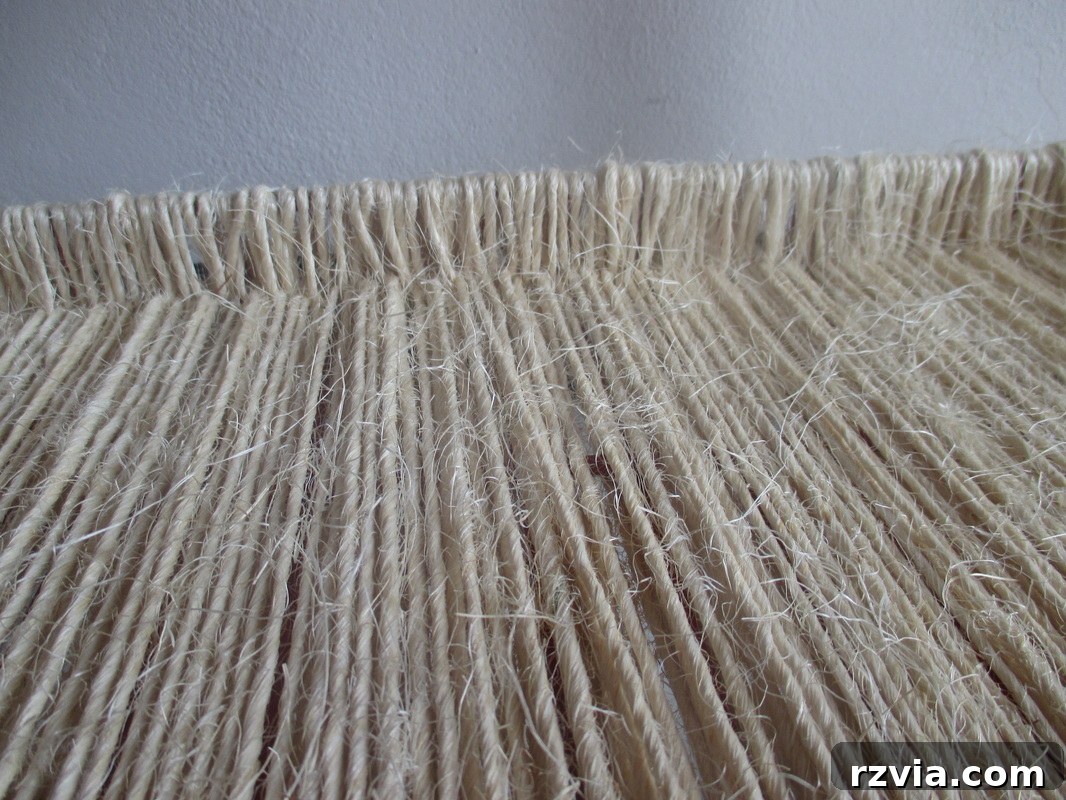
This was the most visually impactful and labor-intensive part of the project: concealing the garish red plastic with natural twine. The idea might seem unconventional, even a little crazy, but I was confident in the rustic, textural charm that twine could bring. I’d been experimenting with twine on various projects lately, and its ability to completely transform an item’s appearance and add a beautiful, earthy texture was undeniable. This unit presented the ultimate challenge, given the sheer surface area of the red plastic shelves. Starting slowly, I began the meticulous process of wrapping the shelves. I chose a sturdy jute twine, known for its durability and classic rustic appeal. The method involved carefully securing the beginning of the twine with a strong adhesive, then tightly wrapping it around the plastic, ensuring each strand lay flush against the previous one. Consistency was key to achieving a uniform and professional finish.
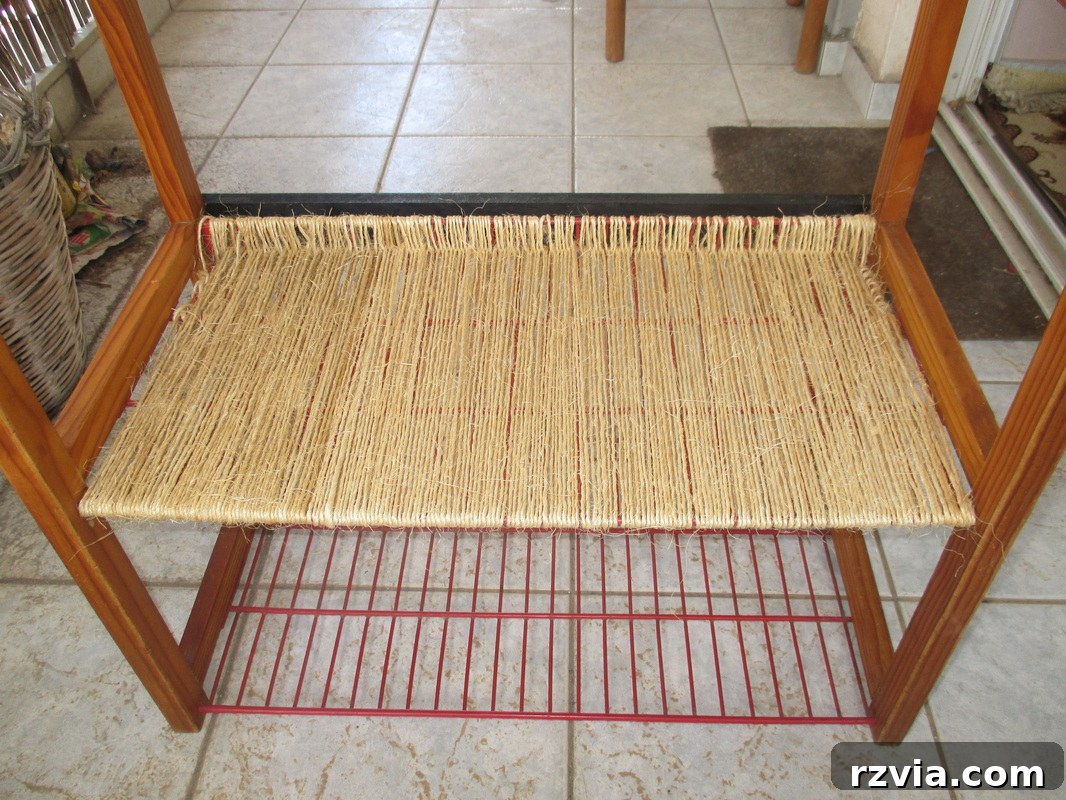
The process was indeed long and incredibly tedious, requiring immense patience and a steady hand. Finding a consistent system for wrapping, one that ensured uniformity and avoided gaps or uneven textures, took some trial and error. I discovered that applying a thin line of hot glue or strong craft adhesive every few wraps helped secure the twine firmly in place, preventing it from unraveling or shifting. The repetitive motion, while meditative at times, was undeniably hard work, and my fingers often felt the strain. As I progressed, the red plastic slowly disappeared beneath layers of natural, earthy twine, revealing a hint of the sophisticated transformation underway. It became a true labor of love, a testament to the power of perseverance in DIY.
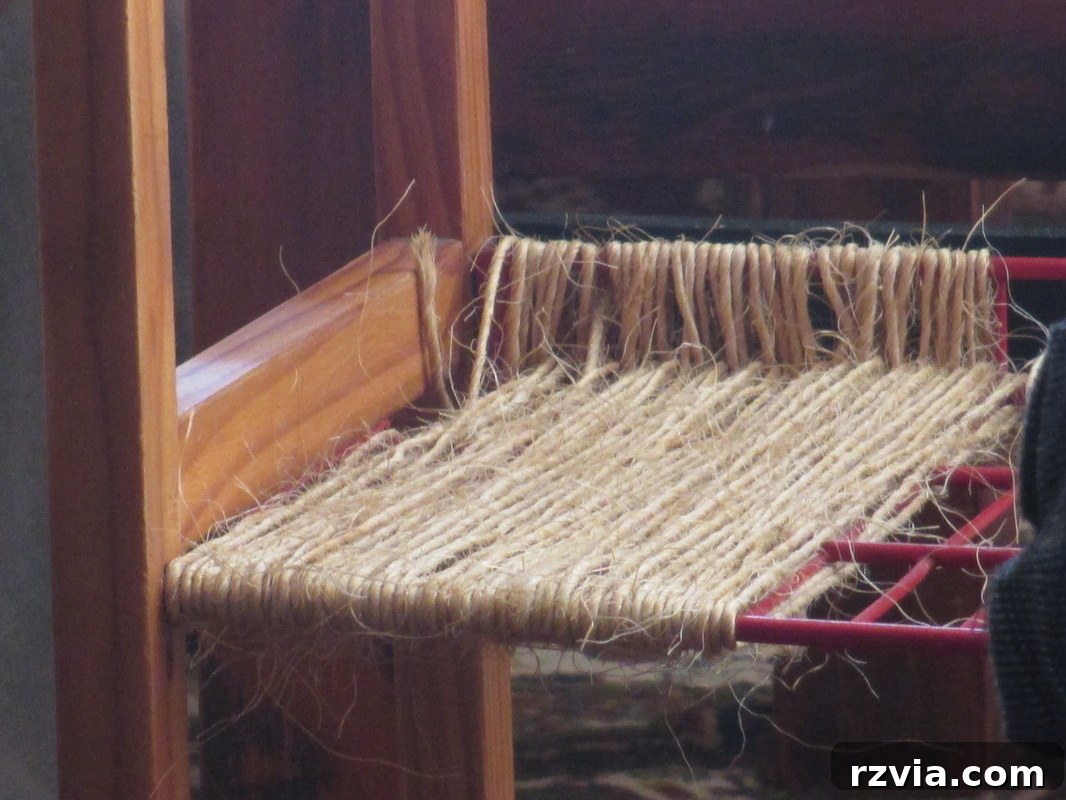
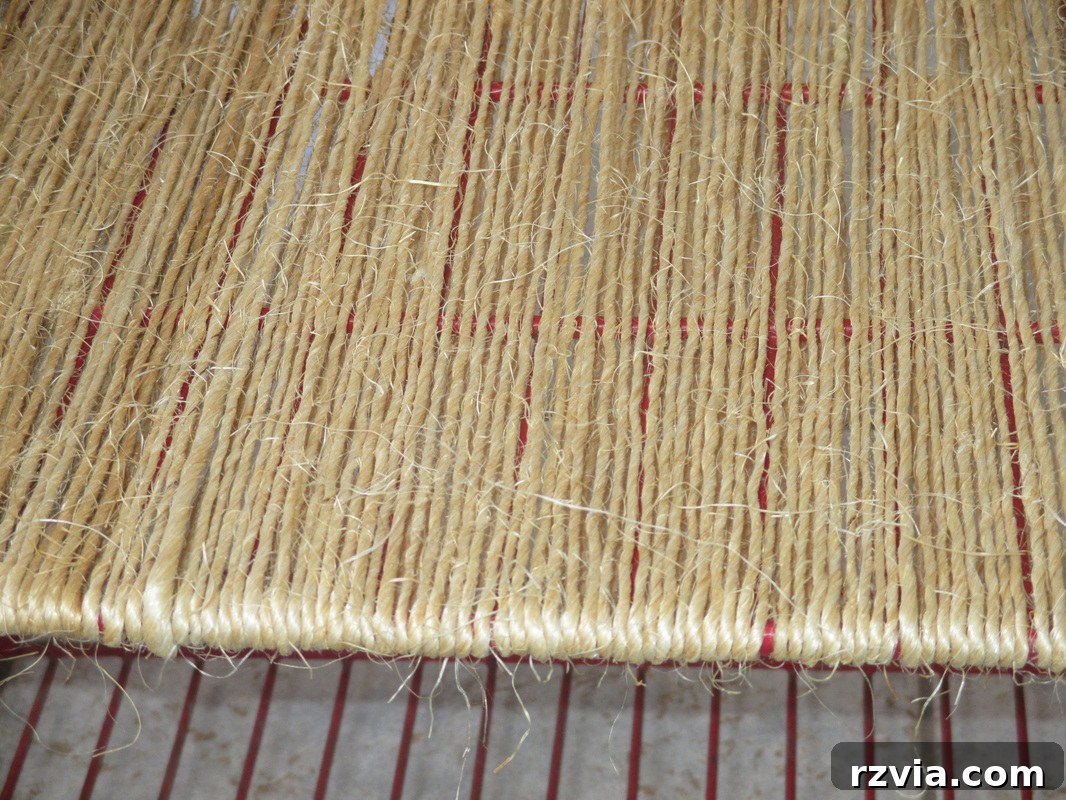
My dedication to this project was unwavering, even when faced with the inevitable: I ran out of twine! This hiccup necessitated an impromptu trip to the store, but I quickly restocked and returned to work, eager to see the finished product. The sheer volume of twine required was a testament to the extensive coverage needed for the transformation. I found myself taking numerous progress photos throughout this stage, not just to document the process, but also because I knew this monumental wrapping feat was unlikely to be repeated anytime soon! Each spool of twine brought me closer to eradicating the last vestiges of red plastic and ushering in a new era of rustic elegance for this faithful storage unit. It was a true labor of love, marked by perseverance and the creative vision for a beautiful outcome.
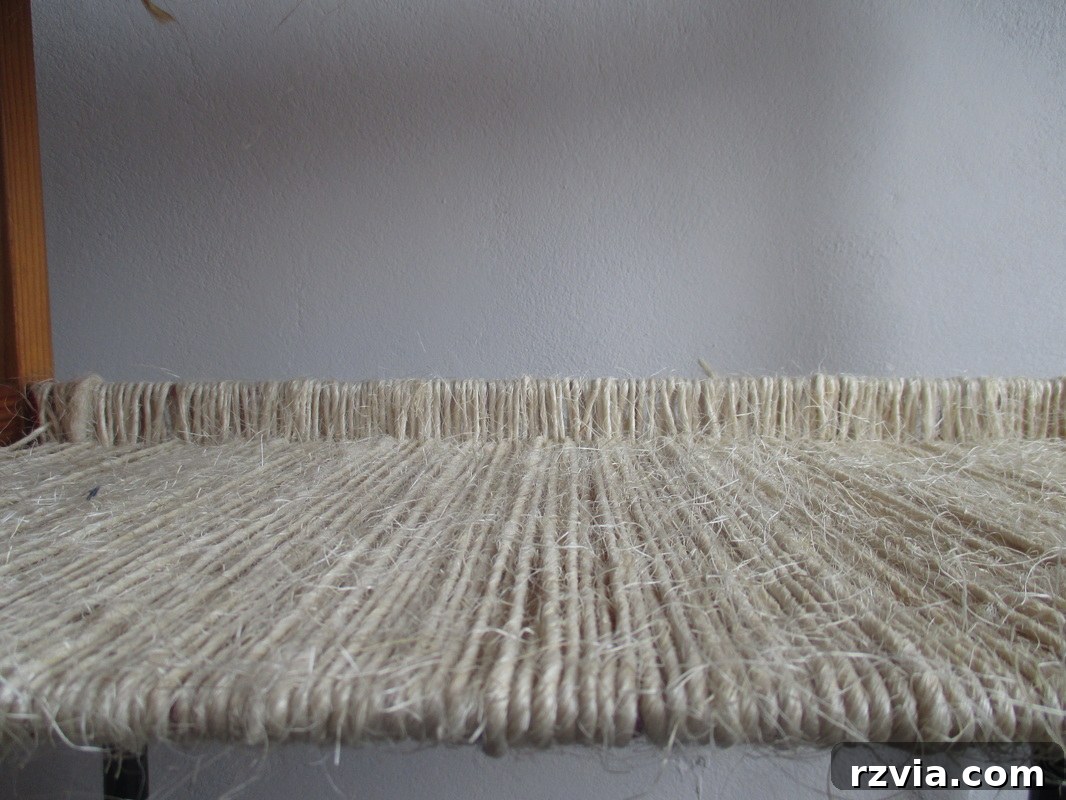
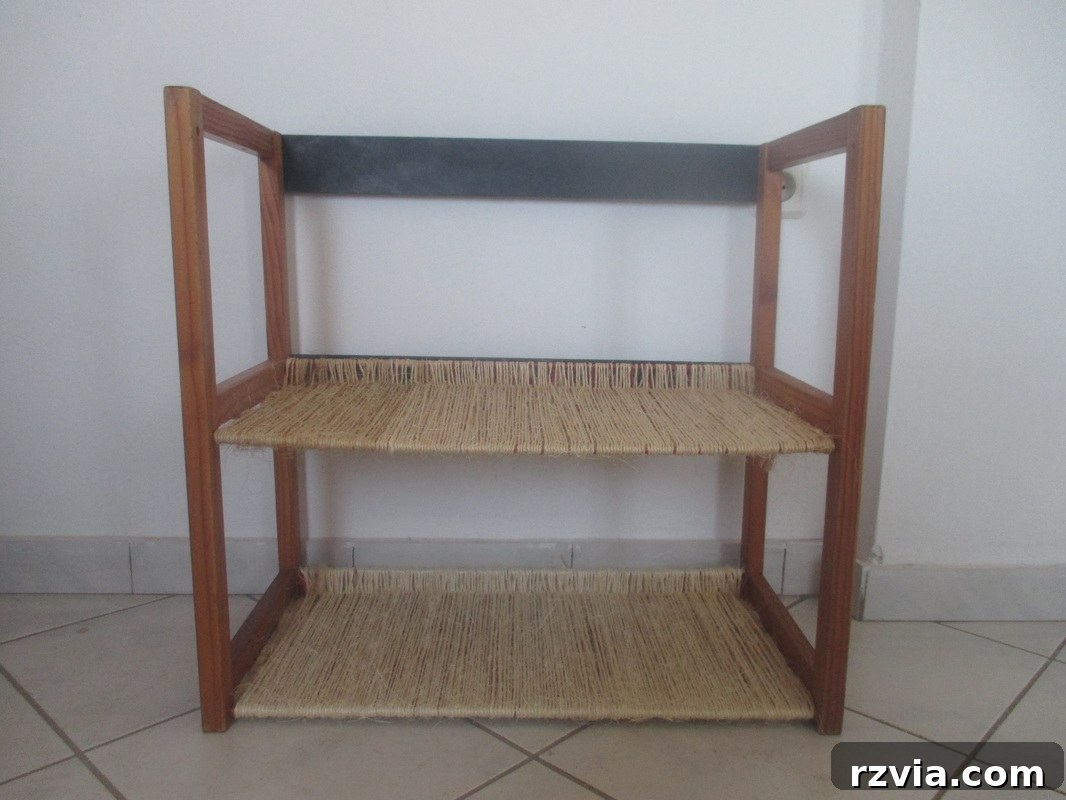
Finally, after countless hours of meticulous wrapping and securing, the last strand of twine was in place. It was a moment of immense satisfaction. The once bright red, utilitarian plastic shelves were now completely encased in the natural, textured beauty of jute twine, creating a look that was both organic and refined. The transformation was truly striking.
Disclosure: The items below are affiliate links and link to Amazon.com. If you purchase any of these products through the links, I receive a small commission, which helps me continue to provide you with lovely content. There is no extra charge to you for purchasing through my affiliate links.
And then, one glorious day, the project was finally complete! The sense of accomplishment was truly overwhelming.
The Grand Reveal: Styling for Rustic Elegance
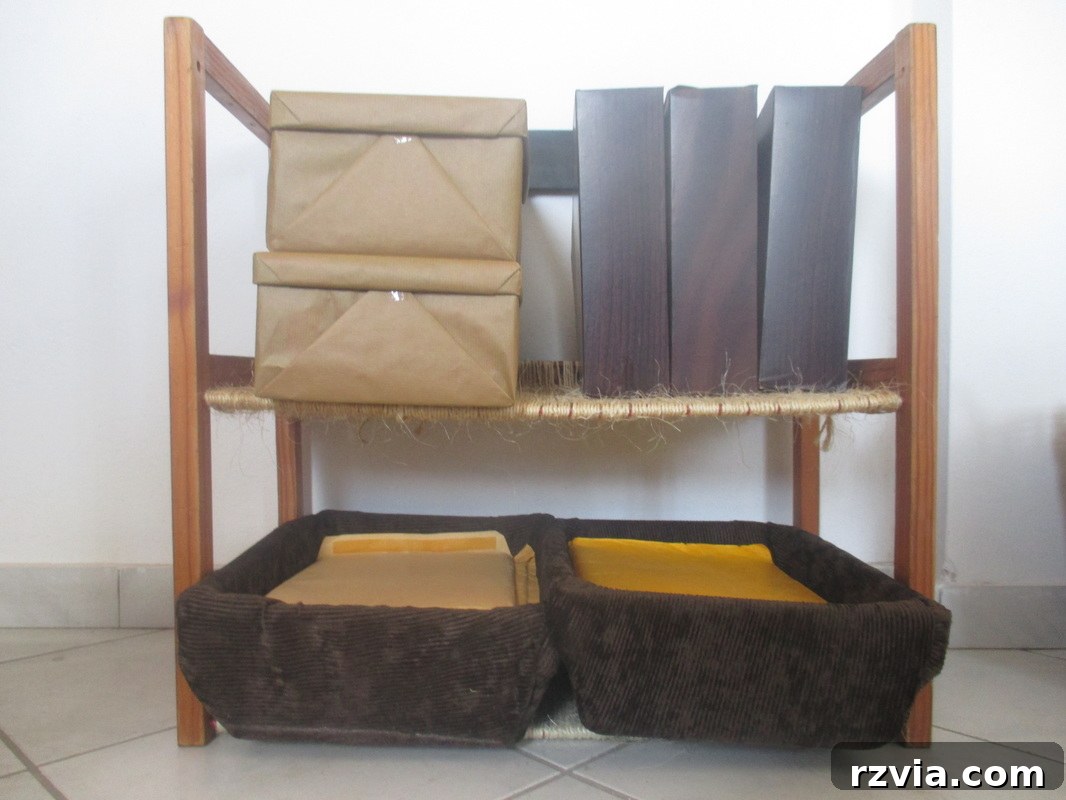
Upon completing the physical transformation, I embarked on the final, equally important stage: styling. My initial attempt involved simply placing a few items on the newly wrapped shelves, but I quickly realized it looked a bit bland and lacked the personality I envisioned. The rustic texture of the twine and the sleek black wood framework needed complementary elements to truly shine. This phase of trial and error is often crucial in any DIY decorating project, allowing for adjustments that elevate the overall aesthetic. It’s about finding the right balance between functionality and visual appeal, ensuring the piece not only serves its purpose but also enhances the room’s atmosphere.
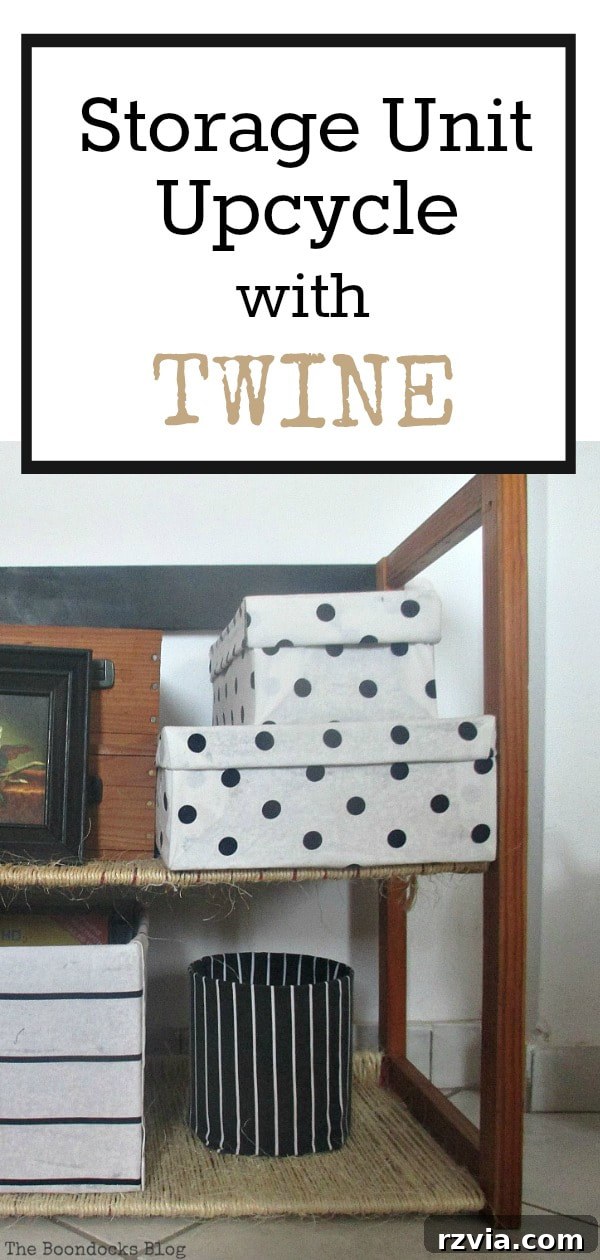
It was then that inspiration struck! I remembered a set of storage boxes I had previously covered in a beautiful black and white patterned fabric. These boxes were the perfect solution. Their geometric pattern offered a crisp, modern contrast to the organic texture of the twine, while the black and white colors perfectly harmonized with the newly painted wood and the existing room decor. The fabric-covered boxes not only added visual interest but also provided practical, concealed storage, keeping clutter at bay while maintaining a chic aesthetic. This clever pairing brought the entire look together, transforming the upcycled unit into a cohesive, stylish, and highly functional piece.
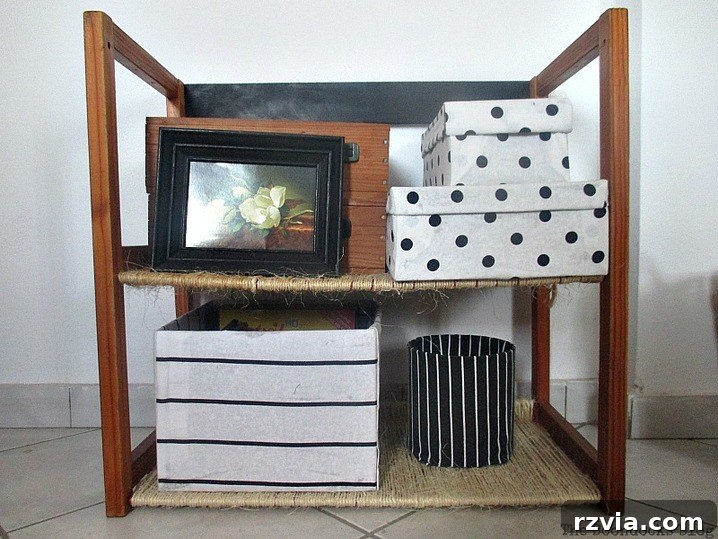
I am confident that by this point, the memory of that stark, red plastic unit is but a distant blur. The transformation is so profound that it’s almost unrecognizable. What once was a utilitarian eyesore is now a testament to rustic elegance and chic design, embodying a perfect blend of natural texture and modern simplicity. It now seamlessly fits into my home’s decor, no longer relegated to a forgotten corner. In fact, its sophisticated new look means I wouldn’t hesitate to display it prominently in our living room, a true testament to its versatility and renewed charm. What do you think of this ambitious upcycling project? Was all that meticulous work, the patience, and the creativity worth the effort? Absolutely, I believe it was! I would love to hear your thoughts and opinions on this transformation.
If you’re inspired by this transformation and enjoy creative DIY projects, please share this post with your friends or save it to your favorite boards on Pinterest. And if you truly love what you see and want to stay updated on all my latest upcycling adventures and home decor tips, be sure to subscribe to my blog! You’ll receive fresh content and inspiration delivered straight to your inbox twice a week. Join our community of DIY enthusiasts and let’s make our homes beautiful, one repurposed piece at a time!
You May Also Like:
<< Rusty Old Table Revived
HOME
Upcycled Storage Unit >>
This blog is for entertainment purposes only; my DIY tutorials are not professional advice. Read my full disclaimer here.
I love it when I get your comments and I will reply to each and every one of them.