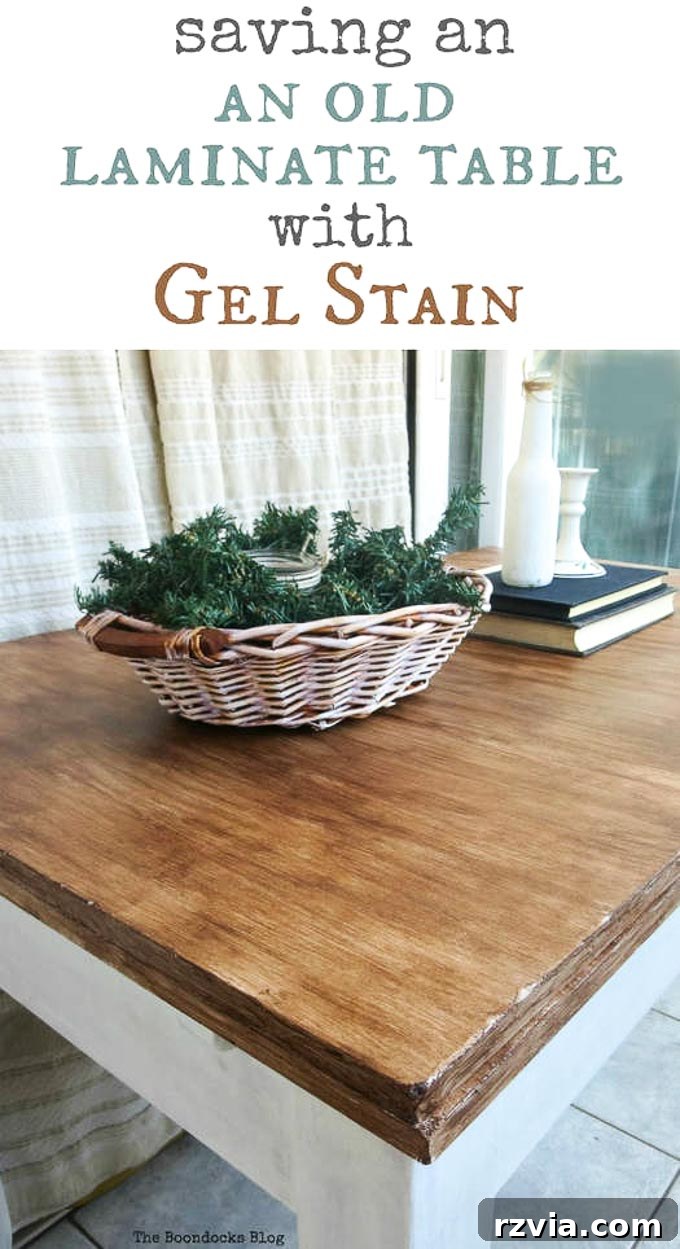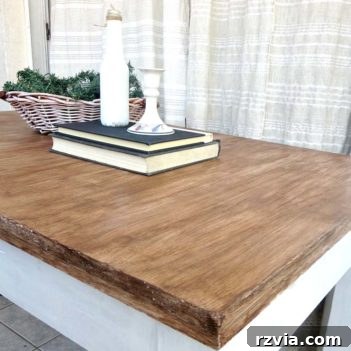
Do you own an old laminate table that has seen better days, perhaps gathering dust in a corner or relegated to the garage? Before you consider tossing it to the curb, imagine transforming it into a stunning, functional piece that breathes new life into your home. Upcycling old furniture not only saves you money but also allows you to express your creativity and reduce waste. With just a few simple materials like paint and gel stain, you can give that tired laminate table a complete, stylish makeover.
Revitalize Your Home: The Ultimate Laminate Table Makeover with Paint and Gel Stain
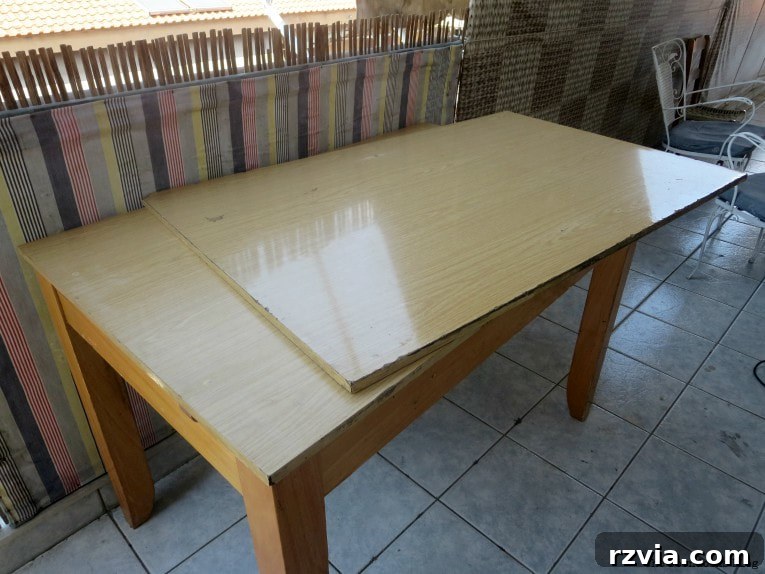
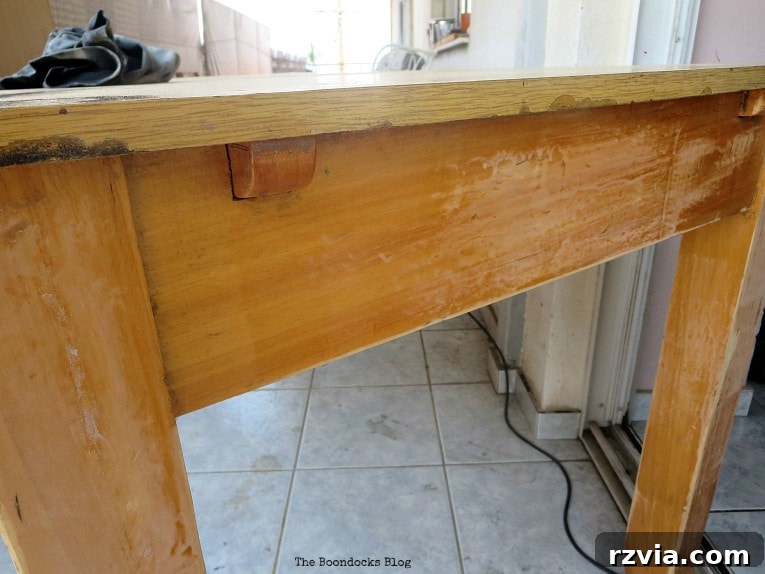
There was once a functional, albeit worn, laminate table. This particular table had a convenient fold-out design, allowing it to expand for larger gatherings. However, years of use had left their mark: chips, scratches, and visibly worn edges marred its surface, making it look rather unsightly. Many would deem such a piece ready for the landfill, but for the savvy DIY enthusiast, it presented a perfect opportunity for a dramatic transformation. This guide will walk you through the process of taking a seemingly hopeless laminate table and turning it into a beautiful, renewed centerpiece, proving that a little effort can go a long way in furniture upcycling.
If you’re faced with a similar scenario – an old piece of furniture that’s seen better days – don’t be discouraged! The beauty of DIY lies in experimentation and learning from the process. While some projects might present unexpected challenges, many yield incredibly satisfying results. This particular makeover proves that even with minimal prior experience, you can achieve a professional-looking finish and create a piece that you’ll be proud to display. Let’s roll up our sleeves and discover how to save that old laminate table with the magic of paint and gel stain!
Essential Materials for Your Laminate Table Makeover
Disclosure: This post contains affiliate links for your shopping convenience. If you purchase any of these products through the links, we receive a small commission at no extra charge to you. You can find our full disclosure here.
Gathering the right tools and materials is the first crucial step in any successful DIY project. For this laminate table upcycle, here’s what you’ll need. These products are chosen for their effectiveness on laminate surfaces and their ability to create a durable, attractive finish:
- Medium-grit sandpaper (e.g., 120-180 grit): Essential for lightly scuffing the laminate surface to provide “tooth” for the paint to adhere.
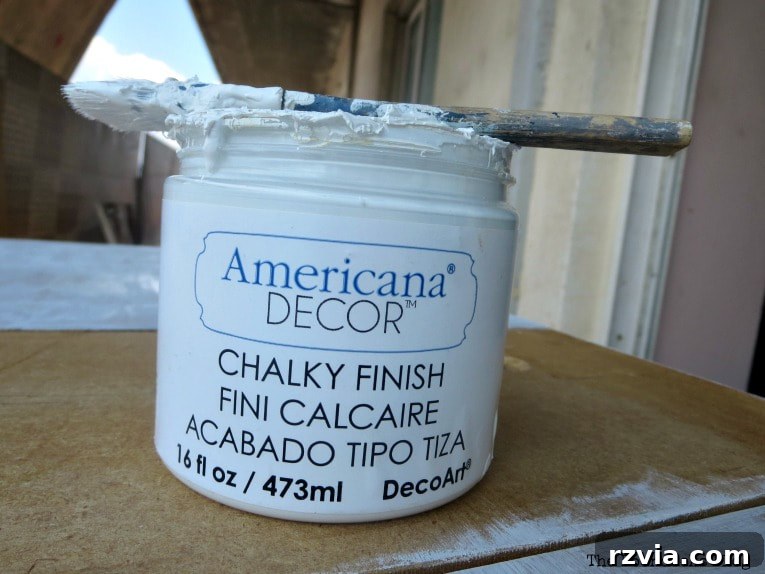
- DecoArt Americana Decor Chalky Finish Paint in Everlasting: Chalk paint is an excellent choice for laminate as it adheres well with minimal preparation and creates a beautiful matte base.
- Wood putty or spackle for filling imperfections: Crucial for repairing chips, dents, or scratches on the laminate surface before painting.
- DecoArt Americana Gel Stain in Walnut: Gel stain offers a thicker consistency than traditional stain, making it easier to control and perfect for creating a faux wood grain effect on laminate.
- Clear Varnish (spray form recommended): A durable topcoat is essential for protecting your newly finished table, especially if it’s a high-use item.
- Clean cloths and a degreaser: For thorough cleaning before sanding and painting.
- Paint brushes (one round, one flat) and a small putty knife.
- Painter’s tape (optional, for crisp edges).
As you can see from the initial photographs, the laminate table featured a central top piece and two collapsible leaves underneath, allowing it to expand significantly. It was in a truly regrettable state when the decision was made to embark on this ambitious transformation.
Step-by-Step Guide to Your Laminate Table Transformation
Transforming a laminate table is a rewarding project that can dramatically enhance your living space. Follow these detailed steps to achieve a durable and beautiful finish:
Step 1: Preparation – Clean, Scuff, and Repair
Before any paint or stain touches the surface, proper preparation is key to ensuring adhesion and a smooth finish. Begin by thoroughly cleaning the entire table with a good degreaser to remove any grime, oils, or residues that might prevent paint from sticking. Once clean, perform a light “scuff sanding” using medium-grit sandpaper (around 120-180 grit). The goal isn’t to remove the laminate entirely but to create tiny scratches that give the paint something to grip onto. Focus on areas where old varnish might be clumping or dripping, gently smoothing them out. Finally, inspect the table for any chips, dents, or significant damage. Use wood putty or spackle to fill these imperfections. Apply the putty with a small knife, smooth it flush with the surface, and allow it to dry completely according to the manufacturer’s instructions. Once dry, lightly sand the patched areas until they are smooth and seamlessly blend with the surrounding laminate.
Step 2: Priming with Chalk Paint
Chalk paint is an excellent choice for priming laminate furniture due to its superb adhesion properties and minimal need for extensive sanding. For this project, a crisp, clean white shade was selected for the base. Apply 3 coats of DecoArt Americana Chalky Finish Paint to the legs and the bottom half of the table, ensuring even coverage. For the table’s top surface and leaves, a single coat of chalk paint suffices, as it primarily acts as a primer for the subsequent gel stain. When applying the chalk paint to the top, deliberately paint in a direction that goes against the assumed wood grain or width of the table. This technique, though unconventional for a primer, will play a crucial role in creating interesting texture later on when the gel stain is applied.
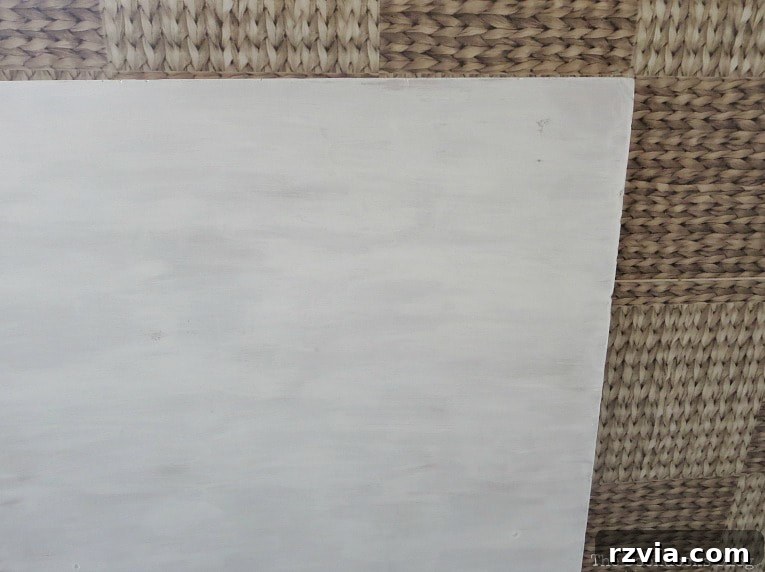
It’s important not to over-stress about achieving perfect, grain-like brushstrokes at this stage, especially on the table’s top. The chalk paint serves more as a foundational primer here. As seen in the image, the initial coat on the leaves was applied across the width, directly perpendicular to how natural wood grain might typically run.
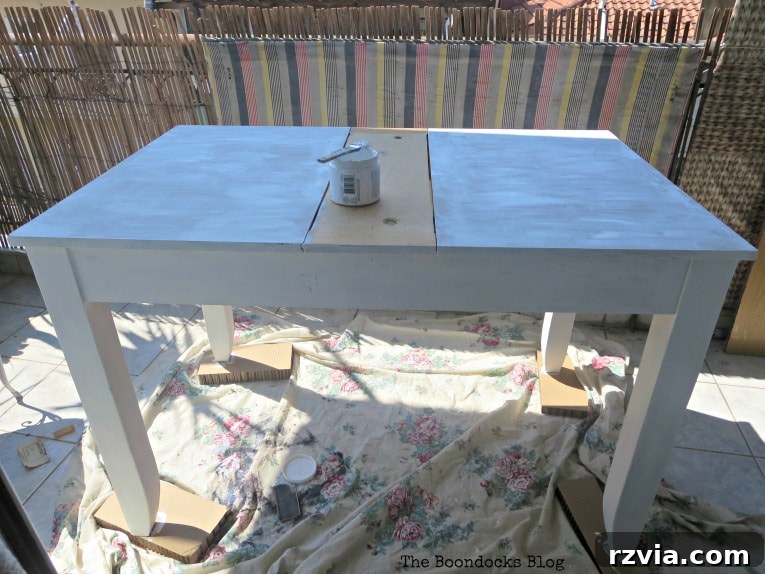
Conversely, the main top section of the table was painted with chalk paint along its width. This difference in base coat direction will create distinct textural effects with the gel stain later. Additionally, a specific repair was needed on one of the table’s edges.
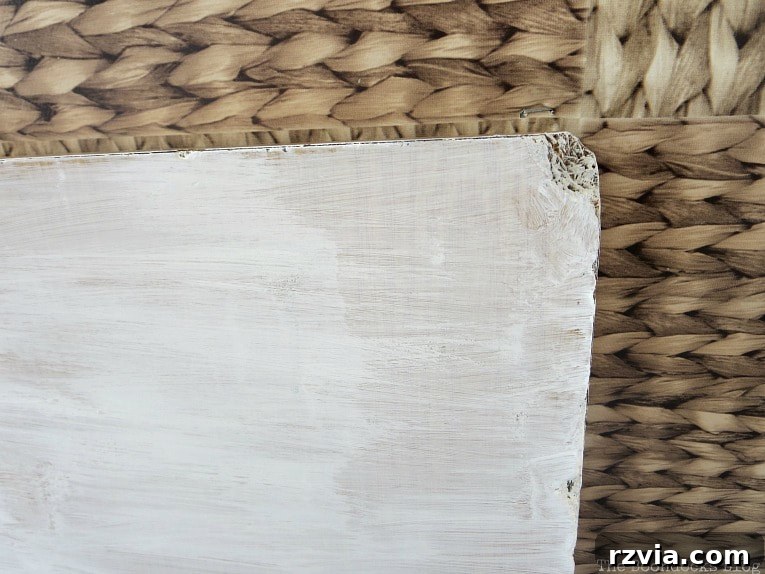
For the edge repair, a small amount of putty was applied directly to the damaged area and smoothed. Once dry, it was painted over with the chalky finish paint. While there might be more elaborate repair methods, this quick fix proved effective and visually appealing, especially given the “distressed” aesthetic we were aiming for.
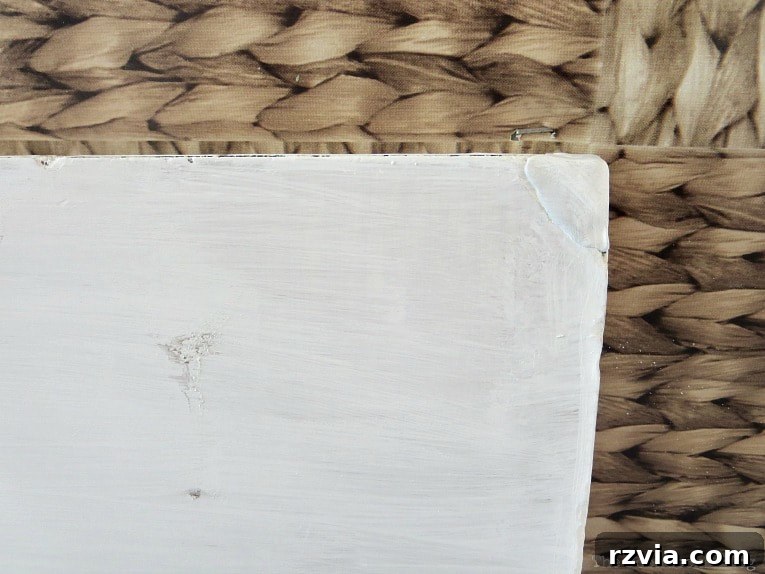
Indeed, once painted, the repair is almost imperceptible, blending seamlessly with the rest of the table’s edge.
Step 3: Applying Gel Stain for a Faux Wood Finish
This is where the magic happens! Gel stain, unlike traditional liquid stains, is thicker and behaves more like a paint, offering greater control and excellent coverage on non-wood surfaces like laminate. Using a round brush, quickly work the DecoArt Americana Gel Stain in Walnut across the leaves of the table. Because the underlying chalky finish paint was applied in the opposite direction (against the width), the gel stain catches the subtle textures created by the brushstrokes, resulting in a rich, varied finish with incredible depth. This initially unplanned “happy accident” evolved into a deliberate technique, creating a beautifully aged, textured appearance that mimics natural wood grain.
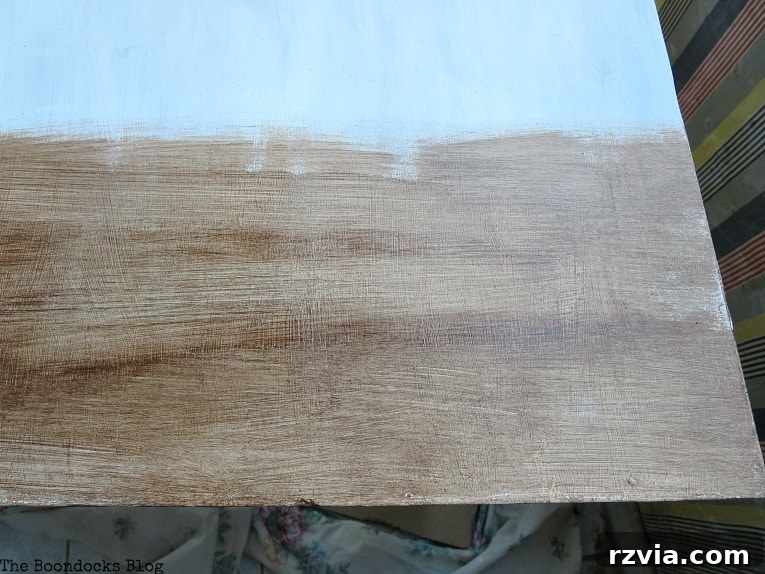
A little goes a long way with this gel stain. Its thicker consistency and fast-drying nature mean you need to work efficiently. Apply it back and forth, blending as you go, without worrying too much about perfectly even application. The charm of this technique lies in its slightly imperfect, distressed look, enhancing the “old table” aesthetic. This approach ensures that the finished piece looks authentically aged and full of character.
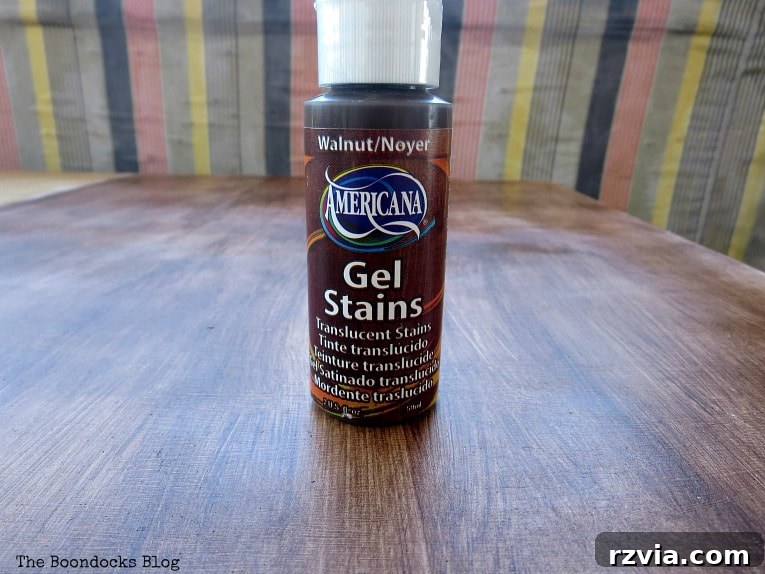
Observe the two leaves after the gel stain application. Notice how the contrasting brushstroke direction of the underlying chalk paint (perpendicular to the gel stain application) contributes significantly to the varied depth and visual interest of the stain. This layering of directional brushstrokes is key to achieving that rich, textured appearance, mimicking the irregularities found in natural wood.
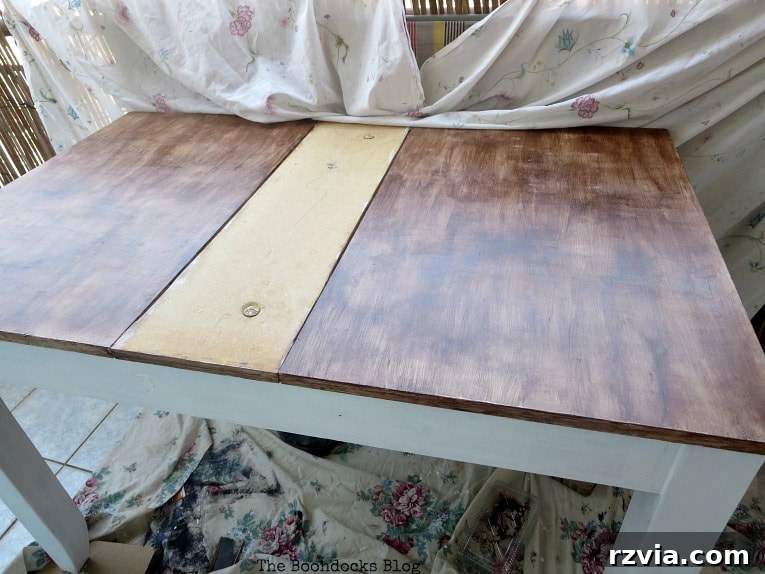
For the main top section of the table, a slightly different approach was taken. Both the chalky finish base coat and the gel stain were applied in the same direction—across the width of the table. This method resulted in a less heavily textured, more subdued stained appearance compared to the leaves. This difference creates a subtle contrast between the main surface and the expandable leaves, adding another layer of visual interest to the overall design.
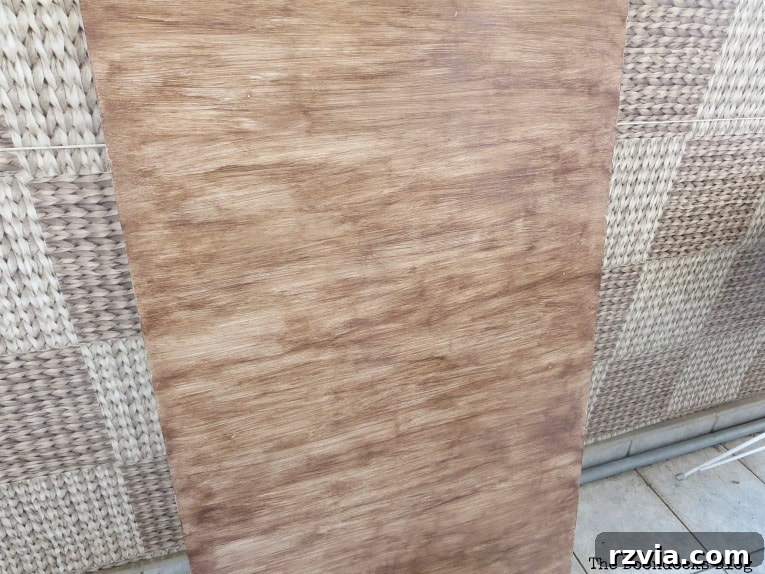
To ensure a cohesive look, the edges of the table were also painted with the same gel stain, carefully dabbing it on to match the top surfaces. This step provides a finished, polished appearance, tying all elements of the table together.
Step 4: Sealing with Varnish for Durability
Once the gel stain is completely dry (refer to product instructions for drying times), it’s time to protect your hard work with a durable topcoat. For this project, a spray varnish was chosen for its ease of application and ability to create thin, even layers. Apply several thin coats of varnish over two days, allowing adequate drying time between each coat. This meticulous approach ensures maximum durability, which is essential for a “workhorse” table that will see frequent use. The varnish not only protects against scratches and spills but also enhances the depth and richness of the gel stain. After the final coat, allow the varnish to cure for at least a week. Curing is different from drying; it’s the process where the finish hardens completely, providing its full protective capabilities.
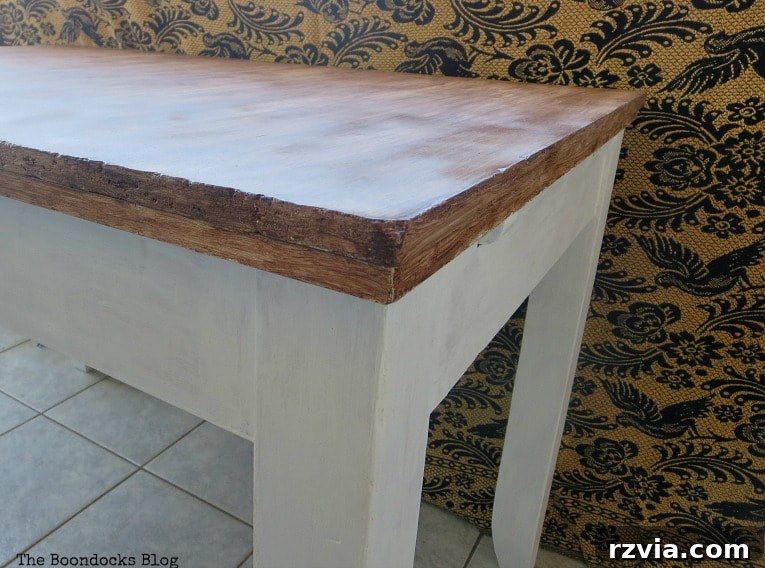
After allowing the varnish to fully cure for a week, the table was ready for use, transformed from a worn-out relic into a beautiful, functional piece of furniture.
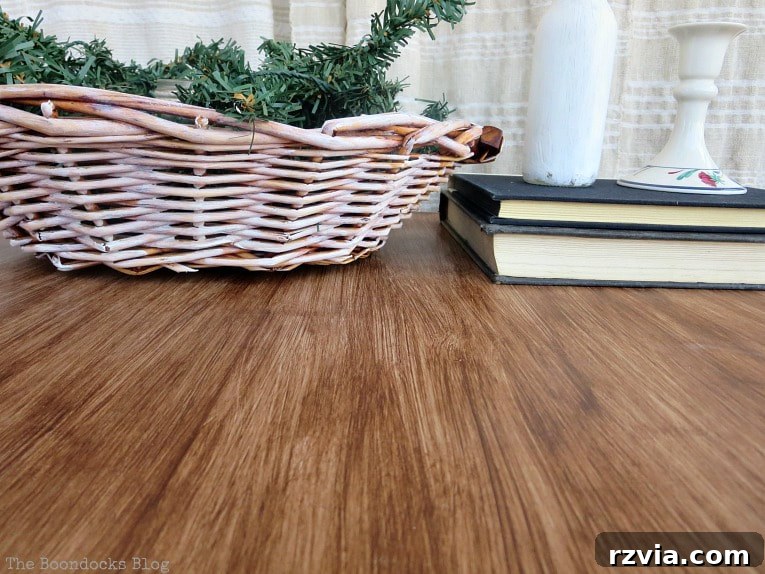
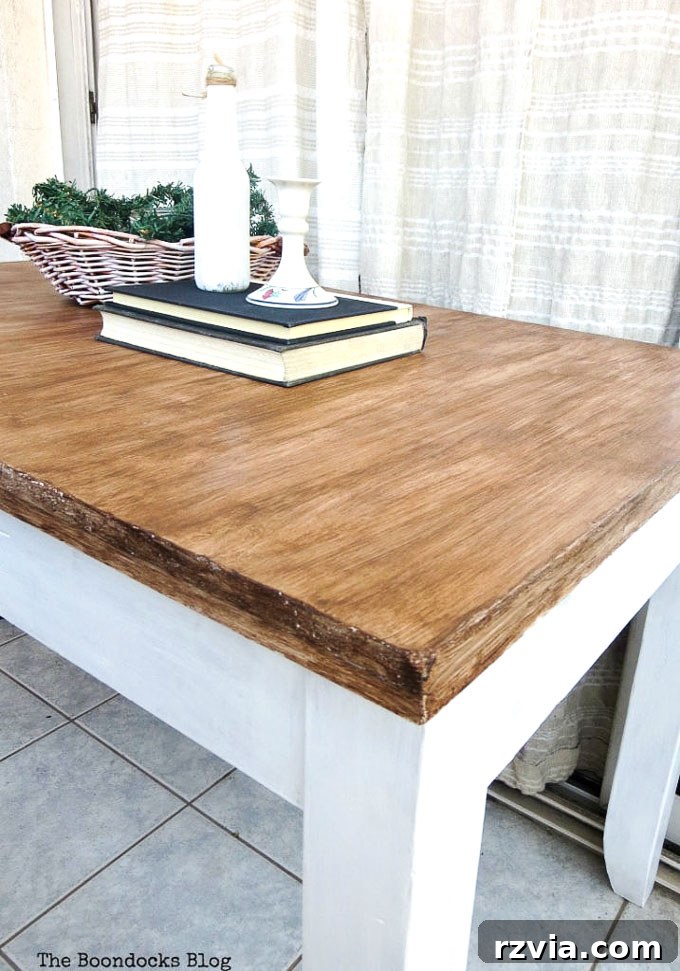
The finished table now boasts a charmingly rough and worn look, which perfectly complements its new aesthetic.
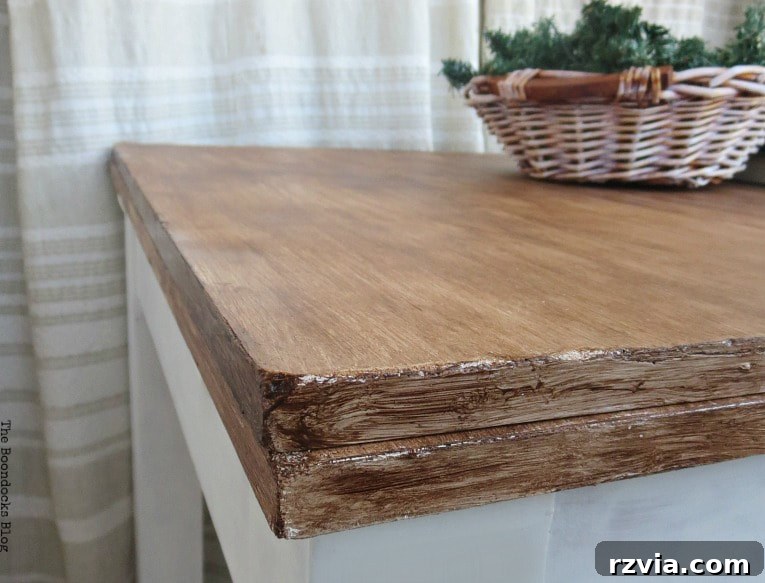
The rich walnut gel stain against the crisp white chalk paint creates a stunning and timeless color combination, adding elegance and character to the piece.
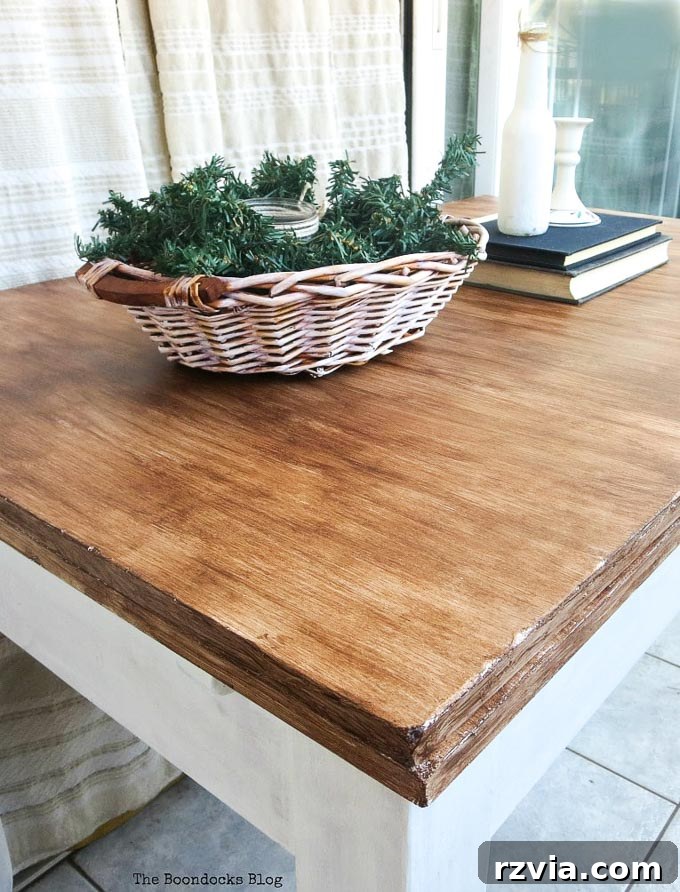
It’s truly remarkable to consider what the table looked like before this ambitious transformation.
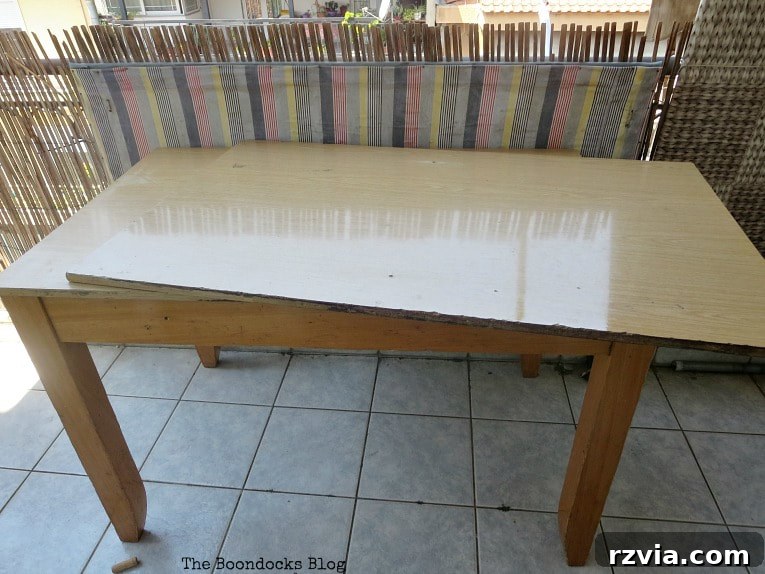
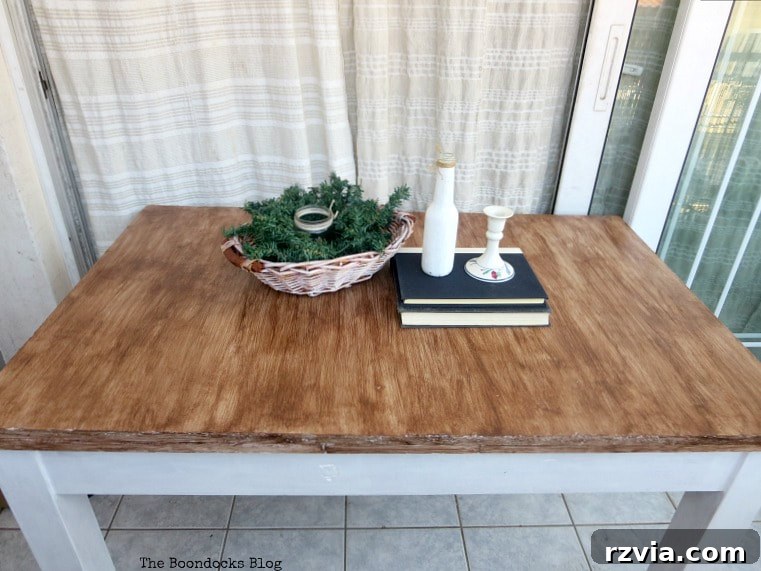
These before-and-after images vividly demonstrate why it’s always worthwhile to try your hand at upcycling, even if you’re unsure of your skills. The finished table is undeniably superior to its former state, a testament to the power of DIY. You’ll never discover your full creative potential unless you dare to try!
This beautifully restored table found its new home in a small bedroom, complementing a previously updated old bed frame. It’s part of a larger project to revitalize a small apartment, with the completed room reveal coming soon.
After reading this detailed guide, we hope you feel inspired and confident enough to tackle your own furniture upcycling project. Remember, with pieces that are already in rough shape, there’s little to lose and a stunning transformation to gain. Embrace the spirit of experimentation and enjoy the process of bringing old items back to life. This method offers an easy and effective way to save an old laminate table with gel stain, granting it a stylish second life. Have you ever used gel stain for a project? What were your experiences and insights?