
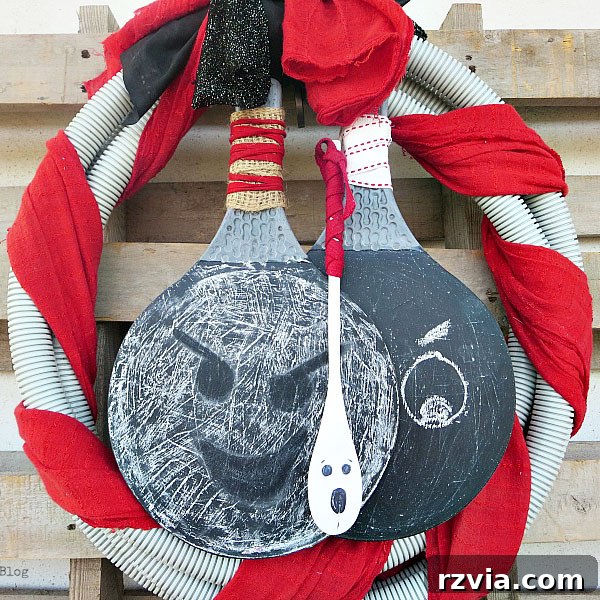
Craft Your Spooky Masterpiece: An Upcycled Tube Halloween Wreath Tutorial
Are you ready to infuse some unique, handcrafted charm into your Halloween decorations this year? Forget the store-bought generic decor; it’s time to unleash your creativity with a project that’s not only fun and engaging but also wonderfully eco-friendly! We’re diving into the delightful world of upcycling to create a captivating tube Halloween wreath. This isn’t just any wreath; it’s a testament to imagination, transforming the ordinary into the extraordinary.
Join us on this creative journey, and discover how simple materials can be reimagined into a festive display for your front door or an interior wall. This project is a fantastic opportunity to add a personal touch to your autumnal aesthetic, proving that the most memorable decorations often come from unexpected sources. And for those who appreciate a touch of whimsy, rest assured, this wreath is anything but ordinary!
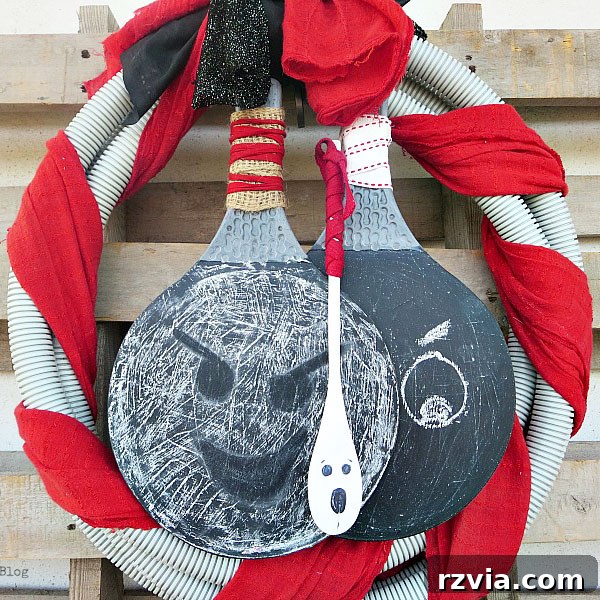
Unlike more traditional Halloween crafts, this project encourages you to look at everyday items with a fresh perspective. We’re stepping away from the predictable and embracing quirky elegance. Today, we’ll guide you through making a truly fun and distinctive tube Halloween wreath. Once you’ve completed your masterpiece, we invite you to share your unique Halloween creations with a vibrant community of fellow crafters!
Why Choose an Upcycled Halloween Wreath?
The beauty of crafting, especially during festive seasons like Halloween, lies in the ability to personalize your surroundings. But what makes an upcycled tube wreath particularly special?
- Sustainability: By repurposing items like plastic tubes, you’re giving them a second life and reducing waste. It’s a fantastic way to embrace eco-conscious decorating.
- Uniqueness: Your wreath will be truly one-of-a-kind. No two upcycled creations are exactly alike, ensuring your decor stands out from the crowd.
- Cost-Effectiveness: Utilizing materials you already have at home or can find inexpensively saves money, making festive decorating accessible to everyone.
- Creative Freedom: Repurposing sparks innovative thinking. It challenges you to see potential where others might see trash, leading to highly imaginative designs.
Last year, I ventured into a “schizophrenic wreath” project, blending fall and Halloween elements. While that was an interesting experiment, this year, I felt a strong pull towards using truly unusual materials. These particular tubes, whose origin remains a delightful mystery, became the perfect starting point for a fresh and exciting Halloween endeavor.
Gather Your Ghoulish Gadgets: Materials You’ll Need
The magic of this project begins with an unconventional base and a few simple embellishments. Here’s what you’ll need to assemble your unique tube Halloween wreath:
- A Flexible Tube: This is the star of our show. Look for any flexible plastic or rubber tube you might have around the house – perhaps an old garden hose, plumbing pipe, or even a pool noodle. The more pliable, the easier it will be to shape. Its exact origin might be unknown, but its potential for crafting is limitless!
- Cable Ties (Zip Ties): Essential for securing the tube into its circular wreath shape. Choose sturdy ones that can withstand tension.
- Black Fabric Scraps: A small piece of black fabric will be used to conceal the cable ties and provide a clean finish.
- Repurposed Paddles (e.g., old Barbie paddles or small chalkboards): These add a whimsical, interactive element. The original project used old Barbie paddles with a blackboard side, offering great versatility. If you don’t have these, consider small wooden cutouts, miniature chalkboards, or even stiff cardstock that you can paint and decorate.
- Red Fabric (or your preferred accent color): A longer strip of fabric to wrap around the tube. We opted for red to break away from the traditional orange, but feel free to choose a color that complements your personal Halloween theme. Think deep purples, greens, or even stark white!
- Wooden Spoon: For our adorable ghost accent! A cracked or unused wooden spoon is perfect for this.
- White Acrylic Paint: To transform your spoon into a spectral friend.
- Black Permanent Marker: For drawing the ghost’s face.
- Red Ribbon: To add a pop of color to your ghost and potentially other areas of the wreath.
- Twine or String: For attaching the ghost to the wreath.
- Sparkly Black Fabric (or other decorative embellishment): To add texture, sparkle, and visual interest, breaking up the main fabric wrap. Think glittery mesh, sequined ribbon, or even dark faux fur.
- Scissors: For cutting fabric and ribbon.
- Hot Glue Gun and Glue Sticks (optional, but recommended for securing fabric): For a more permanent and neat finish.
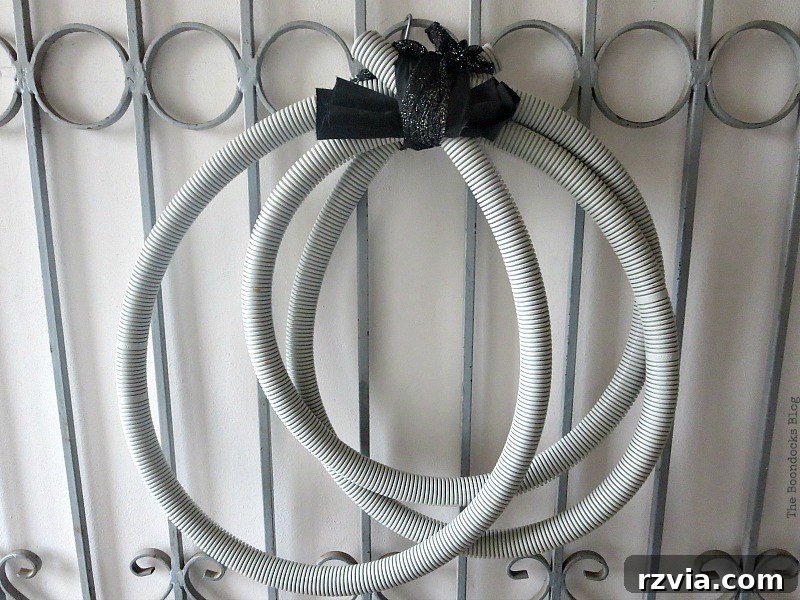
Step-by-Step Tutorial: Crafting Your Spooky Tube Wreath
Let’s get down to business and transform these simple materials into a unique Halloween decoration!
Step 1: Forming the Wreath Base
Begin by shaping your flexible tube into a circular wreath form. Overlap the ends to create a sturdy circle. To secure this shape, take two robust cable ties. Position them at the overlapping section of the tube and pull them as tightly as possible. The goal here is to create a firm, unyielding base for your wreath, so don’t be shy about applying pressure. A strong foundation ensures your wreath will hold its shape and withstand the elements if hung outdoors.
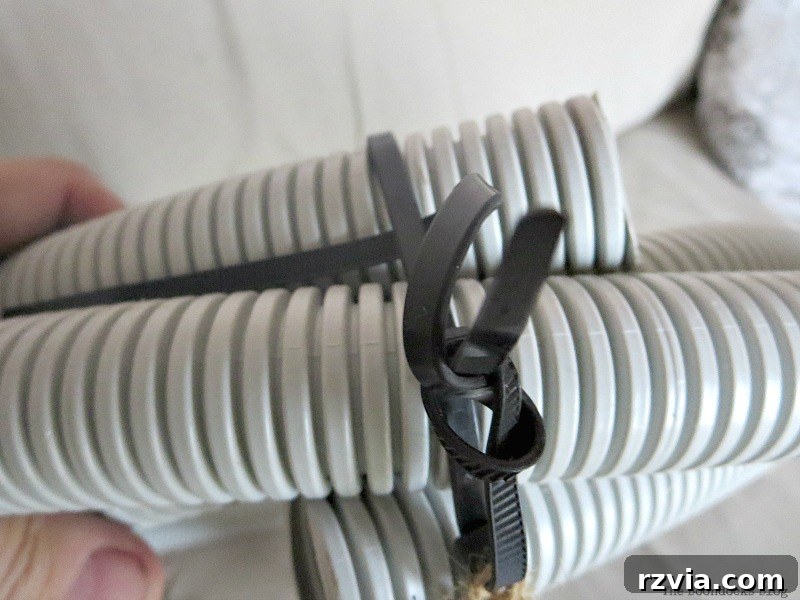
Step 2: Concealing the Base and Adding Character
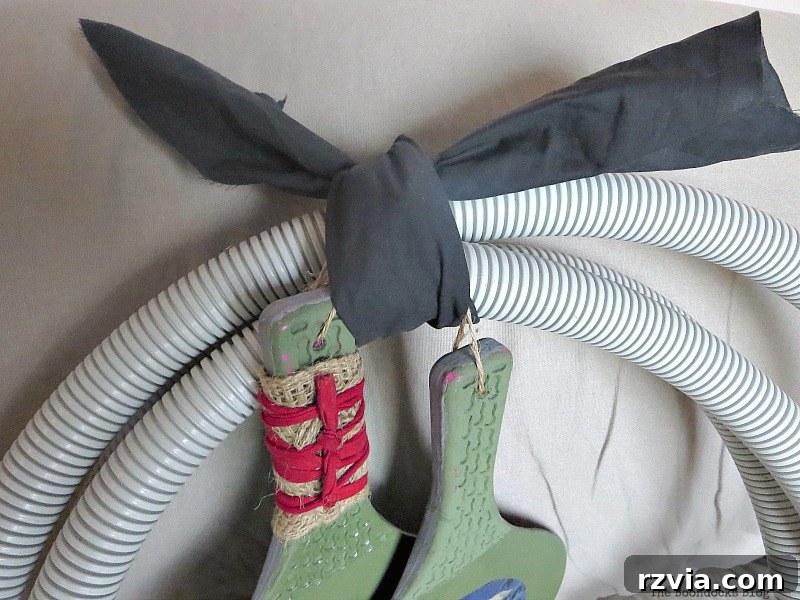
Once your tube is securely fastened, it’s time to hide those functional but unsightly cable ties. Cut a piece of black fabric large enough to wrap around the secured section of the tube. Use hot glue or strong fabric glue to neatly cover the cable ties, creating a smooth, dark backdrop. This step ensures a clean and professional finish.
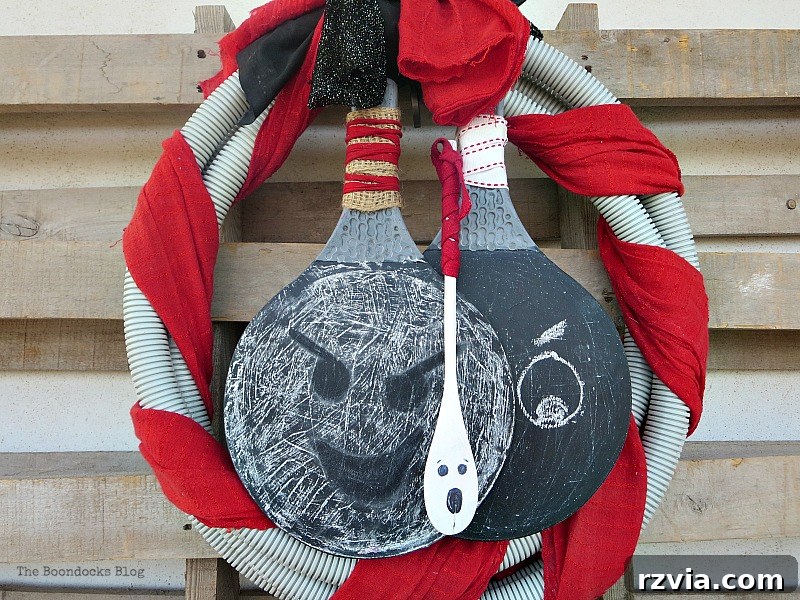
Next, integrate your chosen embellishments. In our case, these were repurposed Barbie paddles. These were particularly useful because one side featured an existing design, while the other was a versatile blackboard surface. Attach these paddles (or your chosen alternative) to the wreath base near the covered cable ties. Their positioning adds immediate character and hints at the playful, repurposed nature of the wreath.
Step 3: Wrapping with Festive Fabric
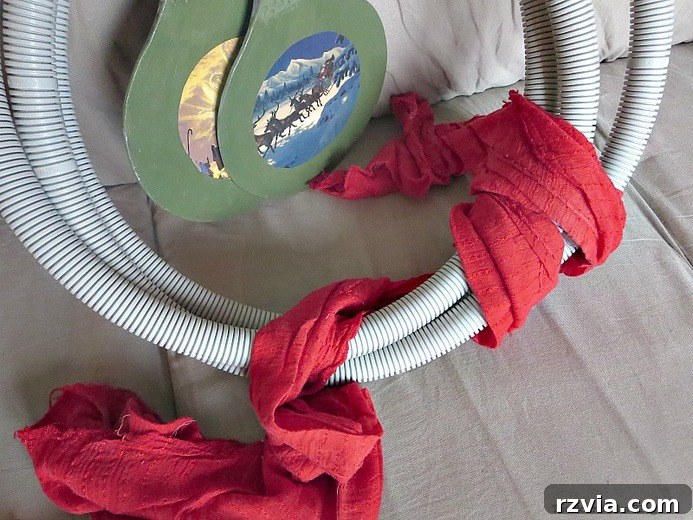
Now for the main color of your wreath! Take your long strip of red fabric. Starting from the section where you’ve secured the paddles, begin to wrap the fabric tightly around the entire tube. Overlap the edges slightly as you go, ensuring no part of the tube or the black fabric underneath is visible. Secure the ends with a dab of hot glue or by tucking them firmly into the wrapped fabric. While tradition often dictates orange for Halloween, our “anti-orange” stance allows for a bold red, which provides a striking contrast and a unique aesthetic. Feel free to choose any color that resonates with your Halloween vision!
Step 4: Crafting the Whimsical Wooden Spoon Ghost
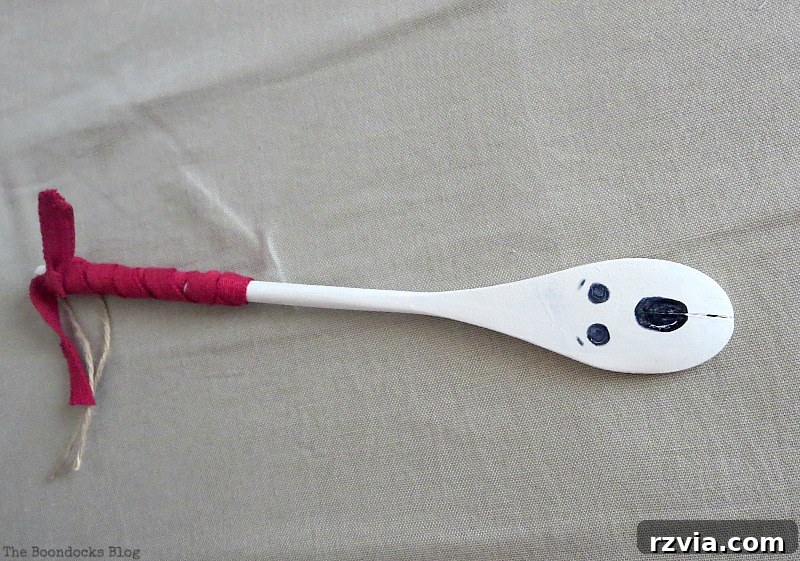
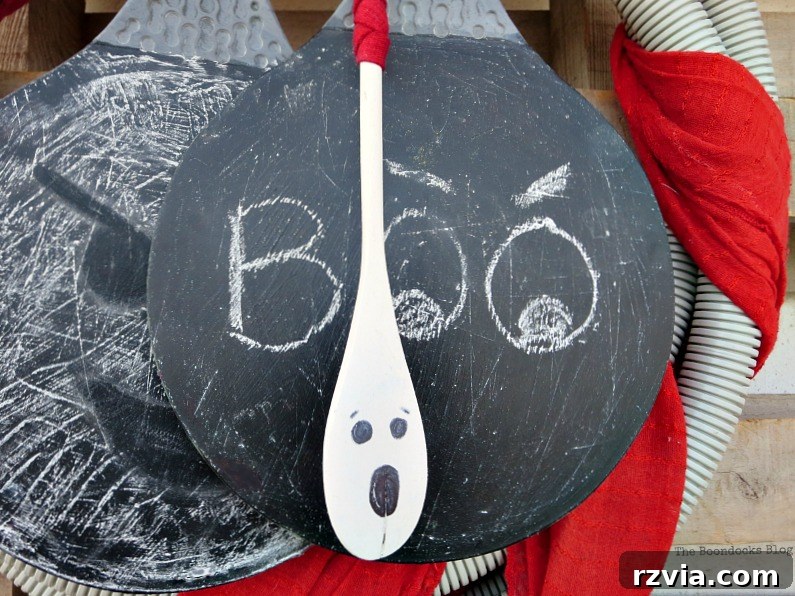
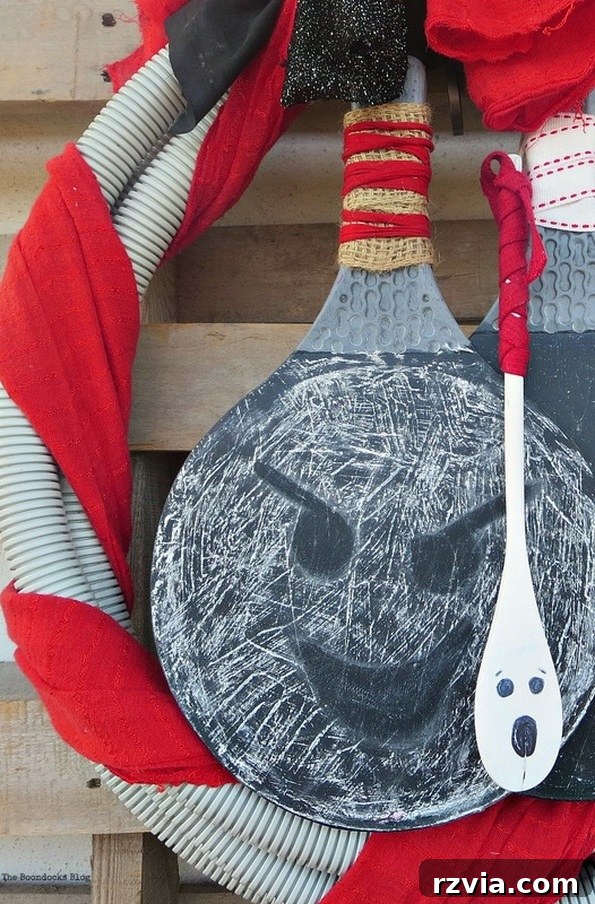
Every unique wreath needs a focal point, and our wooden spoon ghost is just the thing! Take a wooden spoon, especially one with a charming crack or imperfection, as this adds to its character. Paint the entire spoon white using acrylic paint. Once dry, use a black permanent marker to draw a simple, friendly, or slightly spooky ghost face. The beauty of this step is that no two ghost faces will be identical, adding to the handmade charm.
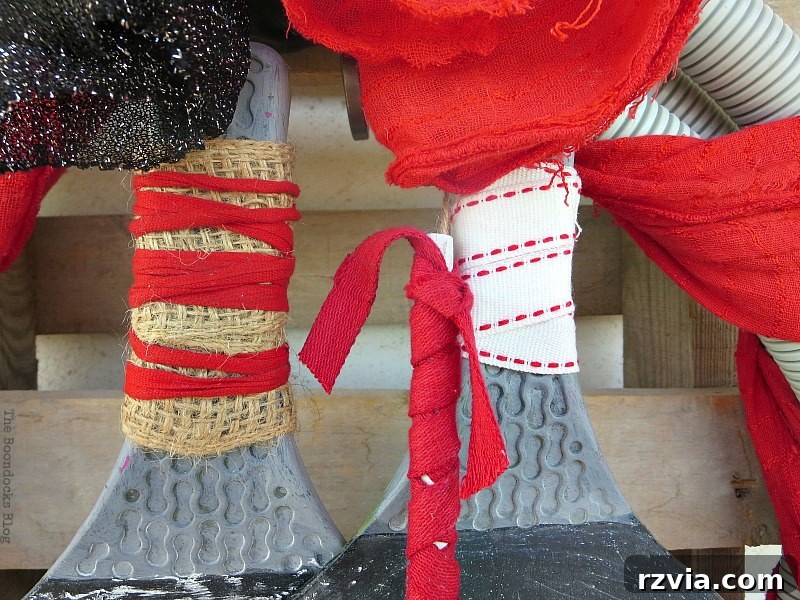
To prepare it for hanging, tie a piece of red ribbon around the spoon’s neck and then loop a piece of twine or string through the ribbon. This twine will be used to attach your delightful ghost to the top of your wreath, allowing it to dangle playfully.
Step 5: Adding Sparkle and Texture
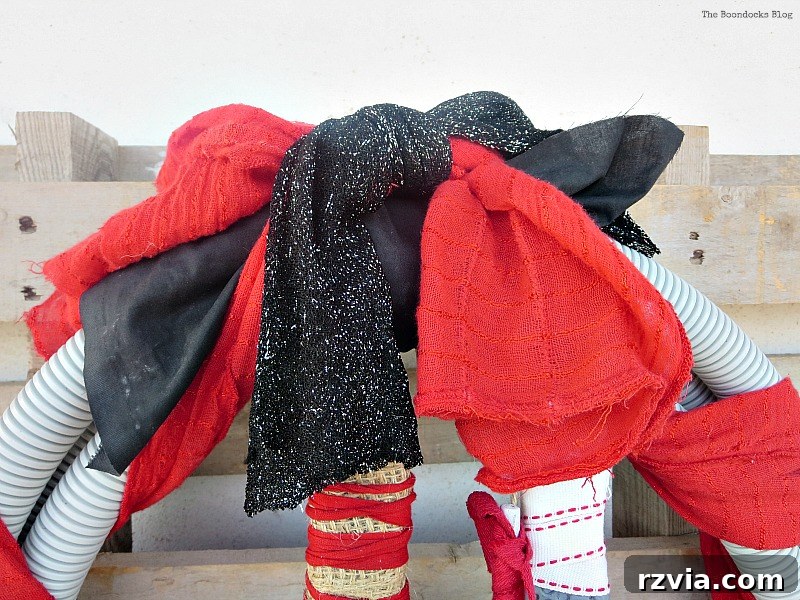
To complete your wreath and add visual interest, incorporate a piece of black sparkly fabric. This helps to break up the monotone red, introducing texture and a hint of glamour. Drape, wrap, or tie the sparkly fabric strategically around a section of your wreath, securing it with glue if necessary. This final touch provides a dynamic element, making your wreath truly pop and catch the light.
Your Quirky Halloween Masterpiece is Complete!
And there you have it – your very own quirky and charming Halloween wreath, born from the magic of repurposing! This project truly embodies the spirit of creative crafting, proving that delightful decor doesn’t need to be expensive or mass-produced. I always relish the opportunity to utilize items I already have at home, turning potential waste into wonderful creations. This philosophy not only saves resources but also injects genuine personality into every piece.
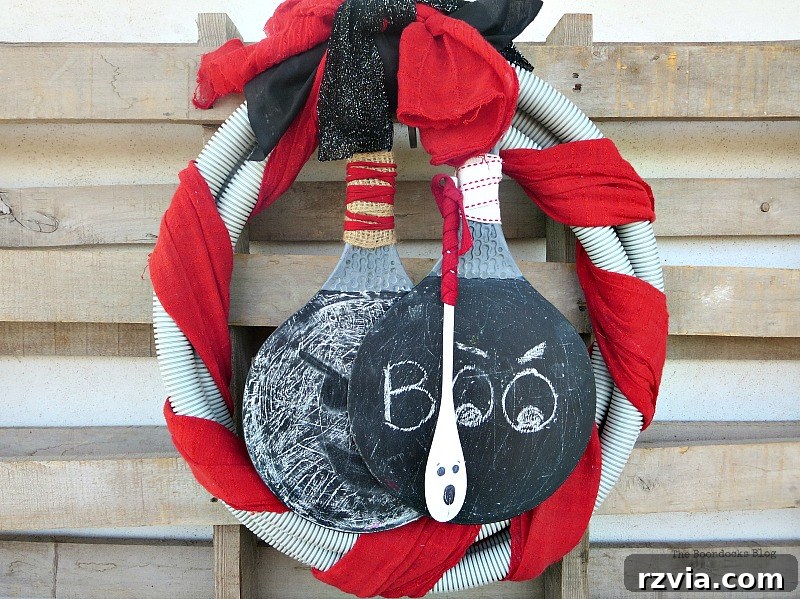
Isn’t our little spoon ghost absolutely adorable? Its handmade charm adds a touch of innocent spookiness that’s perfect for Halloween.
The repurposed paddles add another layer of intrigue and visual interest to the wreath. Their unique design contributes to the overall eclectic vibe, making the wreath truly distinctive.
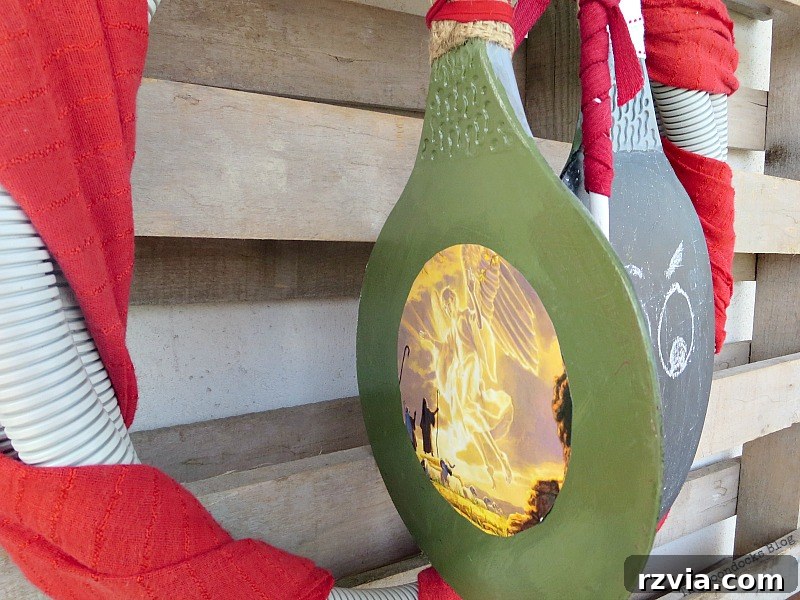
During a photoshoot, a gust of wind playfully revealed the reverse side of one of the paddles, showcasing a previous Christmas scene. This happy accident perfectly illustrates the versatility of repurposed items. The blackboard side of these paddles is incredibly adaptable, allowing you to draw or write anything you desire, making them suitable for countless themes and holidays.
Embracing Versatility: Beyond Halloween
One of the most appealing aspects of this upcycled tube wreath is its incredible adaptability. When Halloween celebrations conclude, you won’t need to stash it away until next year. With just a few simple adjustments, this wreath can be effortlessly updated and reimagined for another holiday, such as Christmas or even a winter theme. Imagine swapping the ghost for a snowflake, or the red fabric for green. The core structure remains, ready for a fresh transformation! This versatility makes it not just a seasonal decoration but a sustainable crafting investment. *Wink*
A Touch of Humor: The Paranoid Man Saga
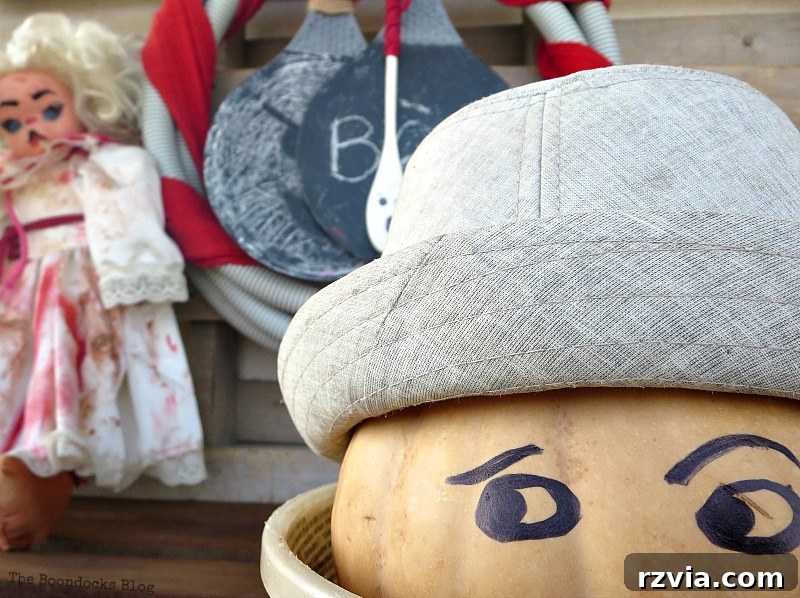
Of course, no crafting adventure in our world would be complete without an appearance from our beloved, slightly grumpy character, Paranoid Man. This time, our little pumpkin friend found himself quite concerned about a particularly spooky-looking doll near the wreath. His anxious query echoes what many might feel as Halloween draws near: “When will Halloween be over?” This recurring character adds a humorous and relatable touch to our seasonal decor, reminding us that even the spookiest of holidays can have its lighter side. If you’re curious about Paranoid Man’s other adventures and his ongoing trepidations, you can explore his complete saga through the links below!
To discover more about our whimsical friend, Paranoid Man, and his seasonal escapades, explore his full story here:
The Paranoid Man Pumpkin Craft
Fun and Easy Halloween Vignette
Halloween Wall Unit Decor
How to Make A Fun Tube Halloween Wreath
Paranoid Man Goes to the Halloween Party
Join the Halloween Crafting Fun!
I’m so thrilled to have shared this tutorial on how to make a fun tube Halloween wreath with you. This month has been an absolute joy, filled with the excitement of crafting for Halloween. There’s something truly special about bringing your own visions to life and seeing how simple materials can be transformed into festive treasures. We encourage you to try this project yourself, or use it as inspiration to create your own unique Halloween decor!
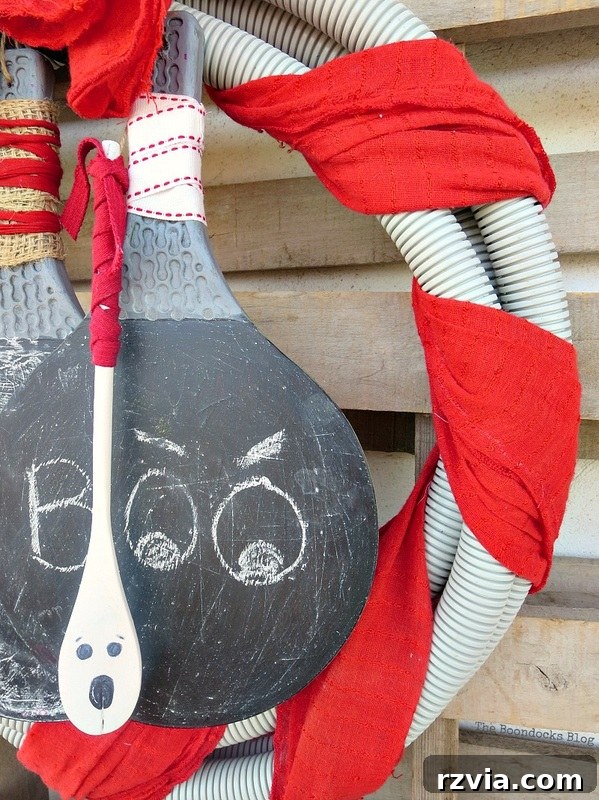
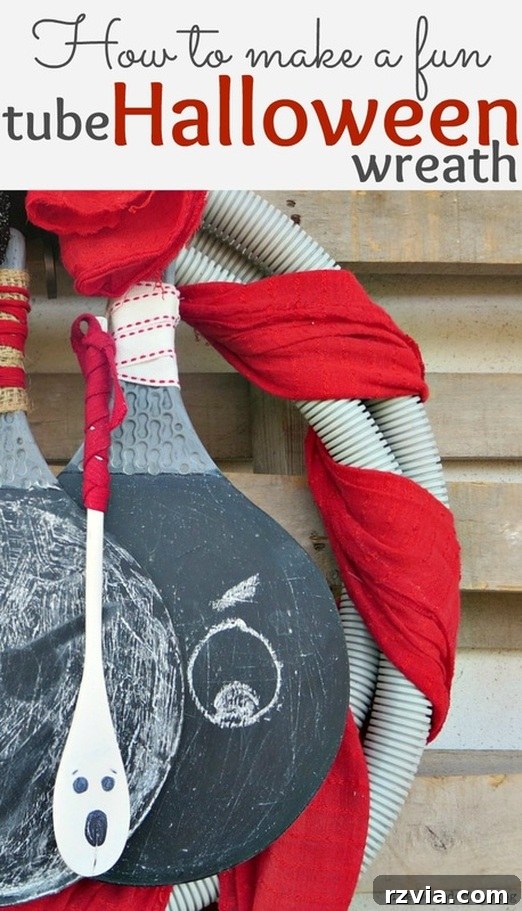
If you found inspiration in this unique Halloween wreath project, please consider sharing it with your friends or saving it to your Pinterest boards. The image above is perfectly crafted for Pinterest, ready to inspire fellow DIY enthusiasts!
If you truly enjoy the creative content and ideas you find here, why not subscribe to our blog? You’ll receive our latest crafting adventures and inspiration delivered directly to your inbox twice a week. Our subscription form is conveniently located on the sidebar, and rest assured, your email address will always remain private and will never be shared with any third party.
And don’t forget to explore the fantastic Halloween creations from our talented friends who participated in this event:
Across The Blvd.
Dazzle while Frazzled
Purple Hues and Me
SewCraftyCrochet
This blog is intended for entertainment and informational purposes only; our DIY tutorials are not to be taken as professional advice. For more detailed information, please read our full disclaimer here.
We truly value your comments and appreciate your engagement! We endeavor to reply to every comment or visit your blog in return. Please help us maintain a spam-free environment by refraining from adding hyperlinks directly within your comments; otherwise, we may be unable to publish them.