
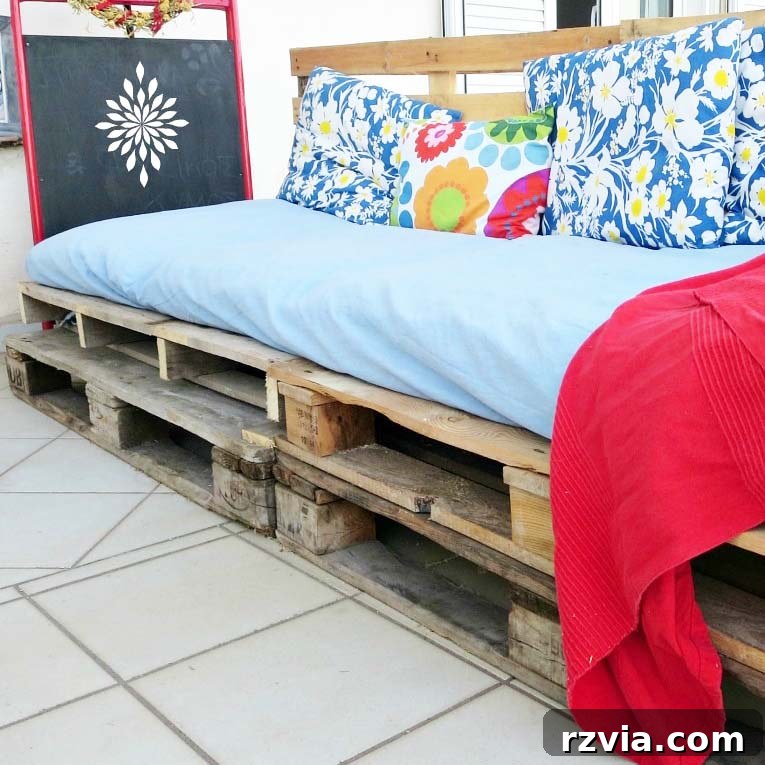
Ever gazed at a stack of humble wooden pallets and wondered about their hidden potential? What if you could transform that pile of reclaimed wood into a stylish, comfortable, and incredibly affordable piece of outdoor furniture, all without needing a single power tool? Well, wonder no more! We’re about to unveil the easiest possible method to create a DIY pallet couch that will elevate any outdoor space, proving that remarkable transformations don’t require heavy machinery or a hefty budget.
Transforming an Empty Balcony: The Genesis of Our Pallet Couch Project
Just the other day, I found myself wandering around the expansive, yet oddly empty, balcony of our new apartment. We were downsizing, moving just one floor below our current residence, and the new space felt vast and lacking personality. Aside from a few uncomfortable chairs, it offered little in the way of inviting outdoor living. My vision for this balcony included more than just the vibrant colorful fence adorned with dollar store flowers I had already planned; it desperately needed comfortable, functional furniture.
As fate would have it, I soon discovered a treasure trove: a stash of forgotten pallets tucked away in a corner of the building. My DIY instincts immediately kicked in. Despite my husband being away at the farm, leaving me without convenient access to power tools, my determination wasn’t swayed. With a burst of creative energy and a clear vision, I decided to tackle the challenge head-on, proving that ingenuity often trumps an extensive toolkit. What emerged was a super easy DIY pallet couch, crafted entirely without the need for a single power tool!
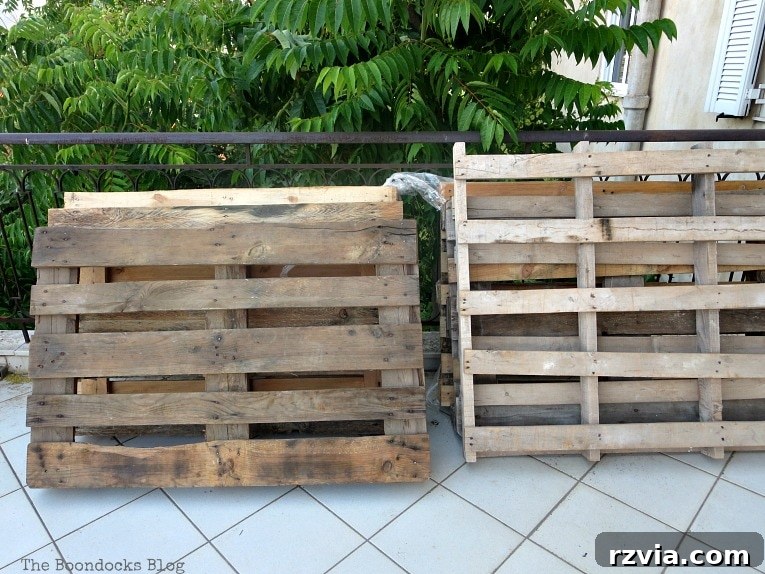
Having previously dabbled in pallet projects – I even once fashioned a unique “drunken table” – I was familiar with the versatility of this reclaimed material. This time, however, my goal was pure simplicity and speed. After a long day of working on other projects, my bones were weary, and I craved an effortlessly quick solution that would allow me to truly relax and enjoy my spacious new balcony. This project was designed for maximum impact with minimal effort, and it delivered!
Why Choose Pallets for Your DIY Furniture?
Pallets are an absolute game-changer for budget-conscious DIY enthusiasts and anyone looking to add character to their space. Not only are they often free or very inexpensive to acquire, but they also offer incredible versatility. Using reclaimed pallets is an eco-friendly choice, giving new life to materials that might otherwise end up in a landfill. Their inherent rustic charm adds a unique aesthetic to any setting, from bohemian balconies to modern patios. When sourced correctly (look for “HT” stamps indicating heat treatment, avoiding “MB” for methyl bromide), they are a safe and sturdy foundation for countless projects.
What You’ll Need for This No-Tools Pallet Couch Project:
The beauty of this project lies in its simplicity. You won’t be needing a workshop full of specialized equipment. Here’s what made this effortless couch possible:
- 6 Pallets: Ideally, try to find pallets that are roughly the same size for the easiest assembly. However, as you’ll see, slight variations can be managed.
- A Saw (Optional): While our goal is “no tools,” a hand saw might be useful if you encounter a pallet that’s significantly wider than the others and needs a quick trim for uniformity. We’ll show you how to work around this!
- Rope: Sturdy rope is our secret weapon for securely fastening the pallets without nails or screws.
Step-by-Step Guide: How to Make Your DIY Pallet Couch Without Tools:
Let’s dive into the incredibly simple steps to construct your very own pallet sofa. Remember, the key here is strategic placement and secure tying!
Step 1: Building the Base of Your Couch
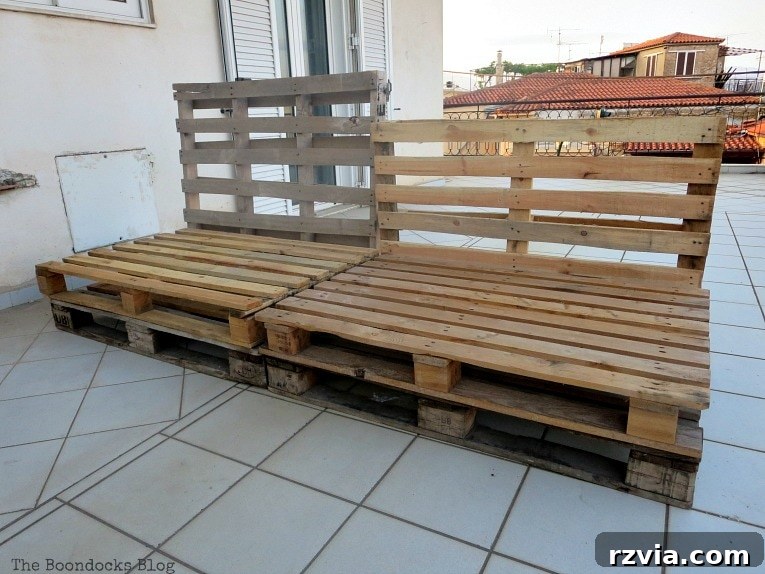
Begin by laying down two pallets, side by side, on the ground. These will form the lower layer of your couch base. Then, place two more pallets directly on top of these first two, creating a stacked effect. This layering provides the necessary height and comfort for seating, mimicking a traditional couch frame. The result is a sturdy, elevated platform ready for your cushions.
Step 2: Positioning the Backrest Elements
Next, take your remaining two pallets and stand them upright directly behind the stacked base you just created. These will serve as the crucial backrest of your pallet couch. Position them carefully, ensuring they are aligned with the width of your base pallets, forming a clear “L” shape characteristic of a sofa.
Step 3: Addressing Size Differences (The “Optional Saw” Moment)
In my case, one of the backrest pallets was slightly wider than the others, which created an uneven look. If you encounter a similar situation, this is where the “optional saw” comes into play. A quick measurement and careful cut with a hand saw allowed me to trim the excess, ensuring a uniform and aesthetically pleasing backrest. However, if your pallets are all the same size, you can happily skip this step and revel in the pure no-tool experience!
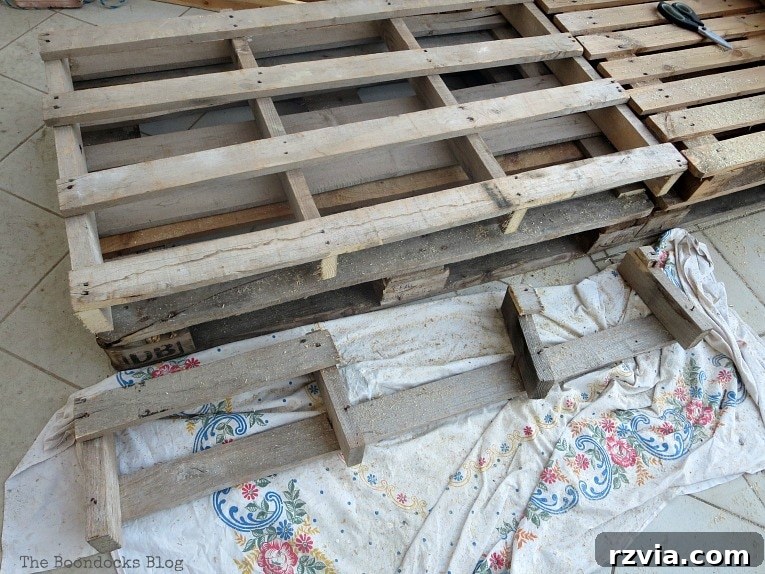
Step 4: Optimizing Pallet Placement for Stability and Aesthetics
After making the cut, I realized it was more advantageous to place the slightly modified pallet on the bottom layer of the backrest. This ensured better overall stability and a cleaner look. Don’t be afraid to experiment with the arrangement of your pallets to find the configuration that works best for your specific pieces.
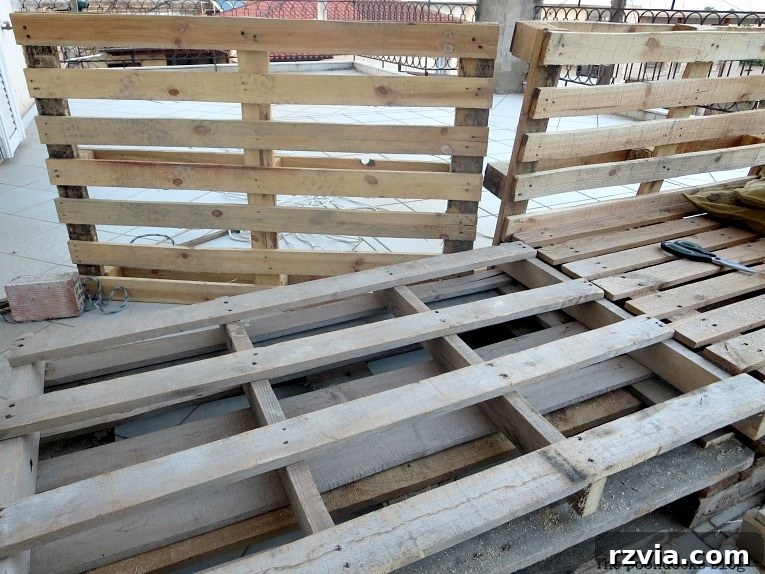
Step 5: The No-Tool Connection – Tying with Rope
Now for the ingenious part! Using sturdy rope, I began securing the upright backrest pallets to the top layer of the horizontal seat pallets. The trick here is to tie the back of the standing pallet to the top-lying pallet. This creates a leverage point that prevents the backrest from toppling backward, providing surprising stability. I threaded the rope through the openings in the pallets, tying a secure knot.
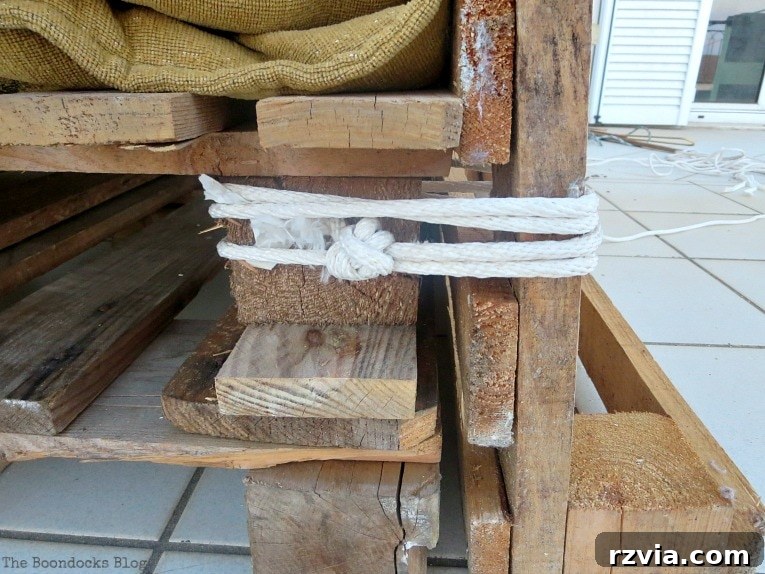
Step 6: Continuous Tying for Maximum Security
To avoid cutting the rope unnecessarily, I simply pulled it through from one connection point to the next, moving across the middle section of the couch. I repeated the tying process at every available point where the vertical support beams of the backrest pallets met the top-lying base pallets. This continuous method not only saved time but also distributed the tension evenly, making the entire structure incredibly robust.
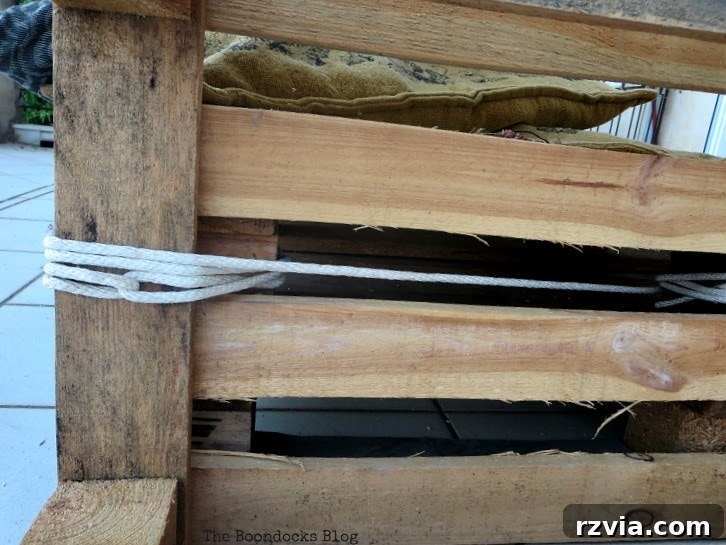
I diligently applied the same tying technique at all points where the standing pallets had a vertical piece that could be attached to the other pallets. This ensures comprehensive support across the entire backrest.
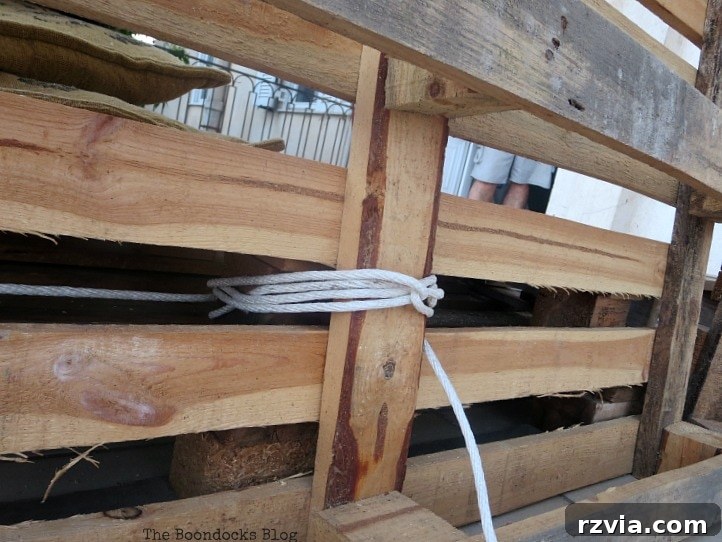
Believe it or not, this simple rope-tying method yielded a surprisingly sturdy structure. The key was in the balance: tying the vertical backrest pallets to the *top* horizontal seat pallets. Had I attempted to tie them to the *bottom* pallets, the leverage wouldn’t have been sufficient, and the backrest wouldn’t have been as stable. It’s all about understanding the mechanics and achieving optimal balance.
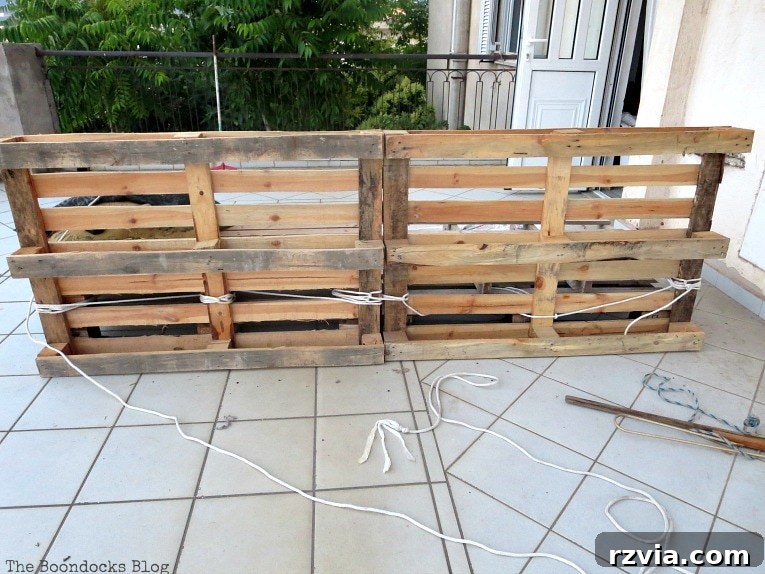
Here’s the front view of the assembled pallet structure. With the foundation set, it was time to add the crucial elements of comfort and style.
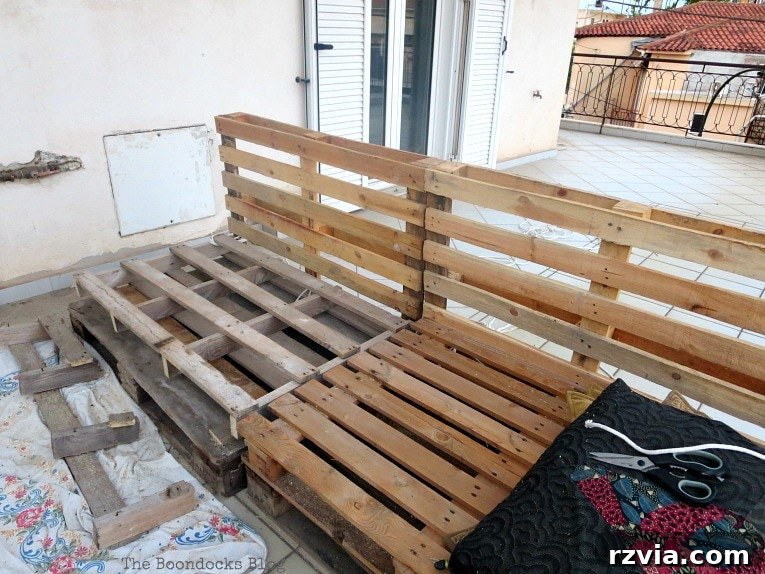
Adding Comfort and Style: The Finishing Touches
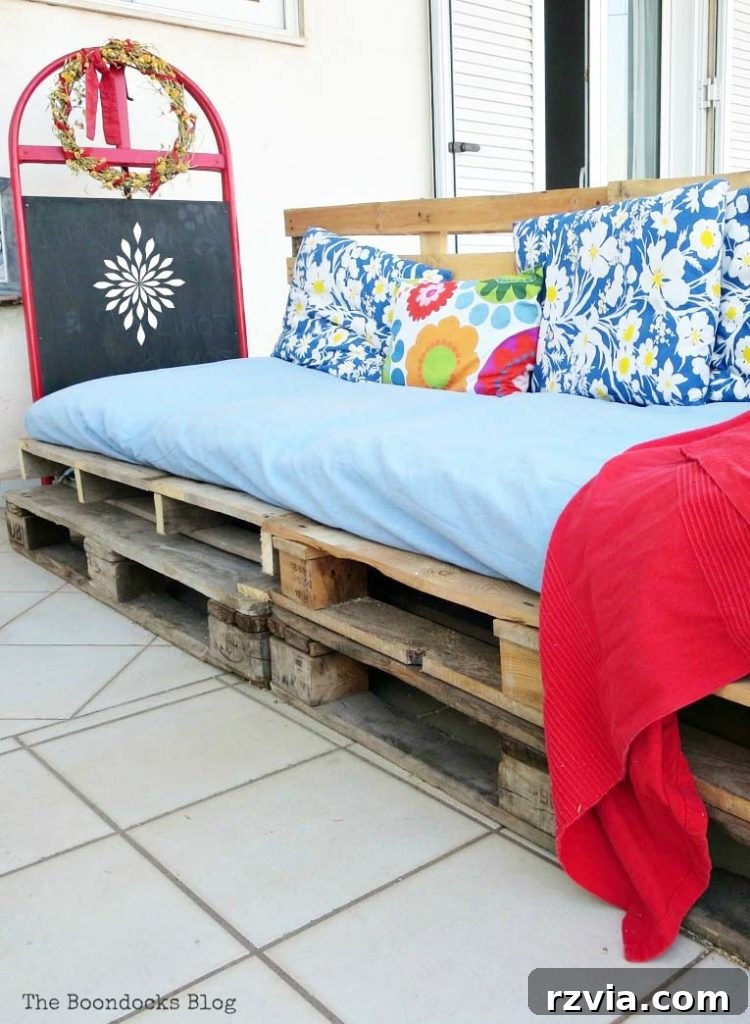
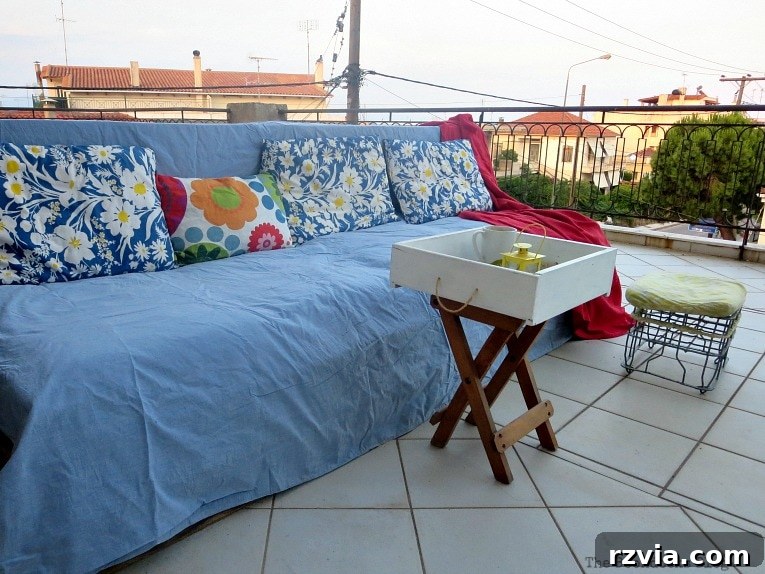
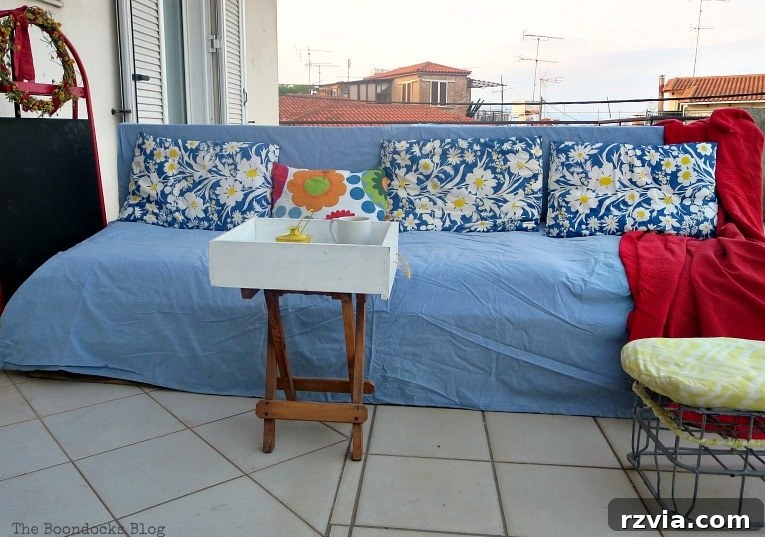
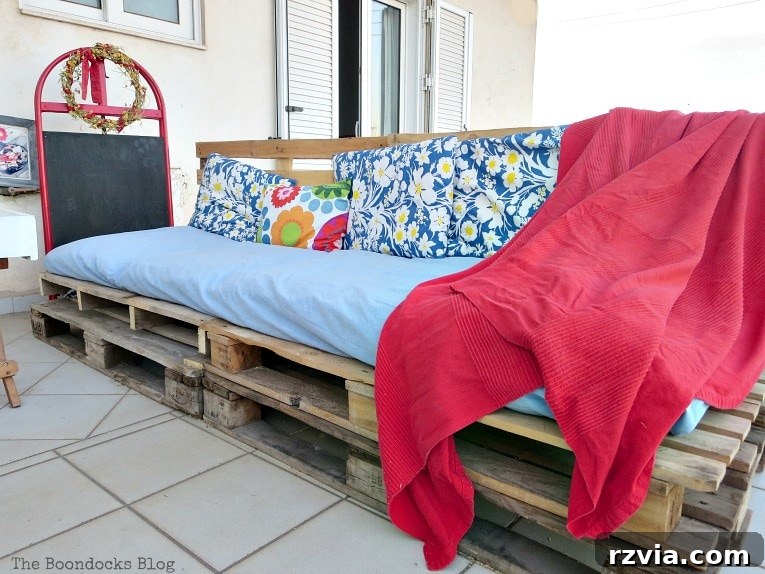
With the basic structure complete, the next step was to transform the raw pallets into an inviting and comfortable seating area. I started by layering some old cushions on top of the pallet base. These provide the essential padding for comfort. Then, to unify the look and add a touch of softness, I draped a large piece of fabric over the entire couch, tucking it in to create a seamless finish. This fabric not only hides the rough edges of the pallets but also adds a bit of much-needed privacy, especially since one side of this balcony overlooks a busy street.
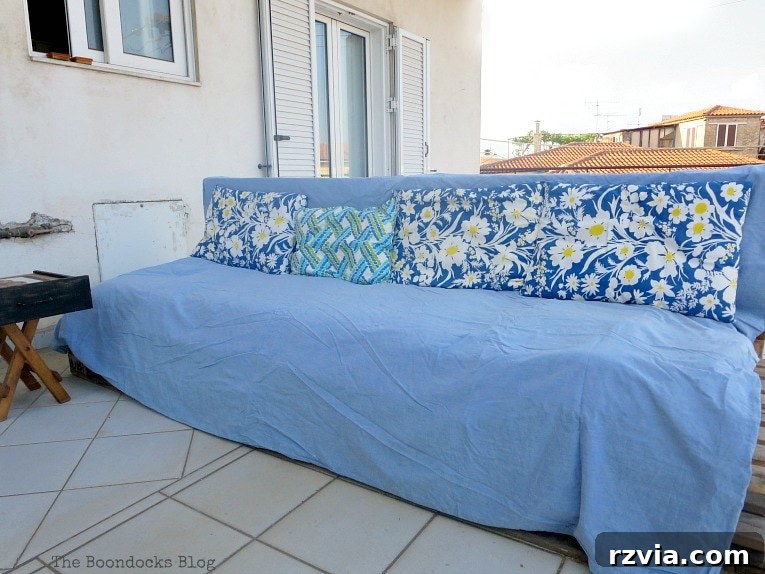
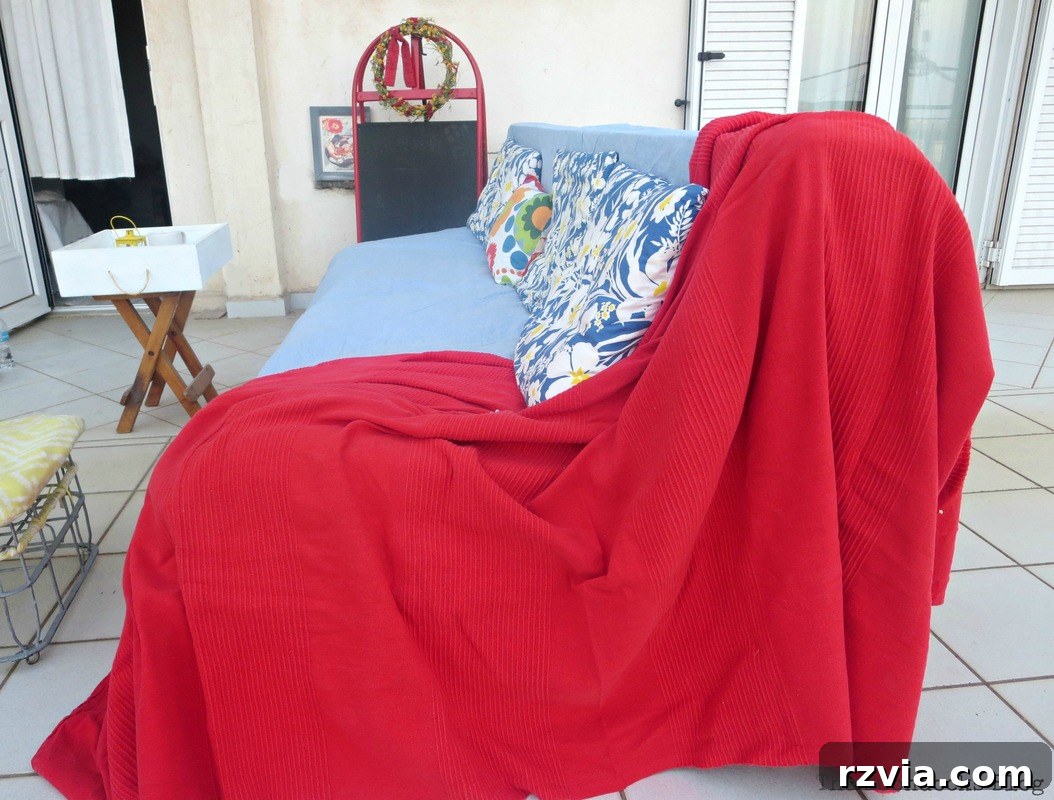
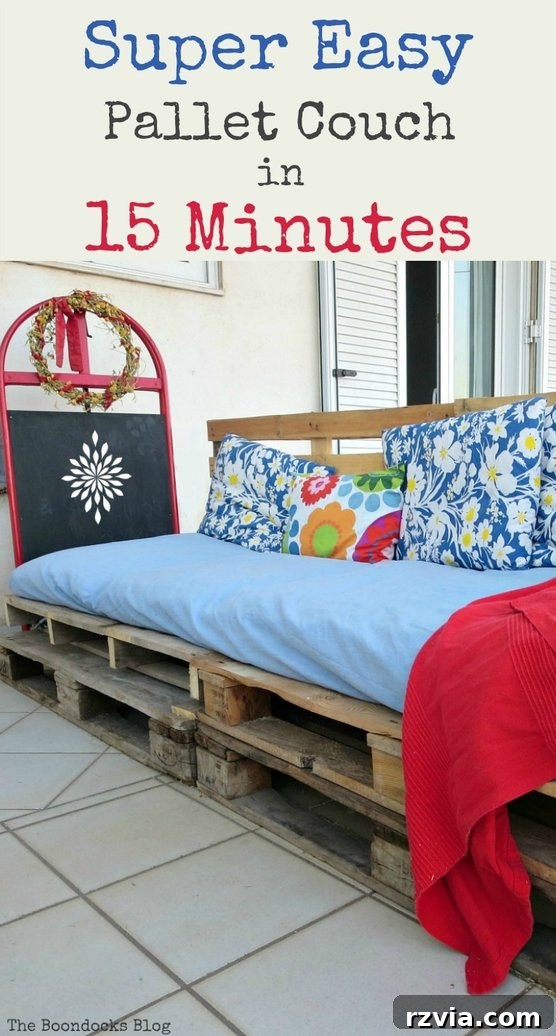
To infuse a vibrant “pop of color” and truly complete the look of my “new” outdoor furniture, I added a cheerful red throw blanket and a scattering of various pillows. And just like that, the project was done! From start to finish, the entire process took approximately 15 minutes. Did I mention fast? This project epitomizes quick gratification, offering a significant upgrade to an outdoor space with minimal time investment.
Complementary Balcony Treasures: More Upcycled Decor
The pallet couch wasn’t the only upcycled gem on my balcony. The charming little table positioned in front of the couch is a piece I crafted a few years ago by combining a simple stool with an old drawer, proving that even disparate items can find new purpose together. And the stool itself? It’s a creative repurposing of an old, upcycled vintage milk crate, adding to the rustic, reclaimed aesthetic of the space.
Even the chalkboard, adding a personal and whimsical touch, was another “gift” left behind by a previous tenant. These found and repurposed items collectively contribute to a truly unique and personalized outdoor retreat.
The Impact of a Quick, Satisfying DIY Project
Sometimes, all you need is a quick project that delivers a big, satisfying impact. This DIY pallet couch absolutely fit the bill. While it might not be a showroom-perfect piece, for this tired lady eager to enjoy her balcony, it’s absolutely amazing! The rustic charm, the comfort, and the incredible speed of assembly make it a triumph of practical DIY. All in all, for just 15 minutes of work, the outcome is nothing short of fantastic.
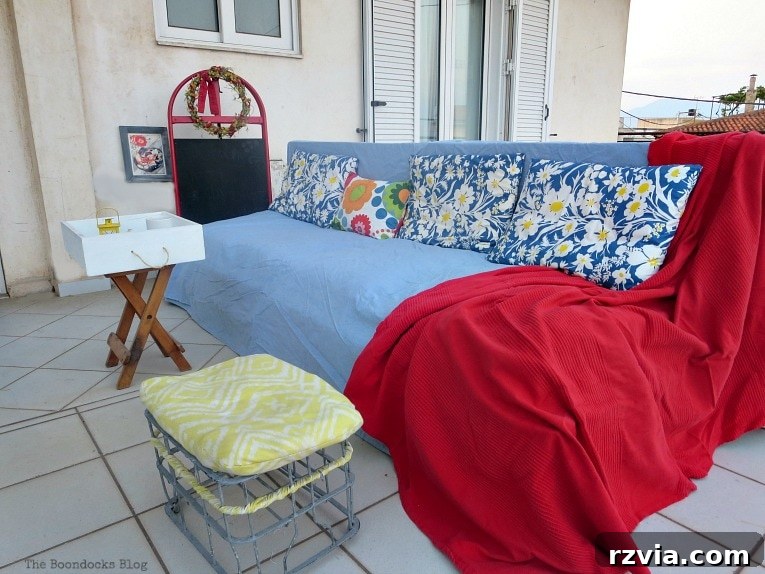
And for those moments when I’m feeling a bit more adventurous, I can easily tuck the fabric in to expose the raw, industrial charm of the pallets underneath. The colorful cushions add a vibrant touch, but I’m already envisioning future changes—perhaps next year I’ll experiment with some creative DIY throw pillow covers to refresh the look!
Positioned opposite this newly minted DIY pallet couch is the vibrant, colorful fence adorned with faux flowers, creating a cohesive and inviting atmosphere. While I still have a few more additions planned for this balcony, this project marks a truly excellent start to transforming it into my personal outdoor oasis. Now, I have a comfortable and stylish place to sit and savor this wonderful big old balcony, all without breaking a sweat or breaking the bank! That, for me, is the ultimate win-win scenario.
Your Pallet Project Journey Starts Here!
I hope you’ve been inspired by this incredibly easy and quick DIY pallet couch tutorial. It’s less of a complicated instruction manual and more of a gentle nudge towards realizing just how simple and rewarding pallet projects can be. It’s a testament to the power of imagination and resourcefulness.
What creative projects have you brought to life using pallets? Share your ideas and inspire others!
For a complete visual tour of the entire transformed balcony, including all its repurposed treasures, you can explore it right here.
More Inspiring Summer Projects:
Vintage Metal Crate Table
Balcony Screen