
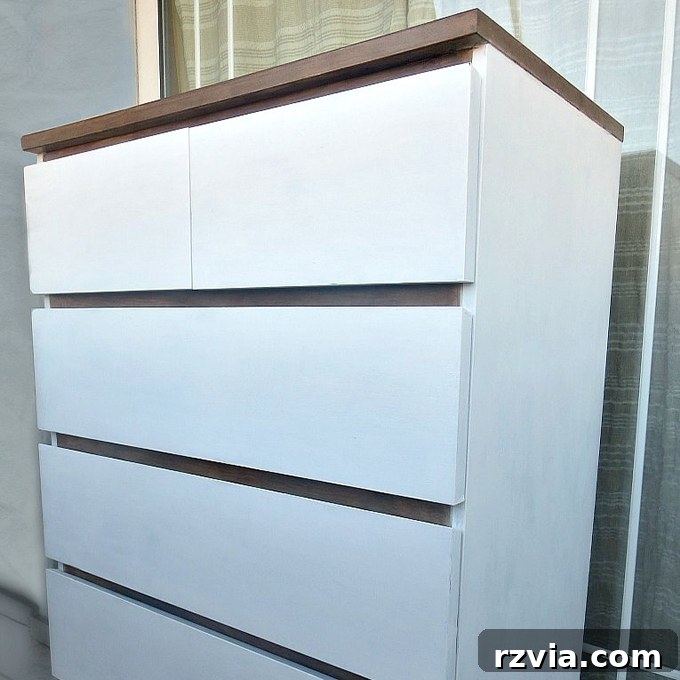
Have you ever looked at a piece of IKEA furniture and wondered if it could be more? More personalized, more stylish, more “you”? The answer is a resounding yes! Painting IKEA furniture is not only possible but also an incredibly rewarding DIY project that can completely transform a budget-friendly piece into a custom statement. We recently took a standard, rather dull black IKEA Malm dresser and gave it a stunning farmhouse-inspired makeover, turning it into a beautiful white and walnut centerpiece for our bedroom.
Just a few weeks ago, we shared the exciting reveal of our small apartment makeover, featuring a brand-new kitchen. This charming space in Greece is our home away from home, and while the kitchen takes center stage, there’s another crucial room we’ve been working on: the bedroom. It’s finally time to unveil the furniture transformations that have brought this room to life, including a farmhouse-style laminate table we repurposed as a computer desk.
Today, however, we’re focusing on a dramatic before-and-after that truly highlights the power of paint: the beautiful transformation of a black IKEA Malm dresser. This project isn’t just about changing a color; it’s about infusing a piece with character, creating a focal point, and achieving a cohesive design aesthetic that perfectly complements our serene Greek apartment.
The IKEA Malm dresser is a ubiquitous piece of furniture, found in countless homes worldwide. Its minimalist design and affordable price point make it a popular choice, but its standard finishes often lack personality. This makes it an ideal candidate for a DIY makeover. Whether you’re aiming for a rustic farmhouse look, a sleek modern update, or a vibrant bohemian statement, the Malm dresser provides a blank canvas for your creativity. Our goal was to ditch the dreary black and embrace a brighter, more inviting farmhouse style that would enhance the light and airy feel of our Greek bedroom.
Why Paint Your IKEA Malm Dresser? The Benefits of a DIY Furniture Makeover
Beyond simply changing its color, painting your IKEA Malm dresser offers a multitude of benefits. Firstly, it’s an incredibly sustainable approach. Instead of discarding furniture that’s still perfectly functional but no longer suits your style, you’re giving it a second life. This reduces waste and saves you money on buying new pieces.
Secondly, a DIY makeover allows for unparalleled personalization. You get to choose the exact colors, finishes, and techniques that align with your unique taste and home decor. No more settling for off-the-shelf options! This project, for instance, allowed us to custom-blend a rich brown tone that perfectly complemented the white base, creating a bespoke two-tone look.
Lastly, there’s immense satisfaction in creating something beautiful with your own hands. The sense of accomplishment you feel when you step back and admire your handiwork is truly rewarding. It’s also an opportunity to learn new skills and experiment with different paint products and techniques, making each project a valuable learning experience.
Disclosure: This post contains affiliate links for your shopping convenience. If you purchase any of these products through the links provided, we may receive a small commission at no extra charge to you. We only recommend products we genuinely love and use ourselves. You can find our full disclosure here. Please note that we were compensated for this post with product, but all opinions expressed are our own.
Essential Materials for Your IKEA Malm Dresser Transformation
Before diving into the painting process, gathering the right materials is crucial for a successful and durable finish. Here’s what you’ll need to replicate our farmhouse-style Malm dresser makeover:
- Sandpaper: Essential for scuffing the surface, creating adhesion for paint, and smoothing out any imperfections. We recommend a medium-grit sandpaper (around 120-180 grit).
- Decoart Americana Chalky Type paint in Everlasting: Our base coat color. Chalky type paints adhere well to various surfaces, including IKEA’s laminate, and provide excellent coverage. “Everlasting” is a crisp white, perfect for brightening a dark piece.
- Decoart Americana Acrylic Paints in various colors: We used a mix of leftover acrylics to create our custom brown tone. Don’t be afraid to experiment with mixing different shades to achieve your desired color.
- Decoart Americana Multi-Purpose Sealer: This is a game-changer! A multi-purpose sealer is vital for creating a durable, hard-wearing finish, especially on high-traffic surfaces like a dresser top. It significantly enhances the longevity of your painted furniture.
- Decoart Americana Gel Stain: Used in conjunction with the sealer to achieve a rich, walnut-like finish. Gel stains are excellent for adding depth and a wood-grain appearance.
- Decoart Creme Wax in Clear: Applied as a protective topcoat over the chalky paint, providing a subtle sheen and additional durability to the white sections of the dresser.
- A round brush: Ideal for applying paint and stain, especially when aiming for textured or broad strokes.
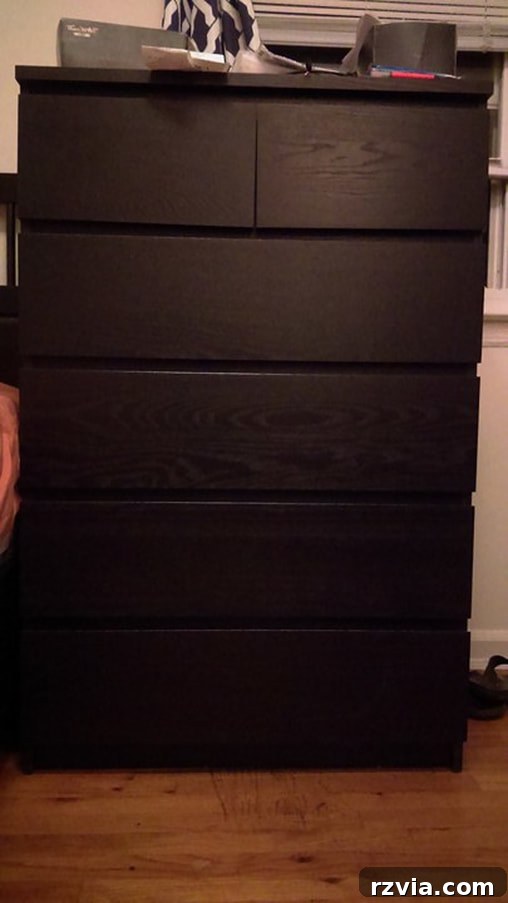
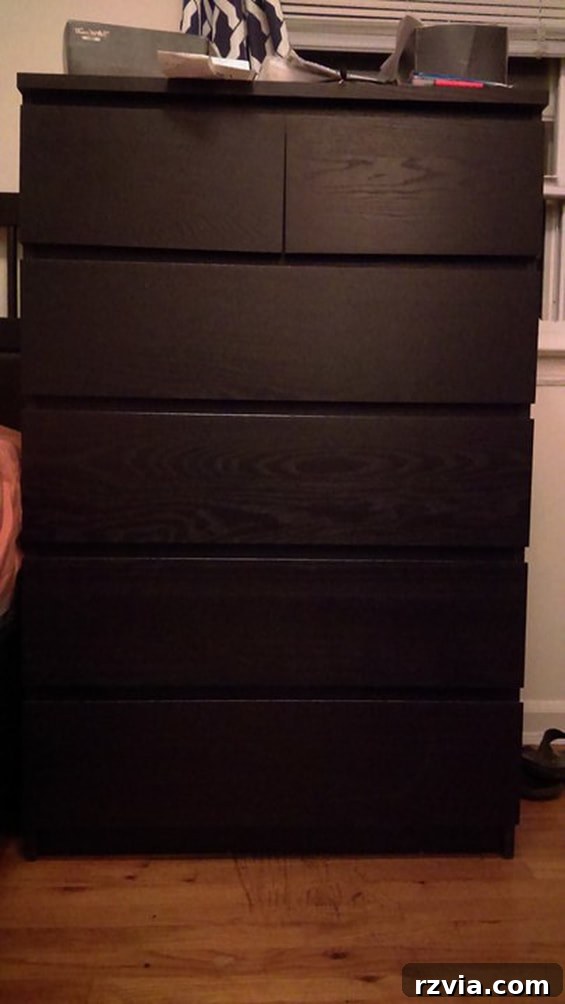
Our journey began with a typical black Malm IKEA dresser. Honestly, it was just… black. And dated. It was a relic from when my son was a teenager and insisted on black furniture. While it was incredibly functional, offering ample storage and an affordable price, its dark presence sucked the light out of the room. It was desperately crying out for a transformation that would inject some freshness and style into our space. The contrast between its initial state and our vision for a bright, farmhouse-inspired piece was stark, making the “before” a clear motivator for this exciting project.
A Step-by-Step Guide to Painting Your IKEA Malm Dresser
Transforming your Malm dresser from mundane to magnificent is a rewarding process that can be broken down into a few manageable steps. Follow along to see how we achieved our farmhouse-chic look!
Step 1: Preparation – Sanding for Adhesion
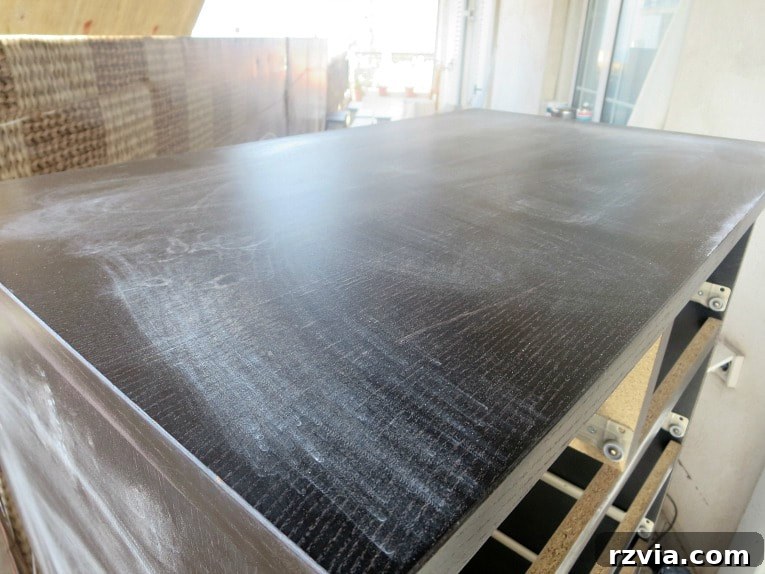
The first crucial step for any furniture painting project, especially with IKEA’s laminate or particleboard surfaces, is proper preparation. We began by thoroughly scuffing up the entire surface of the IKEA Malm dresser with sandpaper. This isn’t about removing the existing finish entirely, but rather creating a rough texture or “tooth” for the new paint to adhere to. Without this step, your paint might peel or chip easily. Ensure you sand all visible surfaces, including the top, sides, and drawer fronts. Don’t forget to remove the drawers and any hardware beforehand for easier access and a cleaner finish.
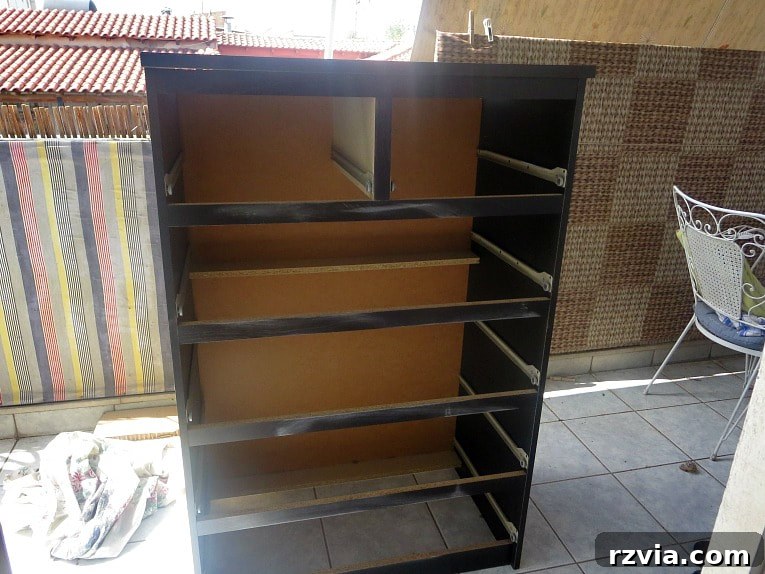
We focused on achieving random scuffing and sanding all over, ensuring no glossy areas remained. This meticulous attention to detail at the preparation stage will save you headaches down the line and ensure a professional-looking, long-lasting finish.
Step 2: The Base Coat – Bright White Chalk Paint
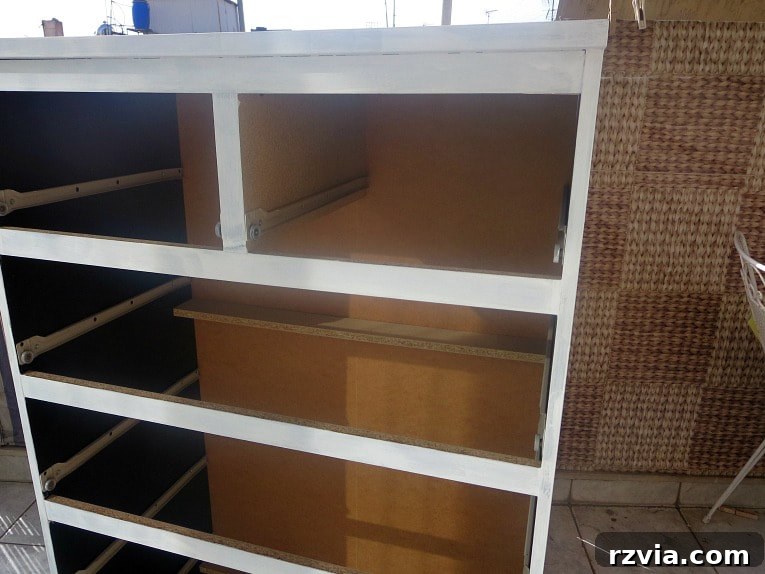
Once sanded and wiped clean of dust, we proceeded with the base coat. We applied Americana Chalky Type Paint in “Everlasting” to the entire dresser. This crisp white shade was chosen specifically to counteract the dark original black and serve as a bright, clean foundation for our farmhouse aesthetic. Chalky type paints are excellent for this purpose as they offer superior adhesion and coverage, often eliminating the need for a separate primer.
To completely cover the stubborn black, we applied approximately three thin coats to the whole dresser. The key here is thin, even coats, allowing each layer to dry completely before applying the next. This prevents drips and ensures a smooth, professional finish. It was incredibly satisfying to watch the deep black gradually disappear under layers of fresh white, bringing our vision to life with each brushstroke.
Step 3: Creating a Custom Brown Accent
While the white provided a fresh canvas, we wanted to introduce a warm, rustic element. For the top surface, we decided on a rich brown. Instead of buying a new paint, we embraced resourcefulness! We gathered various leftover Americana Acrylic Paints we had on hand and mixed them until we achieved a beautiful brownish tone. This is a fantastic way to utilize existing supplies and create a truly unique color that perfectly matches your desired aesthetic.

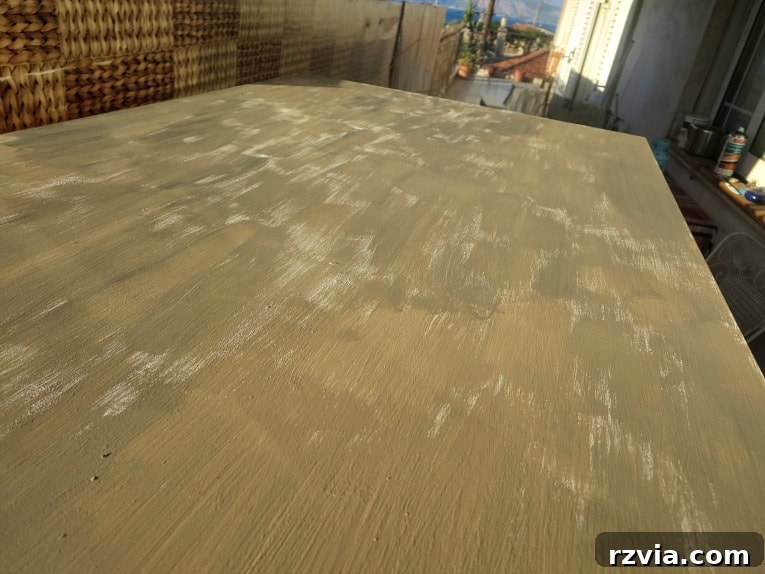
Once our custom brown was ready, we applied it to the top of the dresser. We used short, deliberate brushstrokes, aiming to create a subtle texture that would add depth and character. The acrylic paint dried relatively quickly, allowing us to build up the color and texture efficiently. This approach adds a handmade touch, reinforcing the farmhouse feel.
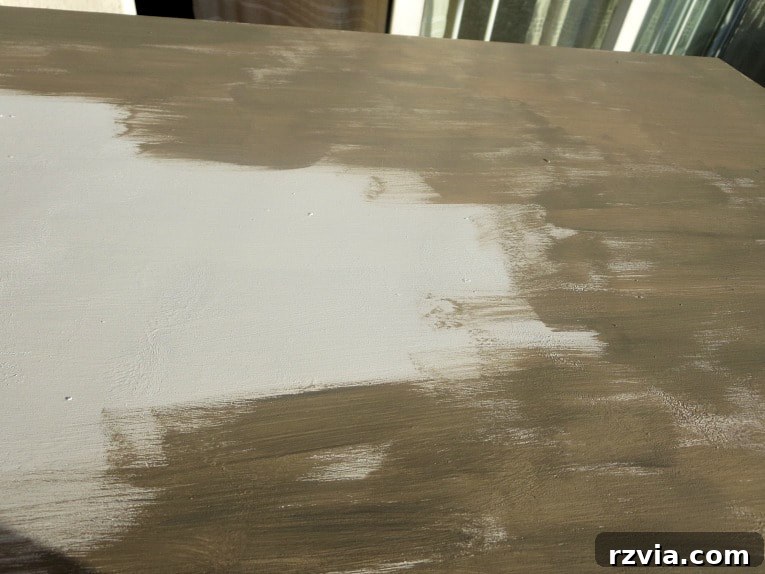
The short brushstrokes created an appealing visual interest, adding a layer of craftsmanship to the surface.
We also extended this rich brown color to the front frame of the IKEA Malm dresser, specifically the vertical and horizontal supports around where the drawers slide in. This created a beautiful contrast against the white sides, adding depth and defining the structure of the piece. The white sides were intentionally left white to maintain a bright and airy feel, allowing the brown accents to truly pop.
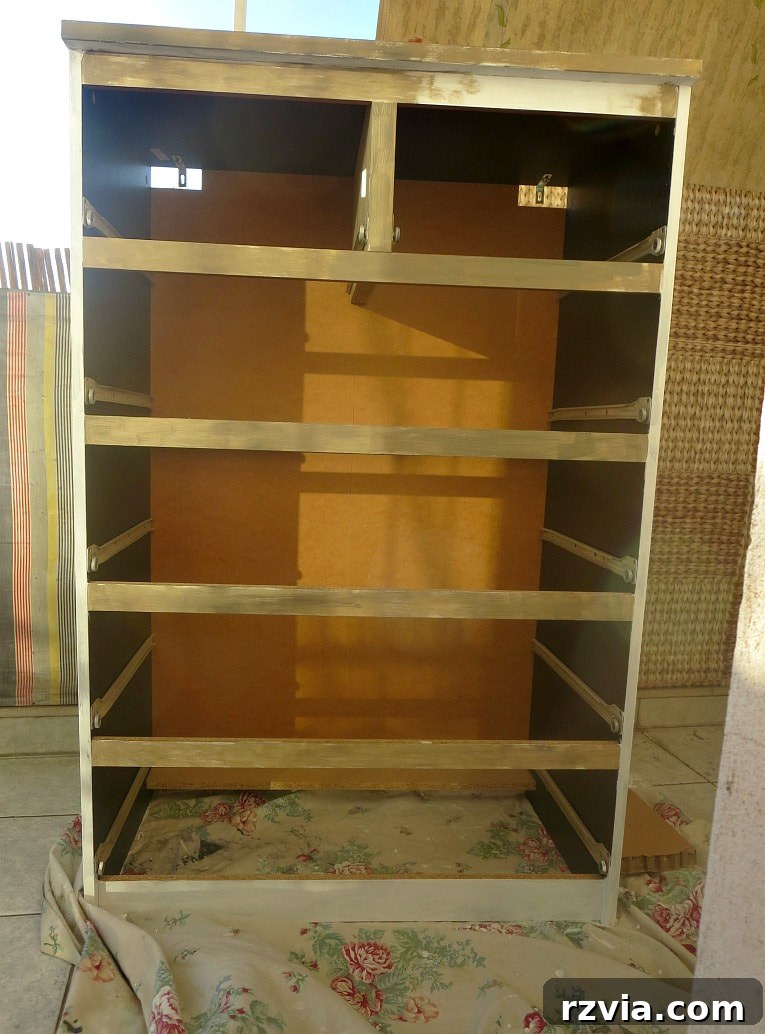
With the brown paint dry, the dresser was already looking significantly better, but we knew it needed an extra layer of protection and a richer finish. The top of a dresser is a high-traffic area, constantly used for placing items, and therefore requires a remarkably durable surface. Our aim was for a finish that was “hard as nails,” capable of withstanding daily use without showing wear and tear.
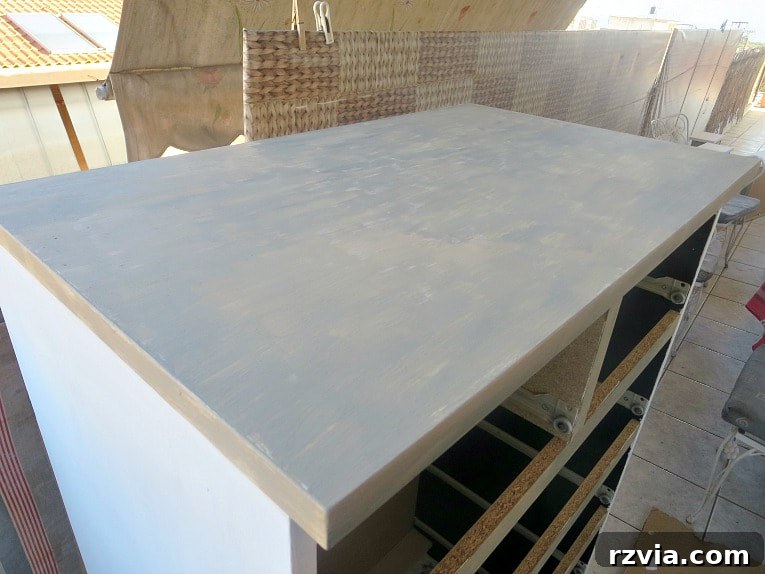
Step 4: The Secret Weapon – Multi-Purpose Sealer & Gel Stain
To achieve that rock-hard, durable finish, we turned to our secret weapon: DecoArt’s Americana Multi-Purpose Sealer. This versatile product can be mixed with various paints and stains to create an incredibly resilient surface, suitable even for outdoor items (though our Malm dresser is certainly staying indoors!).
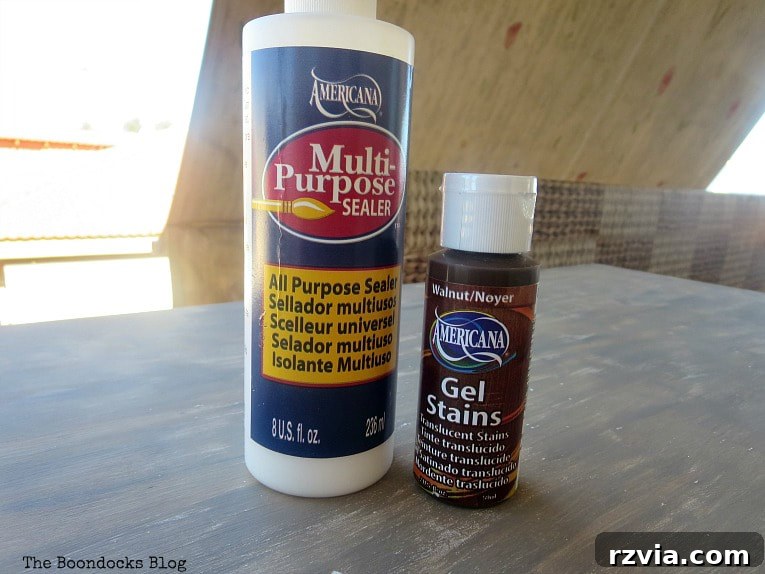
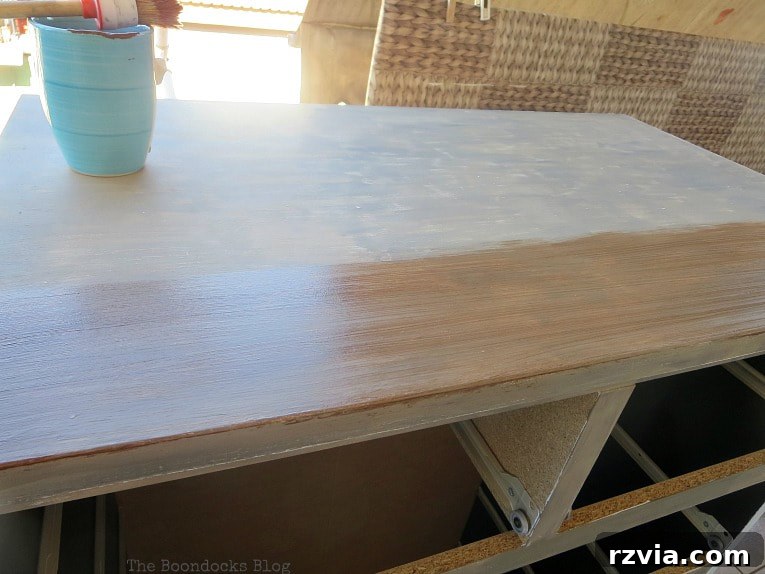
For the dresser top, we mixed the multi-purpose sealer with Decoart Americana Gel Stain. This combination not only provided the desired protection but also enhanced the depth and richness of the brown color, giving it a beautiful, subtle walnut-like appearance. We used a ratio of approximately 1/4 sealer to 3/4 gel stain, ensuring a strong protective layer without compromising the stain’s aesthetic qualities.
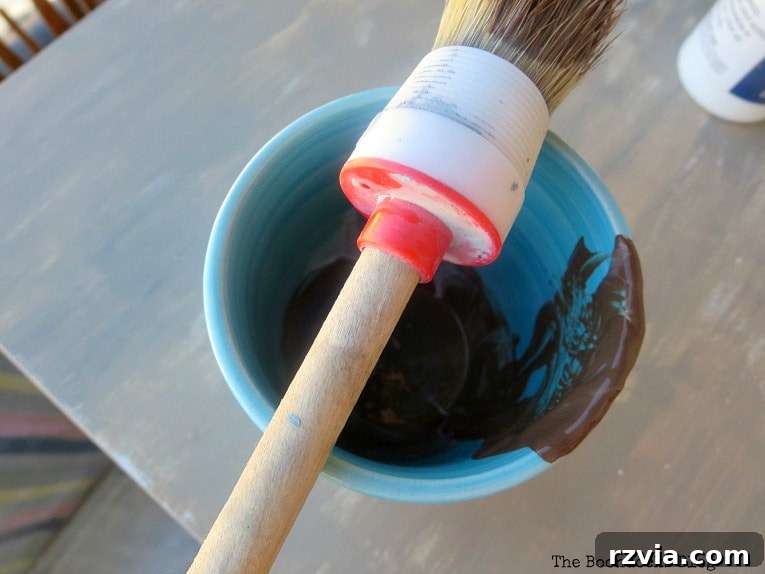
Using a nice round brush, we dipped it into the mixture and applied it with long, deliberate strokes across the entire top surface. This technique created thick, full lines that resembled the grain of natural wood, further enhancing the farmhouse appeal. Unlike the shorter strokes used with the acrylic paint, these long, dragged strokes with the gel stain provided a more cohesive and sophisticated finish, similar to a technique we previously used on our laminate computer table.
The goal was a more subtle, deep stain look rather than obvious paint strokes. By dragging the gel stain mixture right across the surface, we achieved a smooth, even application that allowed the underlying texture to show through, adding character without being overwhelming.
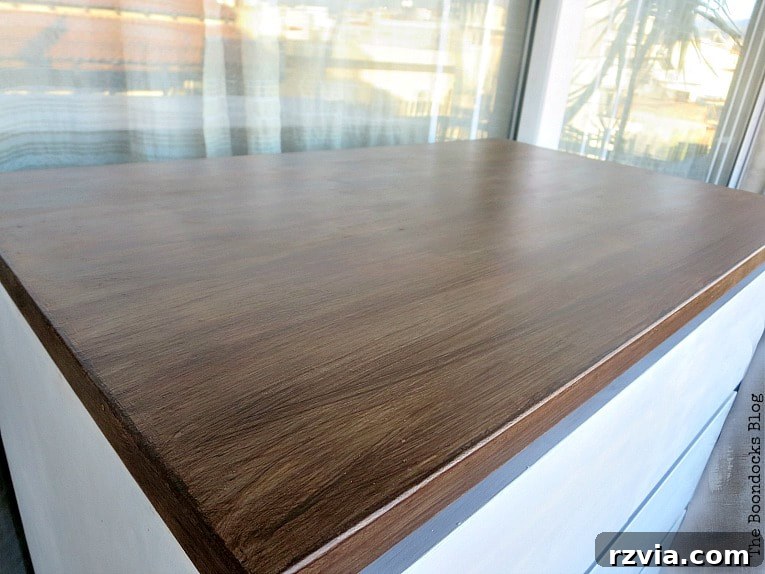
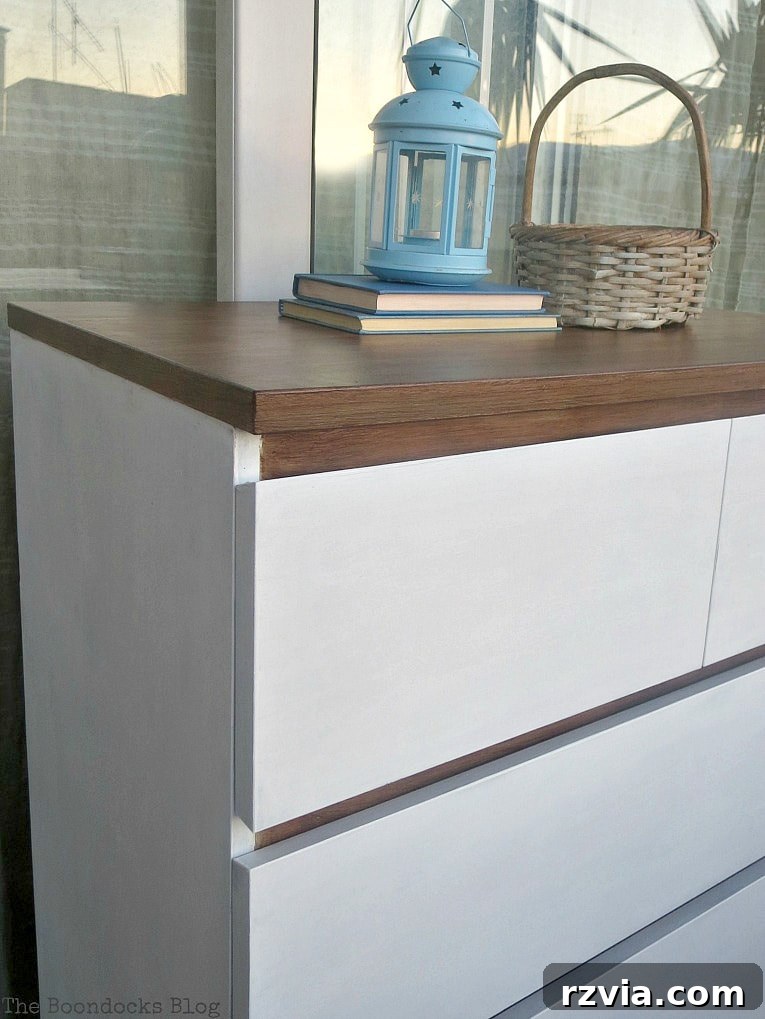
The finished top boasted these beautiful, long brush strokes, creating a rich, deep walnut tone that was both elegant and incredibly durable. This protective layer is essential for any furniture piece that will see frequent use, ensuring its beauty endures for years to come.
Step 5: Sealing the White Elements with Creme Wax
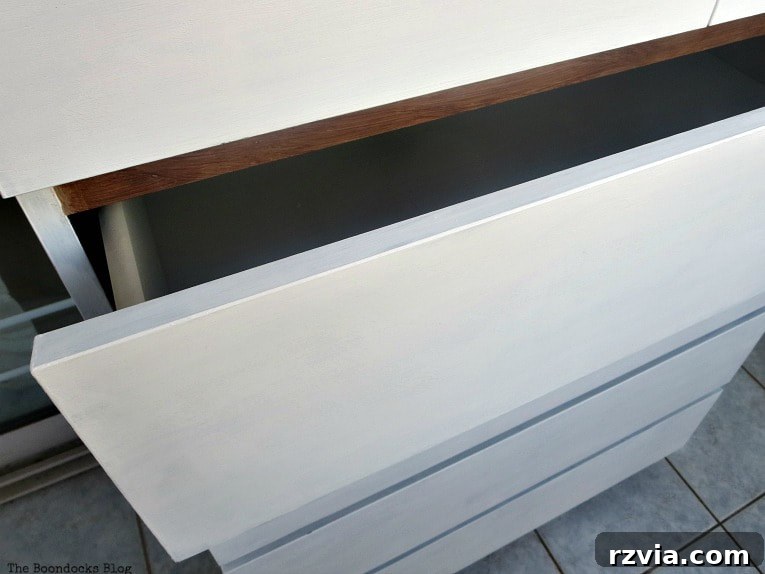
While the top received a heavy-duty sealer, the drawers and other white parts of the dresser required a different type of protection to maintain their soft, matte finish characteristic of chalk paint. For these areas, we used Decoart Creme Wax in Clear. This wax provides a durable, yet subtle, protective layer, enhancing the chalky paint’s finish and making it resistant to minor scuffs and spills.
Apply the creme wax in thin, even coats, buffing gently to achieve a smooth, slightly satin finish. This step not only protects the paint but also deepens its color slightly, giving it a more refined look. With the drawers painted in “Everlasting” white and sealed with wax, they were ready to be reinstalled, completing the two-tone farmhouse aesthetic.
The Stunning Results: A Transformed Farmhouse Dresser
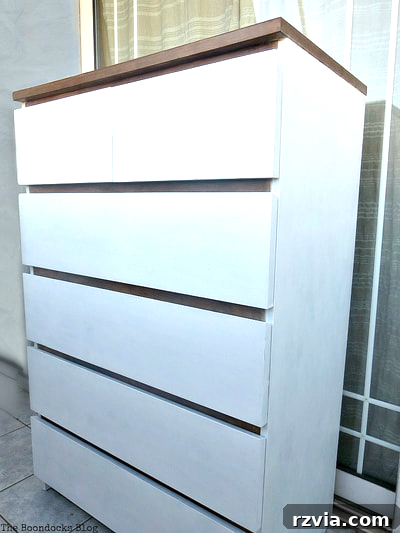
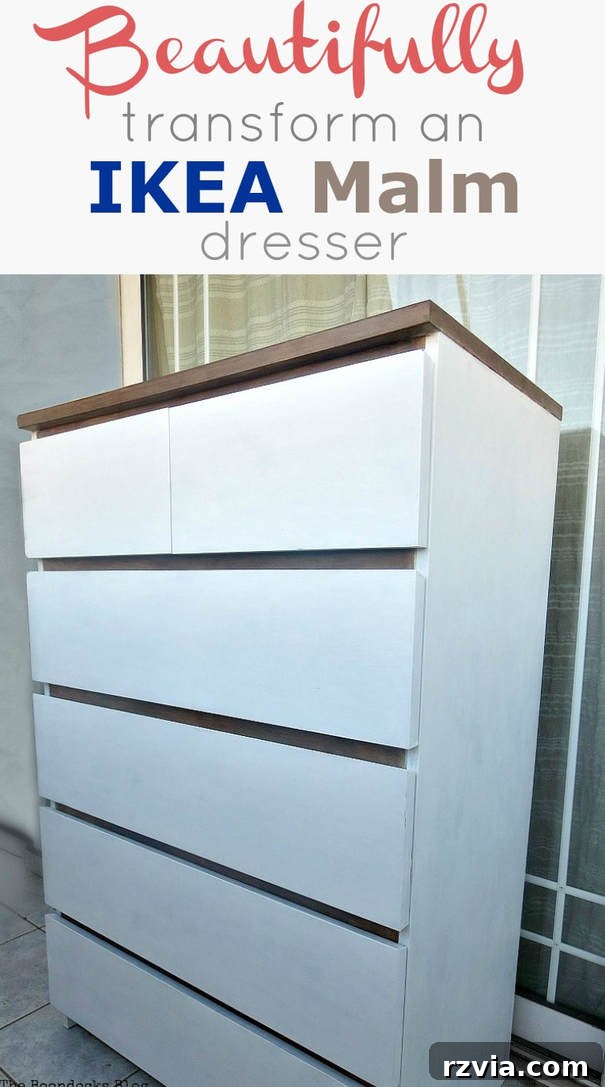
And here is the magnificent result! The transformation from a drab black box to a vibrant, farmhouse-style statement piece is truly remarkable. The combination of bright white and rich walnut brown creates a classic, timeless look that effortlessly brightens the room and adds a touch of rustic charm.
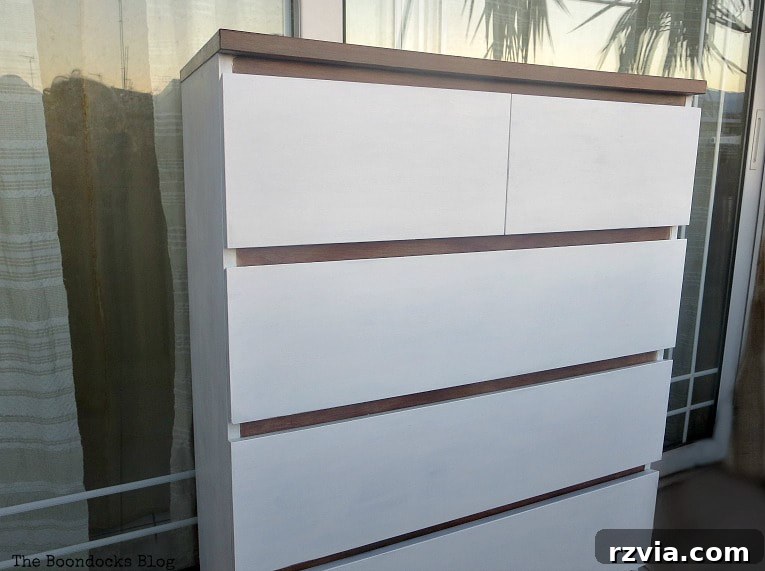
Doesn’t it look incredibly stylish with the deep, rich brown tone peeking out from the frame, beautifully complementing the crisp white drawers? This contrast is what defines the farmhouse aesthetic, blending clean lines with natural, rustic elements.
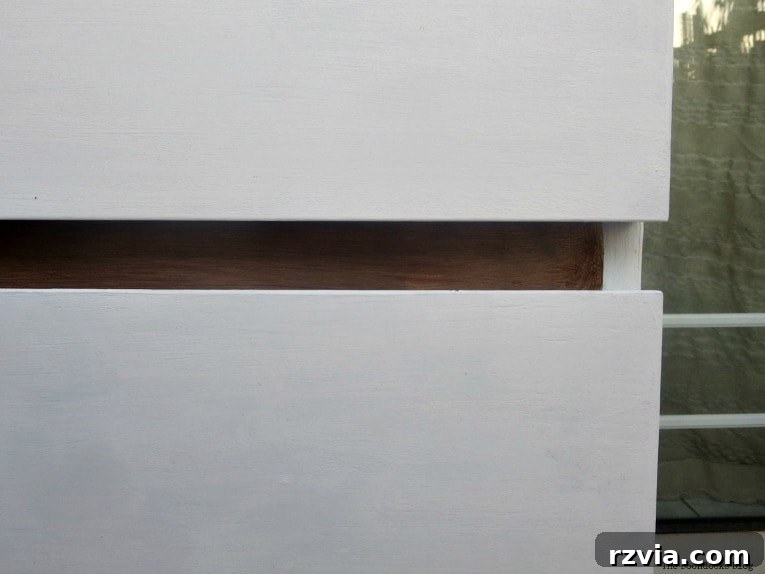
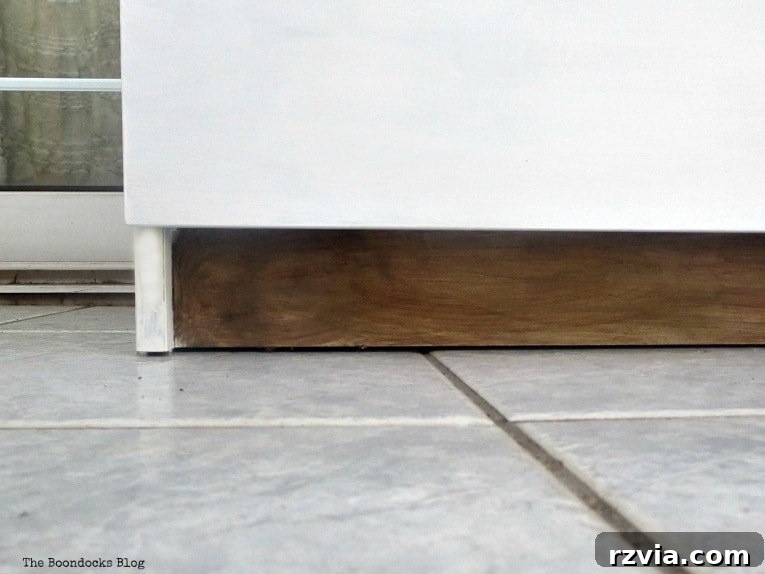
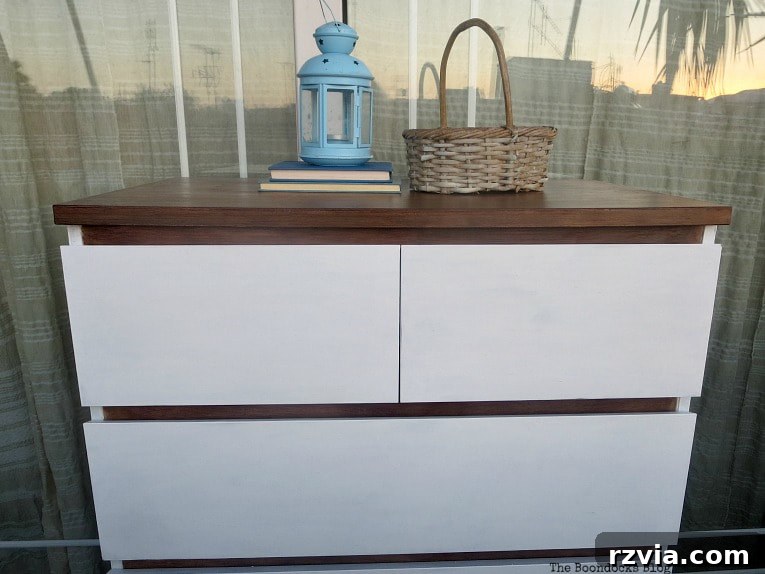
The top surface, now reinforced with the multi-purpose sealer and gel stain, has dried to a robust, hard finish. This was precisely our objective, as it allows us to confidently place various decorative items—like books, baskets, and lanterns—without worrying about scratches or wear. It’s not just beautiful; it’s built to last.
For a truly dramatic comparison, let’s take a quick look back at what the black IKEA dresser looked like before its incredible transformation. The difference is night and day!
Ah, so much better, wouldn’t you agree? It now boasts that coveted farmhouse look we adore. It’s hard to believe this bright, elegant piece was once a somber black dresser. This makeover truly proves that with a little paint and effort, any piece of furniture, even one made of particleboard, can be completely revitalized and tailored to your evolving style.
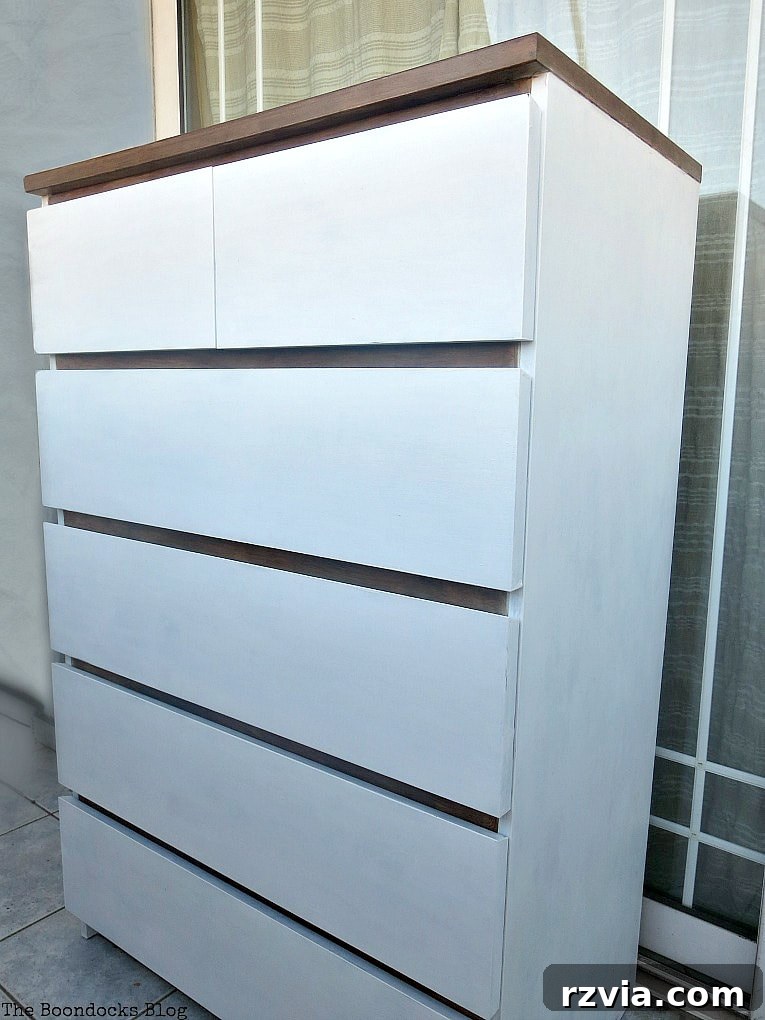
This dresser perfectly aligns with the emerging farmhouse theme throughout our Greek apartment’s bedroom. White is such a versatile color, coordinating beautifully with almost any palette. It now harmonizes wonderfully with the existing green bed frame and another green dresser we previously made over in the room, creating a cohesive and inviting atmosphere.
Many might ask, “Why not just buy it in white in the first place?” That’s a fair question. This particular dresser was originally purchased years ago for my son, who, in his teenage years, specifically wanted a black one. Tastes change, and what worked then no longer suited our current aesthetic. The beauty of DIY furniture makeovers is that you don’t have to settle for the original color or finish. Even furniture made of particleboard, like most IKEA pieces, can be beautifully transformed with the right preparation and products.
Now, this stunning dresser holds pride of place in our bedroom, adding both functionality and style. We have just one more exciting project to share, and then our apartment makeover in Greece will be officially complete!
We hope you’ve been inspired by this furniture up-cycle. We’re always eager to experiment with new products and techniques to discover what works best for different types of furniture. This multi-purpose sealer truly made a significant difference in achieving a durable, high-quality finish. We couldn’t be happier with how we beautifully transformed this black IKEA Malm dresser into a farmhouse-chic masterpiece. Have you ever tried this incredible product, or embarked on a similar IKEA hack? Share your experiences and tips in the comments below!
Do you, like us, own a Malm dresser? We still have another black one in our home in New York, and its transformation is definitely on our future project list. The potential for these versatile pieces is limitless!

The Bedroom Makeover Series: More DIY Inspiration
If you loved this transformation, be sure to check out the other projects in our ongoing bedroom series, where we bring you more creative DIY ideas for your home: