
Embrace Spring’s Beauty: Crafting a Stunning DIY Almond Blossom Wreath
As the days grow longer and a gentle warmth fills the air, there’s an undeniable excitement for the arrival of spring. It’s a season of renewal, fresh starts, and vibrant natural beauty. For many of us, this calls for a refresh of our home decor, bringing that lively outdoor spirit indoors. And what better way to herald the season than with a magnificent, handmade wreath gracing your door? Today, I’m thrilled to share with you the creation of my very own Almond Blossom Wreath – a project born from inspiration and a desire to celebrate the delicate beauty of spring.
While the thought of an ‘easy’ craft might often appeal, sometimes the most rewarding projects are those that challenge us slightly, allowing for a deeper connection with our creativity and the materials we use. This almond wreath is a testament to that philosophy. Having crafted seasonal wreaths for winter, fall, and summer, it felt only natural to complete the cycle with a piece that truly captures the essence of spring. This isn’t just a wreath; it’s a celebration of nature’s awakening, crafted with love and a touch of sustainable charm.
The Inspiration Behind the Blossoms
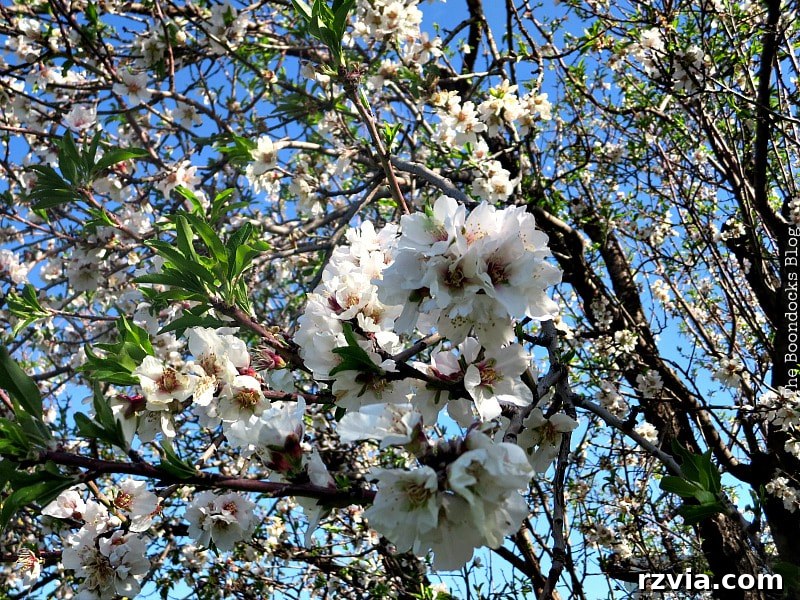
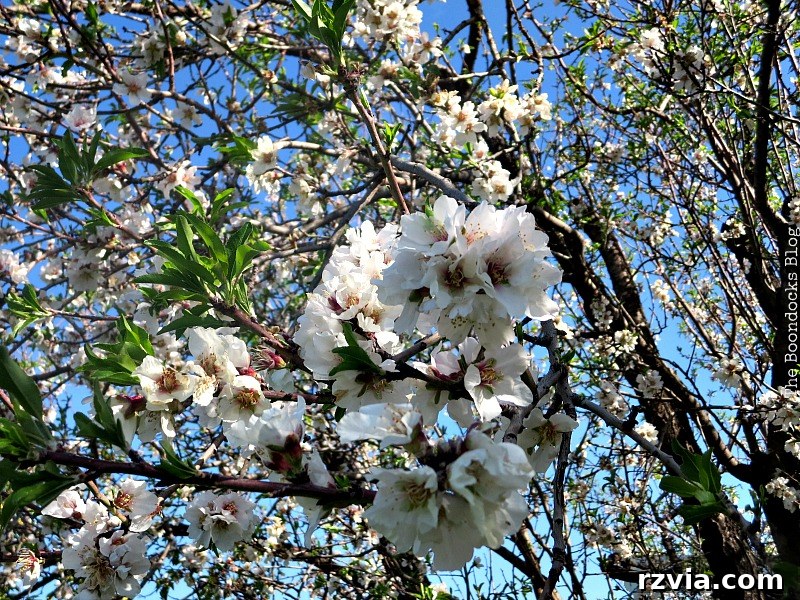
Every great DIY project starts with a spark, an image, or a feeling that ignites the creative flame. For this spring wreath, my muse came directly from Mother Nature herself – the enchanting almond tree. In the heart of spring, almond trees burst forth with delicate, ethereal blossoms, painting landscapes with soft whites and pinks. Their early bloom signifies hope, new beginnings, and the promise of warmer days ahead. It’s this profound natural beauty, coupled with a desire to incorporate organic elements into my home decor, that truly inspired the design of this almond blossom wreath.
Participating in a home and garden blog hop, I felt compelled to share something that deeply resonated with the natural world. Instead of simply buying faux flowers, I envisioned a wreath that celebrated genuine flora, capturing the ephemeral beauty of the almond tree. The goal was to create a piece that felt authentic, rustic, and deeply connected to the season, reflecting the joy and vibrancy that spring brings to our surroundings. This image of the almond tree in full bloom became the cornerstone of my design philosophy.
Gathering Your Thrifty Materials: A Sustainable Approach
As a passionate thrifty crafter, my DIY philosophy revolves around repurposing and giving new life to forgotten items. This not only makes crafting more accessible but also adds a unique, eco-conscious charm to every creation. For this almond blossom wreath, I began with a simple, yet essential, foundation:
The Cardboard Base
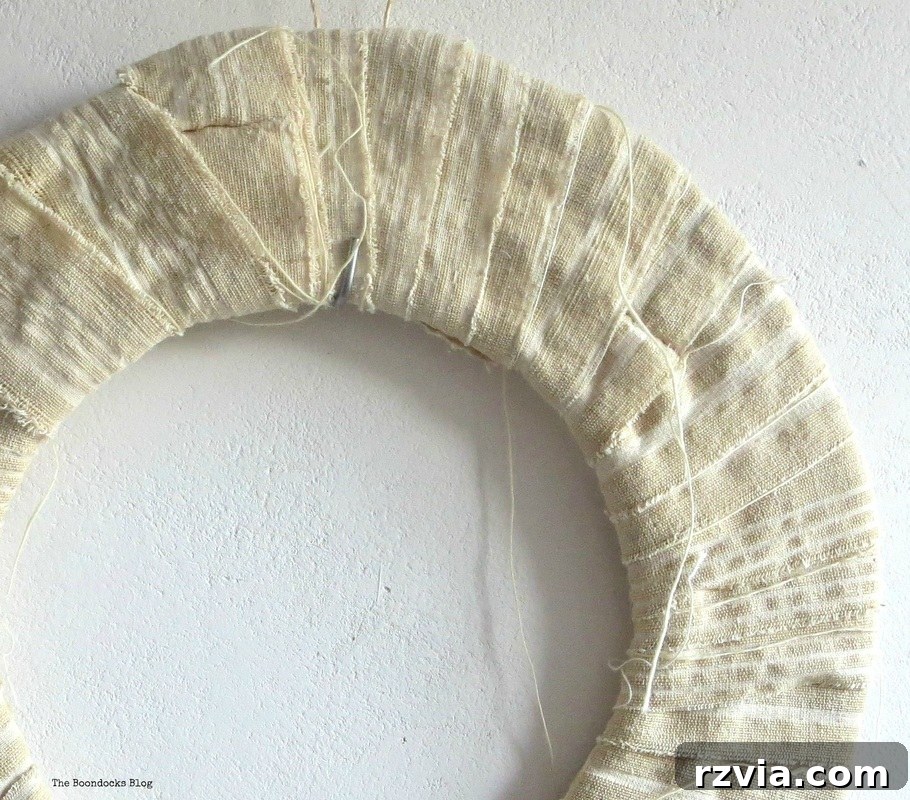
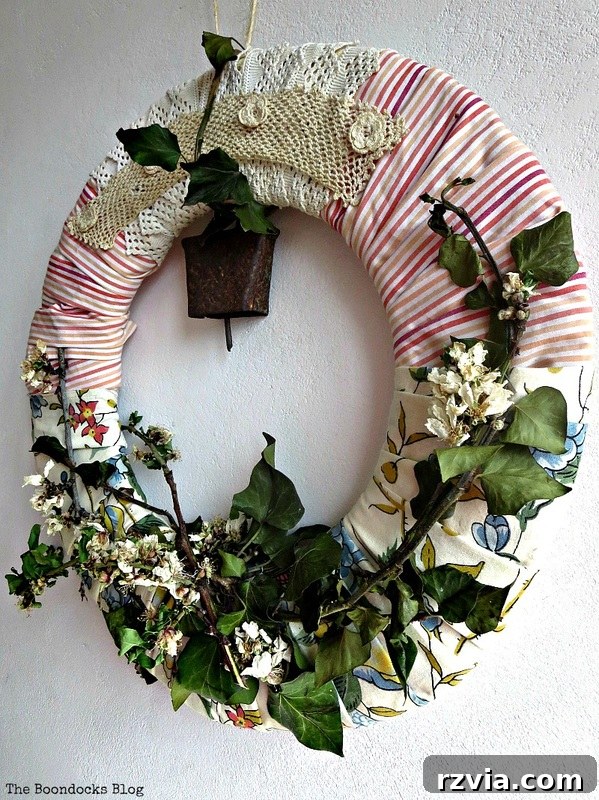
My crafting journey started with a humble, donut-shaped piece of cardboard. This readily available and inexpensive material forms the perfect sturdy base for any wreath. Whether you cut one from an old box or recycle packaging, using cardboard ensures that your project is not only cost-effective but also environmentally friendly. Its circular shape is ideal for creating a classic wreath silhouette, ready to be adorned with layers of textures and colors.

Repurposed Fabric Strips
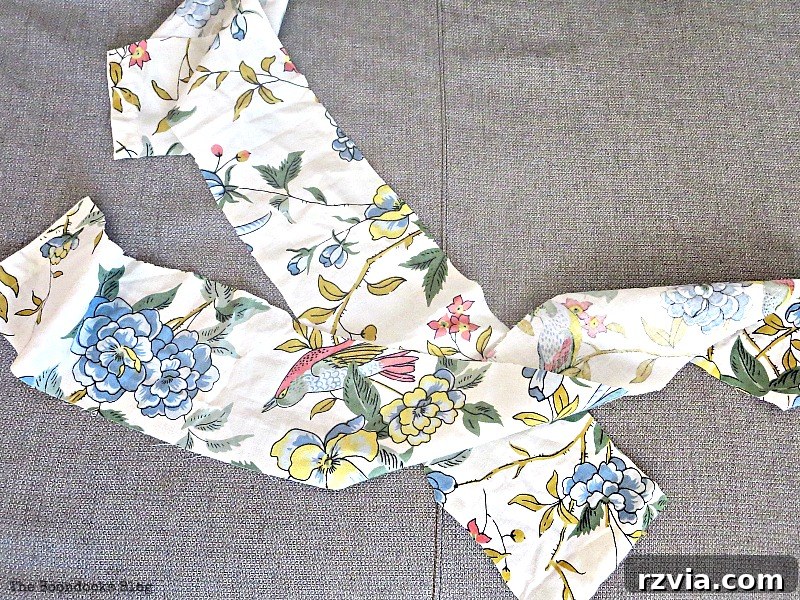
The next step in building our wreath involves wrapping the cardboard base. The idea is to completely cover the cardboard with various strips of fabric, creating a soft, textured foundation. This is where the magic of repurposing truly shines! For this particular spring wreath, I selected fabrics that evoked the fresh, vibrant feel of the season. Think light patterns, subtle hues, and textures that invite warmth and cheer.
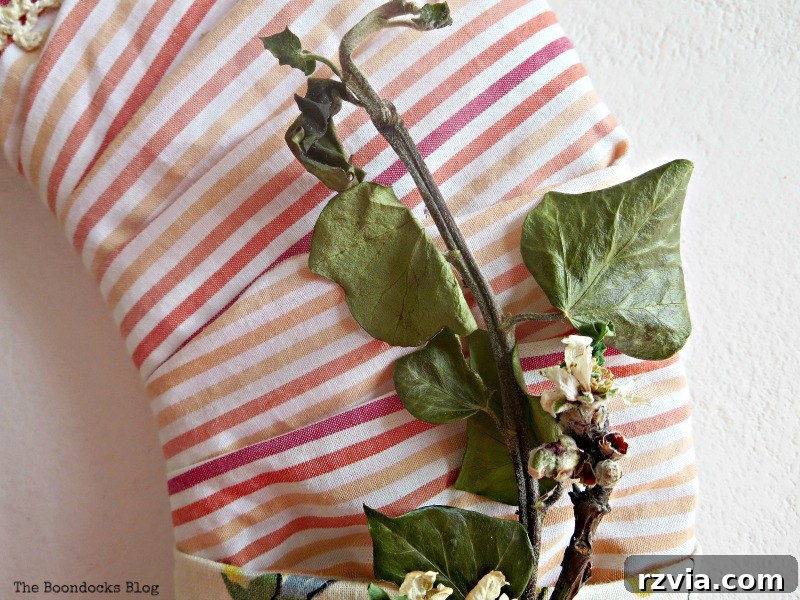
I also incorporated strips cut from an old shirt of mine, featuring a lovely stripe pattern. This is a practice I wholeheartedly advocate: giving old clothes a second life transforms them into unique crafting materials. Every piece of fabric you see on this wreath has been lovingly repurposed, contributing to its unique story and sustainable appeal. Mixing different patterns and textures, like the delicate spring fabric and the classic striped material, adds depth and visual interest, making the wreath truly one-of-a-kind.
Adding Unique Embellishments: Crochet & Patina
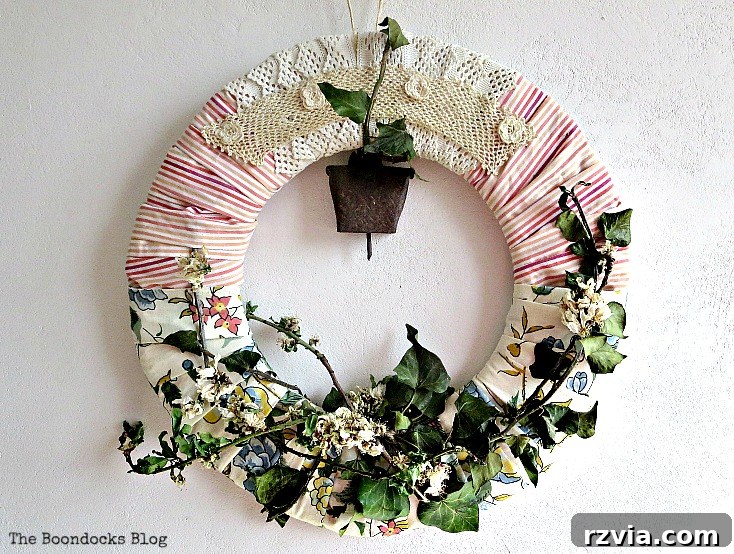
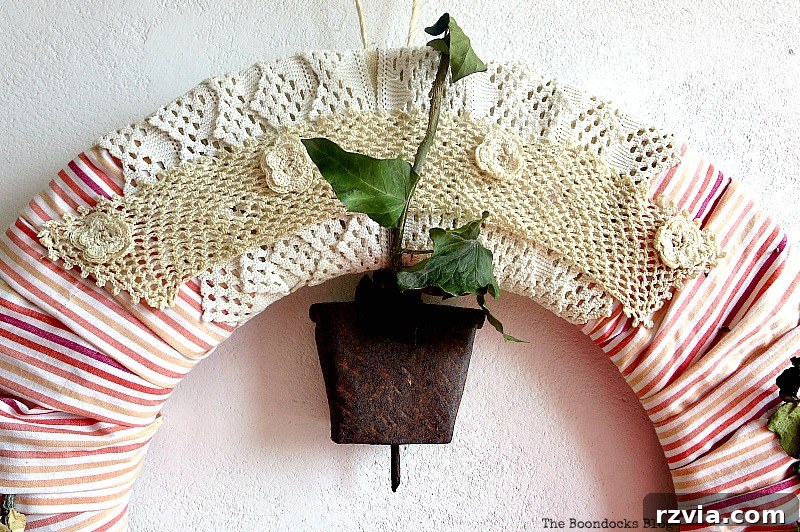
To further enhance the handmade charm and vintage rustic feel of the wreath, I added a few special touches. Small pieces of crocheting, perhaps from an old doily or a discarded project, were integrated. These delicate elements instantly lend an artisanal quality, suggesting intricate craftsmanship and a cozy, nostalgic vibe. They break up the fabric textures and add a layer of subtle elegance.
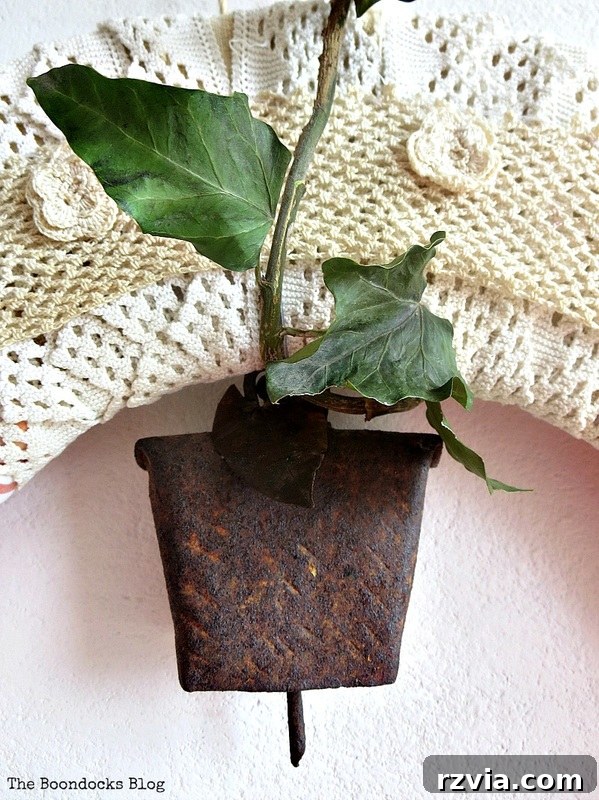
And for that perfect touch of authentic patina, I incorporated an old bell. This isn’t just any bell; it once belonged to sheep, carrying with it a history and a story. The weathered appearance and subtle tarnish of the bell provide a beautiful contrast to the fresh spring fabrics and greenery, grounding the wreath with a sense of timelessness and rustic character. It’s these small, thoughtful details that truly elevate a DIY project from ordinary to extraordinary.
The Fresh Greenery: A Touch of My Own Almond Tree
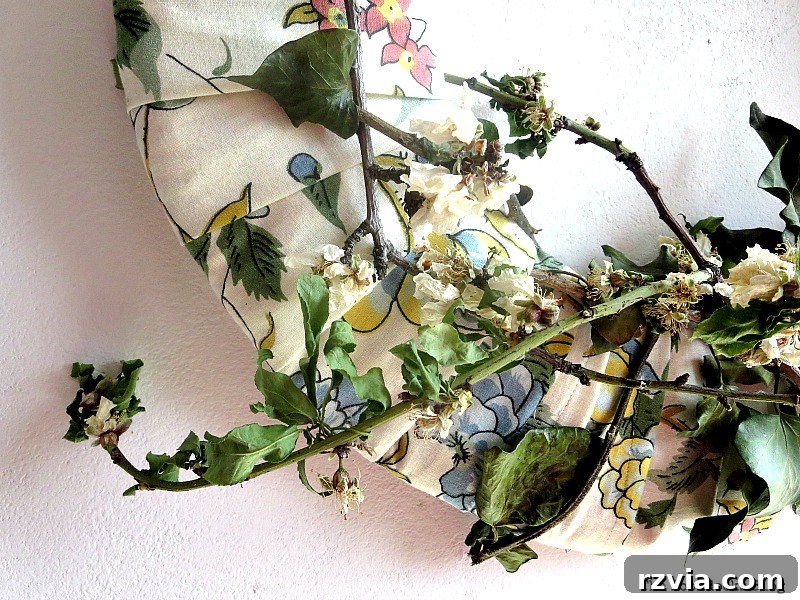
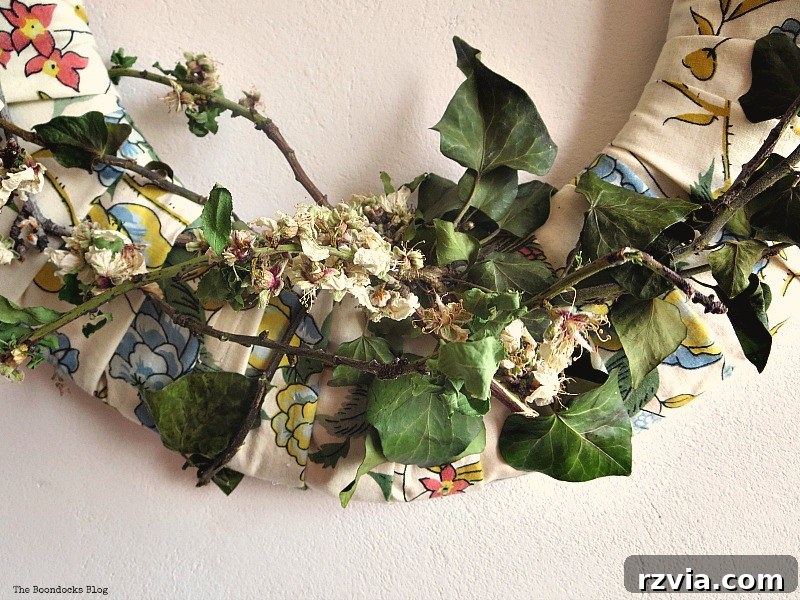
The crowning glory of this spring wreath, and indeed its namesake, comes directly from my very own almond tree. There’s something incredibly satisfying about incorporating elements from your garden into your decor. Freshly cut branches, heavy with delicate almond blossoms, bring an unparalleled sense of life, fragrance, and authenticity to the wreath. These aren’t just decorative elements; they are a direct connection to nature’s cycle, a vibrant symbol of spring’s arrival.
Using real greenery provides a natural texture and a fleeting beauty that artificial alternatives simply cannot replicate. The subtle variation in leaf color and the tender petals of the blossoms make each wreath unique. This direct connection to the source of inspiration elevates the entire project, making it a truly personal and meaningful piece of seasonal art for your home.
Crafting Your Almond Blossom Wreath: A Step-by-Step Guide
Now that we have all our repurposed and natural treasures, let’s bring them together to create this stunning spring centerpiece. The process is straightforward, focusing on layering textures and thoughtfully arranging your natural elements.
- Prepare Your Base: Begin by taking your donut-shaped cardboard. Carefully cut strips of your chosen fabrics, varying in width if you desire a more organic look. Start wrapping the cardboard base tightly with these fabric strips. Overlap them slightly to ensure no cardboard shows through, creating a continuous, soft surface. Secure the ends with a dab of hot glue or by tucking them underneath other layers. Continue until the entire cardboard form is generously covered, creating a plush and appealing foundation.
- Add Fabric Layers and Textures: Once the base is wrapped, you can add additional fabric strips or pieces of crocheting for extra texture and visual interest. Use hot glue to securely attach these elements, ensuring they are evenly distributed but still have that artfully arranged, rustic feel. Think about how different colors and patterns complement each other, building depth in your design.
- Integrate Embellishments: Next, carefully position your vintage bell. I chose to hang mine off-center, allowing it to dangle gracefully and catch the eye. Secure it firmly with a sturdy thread or thin wire to the wrapped base. The goal is to make it look like a natural, integral part of the wreath, rather than just an add-on.
- Arrange the Almond Greenery: This is where your wreath truly comes alive! Select various sizes of almond branches, some with blossoms and some with just fresh leaves. Begin by tucking the stems into the wrapped fabric base, using hot glue for extra security where needed. Arrange them to flow naturally around the wreath, creating a sense of movement and organic growth. You can layer branches to add fullness, ensuring the delicate blossoms are prominently displayed. Don’t be afraid to trim and adjust until you achieve a balanced and aesthetically pleasing composition that truly mimics the beauty of a blooming almond tree.
- Final Touches: Step back and assess your creation. Are there any gaps? Does anything need a slight adjustment? Once satisfied, your beautiful, handmade almond blossom wreath is ready to adorn your home.
Displaying Your Vintage Rustic Charm
With your almond blossom wreath complete, it’s time to find the perfect spot for it to shine. I’ve proudly hung mine on a prominent wall, transforming a simple space into a focal point of spring elegance. This wreath, with its blend of repurposed fabrics, antique details, and fresh almond branches, embodies a beautiful vintage rustic style. The natural elements from the almond tree truly set the tone, creating an inviting and authentic ambiance that welcomes the new season.
Imagine this unique piece on your front door, greeting guests with its charming, natural appeal. Or perhaps as a centerpiece on your dining table, bringing the freshness of an almond orchard indoors. The beauty of a handmade wreath like this lies not only in its aesthetic appeal but also in the story it tells – a story of creativity, sustainability, and a deep appreciation for the cycles of nature. It’s more than just a decoration; it’s a heartfelt tribute to the arrival of spring.
If you’re inspired by this project, please consider sharing it with your friends or saving it to your Pinterest boards – every share helps spread the joy of DIY and sustainable crafting! And if you truly love what you see and want to join me on more creative adventures, subscribe to my blog to receive updates twice a week directly in your mailbox. Your support means the world!
Related Spring & Seasonal Wreath Projects:
<< Previous Post: Share It Link Party 50 HOME Next Post: A Nest for my Rustic Eggs >>
This blog is for entertainment purposes only; my DIY tutorials are not professional advice. Read my full disclaimer here.
I love reading your comments and I make sure to reply to each and every one of them. Your thoughts and feedback are always appreciated!