
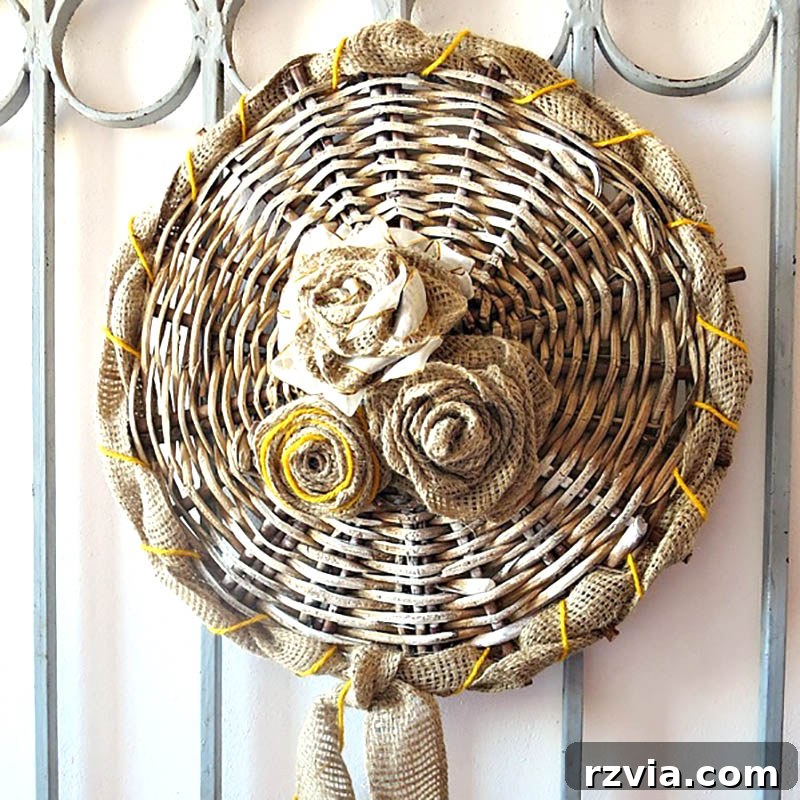
Transforming Trash to Treasure: A Shabby Chic Wicker Basket Upcycle
There’s an undeniable charm in preserving the past, especially when it comes to forgotten pieces with beautiful textures and inherent character. Wicker weave, with its intricate patterns and timeless appeal, often holds a hidden story, even when it’s old or broken. Instead of discarding these treasures, imagine giving them a new lease on life, transforming them into stunning decor that adds a touch of rustic elegance to any home. This guide will walk you through creating a beautiful shabby chic wicker basket upcycle, proving that with just a few simple materials and a dash of creativity, you can turn what some might call junk into a cherished piece of art.
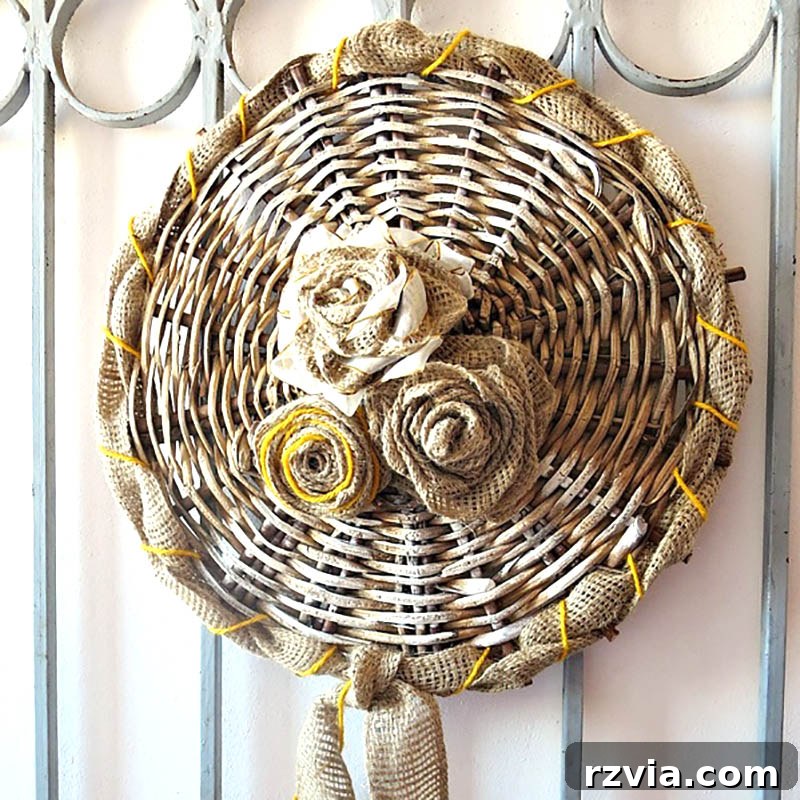
DIY Shabby Chic Wicker Basket Upcycle: A Step-by-Step Guide
Upcycling isn’t just a trend; it’s a sustainable way to inject personality and history into your living space. This particular project highlights how even the most unlikely finds can be transformed. Join me on this creative journey as we discover how a seemingly unusable piece of wicker found new purpose and became a delightful piece of rustic home decor.
The Discovery: Rescuing a Forgotten Wicker Piece
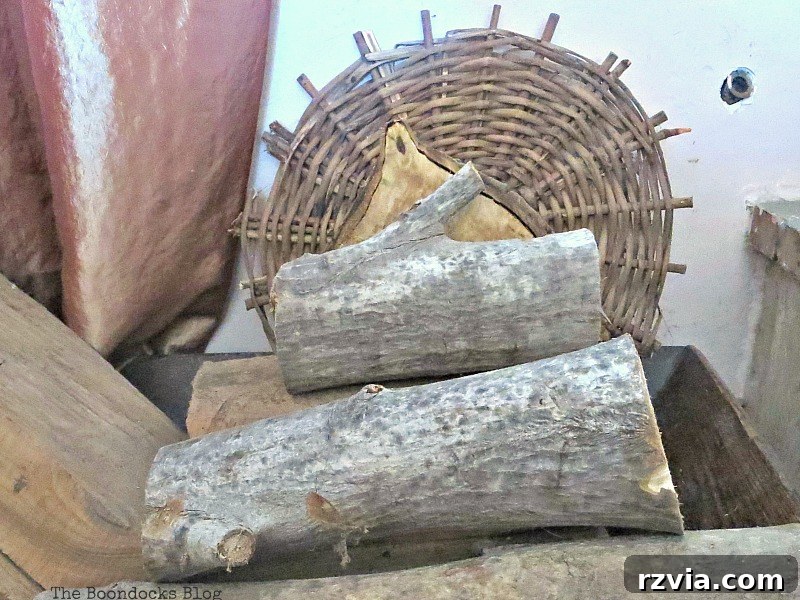
My crafting adventures often begin in unexpected places, and this project was no exception. While undertaking the satisfying task of cleaning out my fireplace and giving it a much-needed makeover (you can find part 2 of that journey here), I stumbled upon a peculiar item tucked away in an old wooden storage washtub. It was amidst other forgotten odds and ends that this piece revealed itself:
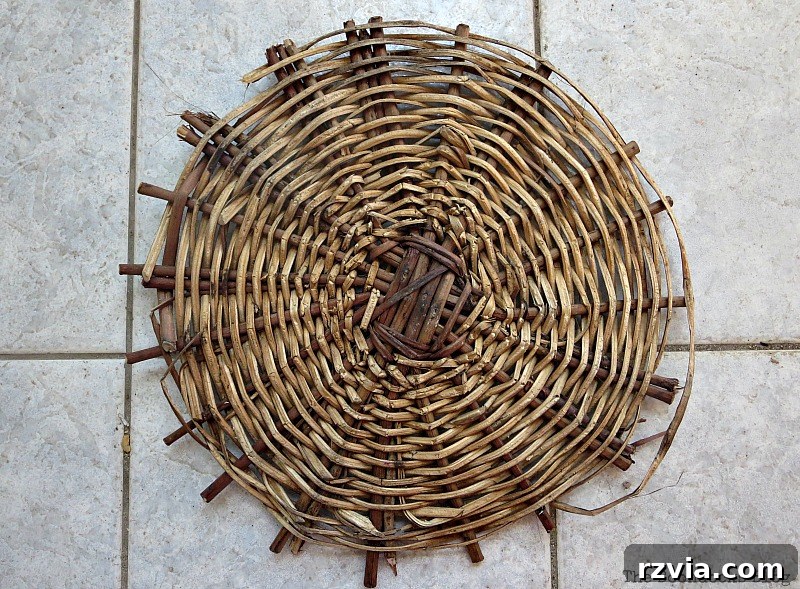
Do you recognize it? It was undeniably the bottom of an old basket. Yes, indeed, the entire bottom had given way, separating from its original structure and leaving only this circular fragment. Many might see this as nothing more than firewood or a piece of trash destined for the bin. Initially, I too considered burning it in the fireplace, a convenient end to its dilapidated state. However, something about its intricate weave and unique pattern caught my eye. I held onto it, a faint idea sparking that perhaps it could become something else—anything but kindling.
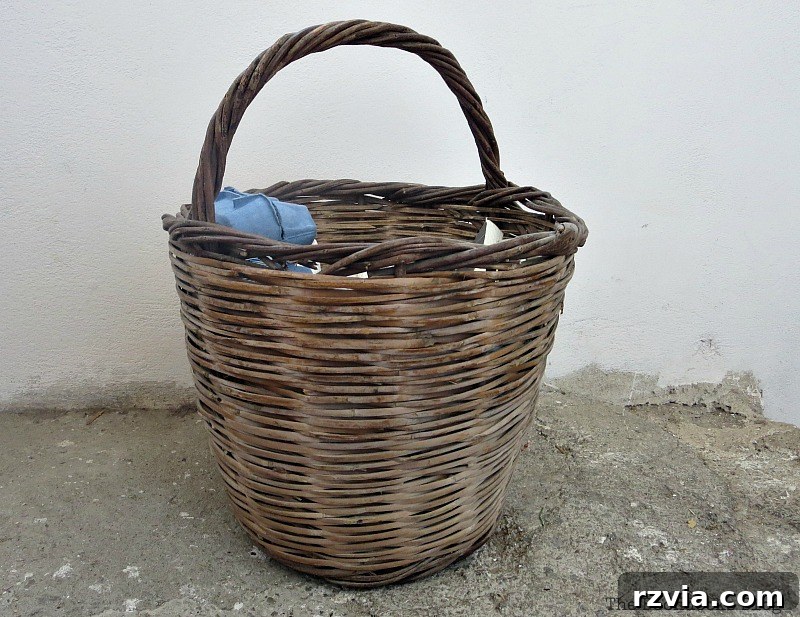
The beauty of upcycling lies in seeing potential where others see waste. This forgotten wicker bottom possessed a lovely, tactile quality, and its woven structure presented a perfect canvas for a creative project. It whispered promises of a shabby chic makeover, waiting to be adorned and brought back to life as a unique piece of home decor. This moment of serendipitous discovery is often the most exciting part of any DIY endeavor, transforming a mundane task into an artistic opportunity.
Gathering Your Upcycling Essentials
To embark on this shabby chic wicker upcycle, you won’t need an extensive array of supplies. The beauty of this project lies in its simplicity and the ability to work with materials often found around the house or at a local craft store. Here’s what you’ll need to create your own unique piece:
- An old wicker basket bottom or a similar woven, sturdy piece.
- White paint (chalk paint or acrylic paint works wonderfully for a shabby chic finish).
- Burlap ribbon (a wide roll offers versatility).
- Yellow yarn (or any color that complements your decor).
- Scissors.
- Craft wire or hot glue gun (for attaching embellishments).
- Optional: Additional ribbons, artificial flowers, or small decorative elements for the center.
Step 1: Preparing and Painting Your Wicker Canvas
Before applying any paint, it’s crucial to clean your wicker piece thoroughly. Dust, cobwebs, and any grime accumulated over time can prevent the paint from adhering properly. A stiff brush and a damp cloth should suffice. Once clean and dry, it’s time to add the base coat.
I headed to my trusty paint stash, a collection every DIY enthusiast cherishes, and selected some white paint. For a shabby chic aesthetic, a distressed or slightly translucent finish works best. Instead of a full, opaque coat, I selectively added white, allowing some of the natural wicker tone to peek through. This technique enhances the vintage feel and adds depth to the piece. Chalk paint is particularly excellent for achieving this look, as it offers great coverage with a matte finish that can be easily distressed. Apply the paint lightly, focusing on highlighting the weave rather than completely obscuring it. Allow it to dry completely before moving on.
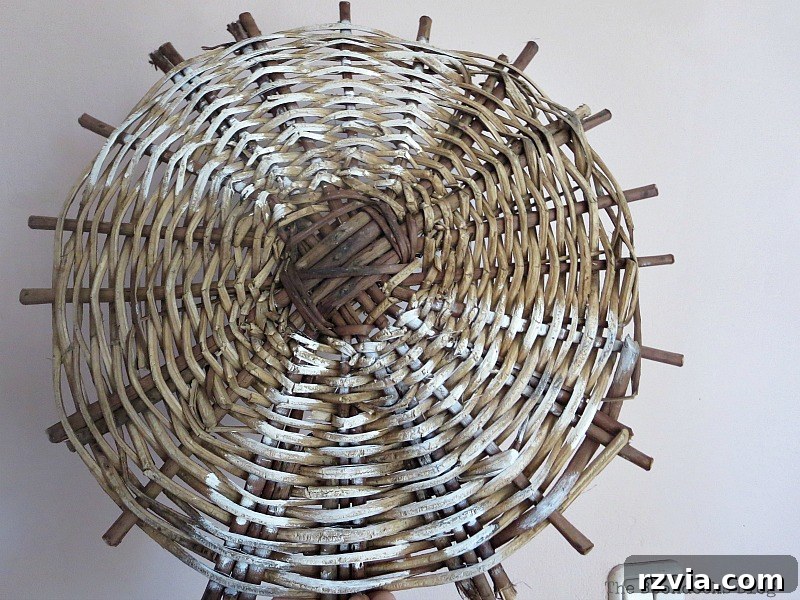
This initial coat of white transforms the old, often dull wicker into a bright, fresh base. It immediately elevates the piece from “junk” to a potential decorative item. The goal here is not perfection, but rather to create a soft, inviting backdrop that will beautifully complement the subsequent layers of burlap and yarn.
Step 2: Embracing the Rustic Charm with Burlap Ribbon
With the paint dry, it was time to introduce texture and warmth. I had recently acquired a large roll of burlap ribbon, and I was eager to find the perfect project to showcase its rustic beauty. This upcycled wicker piece presented the ideal opportunity.
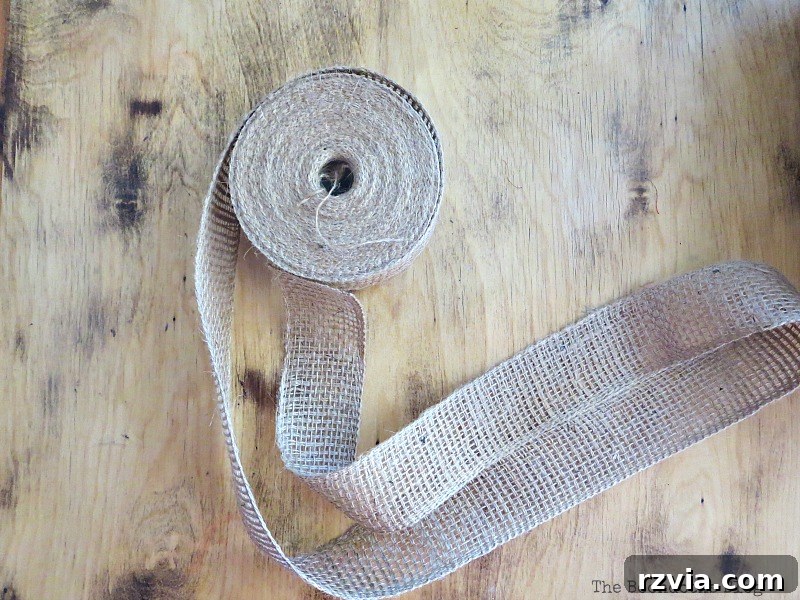
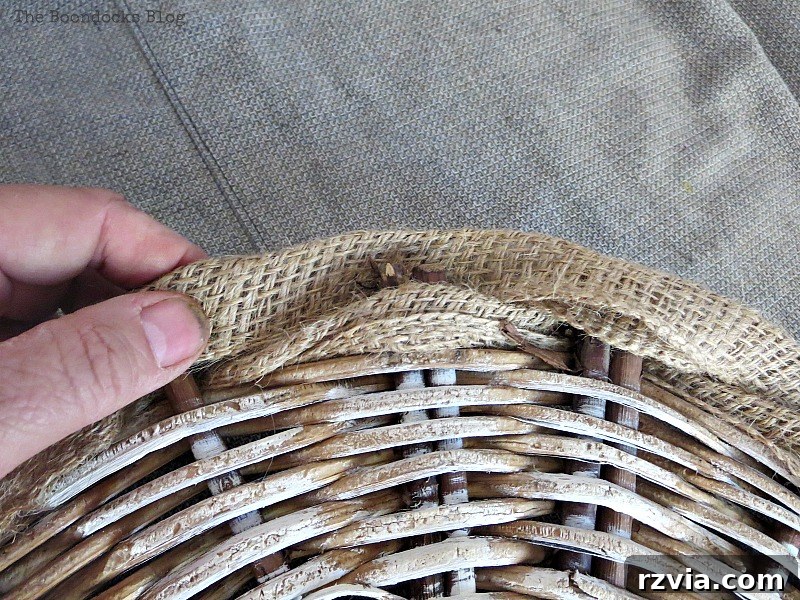
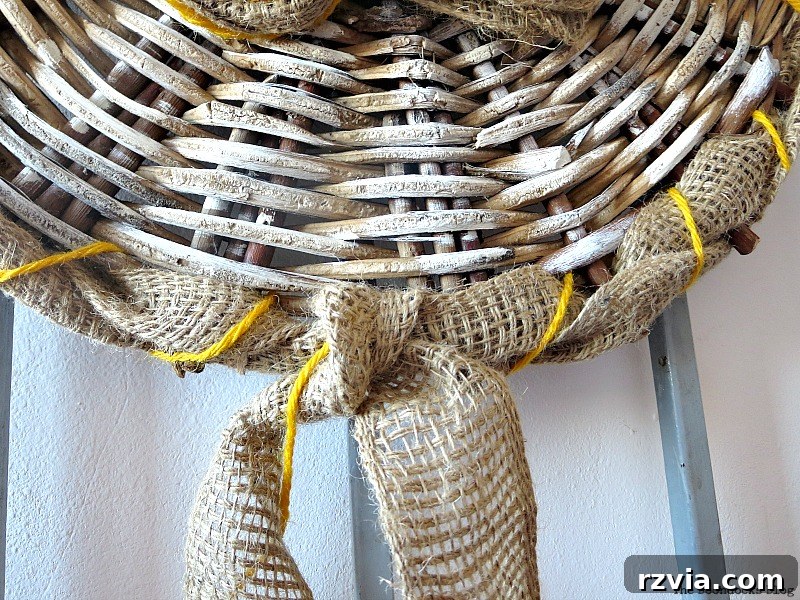
Burlap is a fantastic material for adding a touch of rustic or shabby chic flair to any project. Its natural fibers and slightly coarse texture provide an organic contrast to the smooth paint. To apply it, I took a generous length of the burlap ribbon, folded it in two lengthwise, and began threading it around the outer edge of the wicker circle. The goal was to create a soft, textured border that framed the central wicker pattern.
Carefully weave the folded burlap through the existing wicker structure. If your wicker piece has open gaps or sturdy “twigs” around the edge, these can serve as natural threading points. This technique not only adds a lovely visual element but also provides a bit of structural interest. Ensure the burlap is evenly distributed around the perimeter, creating a consistent look. The folded edge of the burlap creates a neat finish and adds a bit more bulk for a plush, appealing border.
Step 3: Adding a Pop of Color with Yarn
While the burlap provided a wonderful rustic foundation, the piece needed a touch of vibrant color to truly come alive. Yellow yarn was the perfect choice to add warmth and a cheerful contrast to the neutral tones of the wicker and burlap.
I then threaded some yellow yarn through the ‘twigs’ of the wicker and the burlap, intertwining it strategically. This step serves a dual purpose: it helps to secure the burlap ribbon in place, preventing it from shifting, and it introduces a much-needed splash of color. The yellow yarn, woven through the natural gaps, mimics the organic feel of the wicker while adding a delicate touch. Experiment with different yarn colors to match your home’s existing palette – soft blues, sage greens, or even muted pinks could work beautifully for a shabby chic aesthetic. The key is to thread it artfully, allowing the color to enhance, not overwhelm, the existing textures.
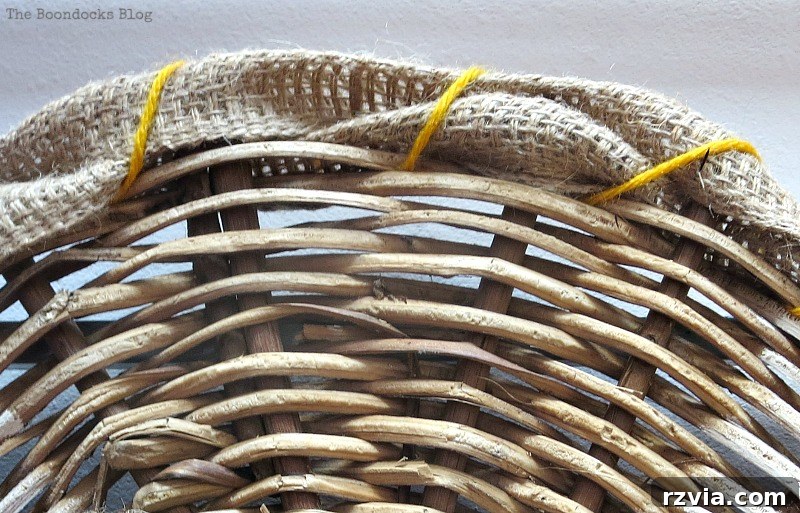
Once the yarn was threaded all the way around, I tied the ends securely on the back of the piece. This keeps everything neat and ensures the yarn stays put. I then took a moment to artfully arrange the yarn strands, making sure they looked intentional and flowed naturally with the design. This small detail makes a big difference in the overall finished look, giving it a polished yet handmade appeal.
Step 4: Embellishing the Center with Handmade Flowers
The final touch for this rustic wall art was to add something special to the center, creating a focal point. My initial idea was to create some intricate burlap rosettes from the remaining roll. However, as many DIY enthusiasts know, not every creative endeavor goes exactly as planned!
Let’s be honest: my attempt at crafting burlap rosettes was an epic fail. Sometimes, even with the best intentions, certain techniques just don’t click. And that’s perfectly okay! Instead of showing you my less-than-perfect attempt, I highly recommend learning from the true experts. YouTube is a treasure trove of tutorials for making fabric flowers. You can easily find countless guides on creating beautiful burlap rosettes there. It’s always good to know when to seek external guidance, and I encourage you to check out a professional tutorial like this one on YouTube if you want to master the art of burlap rosettes. The proof of my struggles is evident, but the joy is in the journey and the final outcome!
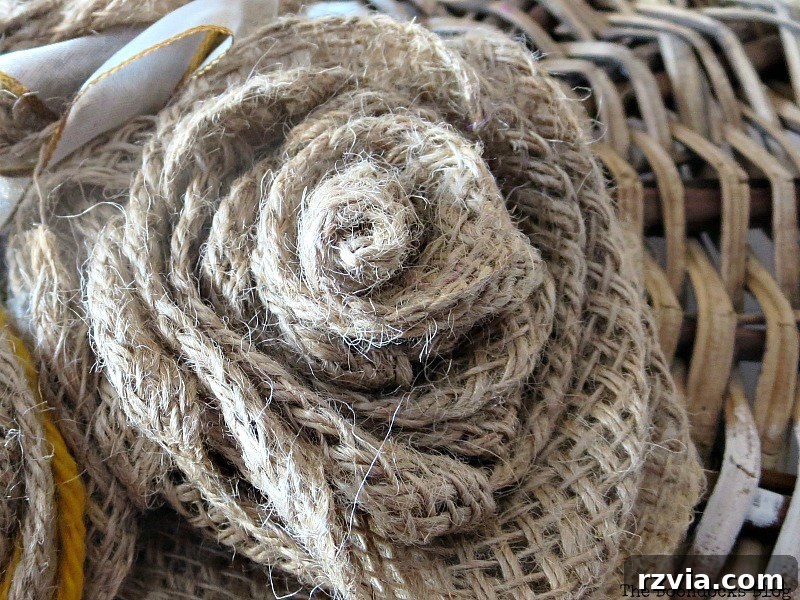
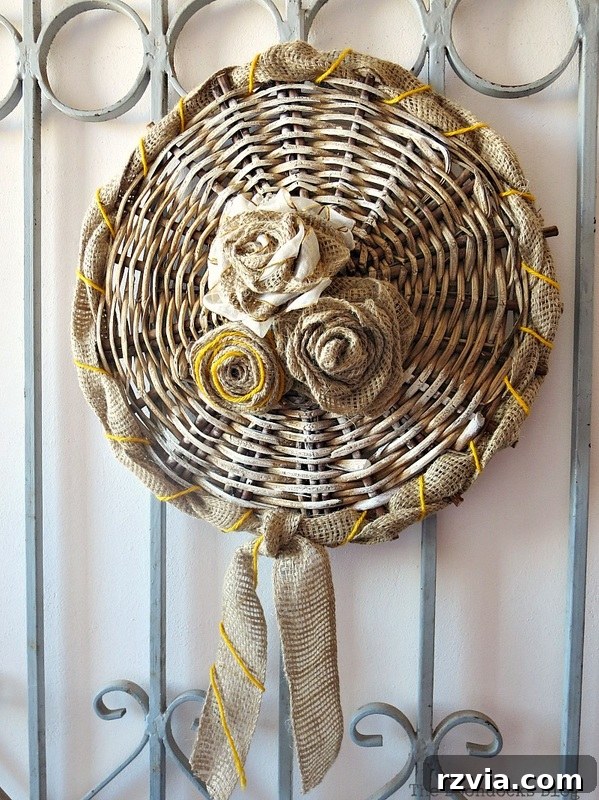
Undeterred by my initial setback, I decided to pivot and create simpler, yet equally charming, embellishments. For one flower, I simply threaded more yellow yarn into a basic flower shape, allowing the color and texture to speak for themselves. This proved to be a much more achievable and satisfying result, perfectly aligning with the project’s rustic aesthetic.
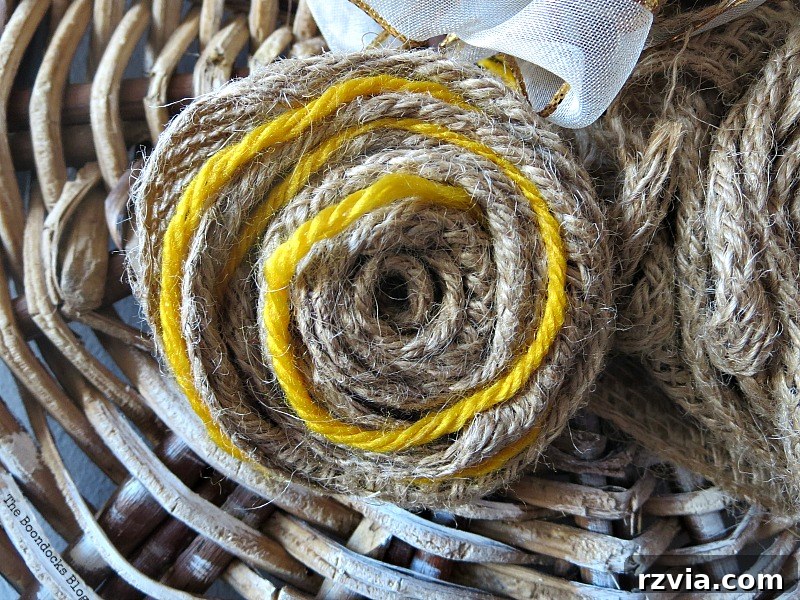
For a second flower, I decided to get a little “fancy” after my previous attempts, combining a small piece of burlap with a white and gold ribbon. The ribbon added a subtle sheen and a touch of elegance, creating a beautiful contrast with the natural burlap. This combination allowed me to achieve a more refined, yet still handmade, floral accent. It’s a testament to how combining different textures and simple elements can lead to a stunning result without needing complex techniques.
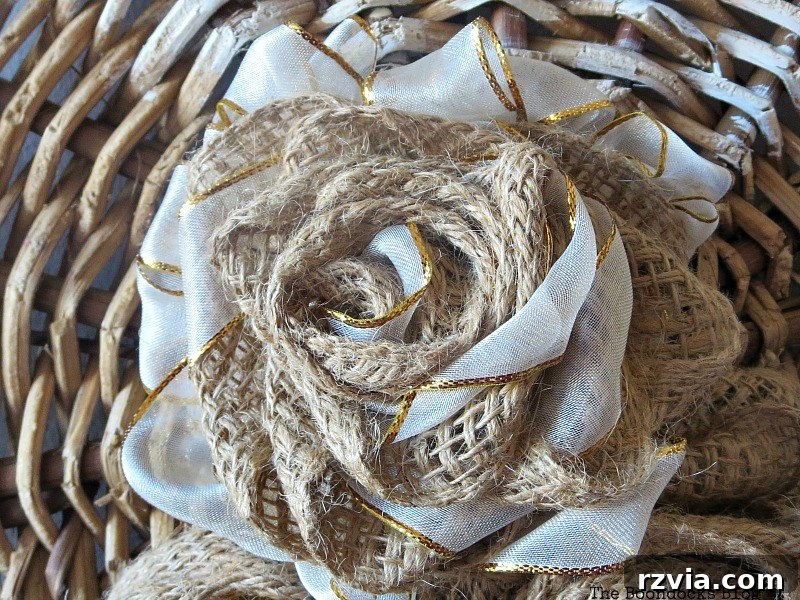
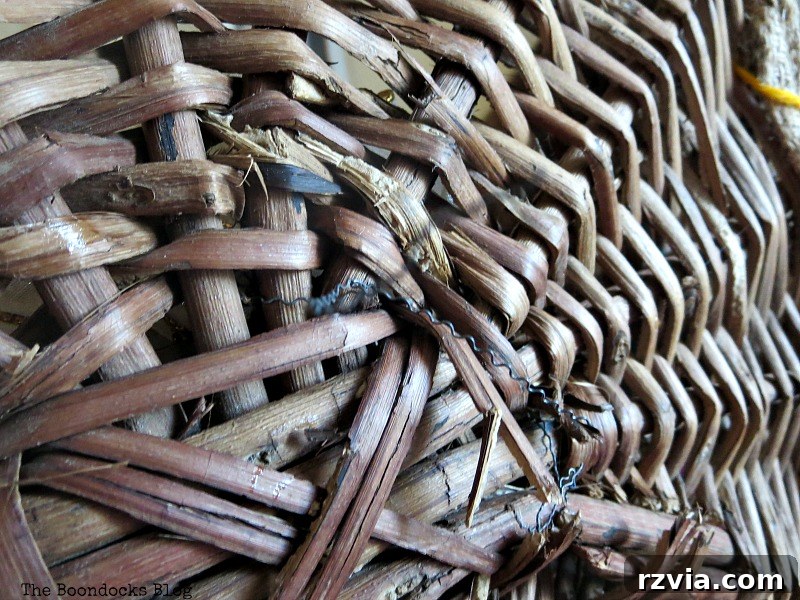
Once the flowers were complete, the next step was to attach them securely to the center of what was once just a basket bottom, but which I now affectionately call my “crafty bottom.” My initial plan was to glue them, but patience, as they say, is a virtue I sometimes lack, especially when eagerness for a finished project takes over! Rather than waiting for slow-drying glue, I opted for a more immediate and secure method: craft wire. By threading small pieces of wire through the back of the flowers and then through the wicker weave, I was able to fasten them firmly in place. This method ensures longevity and stability, particularly important if the piece is to be hung as wall decor.
The “Crafty Bottom”: A Repurposed Masterpiece
And there it is – my transformed “crafty bottom,” a testament to the power of imagination and the joy of repurposing. What was once a discarded fragment of a basket is now a charming piece of shabby chic decor. I don’t really have a definitive name for it; perhaps a rustic wall hanging, or unique art? While I wouldn’t go so far as to call it a masterpiece in the traditional sense, it certainly feels like one in my crafting world! All I know is that I saved that poor, broken bottom and turned it into something truly pretty and meaningful.
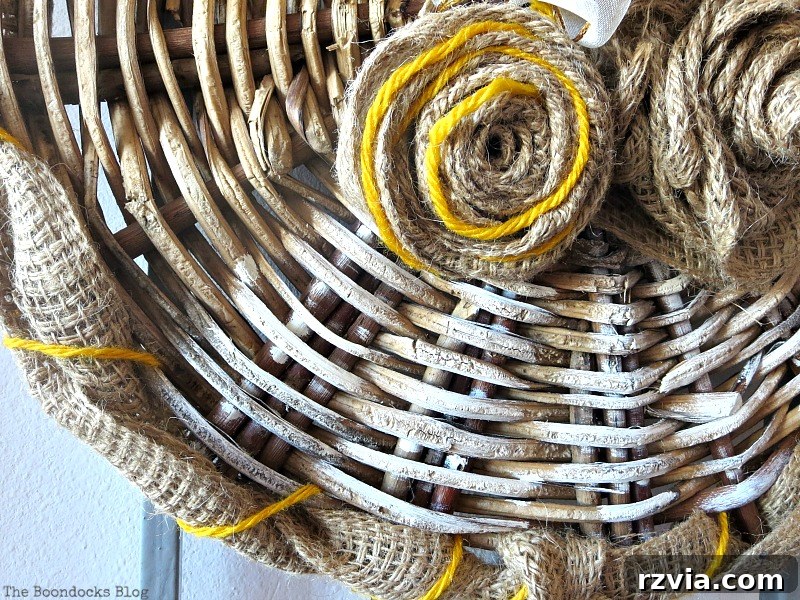
This project embodies the essence of sustainable crafting and creative upcycling. It’s a reminder that beauty can be found in the most unexpected places and that with a little effort, “junk” can be given a second chance at life. This might just be the “junkiest” piece I’ve ever repurposed, yet it brings me immense satisfaction to see how it evolved. Imagine it gracing a gallery wall, adding texture to a rustic entryway, or simply propped up as a unique decorative accent on a shelf. Its versatility is part of its charm.
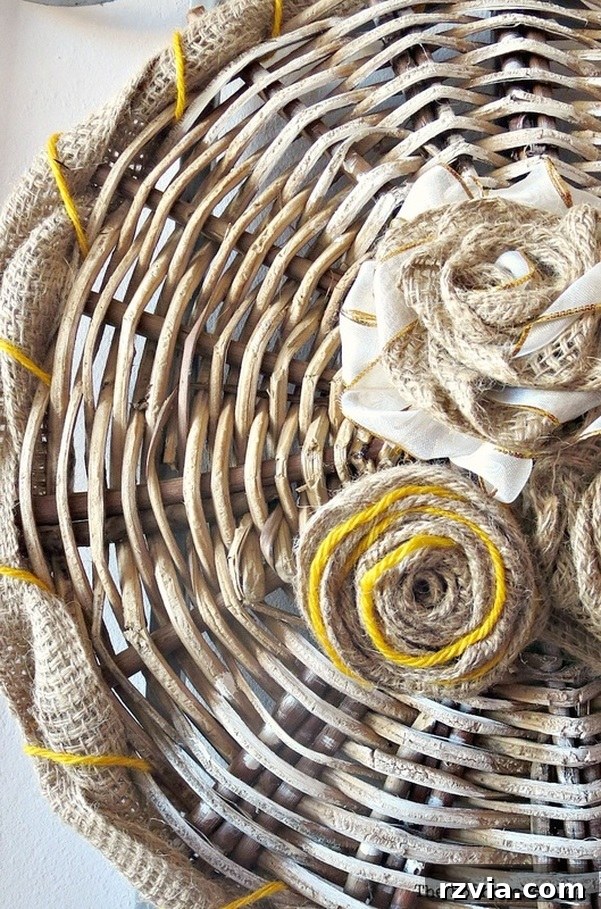
Why Embrace Upcycling and Repurposed Decor?
Upcycling old items into new home decor pieces offers numerous benefits beyond just creating something beautiful. Environmentally, it reduces waste and gives materials a longer lifespan, lessening our impact on landfills. Economically, it’s incredibly budget-friendly, allowing you to create unique, high-end looking pieces without the hefty price tag. Creatively, it challenges you to think outside the box, fostering innovation and personal expression. Every upcycled piece tells a story, carrying with it a history that mass-produced items simply cannot replicate. This “crafty bottom” is not just decor; it’s a conversation starter, a piece of art born from what was once destined for the trash.

Share Your Upcycling Journeys!
I hope this project inspires you to look at your “junk” with fresh eyes. What forgotten items do you have lying around that are just waiting for a creative makeover? I’d love to hear about your own repurposed treasures! Share your thoughts and project ideas in the comments below. If you enjoyed this creative upcycle and found inspiration within these pages, please consider sharing it with your friends on social media or saving it to your favorite Pinterest boards for future reference. And for more DIY adventures, craft tutorials, and home decor inspiration delivered straight to your inbox twice a week, don’t forget to subscribe to our blog. Join our community of fellow makers and discover the endless possibilities of creative living!