
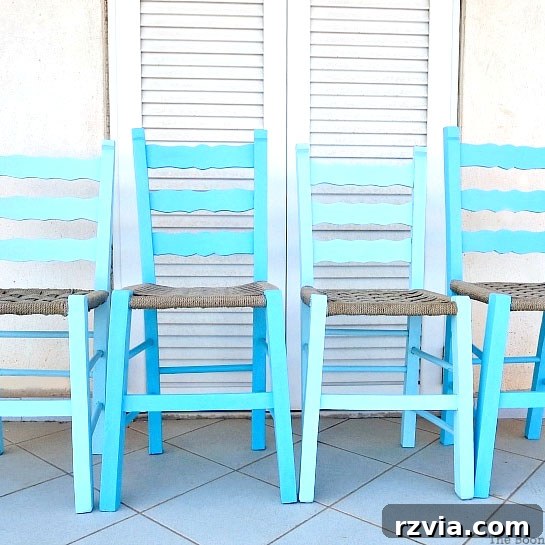
Transforming your ordinary wooden dining chairs into stunning statement pieces is easier than you think! This comprehensive guide will show you how to paint wood chairs, achieving a beautiful, personalized look that will inspire compliments. We’re taking these charming blue chairs, with their gorgeous ombre finish, as our muse, but remember, the simple techniques outlined here can be applied to any color palette you envision for your home.
Embarking on a furniture makeover journey can be incredibly exciting, and today, we’re diving into one of the most rewarding DIY projects: painting wooden chairs. There’s a certain magic that happens when you breathe new life into an old piece, turning something functional into a work of art that reflects your personal style. While some might shy away from such a project, fearing complexity or a messy outcome, I’m here to assure you that with the right approach and materials, painting wood chairs is not only achievable but immensely satisfying.
My own inspiration for this particular project, these ‘happy chairs’ as I affectionately call them, stemmed from the incredible talent of KariAnne of Thistlewood Farms. Her blog is a treasure trove of decorating ideas, DIY brilliance, and captivating storytelling. KariAnne has a unique ability to transform even the most mundane tasks, like painting a door, into an inspiring narrative, infusing humor and life lessons along the way. Her artistry and passion for home decor are truly infectious, making you believe that any creative endeavor is within reach.
It was after encountering KariAnne’s exquisite chairs that I felt a powerful urge to try my hand at a similar project. While aspiring to her level of perfection might seem daunting, the beauty of DIY lies in the personal touch and the joy of creation. Chairs, after all, are not just pieces of furniture; they can be sources of comfort, style, and indeed, inspiration. This project became my humble attempt to bring that same sense of joy and beauty into my own home, culminating in the tale of these delightful blue chairs.
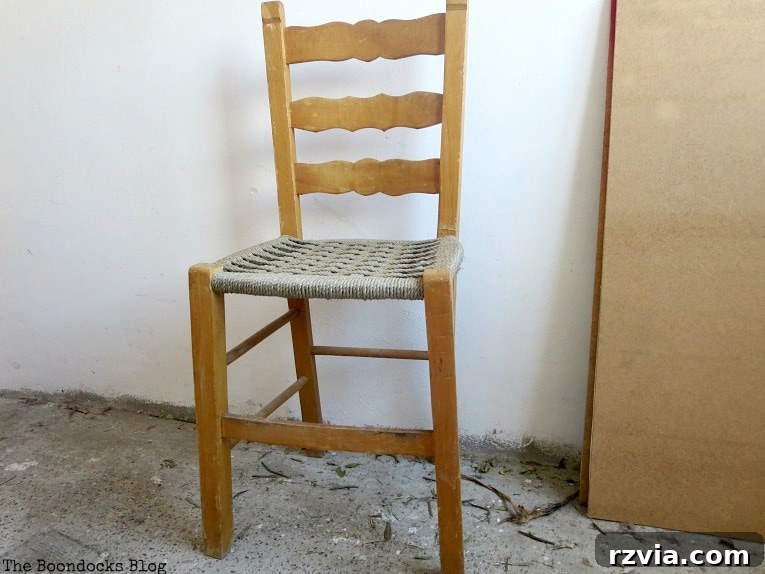
These chairs weren’t fundamentally ‘broken’ or in dire need of repair. In fact, they served their purpose well, and I even had one residing comfortably in the bedroom. However, I yearned for a fresh aesthetic, a pop of color that would brighten my space and evoke a sense of coastal charm. Specifically, I envisioned blue chairs, much like KariAnne’s, but with an added twist – an ombre effect using multiple shades of blue to create depth and visual interest.
The beauty of using chalk-style paint for this type of furniture makeover is its versatility and user-friendliness. Unlike traditional paints, chalk paint often requires minimal preparation, such as sanding or priming, making the process much faster and less labor-intensive. Its unique matte finish adheres beautifully to various surfaces, providing excellent coverage and a soft, velvety texture that is perfect for achieving both a distressed vintage look or a smooth, modern finish. For our ombre blue chairs, this characteristic allowed for easy blending and layering, essential for achieving that gradual color transition.
Essential Materials for Your Wooden Chair Makeover
Disclosure: This post contains affiliate links and features products generously provided by DecoArt. Should you choose to purchase items through these links, we may earn a small commission at no additional cost to you. Your support helps us continue to create inspiring DIY content.
- Americana Chalky Finish Paint in “Escape”: A vibrant, deep blue perfect for establishing your base or darkest shade.
- Americana Chalky Finish Paint in “Everlasting”: A crisp white shade, indispensable for lightening “Escape” and creating your beautiful ombre variations.
- Americana Decor Cream Wax in “Clear”: To seal and protect your painted finish, ensuring durability and a smooth feel.
- Quality Brush for Wax Application: A dedicated wax brush ensures even application and a professional finish.
- Paint Brushes: Various sizes for detailed work and broader strokes.
- Clean Cloths/Rags: For cleaning and wax buffing.
- Warm Soapy Water: For initial cleaning.
How to Paint Wood Chairs with an Ombre Effect: A Simple DIY Guide
Achieving a stunning ombre effect on your wooden chairs is a straightforward process that anyone can master. Follow these steps for a smooth and successful chair makeover:
Step 1: Thoroughly Clean and Degrease Your Chairs
Even if your chairs appear clean, this initial step is crucial for optimal paint adhesion. Dust, grime, and grease can prevent paint from sticking properly, leading to peeling or an uneven finish. Give each chair a good scrub down with warm, soapy water. For stubborn grease or residue, a mild all-purpose cleaner might be beneficial. Once cleaned, rinse thoroughly with clean water and allow the chairs to dry completely. Any residual moisture can also affect paint application.
Step 2: Apply Chalky Finish Paint to Create Your Ombre Look
Now for the fun part – painting! This is where your vision truly comes to life. For our ombre blue chairs, we started with DecoArt’s Americana Decor Chalky Finish paint in “Escape,” a beautiful, rich blue. To achieve the ombre effect, we gradually introduced “Everlasting,” a pure white shade, to our blue mixture for subsequent chairs. This allows you to create a seamless gradient from a darker hue to a lighter one.
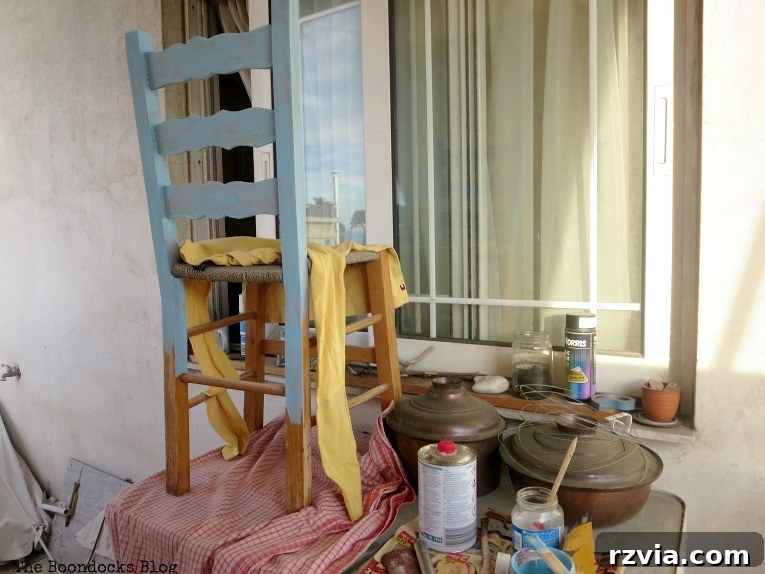
Begin by applying the initial, darker shade to your first chair. Aim for thin, even coats to avoid drips and ensure a smooth finish. Chalk paint typically dries quickly, making it possible to apply multiple coats within a relatively short timeframe. You might recall this photo from my behind-the-scenes sneak peek, demonstrating that even a slightly messy workspace can be a catalyst for creativity!
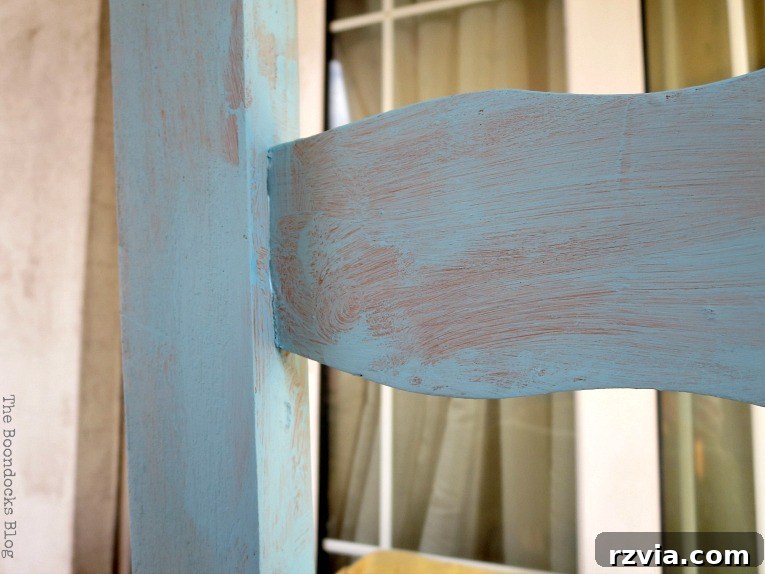
Here’s how the chair looked after just one coat of our initial blue mixture. As you can see, chalk paint offers excellent coverage, but a second coat is often necessary for a truly opaque and durable finish. Patience is key here; allow each coat to dry completely before applying the next.
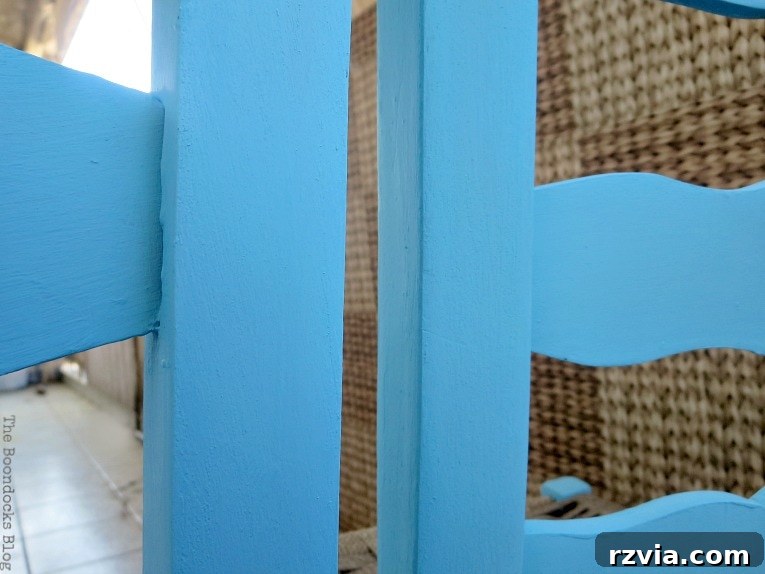
And voilà, after the second coat! Painting chairs, especially those with intricate spindles or carvings, can be quite time-consuming and demands attention to detail. It’s not a project to rush. However, the dedication pays off when you see the dramatic transformation. My determination for those vibrant blue, ‘happy chairs’ kept me going!
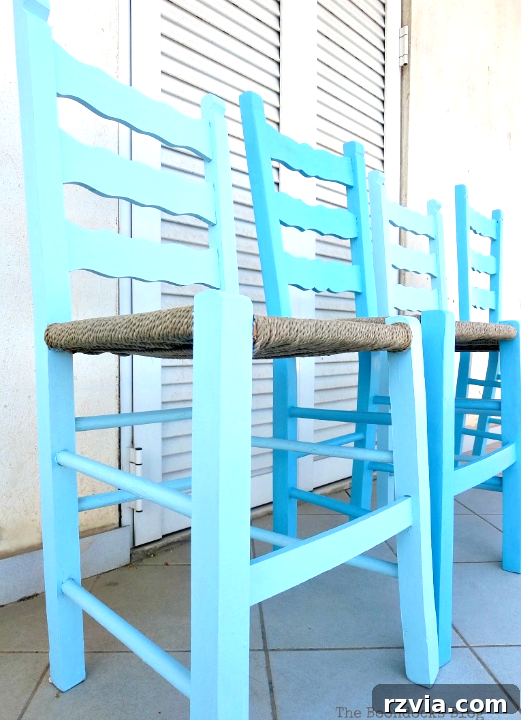
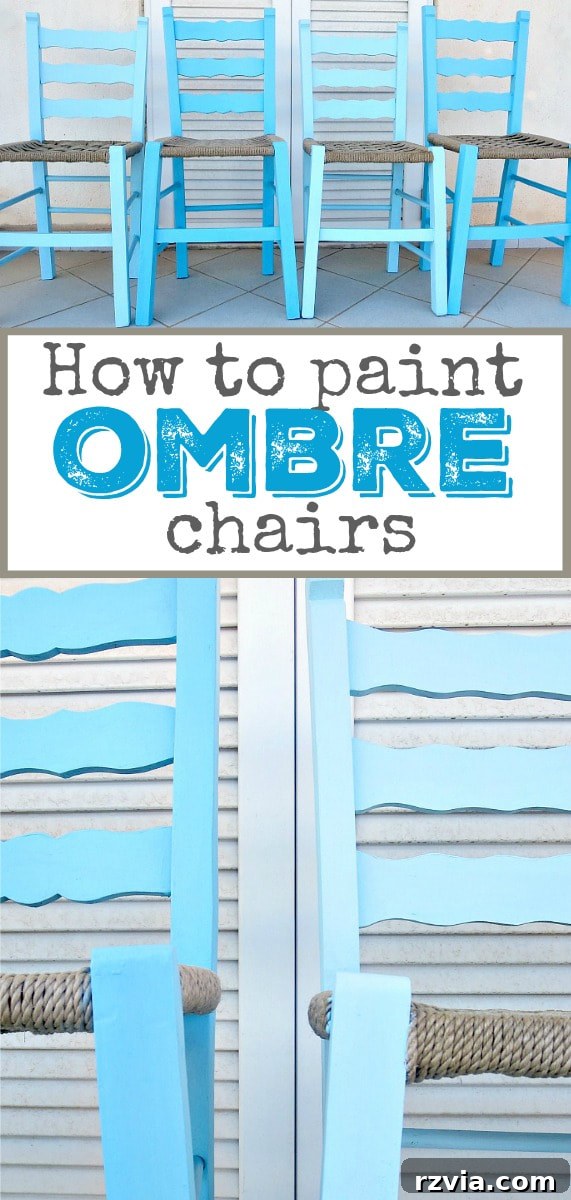
For the subsequent chairs, to achieve that lovely ombre effect, I progressively added more “Everlasting” white paint to my existing blue mixture. This created lighter shades of blue, allowing for a beautiful gradient across the set. Experiment with the ratios until you achieve the desired lightness for each chair. Apply two thin coats of your new, lighter mixture to these chairs, ensuring full coverage and a consistent finish. The result is a cohesive yet varied set of chairs that adds dynamic visual interest to your dining area.
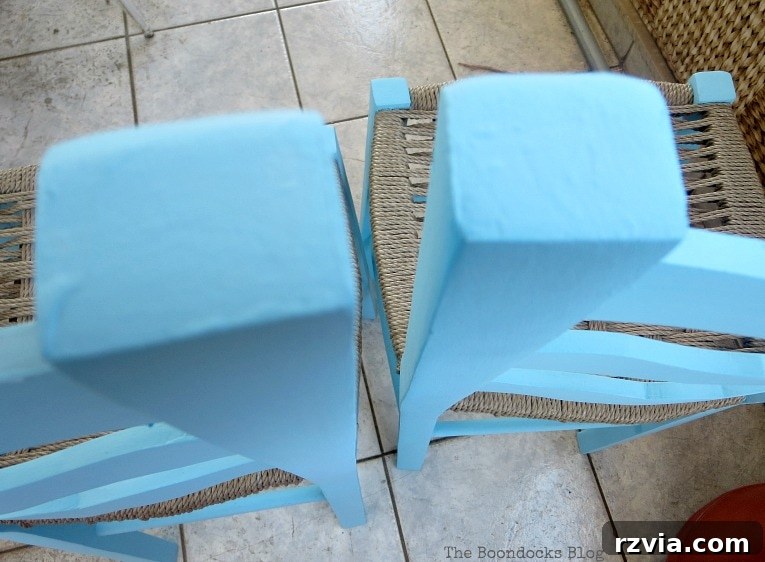
Here’s how the next two chairs turned out with their lighter blue hues. This gradual shift in color is what gives the ombre effect its charm and sophistication.
Step 3: Seal Your Painted Chairs with Clear Wax
Once all your paint coats have completely dried (refer to paint manufacturer instructions for specific drying times, typically 24 hours), it’s time to seal your hard work. Sealing is crucial for protecting the chalk paint finish from daily wear and tear, moisture, and stains. I used DecoArt’s Clear Americana Cream Wax, which is incredibly easy to apply. Simply use a clean, lint-free cloth or a dedicated wax brush to apply a thin, even coat over the entire painted surface. Work in small sections to ensure thorough coverage. Allow the wax to ‘cure’ for a period (usually 15-30 minutes), then gently buff off any excess with a fresh, clean cloth. This process enhances the paint’s durability and gives it a beautiful, subtle sheen.
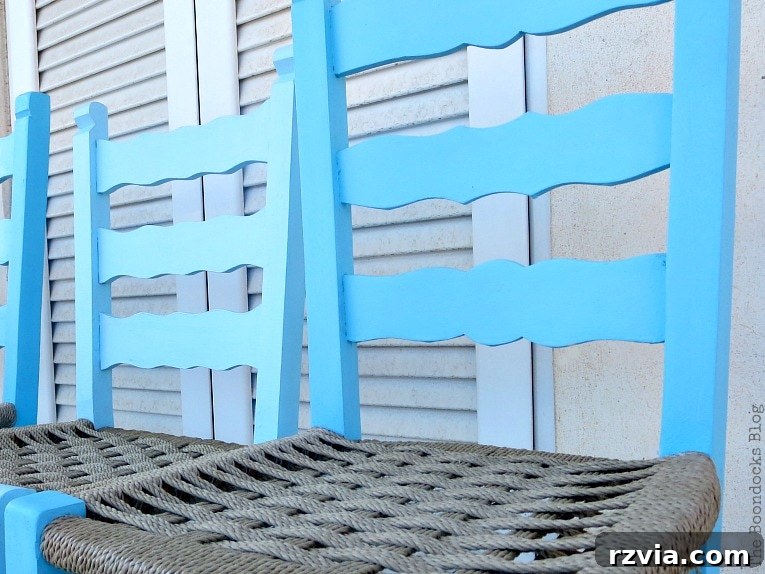
There you have it! Beautifully painted wooden chairs with a gorgeous ombre effect. The clear wax not only protects but also brings out the richness of the blue shades. Aren’t they absolutely lovely? They exude such a cheerful vibe, it’s as if they’re ready to start line dancing!
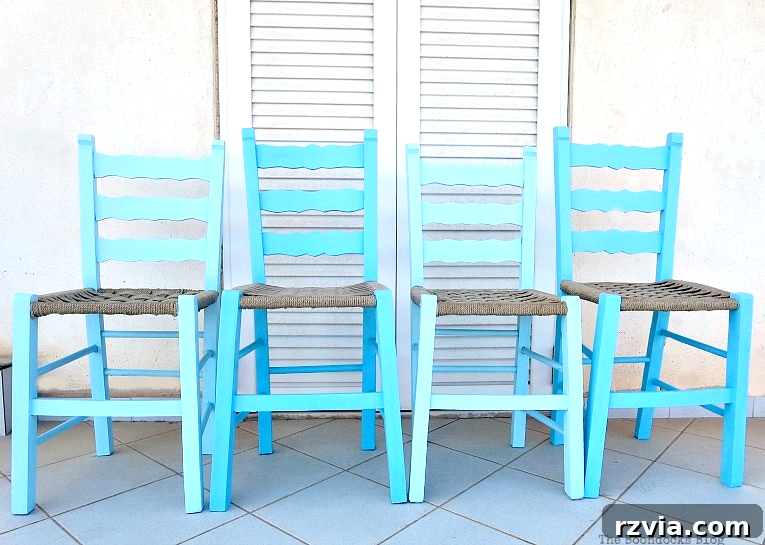
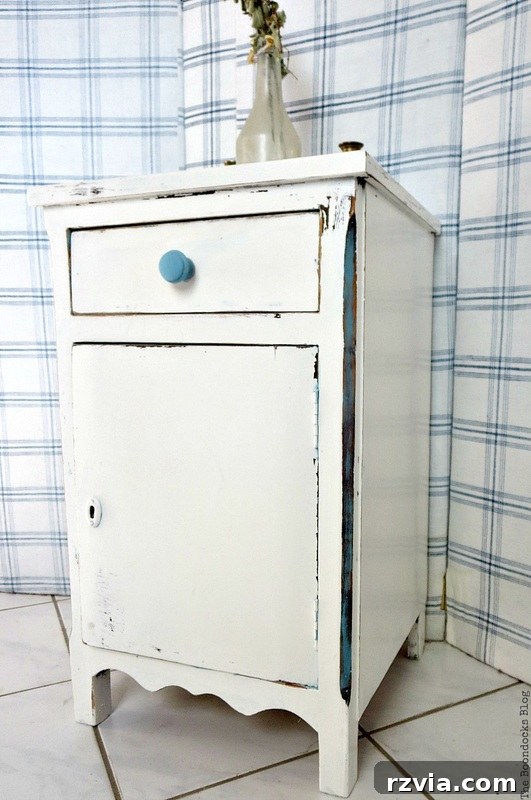
These specific shades of blue create a slightly brighter and more energetic feel compared to the Serene blue previously used to paint this bedroom dresser, which also followed a no-sanding, chalk-paint method. This demonstrates the versatility of chalk paint and the endless possibilities for color customization.
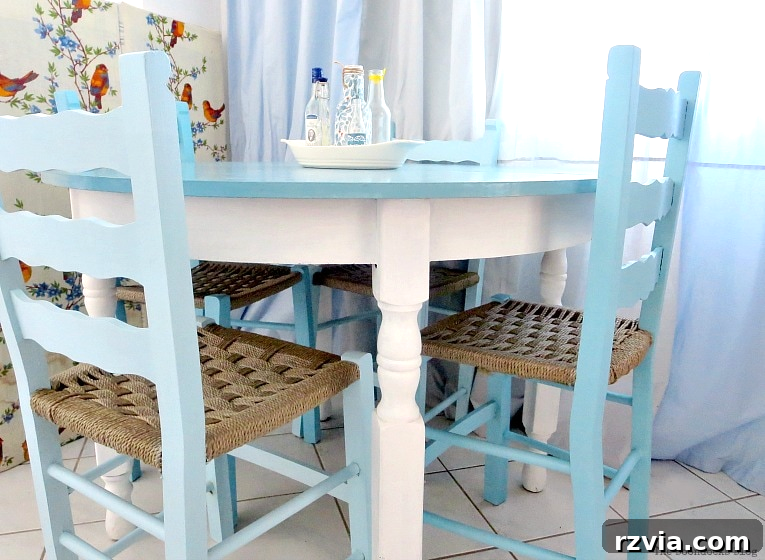
Bringing these newly painted chairs indoors truly completes the picture. Here they are, perfectly complementing my beach-inspired table. While I wasn’t aiming for an exact match, the cohesive blend of blue tones creates a harmonious and inviting dining area. It’s a testament to how thoughtfully chosen colors can tie a room together, even with disparate pieces of furniture.
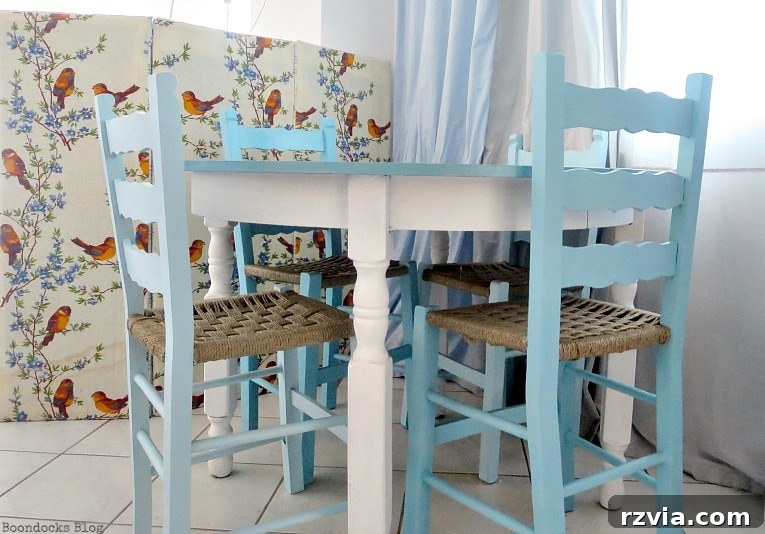
Our dining room is a cozy space, featuring a single window, making light-colored furniture an essential choice to ensure it feels bright and airy. The goal was to counteract any potential darkness and create an uplifting atmosphere, much like a cheerful Greek tavern.
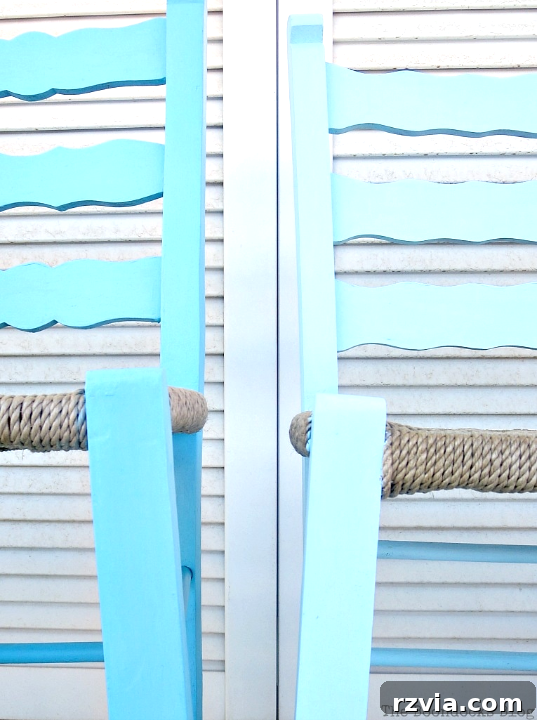
During the intense Greek summers, we often close the shutters to keep out the bright sun and heat. Even with the shutters drawn, it was paramount that the room retained its cheerful and luminous quality. This is precisely why I opted to paint the wooden chairs. The carefully chosen blue hues, ranging from deeper tones to lighter shades, successfully achieved the desired brightness and complemented the envisioned Greek tavern ambiance, keeping the space fun and utterly happy.
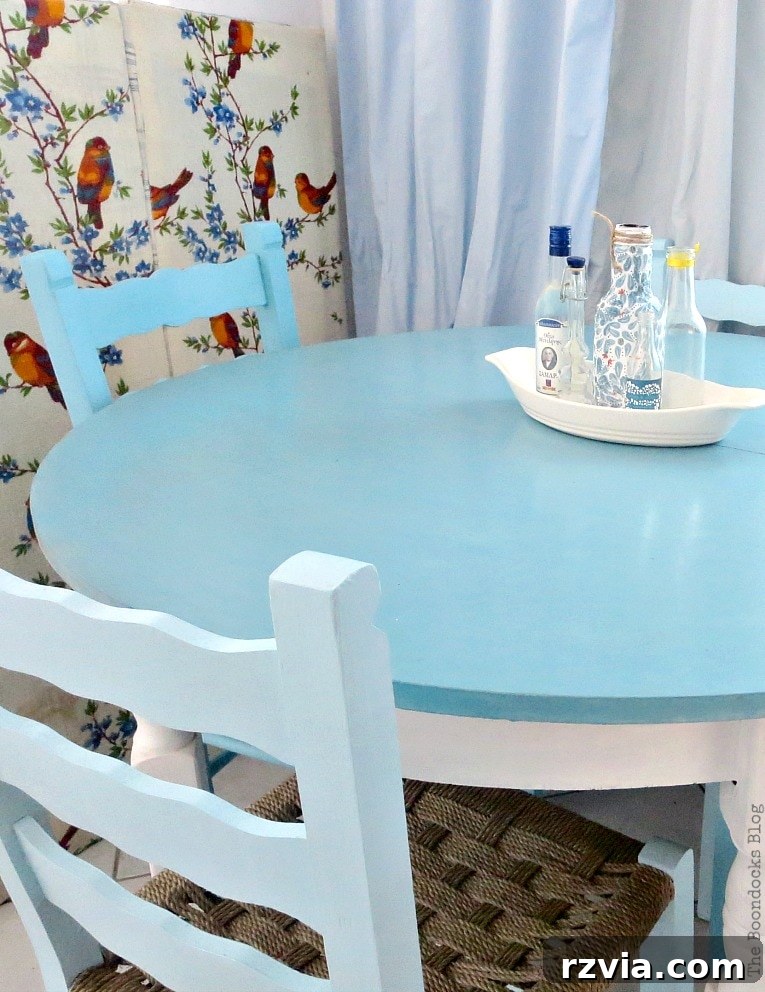
It’s worth noting that the way light interacts with painted surfaces can dramatically alter perceived color. Rest assured, despite any visual variations caused by different lighting conditions in the photographs, only two primary blue shades were mixed and applied to these chairs. The table, a subtle shade different, contributes to the eclectic charm without appearing mismatched—a little secret we’ll happily keep!
Now that my chairs are brimming with character and happiness, so am I! The transformative power of paint on furniture truly cannot be underestimated. It’s an accessible and impactful way to update your home decor without breaking the bank. For more inspiration on how to harness this power, explore how I used paint to create this beautiful cubby storage unit. You can also discover a completely different approach I took for this unique chair makeover, showcasing the endless possibilities of furniture refinishing.

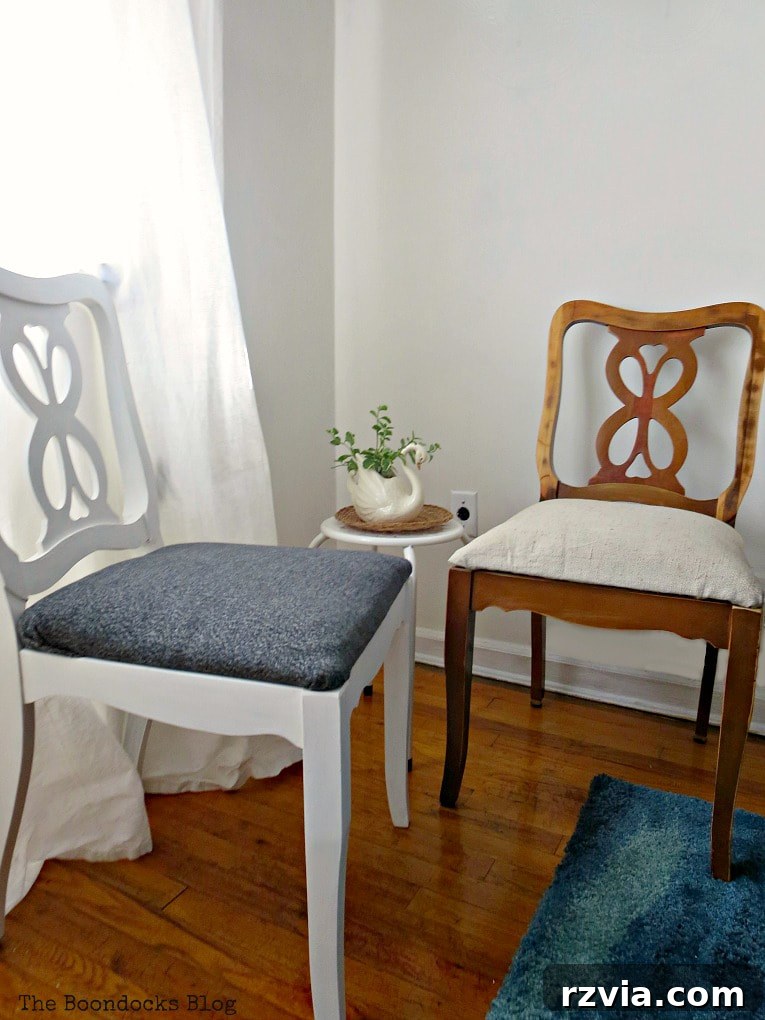
And so concludes the tale of the happy chairs. I sincerely hope this DIY guide has not only inspired you to pick up a paintbrush but has also brought a little bit of happiness into your day. Give your old furniture a second chance; you might just create something truly extraordinary!

Enjoyed this transformation? Please share it with your friends on social media or save it to your Pinterest boards for future inspiration. For more DIY adventures, home decor ideas, and creative projects delivered straight to your inbox twice a week, consider subscribing to our blog!
Additional Furniture Painting Ideas to Explore:
If you’re eager to continue your furniture painting journey, here are a couple more inspiring projects to spark your creativity. Each project offers unique techniques and ideas to help you master the art of furniture transformation:
Please note: This blog content is provided for entertainment and informational purposes only; our DIY tutorials are not professional advice. For full details, please read our complete disclaimer here. We cherish your comments and strive to reply to them or visit your blog. Kindly refrain from adding hyperlinks to your comments, as this may prevent them from being published.