
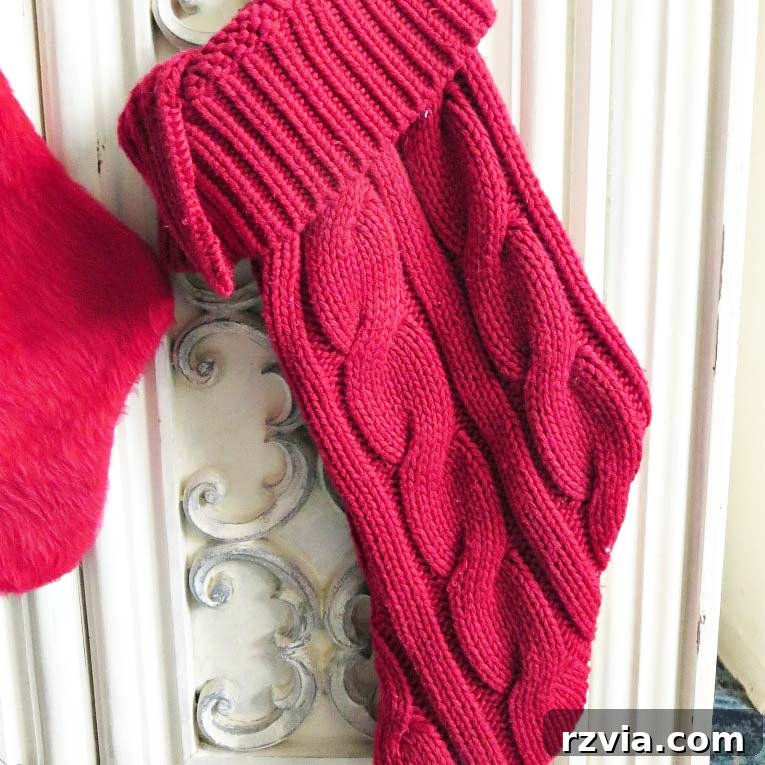
Embracing the spirit of handmade holidays has always been a passion of mine. There’s a unique joy in crafting something beautiful from materials already at hand, especially when it saves a trip to the store and gives new life to forgotten items. This year, my quest for charming, personal Christmas decor led me to my closet, where a lovely red sweater, a bit too snug around the neck for comfort, awaited its festive transformation. Instead of discarding it, I saw potential for something truly special: a set of cozy, easy sweater Christmas stockings. Today, I’m thrilled to share how you can create your own, bringing warmth and character to your mantelpiece this holiday season.
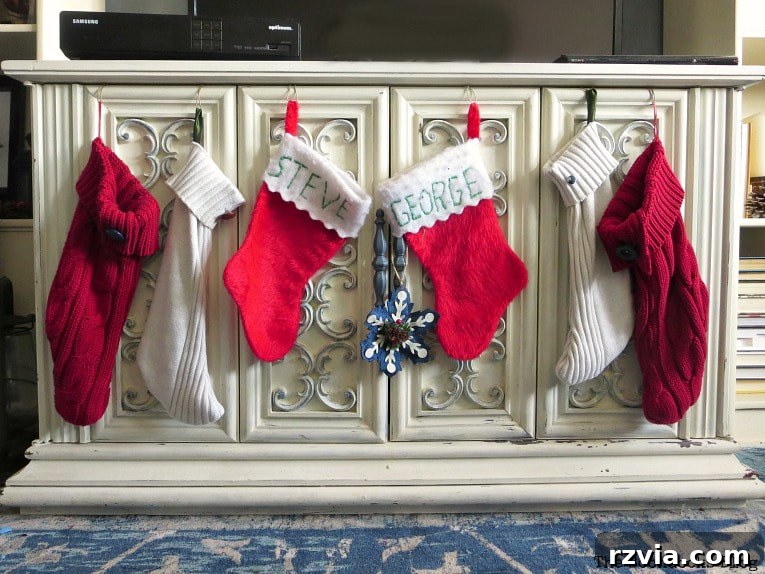
Since relocating to the United States, I’ve gradually built my collection of Christmas decorations from the ground up. Among my initial pieces were the two simple felt stockings you might spot in the center of the image above. These were crafted with love when my sons were just toddlers, their names carefully embroidered—a testament to cherished memories. However, after years of use, they’ve begun to show their age, and the felt has grown quite worn. It’s time for a refresh, a chance to infuse new life into our holiday traditions with sustainable, heartfelt projects.
Last year, we made do with a few inexpensive, store-bought felt stockings. While they served their purpose, they had a frustrating habit of looking flimsy and falling apart mere hours after being hung. This experience solidified my desire to create something more durable, something that felt truly special and permanent. Turning to my wardrobe, I found inspiration in a couple of old sweaters that no longer fit. Their soft textures and vibrant colors were perfect for a festive DIY project, promising to become cherished heirlooms rather than temporary solutions. Repurposing these garments not only aligns with my commitment to sustainable living but also allows for a level of customization and charm that mass-produced items simply can’t offer.
Why Upcycle Sweaters for Christmas Stockings?
Choosing old sweaters for Christmas stockings is a brilliant idea for several reasons. Firstly, it’s incredibly eco-friendly. Instead of contributing to textile waste, you’re giving a beloved garment a second life, reducing your environmental footprint. Secondly, sweaters offer a wonderfully soft, cozy texture that instantly evokes the warmth of the holiday season. Their natural stretch and varied knits—from chunky cable patterns to fine merino—provide endless possibilities for unique designs. Each stocking becomes a one-of-a-kind piece, reflecting your personal style and creativity.
Beyond sustainability and aesthetics, upcycling sweaters is also incredibly budget-friendly. You’re transforming an item you already own, eliminating the need to buy expensive new fabric. This makes it an accessible craft for anyone looking to add a personal touch to their holiday decor without breaking the bank. Plus, the sentimental value of using a sweater with special memories—perhaps one worn by a child or a favorite cozy piece—adds an extra layer of meaning to your handmade stockings. They become more than just decorations; they’re woven with stories and love.
Materials You’ll Need:
Disclosure: This post contains affiliate links for your shopping convenience. If you purchase any of these products through the links, we receive a small commission at no extra charge to you. You can find our full disclosure here.
- An old sweater (the main body will be used for two stockings if wide enough)
- 2 sleeves from another sweater (ideal for smaller, quick stockings or additional ones)
- Matching thread and sharp needle (or a sewing machine for faster results)
- Fabric scissors (essential for clean cuts)
- Assorted buttons (for personalization and embellishment)
- Ribbons in festive colors like Green and Red (for hanging loops and decorative accents)
- Optional: An old stocking or paper template for tracing, fabric chalk or marker, pins, sewing machine.
How to Make Sweater Stockings: A Step-by-Step Guide
This beautiful red sweater, while no longer suitable for wearing, was too lovely to simply discard. Repurposing it into Christmas stockings was the perfect solution, allowing its soft texture and rich color to continue bringing joy during the holidays. Let’s dive into the simple steps to create your own charming sweater stockings.
Step 1: Prepare Your Sweater by Cutting Off the Sleeves
Begin by laying your chosen sweater flat and smooth. Carefully cut off both sleeves from the main body of the sweater. You’ll want to cut as close to the armhole seam as possible without cutting into the seam itself, ensuring you maximize the fabric from the sweater body. Don’t discard these sleeves just yet! As a tip for the super frugal (and creative!) crafters out there, I often find clever ways to repurpose every scrap. For instance, these very sleeves were later used as adorable gift wrapping for wine bottles, adding a unique, cozy touch to holiday gifts.
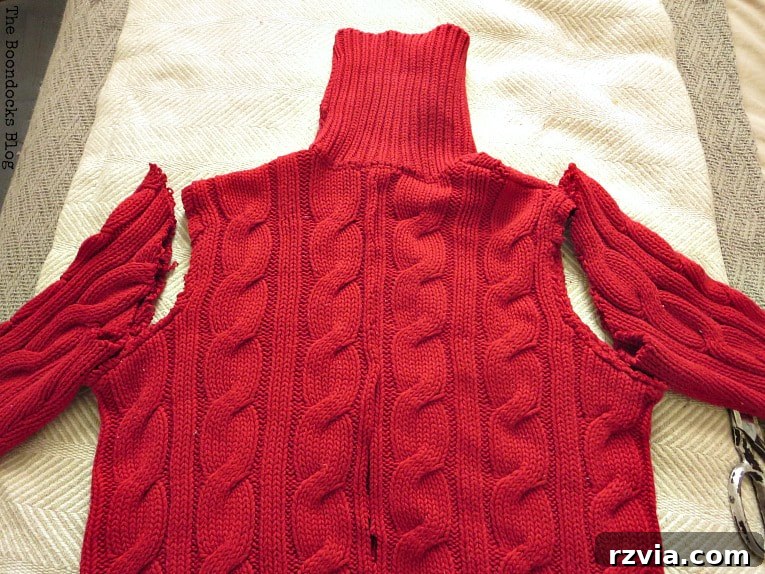
Step 2: Divide the Sweater Body
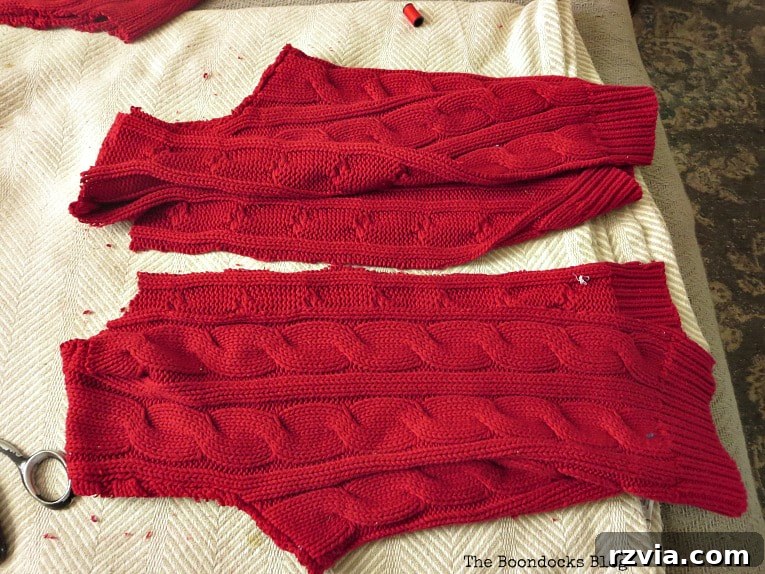
Once the sleeves are removed, take the main body of the sweater and cut it down the center. This will give you two large, relatively rectangular pieces of fabric. If your sweater is wide enough, each half can potentially yield one full stocking, creating a pair from a single garment. Lay these pieces flat, ready for the next stage of cutting.
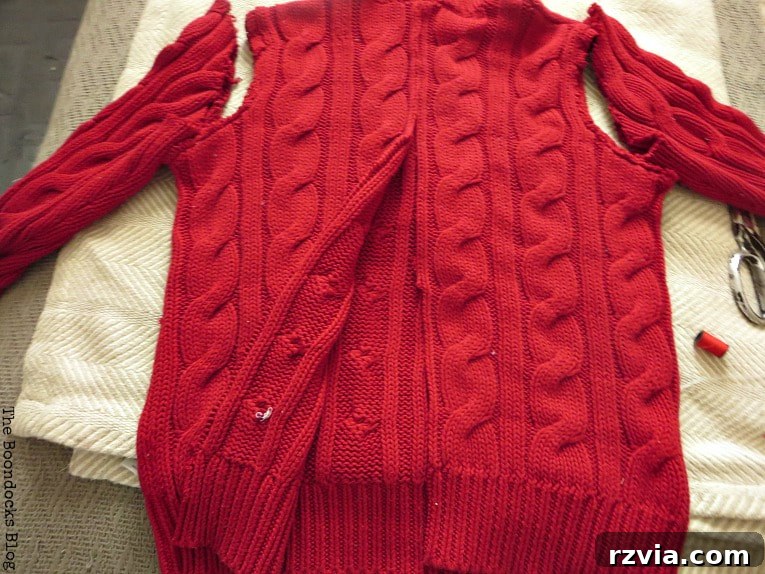
Step 3: Remove the Neckline
Next, carefully cut off the turtleneck (or any other neckline) from the top edge of each sweater half. This step creates a clean, straight edge that will form the opening of your stocking. A neat cut here is important as it will be visible once the stocking is complete and the cuff is folded over.
The goal is to achieve a straight, even line across the top, like this:
Step 4: Trace and Sew the Stocking Shape
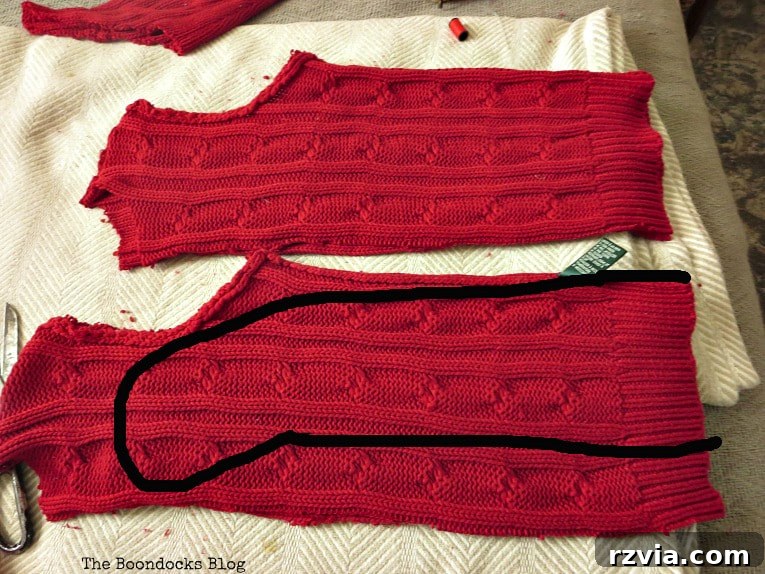
Now for the fun part: shaping your stocking! Fold one of your sweater halves in half again, bringing the cut edges together. If your sweater already has a side seam, try to align your fold with it to save a step in sewing. Take an old stocking (or a paper template) and lay it on top of your folded sweater piece. Trace the outline of the stocking onto the sweater with fabric chalk or a marker, leaving about a 1/2-inch seam allowance around the edges. Remember to keep the top opening straight and wide enough for presents.
Using your needle and thread (or sewing machine for efficiency), carefully stitch along the traced line. If one side of your stocking shape already incorporates an existing sweater seam, you won’t need to sew that side, simplifying the process. A simple running stitch or backstitch works well for hand sewing, while a straight stitch on a machine will be quick and secure. Once sewn, carefully cut off all the excess fabric, leaving your stitched stocking shape.
Step 5: Create the Cuff and Turn Right Side Out
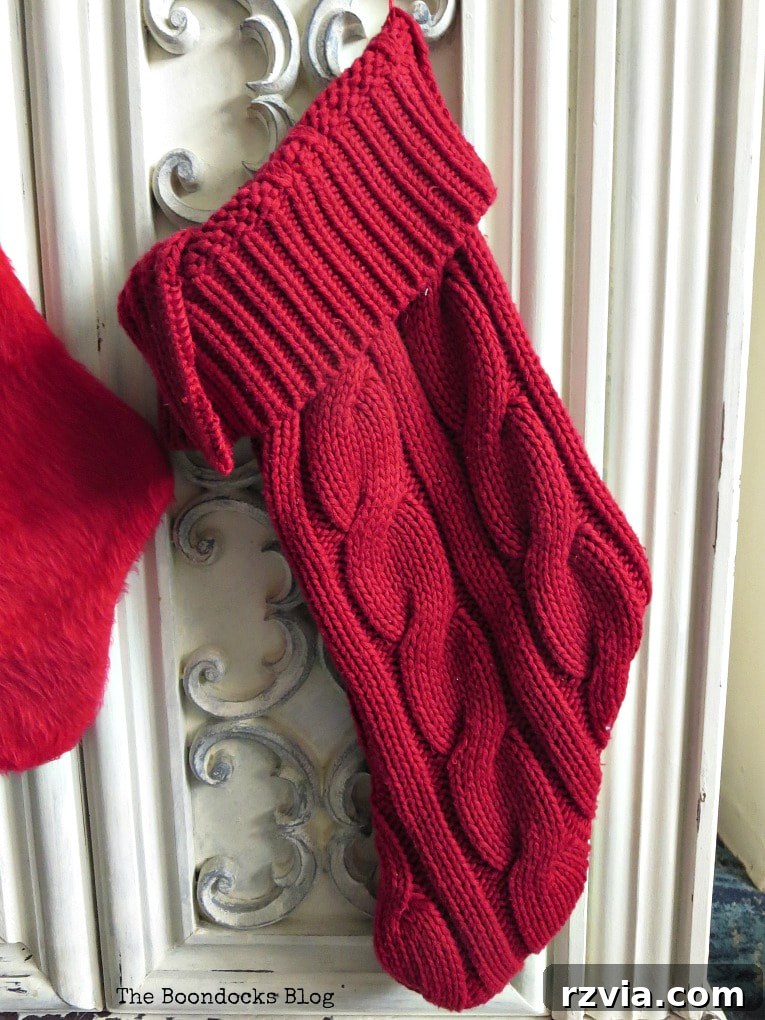
After you’ve sewn and trimmed your stocking, turn it right side out. This will hide all the seams neatly inside. Next, to create a classic cuff, simply fold the top edge of the stocking over outwards. You can adjust the width of the cuff to your preference. This folded edge adds a finished, polished look and gives the stocking that traditional Christmas feel. For extra security, you can tack the cuff down with a few stitches, but often the weight of the sweater fabric is enough to hold it in place.
Step 6: Embellish with Ribbons and Buttons
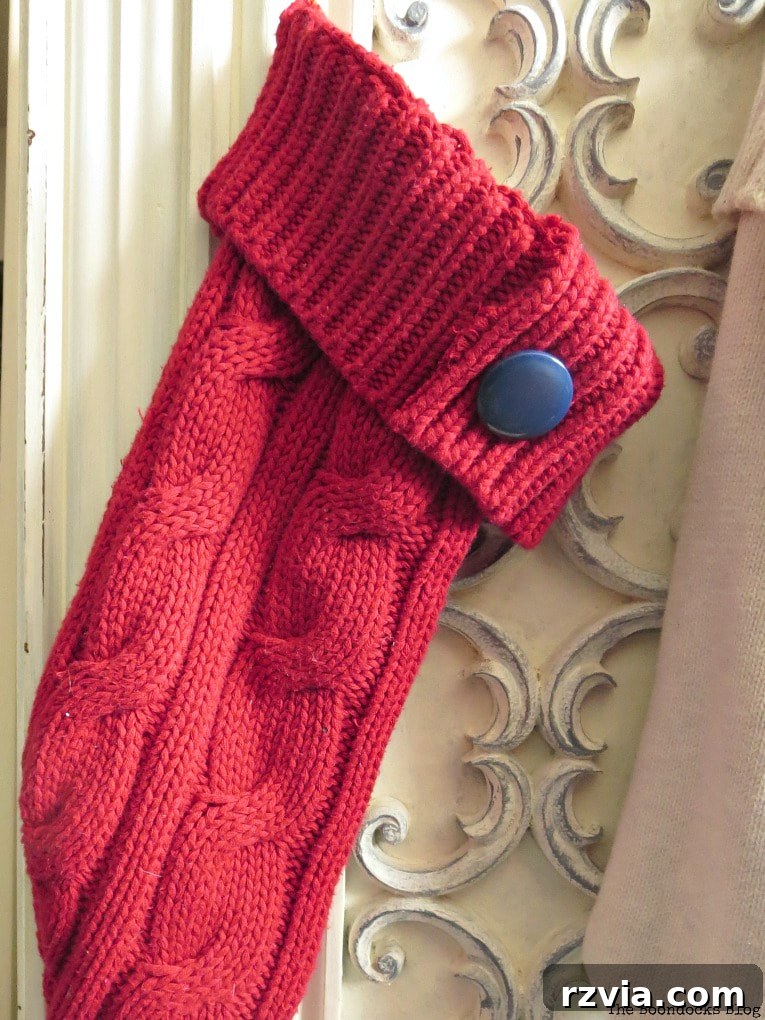
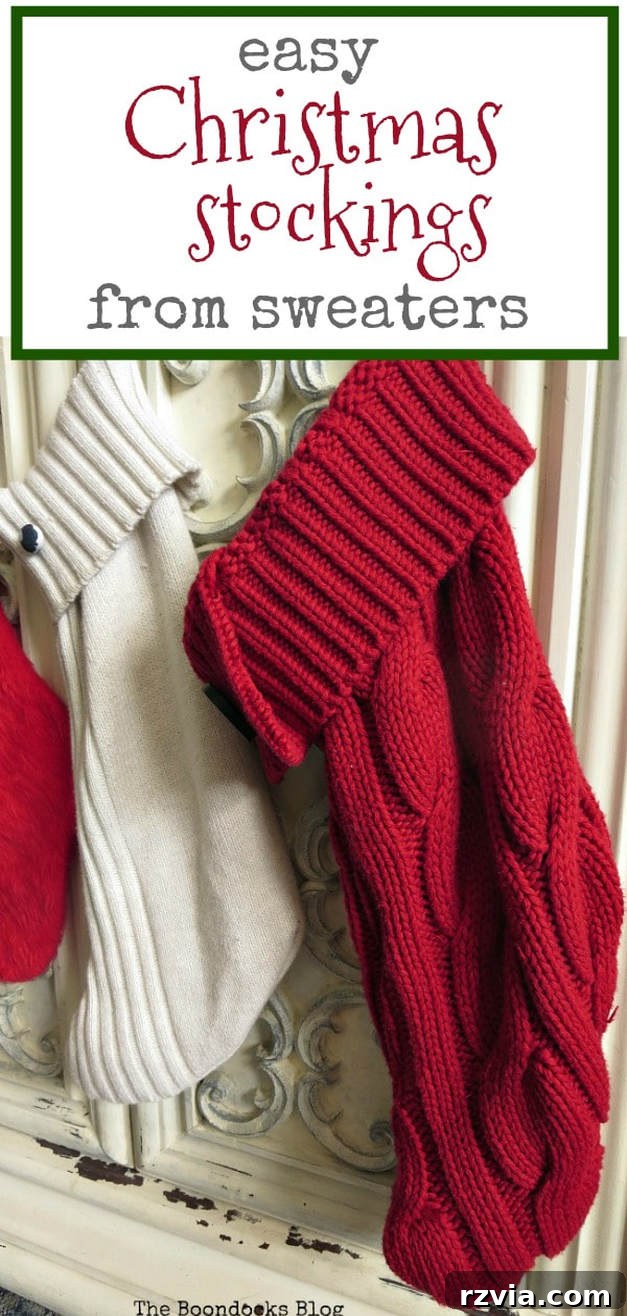
Now comes the truly personal part: embellishment! I chose to add different colored ribbons to the top of each stocking to create a sturdy hanging loop. Simply cut a length of ribbon, form it into a loop, and sew the ends securely to the inside back of the stocking’s cuff. Then, for charming accents, I stitched on various buttons. These buttons not only add a decorative touch but also serve a practical purpose, allowing us to easily identify whose stocking is whose. For instance, this one, adorned with a elegant black button, belongs to my moody daughter.
In the future, I might consider adding embroidered names or adorable stocking tags for an extra layer of personalization. But for now, the unique buttons do the trick perfectly.
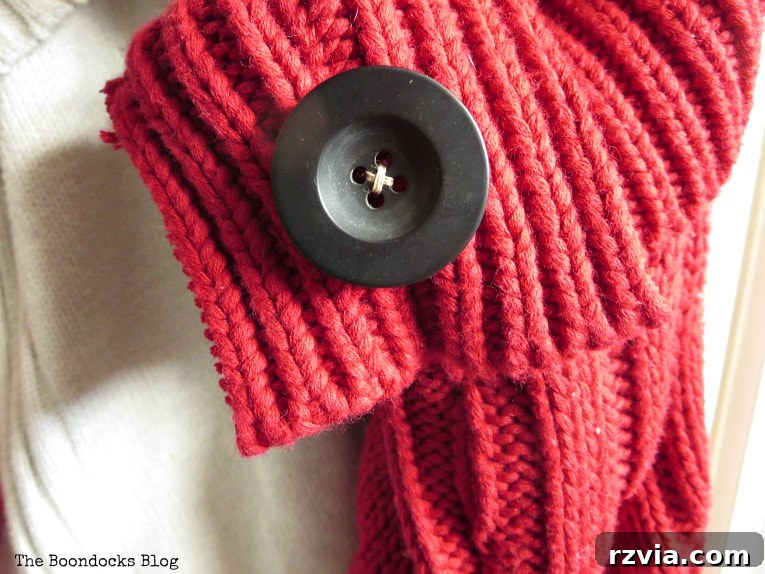
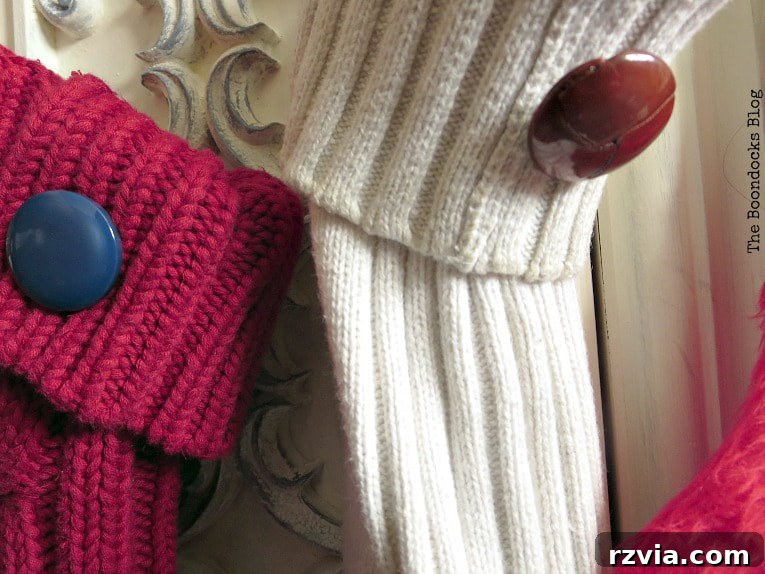
And this lovely red stocking, featuring a vibrant blue button, is dedicated to my other daughter, who is a devoted lover of all things blue. Each button adds a distinct personality to the handmade stockings, making them truly hers.
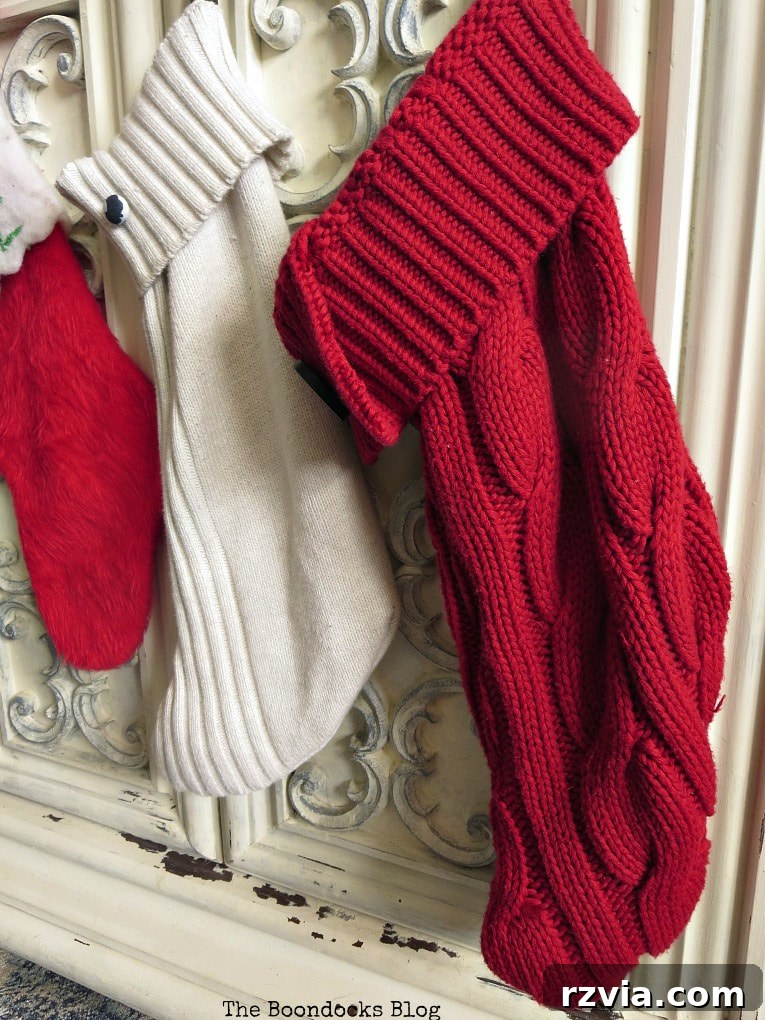
Our stockings now hang proudly on an old cabinet I revitalized earlier this year for our living room. You can actually see the intricate scroll-work behind the stocking here. It’s the perfect backdrop for our festive display, providing a touch of vintage elegance to our handmade creations.
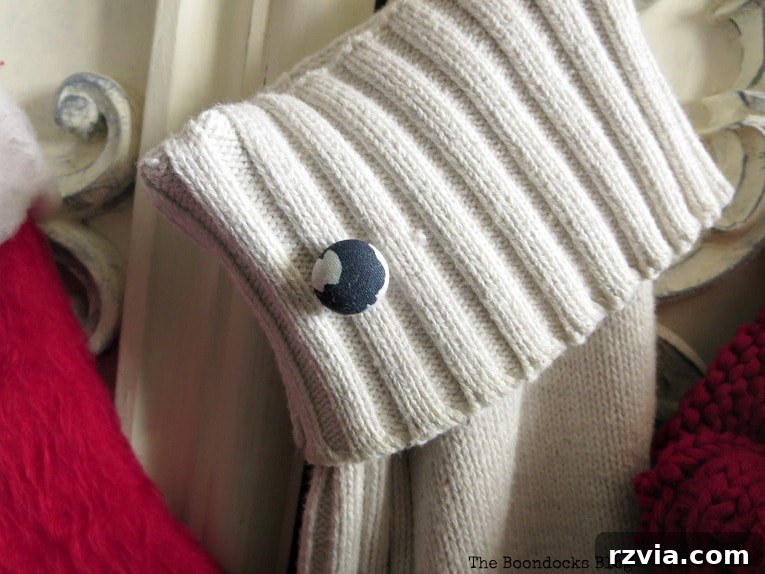
Of course, no family stocking collection would be complete without one for our beloved furry friend! This charming white stocking, featuring a black and white button, belongs to our sweet dog, Tatou. The color combination is a perfect match for his beautiful black and white fur, making it a truly personalized piece for our four-legged family member.
This particular stocking was crafted from the sleeves of another sweater I repurposed into a cozy pillow just a few weeks prior—the one adorned with yarn. The process for this one was even simpler: I merely sewed the top of the sleeve and then turned it over to form the cuff. It proved to be an even easier project than the red stockings, primarily because the sleeves were quite wide, requiring minimal shaping.
With each stocking lovingly made and personalized, my holiday preparations feel complete. As long as they have ample room for all the “stuffers” that Santa will bring, I’m a truly happy mom! There’s an undeniable charm and satisfaction that comes from creating something with your own hands, especially when it adds such a personal and festive touch to your home.
Sustainable Crafting: Beyond Stockings
Next time you find yourself with an old sweater that’s destined for the donation pile or worse, the trash, I urge you to take a second look. Could it become a new treasure? Beyond Christmas stockings, old sweaters can be transformed into a myriad of useful and beautiful items. Think cozy pillows, unique throws, even soft pet beds or stylish scarves. The possibilities are truly endless when you embrace the art of upcycling.
I sincerely hope that my guide on how to make easy Christmas stockings from sweaters has ignited your creative spark. It’s a rewarding project that combines sustainability, personalization, and festive cheer. For even more easy Christmas crafts for adults and other inspiring DIY ideas, be sure to visit our sister blog, Sustain My Craft Habit!
And let’s not forget the versatile solution of pillows! They are incredibly simple to make from sweater remnants and add instant warmth and texture to any room. Wink wink!

Please note: This blog is intended for entertainment and informational purposes only; my DIY tutorials are not professional advice. Always exercise caution and use appropriate safety measures when crafting.