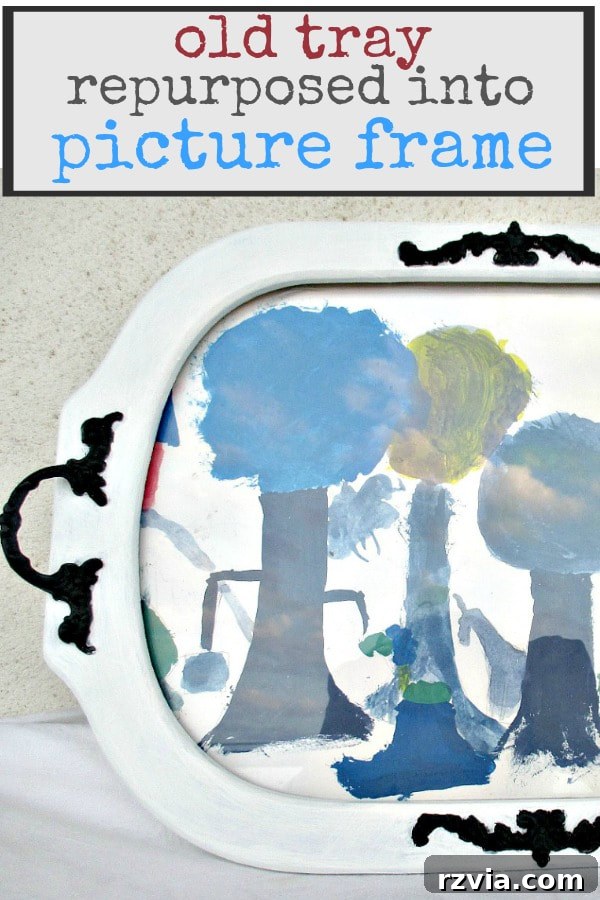
From Forgotten to Framed: Upcycling a Vintage Serving Tray into a Cherished Art Display
Are you looking for creative ways to add unique, personalized touches to your home decor without breaking the bank? Upcycling offers an incredible opportunity to transform overlooked objects into functional and beautiful pieces. One of our absolute favorite upcycling adventures involves reimagining an everyday item into something entirely new and exciting! Today, we’re thrilled to guide you through a simple yet rewarding DIY project: converting a charming vintage serving tray into a distinctive frame, perfect for showcasing your loved one’s art or any special memory.
This tutorial will not only walk you through the practical steps of transforming an old tray but also inspire you to see the hidden potential in items around your home. Get ready to breathe new life into forgotten treasures and create a one-of-a-kind display that tells a story.
The Story Behind the Transformation: Reimagining a Vintage Serving Tray
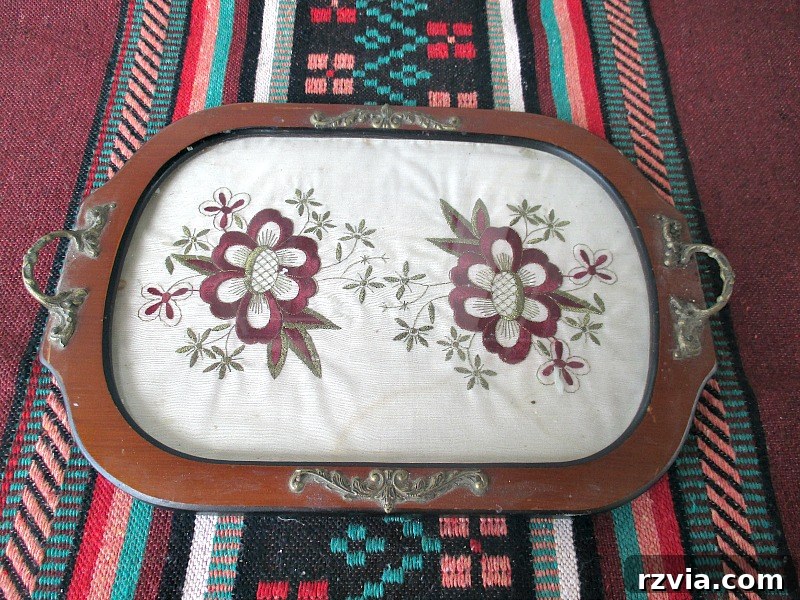
Every upcycling project begins with a story, and this vintage serving tray is no exception. I acquired this tray many years ago, envisioning myself as the quintessential hostess, gracefully serving coffee and tea to my guests. However, as anyone who knows me can attest, “typical” isn’t exactly my style. My trays, if used at all, rarely see the light of day for their intended purpose.
So, the question lingered: why did I buy this tray? Was it the charming, folklorish aesthetic with its faux needlepoint design? Regardless of its original appeal, it ended up tucked away in my kitchen for years, slowly becoming a forgotten relic under jars of honey and various tea boxes. Then, one day, as if an invisible signal went off, my “upcycler’s antennas” suddenly perked up. If you’re a fellow DIY enthusiast, you know that feeling – that spark of inspiration when you spot an item and instantly envision its second life. It was clear: this tray’s serving days were over, and it was destined for a much brighter, more artistic future. Today, I’m thrilled to share how this neglected vintage serving tray was transformed into a beautiful, personalized frame!
- Related Reading: DIY Photo Display for Father’s Day
Unlocking Potential: How to Upcycle Your Vintage Serving Tray
Embarking on an upcycling project is a journey of discovery and creativity. This particular transformation began with a crucial first step: thorough disassembly. To truly understand the tray’s construction and prepare it for its new purpose, I carefully took it apart. This initial examination revealed interesting details about its composition, which would ultimately influence the rest of the project.
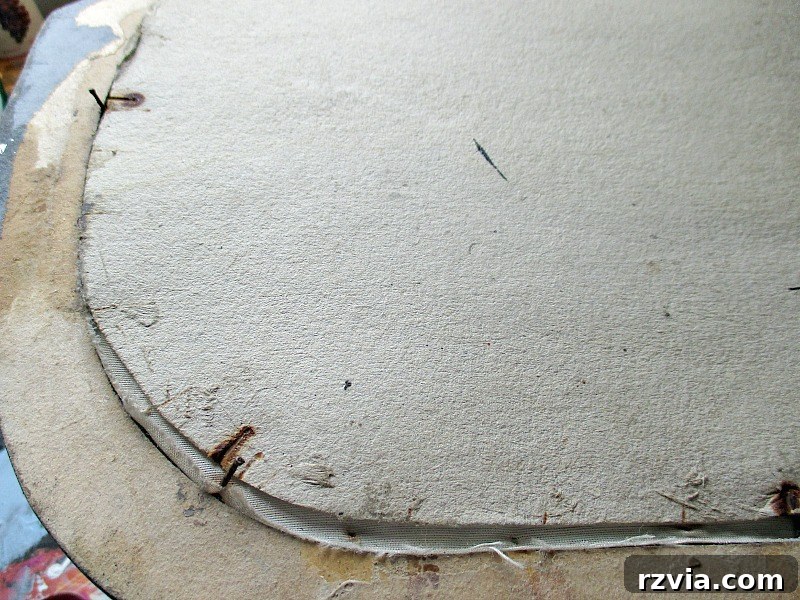
Upon closer inspection, it became evident that the tray’s “wood” rim was not solid timber but rather chipboard with a laminate finish. This discovery was actually liberating! Knowing it wasn’t a valuable antique or solid wood meant I had absolutely no qualms about painting it. This freedom from hesitation allowed me to fully embrace the creative possibilities without concern for “ruining” a classic piece. The back panel was simple cardboard, making the entire piece lightweight and easy to handle.
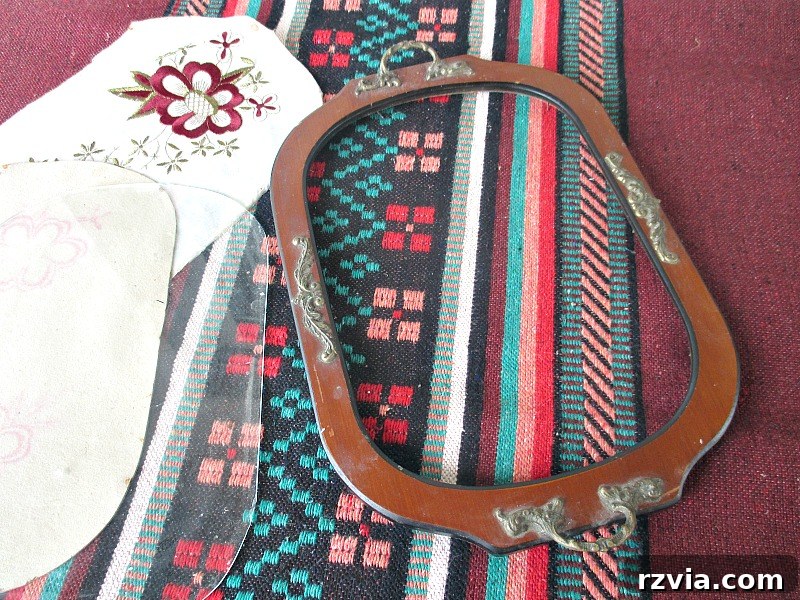
With the tray carefully disassembled into its individual components – the frame, the glass, and the handles – it was time to move on to surface preparation and painting. This systematic approach ensures a clean, professional finish and allows each element to be treated appropriately.
Step-by-Step Guide to Your Tray Makeover:
1. Preparation is Key: Cleaning and Light Sanding
Before any paint touched the surfaces, each piece was thoroughly cleaned to remove years of dust, grime, and any residue. A mild detergent and water solution followed by a dry wipe was sufficient. For the laminate chipboard frame, a light sanding with fine-grit sandpaper (around 220-grit) was performed. This step is crucial, as it creates a slight “tooth” on the smooth laminate surface, allowing the primer and paint to adhere much better, preventing chipping and ensuring a long-lasting finish.
2. Tackling the Handles and Decorative Metal Elements
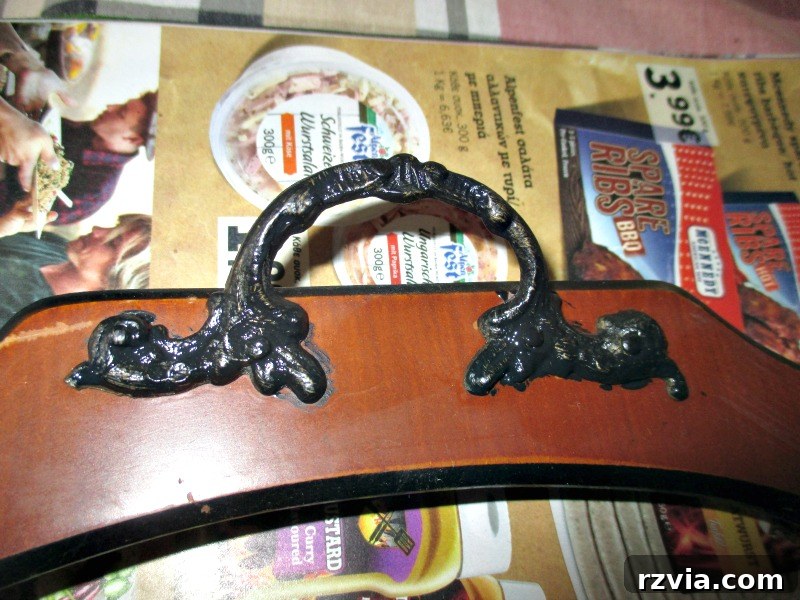
I started with the metal handles and any other decorative metal accents. For metal, a good quality spray primer designed for metal surfaces is highly recommended to ensure maximum adhesion and rust prevention. Once primed, I opted for a sleek black spray paint. Applying several thin, even coats, rather than one thick one, prevents drips and ensures a smooth, durable finish. This contrasting black against the future white frame would add a touch of modern elegance.
3. Painting the Frame: Embracing a Fresh Palette
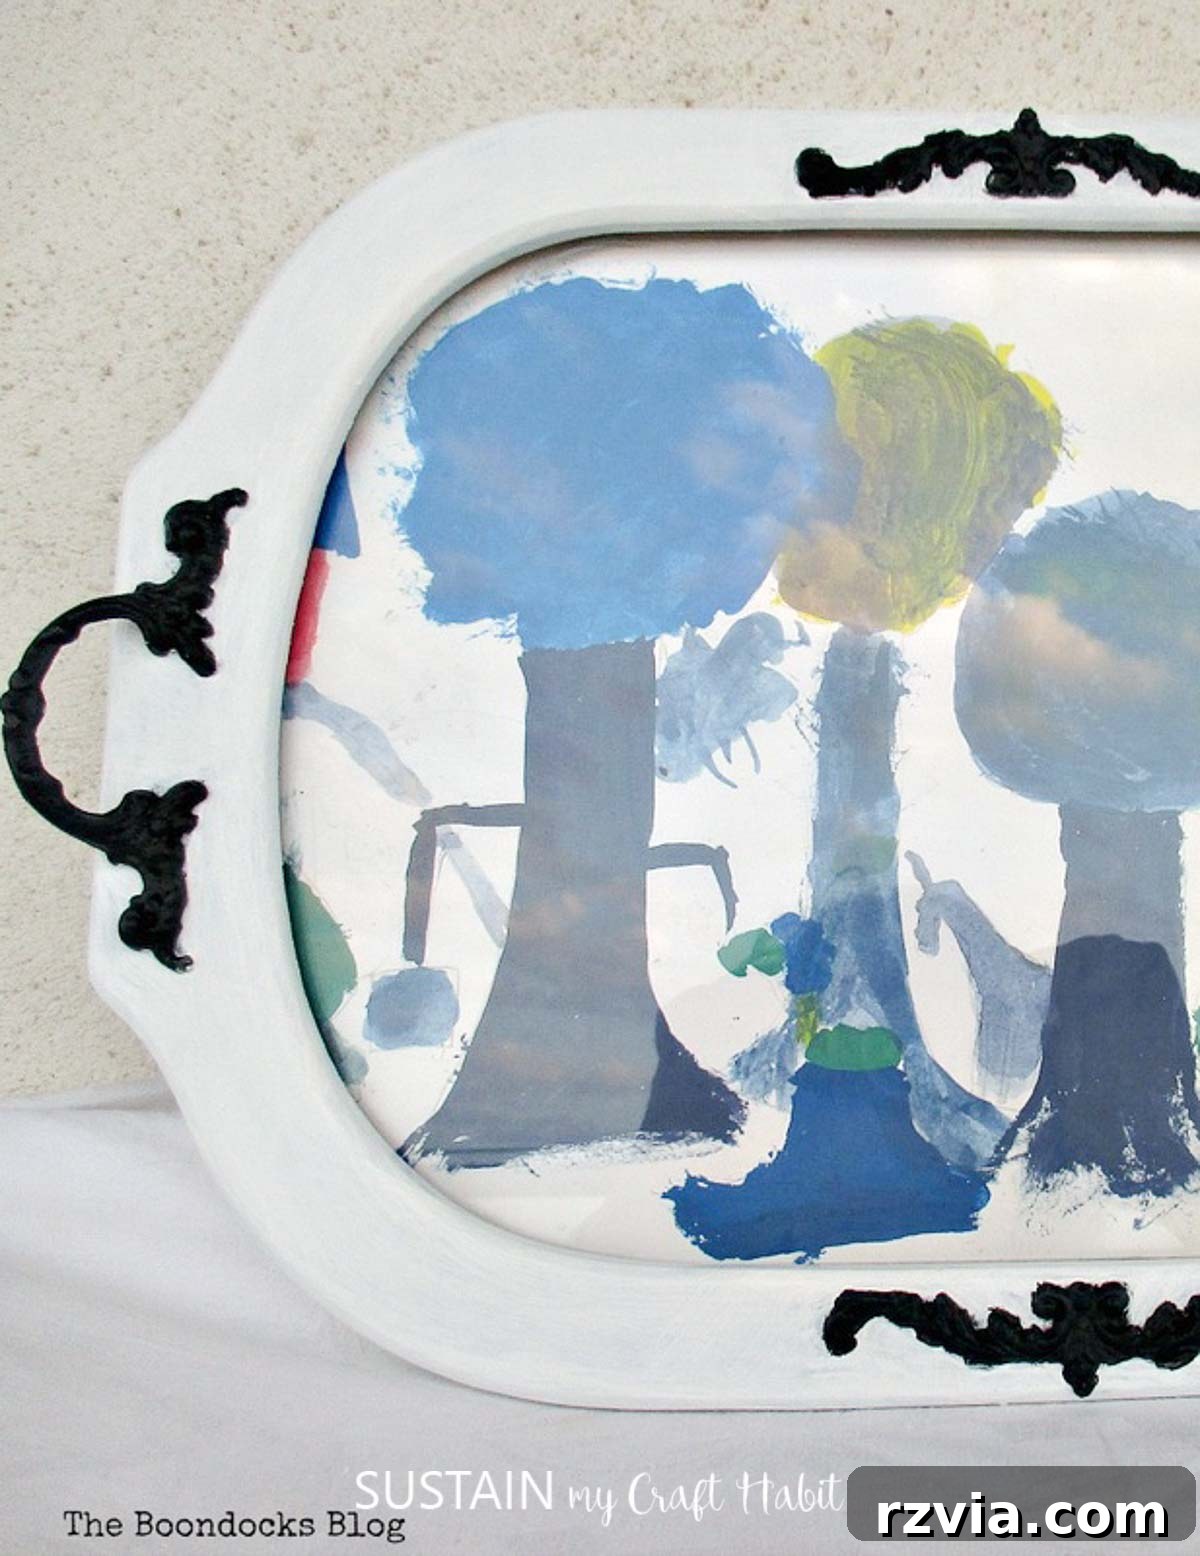
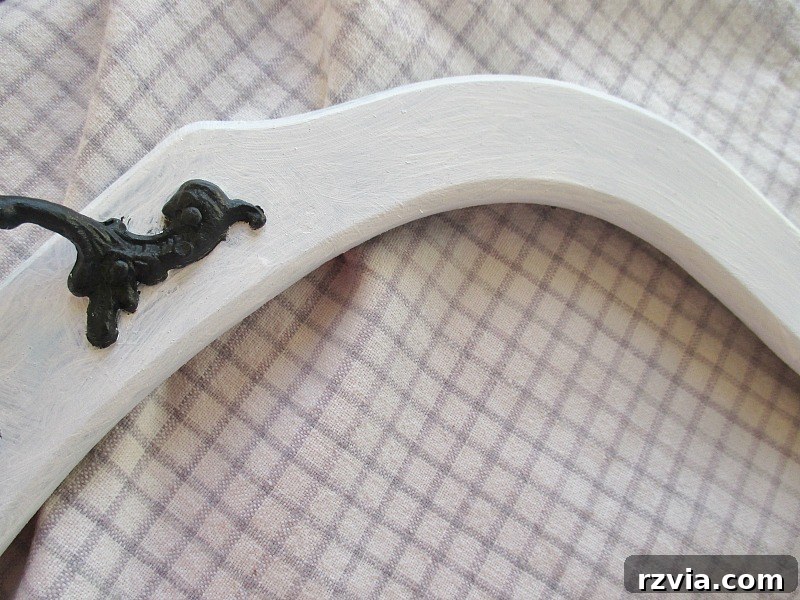
Next, it was the main frame’s turn. Given its chipboard and laminate construction, a high-quality primer formulated for laminate or slick surfaces was essential. After the primer dried, I began applying a beautiful white paint. The original dark brown laminate was quite dominant, requiring patience and several coats to achieve complete, opaque coverage. In total, about five thin coats were necessary to fully hide the brown and create a pristine, bright white finish. Each coat was allowed to dry thoroughly according to the manufacturer’s instructions before the next was applied. This meticulous layering ensures depth of color and a professional, streak-free result.
4. Personalizing with Purpose: Choosing the Artwork
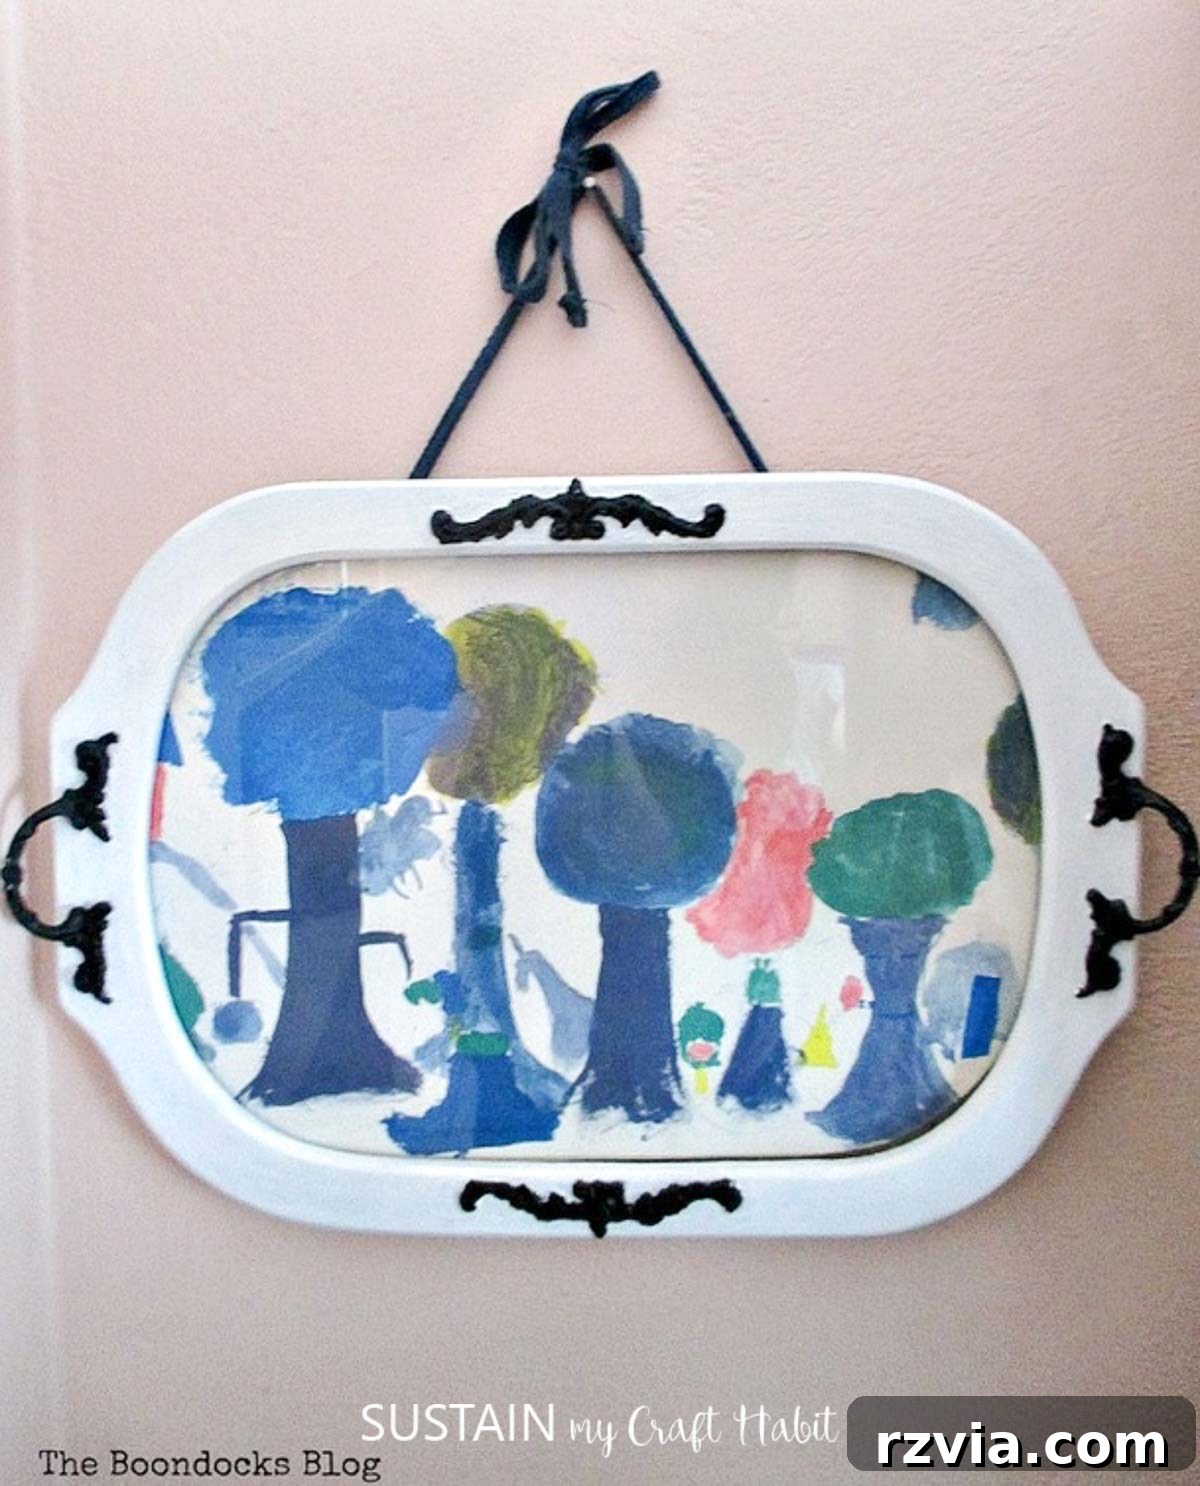
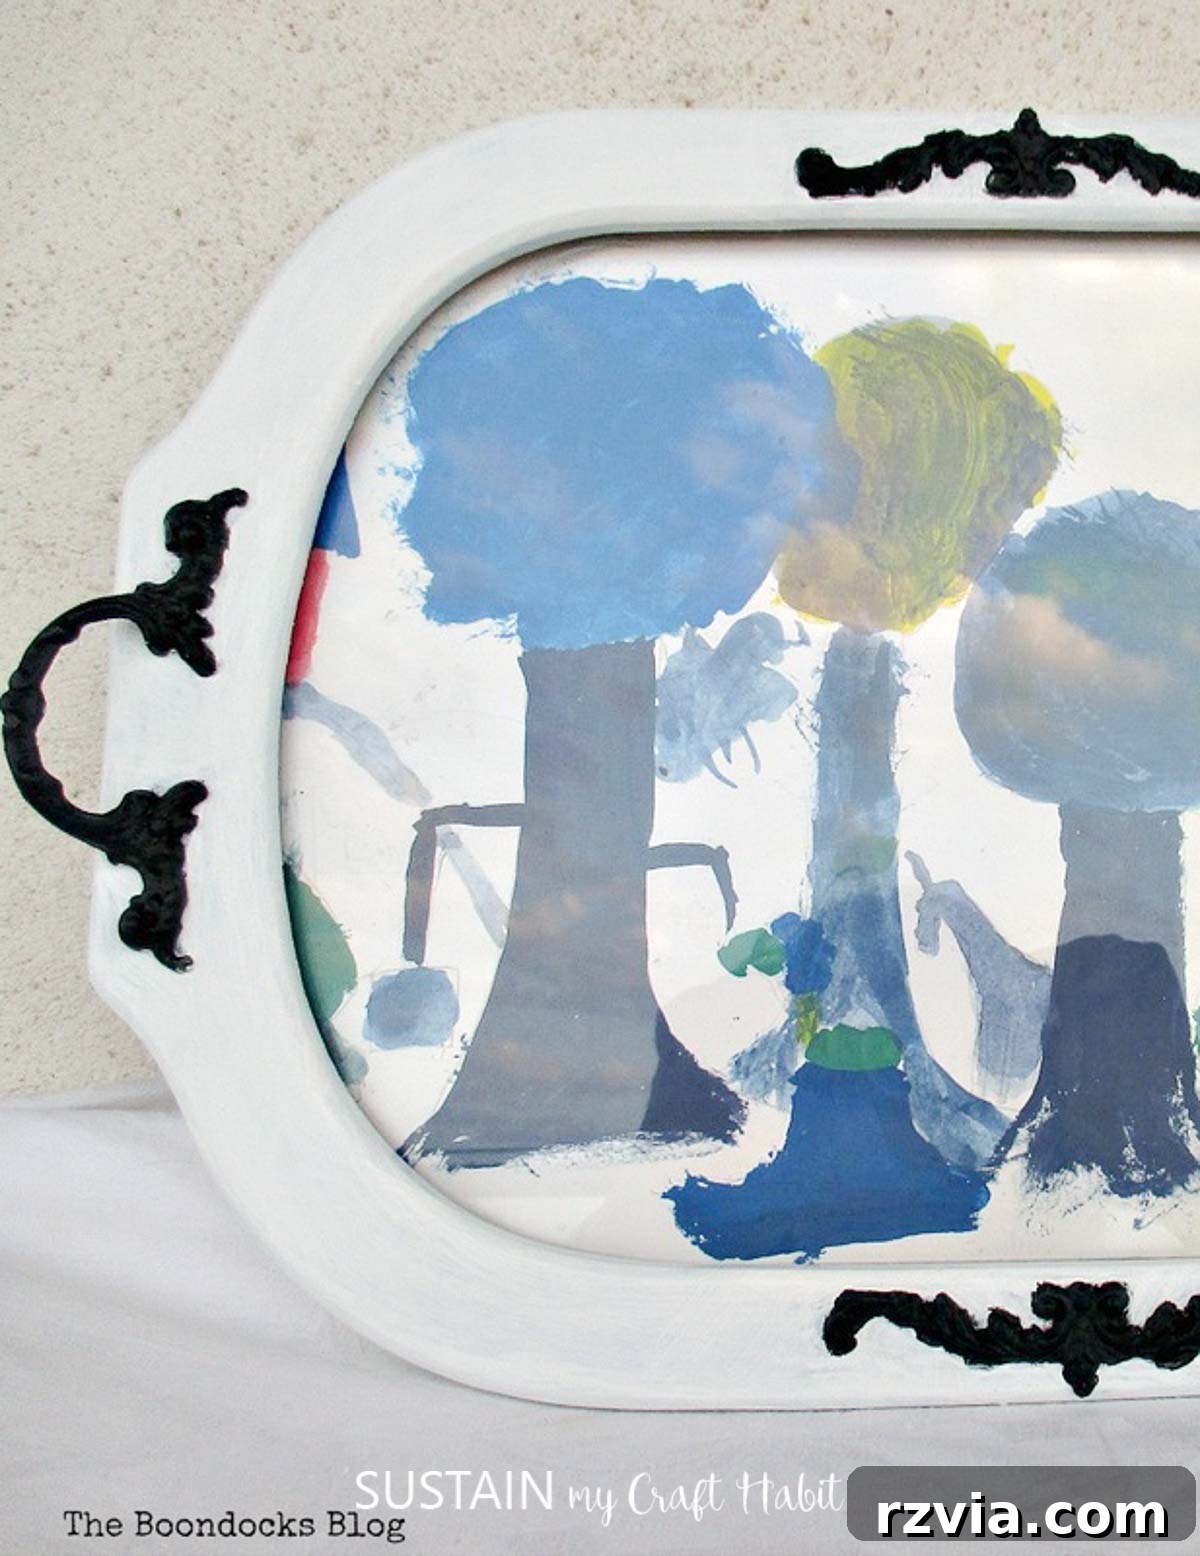
Once the frame was perfectly painted and dry, the most exciting part began: selecting the art. I knew this frame was destined for my daughter’s room, and her favorite color is blue. After sifting through a treasure trove of children’s artwork, I found a truly special piece. It was created by her brother when he was much younger and still living at home. This particular drawing, with its vibrant colors and innocent charm, held immense sentimental value.
This decision highlights the beauty of upcycling: it’s not just about transforming an object, but about infusing it with personal meaning and memories. While I chose a child’s drawing, you could easily use a favorite photograph, a pressed botanical arrangement, a piece of fabric with a meaningful pattern, or even a small printed quote. The possibilities for personalization are endless, making this project adaptable to any room or recipient.
- Looking for DIY art? Learn how to paint your own impressionist art
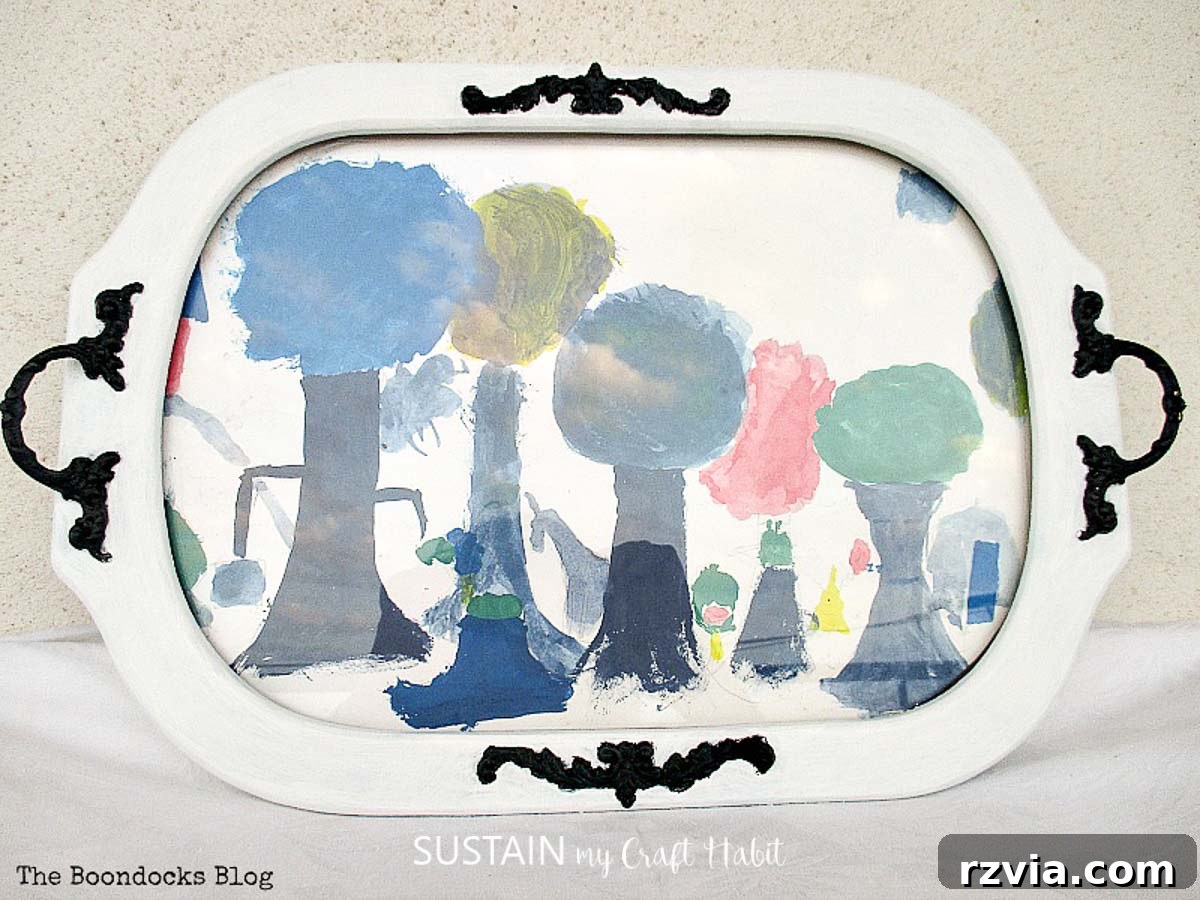
This beautiful upcycled frame now serves as a constant, loving reminder of her brother, creating a warm and cherished atmosphere in her room. One of the best features of this design is its versatility: the artwork can be easily changed and replaced with new drawings, photos, or seasonal prints as tastes evolve, ensuring the frame remains a dynamic piece of decor for years to come.
The Enduring Charm of Upcycling: Beyond the Tray
We hope you thoroughly enjoyed this journey of upcycling a vintage serving tray into a delightful and meaningful piece of home decor. This project is a testament to the power of creative thinking and the rewarding experience of giving an old item a new lease on life. Upcycling isn’t just about crafting; it’s about sustainable living, preserving memories, and adding personality to your home in ways that store-bought items simply cannot.
Did this transformation spark your imagination? Are you now looking at that forgotten item collecting dust in your attic, garage, or kitchen with a fresh perspective? Perhaps an old tray, a neglected mirror, or even a discarded piece of furniture is just waiting for its moment to shine. The satisfaction of reimagining and repurposing is truly unparalleled, and the resulting pieces carry a unique story and character that enrich your living space.
Discover More Tray Makeovers and Upcycling Inspiration
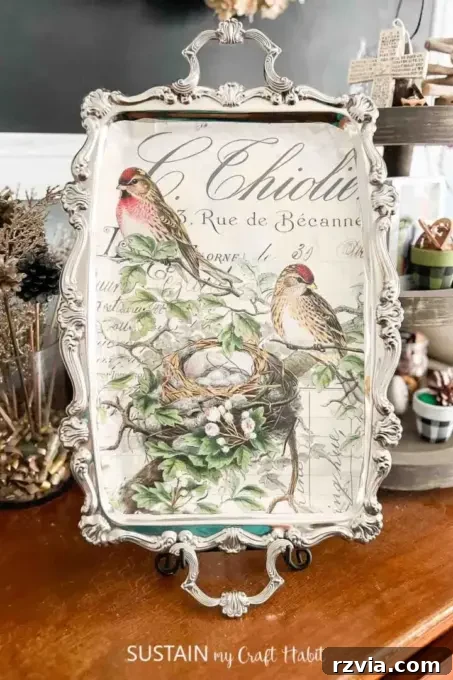
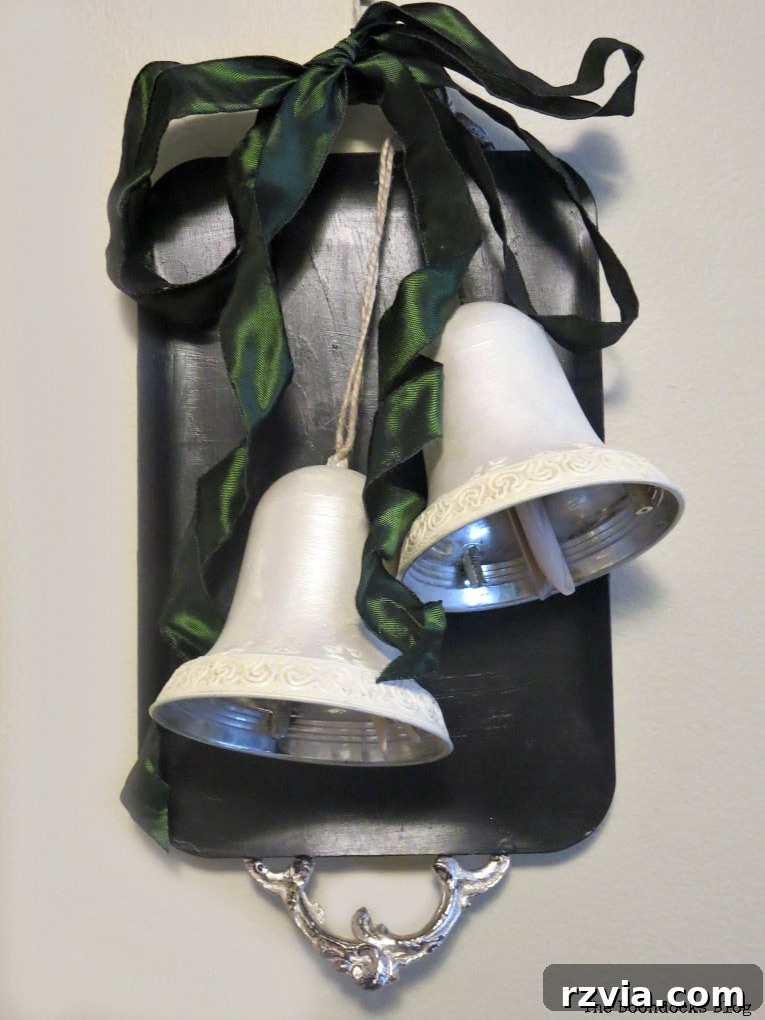
The Boondocks Blog is a treasure trove of easy and inspiring upcycling ideas designed to help you transform everyday objects into extraordinary pieces. If you loved this tray makeover, you’ll be thrilled to explore our other projects. Here are a few additional serving tray transformations we think you’ll find particularly captivating:
We encourage you to dive into these projects and more on our blog. Happy crafting, and remember, the next amazing piece of decor might just be hiding in plain sight!