
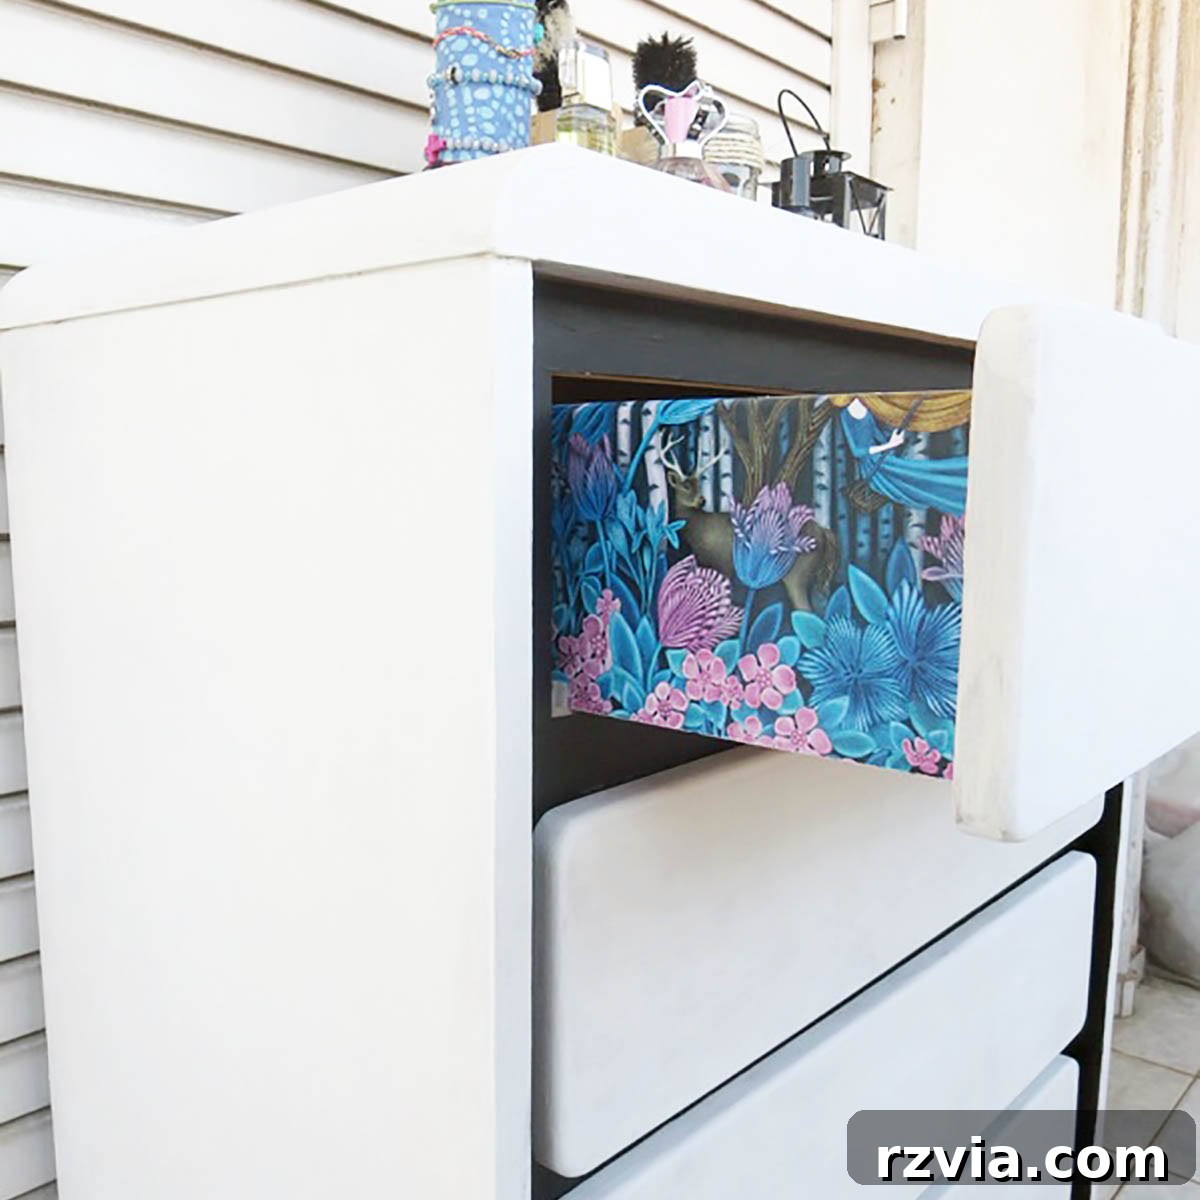
Unlock the potential of your old furniture with a captivating DIY dresser makeover! This step-by-step guide will show you how a touch of paint and some beautiful wrapping paper can transform a dated wooden dresser from “meh” to magnificent. If you’ve got an old, tired piece of furniture gathering dust, prepare to be inspired to give it a fresh lease on life. We’ll delve into the process of revitalizing a beloved family heirloom, detailing everything from selecting the right paint to applying a unique decoupage finish. Get ready to turn your discarded dresser into a stunning statement piece that reflects your personal style and adds charm to any room.
The Enduring Legacy of a Hardworking Dresser: A DIY Makeover Story
Every piece of furniture holds a story, and this particular dresser’s tale is woven through decades of family life. Its journey began as a humble yet vital addition to a new family home, arriving just in time to cradle the tiny garments of a newborn son. For years, it faithfully housed an array of adorable baby clothes—first overalls, then little jeans, as one boy grew, and then another came along to fill its drawers with his own tiny treasures. This dresser was a silent witness to countless moments of childhood, playing an indispensable role in the daily routines of a bustling home.
Years later, this steadfast dresser embarked on an ambitious journey, accompanying the growing boys and their family across the vast expanse of the pond to an entirely new, unfamiliar land. It adapted seamlessly to its new surroundings, finding renewed purpose as it began to house an entirely different collection of clothing: delicate, pretty pink dresses. It served not one, but two little girls, becoming an integral part of their childhoods. The dresser, though an inanimate object, seemed to resonate with contentment, having been an intimate part of the lives of four vibrant children, each leaving their unique mark on its sturdy frame.
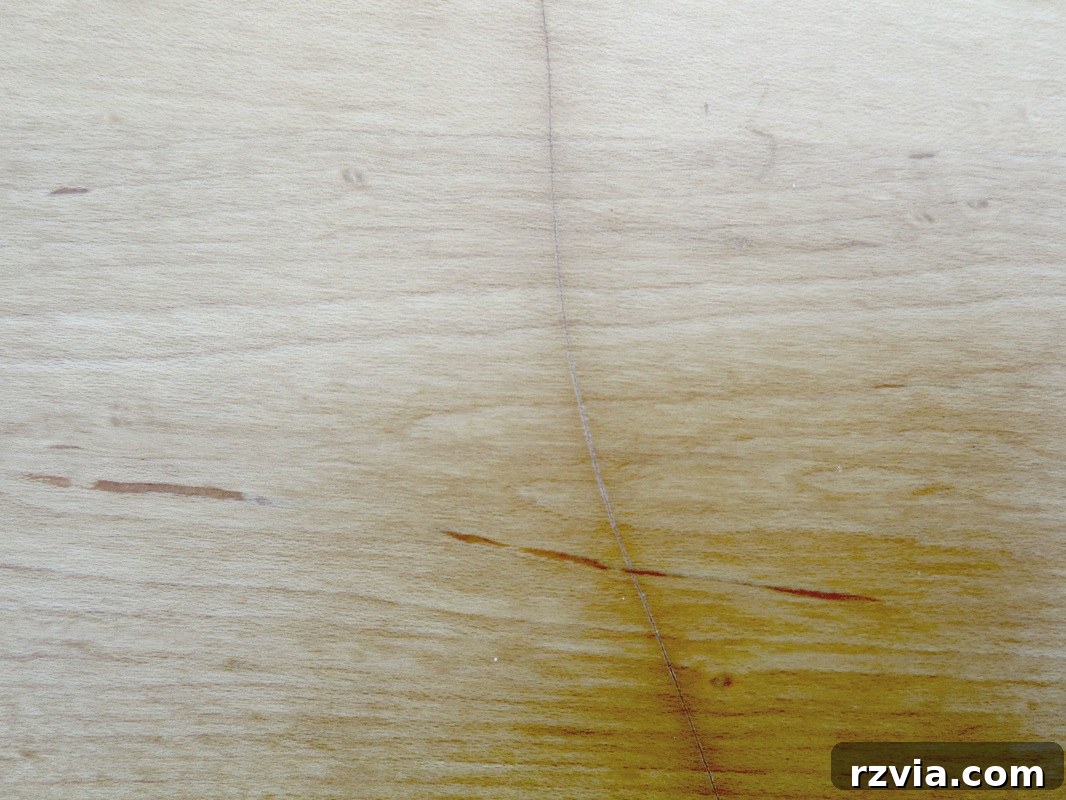
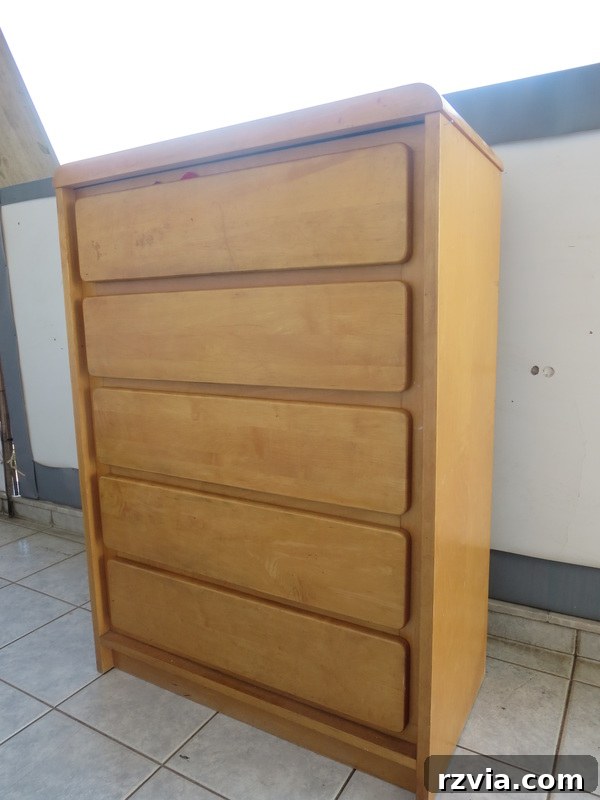
As time marched on, the two boys ventured out on their own, crossing the pond once more to forge their paths. The dresser remained, now solely dedicated to the two girls, who themselves were no longer so little. Its job, however, became more challenging. The clothes it held were significantly larger, more abundant, and undeniably unruly. The dresser, after years of diligent service, was showing its age. Its surfaces bore the scars of countless adventures and daily use, covered in myriad scratches and scuffs. Yet, beneath its worn exterior, it remained a strong, solid piece of furniture, valiantly fighting to contain the ever-expanding volume of frilly clothes that threatened to overwhelm its drawers.
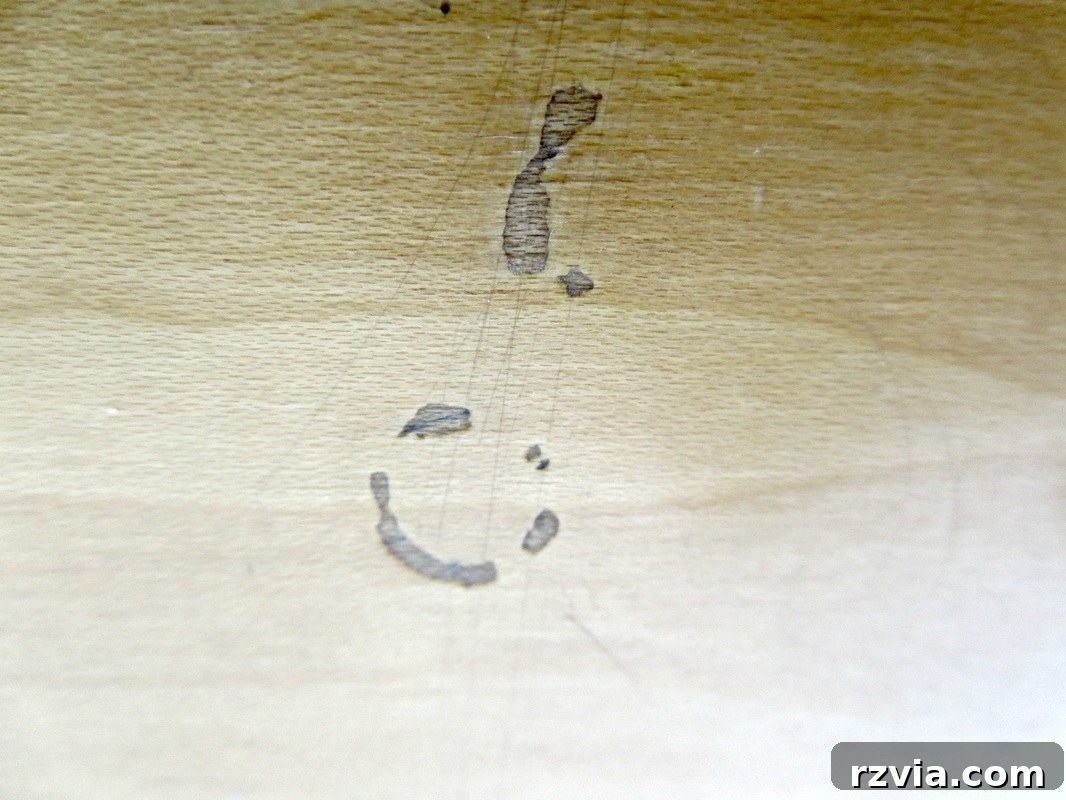
The decision was clear: something had to be done to rescue this poor, hardworking dresser. It was destined for a prominent place in a freshly painted room, a space envisioned in calming blues with sharp black and white accents. This elegant new setting demanded a dresser that could hold its own, a piece that exuded renewed beauty rather than showing its battle scars. The time had come for a complete transformation, a stylish rejuvenation that would honor its past while preparing it for another chapter of cherished family life.
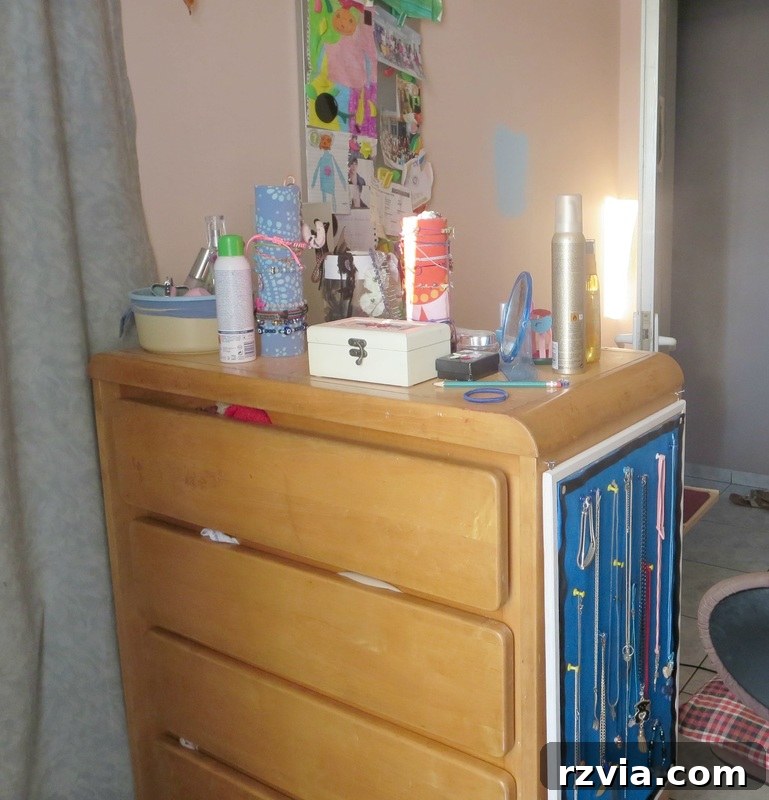
After a quarter-century of dedicated service, weathering the joys and challenges of raising four children, it was unequivocally time for a significant DIY dresser makeover! This beloved piece of furniture had been neglected for too long, its faded charm and countless scratches crying out for attention. The upcoming renovation wasn’t just about aesthetics; it was about honoring its history and ensuring it could continue to serve the family with renewed vigor and style. This transformation was a testament to the power of upcycling and the value of giving cherished items a second life.
Prepping Your Dresser for a Flawless Finish
Before diving into the exciting world of paint and decoupage, proper preparation is key to ensuring a lasting and professional-looking finish for your DIY dresser makeover. Begin by thoroughly cleaning the entire dresser. Use a degreaser or a mild soap and water solution to remove any grime, dust, or sticky residue that has accumulated over the years. This step is crucial for paint adhesion. Once clean, lightly sand the surfaces if they are glossy or have any loose flakes of old finish. While chalk paint often boasts a “no-prime, no-sand” advantage, a light scuff sand can still improve adhesion on very slick surfaces. Repair any loose joints or damaged areas with wood glue or filler. Remove all hardware, such as knobs and pulls, and clean them or set them aside for replacement. This meticulous preparation lays the groundwork for a truly stunning transformation.
The Magic of Chalk Paint: Painting the Dresser
What’s this revolutionary discovery? Chalk paint! Known for its incredible ease of use, chalk paint eliminates the need for extensive priming or sanding, making it a dream come true for DIY enthusiasts. Its forgiving nature and beautiful matte finish are perfect for breathing new life into old furniture. This was precisely the kind of low-fuss, high-impact solution needed for our beloved dresser.
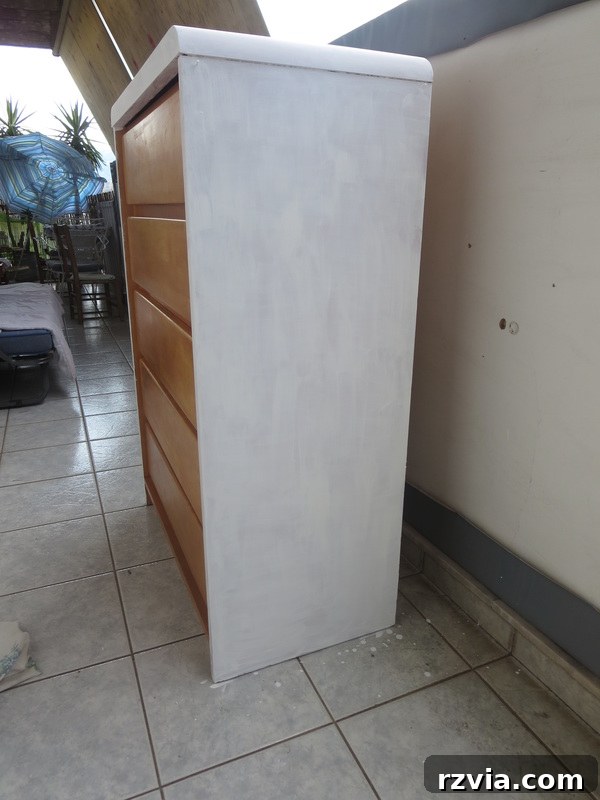
The dresser seemed to sigh with contentment as the first coat of calming blue chalk paint enveloped its worn surfaces. The transformation was instant, a promise of renewed beauty. However, a common DIY dilemma quickly emerged: the paint ran out! In most urban settings, this would be a minor inconvenience, easily remedied by a quick trip to the local hardware store. But for those of us residing in the tranquil, albeit remote, “boondocks,” such a simple errand becomes a challenging quest. Specialized paint stores are non-existent, and readily available supplies are a luxury.
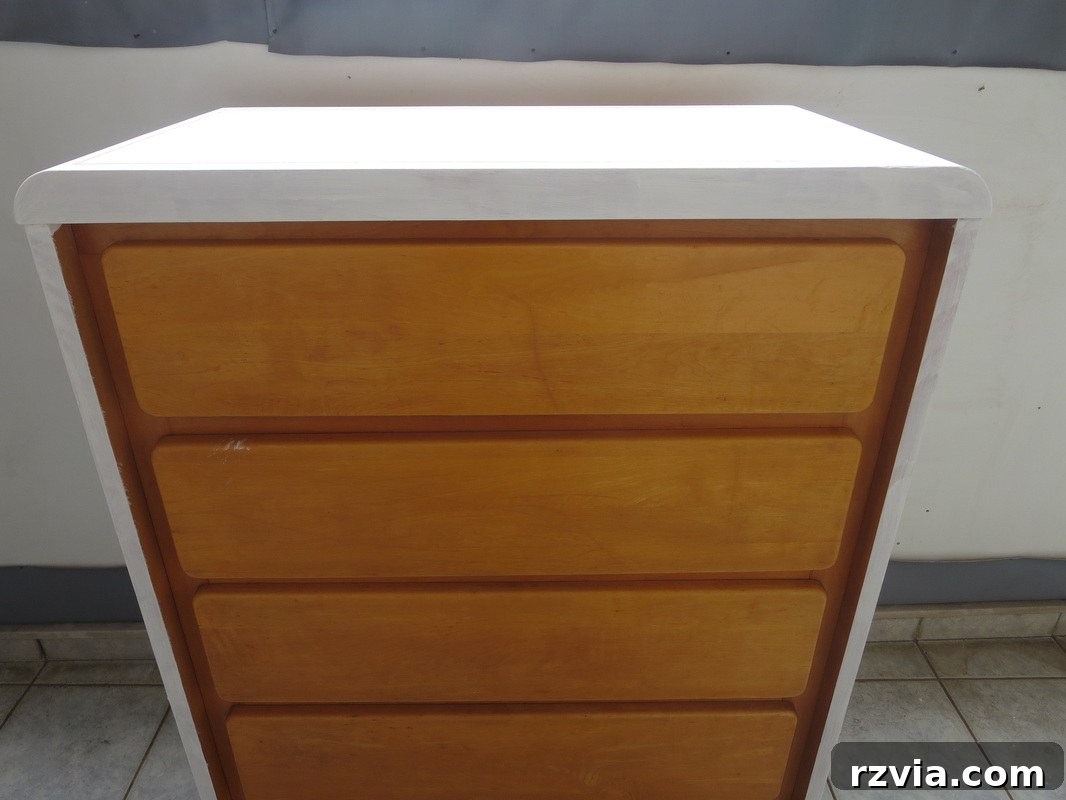
Necessity, as they say, is the mother of invention. A desperate plea to the vast knowledge base of online blogging friends provided the perfect solution: homemade chalk paint! This ingenious recipe requires just two tablespoons of Plaster of Paris, two tablespoons of water, thoroughly mixed, then combined with one cup of latex paint. This simple concoction mimics the unique properties of commercial chalk paint, offering excellent adhesion and a lovely matte finish without the need for priming. With this newfound knowledge, the makeover was back on track, and the remaining coats were applied with enthusiasm, ensuring complete coverage and a beautifully smooth texture.
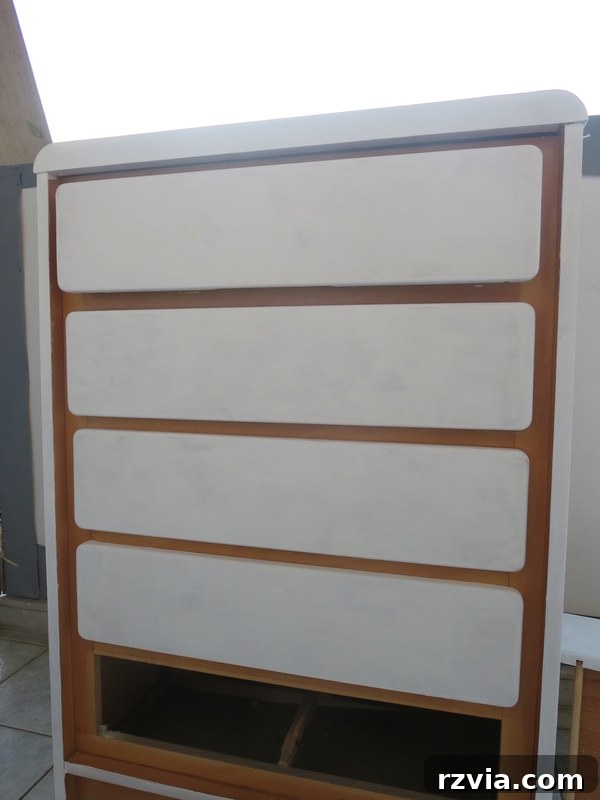
Adding Depth and Drama with a Contrasting Black Accent
To truly elevate the dresser’s appearance and integrate it seamlessly with the newly designed room, a contrasting accent was essential. A touch of black paint was introduced to complement the room’s elegant black and white aesthetic. This subtle addition provides a sophisticated visual break, defining the lines of the dresser and adding a layer of depth that enhances its overall appeal. The key is to apply the accent color strategically, often on edges, trim, or recessed panels, to highlight the furniture’s architectural details.
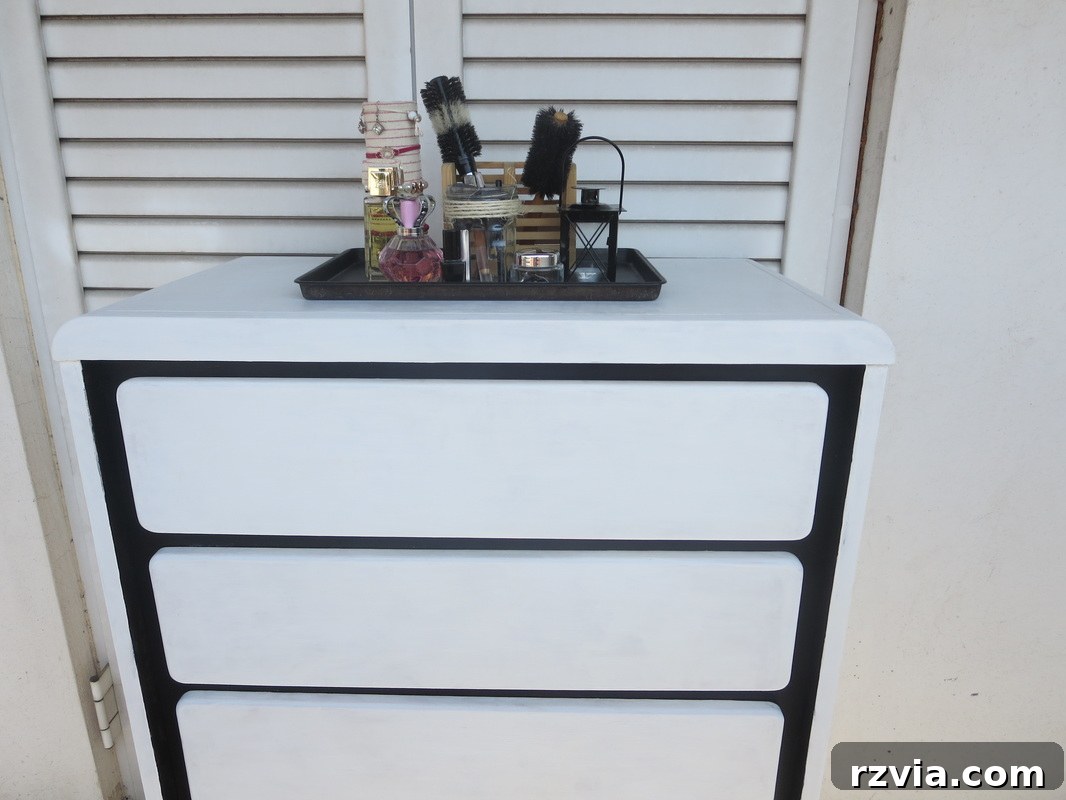
Once the paint was perfectly dry, a clear varnish was meticulously applied over all painted surfaces. This crucial step serves multiple purposes: it protects the beautiful new finish from daily wear and tear, makes it easier to clean, and provides a subtle sheen that enhances the colors. With each stroke of the brush, the dresser seemed to radiate contentment, as if acknowledging the care and attention it had finally received. The varnish not only seals the paint but also locks in the fresh, renewed feeling, preparing it for its final, decorative touch.
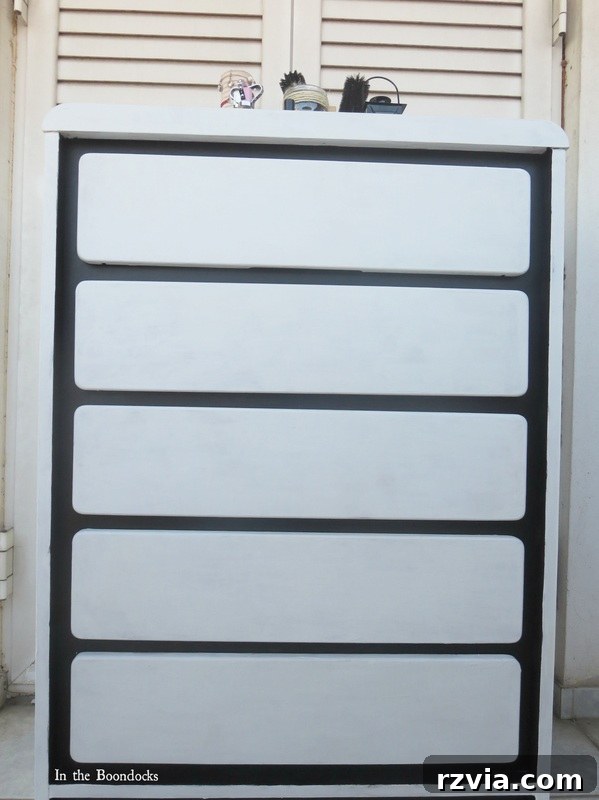
The Art of Decoupage: Finishing with Decorative Gift Wrap
Just when you think the transformation is complete, there’s always room for a little extra TLC to truly make a refinished dresser pop! This final, creative step is where personality and unique flair are infused into the piece, turning it from merely refurbished to truly custom. Decoupage, the art of decorating an object by gluing colored paper cutouts onto it in combination with special paint effects, offers endless possibilities for customization.
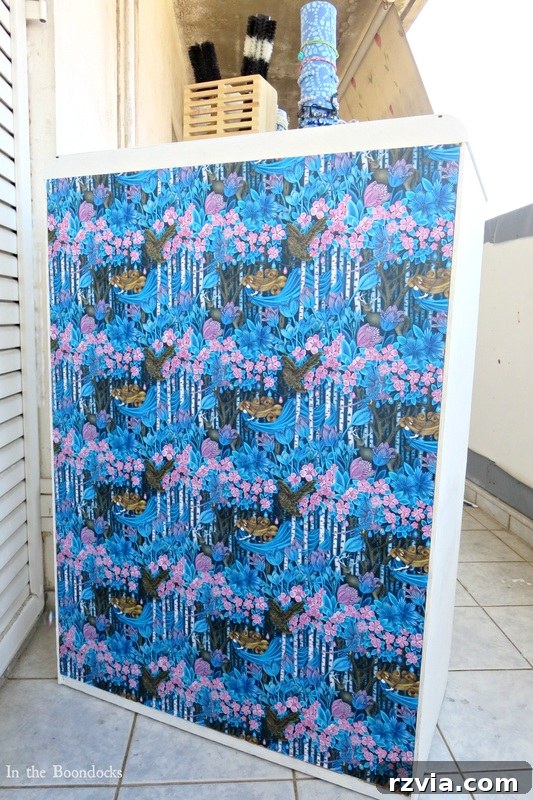
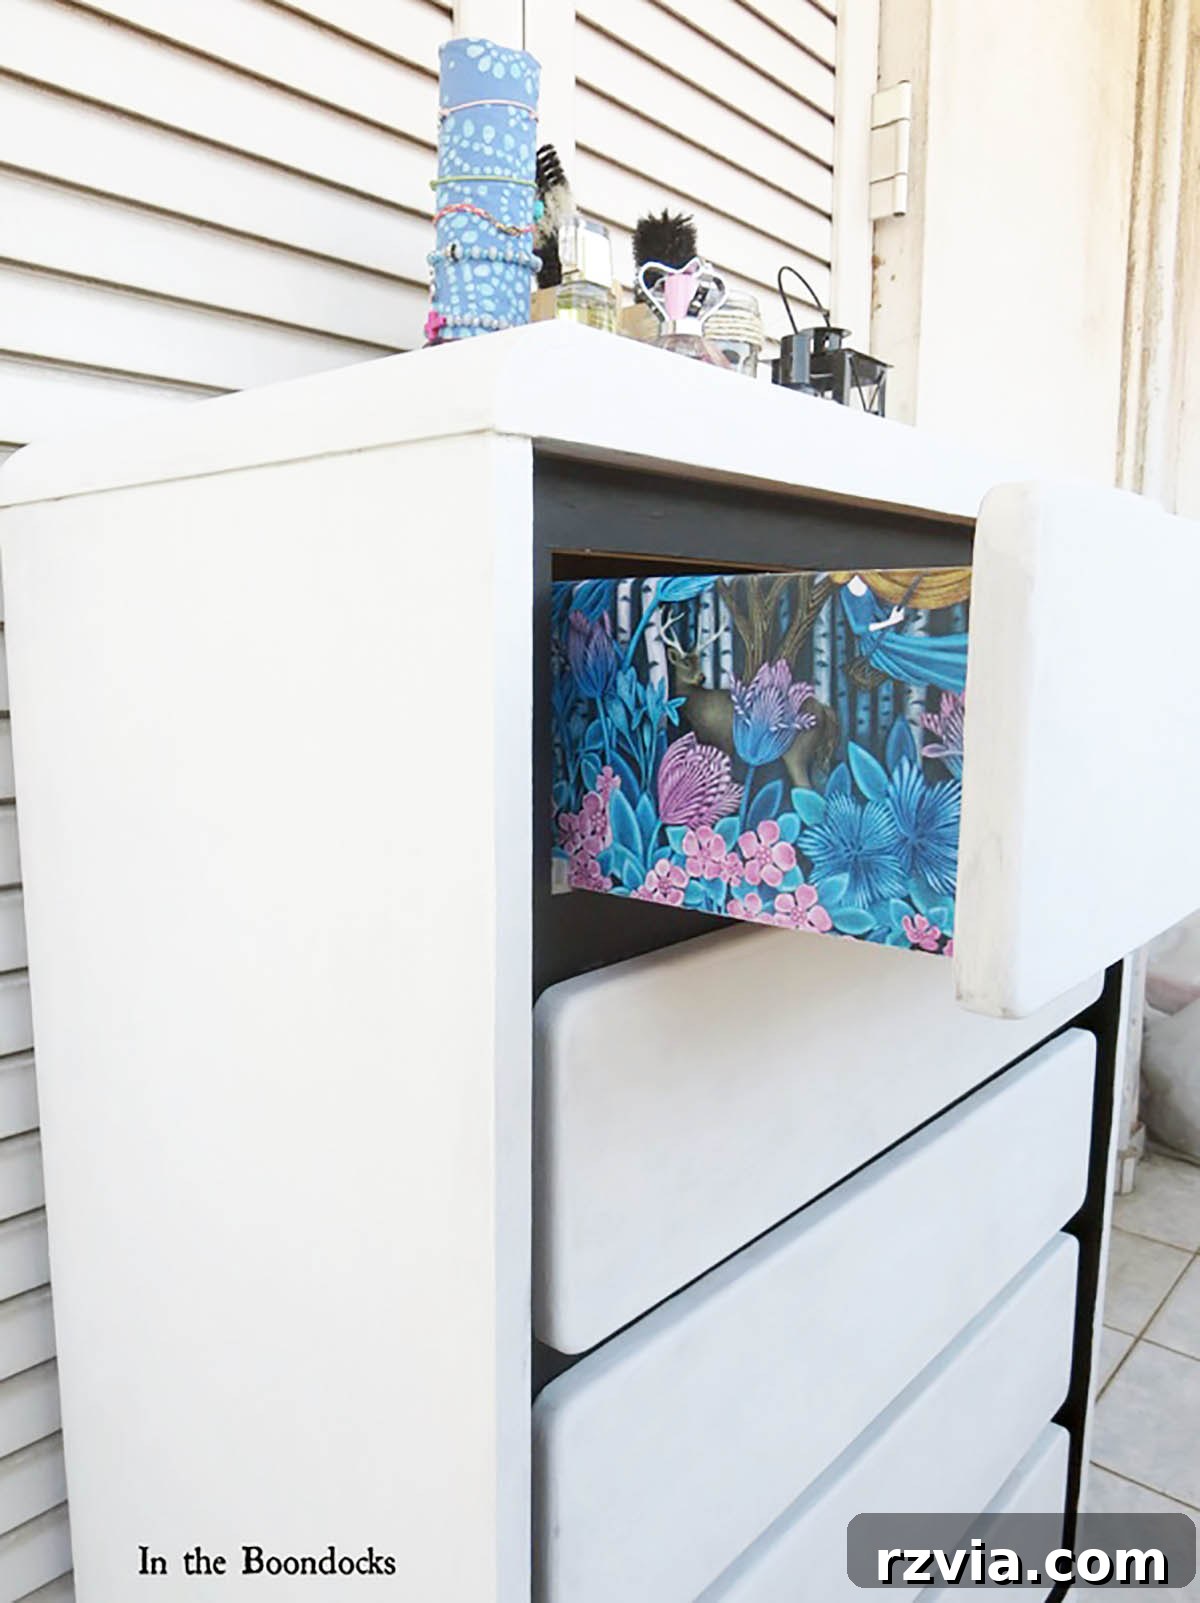
The secret ingredient for this charming finish? Mod Podge and some enchanting gift wrapping paper! The key to successful decoupage lies in careful selection of your paper. Choose a pattern that complements your paint colors and desired aesthetic. For this DIY dresser makeover, a lovely floral pattern was chosen to add a delicate, whimsical touch. To apply, measure and cut your gift wrap to fit the desired areas, typically the sides or drawer fronts. Apply a thin, even coat of Mod Podge to the dresser surface, carefully position the paper, and then apply another coat of Mod Podge over the top to seal and protect it. Smooth out any bubbles or wrinkles as you go, ensuring a seamless finish. And just like that, with a little creativity and patience, our DIY dresser makeover is triumphantly complete!
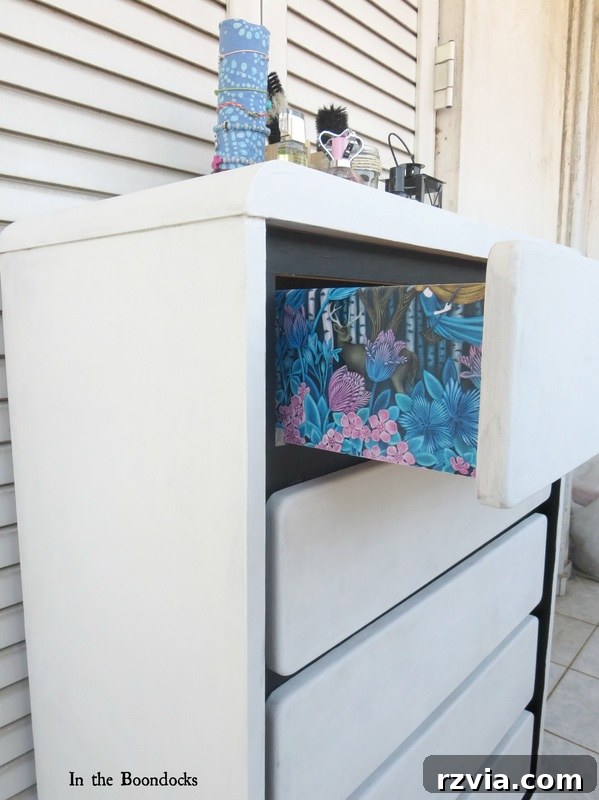
And now, for the moment of awe, the grand reveal of the “wow” factor! The integration of paint and decoupage creates a truly custom and eye-catching piece that transcends its humble origins. The vibrant floral pattern on the sides of the drawers peeks out, adding an unexpected layer of visual interest and personality, making this dresser truly one-of-a-kind.
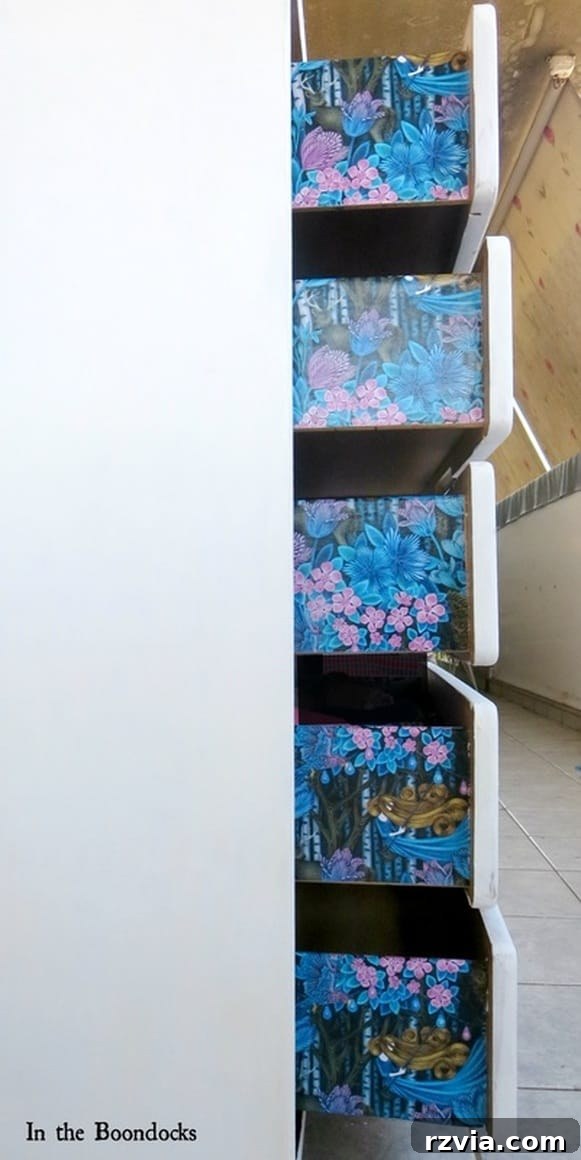
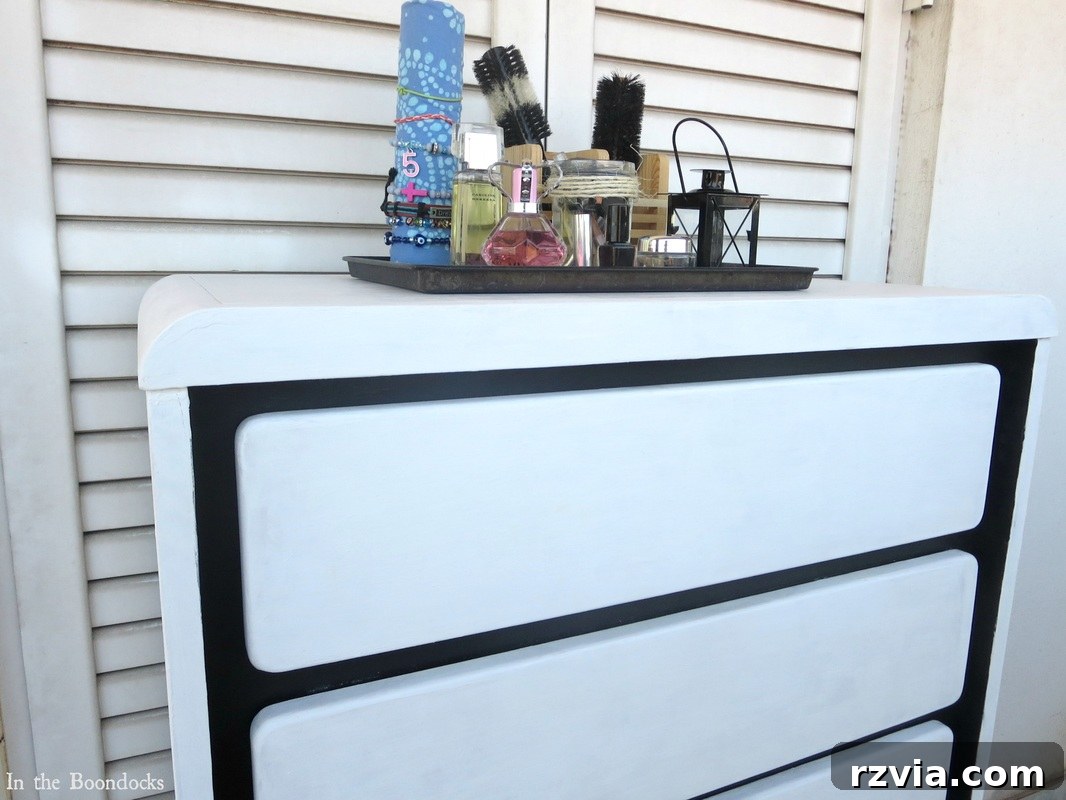
From this:
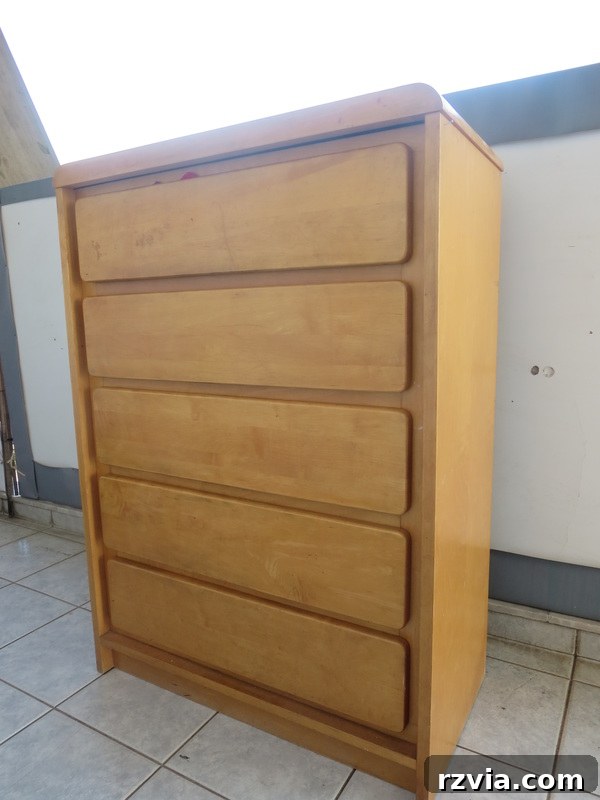
To this:
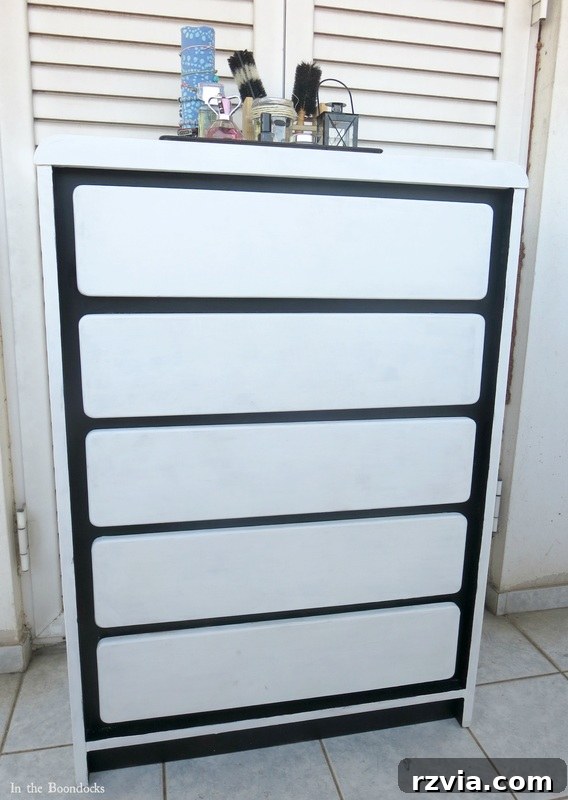

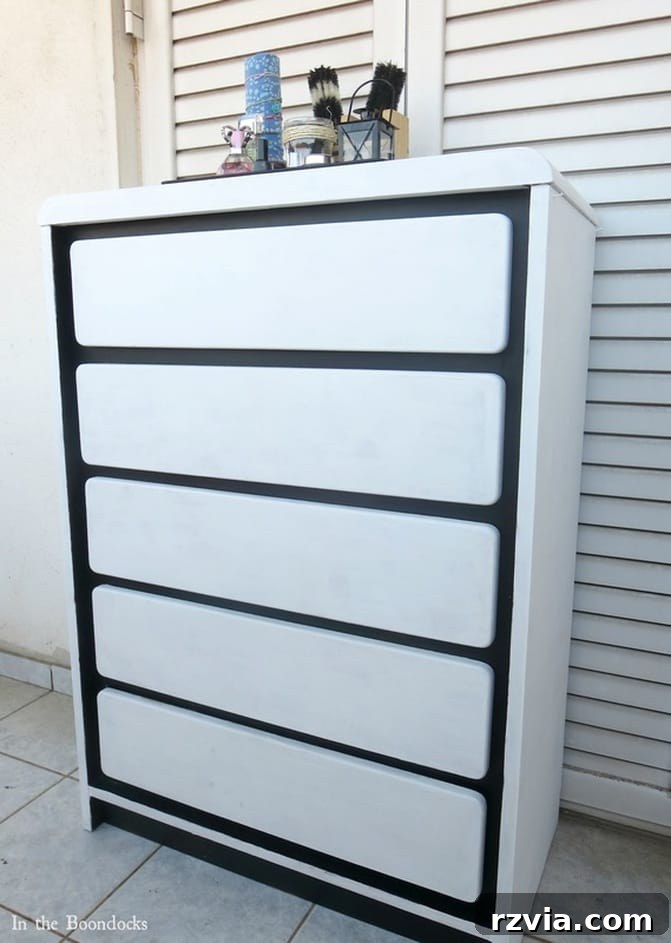
And so concludes the remarkable story of this hardworking dresser. It has lived a very full 25 years, witnessing a lifetime of memories and dutifully holding countless garments. Now, with a little love, creativity, and a fabulous DIY makeover, it is more than ready to embark on another 25 years of service, perhaps with a renewed plea: “Please, enough with the frilly clothes!” Its transformation serves as a beautiful reminder that with a bit of effort, any piece of furniture can be given a second, stylish life.
Why Choose DIY Furniture Makeovers? Benefits of Upcycling
Embracing DIY furniture makeovers offers a wealth of benefits beyond just aesthetic appeal. First and foremost, upcycling old pieces is incredibly sustainable. It diverts furniture from landfills, reducing waste and our environmental footprint. Instead of buying new, you’re giving an existing item a new purpose, contributing to a circular economy. Secondly, it’s remarkably budget-friendly. The cost of paint, paper, and a few supplies is significantly less than purchasing a brand-new dresser, allowing you to achieve a high-end look without the hefty price tag. Furthermore, DIY projects allow for unparalleled personalization. You get to choose every color, pattern, and finish, ensuring the piece perfectly matches your decor and reflects your unique taste. Each brushstroke and creative choice makes the furniture truly yours, imbuing it with character and a story that mass-produced items simply cannot offer. This personal touch transforms a house into a home, filled with items that have meaning and a history.
Expert Tips for Your Next Dresser Makeover Success
For those inspired to embark on their own DIY dresser makeover, here are a few invaluable tips to ensure a successful and rewarding experience. Firstly, patience is a virtue. Allow adequate drying time between coats of paint and Mod Podge to prevent smudges and ensure a durable finish. Rushing the process can lead to disappointing results. Secondly, always work in a well-ventilated area, especially when using paints, varnishes, and adhesives. This protects your health and helps the products dry properly. Thirdly, invest in quality brushes and rollers; they make a significant difference in the smoothness and evenness of your application. For intricate details, a smaller artist’s brush can be invaluable. Don’t be afraid to experiment with colors and techniques. If you’re unsure about a bold choice, test it on an inconspicuous area first. Finally, remember that imperfections can add character. A handmade piece often carries a charm that factory-made furniture lacks. Embrace the process, have fun, and enjoy the satisfaction of transforming something old into something wonderfully new!
Additional DIY Dresser Makeover Ideas
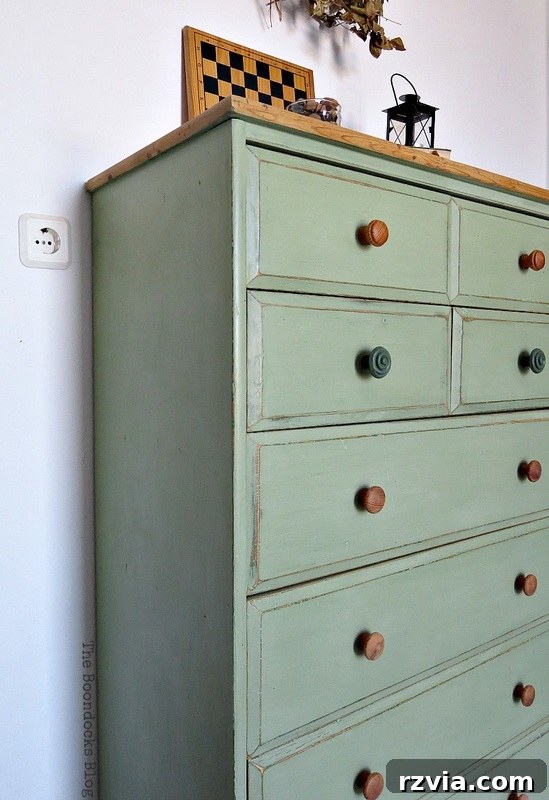
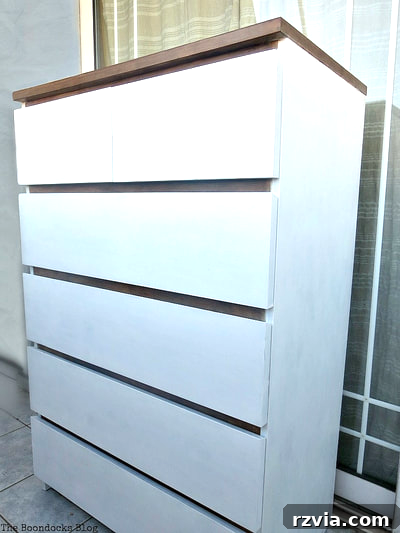
If this dresser’s story has ignited your passion for furniture transformations, explore more creative DIY dresser makeovers. Discover how to beautifully revitalize an IKEA Malm dresser, get inspired by a beautifully refinished pine dresser, and admire this fresh French country painted dresser. Each project offers unique insights and techniques to help you breathe new life into your own furniture pieces.
If you truly enjoyed this detailed DIY dresser makeover guide and found inspiration for your own projects, we invite you to subscribe to our blog! Get our latest adventures, tips, and creative ideas delivered straight to your mailbox twice a week. You can find the subscription form conveniently located on the sidebar. Rest assured, your email address will always be kept private and will never be shared with any third party.
We absolutely cherish hearing your thoughts and feedback! Please feel free to leave your comments below; we always do our best to reply to them or even visit your own blog. To ensure your comment can be published without issues, please refrain from adding any hyperlinks directly within your comment text. Thank you for being a part of our creative community!