
Crafting a Charming Rustic Easter Egg Nest: A Step-by-Step DIY Guide
Spring is truly in the air, bringing with it a vibrant sense of renewal and the delightful anticipation of Easter. While the exact date of Easter might vary for some, like myself celebrating a bit later this year (specifically on the first of May, as you can read more about my Easter traditions here), that certainly doesn’t mean we can’t immerse ourselves in the joy of decorating our homes in preparation for the holiday season. Today, I’m thrilled to share a wonderfully simple yet utterly charming DIY project: an easy-to-create nest for my rustic farm-fresh eggs, crafted almost entirely from items I already had around the house and farm. This project embodies the spirit of repurposing and brings a touch of natural elegance to your Easter decor, proving that beautiful decorations don’t always require a trip to the store.
Join the Hoppy Easter Blog Hop & Discover More DIY Inspiration
I’m delighted to be collaborating with eight incredibly talented ladies in this year’s Hoppy Easter blog hop! It’s an exciting opportunity to explore a diverse range of Easter craft ideas and decorative projects. After you’ve explored my rustic nest creation, I encourage you to visit their blogs for even more inspiration. You can also add your own delightful Easter creations and projects below, making this a truly collaborative celebration of spring and creativity.
The Transformation: From Humble Wreath to Rustic Nest Base
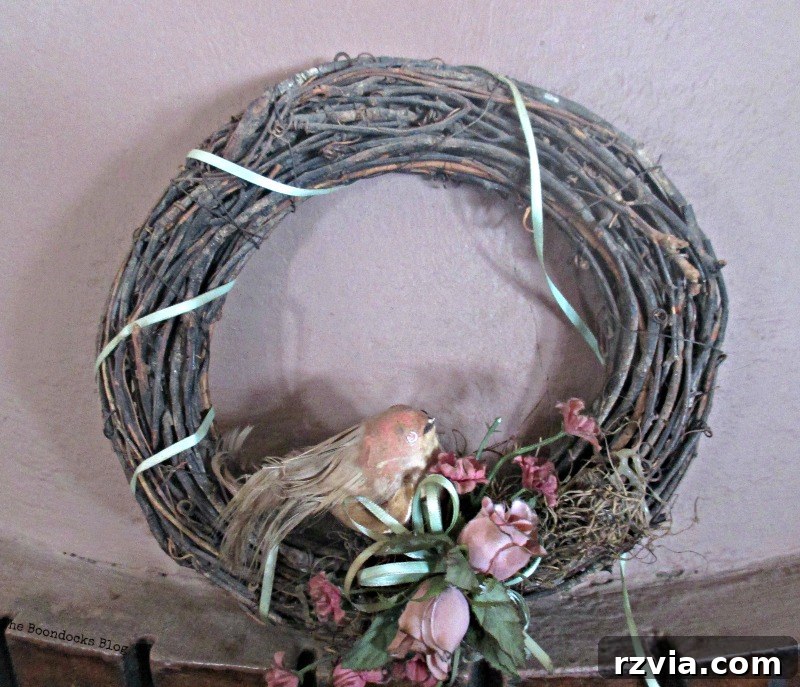
Every great DIY project often starts with a spark of inspiration and a willingness to see potential in forgotten items. For this rustic Easter egg nest, the journey began with a very ordinary, unadorned wreath. It was a simple, rustic piece, unassuming in its original form, looking much like this:
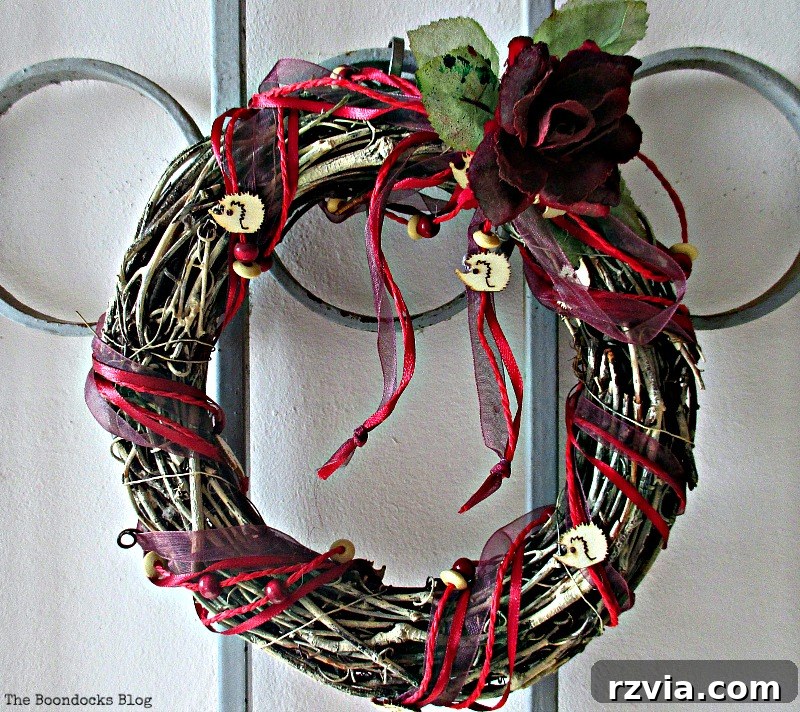
This wreath had actually undergone a previous transformation about a year prior, when I gave it a fresh coat of white paint and adorned it with a charming hedgehog-themed ribbon, turning it into a delightful spring wreath. You can see its previous incarnation here. Repurposing is a passion of mine, and I love giving items multiple lives, adapting them to new seasons and themes. For this Easter project, I decided it was time for another metamorphosis, stripping it back to a simpler, more rustic aesthetic to serve as the perfect foundation for our egg nest.
Gathering Your Simple Supplies for the Rustic Nest
Creating this rustic Easter egg nest requires very few materials, emphasizing simplicity and natural charm. Here’s what you’ll need, likely items you already possess:
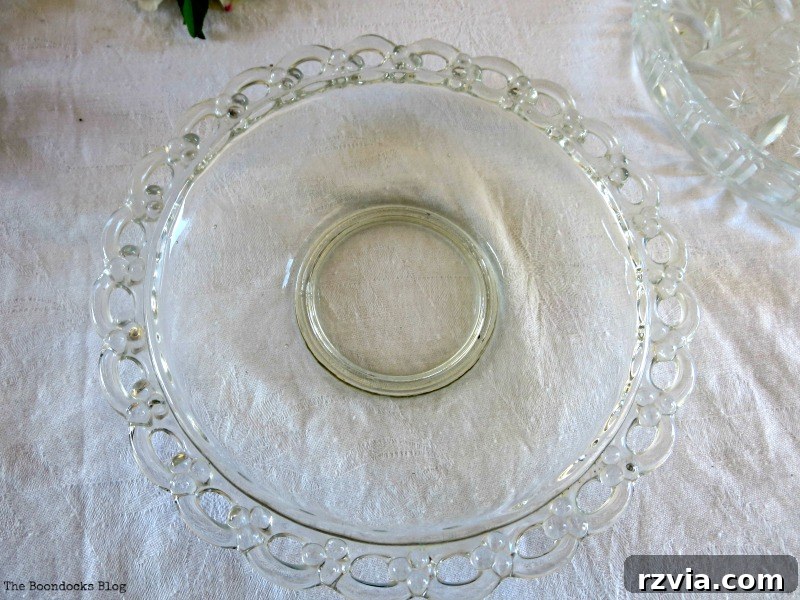
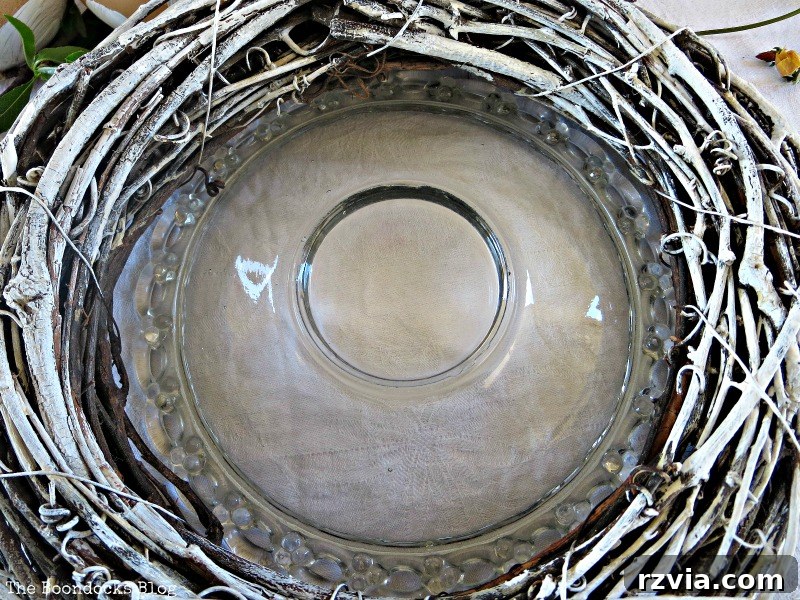
- A Small Glass Dessert Plate: This will serve as the stable base for our nest. Its transparency allows the focus to remain on the wreath and eggs.
- An Old Wreath: A grapevine or twig wreath works best for that authentic rustic feel.
- White Chalk Paint: For refreshing the wreath and decorating the eggs.
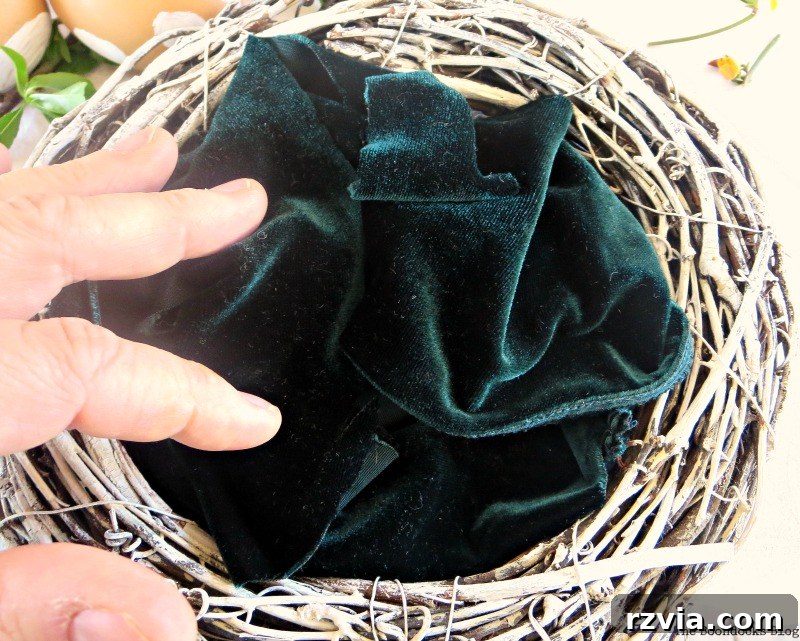
- Velvet Fabric Scraps: To create a soft, grass-like bed within the nest.
- Farm Fresh Eggs: Natural brown eggs enhance the rustic aesthetic.
- Black Permanent Marker: For adding delicate designs to your decorated eggs.
Step 1: Preparing the Base – The Glass Plate
The first step in assembling our nest is to select a suitable base. I opted for a small, clear glass dessert plate. The reason for choosing glass is its subtle presence; it provides a flat, stable surface without detracting from the natural beauty of the wreath and eggs. It simply melts into the background, allowing the rustic elements to shine. This plate will serve as the foundation upon which the rest of our nest will be built, ensuring stability and ease of display.
Step 2: Repainting and Positioning the Wreath
With the hedgehog ribbon removed, the wreath was given a fresh lease on life with another coat of white paint. This step not only covers any previous decorations but also adds a lovely, slightly distressed look, enhancing the rustic appeal. Once the paint was dry, the wreath was carefully placed directly on top of the glass plate. The contrast between the simple white wreath and the clear plate immediately begins to form the elegant outline of our rustic Easter nest. This combination provides both structure and a touch of farmhouse charm.
Step 3: Creating a Cozy Bed with Velvet Fabric
Next, to create a soft and inviting interior for our eggs, I placed some leftover velvet fabric inside the wreath. This particular piece was a remnant from an old dress, perfectly illustrating my philosophy of never letting a good scrap go to waste! While not literal grass, the rich texture and color of the velvet cleverly mimic the lush green of a real nest, adding a touch of unexpected luxury to the rustic setting. You could also use straw, raffia, or even dried moss for a more traditional look, but the velvet offers a unique, sophisticated twist.
Step 4: Decorating Your Rustic Eggs with Chalk Paint
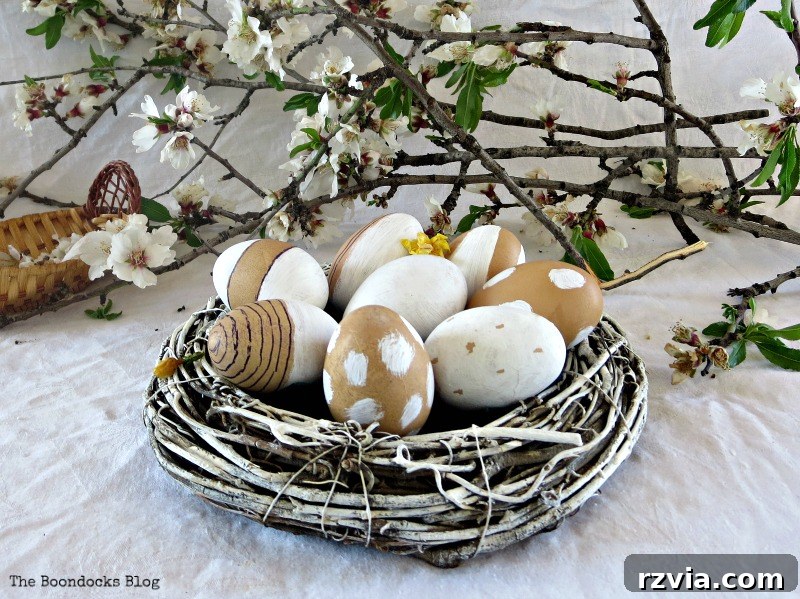
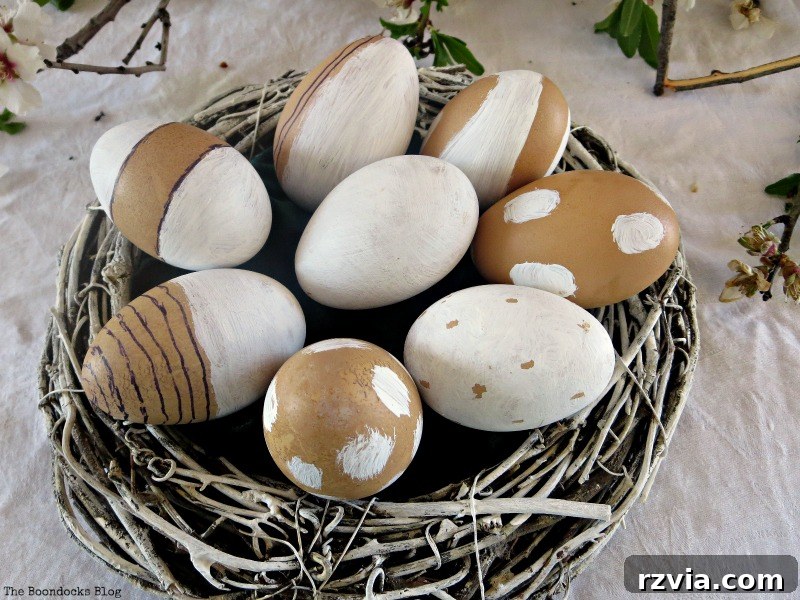
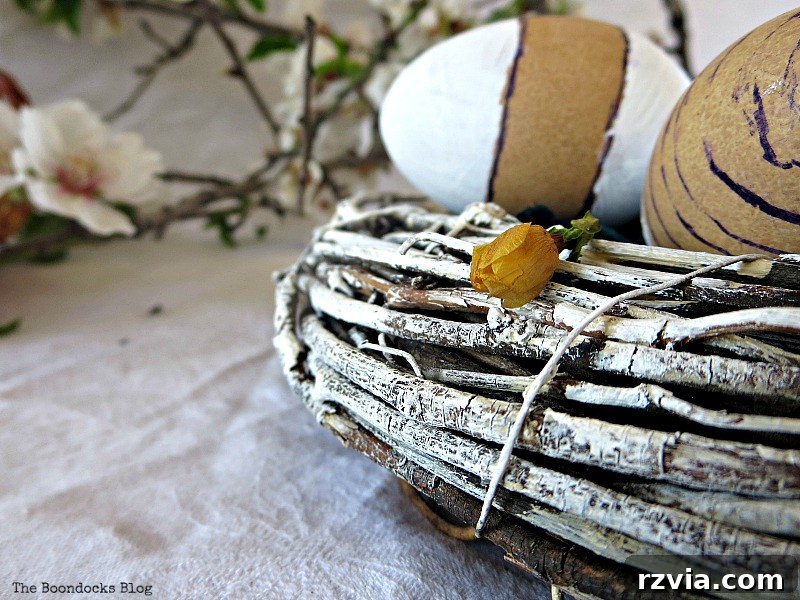
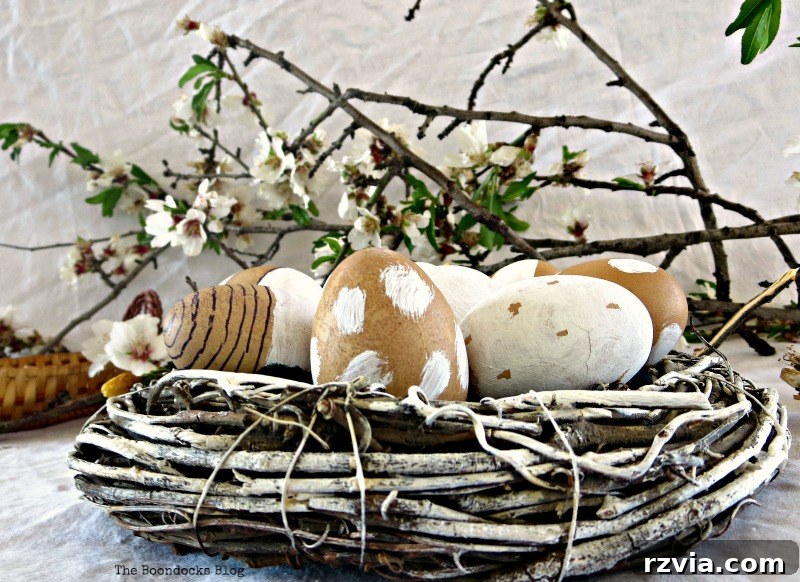
Now for the stars of our nest: the eggs! While I typically lean towards traditional dyed eggs for Easter, this year I felt that the vibrant red wouldn’t quite complement the earthy, natural aesthetic of this particular rustic nest. Instead, I brought home these stunning brown beauties straight from the farm, and I was instantly captivated by their natural, varied hues. Their inherent beauty inspired a different approach. Rather than dyeing them, I decided to simply enhance their organic charm by adding subtle white chalk paint designs. I kept the patterns simple and understated – dots, stripes, abstract swirls – nothing overly complicated. The final touch was a delicate outline or detail added with a black permanent marker, which truly made the white designs pop against the rich brown shells. This minimalist approach allows the natural beauty of the eggs to shine through, perfectly aligning with the rustic theme.
The Beauty of Contrast: White on Natural Brown
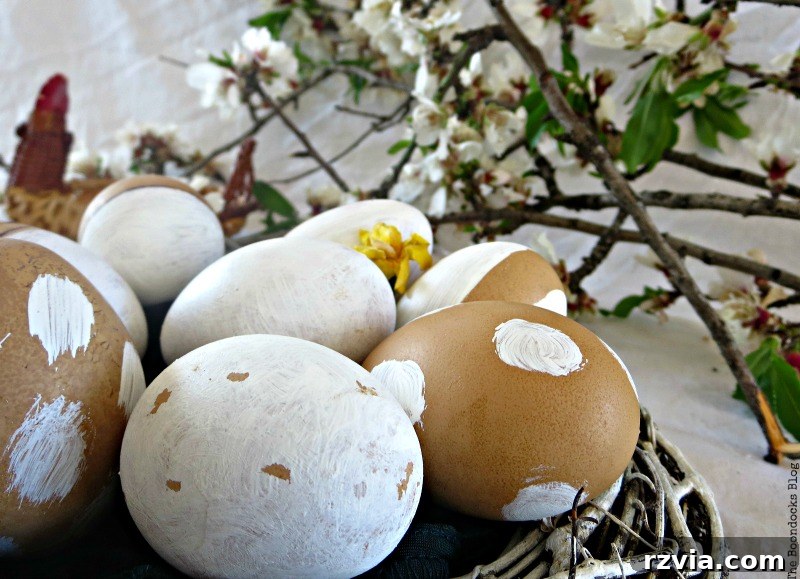
There’s something incredibly appealing about the stark yet harmonious contrast of the white chalk paint against the natural brown of the eggs. It creates a striking visual impact that is both modern and timeless, perfectly capturing the essence of farmhouse chic and rustic elegance. This simple decorative technique highlights the unique qualities of each egg, transforming them into miniature works of art that feel authentic and unpretentious.
Embracing Rustic Charm: The Wreath’s Paint Texture
Observe closely how the white paint on the wreath isn’t perfectly smooth. This is intentional, as the slight imperfections and visible texture of the paint further contribute to the overall rustic goodness of the piece. It’s these small details, the natural irregularities of the wreath’s branches peeking through the paint, that give the nest character and an authentic, handmade feel. This organic quality is precisely what makes rustic decor so appealing – it celebrates the imperfect and the natural.
Enjoying Your Rustic Easter Display
To be entirely honest, these beautiful farm-fresh eggs are so tempting that I don’t think they’ll last all the way until Easter itself! It’s a lovely problem to have, and it means I might find myself back in the kitchen next month, crafting some more decorative eggs. Let’s hope my hardworking hens are up to the task of keeping my Easter displays well-stocked! This rustic egg nest makes for a perfect centerpiece, a charming addition to a mantelpiece, or a welcoming touch on an entryway table. Its simplicity means it blends seamlessly with various home decor styles while still making a festive statement.
Your Rustic Easter Egg Nest: Simple, Sustainable, and Sweet
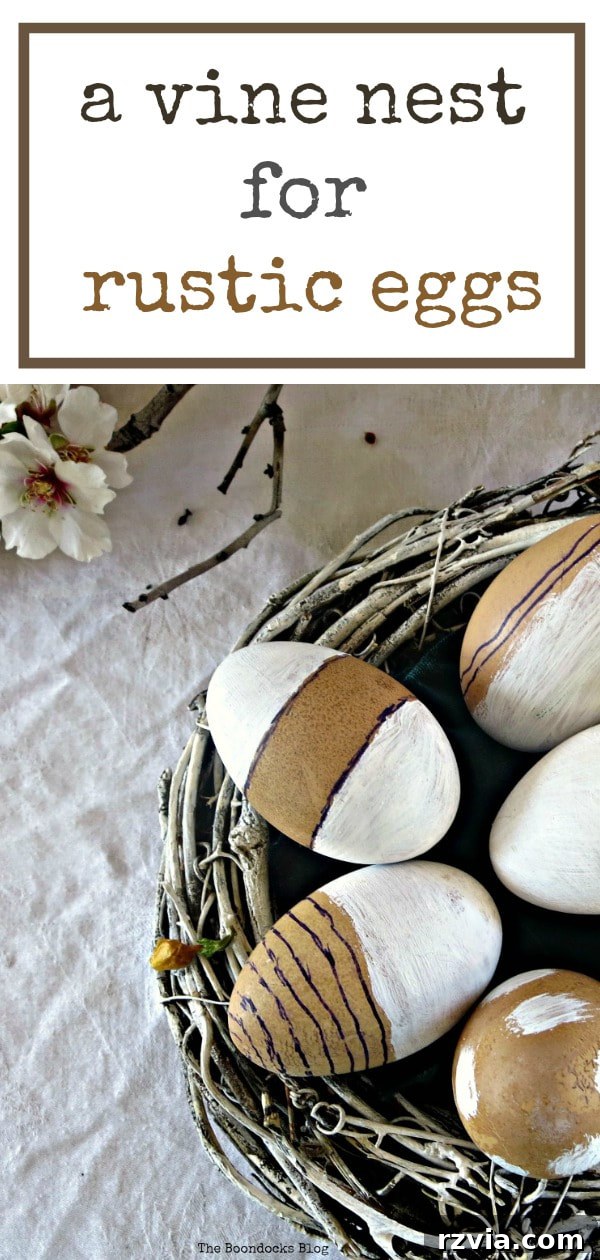
And with those final touches, my rustic nest for these charming farm eggs is complete! It truly embodies the beauty of simplicity and the satisfaction of using what you already have. There’s nothing overly elaborate or complicated about it – just a few humble materials thoughtfully arranged to create a piece that exudes warmth and spring cheer. I hope this easy DIY inspires you to look around your home for forgotten treasures that can be transformed into something new and beautiful for the holidays. Happy Easter to everyone, and may your homes be filled with joy and creativity!
If you enjoyed this project and found inspiration here, please consider sharing it with your friends or saving it to your favorite Pinterest board. Your support helps me continue creating! If you truly love what you see and want to stay updated on all my adventures and DIY projects, I invite you to subscribe to my blog and receive fresh content twice a week directly in your mailbox.
Discover More Easter Inspiration: The Hoppy Easter Blog Hop Participants
As mentioned, I’m honored to be part of the Hoppy Easter Blog Hop, a fantastic gathering of talented bloggers sharing their unique Easter projects. I highly recommend hopping over to their blogs to explore a wealth of creative ideas, from crafts and decor to recipes and more. There’s something for everyone to discover!
-
Tues March 1 Gail @Purple Hues and Me
-
Wed March 2 Maria @Sweet Things
-
Thurs March 3 Sarah @Sarah Celebrates
-
Fri March 4 Stella @Purfylle
-
Mon March 7 T’onna @Navy Wifey Peters
-
Tues March 8 Keri @One Mama’s Daily Drama
-
Wed March 9 Millie @2Crochet Hooks
-
Thurs March 10 Mary @The Boondocks Blog
-
Fri March 11 Darlene @Let It Shine
You Might Also Enjoy These Related Posts:
An Almond Wreath for Spring HOME A Sunset Stroll on the Beach
I absolutely love receiving your comments and feedback, and I make it a point to reply to each and every one of them. Please feel free to share your thoughts or questions below!