
Transform Your Workspace: DIY Upcycled Wire Rack Organizer with Rustic Twine Charm
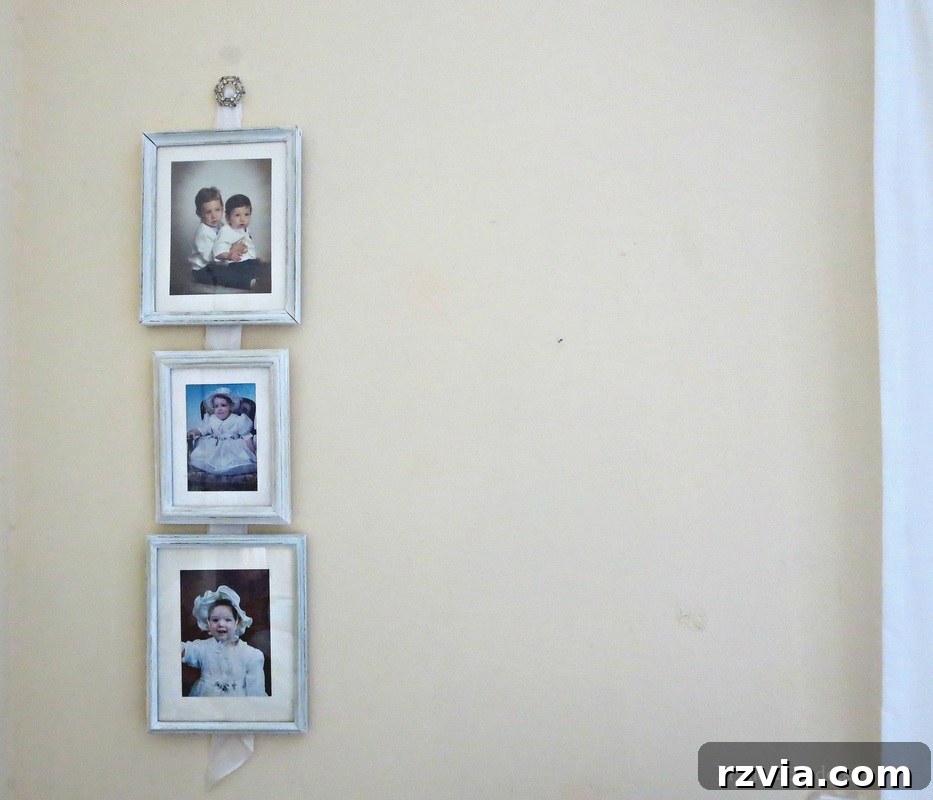
As I’ve embarked on this blogging journey with renewed vigor and a commitment to consistency, a critical truth has become abundantly clear: an organized workspace is not just a luxury, but a fundamental necessity. Fellow bloggers, creators, and anyone who spends significant time at their desk will undoubtedly understand the chaotic symphony of notes, ideas, tools, and inspiration that can quickly accumulate. My own desk area was no exception. I found myself staring at a blank wall space directly above my desk, a canvas ripe for transformation, positioned perfectly next to the beautiful frames I had recently given a new lease on life.
This empty expanse, while initially daunting, sparked an idea. It wasn’t enough to simply tidy up; I craved a system that would not only bring order but also infuse my creative corner with character and a touch of personal flair. The challenge was to find a solution that was both functional and aesthetically pleasing, lightweight, and versatile enough to display all those little odds and ends that fuel my daily inspiration and keep my workflow on track. My goal was to create a dedicated spot for important notes, upcoming projects, and visual cues without adding visual bulk to my already cherished space. This quest for the perfect organizational tool led me to revisit a forgotten item in my stash – a trusty, old wire rack.
Rediscovering a Hidden Gem: The Old Wire Rack
You might recall this humble, utilitarian piece from a few months back – a simple wire rack that had previously served its purpose in a different life. It was a sturdy, albeit uninspired, item, and I knew it held the potential for so much more. The beauty of DIY and upcycling lies in seeing beyond an object’s current state and envisioning its next, greater purpose. This particular wire rack was a prime candidate for a creative makeover, aligning perfectly with my desire to craft a light and airy display solution for my workspace.
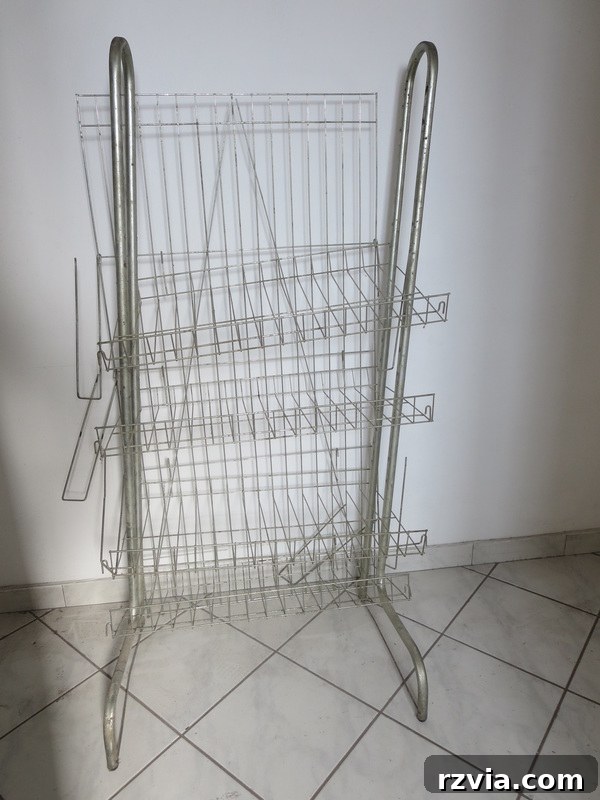
In fact, this very wire rack had already contributed to a successful previous project. I had cleverly repurposed a significant portion of its back panel to create my daughter’s personalized display grid for her wall. That project was a testament to the versatility of these seemingly simple wire structures, proving that with a bit of imagination, they can be transformed into incredibly functional and stylish pieces. Knowing its potential, I felt confident that the remaining sections of this wire rack could be equally reinvented to serve my own workspace needs.
The Transformation Begins: From Rack to Rustic Display
With a clear vision in mind, it was time to put more parts of the venerable wire rack to good use. I carefully selected two of its wire shelves, which were perfectly sized for the area above my desk. The first step in their transformation was a simple yet impactful one: a fresh coat of spray paint. I opted for a crisp white, knowing it would provide a clean, bright canvas that would easily blend with my existing decor and make any displayed items truly pop. The white also contributes to that “light and airy” feel I was aiming for, moving away from the industrial look of bare metal.
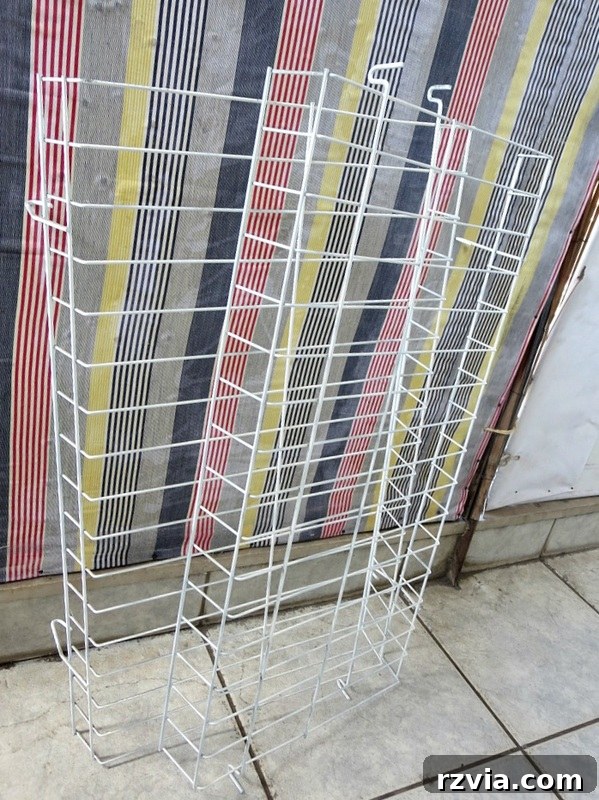
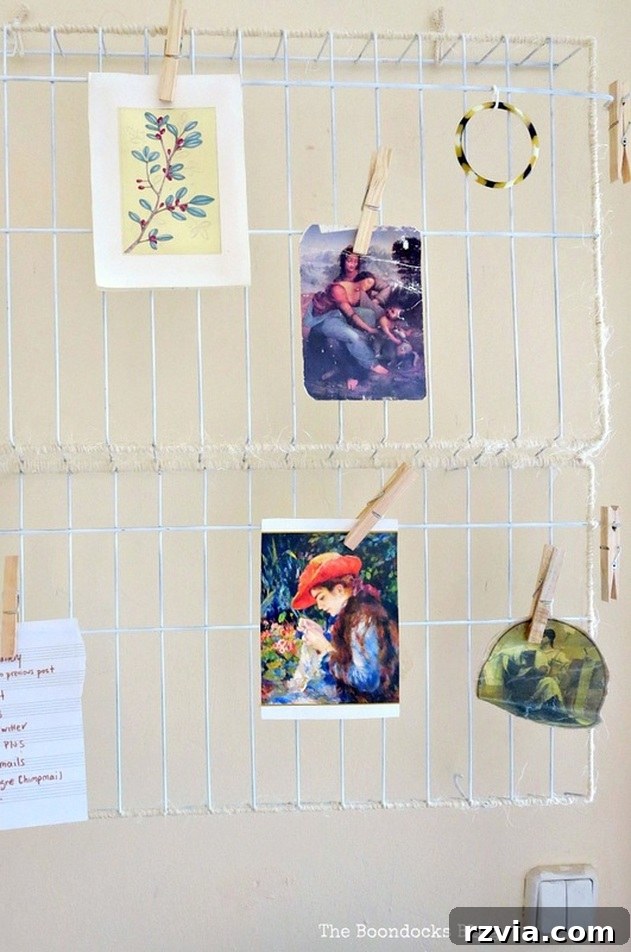
My intention was to combine these two freshly painted shelves, creating a larger, more substantial display grid. However, I didn’t want just any grid; I wanted one with unique character, something that truly reflected a handmade aesthetic. This is where my alter ego, “The Twine Lady,” made her grand re-entrance. Twine, with its natural texture and rustic charm, is one of my favorite materials for adding warmth and personality to otherwise plain objects. I meticulously began wrapping the two shelves together, interlocking them and then securing their union with strong, rustic twine. This not only joined them physically but also started to weave in the distinctive texture and charm that would define the final piece.
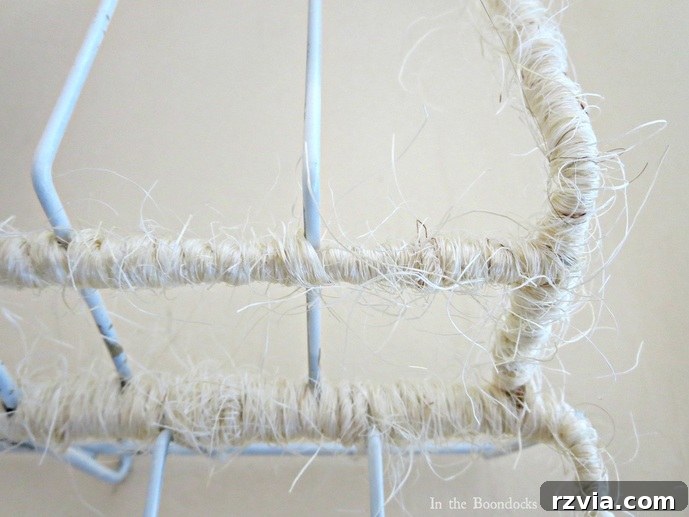
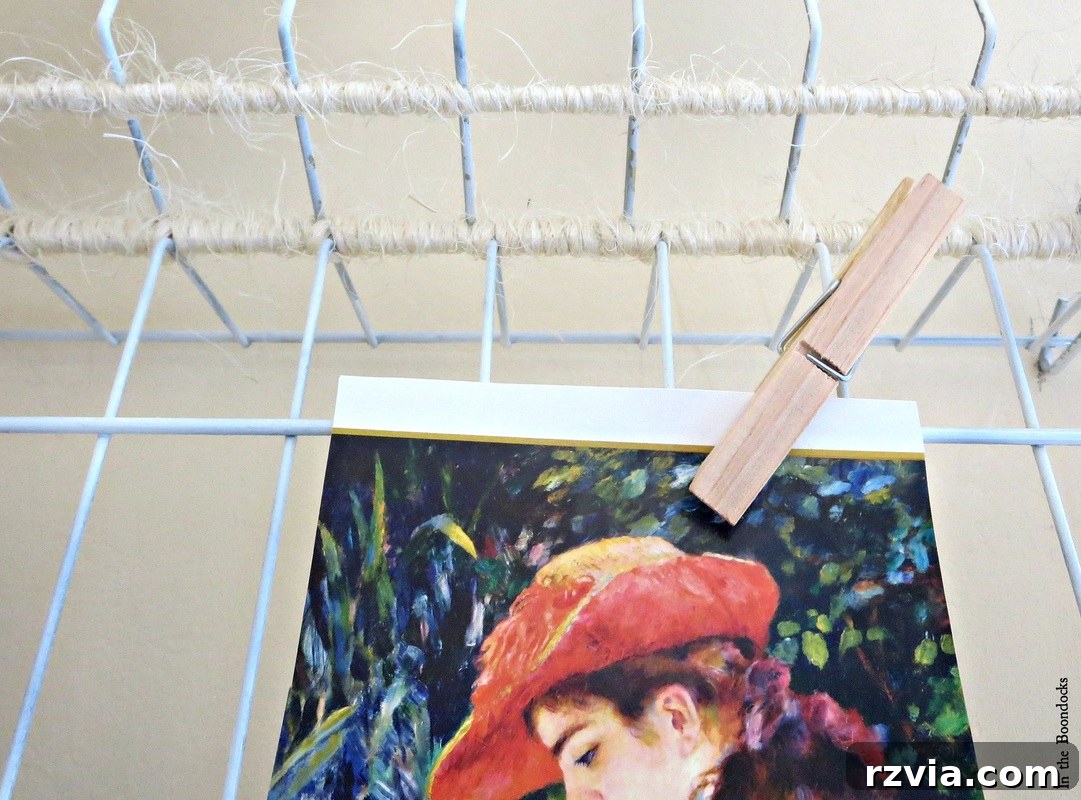
The process of wrapping the twine was meditative and satisfying. I carefully wound the twine around the connecting points, ensuring it was taut and evenly spaced. This technique not only conceals the raw edges and the juncture where the two racks meet but also adds an incredible amount of strength and stability to the combined unit. The texture of the twine immediately softened the industrial lines of the wire, transforming it into something much more inviting and handcrafted. Each loop and knot contributed to the overall rustic appeal, hinting at the effort and love poured into its creation. It’s a simple technique, but one that yields surprisingly strong and beautiful results.
The Grand Reveal: A Functional & Rustic Workspace Organizer
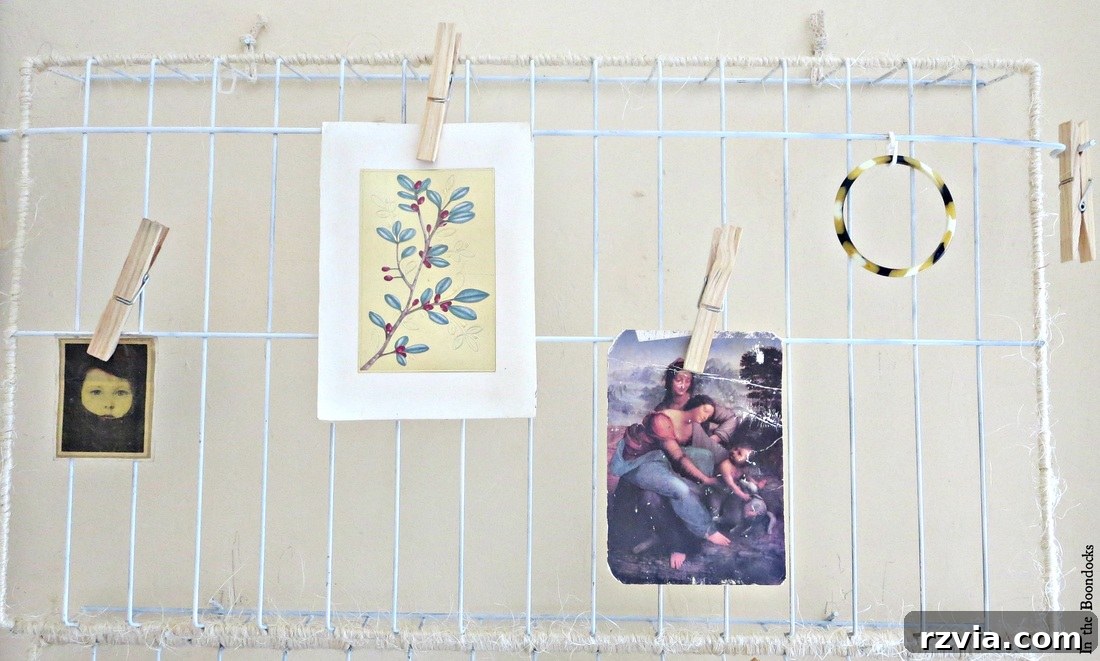
After a considerable amount of focused twine wrapping, my fingers a little tired but my heart full of satisfaction, the project was complete. What emerged was a beautiful, cohesive piece – a far cry from the disjointed wire shelves I started with. This DIY twine-wrapped wire rack organizer was now ready to take its place on my workspace wall, promising both functionality and an undeniable rustic appeal. The combination of the clean white paint and the organic texture of the twine created a perfect balance, making it a versatile addition to almost any decor style, from farmhouse chic to minimalist modern with a touch of warmth.
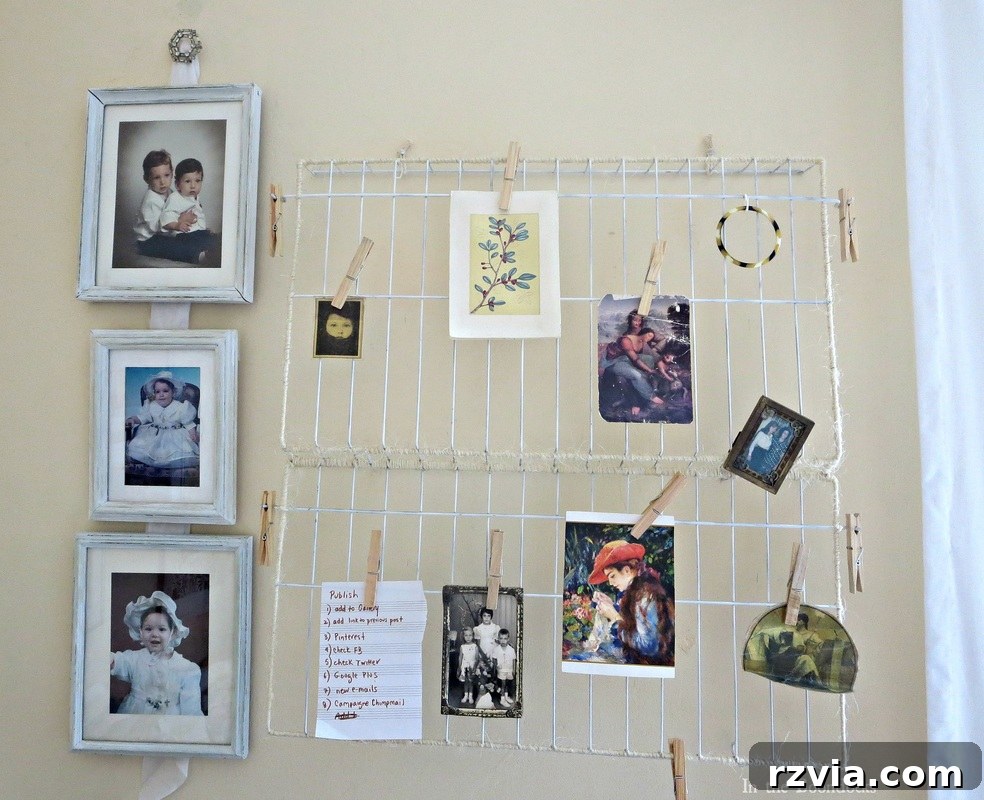
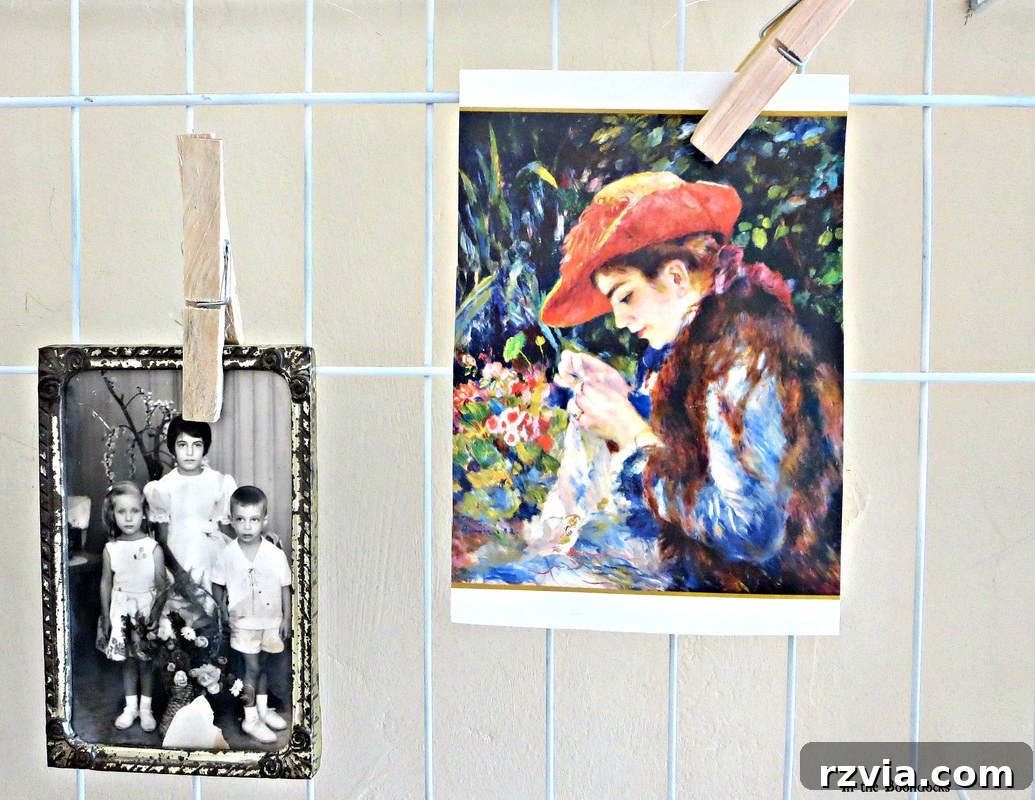
The design’s true genius lies in its simplicity and adaptability. I chose to accessorize it with wooden clothespins, which perfectly complement the twine and enhance the rustic aesthetic. These little clips are incredibly practical, allowing me to effortlessly attach and detach a variety of items. From inspirational quotes and motivational images that keep my creative juices flowing, to crucial paperwork, to-do lists, and reminders of deadlines, everything that needs to be visible and accessible can now be neatly organized right in front of me. This immediate visual access means less rummaging through piles and more focused work, turning potential clutter into a curated display of productivity.
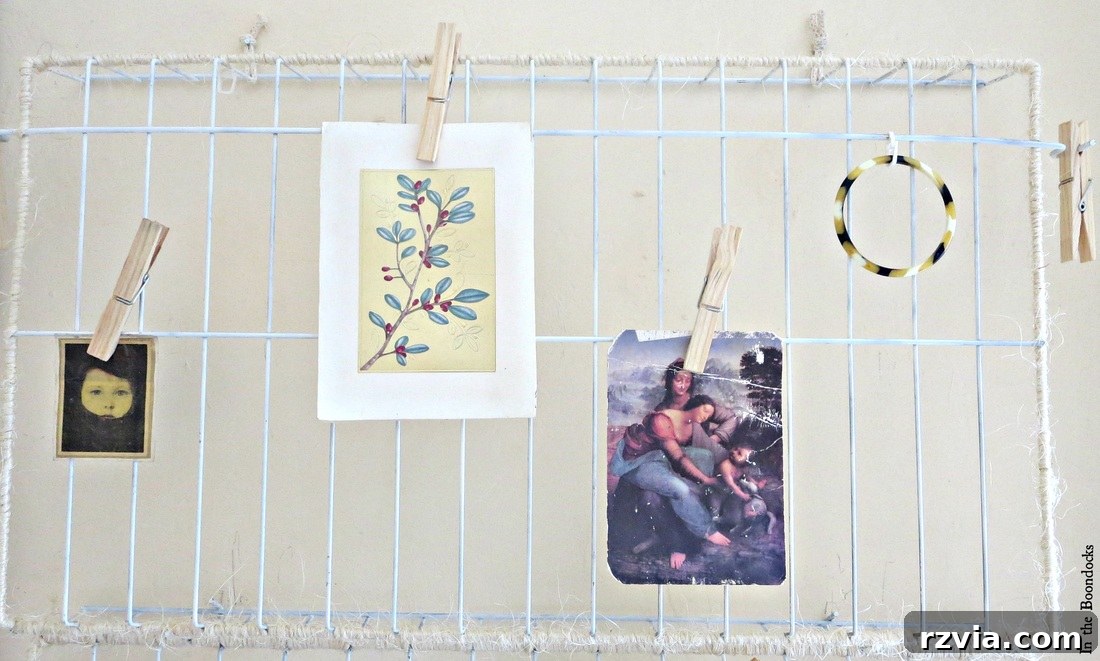
The beauty of using clothespins extends beyond their charming appearance. They offer unparalleled flexibility. Need to swap out an old inspiration quote for a new one? Simply unclip and re-clip. Have a pressing note that requires immediate attention? Attach it front and center. This dynamic display system ensures that my workspace remains a living, evolving entity, always reflecting my current projects and inspirations without ever descending into disarray. Moreover, the tactile quality of the wooden clothespins against the textured twine adds another layer of warmth and authenticity, grounding the digital nature of blogging with a tangible, handcrafted element.
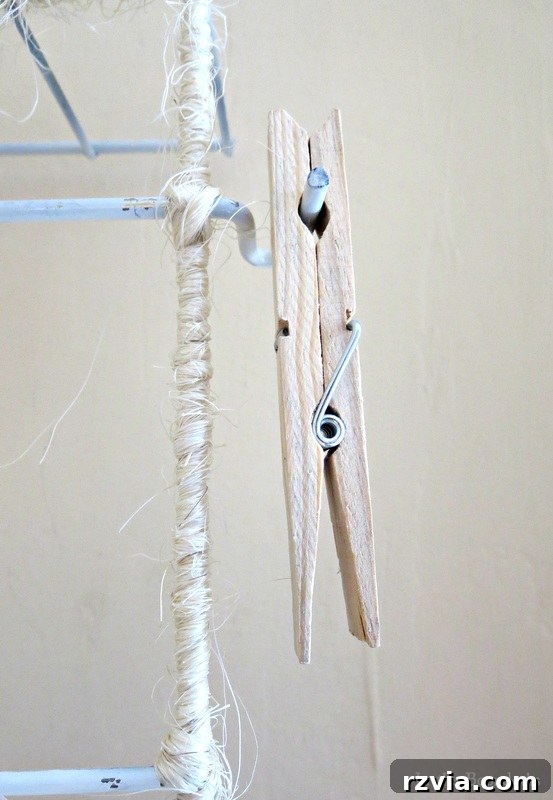
For those curious about the structural integrity, I wanted to provide a closer look at how the two wire racks were seamlessly joined. The twine isn’t just for aesthetics; it plays a crucial role in creating a surprisingly strong and robust piece. By wrapping the twine tightly around the overlapping edges and securing it with strategic knots, the individual shelves are transformed into a single, unified display board. This method eliminates the need for any complicated hardware or drilling, making the project accessible to anyone, regardless of their DIY expertise. The continuous winding of the twine creates a bond that is both flexible and incredibly durable, ensuring the organizer can hold a decent amount of weight without sagging or compromising its form. It’s a testament to the power of simple materials and a bit of creative ingenuity.
Embrace the Charm of Upcycled Organization
After dedicating time and creative energy to this project, I truly feel I’ve earned a functional, beautiful, and inspiring area to display my most important items. This DIY wire rack organizer isn’t just about decluttering; it’s about creating a dedicated visual space that supports productivity and sparks joy. It transforms a previously empty and overlooked wall into a dynamic hub for creativity and organization, all while reflecting a commitment to upcycling and sustainable crafting.
I hope this journey of repurposing an old wire rack into a charming and practical workspace organizer inspires you to look at everyday objects with fresh eyes. What do you think of my solution? Have you tackled any similar DIY organization projects lately? I’d love to hear your thoughts and ideas in the comments below. Sharing our creative solutions not only fosters a wonderful community but also provides endless inspiration for others looking to enhance their own spaces on a budget.
If this project resonates with you and you’re looking for more creative upcycling ideas, don’t hesitate to explore the rest of my blog. This kind of hands-on crafting brings such immense satisfaction, transforming the mundane into something truly special. Consider sharing this post with your friends who might benefit from a little workspace magic, or save it to your Pinterest board for future reference. And for a continuous stream of DIY adventures, home decor transformations, and creative insights delivered right to your inbox, be sure to subscribe to my blog. Let’s keep making and creating together!
You may also like:
<< Faking a Fall Vignette HOME A Blogger Award >>
This blog is for entertainment purposes only; my DIY tutorials are not professional advice. Read my full disclaimer here.
I love it when I get your comments and I will reply to each and every one of them.