
Disclosure: I was compensated for this post with product. However, all opinions expressed here are genuinely my own. I exclusively endorse and recommend products that I personally love and believe my audience will find valuable.
Transforming a Thrift Store Find: A Mirror Makeover with Old Fashioned Milk Paint
I’m absolutely thrilled to share some exciting news today! I’ve been selected as one of the Brand Bloggers for the esteemed Old Fashioned Milk Paint Company (OFMP). This is a dream come true for any DIY enthusiast, and I can’t wait to delve into their fantastic range of products and share my creative journeys with you.
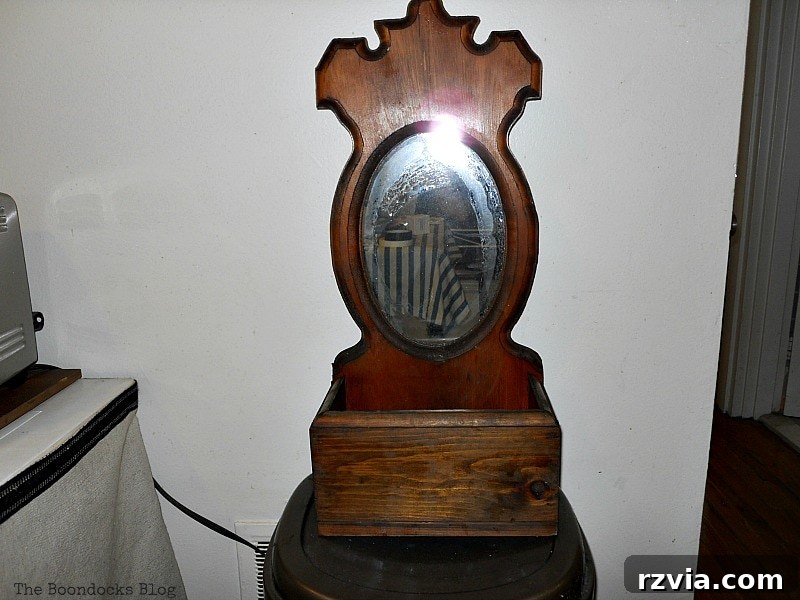
The project I’m showcasing today began with a serendipitous discovery. Last year, my husband visited our boys and returned with an assortment of treasures from neighbors who were moving. Among these hidden gems was the beautiful mirror you’re about to see. He playfully told me, “When you visit New York, make sure to check the basement; I have something special waiting for you.”
And indeed, he did! What a stroke of luck for a girl who adores breathing new life into forgotten pieces. So, without further ado, let’s dive into this mirror makeover using the incredible Old Fashioned Milk Paint, transforming it from a dated piece into a charming focal point.
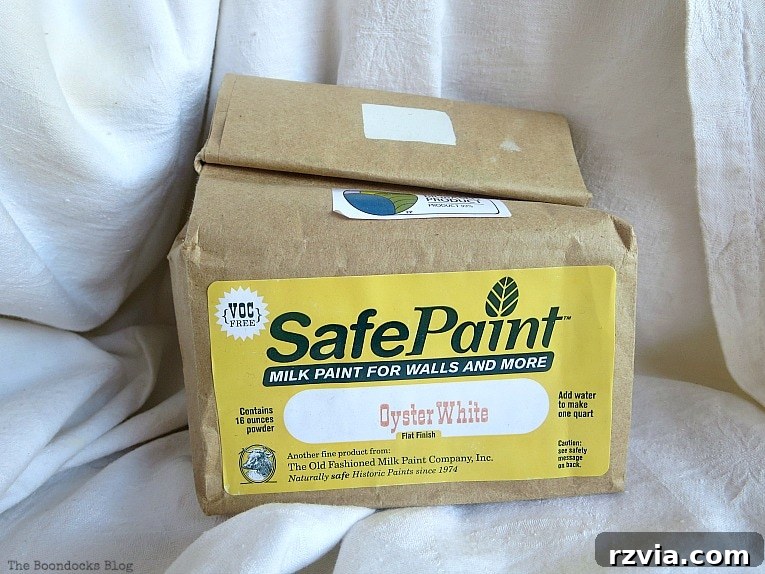
As I mentioned, my nervousness was real. I didn’t want to make any mistakes on this inaugural project. To prepare, I immersed myself in research, watching numerous video tutorials and consulting friends who had previous experience with milk paint. Finally, the moment arrived. I carefully opened the sealed bag containing the milk paint powder.
For this project, I chose the elegant ‘Oyster White’ shade. I meticulously measured out one part OFMP powder and one part warm water. The mixing process is straightforward: stir for a few minutes until smooth, then let the mixture rest for approximately 20 minutes to allow the milk proteins to fully dissolve and activate. This resting period is crucial for achieving the best consistency and performance.
Understanding Milk Paint: Chippy vs. Smooth Finish
Here’s an important distinction to understand about true milk paint. It is designed to deeply penetrate porous surfaces, such as raw wood, creating a highly durable and long-lasting bond. However, if applied over a pre-finished or non-porous surface, milk paint often creates a distinctive, charmingly “chippy” look as it naturally adheres and then slightly flakes in certain areas. This distressed, vintage aesthetic is incredibly popular in today’s décor trends. You can see a fantastic example of this effect on my friend Cynthia’s blog, Clockwork Interiors, where she transformed a chair with this beloved chippy style.
If the chippy look isn’t what you’re aiming for, and you prefer a smooth, consistent finish on a non-porous surface, there’s an excellent solution: the “Safe Paint” version of true milk paint, or a separate bonding agent. The “Safe Paint” formula is specifically designed to create a strong bond, ensuring the paint adheres uniformly without chipping. It’s particularly effective for surfaces like walls or previously painted furniture. Alternatively, you can purchase the bonding agent separately and simply mix it into your milk paint solution to achieve the same smooth, durable finish. This flexibility makes Old Fashioned Milk Paint incredibly versatile for any project.
My mirror, while appearing somewhat porous, still left me with a sliver of doubt. To guarantee a smooth, modern finish and frankly, to bypass the need for sanding (a task I confess I’m not overly fond of!), I decided to utilize the “Safe Paint” option. This choice ensured I would achieve the desired adhesion and a flawless outcome without extra prep work.
Applying the First Coat: Embracing Oyster White
My son’s apartment has been the focus of several recent projects, all with the goal of creating a brighter, more airy living space. Choosing ‘Oyster White’ for this mirror was a deliberate decision to contribute to that light and refreshing aesthetic. Before applying the paint, I gave the mirror frame a thorough wipe-down with soapy water, ensuring a clean surface for optimal adherence, and allowed it to dry completely.
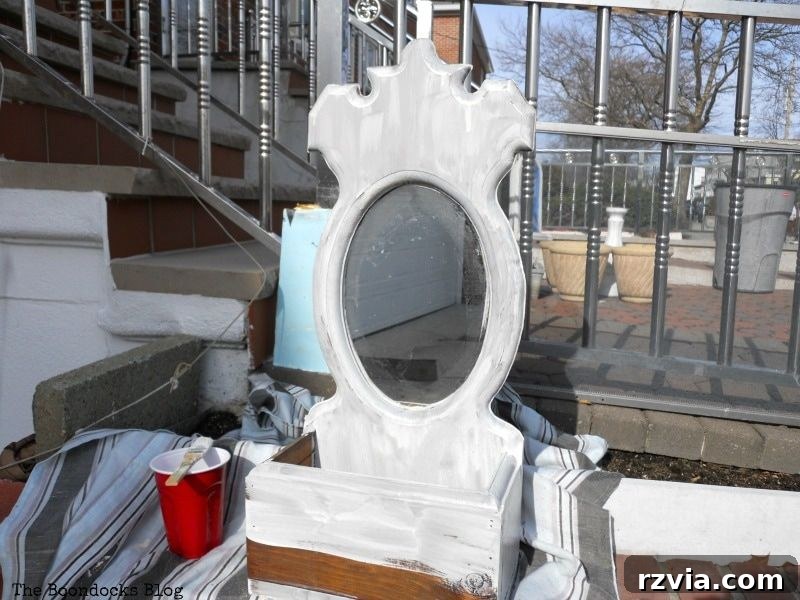
I then began applying the paint with a high-quality paintbrush. The beauty of this paint is how effortlessly it glides on, penetrating the wood beautifully. I had mixed it slightly on the thinner side, aiming for a wash-like effect that would allow some of the wood grain to subtly show through, adding character. However, one of the many forgiving qualities of Old Fashioned Milk Paint is its adaptability: you can easily adjust the consistency by adding more powder for a thicker, more opaque finish, or more water for a thinner, translucent look. It’s incredibly easy to work with, allowing for creative control over your desired outcome.
Below, you can see the mirror after just one coat of the ‘Oyster White’. Even at this stage, the transformation was evident, and the potential of this light hue to brighten the room was already shining through.
A Glimpse into the Past: Uncovering the Mirror’s History
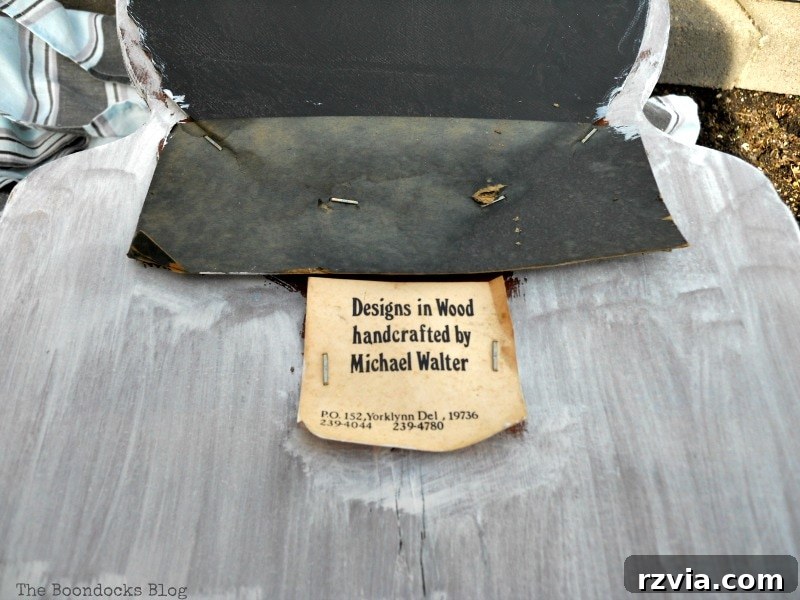
As I carefully flipped the mirror over to work on the edges, I discovered an intriguing label on the back. It offered no immediate clues to its origin or age, but it added a layer of mystery and history to this salvaged piece. If anyone out there recognizes this particular label or has any insight into its meaning or the potential era of this mirror, please don’t hesitate to share your knowledge in the comments! I’m always eager to learn more about the stories behind these old treasures.
Following the first coat, I patiently allowed it to dry completely before applying a second, equally thin coat. This layered approach helps build depth of color and ensures an even, consistent finish.
The Finishing Touch: Natural Beeswax Polish
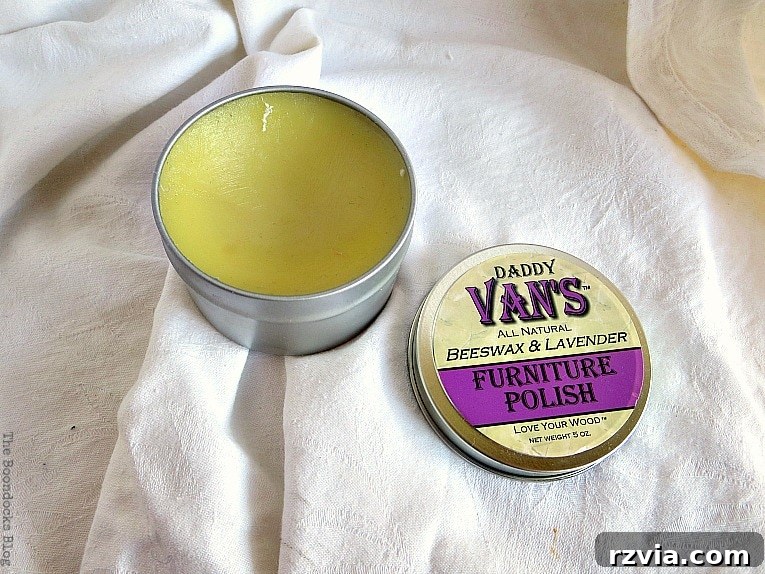
The next day, with the paint fully cured, it was time for the final, delightful step: applying a natural finish. I chose Daddy Van’s All Natural Beeswax and Lavender Furniture Polish. The moment I opened the tin, the lovely, subtle scent of lavender filled the air – a wonderful bonus to its protective qualities. I gently applied the polish with a soft cloth, buffing it into the painted surface, which enhanced the smoothness and provided a gentle sheen. It was truly as easy as that!
The Grand Reveal: A Bright & Beautiful Mirror Makeover!
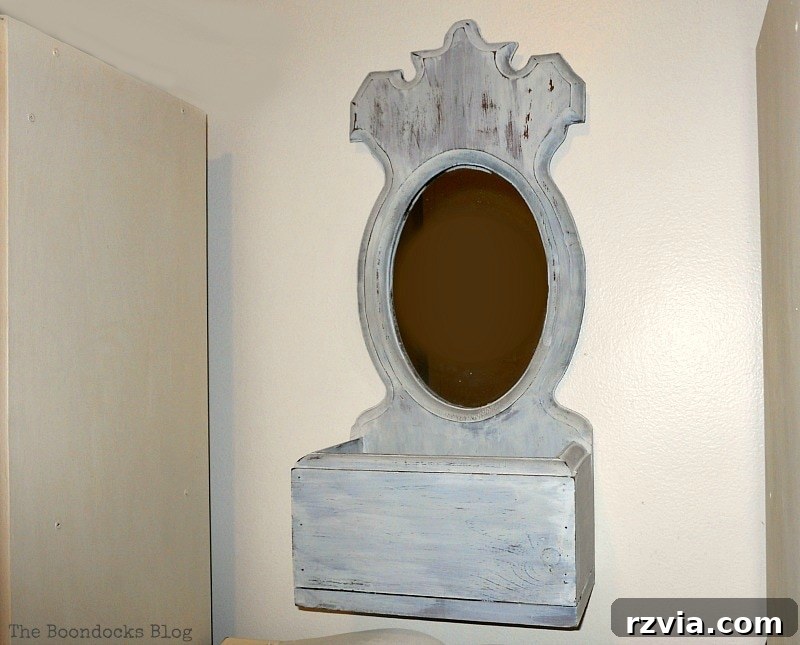
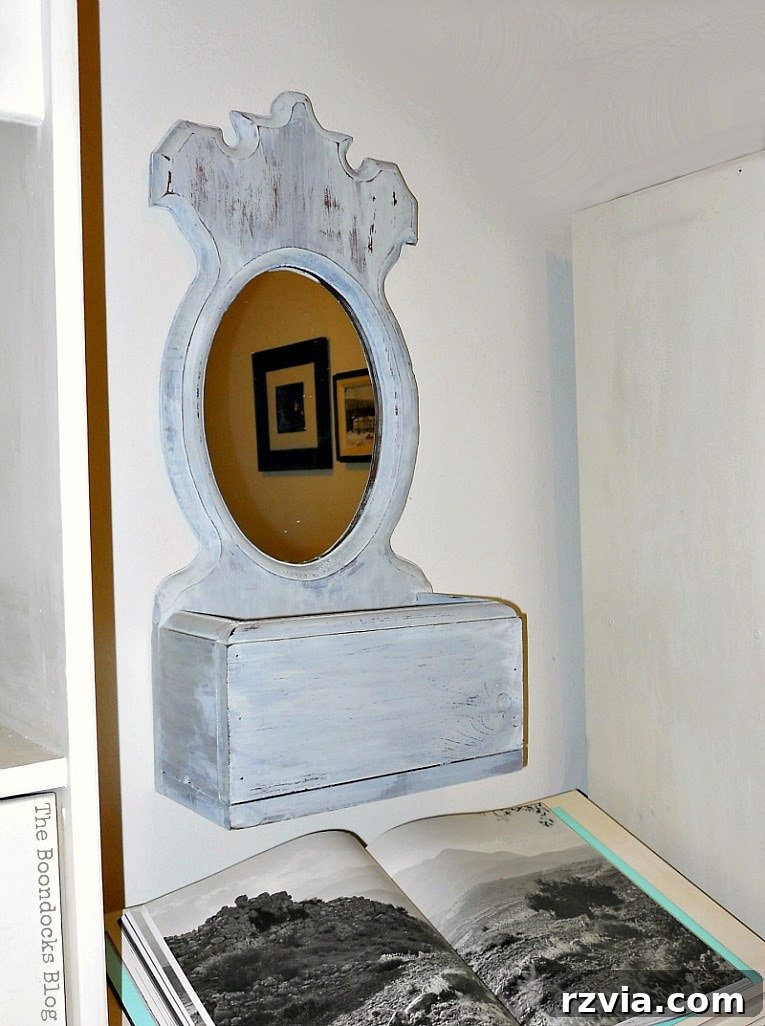
And here it is, the finished mirror! Gone are the days of dark, heavy wood. This piece has been completely revitalized, now exuding a fresh, clean, and inviting presence. The ‘Oyster White’ milk paint has worked its magic, transforming it into a light and airy accent that perfectly complements my vision for a brighter living space.
Disclosure: The items below are affiliate links that direct to Amazon.com. Should you choose to purchase any of these products through the provided links, I will receive a small commission. This commission helps support my blog and allows me to continue creating and sharing engaging content with you, at no additional cost to your purchase.
Adding Character: Subtle Distressing Details
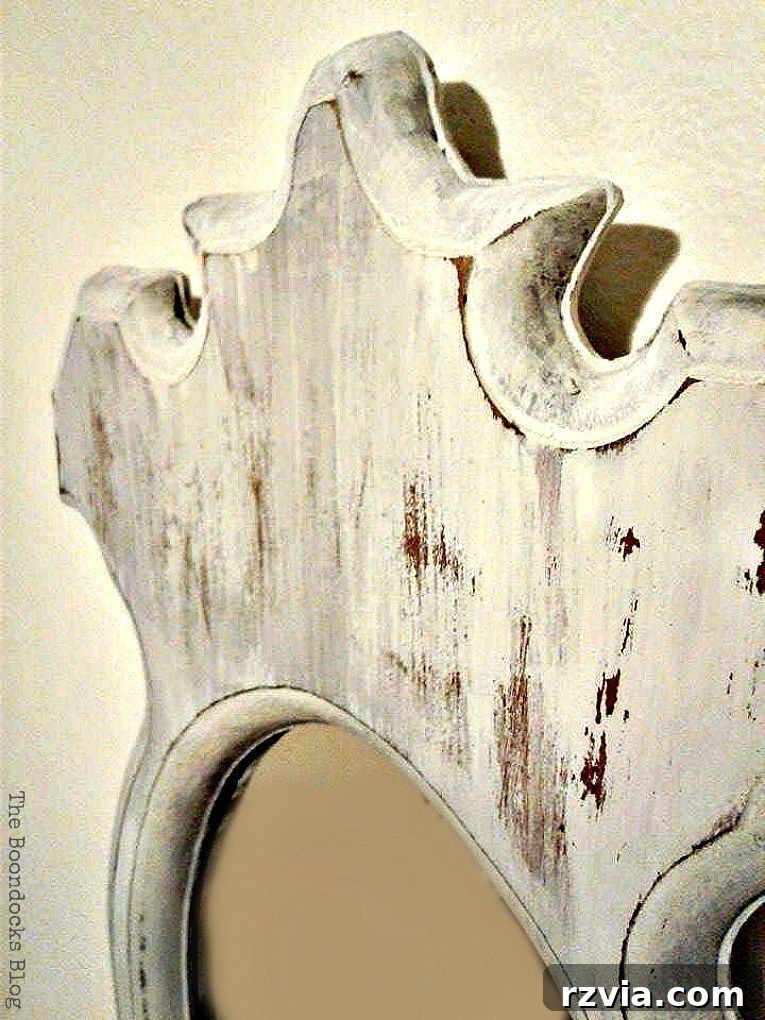
To give the mirror an authentic, old-world charm, I incorporated a touch of subtle distressing. With just a small piece of fine-grit sandpaper, I gently sanded along the edges and curves, allowing a hint of the original dark wood to peek through. This technique beautifully accentuates the mirror’s intricate details and adds depth and character, making those lovely curves truly pop. It’s a simple step that adds so much personality to the finished piece.
Why Old Fashioned Milk Paint Stands Out
This project truly exceeded my expectations. Not only was it an incredibly easy DIY endeavor, but the results are fantastic. The true milk paint applied beautifully – nice and smooth – and unlike some other paints I’ve used in the past, there was absolutely no unpleasant odor. This is a huge benefit, especially when painting indoors, as it means the air quality remains good, and there are no lingering chemical smells. My son, who previously endured the strong fumes of my homemade chalk paint projects, was particularly delighted by the odorless experience. I confess, I had turned his apartment upside down with paint fumes before, so this non-toxic, scent-free paint made everyone much happier!
Finding its Perfect Place: A Cohesive Room Transformation
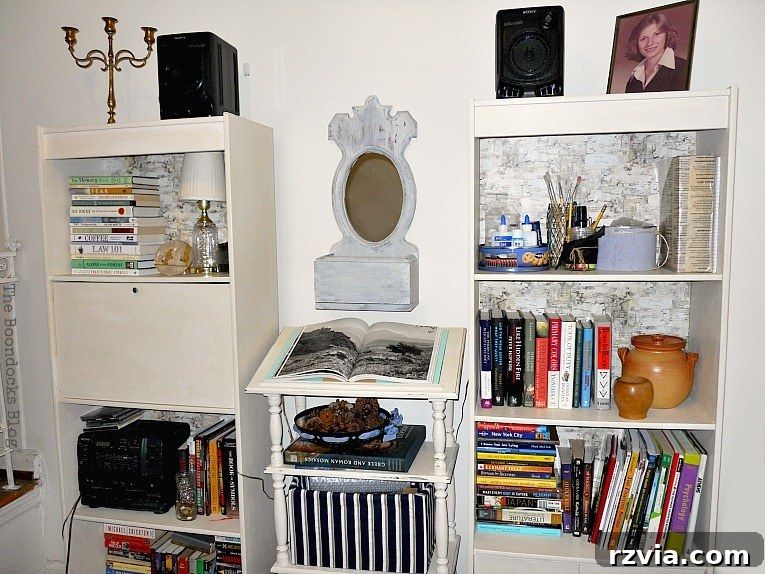
You’re probably wondering where this lovely, rejuvenated mirror found its new home. Well, if you recall from last week, I shared the bookcases that received an upcycled treatment with paint and decorative paper. The dictionary stand, a cherished piece itself, was nestled perfectly between them. This newly transformed beauty now proudly sits atop that very dictionary stand, completing a cohesive and inviting reading nook in the apartment.
The Reality of a Book Lover’s Home: Unstaged & Authentic
Now, I know many of you are “dying” to know what became of the numerous books I had to temporarily remove from the bookcases last week. Rest assured, they are right where they belong! Here, you can see the reality of my son’s extensive book collection. This is an authentic snapshot; no staging here, just real life. He’s surrounded by his beloved books, an assortment of pens, and his stereo system with speakers perched on top. It might not possess the polished perfection of my previously staged photos, but it’s genuinely how he lives. And let me tell you, it’s still a monumental improvement over the “brown disaster” I showcased last week!
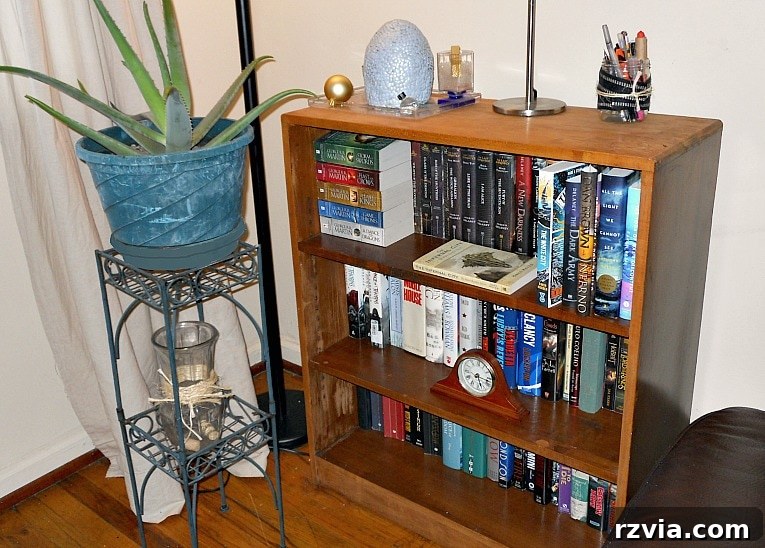
And since we’re keeping it real, let’s take a look at the other bookcase in the living room. My son is, indeed, a dedicated bookworm (a trait he definitely inherited from his mama’s good genes!), and this bookcase houses the remainder of his impressive literary collection. This particular bookcase is solid wood and also desperately in need of a makeover, but that project will have to wait until my next trip to New York. In fact, I have a sneaking suspicion we’ll need an even larger bookcase very soon to accommodate his ever-growing library!
I hope this addresses the much-asked question about his books. Did you truly think I would throw them out? Never!
Reflecting on the Experience: A Beginner’s Success
The mirror makeover is complete, and through this project, I’ve gained invaluable experience and a newfound appreciation for Old Fashioned Milk Paint. I am genuinely looking forward to experimenting with it on many more future projects. Its ease of use, natural qualities, and stunning results have truly won me over.
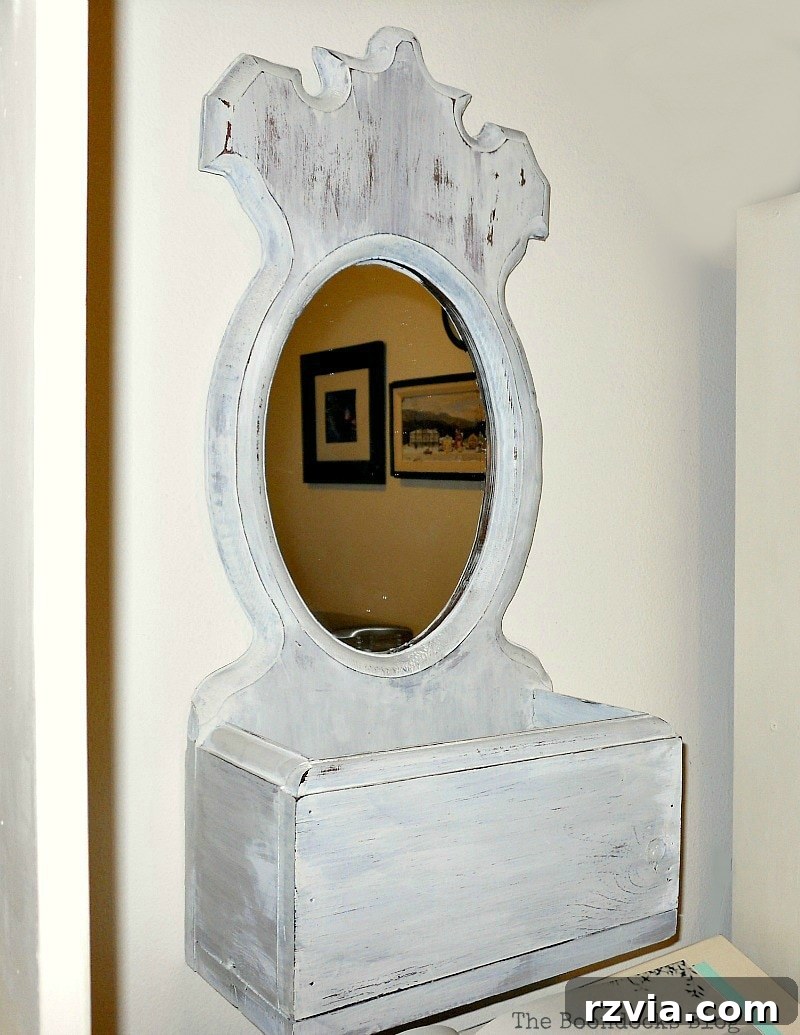
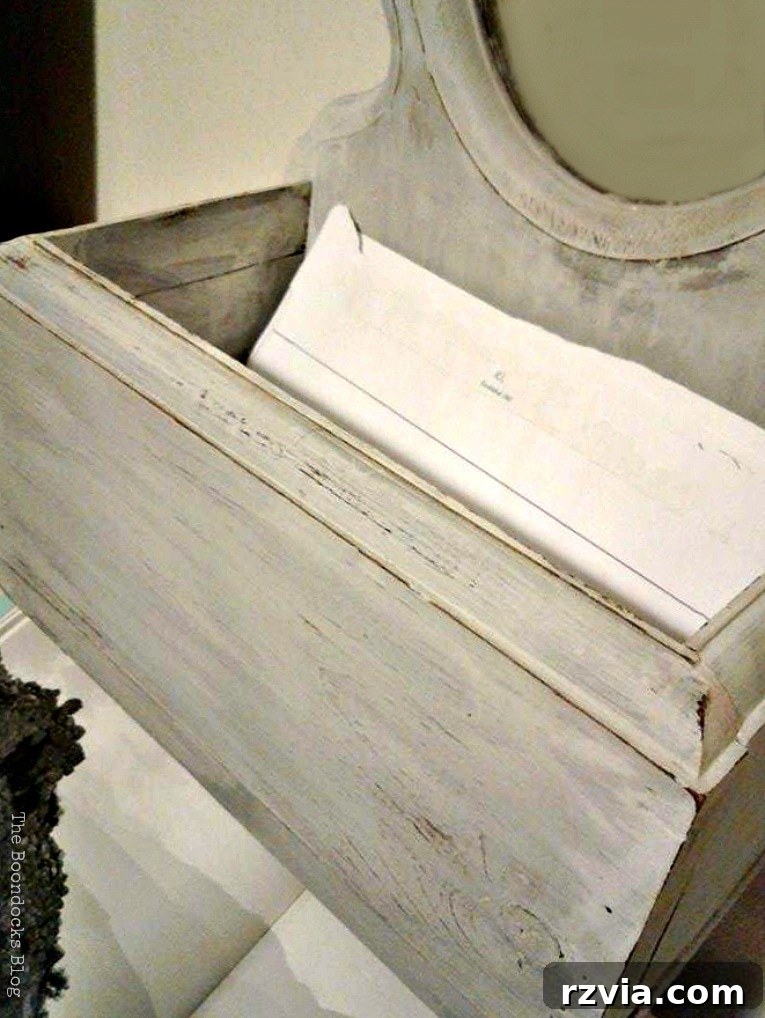
I particularly adore this unique little storage box integrated into the mirror’s design; I’ve honestly never encountered anything quite like it before. It adds both character and practical functionality to the piece.
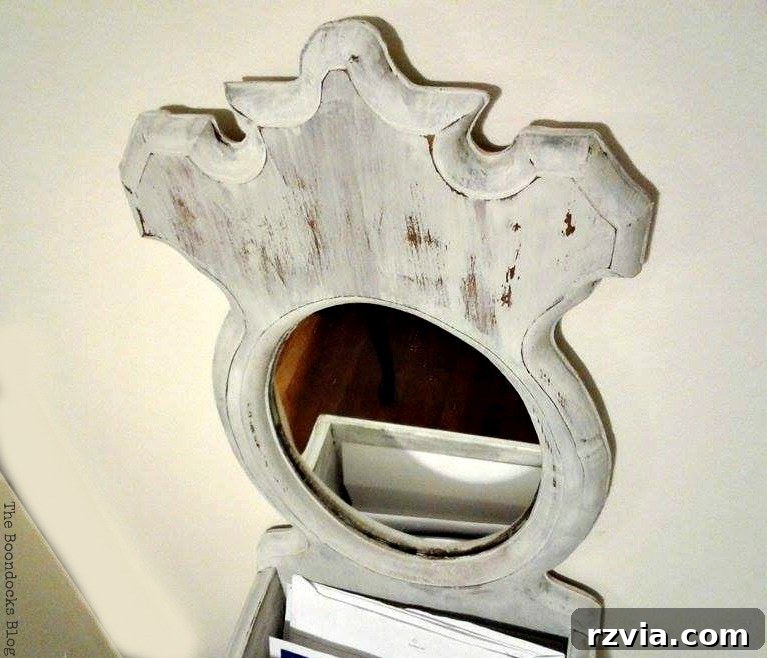
I’m sure you can now clearly see why I opted for such a light color for this mirror. It creates a harmonious and cohesive aesthetic with the rest of the bookcase unit, contributing to the overall bright and airy atmosphere I’ve been cultivating in the room.
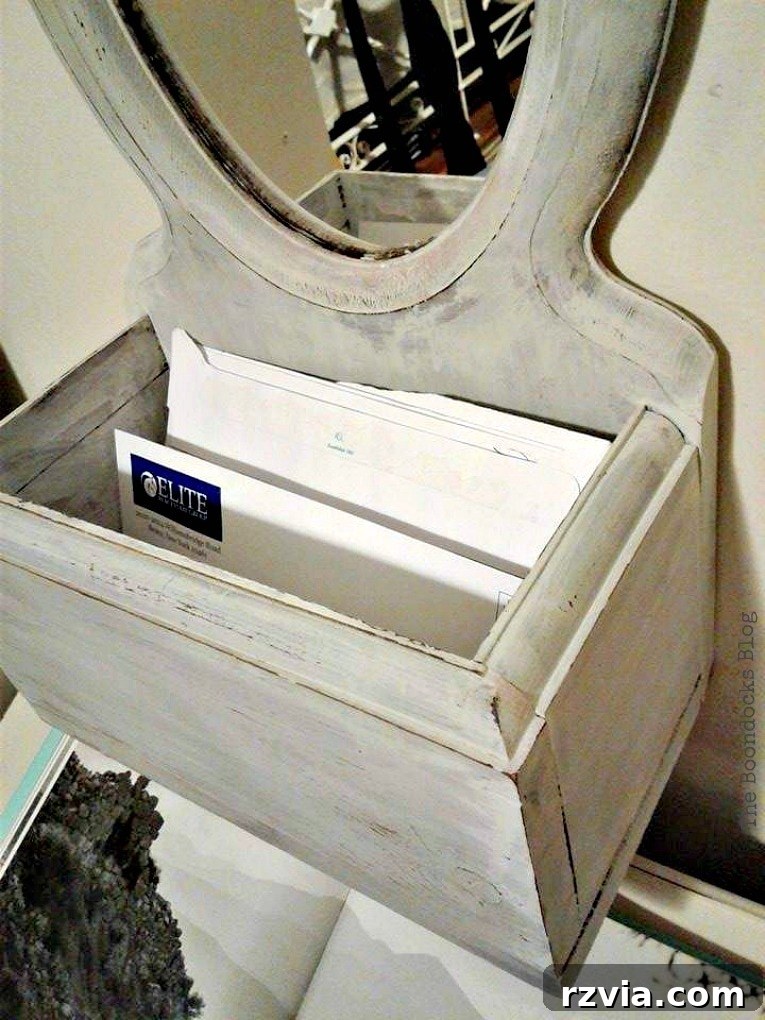
So, I hope you are all satisfied now! You’ve seen where the books are – I didn’t throw them away, I promise!
I have to admit, this mirror makeover was not nearly as daunting as I initially imagined. If a newbie like me can confidently tackle a project with Old Fashioned Milk Paint and achieve such satisfying results, then so can you! This first attempt at a mirror makeover turned out pretty good, if I do say so myself. Have you ever tried Milk Paint? I’d love to hear about your experiences in the comments below!
For more inspiration and to see an expert at work, I highly recommend visiting my friend Cynthia’s blog, Clockwork Interiors. She consistently creates stunning pieces with OFMP, and I still have a long way to go before I reach her level of mastery!
If you enjoyed this transformation, please consider sharing it with your friends or saving it to your Pinterest boards. The image above is perfectly sized for pinning! If you truly love what you see, subscribe to my blog to receive my latest adventures and DIY tips twice a week directly in your mailbox. You’ll find the subscription form in the sidebar and at the top of the page. Rest assured, your email address will never be shared with any third party.

Explore More Painted Pieces:
<<Sweet Inspiration Link Party #43 HOME Valentine’s Day Blog Hop Features>>
Linking up to these Link Parties
This blog is intended for entertainment purposes only; my DIY tutorials do not constitute professional advice. Please read my full disclaimer here.
I cherish your comments and always endeavor to reply to them or visit your blogs in return. Kindly refrain from including hyperlinks in your comments, as we are unable to publish them otherwise.