DIY Shimmer Shelf Makeover: Elevate Your Bedroom Decor with Metallic Lustre
Embarking on a bedroom makeover journey can feel like a lifetime endeavor, especially when juggling multiple home projects. However, the satisfaction of seeing a vision come to life is unparalleled. We’re finally nearing the finish line for our bedroom transformation, and today, we’re focusing on one of the final, yet most impactful, touches: a simple wall-mounted shelf makeover. This project isn’t just about painting; it’s about adding a touch of subtle shimmer and character, proving that even in the smallest spaces—like those typical of New York living—every detail counts. Get ready to discover a super easy way to infuse elegance and sparkle into your decor.
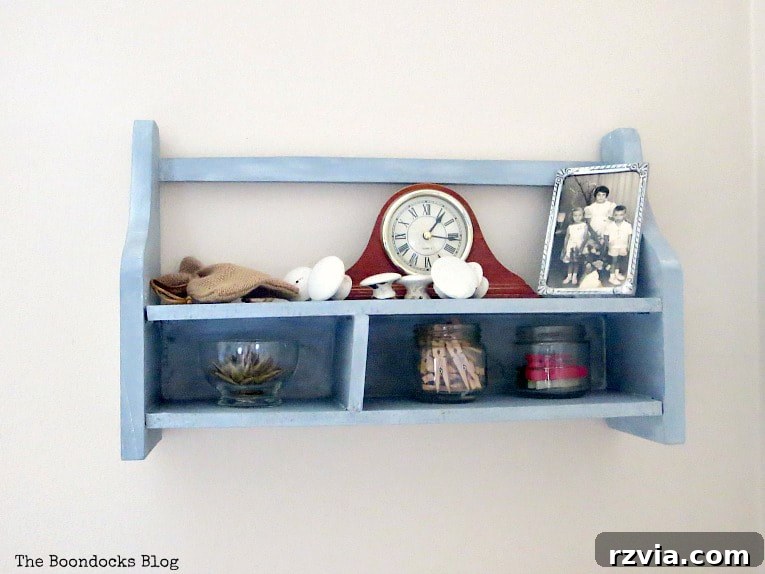
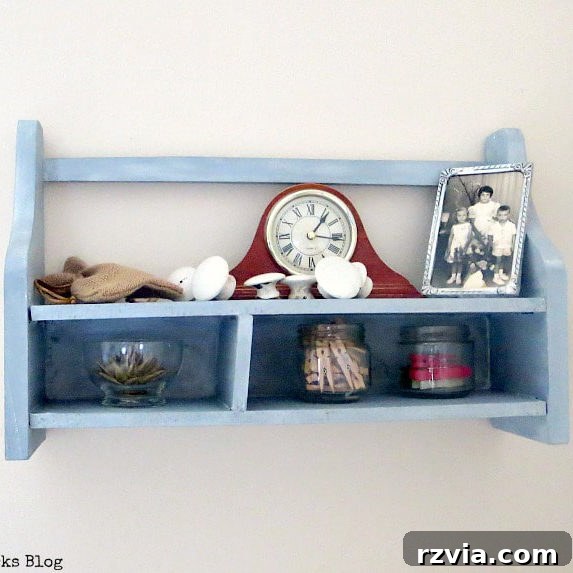
This charming shelf is the penultimate project before our small bedroom reveal. Given the cozy dimensions of our New York apartment, every piece of furniture and decor needs to be both functional and aesthetically pleasing. Today’s guide will walk you through transforming this unassuming wall-mounted shelf, breathing new life into it with a delicate shimmer that catches the light and adds depth to its character. It’s a testament to how small changes can create a significant impact in your home.
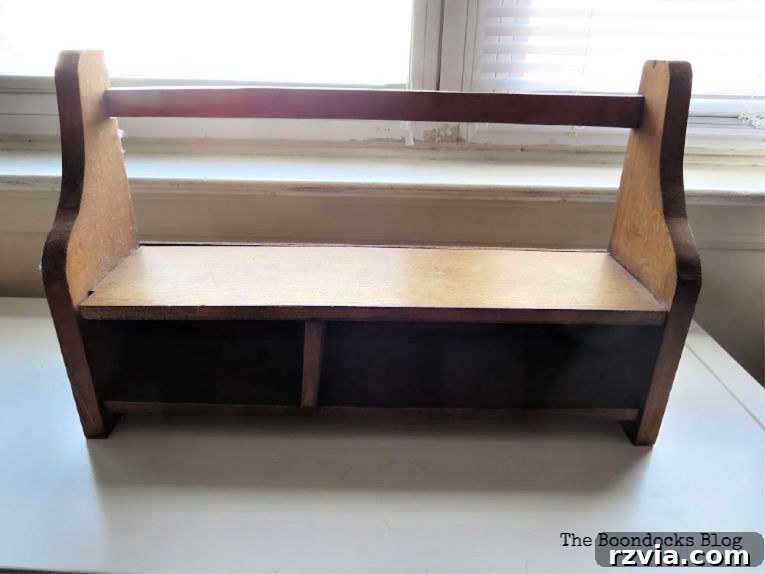
Like many DIY enthusiasts, I have a hidden treasure trove of items waiting for their moment to shine. This particular shelf, whose origins are lost to time, was patiently awaiting its transformation. Its classic design made it an ideal candidate for a pretty addition to the bedroom, especially with just a little creative help. Often, the best projects are those that take forgotten pieces and reimagine them into something beautiful and functional, perfectly aligning with our overall bedroom makeover theme.
Essential Tools & Materials for Your Shimmer Shelf Makeover
To recreate this elegant shimmering shelf, you’ll need a few key supplies. Each item plays a crucial role in achieving the desired subtle glow and smooth, durable finish. Gathering these materials beforehand will ensure a seamless and enjoyable DIY experience.
What I Used:
- Old Fashioned Milk Paint in Slate: This provides a beautiful, natural base color with excellent adhesion and a unique, aged finish.
- Old Fashioned Milk Paint in Snow White: Used to create a custom grayish-blue hue when mixed with Slate, offering a soft and serene aesthetic.
- Sandpaper: Essential for preparing the surface and achieving a silky-smooth finish after painting, enhancing the overall look and feel.
- High-Quality Paint Brush: A good brush ensures even application of the milk paint, minimizing brush strokes for a professional finish.
- Daddy Van’s Decorative Wax in Farmhouse White (similar option): This wax provides a protective layer and a beautiful overall sheen, sealing the milk paint.
- DecoArt Metallic Lustre in White Frost: The star of the show for adding targeted, dazzling shimmer that beautifully catches the light.
- Soft Rag: Ideal for applying and buffing waxes, ensuring a smooth, even finish.
- Round Brush for Waxing: A dedicated waxing brush helps achieve even coverage and work the wax into the paint for durability and shine.
The Shimmer Shelf Makeover: Step-by-Step Guide
Transforming this plain shelf into a shimmering accent piece for the bedroom was surprisingly straightforward. The key lies in layering the right products and paying attention to the details. Follow these steps to achieve a similar elegant result.
The How To:
1. Prepare Your Custom Paint Mix: A few days prior to tackling the shelf, I had already mixed the Old Fashioned Milk Paint in Slate and Snow White. This blend created a custom soft grayish-blue color, a shade that beautifully complemented the accent wall I had recently painted in our living room. One fantastic tip for extending the life of your mixed milk paint is to store it in the refrigerator. This keeps it fresh and ready for your next project, preventing waste and saving you time.
2. Paint the Shelf: With the perfect paint color ready, it was time to address the wall-mounted cubby shelf. My goal was to utilize the remaining paint, ensuring no drop went to waste. I applied three thin, even coats to completely cover the original wood finish. Milk paint adheres wonderfully, creating a durable and matte surface that’s perfect for subsequent layers of wax and metallic lustre. Allow ample drying time between each coat to ensure proper adhesion and a smooth finish.
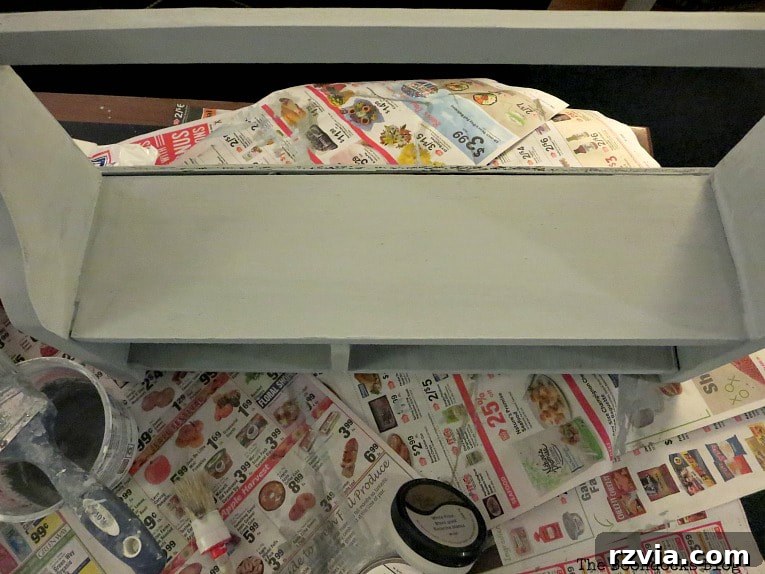
3. Smooth the Surface: Once the final coat of paint was dry, I lightly sanded the entire shelf. This step is crucial for achieving a silky-smooth finish, which not only feels pleasant to the touch but also prepares the surface perfectly for the upcoming waxing process. A smooth canvas ensures the wax glides on evenly, enhancing the paint’s color and texture.
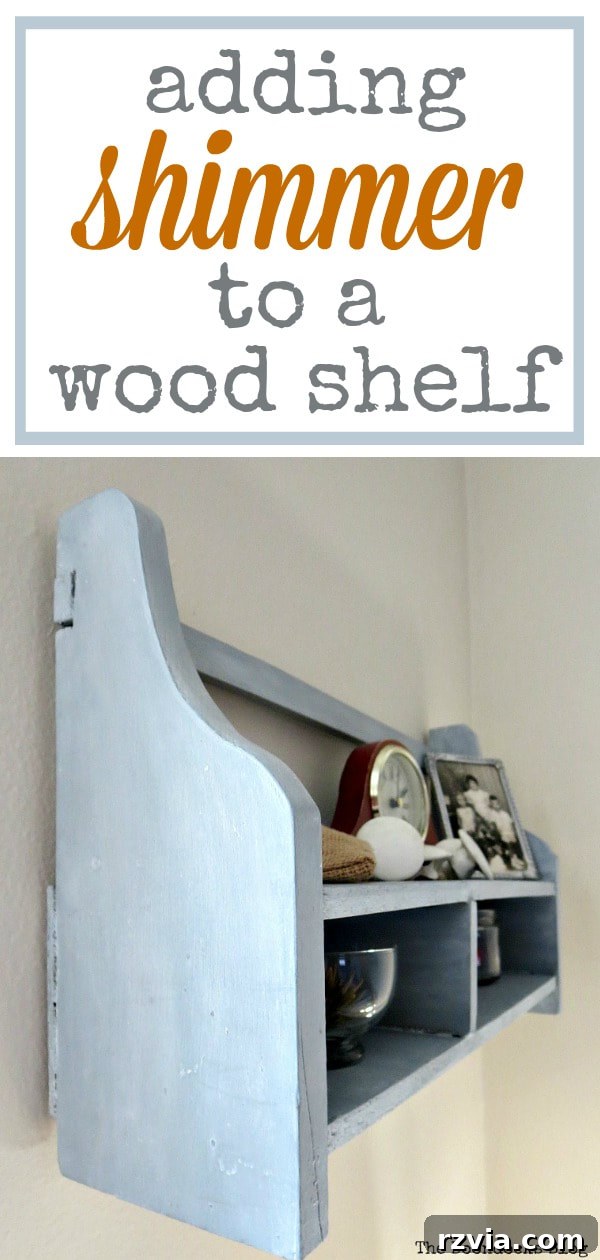
4. Choose and Apply Your Finish Waxes: Now came the exciting part: deciding on the finishing touches to add shine and shimmer. I had two distinct white decorative waxes at my disposal, each offering a slightly different effect. As you can observe in the photo, there’s a subtle difference between the upper and lower sections of the shelf. On the upper part, I applied the DecoArt Metallic Lustre, while the lower section received the Daddy Van’s Decorative Wax.
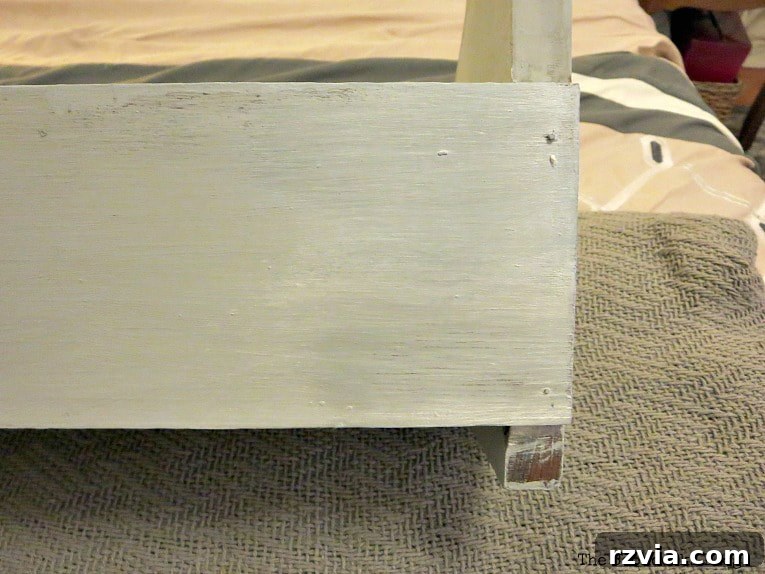
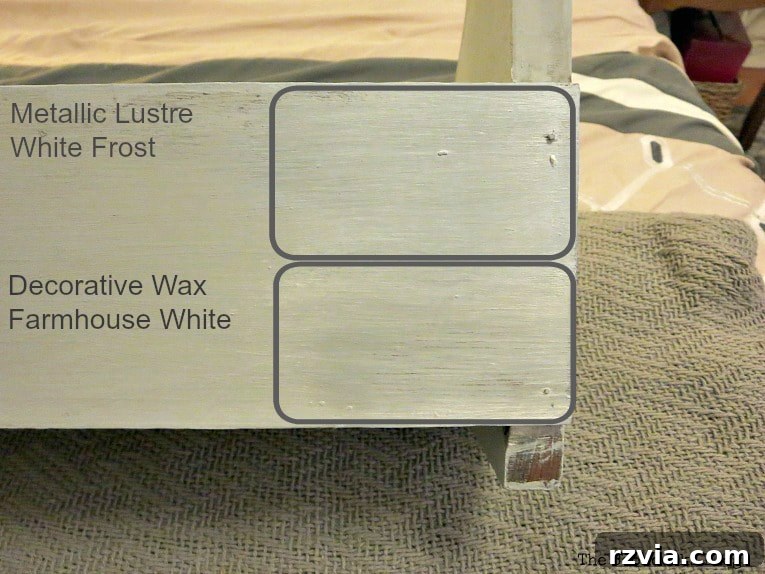
You might wonder, what’s the real difference, and why use two types of wax if they’re barely noticeable? The magic, as always, is in the details and the interplay of light.
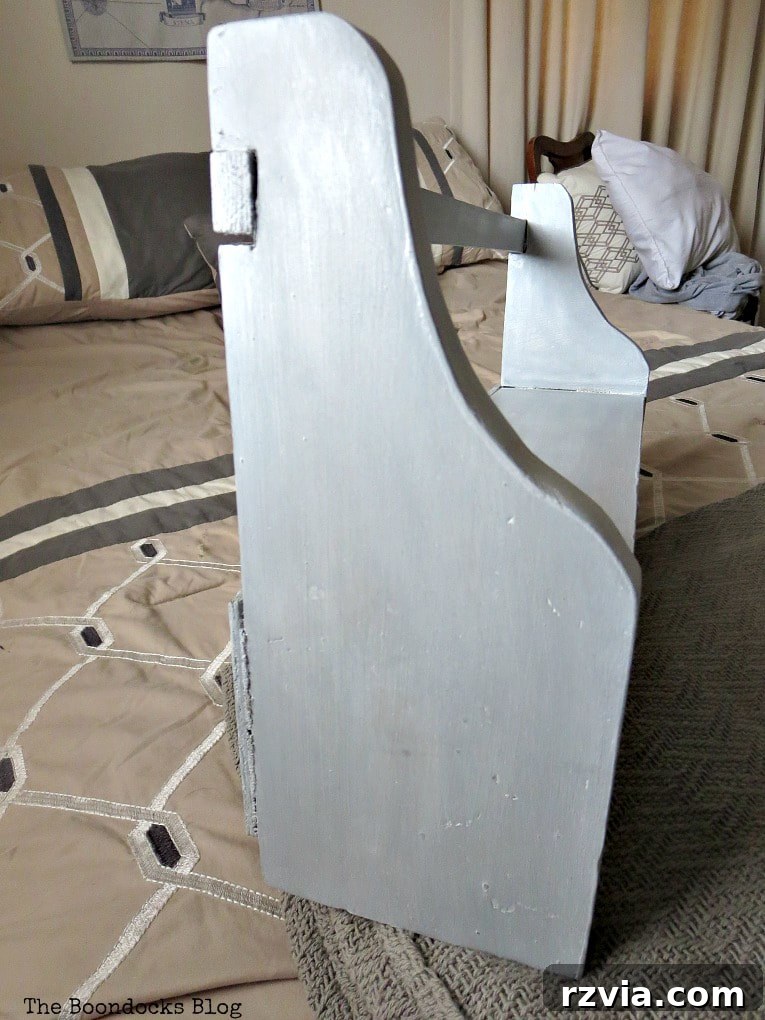
Looking closely at the photograph below, you can discern an overall beautiful shine across the entire shelf. This consistent sheen is thanks to the Daddy Van’s Farmhouse white decorative wax, which was applied over the entire surface. This not only makes the underlying gray-blue milk paint color truly pop and reflect light, but it also serves a crucial protective function, ensuring the milk paint adheres firmly and lasts for years to come. It’s the essential base for durability and general luminosity.
However, beyond this foundational shine, there are specific areas that boast a pure, brilliant shimmer—a luminous white light effect that truly elevates the piece. This is where the true artistry of the metallic lustre comes into play, creating highlights that dance with the ambient light.
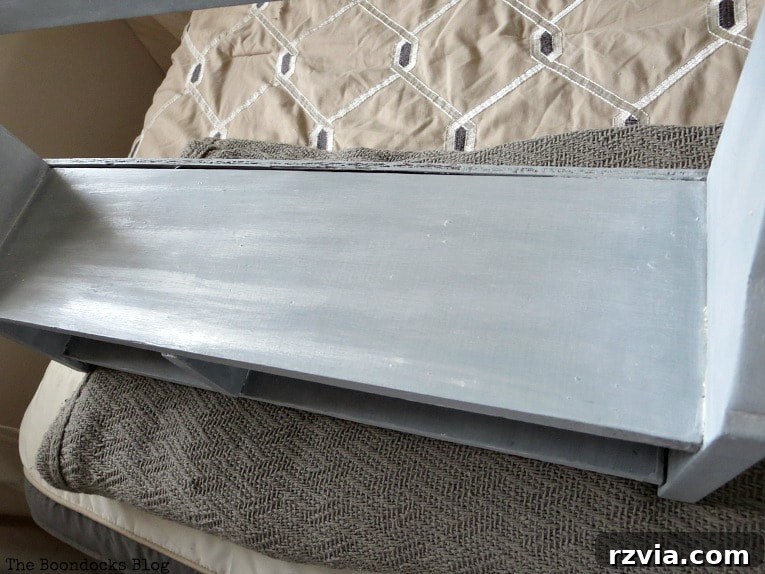
5. Add Targeted Shimmer with Metallic Lustre: Those striking, pure shimmer areas are precisely where I applied the DecoArt Metallic Lustre. This product is a game-changer for adding that extra “oomph” to any decorative piece. It’s not just about a general sparkle; it’s about creating focused points of light and glamour. I gently rubbed it onto specific areas and edges, allowing it to highlight the shelf’s contours and details. You can see the stunning effect this product creates, as I also used it on a festive project last year, demonstrating its versatility and impact.
The beauty of this metallic lustre is its dynamic nature; the shimmering effect truly comes alive when light strikes it, creating an enchanting play of light and shadow throughout the day.
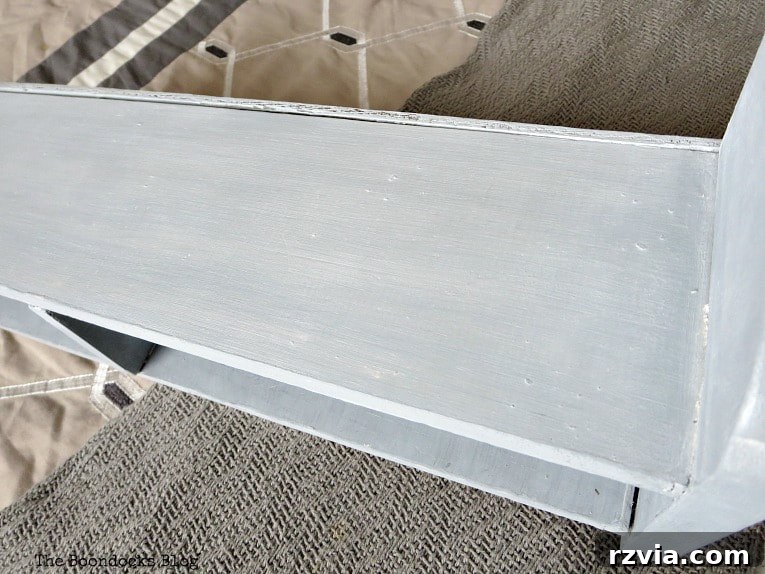
Observe how the light catches the metallic lustre here, revealing its subtle brilliance.
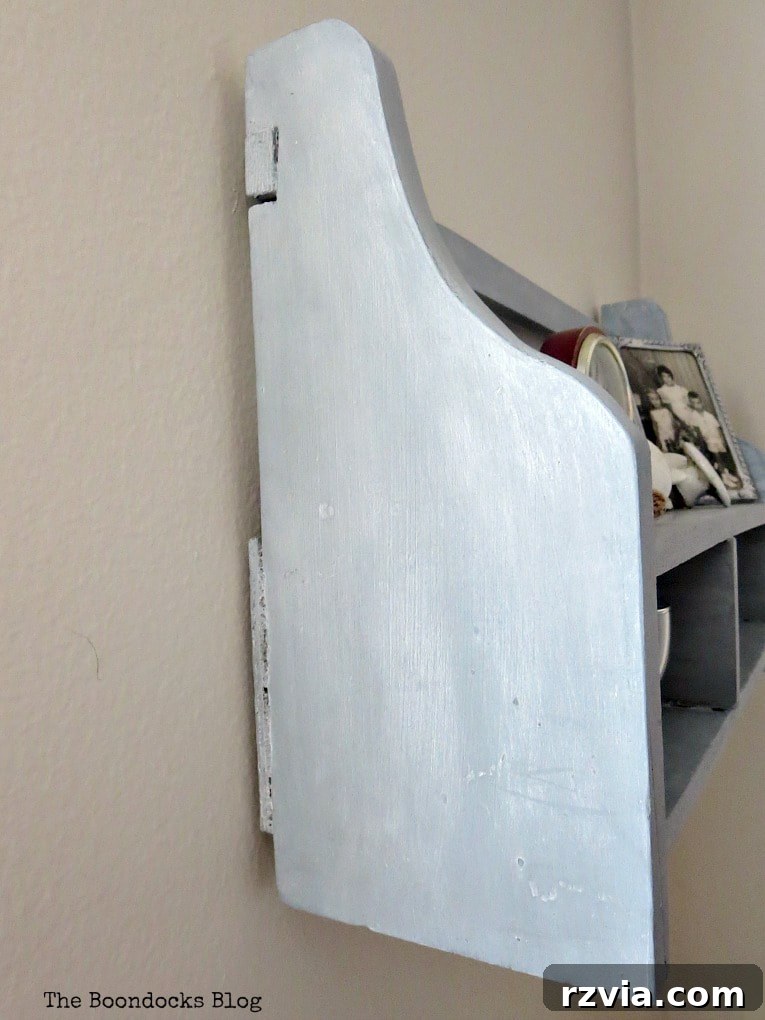
…and once again, demonstrating its captivating allure from another angle. These close-ups vividly illustrate how precisely applied shimmer can transform an ordinary object into a statement piece.

Indeed, it’s truly all in the meticulous details. The blend of the base wax’s gentle glow with the metallic lustre’s targeted sparkle creates a sophisticated finish that speaks volumes about personalized decor. This layering technique allows for depth and visual interest that a single finish simply cannot achieve.
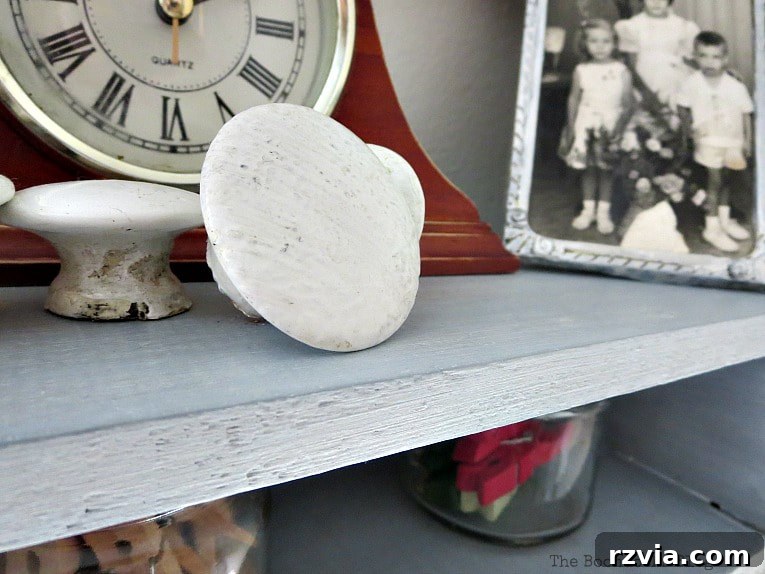
One of the most appealing aspects of working with milk paint is its inherent ability to surprise you with unique textures and an authentic, slightly distressed character. When you introduce a layer of wax, these subtle paint details are further enhanced, bringing out the nuances and craftsmanship of the piece. It’s a finish that celebrates imperfection and originality.
Our newly shimmering shelf is beautifully imperfect, much like the charmingly crooked partition within its cubbies. This authenticity adds to its character, making it a truly unique piece in our bedroom. It’s a reflection of handmade beauty, where slight quirks are cherished rather than concealed.
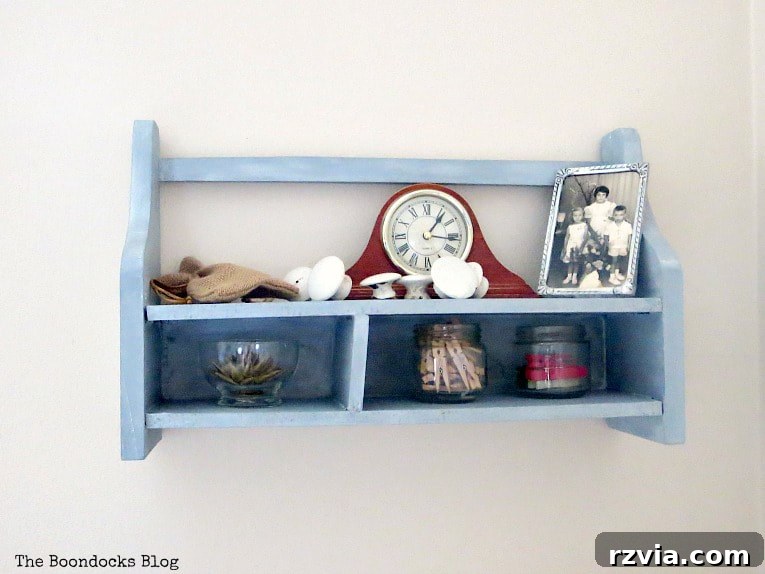
Anticipation Builds: The Shelf’s New Home
The transformed shelf is now proudly mounted on the wall, but which wall, you ask? And how does it seamlessly integrate with the rest of our newly revamped bedroom? These are questions that will be answered in our highly anticipated room reveal next week!
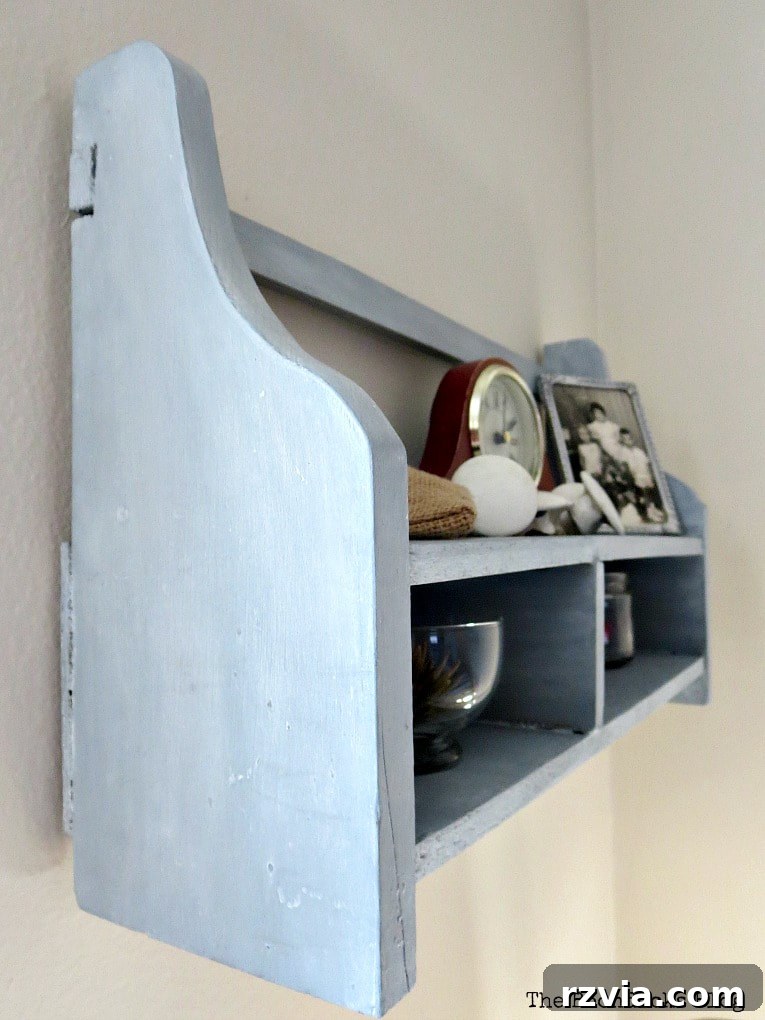
Repurposing and upcycling furniture are incredibly rewarding endeavors, allowing us to create unique, budget-friendly pieces. However, the ultimate goal is to ensure that these individual projects come together to form a cohesive and harmonious space. Our bedroom reveal will demonstrate how this shimmering shelf, along with other DIY elements, contributes to a thoughtfully designed and inviting environment.
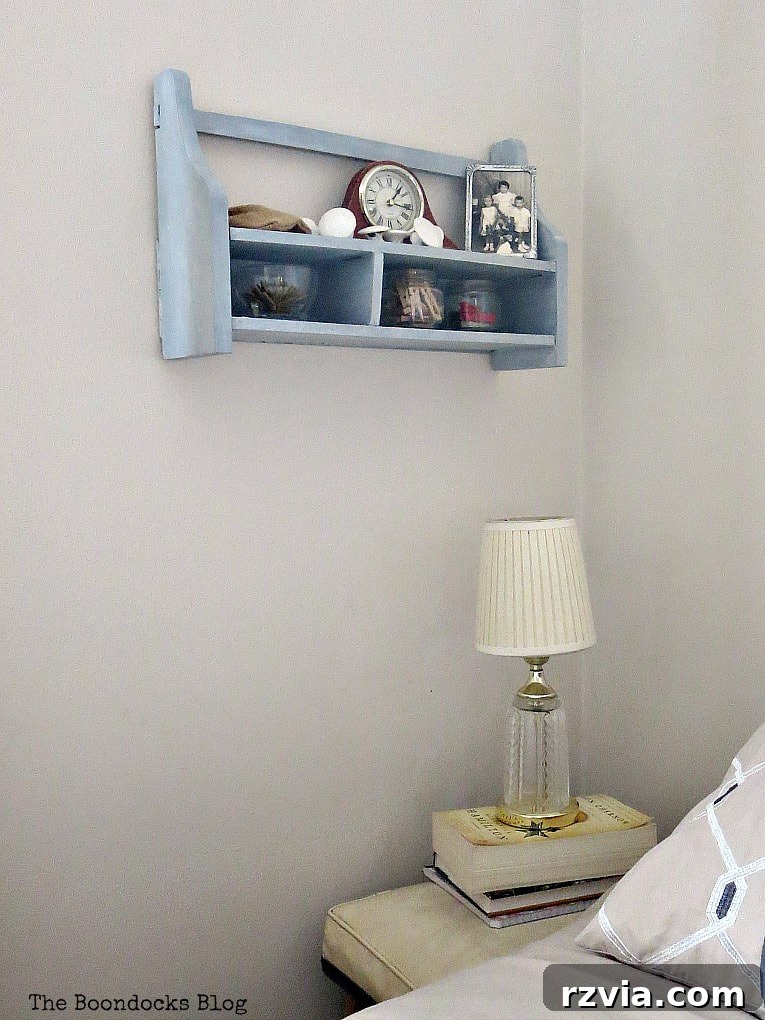
If this isn’t an incredibly easy and effective way to add a captivating shimmer to a shelf, then I truly don’t know what is! This project proves that you don’t need complex techniques or expensive materials to achieve a high-end look. A little paint, some wax, and a touch of metallic lustre can completely transform a piece and elevate your home decor.
Join us next week as we finally put this bedroom project to bed – pun absolutely intended! We’ll unveil the complete transformation, showcasing how all the individual pieces, including this gorgeous shimmering shelf, come together to create a cohesive and stylish sanctuary. You won’t want to miss seeing the full picture!
Do you ever find yourself becoming a bit nerdy, obsessing over the precise meaning of words? While we might not need to be strictly technical here, the essence of “shimmer” and “shine” is what truly matters, conveying that enchanting, reflective quality that makes this shelf so special. It’s about capturing that magical play of light.
Below, you’ll find a visual summary of all the other exciting projects that contributed to this comprehensive bedroom makeover. Each one, a labor of love, played a part in creating a truly personalized and inviting space.