
Revitalize Your Home: A Complete Guide to an IKEA Pine Dresser Makeover
Have you ever encountered a piece of furniture that feels like an extended member of your family, holding countless memories within its worn surfaces? Last year, I shared the tale of another beloved dresser’s transformation. This year, it’s time to breathe new life into an equally, if not more, downtrodden piece: an old IKEA pine dresser. This particular fellow boasts a unique history, having journeyed across the Atlantic to spend its formative (or, in this case, rather deformative) years in our home here in Greece. It arrived with promise, but time and boisterous inhabitants took their toll. Today, I’m thrilled to guide you through the process of how to save an IKEA pine dresser, turning a dilapidated relic into a cherished centerpiece.
From Playground to Pine: Assessing the Damage of a Well-Used Dresser
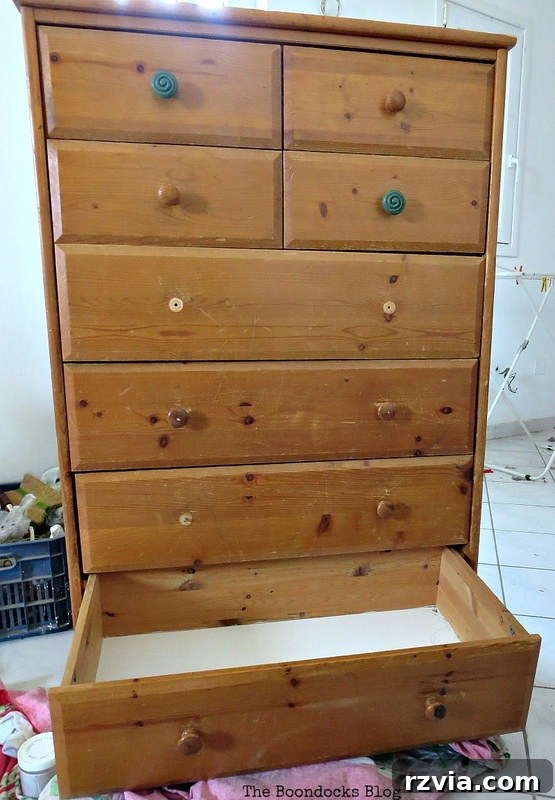
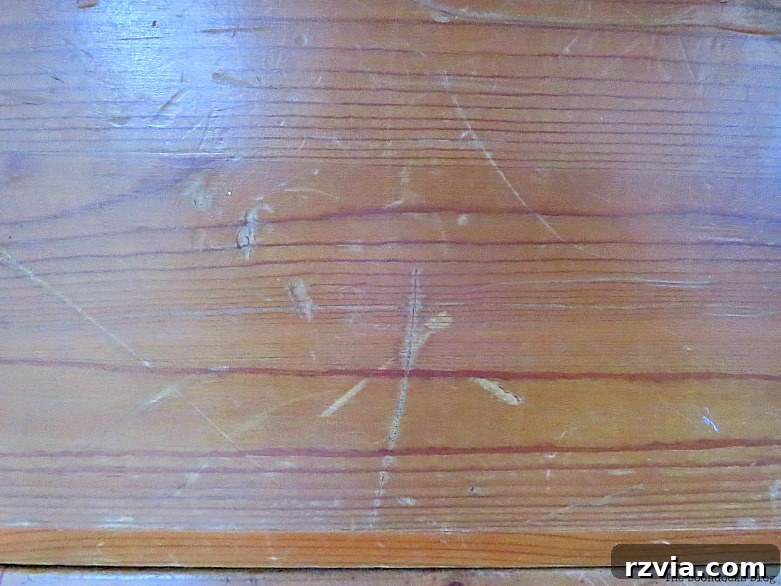
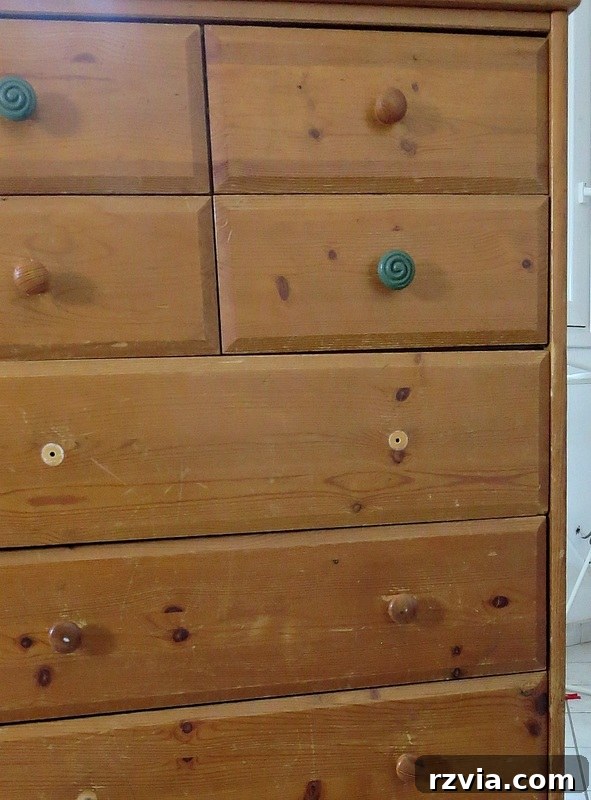
This humble dresser served as a battlefield for two energetic boys – and if you have children, you know exactly what that entails. It wasn’t just a place to store clothes; it was a mountain to climb, a fort to defend, and a launching pad for daring dives. “Boys will be boys,” as the saying goes, and this dresser bore the undeniable proof of their creative (and destructive) escapades. Its surfaces were a tapestry of nicks, scratches, and deeper indentations, each telling a story of childhood adventures.
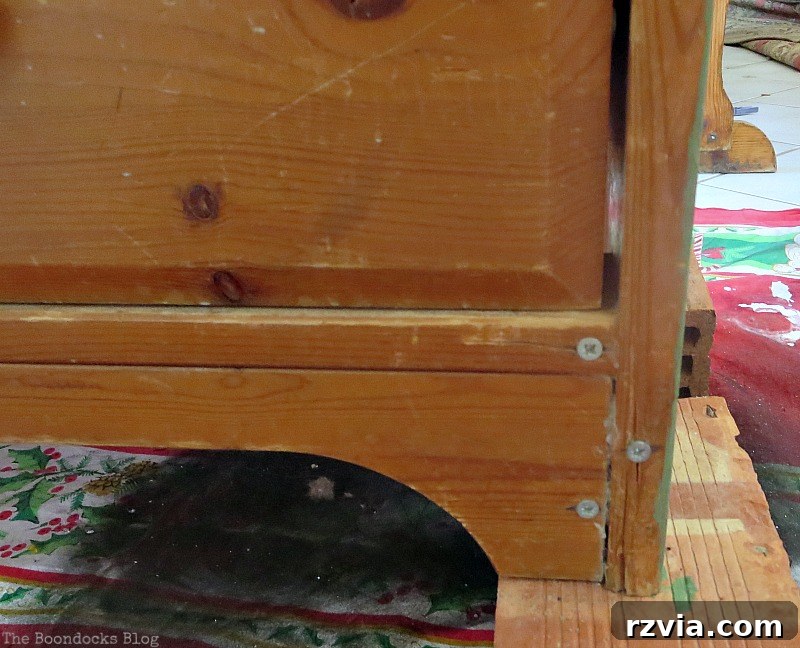
The structural integrity was also compromised. We found ourselves frequently reassembling panels and reinserting screws just to keep it functional. While IKEA furniture isn’t always celebrated for its long-term durability, the saving grace of this particular piece was its solid pine construction. This robust material offered a glimmer of hope, convincing us that it deserved a second chance, a fresh start, rather than being relegated to the firewood pile. The decision was made: we would embrace the challenge of a full furniture restoration. Our initial focus was on realigning the drawers and reinforcing the frame to provide a stable foundation for its impending transformation.
Choosing the Perfect Palette: The Journey to a Lighter Green Dresser
With structural repairs underway, the next exciting step was selecting a color that would not only mask the imperfections but also infuse the dresser with new personality. I had a beautiful shade of green on hand, a color that holds special significance as it’s my husband’s favorite sports team hue. It felt like the perfect choice to celebrate the dresser’s resilience and create a piece that truly resonated with our home. The specific paint I chose was ‘Enchanted’ by Americana Decor Chalky Finish Paint from DecoArt. Chalky finish paints are a fantastic option for DIY furniture makeovers, primarily because they often require minimal to no prep work, such as sanding or priming, making the transformation process much quicker and more enjoyable.
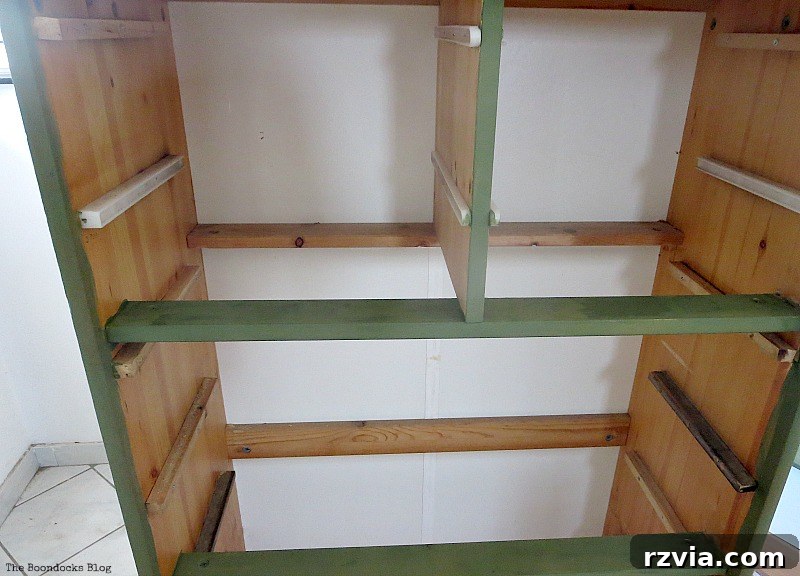
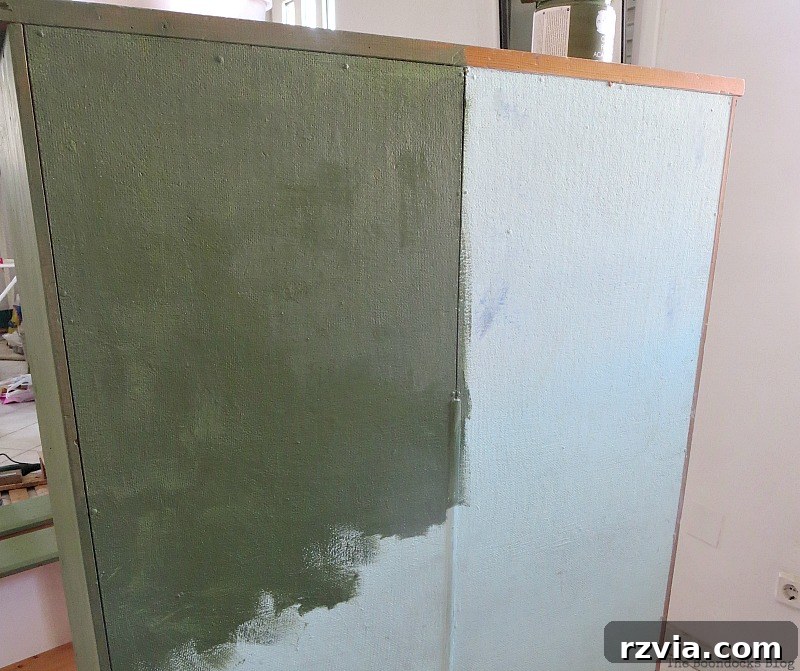
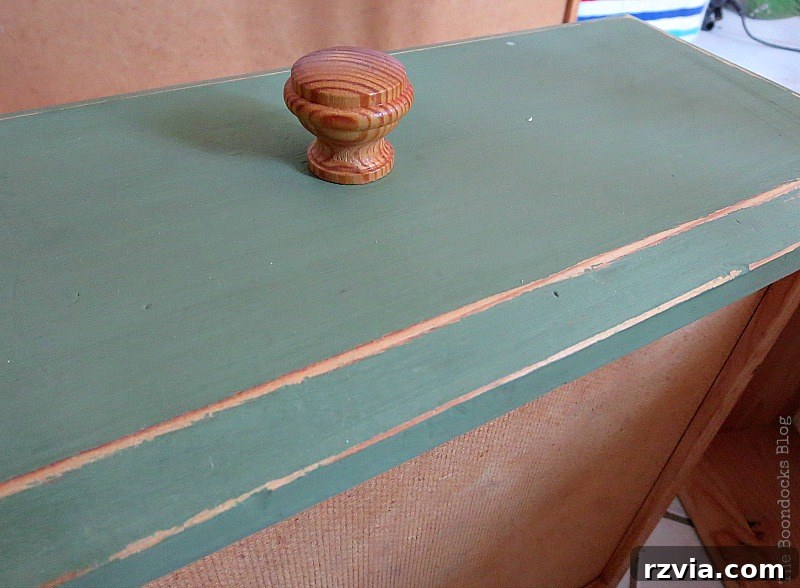
Initially, I considered an ombre effect, envisioning each drawer progressively darker as it descended, creating a gradient of green hues. However, after applying the first coat of the deep ‘Enchanted’ green across the entire dresser, a new vision began to emerge. The color, while stunning, felt incredibly dark once applied uniformly. I paused, taking a step back to re-evaluate. To get a better feel for how the piece might look with some contrast, I decided to distress a small section, revealing glimpses of the natural pine underneath. I even reattached the original knobs temporarily. Surprisingly, the old knobs, which I had planned to replace, took on a charming new character against the dark green, complementing the distressed look beautifully.
Embracing the Light: The Art of Layering and Distressing
Despite the initial distress test, the overall dark appearance of the dresser still wasn’t quite what I envisioned. It lacked the vibrancy and light I felt it deserved. So, I embarked on a creative solution: I mixed some white paint with the ‘Enchanted’ green, gradually lightening the hue until it achieved the perfect softened shade. This lighter green would serve as the final topcoat, giving the dresser a fresh, airy feel while still retaining the depth of the underlying color.
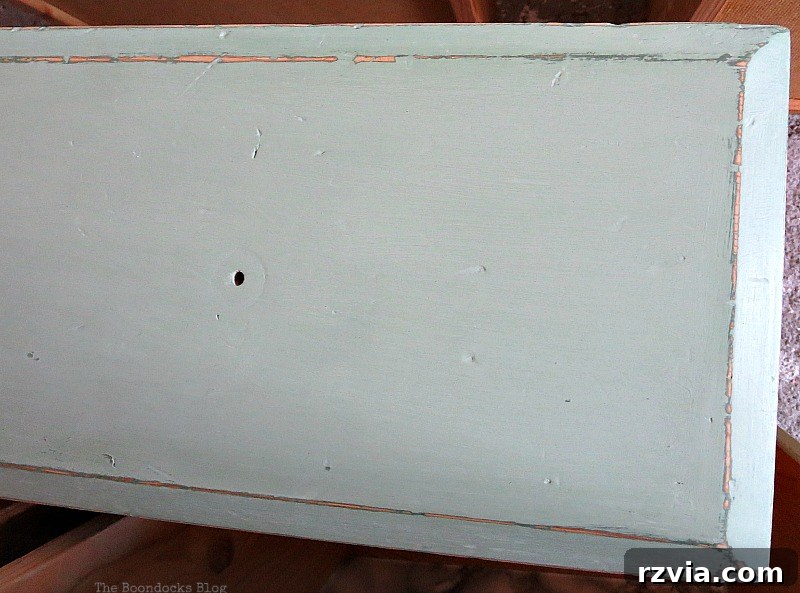
Once the lighter green was applied, the true magic began with the distressing process. Instead of just rubbing off paint, I meticulously sanded the entire piece. This wasn’t merely about creating an aged look; it was a deliberate technique to achieve an incredibly soft and smooth texture, almost “as smooth as butter,” as I often describe it. This meticulous sanding played a dual role: it gently revealed hints of the darker green and the natural pine wood beneath, adding intricate layers of dimension, and simultaneously prepared the surface perfectly for the final wax application. This technique was applied consistently across every surface of the dresser, ensuring a cohesive and beautifully aged finish.
The Finishing Touch: Waxing for Protection and Sheen
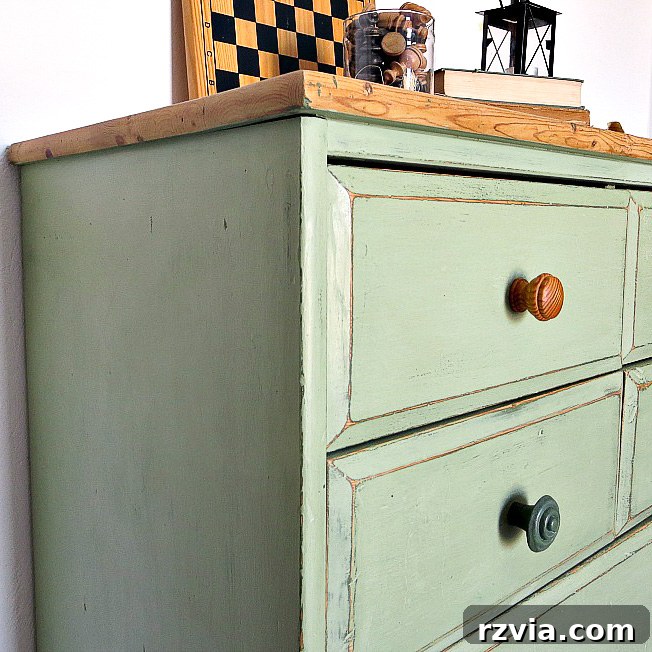
With the painting and distressing complete, the final step in this IKEA dresser makeover was to apply a protective finish. I opted for Americana Decor Cream Wax, a product specifically designed to seal chalk paint, enhancing its durability and imparting a beautiful sheen. As you can observe in the images, the wax has a subtle darkening effect, deepening the richness of the green and bringing out the distressed details even more prominently. The cream wax not only provides a layer of protection against daily wear and tear but also contributes significantly to the smooth, tactile finish. It makes the surface incredibly pleasant to touch, a testament to the transformative power of quality finishing products in furniture restoration.
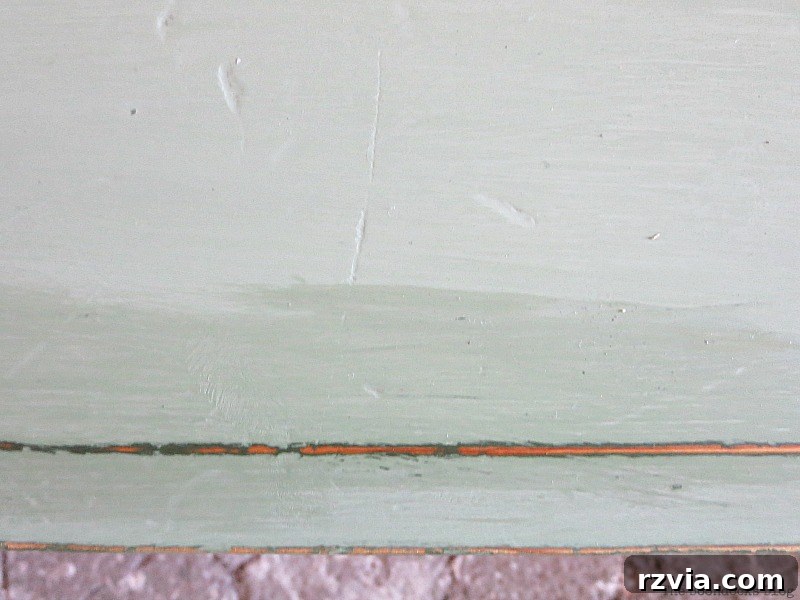
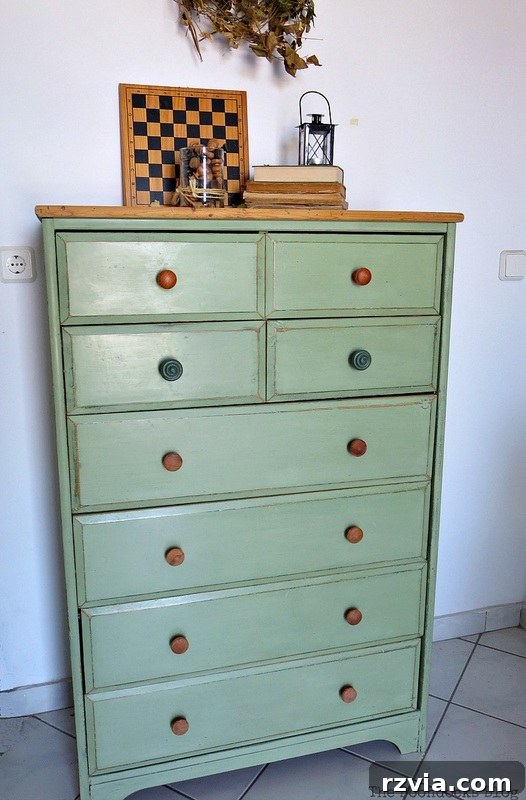
The finished result, with the combination of waxing and distressing, is truly remarkable. The dresser now boasts a beautiful, subtle sheen that catches the light, highlighting the intricate details of its transformation. This protective layer ensures that the new finish will withstand the test of time, just as the solid pine construction has done for years. For the top surface, which had endured the most abuse, I chose a slightly different approach. After sanding it down thoroughly to smooth out any remaining imperfections and reveal the natural pine, I applied a single, generous coat of the same cream wax. This approach allowed the natural wood grain to show through on the top, creating a lovely contrast with the painted body and adding another layer of visual interest to this upcycled furniture piece.
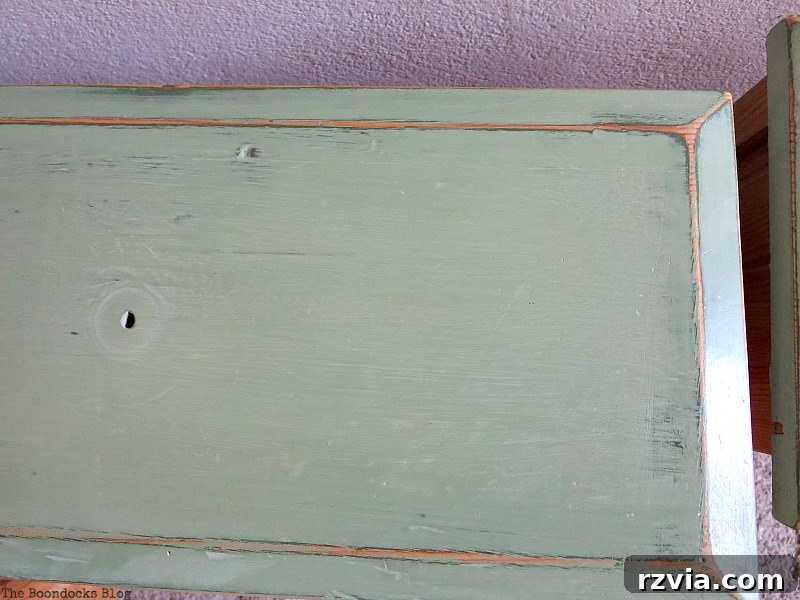
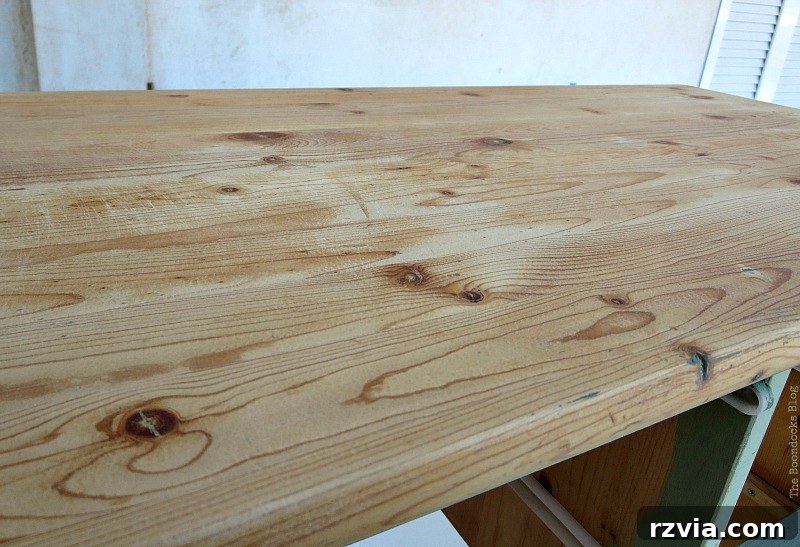
A significant advantage of using chalk paint for DIY projects is the minimal preparation often required; you don’t typically need to sand extensively beforehand. However, as I discovered, sanding *after* painting, especially during the distressing phase, can yield exceptional results. It not only dramatically improves the appearance by allowing layers of color and wood to peek through but also creates an incredibly smooth, buttery texture that perfectly primes the surface for waxing. This technique truly elevated the final feel and aesthetic of the distressed IKEA dresser.
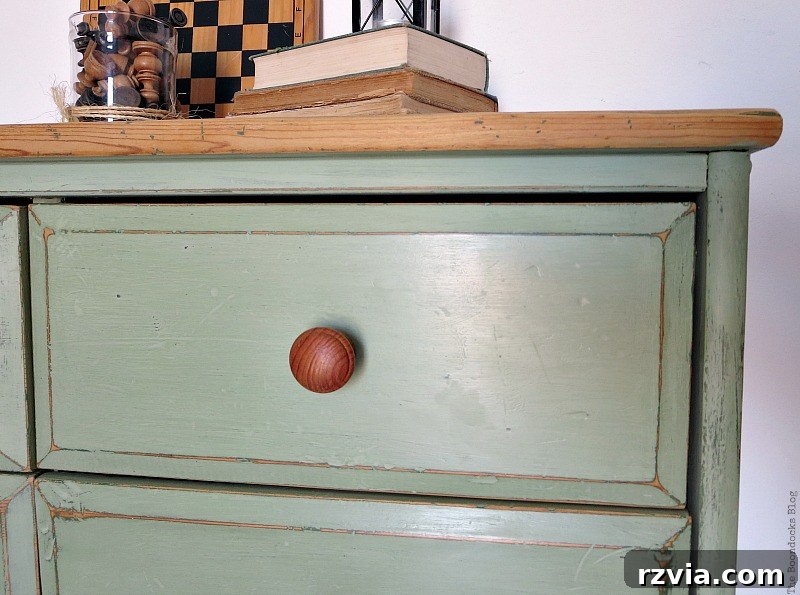
Details that Delight: Knobs, Nicks, and Character
Reattaching the original knobs was a decision I don’t regret. Against the refreshed green backdrop, they now pop with a renewed presence, proving that sometimes the best choice is to work with what you already have. They add an authentic touch to the rustic, vintage-inspired aesthetic of this upcycled piece.
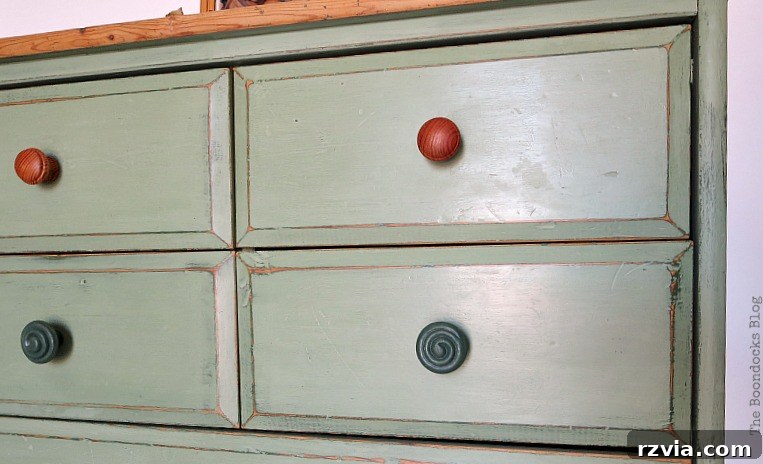
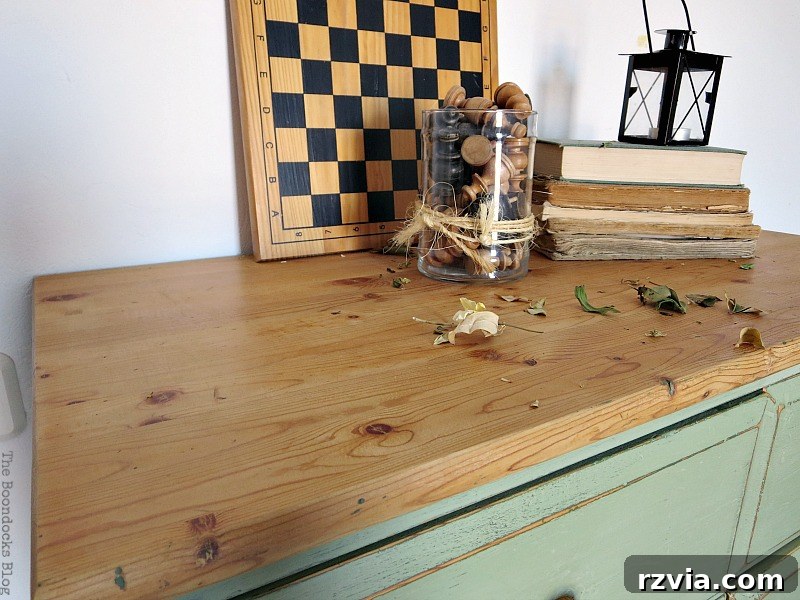
Even with the comprehensive makeover, some of the original nicks and scratches on the top surface, along with faint hints of the darker green, remain visible. And that’s perfectly okay. These imperfections are now part of its charm, contributing to the dresser’s unique story and authentic character. They whisper tales of its past, adding depth that a brand-new, flawless piece simply couldn’t offer. This balance of old and new is what makes furniture upcycling so rewarding, especially for an IKEA pine dresser makeover.
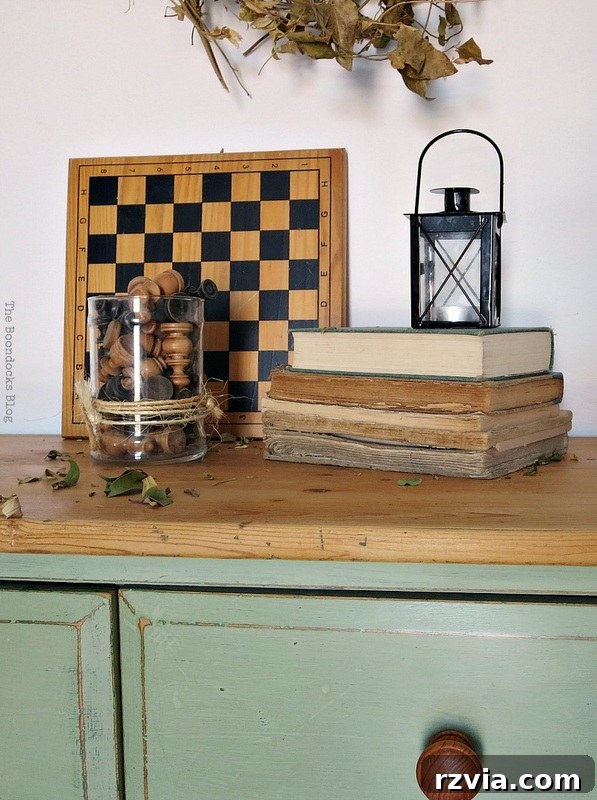
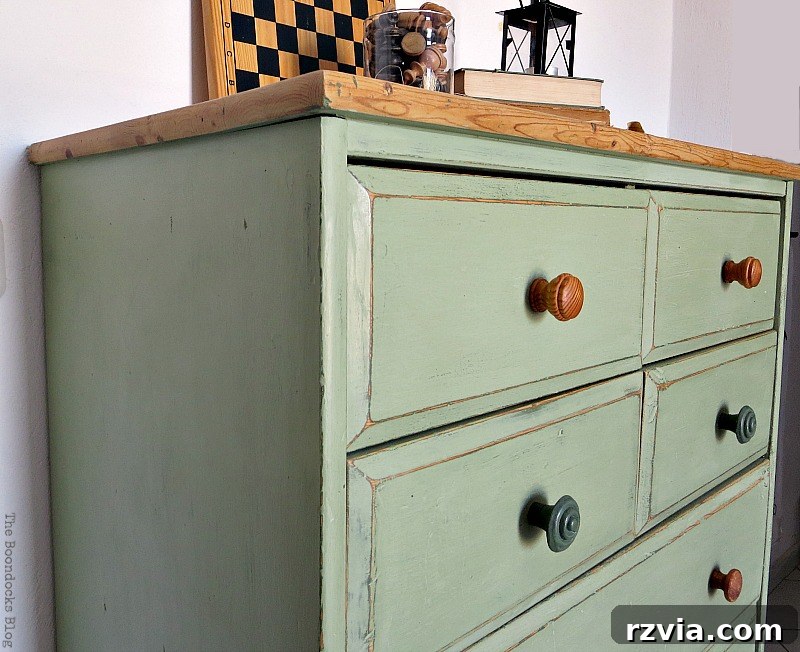
As you examine the dresser, particularly its sides and corners, you’ll notice how the distressing technique beautifully reveals layers of its past. In some areas, only the vibrant green of the paint shows through, offering a solid splash of color. In others, both the green paint and the warm natural wood peek out, creating a rich, multi-dimensional effect that adds significant visual interest. This subtle interplay of colors and textures is what makes a distressed finish so captivating.
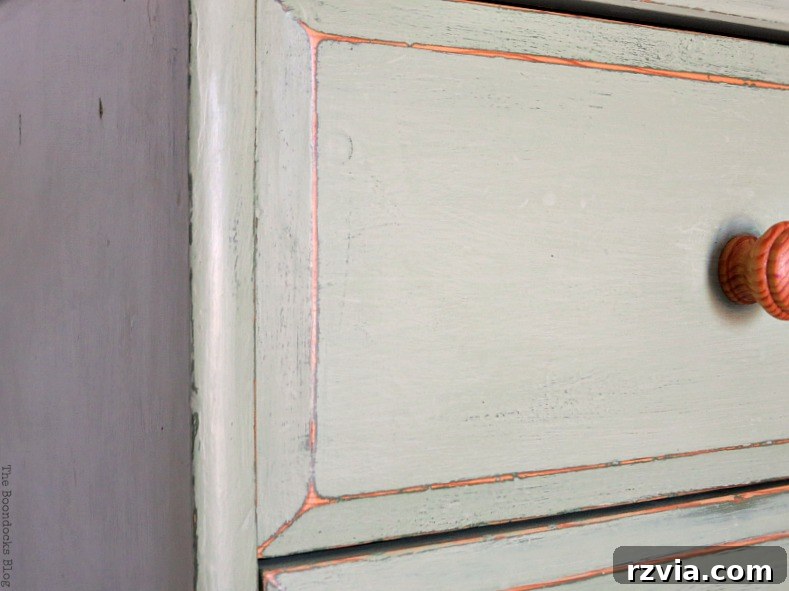
And that subtle sheen from the wax? It’s simply irresistible. Now, every time I walk past the dresser, I find myself instinctively reaching out to run my hand over its incredibly smooth, inviting surface. It’s a tactile pleasure that speaks volumes about the quality of the finish and the care put into its restoration.
… and in other areas, the interplay of green and natural wood creates even greater depth and dimension, adding to its unique charm.
A New Chapter: Celebrating the Transformation
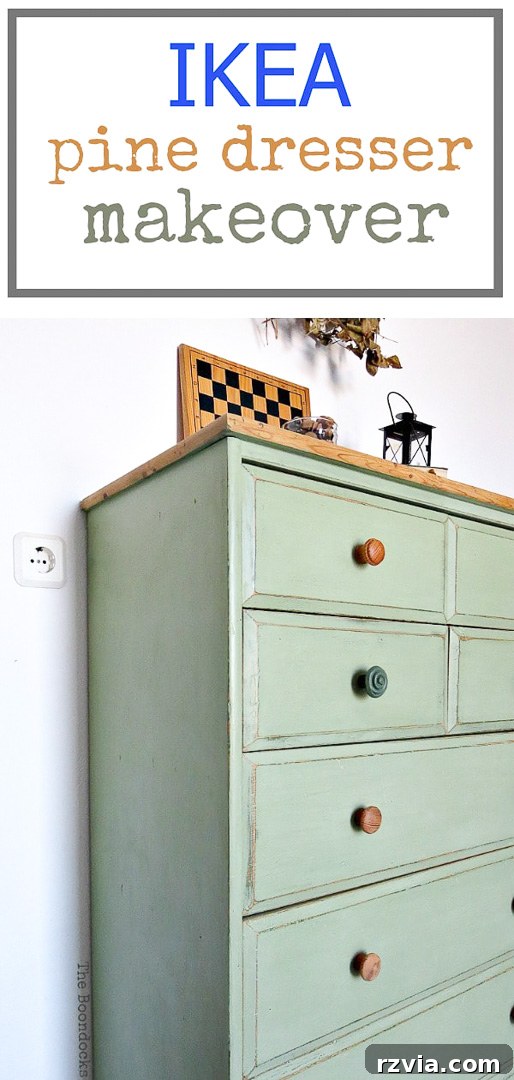
The dresser is far from perfect. You can still spot some minor gaps where the drawers meet the frame, and the surface retains its collection of charming nicks and indentations. Yet, despite these slight imperfections, the transformation is monumental. It’s a vast improvement from its previous dilapidated state, now radiating character and a warmth that truly makes it feel like a bespoke piece of furniture. Even my husband, initially skeptical of my DIY endeavors, has expressed his love for its rejuvenated look.
While many spend their summers on vacation, I often find myself immersed in creative projects, and this dresser makeover was no exception. It demanded time, effort, and a touch of artistic vision, but the reward of seeing this once-neglected IKEA pine dresser transformed into a beautiful, functional, and conversation-starting piece makes every moment worthwhile. Now that I’ve shared how to save an IKEA pine dresser, I’m already envisioning my next project. I believe there’s an old bed in the basement just waiting for a matching coat of paint to complete this room’s revitalized look. What about you? Would you have undertaken the challenge of saving this old piece, or would you have sent it off to its wooden fate?

Additional Furniture Painting Ideas You Might Like:
-
IKEA Malm Dresser Makeover -
How to Restore a Campaign Dresser
If you’ve been inspired by this furniture transformation, please consider sharing it with your friends or saving it on Pinterest for future reference. For more DIY adventures and creative home decor ideas, subscribe to my blog and receive twice-weekly inspiration directly in your mailbox.
This blog content is provided for entertainment and informational purposes only; my DIY tutorials are not intended as professional advice. Please read my full disclaimer here.
I genuinely appreciate hearing from my readers, so please leave your comments and thoughts below. I make sure to reply to each and every one of them!