
Welcome back to another exciting edition of “Ten on the Tenth,” where creativity meets affordability! This month, my wonderful friends and I are thrilled to bring you a collection of fashion and beauty projects, all designed with a budget in mind – costing less than ten dollars. Following our successful exploration of container gardening ideas last month, we’re now diving into personal style and organization. While I may not be hailed as a fashion guru, I firmly believe that an organized space is the foundation of any great look. And when it comes to dazzling accessories, quick access to your favorite pieces is absolutely essential for every style enthusiast!
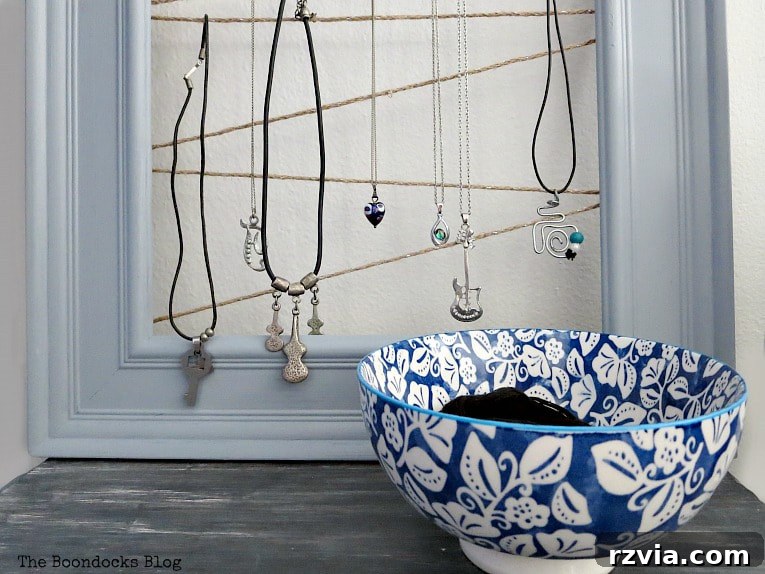
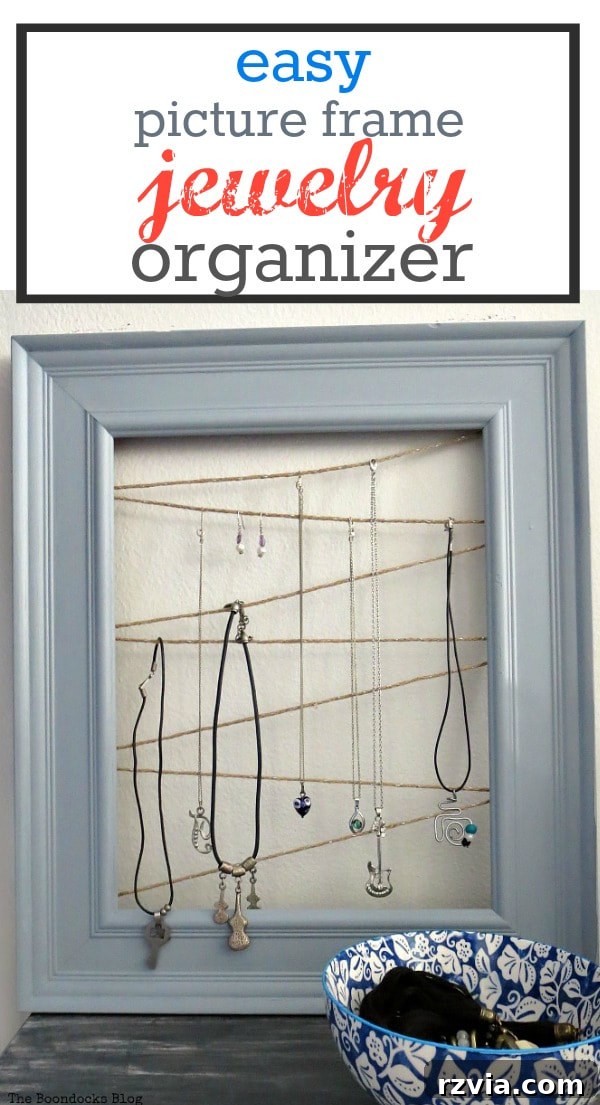
Forget the endless searching for that matching earring or untangling necklaces; an effective jewelry organizer can transform your daily routine. This project isn’t just about crafting; it’s about reclaiming precious time and bringing a sense of calm to your getting-ready process. Beyond its practical benefits for your own collection, this DIY jewelry organizer crafted from a repurposed picture frame makes an exceptionally thoughtful and personalized Mother’s Day gift. It’s incredibly easy to make, remarkably cost-effective, and adds a touch of bespoke charm to any bedroom or dressing area.
Stay with me as we embark on this simple yet impactful journey to create a beautiful and functional home for your cherished baubles. You’ll be amazed at how easily an old picture frame can be transformed into a stylish solution that keeps your jewelry neatly displayed and readily accessible.
Disclosure: Please note that some of the links provided below are affiliate links. This means that if you choose to make a purchase through these links, I may earn a small commission at no additional cost to you. This commission helps support my blog and allows me to continue creating valuable and engaging content for you. Thank you for your support!
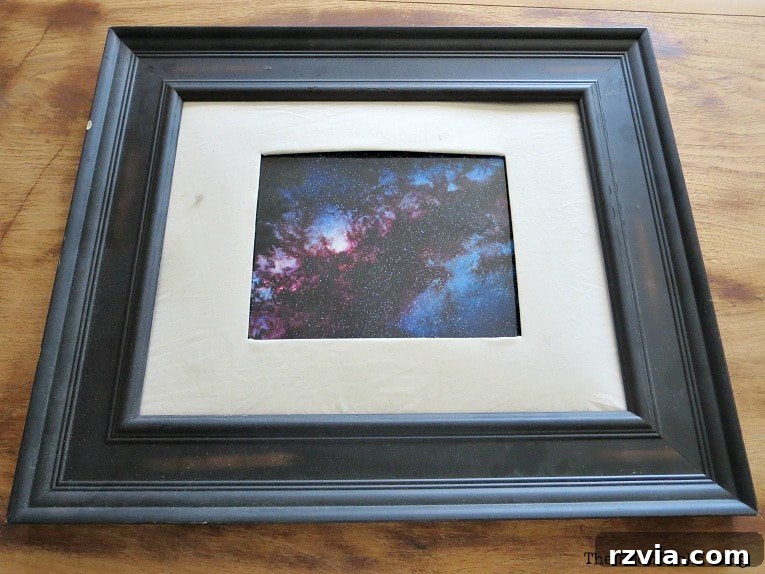
For months, I’ve been dedicated to transforming the girls’ bedroom, a project that always seems to find new items on its “to-do” list. It’s a delightful challenge to keep up with their evolving tastes! This time, their request was clear: a stylish and functional jewelry organizer. Serendipitously, I had an old picture frame tucked away in my craft stash, patiently waiting for its second life. Its size and structure instantly told me it was the perfect candidate for a creative makeover.
Of course, if it had been a cherished piece of art, perhaps a stunning canvas print like those found on GreatBigCanvas, I might have hesitated to dismantle it. But this frame was ripe for repurposing, offering a fantastic opportunity to create something truly unique and practical. The beauty of DIY projects like this lies in their ability to transform discarded items into functional art, breathing new life into forgotten treasures and saving money in the process.
What You’ll Need for This DIY Jewelry Organizer:
One of the best aspects of this project is its simplicity and the fact that you might already have most, if not all, of these materials lying around your home! Here’s a detailed list of what I used to create this stylish frame jewelry organizer:
- An Old Picture Frame:Approximately 16×20 inches. The exact size isn’t critical, but a larger frame offers more space for your jewelry collection. This is the cornerstone of our repurposing project!
- White Acrylic Craft Paint:A standard choice for DIY, acrylic paint offers great coverage and dries quickly.
- Metallic Black Acrylic Craft Paint:This adds a beautiful sheen and depth when mixed with the white. You can choose any metallic color that complements your decor.
- Twine:My absolute favorite crafting material! Its natural texture adds rustic charm and is surprisingly sturdy for hanging jewelry.
- Staple Gun:Essential for securely attaching the twine to the frame. If you don’t own one, consider borrowing from a friend or investing in a basic model for future DIY projects.
Beyond these core items, you’ll also need some basic painting supplies like brushes, a mixing palette, and a cloth for clean-up. Remember, the beauty of this project lies in its flexibility; feel free to substitute colors or embellishments to match your personal style!
The How-To: Crafting Your Picture Frame Jewelry Organizer
Now that we’ve gathered all our supplies, let’s dive into the simple and enjoyable process of transforming that old frame into a beautiful, functional jewelry organizer. This project is perfect for beginners and seasoned DIYers alike, offering instant gratification with minimal effort.
Step 1: Preparing and Painting Your Frame
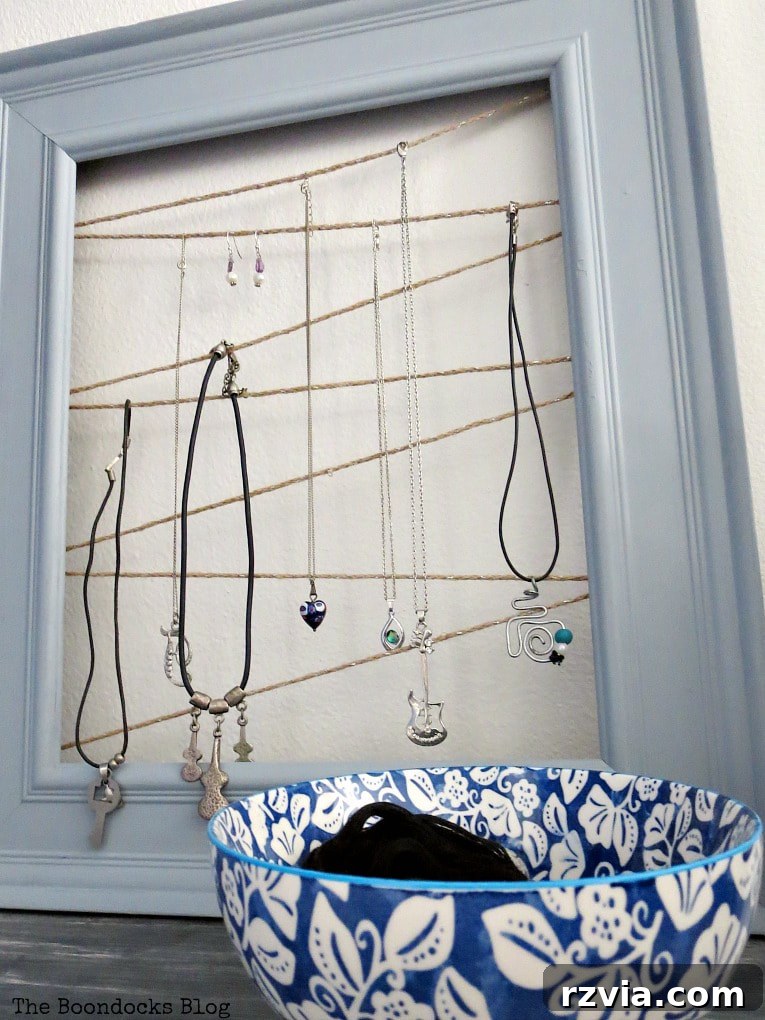
The first step in our creative journey is to prepare your chosen picture frame. Start by carefully removing any existing artwork, glass, backing, and old staples. You want a clean slate to work with. Once cleared, it’s time to give your frame a fresh coat of paint. We opted for a soft, metallic gray finish to give the organizer a chic, sophisticated look that would blend seamlessly with the girls’ room decor. Since I didn’t have the exact shade on hand, we achieved this lovely translucent gray by mixing white acrylic craft paint with a touch of metallic black acrylic paint. This blend created a much softer, more subtle metallic effect than a standard metallic gray paint would, adding a gentle shimmer without being overpowering.
And yes, my wonderful daughter was a fantastic helper during the painting process, making it a fun mother-daughter bonding activity! It’s always more rewarding when you involve your loved ones in DIY projects. Apply two even coats of your mixed paint, allowing adequate drying time between each coat to ensure a smooth and durable finish. This also prevents any stickiness and prepares the frame perfectly for the next step.
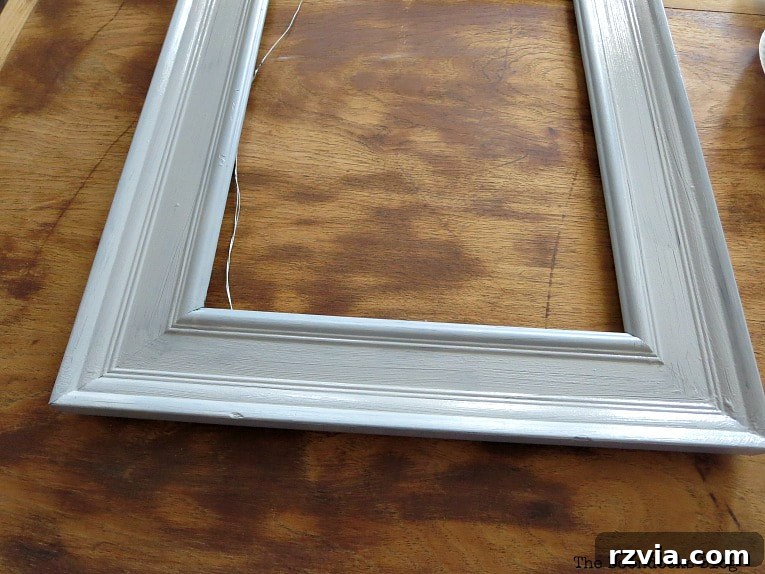
After applying two careful coats, we set the frame aside to dry completely. Patience is key here! While it might be tempting to rush, allowing the paint to cure properly ensures a long-lasting and professional-looking finish. We want this organizer to stand the test of time, just like the cherished jewelry it will hold.
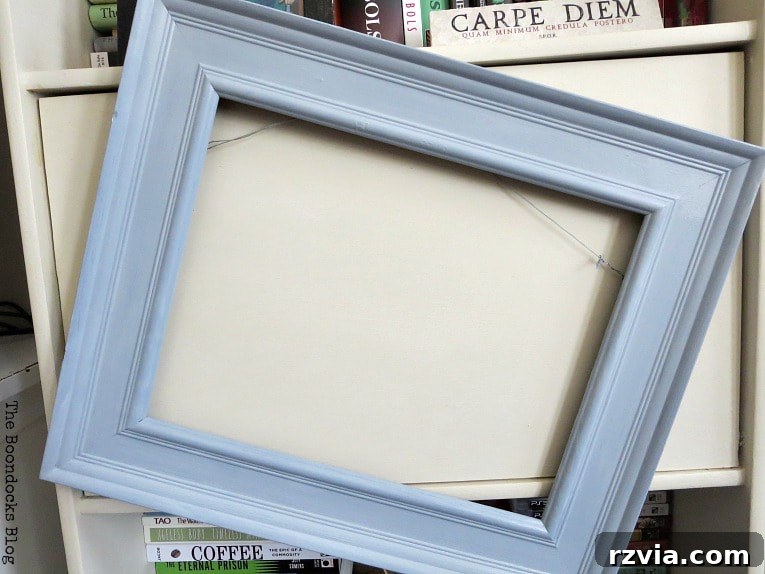
Step 2: The Twine Revelation – Adding the Jewelry Hooks
A few hours later, once the paint was thoroughly dry, it was time to tackle the back of the frame – where the real magic happens for our DIY jewelry organizer. If you’ve followed my blog for a while, you know my undeniable affection for twine. There’s just something incredibly versatile and charming about this simple material that makes me want to incorporate it into projects again and again. Its rustic texture and strength are perfect for creating a functional yet aesthetic display for jewelry.
I had turned the frame over to remove some old staples – remnants from its previous life – when a brilliant epiphany struck me! Instead of simply removing them, why not *work* with those existing staples? They were perfectly positioned to become anchors for the twine, simplifying the process immensely. This little discovery saved time and added an unexpected structural element to the design. If your frame doesn’t have staples, don’t worry – you can easily add them with your staple gun to create the same effect.
The process of threading the twine began in the top corner. I passed the twine underneath one of the staples and secured it with a tight knot. This ensures the starting point is firm and won’t slip when tension is applied. This method is incredibly simple yet surprisingly strong, providing a secure foundation for all your necklaces and earrings.
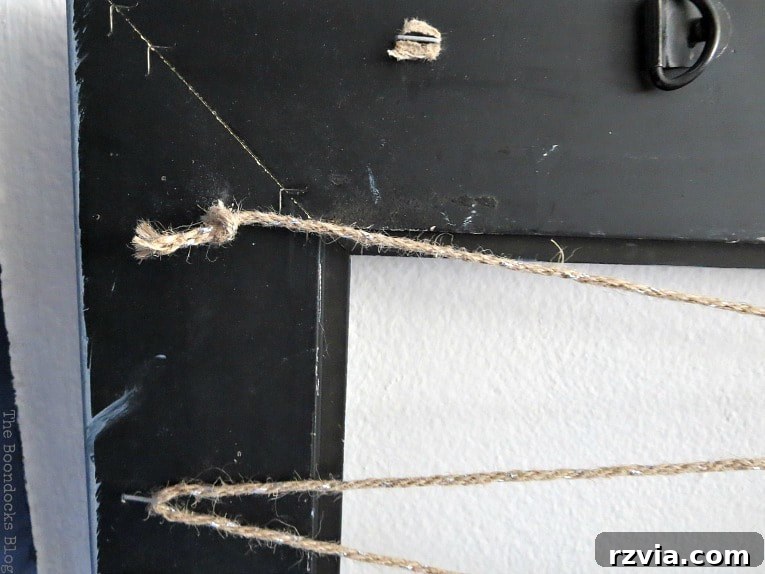
From that initial anchor point, I extended the twine across the frame, threading it through the opposite staple diagonally. This creates a visually appealing zigzag pattern that also offers multiple hanging points for different types of jewelry. The goal is to create several taut lines of twine across the open space of the frame.
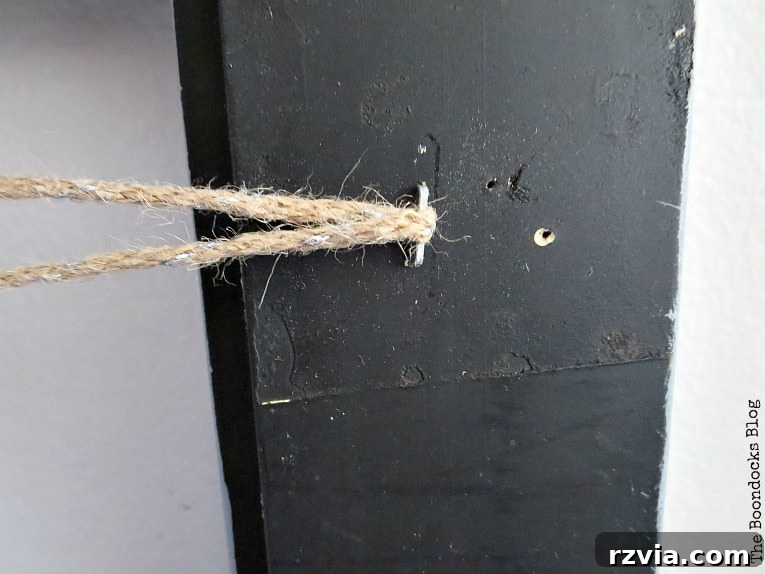
I continued this zigzagging motion, passing the twine through staples on alternating sides until I reached the bottom of the frame. For areas that lacked a pre-existing staple, I simply added a new one with the staple gun to maintain a consistent look and provide ample attachment points. Precision isn’t paramount here; the charm of this DIY project lies in its slightly handmade, rustic aesthetic. I simply eyeballed the distances between the lines, ensuring they were roughly even. After all, when working with a natural material like twine, a little imperfection only adds to its character.
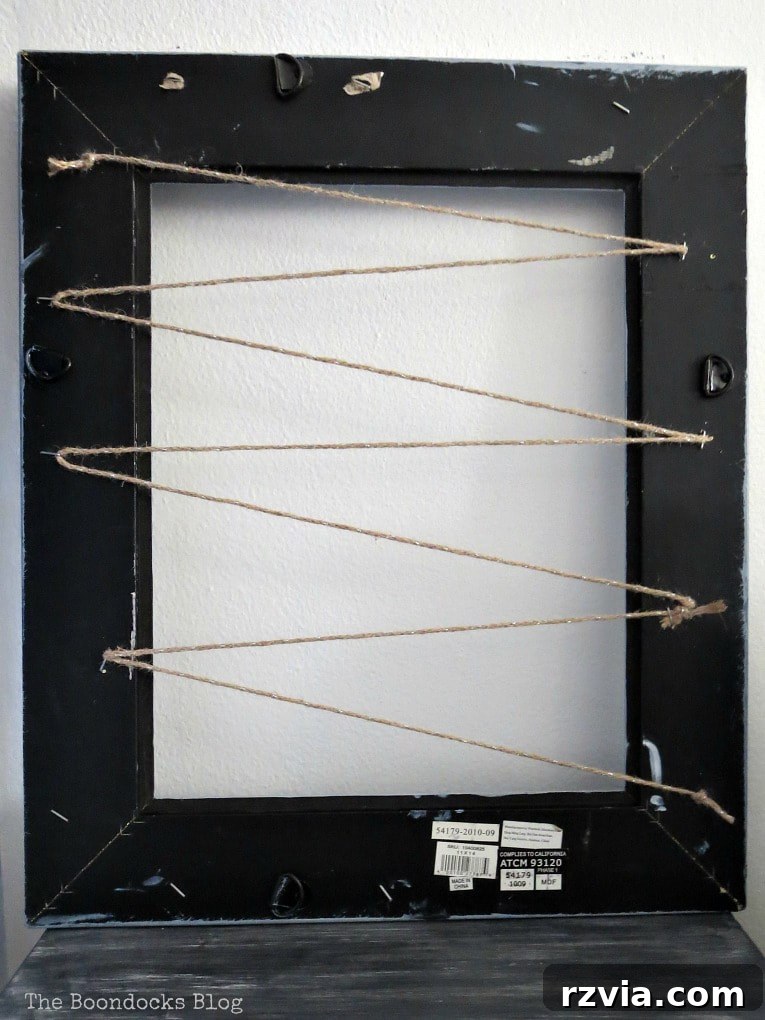
Step 3: Organizing Your Jewelry Collection
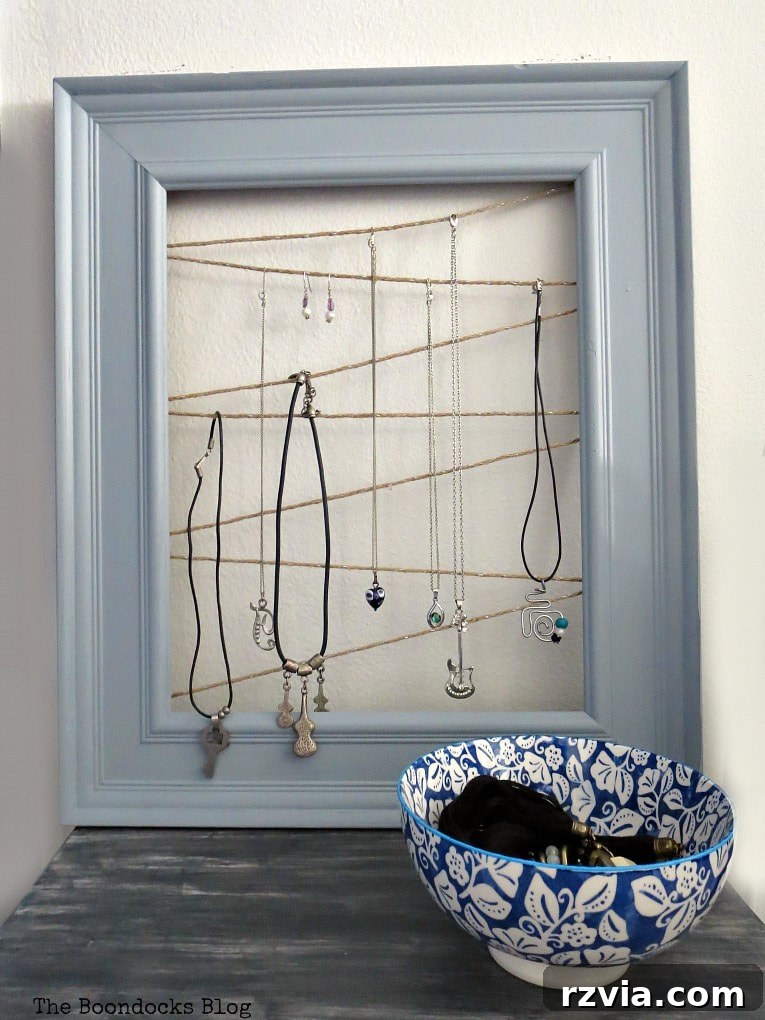
With the twine securely in place, it’s time for the most satisfying part: flipping the frame over and populating it with all your beautiful jewelry! What was once a simple picture frame is now a chic and incredibly functional display piece. The varied spacing of the twine lines allows for different types of jewelry to hang without tangling.
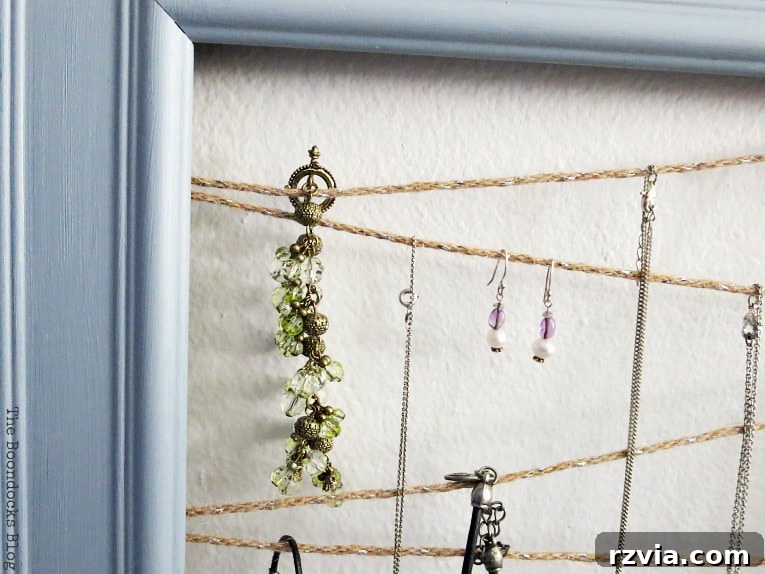
For necklaces, simply clasp them directly onto the twine. This not only keeps them organized but also prevents them from knotting, a common frustration with traditional jewelry boxes. Earrings with hooks can be effortlessly slipped over the twine, showcasing them beautifully and making selection a breeze. Stud earrings can be gently pushed through the twine, or if you prefer, you can add small clips or hooks to the twine for them. For items that don’t hang, like rings, bracelets, or watches, a small decorative bowl placed at the base of the organizer or on an adjacent surface provides a perfect catch-all solution.
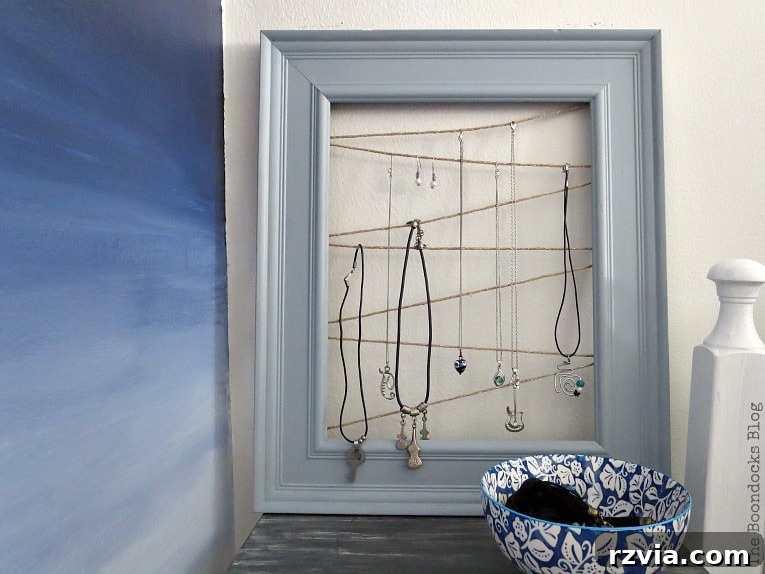
The beauty of this design is its accessibility. Every piece of jewelry is visible at a glance, eliminating the need to rummage through drawers or boxes. This makes getting ready in the morning so much quicker and more enjoyable. It’s a game-changer for anyone with a growing collection of accessories!
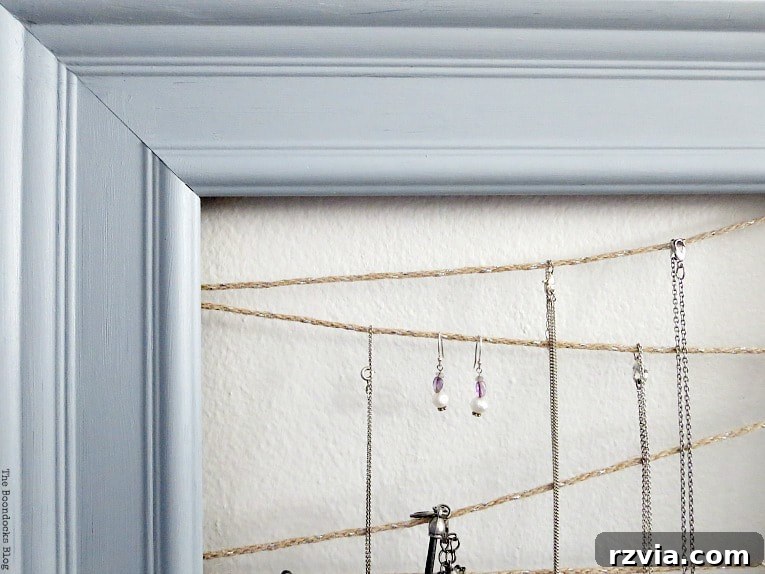
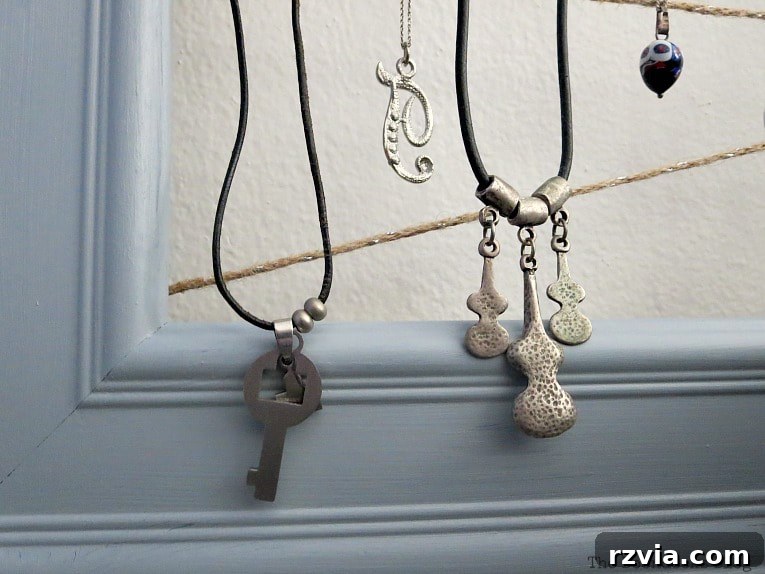
This new organizer has been a fantastic addition to the girls’ room. A few years ago, I crafted another earring organizer, but sadly, it was gifted to a friend when we moved from Greece. The girls loved that one, and they adore this new version even more! They’ve already placed it prominently on their nightstand, ensuring all their cherished baubles are always within easy reach. It’s truly rewarding to see a simple DIY project bring such practical joy and aesthetic appeal.
Cost, Time, and Customization Tips
One of the most appealing aspects of this DIY jewelry organizer is its incredible affordability and quick turnaround time. The entire project, including ample drying time for the paint, took me approximately two hours to complete. As for the cost? It was virtually free for me, as I already had all the necessary supplies on hand – a testament to the power of repurposing!
Even if you need to purchase some of the materials, excluding a staple gun and the frame (which you might already own or find at a thrift store), the total expenditure would likely be around $8. This makes it an incredibly budget-friendly solution for jewelry organization, far cheaper and more personalized than store-bought options.
Customization Ideas:
- Paint Colors: Experiment with vibrant hues, chic pastels, or classic metallics to match your room’s decor. Distressing the frame or adding a clear topcoat for extra shine are also great options.
- Twine Alternatives: While I adore twine, you could use thin wire, ribbon, or even lace for a different aesthetic. Each material will give your organizer a unique look and feel.
- Embellishments: Consider adding small hooks to the bottom of the frame for hanging rings or bracelets, or decorative elements like faux flowers or beads to the frame itself.
- Size Variation: This method works for any size frame. A smaller frame could be perfect for just earrings, while a larger one can be a comprehensive jewelry station.
A Thoughtful Gift Idea for Mother’s Day & Beyond
This frame jewelry organizer isn’t just a fantastic way to declutter your own space; it also makes an incredibly thoughtful and personal gift. As Mother’s Day approaches, consider crafting one for your mom, grandmother, or any special woman in your life. Handmade gifts carry a unique sentiment, showing effort and love that store-bought items simply can’t replicate.
It’s an easy DIY project that yields beautiful results, and I bet many of you have an old picture frame at home just waiting to be repurposed into something wonderful. Give the gift of organization and handmade charm this year!
I am absolutely thrilled with how happy my girls are with their new, easy-to-make jewelry organizer. And I’m equally delighted to share this simple yet impactful project with all of you. It’s a testament to how creative repurposing can lead to elegant and functional solutions for everyday needs.
Don’t forget to scroll down and explore the amazing fashion and beauty ideas from my fellow “Ten on the Tenth” friends! You’ll find a treasure trove of budget-friendly inspiration.

If you love what you see and want to stay updated on all my adventures and DIY projects, don’t forget to subscribe to my blog! You’ll receive fresh content directly in your inbox, and rest assured, your email address will never be shared with third parties. Look for the subscription form in the sidebar or at the top of the page.


Check Out More Budget-Friendly Fashion & Beauty Ideas from My Friends!
- Poofing the Pillows: Target Fashion Finds Under $10
- Pandora’s Box: Fashion Accessories Storage Ideas
- Exquisitely Unremarkable: Thrift Store Fashion Challenge
- Patina and Paint: A Unique Perspective
- Let’s Add Sprinkles: Creative Nail Polish Storage
- My Heart Lives Here: Achieving Pretty Nails on a Budget
- White Spray Paint: Discovering Flea Market Fashion
- The Purple Hydrangea: Top Paint Brush Under $10
- Blue Sky at Home: Turning Plastic into Gold
- The Boondocks Blog: Easy Frame Jewelry Organizer (You Are Here!)
Explore More Creative Organizing Ideas:
<< One Chair Two Ways
HOME
Sightseeing in Greenwich Village >>
This post proudly links up to these Link Parties.
Please note: This blog is intended for entertainment purposes only, and my DIY tutorials are not professional advice. For more details, please read my full disclaimer here.
I genuinely appreciate and enjoy reading all your comments, and I strive to reply to each one. To ensure your comment can be published, please avoid including hyperlinks within your message.