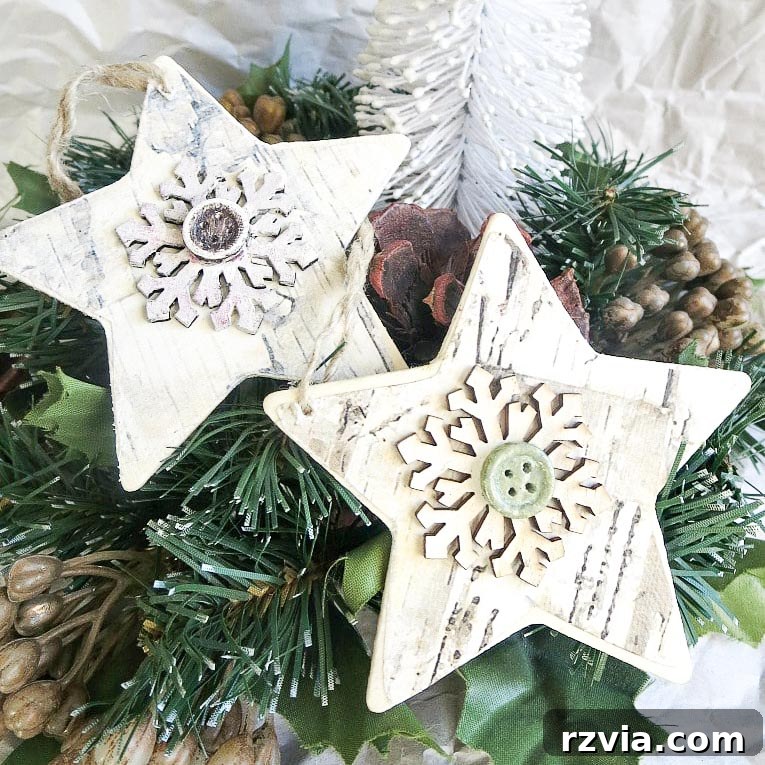
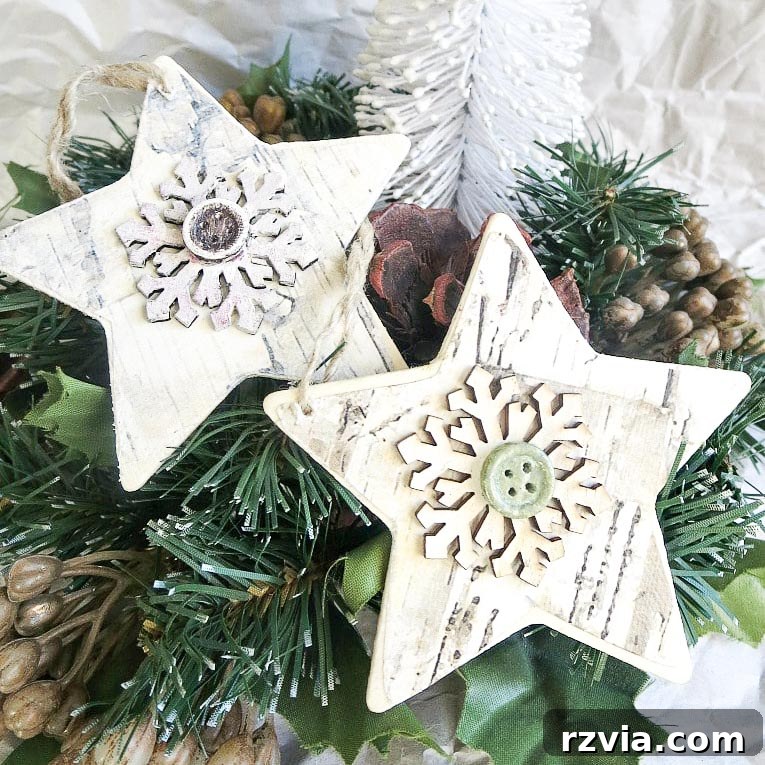
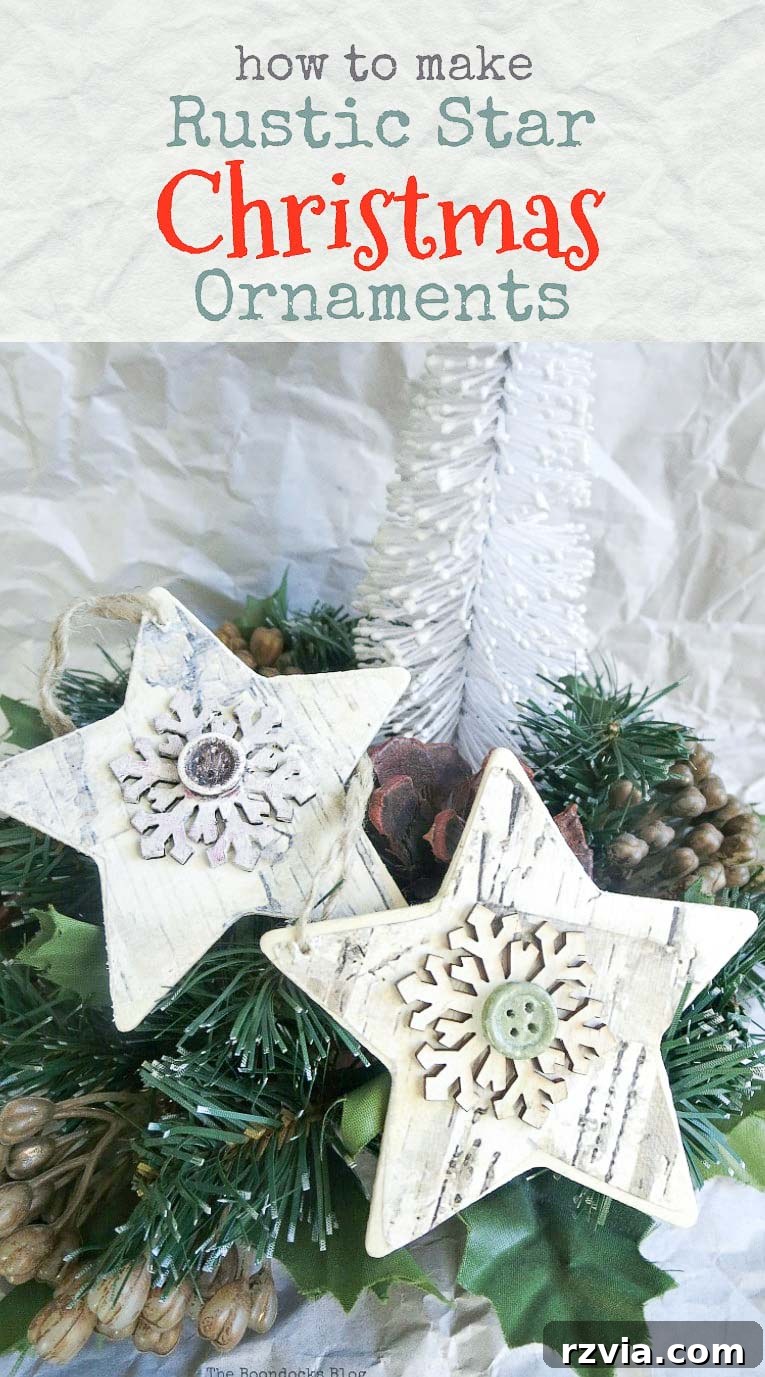
Transform your Christmas tree into a cozy, rustic wonderland with these enchanting DIY Rustic Birch Star Christmas Ornaments! Combining the natural charm of birch with carefully distressed details, these handmade decorations are not just ornaments; they are tiny masterpieces that tell a story of warmth, tradition, and personal touch. Perfect for anyone looking to infuse their holiday decor with a unique, farmhouse-inspired elegance, this guide will walk you through creating stunning star ornaments that will become cherished keepsakes for years to come.
Craft Your Own Rustic Birch Star Christmas Ornaments: A Step-by-Step DIY Guide
The holiday season is a magical time for crafting, and there’s nothing quite like adorning your home with handmade decorations that reflect your personal style. If you’re drawn to the warmth and simplicity of farmhouse or woodland aesthetics, these rustic birch star ornaments are an absolute must-try. Easy to make and incredibly charming, they bring a touch of natural beauty and understated elegance to any Christmas tree. Imagine the joy of seeing these unique stars, crafted by your own hands, twinkling amongst the fairy lights!
Why Rustic Decor Captivates Hearts During the Holidays
Rustic Christmas decor has gained immense popularity for its ability to evoke a sense of nostalgia, comfort, and authenticity. It moves away from the glitz and glamour, focusing instead on natural elements, textures, and a lived-in feel. Birch wood, with its distinctive bark pattern, is a cornerstone of this style, bringing an organic touch that complements evergreen trees beautifully. Distressed finishes, twine, and simple shapes like stars add to this aesthetic, creating a serene and inviting atmosphere that is perfect for celebrating the festive season.
These ornaments are not just decorations; they are expressions of a desire for connection to nature and a simpler way of life. They can effortlessly blend with various decor themes, from traditional to minimalist, adding a layer of character and handmade warmth that mass-produced items simply cannot replicate. Furthermore, crafting your own ornaments offers a wonderful opportunity to engage in a creative activity, unwind, and perhaps even start a new holiday tradition with loved ones.
Materials You’ll Need for Your Rustic Star Ornaments
Disclosure: This post contains affiliate links for your shopping convenience. If you purchase any of these products through the links, we receive a small commission at no extra charge to you. You can find our full disclosure here.
Gathering your supplies is the first exciting step in any DIY project. For these charming rustic star ornaments, you’ll find most items are readily available at craft stores, discount retailers, or even online. Here’s a detailed list of what you’ll need, along with some helpful tips:
- Wood Stars: These are the base of your ornaments. Look for flat, unfinished wooden stars in various sizes at craft stores like Walmart or online. A size of 4-6 inches works well for most trees. Their plain surface is perfect for decoupage and customization.
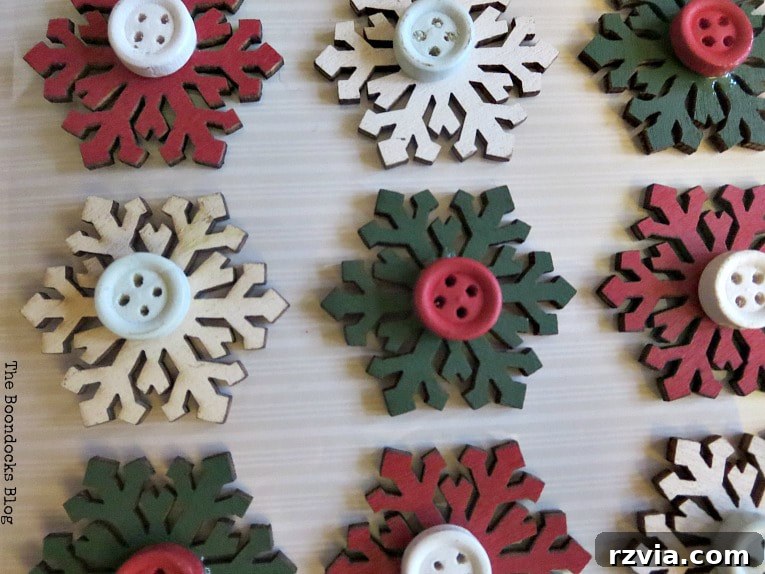
- Wood Snowflake Ornaments with Buttons (Stick-ons): The original project used pre-made snowflake embellishments with attached buttons. If you can’t find these specific items (often found at Target or seasonal craft aisles), you can easily substitute. Look for small, plain wood snowflakes and separate rustic-style buttons, or even just plain buttons that you can paint and distress yourself. The key is to find elements that contribute to that charming, rustic look.
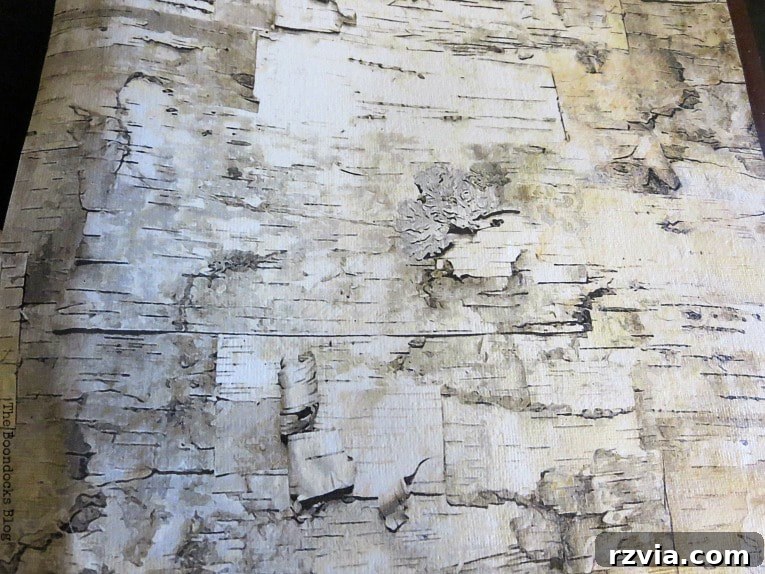
- Birch Wrapping Paper: This is the star of the show for achieving that natural birch texture. Its versatility is amazing; it can be used for so many crafts beyond gift wrapping! Ensure the paper has a realistic birch bark print. If wrapping paper isn’t available, look for birch-patterned scrapbook paper or even thin, real birch bark sheets (though these can be trickier to work with for decoupage).
- Twine: Natural jute twine is perfect for hanging your ornaments, adding another layer of rustic appeal. You can also experiment with thin burlap ribbon or other natural fibers for a slightly different look.
- Mod Podge: This crafter’s essential acts as both an adhesive and a sealant, making it ideal for decoupage. A matte finish Mod Podge is usually best for a rustic look, but a satin finish can also work if you prefer a slight sheen.
- Acrylic Crafters Paint: You’ll need a few basic colors to transform your snowflake and button embellishments. Earthy tones like various shades of brown, cream, or off-white are perfect for achieving a distressed, rustic aesthetic. Consider having a darker brown for the button and a lighter, muted color for the snowflake.
- Basic Crafting Tools: Don’t forget scissors for cutting paper, a pencil for tracing, a small paintbrush for Mod Podge and paint, and a sharp object (like a skewer, awl, or small drill bit) for creating the hanging hole (always exercise caution when using sharp tools).
How to Make Birch Star Ornaments: A Detailed Step-by-Step Guide
Now that you have all your materials, let’s dive into the fun part – creating these beautiful ornaments! Follow these steps carefully to achieve a polished, rustic finish.
Step 1: Preparing Your Birch Wrapping Paper
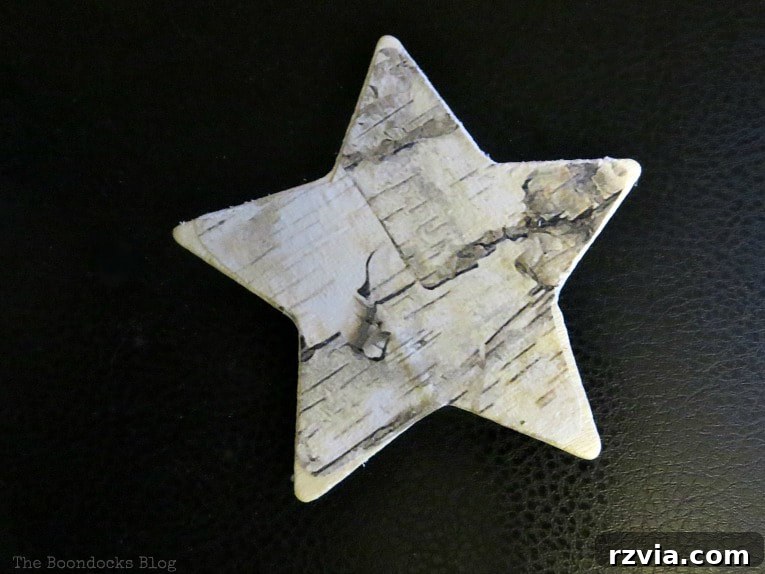
The birch wrapping paper is what gives these ornaments their distinctive woodland charm. Lay your chosen wooden star flat on the backside of your birch paper. Using a pencil, carefully trace the outline of the star. Once traced, cut out the star shape, but make sure to cut slightly *inside* your pencil line, creating a margin of about 1/8 to 1/4 inch. This small border allows a sliver of the natural wood star to show through around the edges, enhancing the rustic appeal and providing a subtle frame for the birch pattern. Repeat this process so you have two birch paper stars for each wooden star ornament.
Step 2: Decoupaging the Birch Paper onto the Wood Stars
With your birch paper cut to size, it’s time to apply it to your wooden stars using Mod Podge. Using a paintbrush, apply a thin, even layer of Mod Podge directly onto one side of a wooden star. Carefully position one of your cut-out birch paper stars onto the Mod Podge, aligning it as best as possible while maintaining that small wooden border. Gently smooth out any air bubbles or wrinkles using your fingers or a flat tool, working from the center outwards. Once the paper is smooth and secure, apply another thin layer of Mod Podge over the top of the birch paper. This acts as a protective sealant, giving the paper a durable finish. Allow this side to dry completely before flipping the star over and repeating the entire process on the other side. Ensuring both sides are covered creates a beautiful, finished look from any angle.
Step 3: Customizing Your Snowflake Embellishments
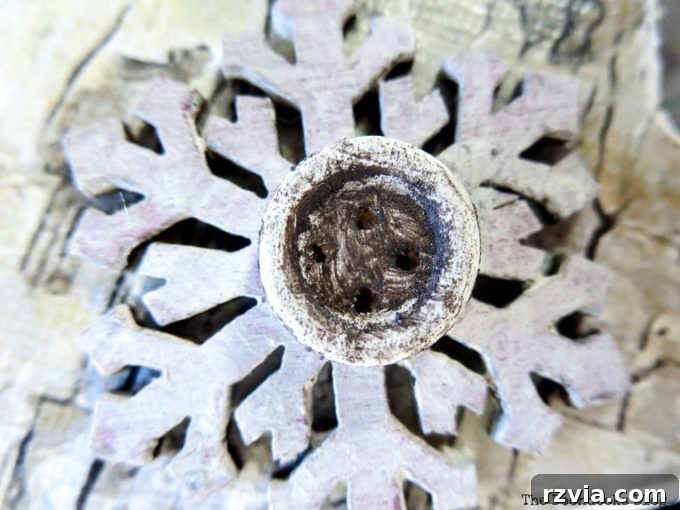
The pre-made snowflake embellishments likely come in a standard color, which might not perfectly match your rustic vision. This is where your acrylic craft paints come in! Take your snowflake embellishments. If they have a bright, un-rustic color (like the original’s red), paint over the snowflake design with a more muted, rustic color such as cream, antique white, or a light taupe. Don’t worry about achieving a perfectly opaque finish; a slightly worn or distressed look actually enhances the rustic feel. Next, focus on the attached button. Paint the button a rich, earthy brown color. You can apply the paint evenly, or for an even more distressed look, try dry brushing where you use very little paint on your brush and lightly brush it over the button’s surface, allowing some of the original color or texture to peek through. Once painted, this button will truly embody the essence of rustic charm!
Step 4: Assembling and Finishing Your Ornaments
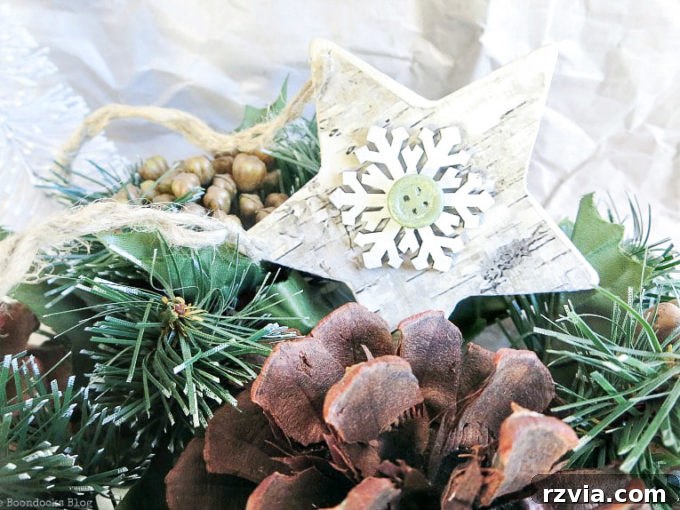
Once the paint on your snowflake embellishments has completely dried, it’s time to bring all the elements together. If your embellishments are stick-ons, simply peel off the backing and firmly press the painted snowflake with the distressed button onto the center of your decoupaged wooden star. If they are not stick-ons, use a strong craft glue to attach them securely. Next, you’ll need to create a hanging hole for your twine. Carefully use the edge of a sharp object (an awl, a small drill bit, or even a sturdy skewer can work, but always prioritize safety and use a protective surface) to make a small hole near the top point of the wooden star. Ensure the hole is large enough for your twine to pass through. Cut a length of twine (about 6-8 inches, or to your preferred hanging length), thread it through the hole, and tie the ends together in a secure knot to form a loop. Your beautiful rustic birch star ornament is now complete!
Step 5: Create a Collection and Adorn Your Tree
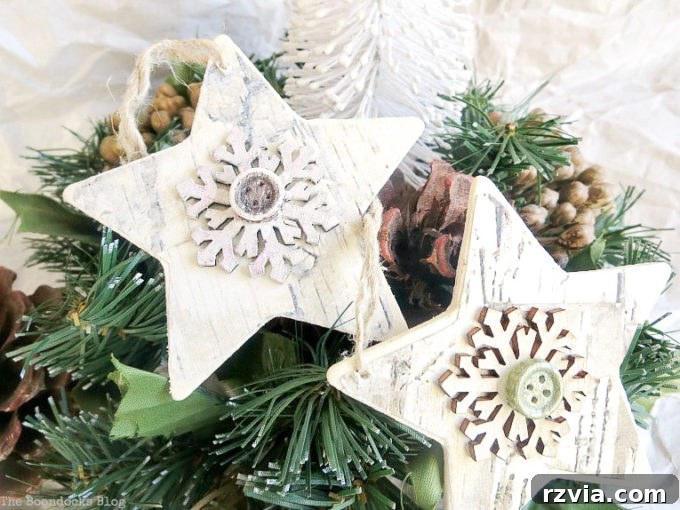
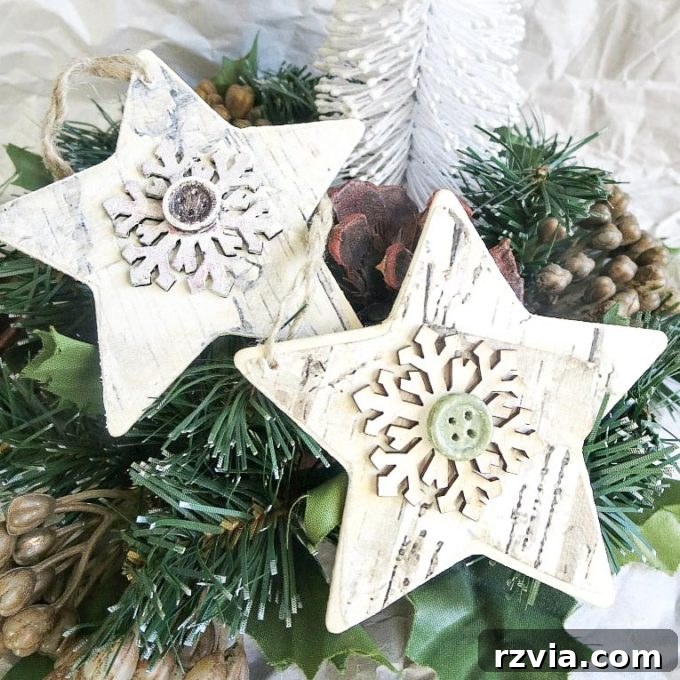
These ornaments are so enjoyable and easy to make, you’ll find yourself wanting to create a whole collection! The more you make, the more cohesive and charming your rustic tree theme will become. Feel free to experiment with slightly different shades of paint for your buttons and snowflakes, or even vary the size of your wooden stars. Remember, the beauty of handmade items lies in their unique imperfections. Each ornament you create will add a special, personal touch to your Christmas decor, filling your home with the warmth and spirit of the holidays. Now, proudly hang your beautiful rustic birch star ornaments on your tree, and revel in the cozy, woodland aesthetic you’ve crafted!
Tips for Customizing Your Rustic Ornaments
While the basic design is wonderfully charming, there are many ways to personalize your rustic star ornaments and make them truly unique to your style:
- Vary Embellishments: Instead of snowflakes, consider small wooden deer, pinecones, or even dried orange slices glued to the center of your stars.
- Add Glitter (Subtly): For a touch of sparkle that’s still rustic, use fine glitter on the edges of the star or on the snowflake embellishment, applied sparingly with Mod Podge.
- Stenciling and Lettering: Use stencils or a fine-tip paint pen to add small words like “Joy,” “Peace,” or “Believe,” or even family initials, to the wooden stars before applying the birch paper.
- Distressing Techniques: For an even more aged look, after the Mod Podge has dried, lightly sand the edges of the star or the painted embellishments with fine-grit sandpaper.
- Different Hangers: While twine is classic, consider using plaid ribbon, thin leather cord, or even wire for different hanging options.
Beyond the Tree: Creative Uses for Your Rustic Stars
These beautiful rustic stars aren’t just for the Christmas tree! Their versatility allows them to enhance other areas of your home decor throughout the holiday season:
- Gift Toppers: Attach a star ornament to a beautifully wrapped present for an extra special, handmade touch that doubles as a gift itself.
- Garlands and Banners: String multiple stars together with twine or ribbon to create a charming garland for your mantel, doorway, or staircase.
- Wreath Enhancements: Tuck a few star ornaments into your existing Christmas wreath to elevate its rustic appeal.
- Table Centerpieces: Arrange a cluster of stars in a bowl with pinecones, evergreens, and pillar candles for a simple yet elegant centerpiece.
- Window or Door Decor: Hang individual stars from windows or doors using varying lengths of twine for a welcoming display.
- Place Settings: Use smaller stars as unique place card holders or decorative accents at your holiday dinner table.
No matter how you choose to display them, these rustic birch star ornaments will undoubtedly add a personal and inviting touch to your holiday celebrations.
I’m absolutely thrilled with how these rustic Christmas ornaments turned out, and I know they’ll be the perfect addition to my woodland-inspired tree this year. They offer just the right amount of natural charm and handmade warmth. How are you planning to decorate your tree this year? I’d love to hear your ideas!

If you’ve enjoyed this DIY project and want to discover more creative adventures, be sure to subscribe to our blog! You’ll receive fresh inspiration, crafting tutorials, and decor ideas directly in your mailbox. Simply find the subscription form on the sidebar, and rest assured, your email address will always be kept private and never shared with any third party. Join our community of fellow DIY enthusiasts today!
Additional Christmas Crafts You Might Enjoy
If you loved creating these rustic star ornaments, you’re in for a treat! The holiday season is brimming with opportunities for crafting, and there are countless ways to infuse your home with handmade charm. Explore these other fantastic Christmas craft ideas to further personalize your festive decor and spread even more holiday cheer:
-

How to Reuse Old Decor to Make Bright Christmas Vignettes -
More Rustic Birch Star Christmas Ornament Inspiration -
Behind the Scenes: Crafting Rustic Birch Ornaments