
Revolutionize Your Decor: Master the Faux Stone Finish for Any Lamp Base
Are you searching for unique lamp painting ideas to breathe new life into your home decor? Look no further! This comprehensive guide will walk you through an incredible technique to make any lamp base look like natural stone. Say goodbye to your old, outdated, or ugly lamp and embrace a custom, high-end aesthetic without the hefty price tag. Get ready to transform your space with this simple yet impactful DIY project.
The Power of a Paint Makeover: From Drab to Dramatic
There’s an undeniable magic that comes with changing seasons, often sparking a desire to refresh our surroundings. For many DIY enthusiasts, this motivation translates into a compelling urge to paint everything in sight. And that’s exactly how this lamp base, once a forgotten relic, embarked on its journey to a stunning transformation. It’s truly amazing what a bit of paint and creativity can accomplish.
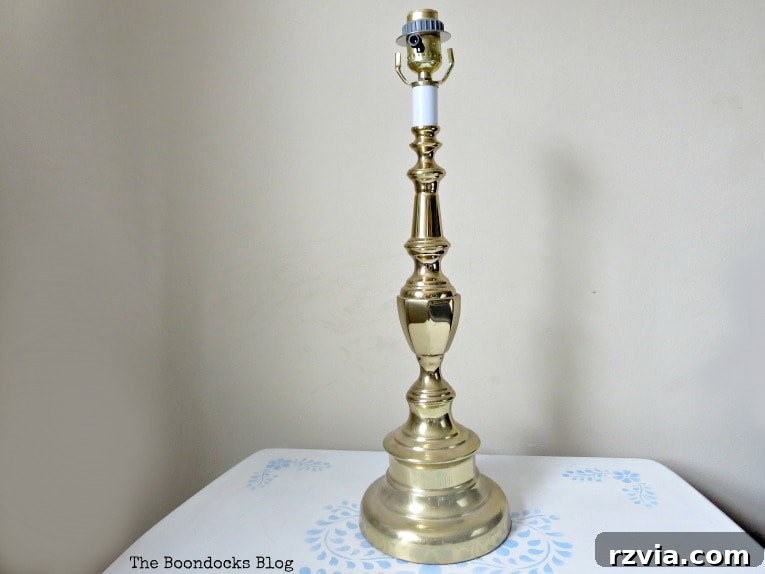
I originally rescued this particular lamp base from a garage sale several months ago. Its potential was clear, but its original faux gold finish was, to put it mildly, an eyesore. It simply wouldn’t blend with my home’s aesthetic without a significant overhaul. My goal was clear: to demonstrate how to paint a lamp base to look like stone, proving that even the most unassuming items can be elevated into statement pieces.
Disclosure: This post contains affiliate links for your shopping convenience. If you purchase any of these products through the links, we receive a small commission at no extra charge to you. You can find our full disclosure here.
Essential Materials for Your Faux Stone Lamp Project
Achieving a realistic stone finish requires a few key materials. The beauty of this project lies in its simplicity and the accessibility of the products. Here’s a detailed list of what you’ll need to embark on your lamp makeover:
Materials Used to Paint a Lamp Base:
- Decoart Americana Chalky Type paint in Everlasting (White): This chalk-style paint provides excellent adhesion and a matte finish, creating a perfect base for the stone effect. Its quick-drying nature is a bonus for layering.
- DecoArt acrylic paint in black: Essential for mixing various shades of grey. Acrylic paint is versatile, durable, and blends seamlessly with chalk paint for custom colors.
- DecoArt Americana Dazzling Metallics Pearl Black: This metallic accent adds a subtle shimmer and depth, mimicking the natural flecks found in real stone. It’s a game-changer for enhancing the faux effect.
- Chip Brushes: Inexpensive and perfect for achieving a textured, uneven look. Their stiff bristles are ideal for dry brushing and layering without creating perfectly smooth lines.
- Palette (or a disposable plate): Crucial for mixing your paints and for offloading excess paint during the dry brushing technique.
- Cleaning supplies (e.g., degreaser, cloth): To ensure your lamp base is free of dirt, dust, and grime, allowing for optimal paint adhesion.
- Painter’s tape (optional): If you need to protect specific areas of the lamp, such as electrical components or decorative elements.
- Drop cloth or old newspapers: To protect your work surface from paint splatters.
Step-by-Step Guide: How To Paint a Lamp Base for a Stone Effect
Transforming your lamp into a piece of faux stone art is a surprisingly straightforward process. Follow these steps to achieve a beautifully textured and authentic look.
1. Preparation: The Foundation of a Flawless Finish
Before you even open a can of paint, proper preparation is key. Begin by thoroughly cleaning your lamp base. Use a degreaser or a mild soap and water solution to remove any dust, grime, or oils that might prevent the paint from adhering correctly. If your lamp has a very glossy finish, a light sanding with fine-grit sandpaper can help the paint grip better, though chalk paint often adheres well without it. Ensure the lamp is completely dry before moving on. If there are any electrical components you want to protect, carefully mask them off with painter’s tape.
2. The Essential Base Coat: Setting the Stage for Stone
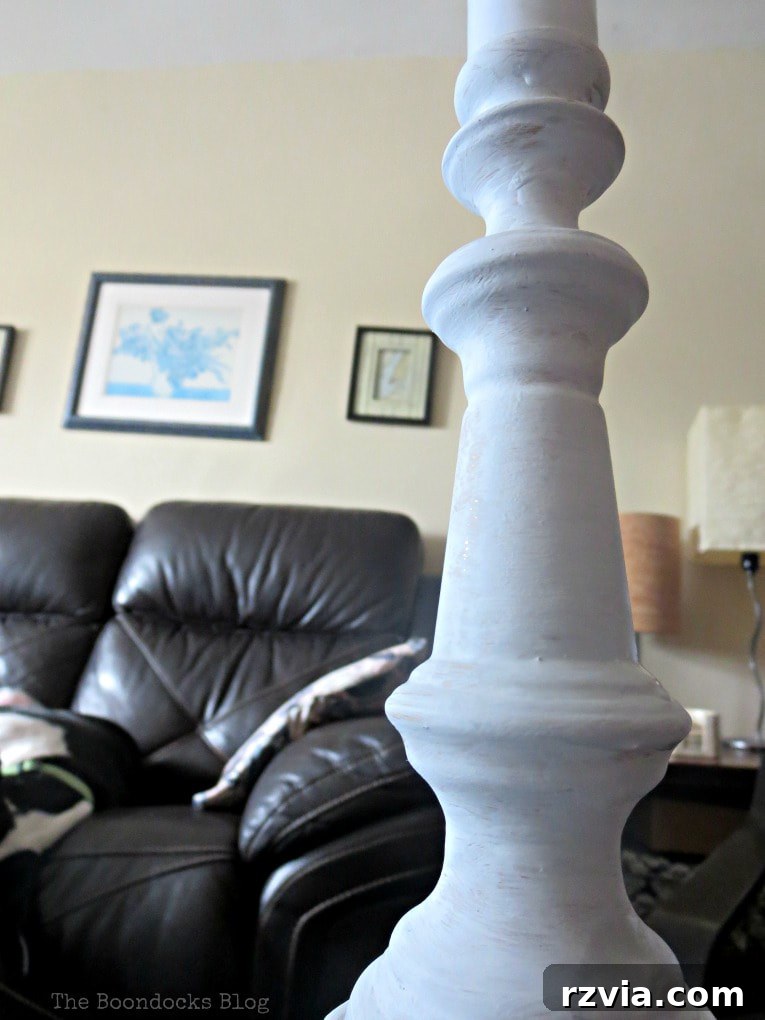
My first step was to apply two generous coats of the Decoart Americana Chalky Type Paint in Everlasting (white) to the entire lamp base. This pure white served as the foundational color, creating a bright canvas that would allow the subsequent grey layers to pop and build realistic depth. Chalk paint is fantastic for this purpose due to its excellent coverage and matte finish, which is ideal for mimicking the porosity of stone. Allow each coat to dry completely before applying the next, typically about 30 minutes to an hour, depending on humidity.
3. Introducing the First Layer of Grey: Building Texture and Depth
Once the white base coats were thoroughly dry, I moved on to creating the initial grey tones. On my palette, I mixed a small amount of the DecoArt acrylic black paint into the remaining white chalk paint. This created a soft, medium grey. The goal here isn’t perfection, but rather a natural, varied look. Using a chip brush, I randomly brushed this grey mixture onto the lamp base, ensuring I didn’t achieve full, even coverage. The underlying white should still peek through in places. This irregular application is crucial for the stone effect.
You might notice a few drips or imperfections at this stage – don’t worry! This is part of the process. In fact, a bit of character adds to the authenticity of a faux stone finish. Unlike projects requiring pristine surfaces, like this other lamp project I tackled previously, the goal here is to embrace the irregularities that make natural stone so beautiful.
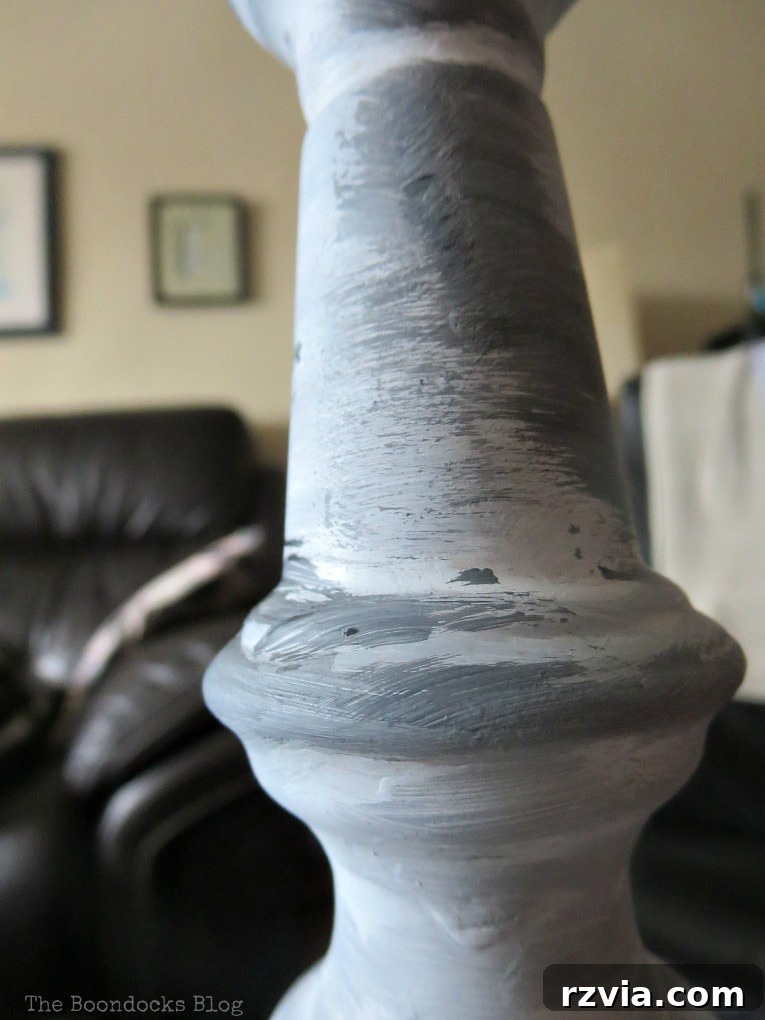
4. Adding Lighter Tones and Metallic Accents: The Nuances of Stone
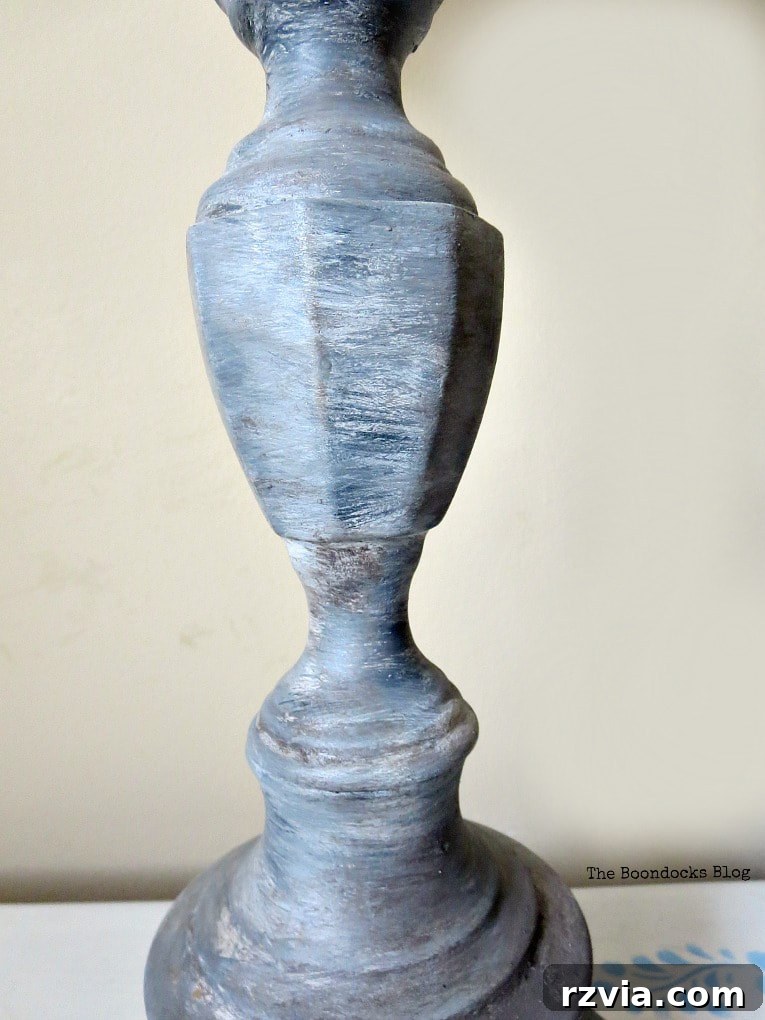
To further enhance the natural variation found in stone, I then created a lighter shade of grey. This was achieved by adding more white paint to my existing grey mixture, making it visibly paler. With this new, lighter grey, I went over the lamp again, applying it strategically and unevenly, allowing all three shades (white, medium grey, and light grey) to coexist. This layering technique is what truly gives the illusion of depth and dimension. To introduce another layer of sophistication and realism, I also incorporated a touch of black metallic paint into some of my mixtures. This subtle shimmer mimics mineral deposits and crystalline structures often found in natural rock, adding an unexpected but essential detail.
While you can certainly buy pre-mixed shades of grey, I find great satisfaction in custom blending my paints. Not only does it allow for precise color control, but it’s also a fantastic way to use up existing supplies and reduce waste. However, for those who prefer convenience, purchasing pre-mixed grey colors is a perfectly viable option.
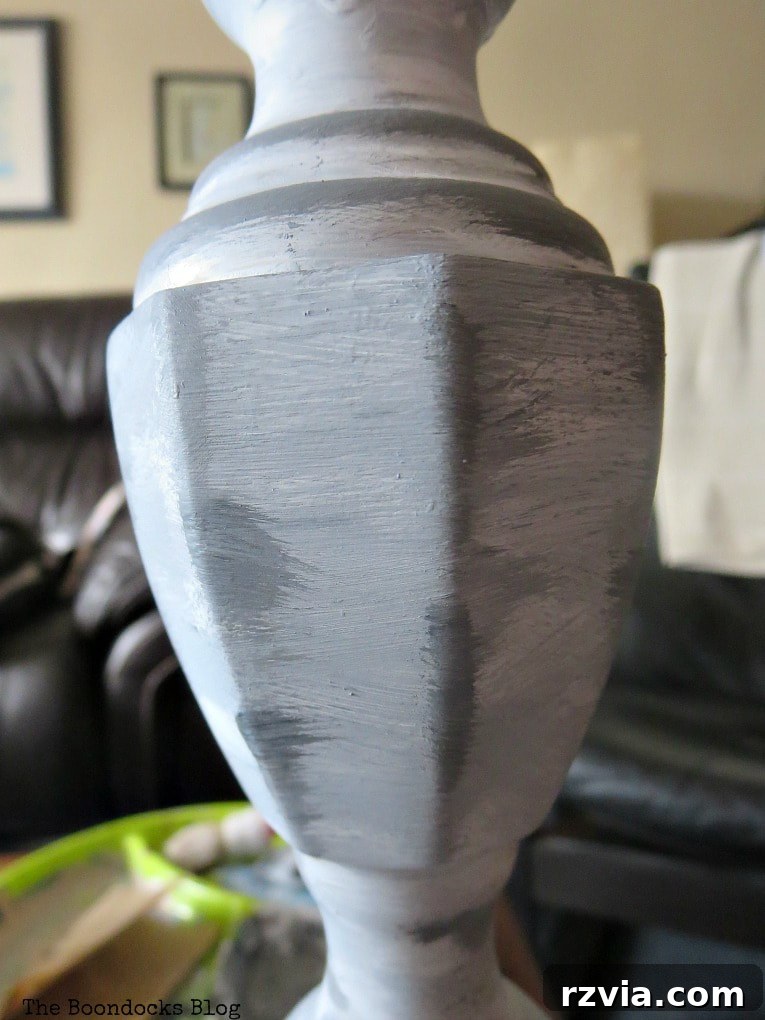
5. Continuous Layering: Embracing Imperfection for a Natural Finish
I continued this process, painting all around the lamp base with these three primary colors – white, medium grey, and light grey, often with a hint of metallic. The key is to avoid uniformity. There are no strict rules or “wrong” moves here; the more varied and irregular your brushstrokes, the more realistic your faux stone will appear. Overlap, blend, and dab, allowing the colors to interact and create natural patterns. This stage is about building visual interest and the rich, complex textures found in real stone.
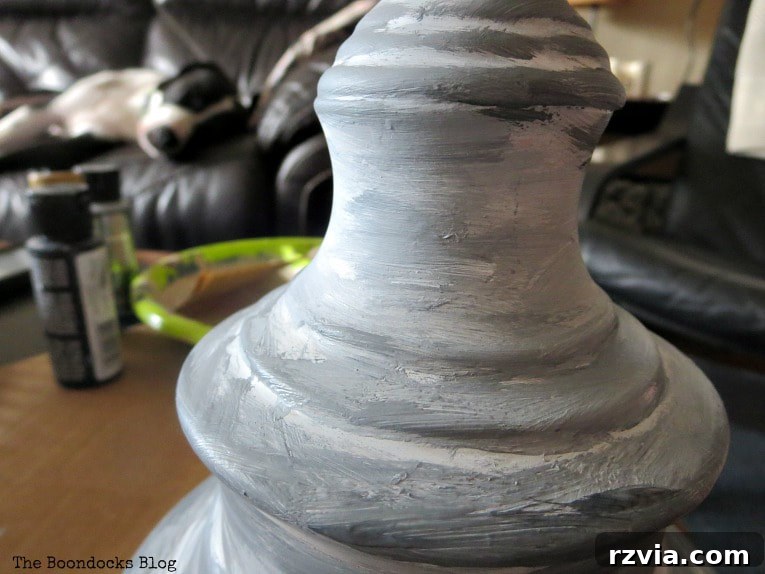
6. Mastering the Dry Brush Technique: The Final Touch of Realism
Towards the end of the painting process, I employed the dry brush technique. This method is indispensable for achieving a truly authentic stone texture. To do this, you load your brush with a very minimal amount of paint. Then, before touching it to the lamp, offload most of the paint onto a paper towel or your palette. You want just a whisper of paint left on the bristles. Lightly drag this almost-dry brush across the surface of the lamp. This technique picks up on existing textures, creating subtle highlights and lowlights that mimic the rough, porous surface of natural stone. It’s an excellent way to add fine detail and integrate all the layers seamlessly.
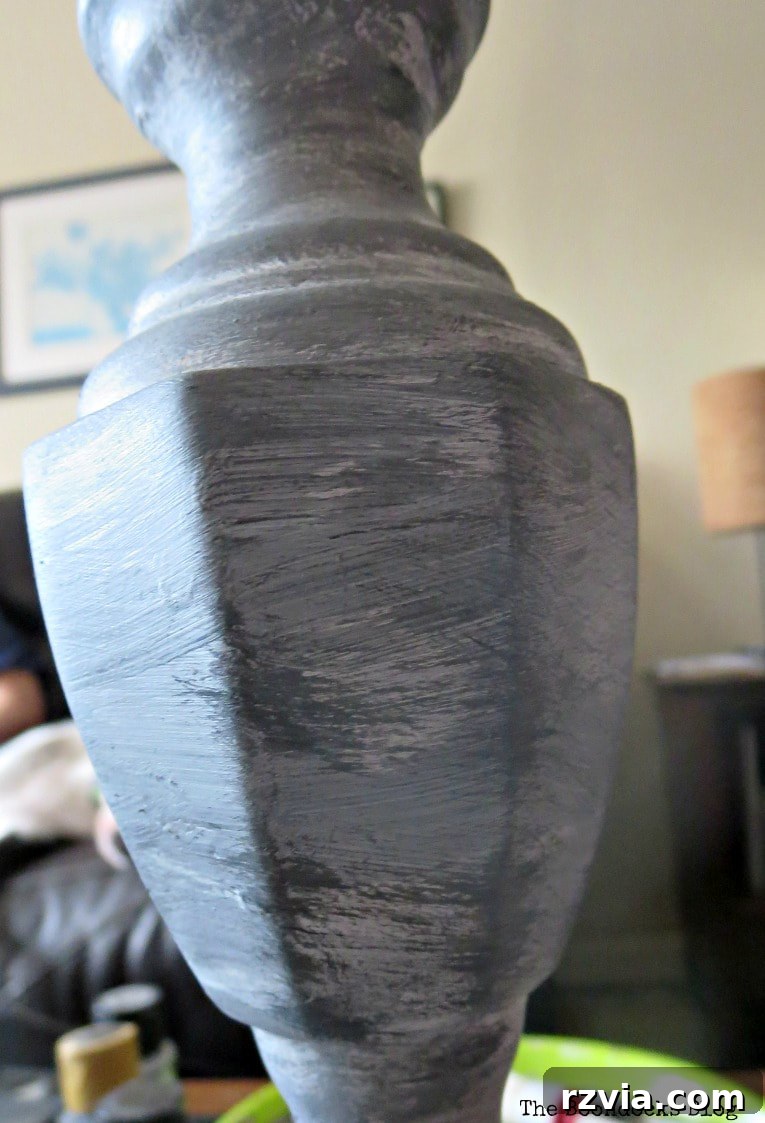
The entire process was intentionally messy and imprecise, as that’s precisely how one achieves a convincing stone appearance. Once satisfied with the multi-layered, textured look, I let the lamp dry completely. Because the top layers were all acrylic craft paint, which is naturally durable, I didn’t find it necessary to apply a sealant. For projects where you might use different paint types or if the lamp will see heavy use, a matte clear coat sealant would be a good added protection.
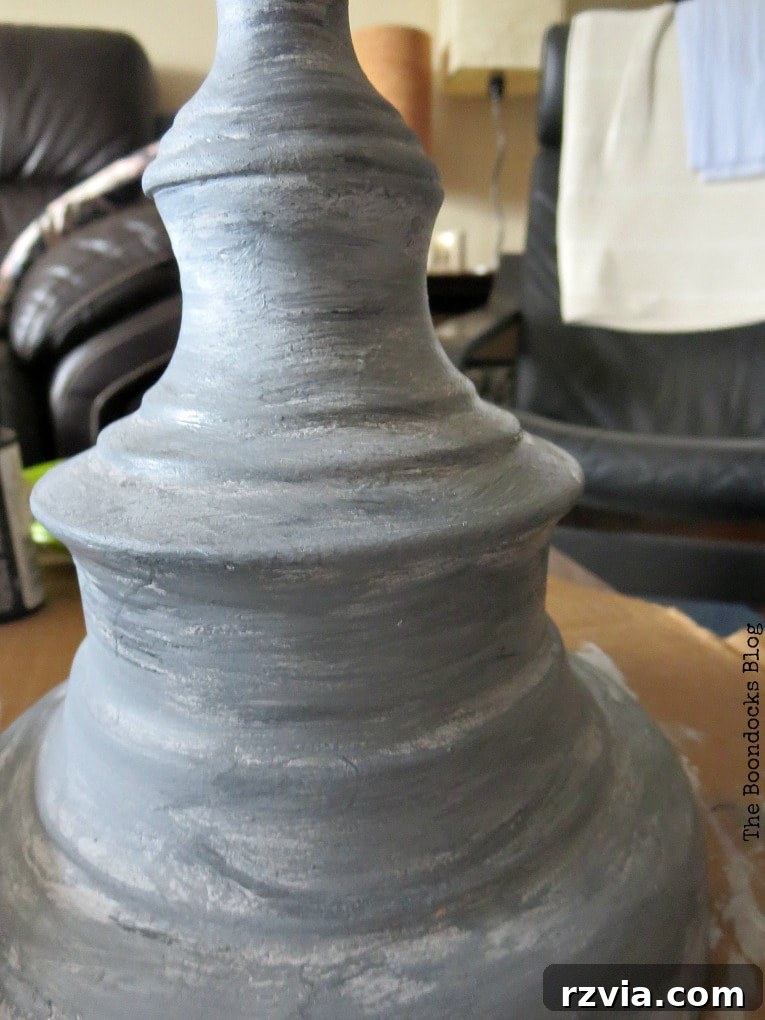
The Grand Reveal: A Transformed Lamp for Any Space
After completing the painting and allowing adequate drying time, it was time to assess the transformation. I initially brought the newly painted lamp into my girls’ room to capture some photographs, as the lighting there is consistently excellent. However, I quickly realized my mistake: if they saw it, they’d undoubtedly want to claim it for themselves! The lamp had turned out so well, it instantly became an object of desire.
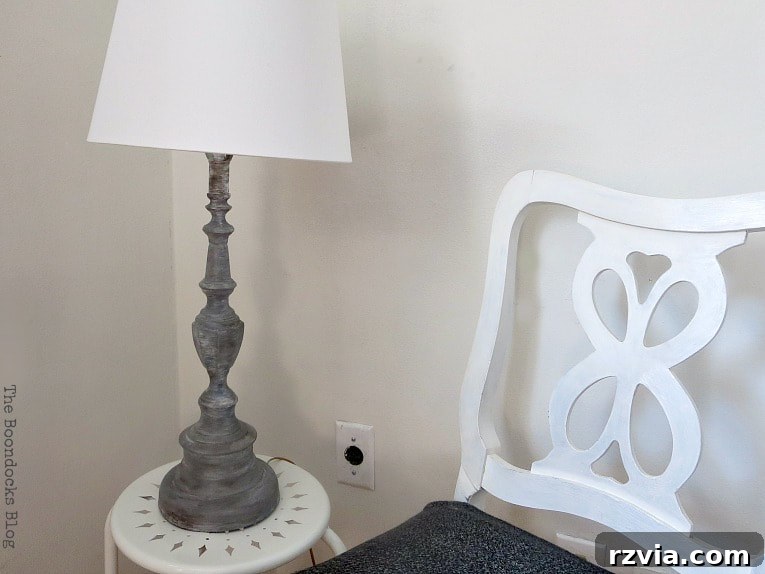
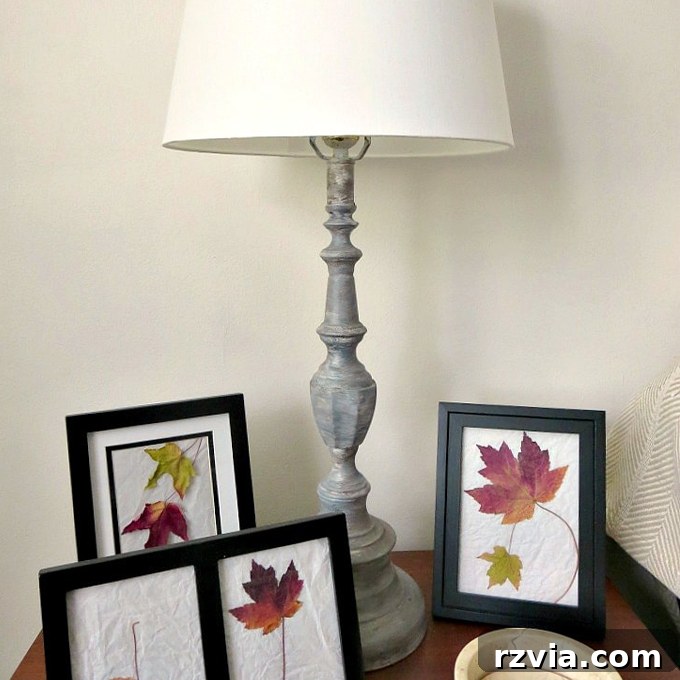
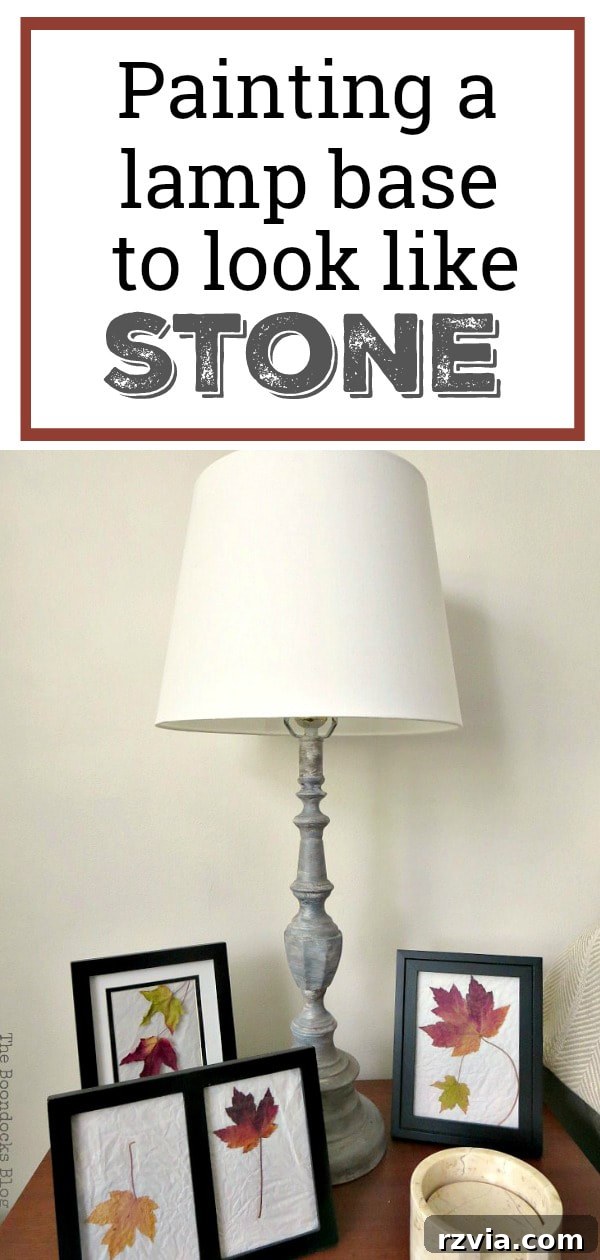
And now, for your judgment: doesn’t it genuinely look like a piece of natural stone? The subtle variations in grey, the nuanced textures created by the layering and dry brushing, all combine to produce an incredibly realistic effect. It’s a testament to the power of paint and a clever technique.
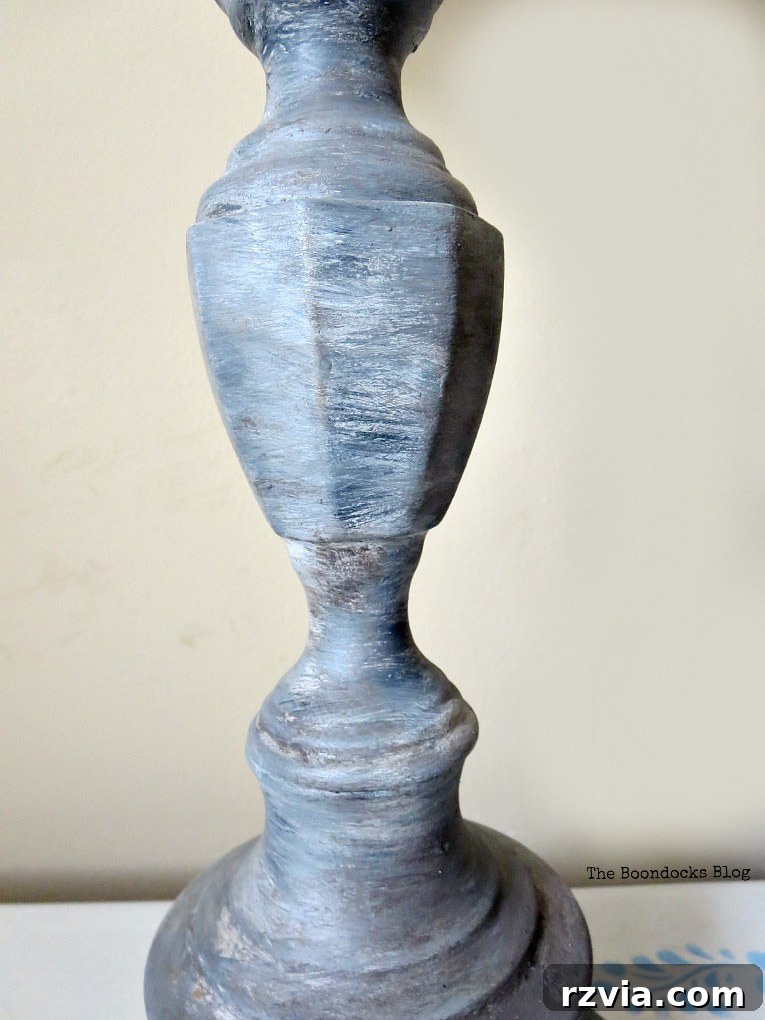
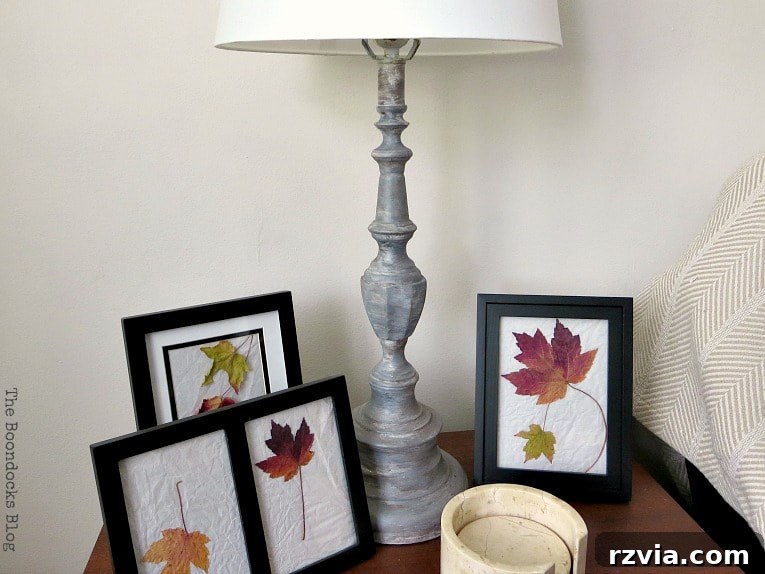
Ultimately, this beautifully revitalized lamp found its perfect home in the living room. It now fits seamlessly with the freshly painted walls, adding a touch of rustic elegance and a grounded feel to the space. It’s amazing how a single DIY project can tie an entire room together and elevate its aesthetic appeal.
To truly appreciate the dramatic shift, let’s take one last look at the lamp base in its original, unpainted state. The contrast is astonishing and speaks volumes about the potential hiding within seemingly outdated items.
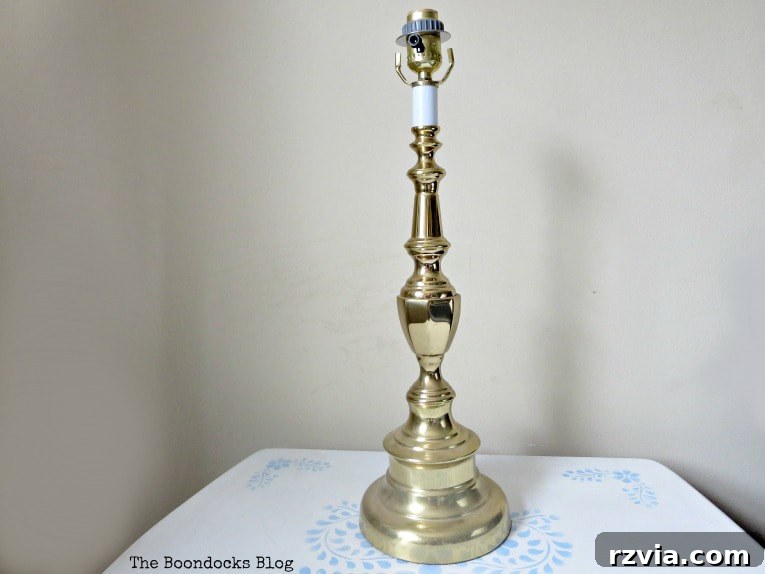
I genuinely believe this project couldn’t be any easier, and frankly, the stone effect is infinitely more interesting and aesthetically pleasing than the cheap, faux gold it began with. The satisfaction of transforming something so effortlessly is incredibly rewarding. If you’re curious about other decor elements in the living room, you can check out my tutorial on how to create these framed leaves here.
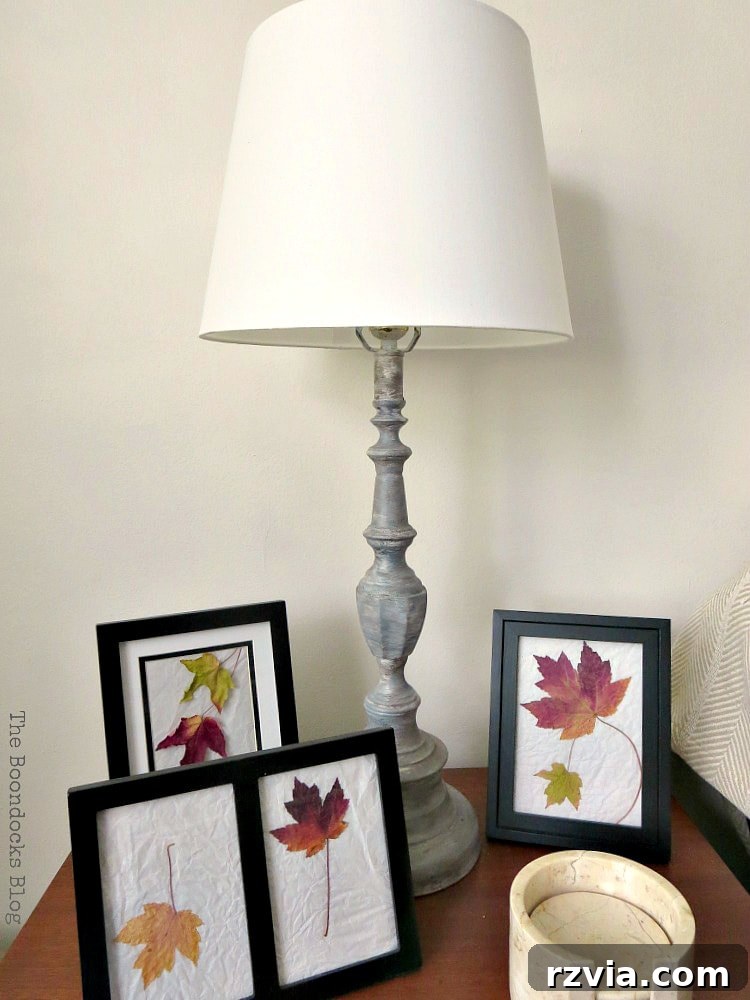
This project was remarkably quick, taking only about half an hour from start to finish. I sincerely hope you’ve enjoyed this detailed tutorial on how to paint a metal lamp base to look like stone. With minimal effort and a few inexpensive supplies, I now have a brand-new, customized lamp that perfectly complements my home decor. It may be faux stone, but its sophisticated appearance far surpasses that awful, cheap gold from before.
Ready for More Lamp Painting Ideas and Inspiration?
The world of lamp makeovers is vast and exciting! If you’re looking for even more creative ways to update your lighting, explore these fantastic options from Sustain my Craft Habit. These projects demonstrate different styles and techniques, proving that your imagination is the only limit.
-

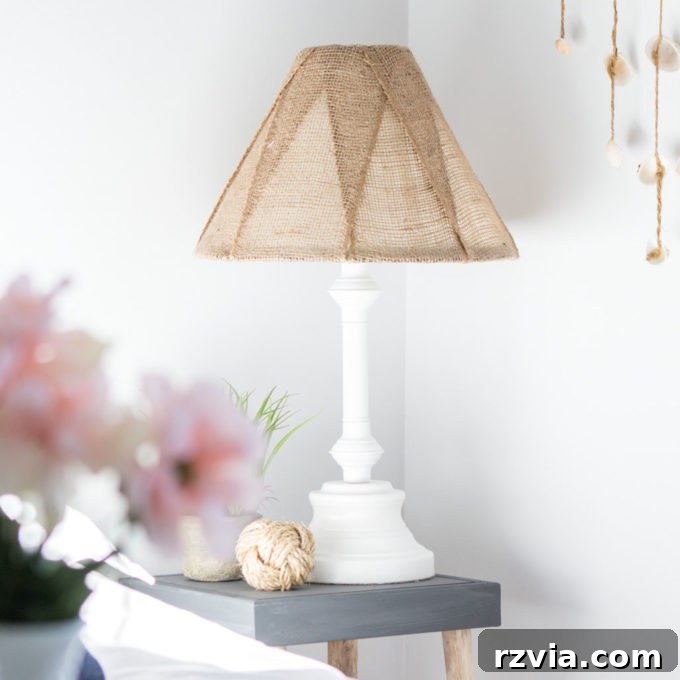
White Lamp with Burlap Shade: A fresh, nautical-inspired makeover. -
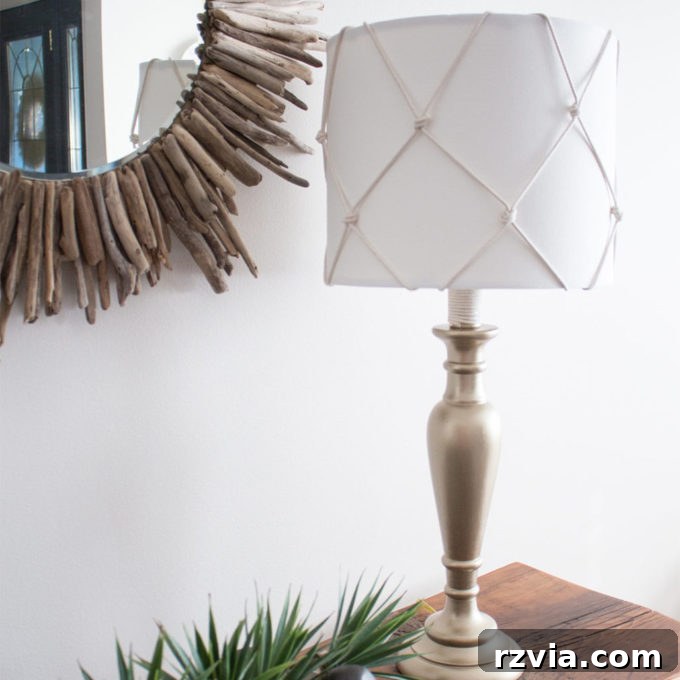
Gold Nautical Lamp: A subtle yet elegant neutral transformation.
Ultimately, which do you prefer? The original, glossy gold, or the sophisticated, custom stone look? The impact of a DIY lamp makeover is undeniable, proving that with a little imagination and effort, you can significantly enhance your home’s ambiance.

Explore More DIY Paint Ideas for Your Home:
The joy of painting doesn’t stop with lamps! Discover other easy and impactful ways to refresh your home decor with these additional paint project ideas: