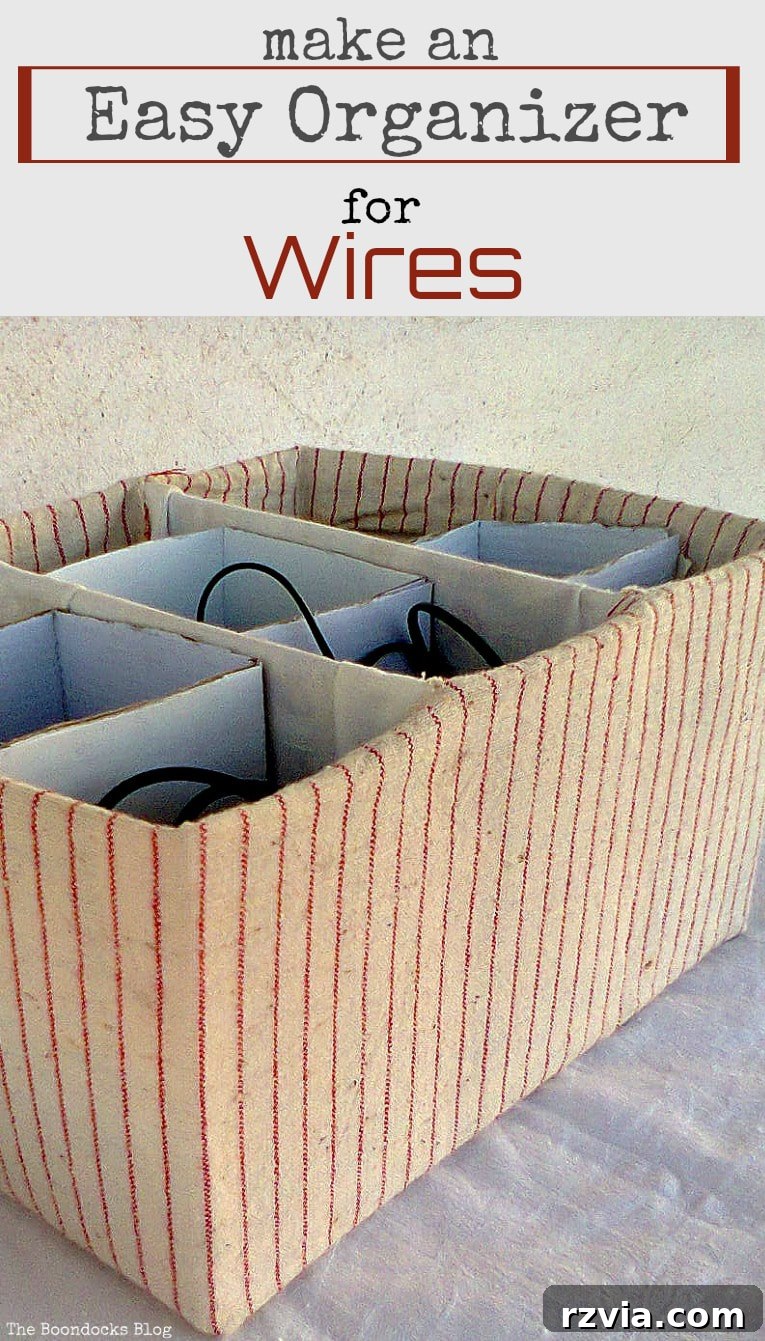
DIY Cereal Box Wire Organizer: Tame Your Tangled Cables with This Easy Upcycle Project
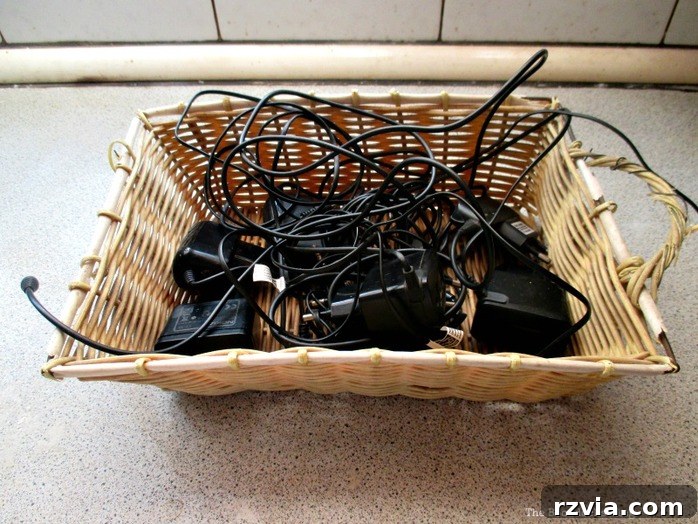
Do you ever feel like you’re fighting a losing battle against a tangled mess of cables and chargers? From phone chargers to earbud wires, USB cables, and various other electronic accessories, they often accumulate into an unsightly and frustrating knot. This common household dilemma not only creates visual clutter but also wastes precious time as you untangle a specific cord, potentially damaging the wires in the process. What if we told you there’s a simple, cost-effective, and eco-friendly solution using items you likely already have? Today, we’re going to transform ordinary cardboard cereal boxes into a fantastic wire organizer, bringing order and serenity back to your tech space.
Why a DIY Cereal Box Wire Organizer is Your Next Must-Try Project
Before diving into the steps, let’s consider why upcycling cereal boxes is such a brilliant idea for cable management. First, it’s incredibly budget-friendly; you’re repurposing materials that would otherwise end up in the recycling bin or landfill, making it a sustainable choice. Second, it’s a remarkably straightforward DIY project that requires minimal crafting skills and tools, making it accessible for everyone. Beyond solving the immediate problem of tangled wires, creating your own organizer offers a sense of accomplishment and allows for complete customization to match your home decor. Say goodbye to mass-produced, bland organizers and hello to a personalized, functional piece that reflects your style.
Materials You’ll Need for Your Cable Management Solution
Gathering your materials is the first step towards a clutter-free environment. The beauty of this project lies in its simplicity and the readily available items it requires:
- **Cardboard Cereal Boxes:** At least three medium to large-sized empty cereal boxes. Ensure they are clean and dry.
- **Additional Cardboard (Optional):** A separate piece of sturdy cardboard for internal dividers. An old moving box or another cereal box can work.
- **Ruler or Measuring Tape:** For precise measurements.
- **Pencil:** For marking cut lines.
- **Craft Knife or Scissors:** A sharp craft knife is ideal for straight, clean cuts. Exercise caution!
- **Stapler and Staples:** To join the cereal boxes securely.
- **White Craft Glue (PVA Glue):** For attaching fabric or decorative paper.
- **Fabric or Decorative Paper:** A piece of fabric (cotton, linen, or even an old shirt) or decorative paper large enough to cover your assembled boxes. Choose a pattern or color that complements your space.
- **Optional Decorating Supplies:** Paint, Mod Podge, embellishments if desired.
Step-by-Step Guide to Crafting Your Upcycled Wire Organizer
Step 1: Prepare Your Cereal Boxes
The foundation of your wire organizer starts with selecting the right cereal boxes. Look for boxes of similar height and width for a cohesive end product. Once you have your chosen boxes, ensure they are completely empty and clean of any food crumbs. Gently flatten them slightly if needed to make them easier to work with, but be careful not to crease them permanently if you want a crisp finish.

Step 2: Measure and Cut the Boxes to Desired Height
Now, it’s time to determine the height of your organizer. Consider where you’ll be placing it – perhaps on a desk, a shelf, or inside a drawer – and how tall your chargers and cables are. Using your ruler and pencil, measure and mark a consistent height on all your cereal boxes. A good starting point is usually between 5-7 inches, allowing enough depth for cables without making the organizer too bulky. Carefully cut off the tops of the boxes using a craft knife or sharp scissors, striving for a straight, even line across all boxes. Precision here will ensure a professional-looking finish.

Step 3: Prepare and Fold the Box Sides Inward
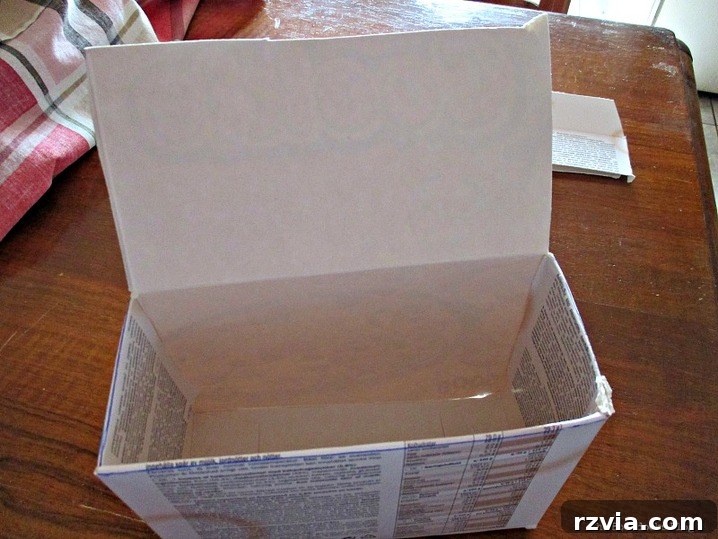
To create a neat and sturdy top edge for your organizer, we’ll reinforce the rim. Take each cut cereal box and carefully cut down approximately 1 inch from the top edge along each of the four corners. This will create four flaps. Fold these flaps inward towards the inside of the box. This step not only strengthens the top rim but also provides a clean, finished edge, hiding the raw cardboard cuts. You can secure these flaps temporarily with a small piece of tape if they don’t stay down on their own, especially if you plan to glue fabric over them later.
Step 4: Assemble the Base Unit by Joining the Boxes
With your individual boxes prepared, it’s time to assemble the main structure of your organizer. Align three of your prepared cereal boxes side-by-side, ensuring their edges are flush. Using a stapler, securely staple the boxes together along their touching sides. Place staples at regular intervals – one at the top, one in the middle, and one at the bottom – to create a strong bond. Press firmly when stapling to ensure the staples penetrate both layers of cardboard. If you don’t have a stapler, strong craft glue or hot glue can also work, but allow ample drying time.
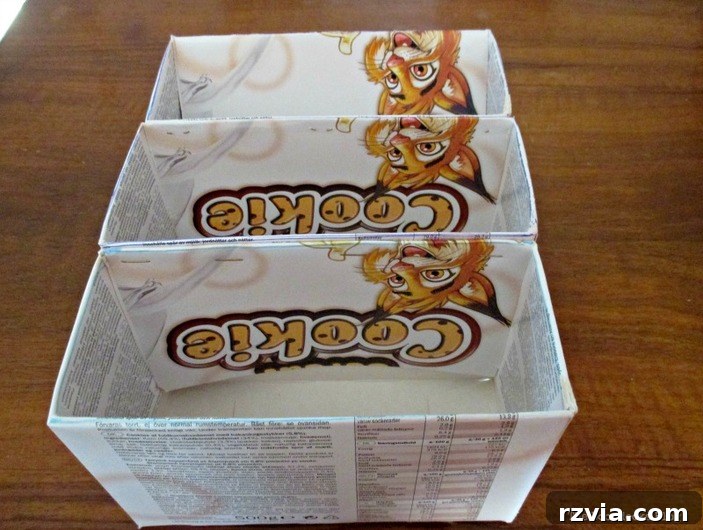
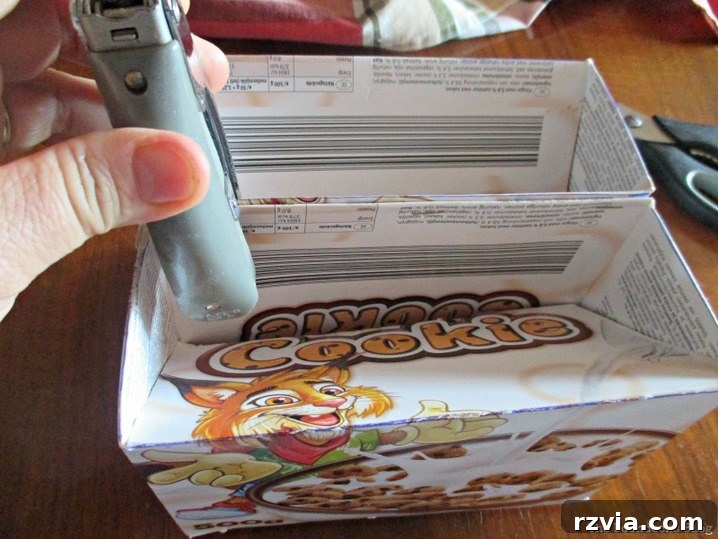
Step 5: Decorate Your Organizer with Fabric or Paper
This is where your organizer truly comes to life and matches your personal style! Take your chosen fabric or decorative paper and apply a generous, even layer of white craft glue to the exterior surfaces of your assembled boxes. Carefully place the fabric or paper onto the glued surfaces, smoothing out any wrinkles or air bubbles as you go. Wrap it around all sides, including the bottom, and carefully fold and glue the edges inside the top rim for a clean finish. Allow the glue to dry completely. This decorative layer not only enhances the aesthetics but also adds an extra layer of durability to your cardboard creation.
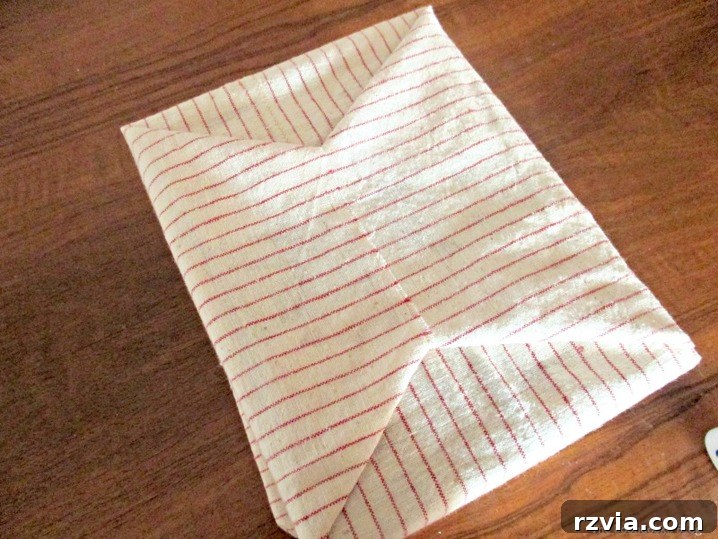
Step 6: Craft the Internal Dividers for Individual Compartments
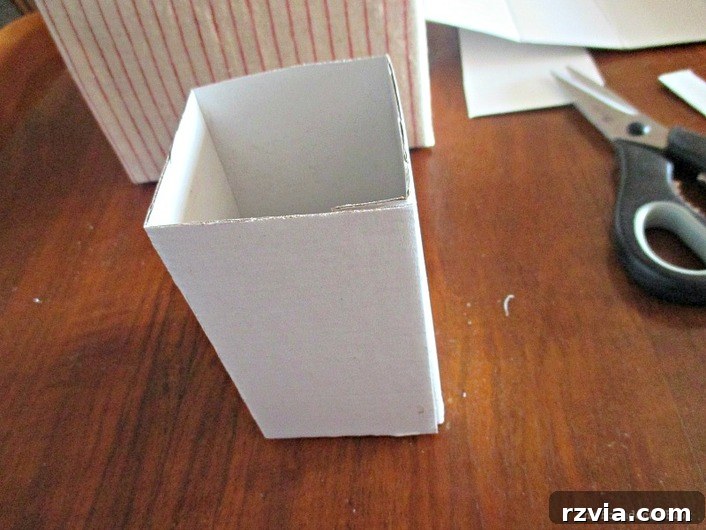
To truly achieve optimal organization, we need internal compartments. Take a separate piece of sturdy cardboard (you can use another cereal box or a piece from an old delivery box) and cut it into three rectangular pieces. Each piece should have a width slightly less than the interior width of one of your cereal box compartments, and a height equal to the internal height of your assembled boxes. For instance, if your box is 3 inches wide inside, cut the cardboard strip to 2.75 inches wide. Then, mark and score each cardboard piece into three equal sections across its length. Scoring means making a shallow cut that allows for easy folding without cutting all the way through the cardboard.
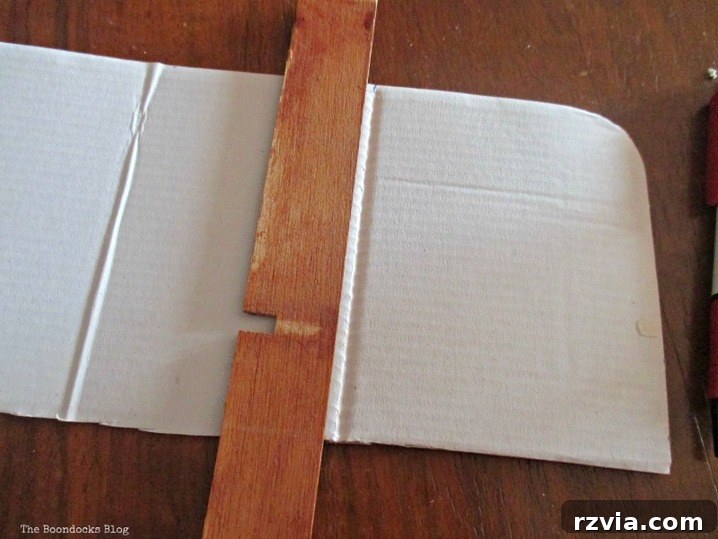
Step 7: Form the Divider Cubbies
With the scored lines as your guide, carefully fold each of the cardboard pieces into a square or rectangular cubby shape. The perforations you made in the previous step will make this bending process simple and precise. Once folded, you can secure the ends with a small piece of tape or a dab of glue to maintain their shape, though this isn’t strictly necessary as they will be held in place once inserted into the main organizer. These individual cubbies are essential for keeping each cable separate and preventing them from tangling within the organizer.
Step 8: Insert the Dividers into Your Organizer
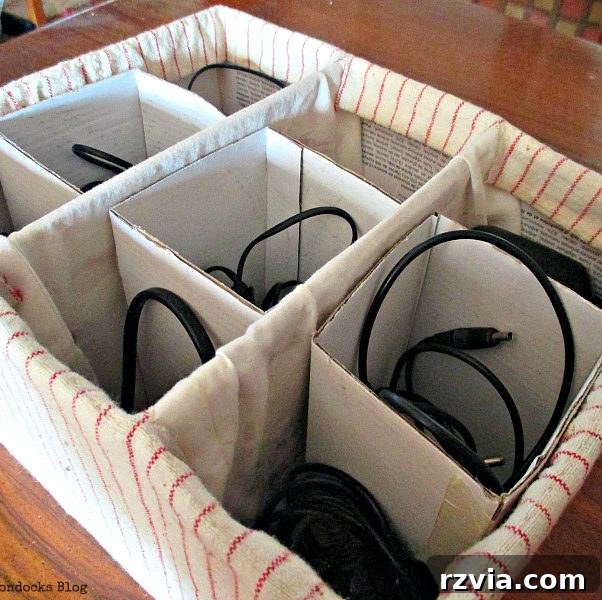
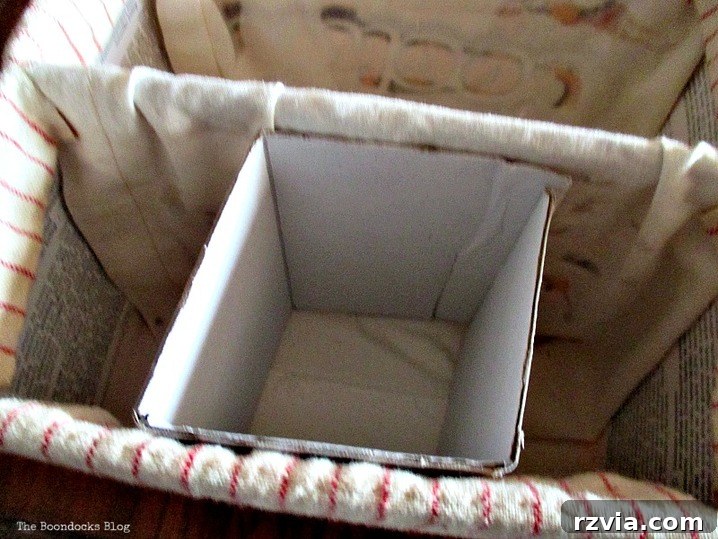
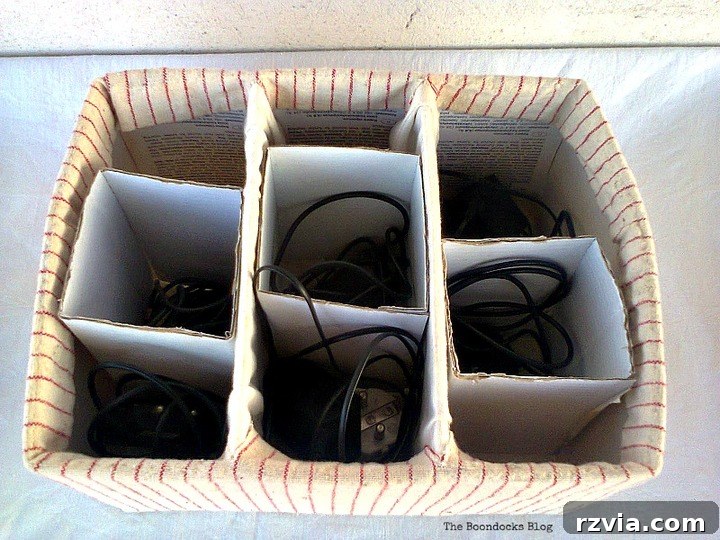
Finally, carefully insert each of your newly formed cardboard cubbies into the individual cereal box compartments of your main organizer. They should fit snugly, creating distinct sections for your various wires and chargers. You might need to gently adjust them to ensure a perfect fit. The snug fit helps keep them in place without the need for additional glue, allowing for easy removal if you ever wish to reconfigure your organizer.
The Final Result: A Tidy and Functional Cable Management Solution
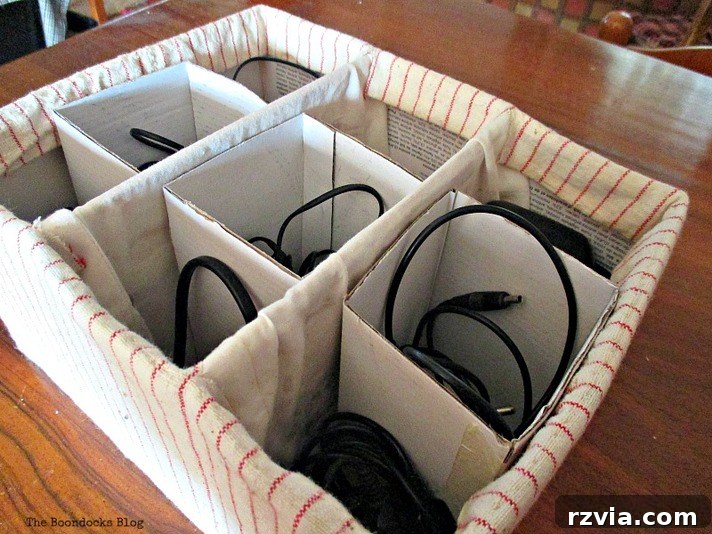
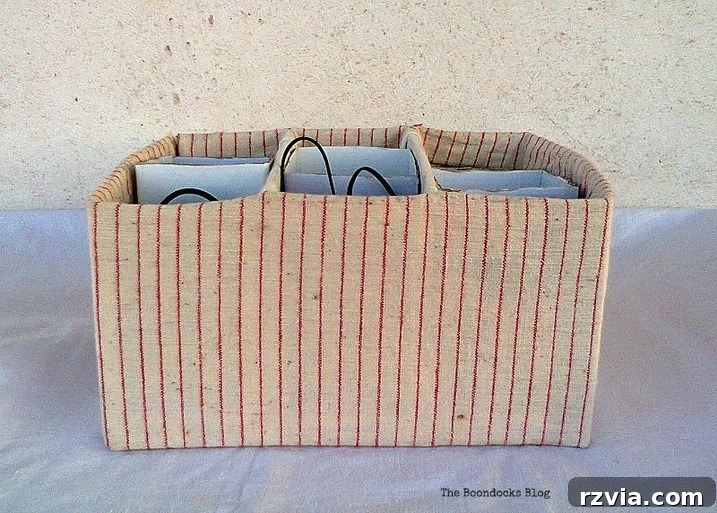
Congratulations! You’ve successfully created a beautiful and highly functional organizer for your phone chargers, USB cables, headphones, and other miscellaneous wires. No more rummaging through a tangled mess or wasting time untying knots. Each cable now has its own designated home, easily accessible and neatly stored. This simple DIY project transforms everyday waste into a valuable household item, proving that effective organization doesn’t have to be expensive or complicated.
Benefits of Your DIY Cereal Box Wire Organizer
Beyond the immediate satisfaction of a completed project, this upcycled wire organizer offers numerous practical advantages:
- **Cost-Effective:** Made almost entirely from recycled materials, this project costs virtually nothing.
- **Eco-Friendly:** You’re giving new life to cardboard boxes that would otherwise be discarded, promoting sustainable living and reducing waste.
- **Time-Saving:** No more frustrating minutes spent untangling cables. Simply grab the one you need from its dedicated slot.
- **Improved Aesthetics:** Transforms a messy corner into an organized, visually appealing space, especially with your personalized decorations.
- **Extended Cable Life:** Keeping cables neatly stored reduces kinks, bends, and accidental damage, prolonging their lifespan.
- **Enhanced Safety:** Prevents trip hazards and reduces the risk of electrical shorts from damaged or tangled wires.
- **Customizable:** Easily adaptable to fit any space or decor simply by changing the fabric, paint, or size of the boxes.
Tips for Customization and Personalization
This project is wonderfully flexible! Here are some ideas to make your wire organizer even more unique:
- **Paint It:** Instead of fabric, use acrylic paint to match your room’s color scheme. You can create patterns or even stencil designs.
- **Decoupage:** Use Mod Podge to apply scrapbook paper, old magazine cutouts, or even printed photos for a truly personal touch.
- **Add Labels:** Use a label maker or hand-write labels on the front of each compartment (e.g., “Phone Charger,” “USB-C,” “Earbuds”) for quick identification.
- **Different Sizes:** Experiment with different sized cereal boxes or even smaller snack boxes for specific, smaller cables.
- **Drawer Organizer:** If using it inside a drawer, measure carefully to ensure it fits perfectly.
Conclusion: Embrace Clutter-Free Living
As you can see, this project truly costs next to nothing to make, yet it provides an invaluable solution to a very common and annoying organization problem. The immediate benefits of saving time and reducing clutter are immense, but the satisfaction of creating something functional and beautiful from discarded items is equally rewarding. We hope this detailed guide inspires you to tackle your own tangled wires and embrace the joy of upcycling. Get creative, have fun, and enjoy your new, organized space!