
DIY Aromatic Coffee Bean Tealight Holders: Upcycle for a Cozy, Scented Home
Welcome to a space where creativity meets sustainability! Today, we’re diving into a project that transforms everyday whole coffee beans into enchanting, fragrant tealight holders. This simple yet effective DIY not only adds a touch of rustic elegance to your home decor but also infuses your living space with the warm, inviting aroma of fresh coffee – a delightful experience for any coffee lover, without even brewing a cup!
Join us as we explore the art of repurposing and discover how a forgotten bag of beans can become your next favorite home accessory, proving that beautiful, functional decor doesn’t have to be expensive or complicated.
The Unplanned Discovery: A Creative Spark in the Kitchen
During a recent extended visit to my sons in vibrant New York, I found myself engaged in one of my favorite activities: a thorough tidying-up session. While it might sound like a chore to some, for me, it’s an opportunity to rediscover forgotten treasures and spark new creative ideas. On this particular occasion, my organizational efforts led me to an unassuming kitchen cupboard.
Now, my son might playfully grumble if he knew his pantry’s contents were becoming blog material, but the inspiration it provided was too good not to share! This cupboard, a testament to a well-stocked household, housed at least ten boxes of various teas – a fine collection for any tea enthusiast. However, nestled amongst the tea boxes, a surprising quantity of coffee bags lay waiting. While I happily made my way through several bags of delicious ground coffee, enjoying the delightful flavors from Fairway, one particular bag stood out: it contained whole, unground coffee beans.
Considering my son no longer drinks coffee, and I already had more than enough ground coffee to last my visit without risking a caffeine-induced jittery week, these whole beans presented a pleasant conundrum. Tossing them out felt utterly wrong, a waste of perfectly good, aromatic material. It was a visiting friend, herself an avid admirer of upcycling, who nudged me towards their repurposing. “What a shame to waste those beautiful beans!” she exclaimed, and just like that, the idea for a new DIY project began to brew.

Seeking Inspiration: Crafting with Coffee Beans
My mind immediately began to brainstorm ways to give these lovely beans a second life. I fondly remembered my talented friend Debbie of Debbie Doo’s enchanting burlap artwork adorned with coffee beans. Her creation was absolutely adorable and truly inspiring. However, given my current time constraints and the specific mood I was aiming for – something quick, impactful, and perhaps a bit more sensory – I decided to explore a different path.
I envisioned a project that would be simple enough for anyone to tackle, requiring minimal specialized skills, yet yielding beautiful results. A quick scan of the house revealed a few unassuming items that, when combined, held the potential for something truly special. It’s amazing how often the perfect craft supplies are already lurking in our homes, just waiting to be repurposed!
Gather Your Materials: Simple Supplies for an Elegant & Aromatic Craft
The beauty of this coffee bean tealight holder project lies in its accessibility. You likely already possess many of these items, making it an incredibly eco-friendly and budget-conscious craft. Here’s what you’ll need to create your own:
Key Components:
- Whole Coffee Beans: These are the star of our aromatic show! The quantity will depend on the size of your chosen container and how many tealights you plan to use. About 1-2 cups usually suffice for a medium-sized container. Fresh, fragrant beans will provide the best aroma.
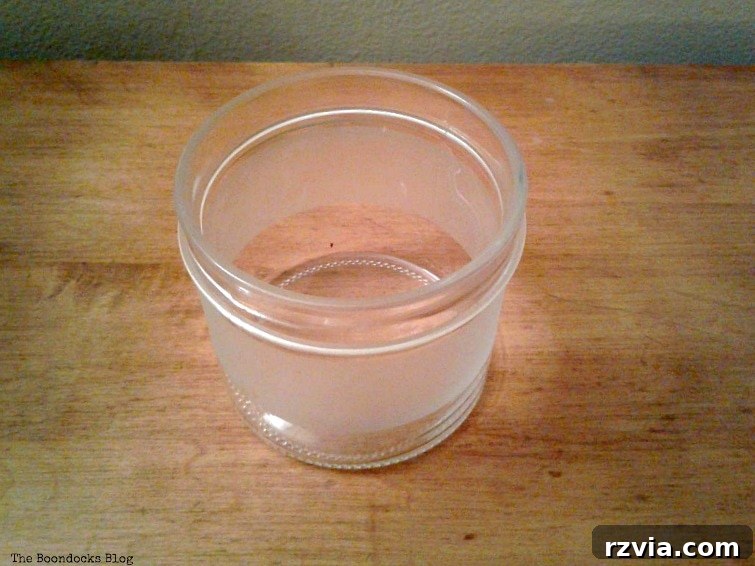
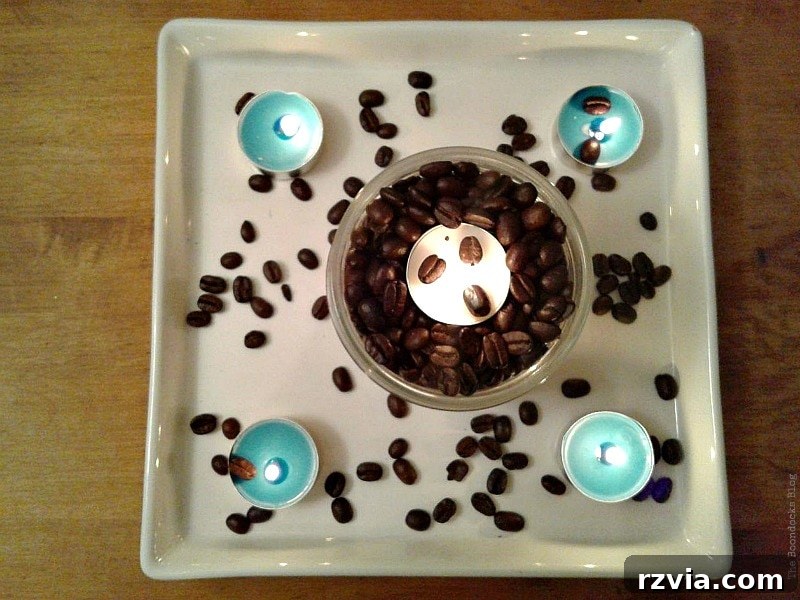
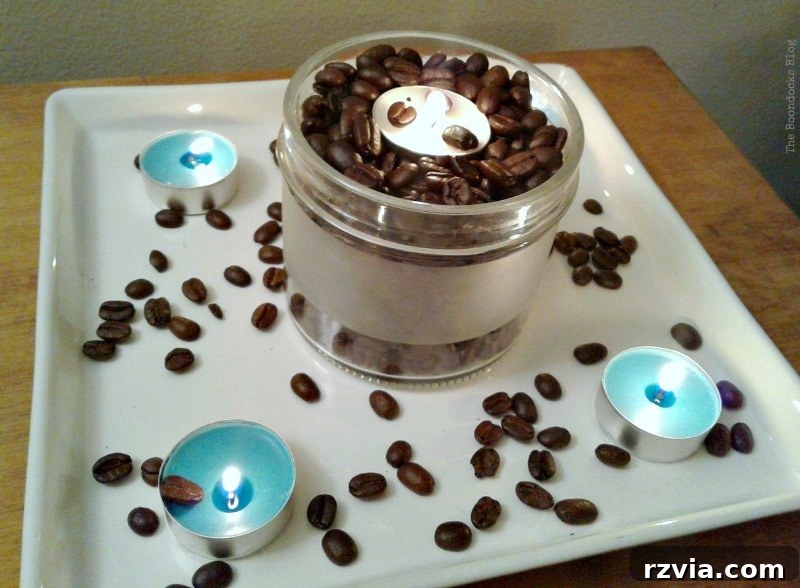
- Glass Container: I opted for an Ikea “Droppar” container. Its distinctive band of frosted glass offers a beautiful visual contrast, allowing the rich brown of the beans to peek through while providing a softened aesthetic. Any clear glass jar, small vase, or even a sturdy drinking glass with an interesting shape would work wonderfully. Ensure it’s wide enough to safely hold a tealight candle.
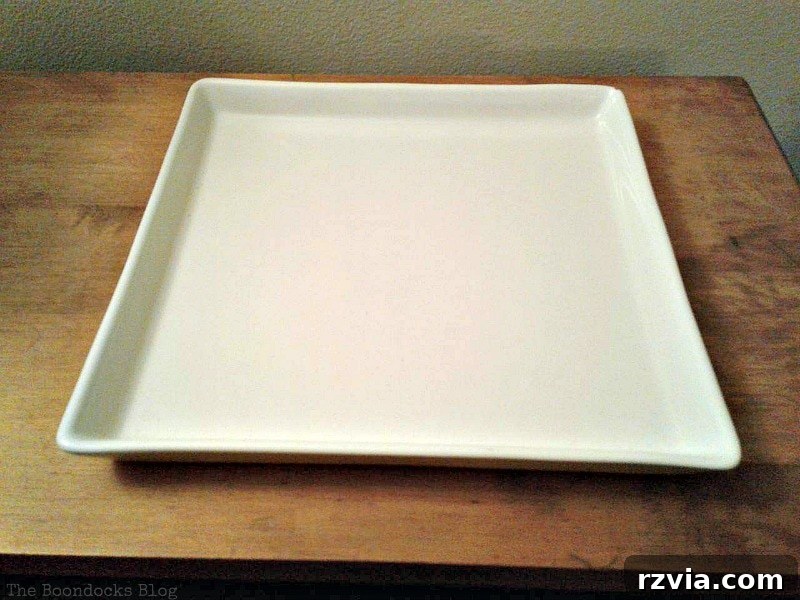
- Decorative Dish or Tray: A simple white dish served as the perfect, understated base for my arrangement. Its clean lines allowed the natural textures and colors of the coffee beans and blue tealights to truly stand out. Choose a tray that complements your home’s decor and is large enough to comfortably accommodate your glass container and perhaps a few scattered beans or additional tealights.
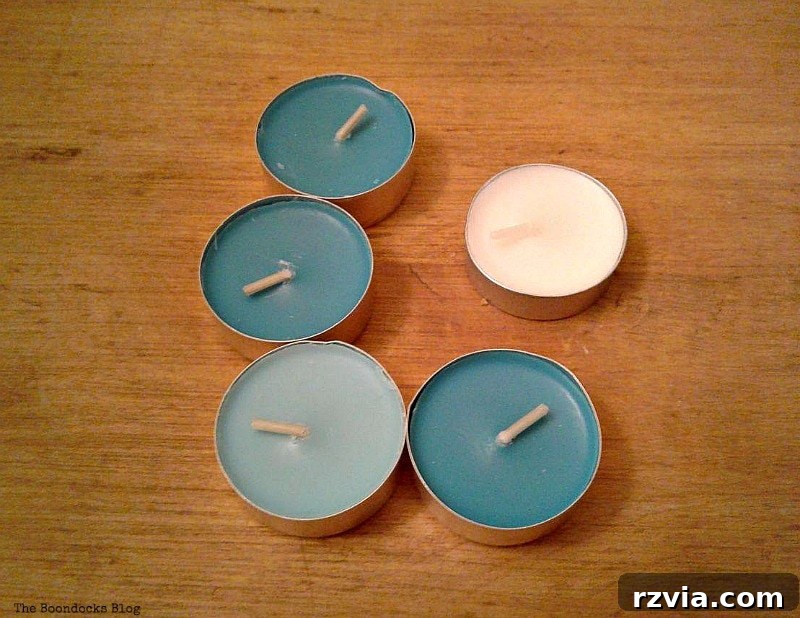
- Tealight Candles: While I had initially purchased a bunch of classic white tealights from Michael’s, I happily discovered a forgotten box of pretty blue ones at home. The color choice is entirely yours – white for a timeless, elegant look, or colored tealights to introduce a pop of vibrant accent to your decor.
- Lighter or Matches: For igniting your candles and releasing that wonderful aroma!
Crafting Your Aromatic Centerpiece: Easy Step-by-Step Instructions
This project is wonderfully straightforward, making it ideal for beginners or anyone seeking a quick, satisfying DIY that yields impressive results. Let’s get started!
Step 1: Prepare Your Workspace and Materials
Begin by ensuring your chosen decorative dish, glass container, and tealights are clean and completely dry. Lay out your whole coffee beans within easy reach on a clean, flat surface. A clear and organized workspace will make the assembly process even smoother and more enjoyable.
Step 2: Arrange the Base Elements
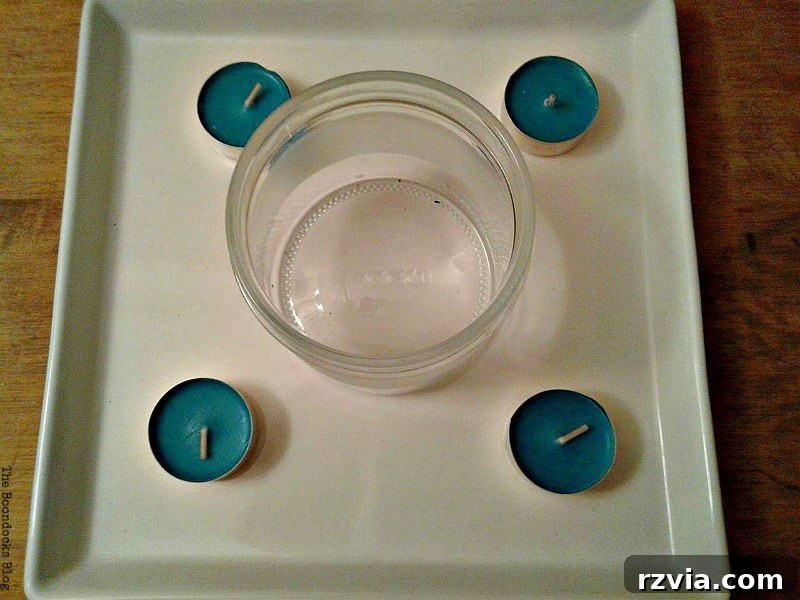
Carefully place your chosen glass container onto the decorative dish or tray. Experiment with its positioning until you achieve a balanced and aesthetically pleasing arrangement. If you’re using multiple containers or additional decorative elements, take a moment to arrange them harmoniously on the tray.
Step 3: Fill the Container with Coffee Beans
Pour the whole coffee beans into your glass container, creating a stable base. Fill it to a level where a tealight can sit comfortably on top, with enough depth of beans to provide support. It’s important not to overfill, ensuring there’s ample space for the tealight’s flame to burn safely, clear of the container’s rim and the beans themselves.
Step 4: Position the Tealight Candles
Gently place one or more tealight candles directly on top of the coffee beans inside the glass container. Make sure they are level and stable. If you’re incorporating additional tealights on the decorative tray, arrange them around the main container, creating a cohesive and inviting display.
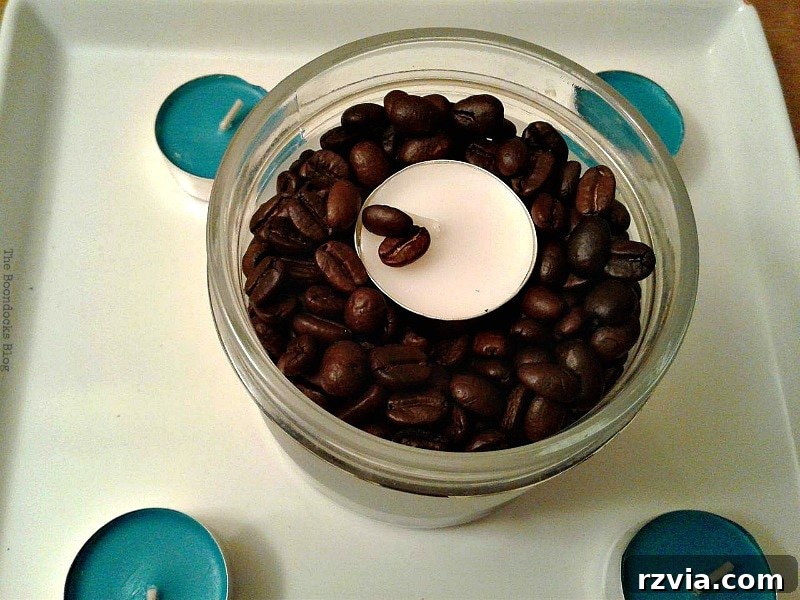
Step 5: Embellish with Extra Beans
For an added touch of rustic charm and to enhance the overall aesthetic, sprinkle a few more coffee beans directly onto the decorative dish. Scatter them around the base of the container and even playfully around any additional tealights placed on the tray. This creates a fuller, more abundant look and reinforces the theme.
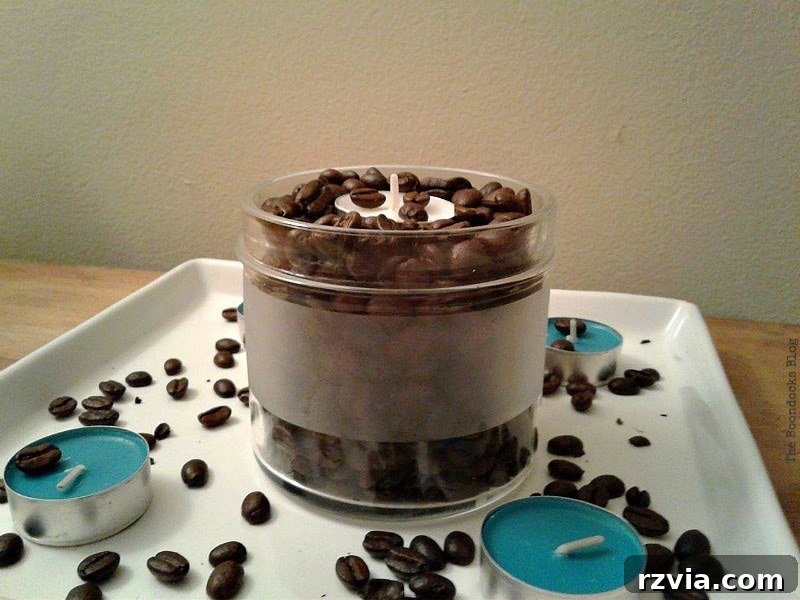
Step 6: Ignite Your Aromatic Creation
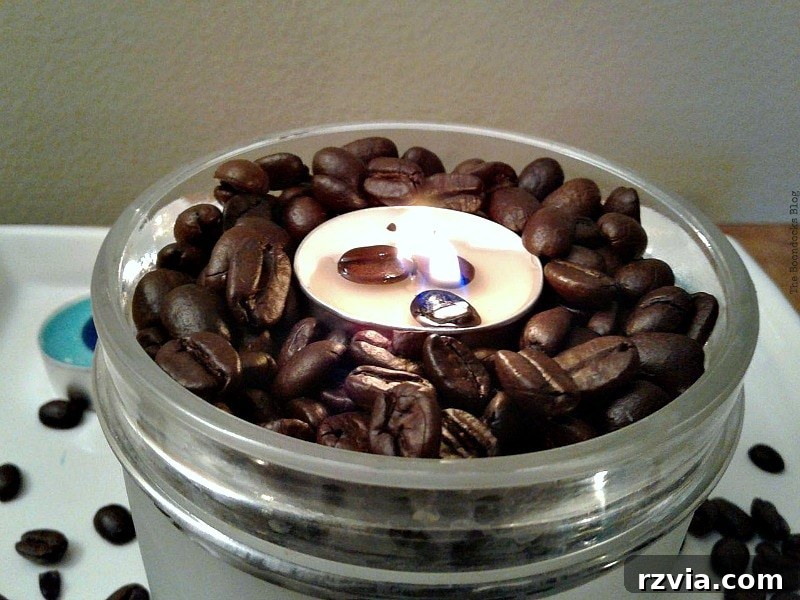
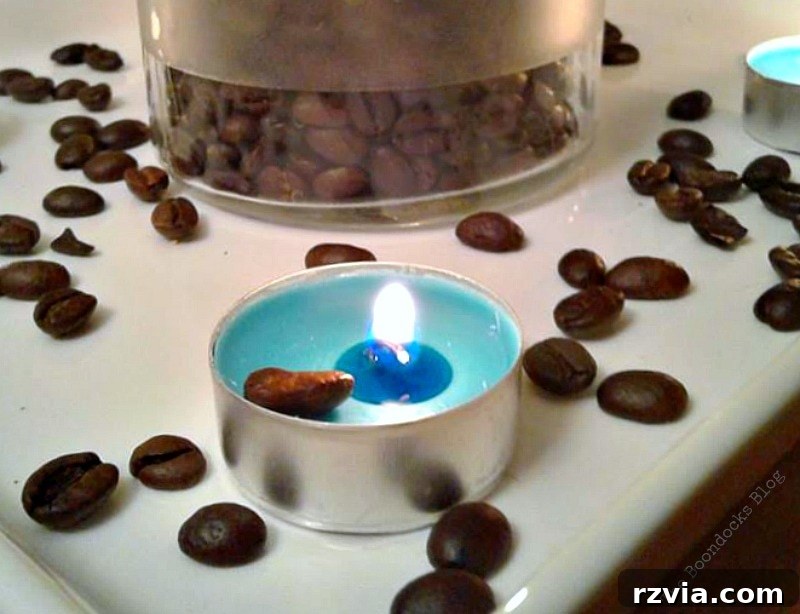
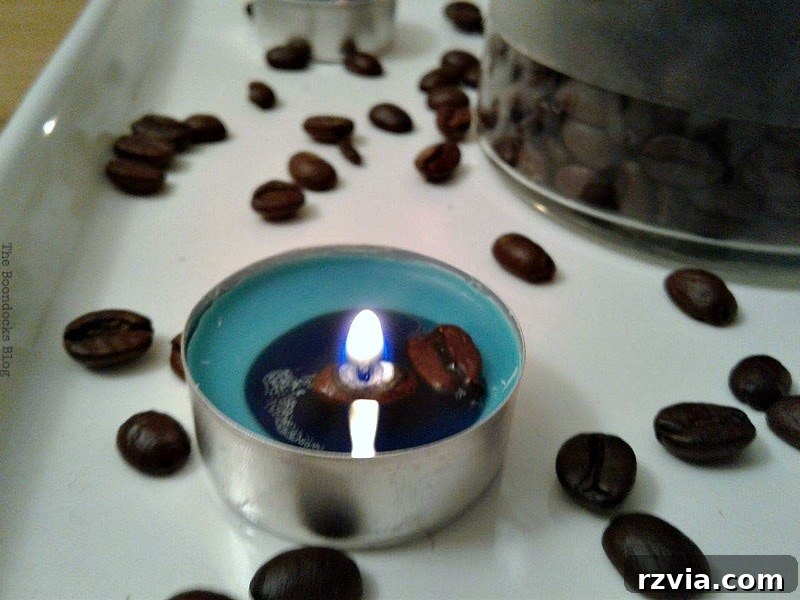
Using a lighter or matches, carefully ignite the wicks of your tealight candles. As the flames dance, watch the soft, flickering glow illuminate the rich, textured surface of the coffee beans. Now, prepare to be enveloped by that uniquely comforting and familiar coffee aroma that will begin to subtly permeate your home.
Beyond Aesthetics: The Irresistible Aroma & Cozy Ambiance
While the visual appeal of this coffee bean tealight holder is undeniably charming – the warm glow, the rustic texture, the simple elegance – the true magic truly unfolds with its aromatic power. As the tealights burn, their gentle heat subtly warms the surrounding whole coffee beans. This warmth coaxes out the beans’ natural oils, releasing that incredibly comforting, rich, and familiar coffee scent into your home.
It’s an understated fragrance, not overpowering like a strong brew, but rather a soft, inviting undertone that instantly evokes feelings of coziness, warmth, and hospitality. Imagine coming home to this subtle, inviting aroma after a long day, or enhancing a quiet evening with a book and a comforting beverage. This project wasn’t just about creating something pretty; it delivered an unexpected, yet utterly delightful, olfactory bonus that transforms the entire atmosphere of a room.
This is precisely why I believe repurposing these coffee beans in this manner was far superior to simply grinding them for consumption. My home already had an ample supply of ground coffee for drinking; what it truly gained was this unique decorative element that doubles as a natural, non-toxic air freshener. It’s a subtle yet highly effective way to infuse your living space with a pleasant, organic fragrance without resorting to artificial sprays or expensive diffusers. It’s a truly harmonious blend of sight and smell.
Tips for Maximizing Your Coffee Bean Tealight Experience & Safety
To ensure you fully enjoy your new aromatic centerpiece and maintain a safe environment, consider these practical tips:
- Safe Placement: Always place your coffee bean tealight holder on a stable, heat-resistant surface, well away from drafts, curtains, paper, or any other flammable materials.
- Ventilation is Key: While the coffee aroma is delightful, ensure your room has good ventilation, especially if you are burning multiple candles simultaneously.
- Never Leave Unattended: As with all candles, never leave burning tealights unattended. Always extinguish them before leaving the room or going to sleep.
- Refreshing the Scent: Over time, the coffee beans may release less aroma. You can easily refresh your display by stirring the beans gently, or for a more potent boost, replace a portion of the old beans with fresh ones.
- Creative Variations: Don’t be afraid to experiment! Try different colored tealights to match seasonal decor, explore various glass containers (tall, short, wide, narrow), or even add other natural elements like cinnamon sticks, star anise, or dried orange slices for a more complex and festive aromatic blend.
Your Turn to Create! Share Your Upcycling Journey
This quick and easy “Coffee with Tealights” project turned out to be far more delightful and rewarding than I initially anticipated. It serves as a wonderful reminder of the simple joys found in upcycling and the unexpected beauty that can emerge from giving discarded items a second, purposeful life. I wholeheartedly encourage you to cast a fresh eye around your own home for items that could be repurposed, reimagined, and given new meaning.
Have you ever tried a project like this, or have you ingeniously incorporated coffee beans into your home decor in other creative ways? I would absolutely love to hear about your experiences, ideas, and any unique twists you’ve added to similar projects. Please feel free to share your thoughts and inspirations in the comments section below – your insights are always cherished!
If you found inspiration in this project, please consider sharing it with your friends on social media or pinning it to your favorite Pinterest boards – that lovely image above is perfectly designed for sharing! And for those who truly resonate with my creative adventures, don’t forget to subscribe to my blog! You’ll receive my latest DIY projects and insights directly in your mailbox twice a week. Rest assured, your email address is always safe with me and will never be shared with any third party.
Affiliate Disclosure
Disclosure: This post contains affiliate links. This means that if you make a purchase through any of the links provided, I may receive a small commission at no additional cost to you. These commissions help support my blog and enable me to continue bringing you lovely and inspiring content. Your support is greatly appreciated!
You Might Also Like These Creative Projects: