
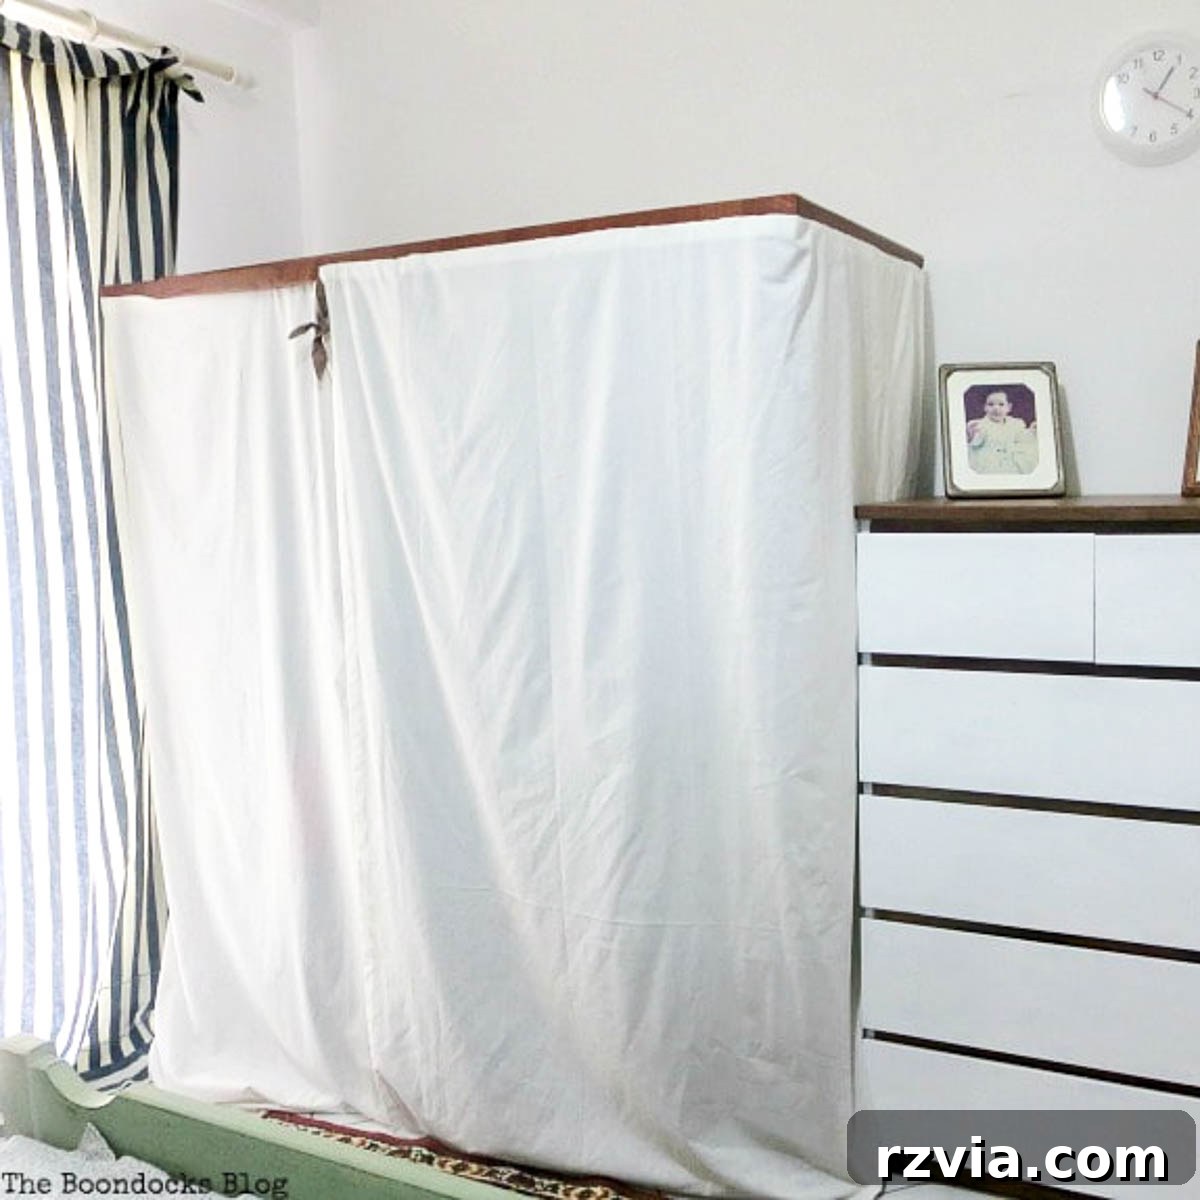
Transforming your living space with smart, practical, and aesthetically pleasing solutions is a hallmark of truly satisfying home decor. If you’ve got an open clothing rack, whether it’s a brand-new IKEA find or a trusty old fixture in your bedroom, it might be the perfect time to explore how to create a custom DIY clothes rack with cover. This ingenious addition does more than just hide your garments; it’s a transformative element that shields your clothes from dust, maintains their pristine condition, and dramatically enhances the overall tidiness and organization of your room. Say goodbye to visual clutter and hello to a sophisticated, well-ordered personal sanctuary.
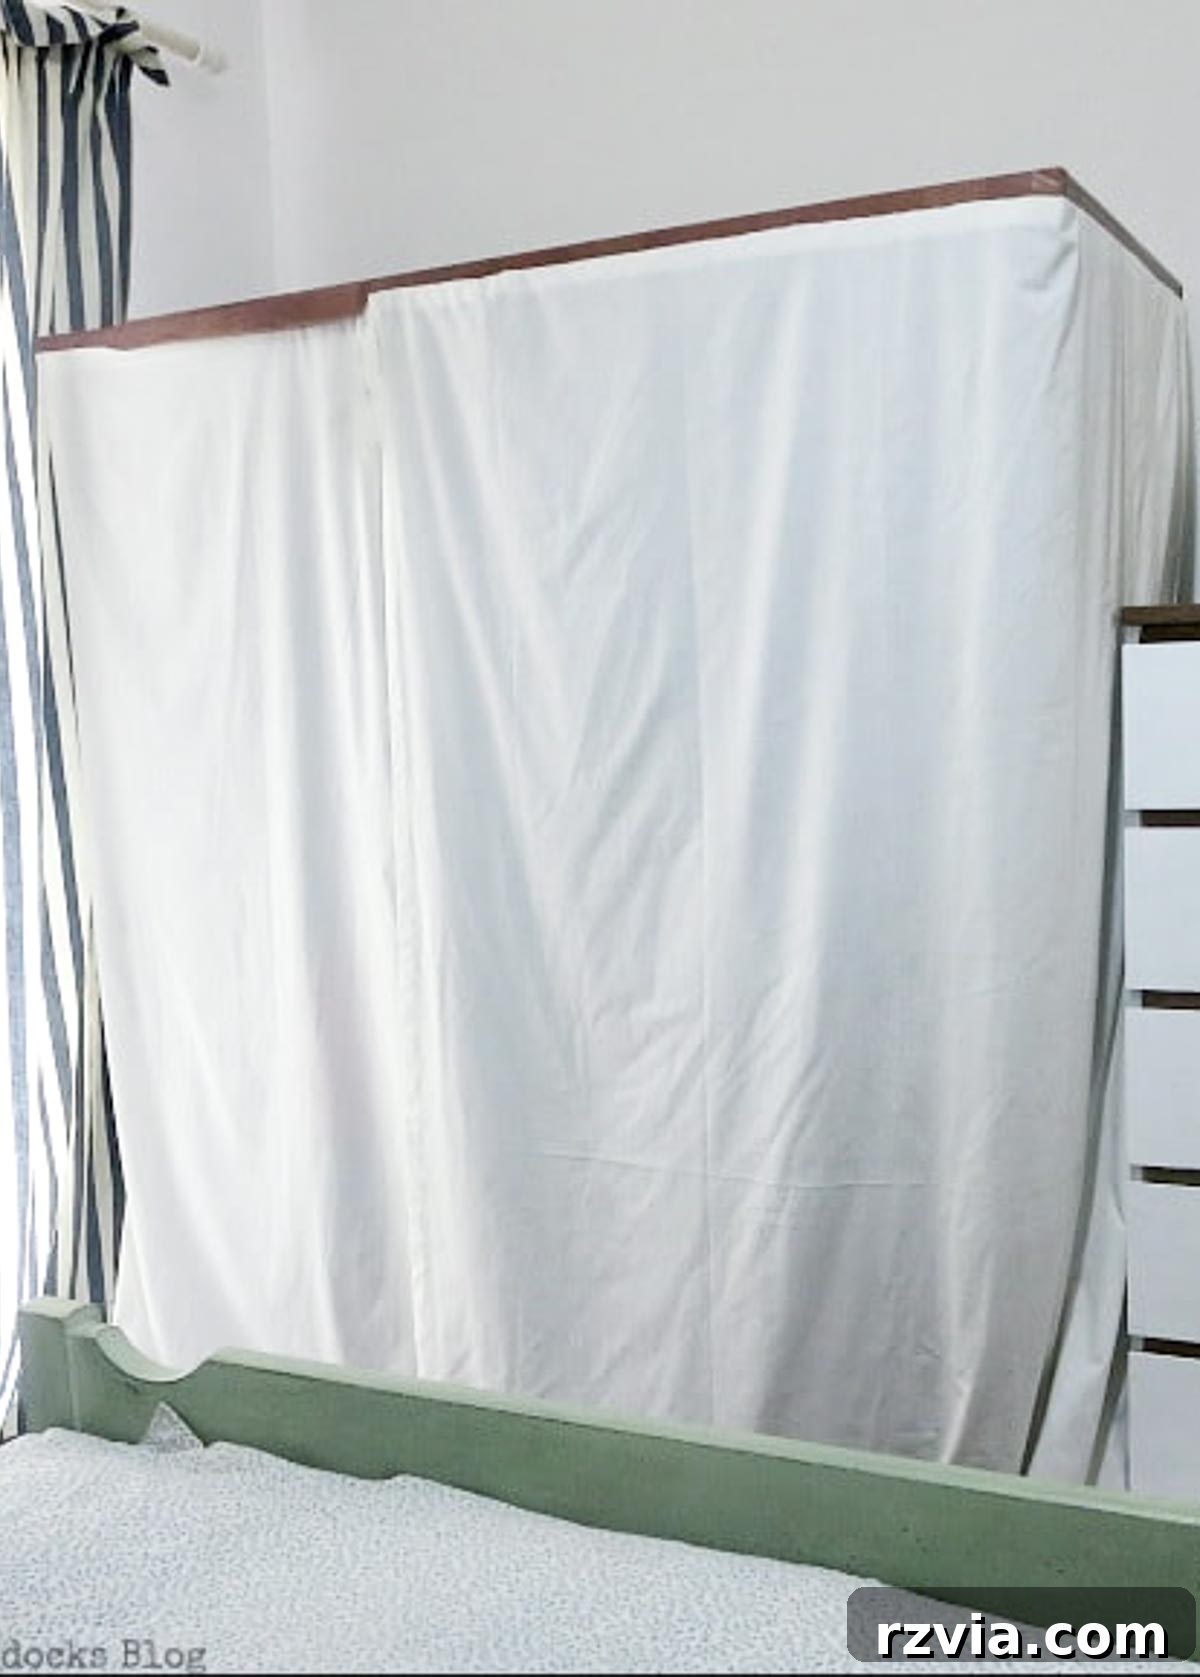
This particular project, a surprisingly simple yet impactful garment rack upcycle, has been long-awaited and is a testament to the power of creative problem-solving. It was among the very last endeavors completed in my apartment in Greece before a major move, and while the hustle of holiday preparations and settling into a new home in New York delayed its sharing, its timing now feels perfectly apt. As we dive into a new season, many of us are focused on decluttering, organizing, and bringing a renewed sense of order to our surroundings. This DIY cover project offers an accessible and stylish way to tackle bedroom organization, proving that functional solutions can also be beautiful additions to your home.
Once we’ve thoroughly explored the step-by-step process of creating this brilliant clothes rack cover, we’ll take a comprehensive tour of the finished bedroom. This room is a collection of cherished pieces, many of which became favorites among readers, even making it into my top ten projects for 2017. It’s a space that truly embodies the spirit of upcycling, repurposing, and personalizing a home on a budget, all while maintaining a cohesive and inviting atmosphere.
Before we delve into the details of this DIY transformation, a brief preface: the accompanying photographs are as authentic and “real-life” as it gets. These images were captured just hours before we boarded our flight to America, reflecting the genuine, sometimes chaotic, state of a home in transition. While they might lack the polished perfection of styled magazine shoots, they perfectly convey the practicality and immediate impact of this project. They truly showcase the effectiveness of a simple, quick solution implemented under time pressure.
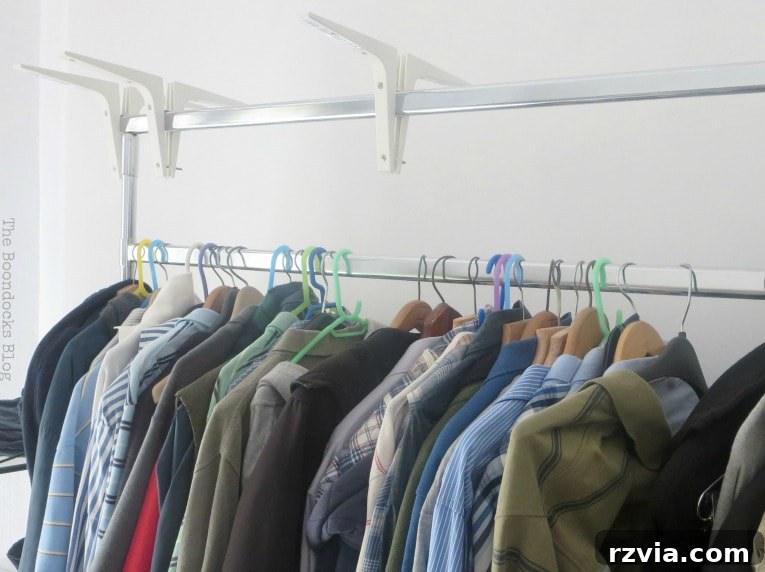
The journey began with an aluminum clothes rack, a functional piece acquired from a local store that was closing its doors. While undeniably practical for storing clothes, its open design was, to put it mildly, not particularly appealing. An exposed clothing rack, no matter how neatly organized, often contributes to a cluttered appearance, especially in a bedroom where serenity is key. The goal was to find an elegant solution for concealing the clothes, given the absence of a built-in closet. Simply draping a sheet over the entire structure felt like a temporary, less-than-ideal fix. What was needed was a more permanent, integrated, and visually pleasing solution that would blend seamlessly with the room’s aesthetic. This quest for both functionality and style ultimately led to the creation of this custom garment rack cover, turning a utilitarian item into a chic storage piece.
Essential Materials for Crafting Your Custom Clothing Rack Cover:
Embarking on this DIY project requires a thoughtful selection of materials, many of which can be repurposed or found affordably. Here’s a breakdown of what I used, along with some considerations for your own build:
- Aluminum Clothing Rack: The foundation of this project. I sourced mine from a local closing-down sale, highlighting the benefit of finding pre-owned or discounted items for upcycling. Any sturdy, freestanding clothing rack will serve the purpose.
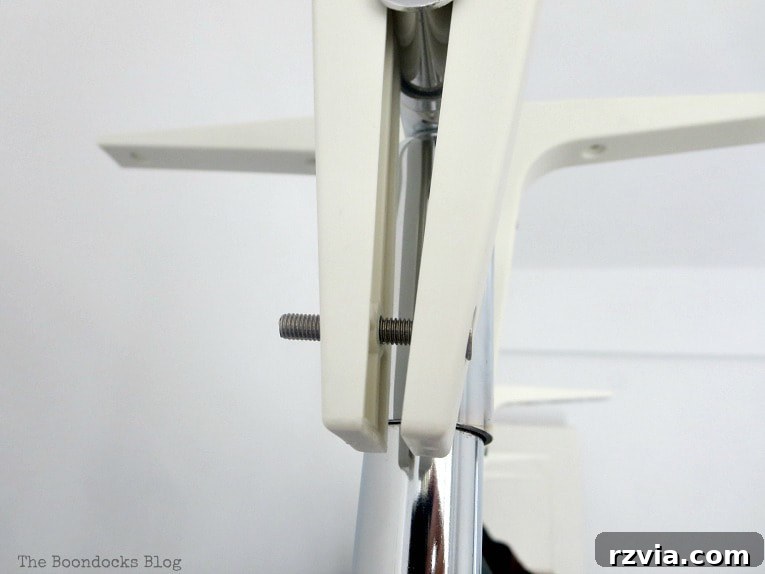
- 6 Pairs of IKEA EKBY Brackets: These versatile shelf brackets are crucial for creating a robust top frame. Their design allows for easy assembly and provides a stable base for the cover’s structure. If IKEA brackets aren’t accessible, any sturdy L-shaped brackets that can be securely fastened to each other and support a top panel would work.
- 3 Flat White Sheets: The primary material for the cover itself. Flat sheets are ideal due to their generous size, affordability, and availability in various colors and patterns. Opting for white created a bright, airy feel, but you could choose colors or patterns to match your room’s decor. Consider thread count for durability and drape.
- Leftover Cardboard Boxes (IKEA Boxes Recommended): Repurposed cardboard, especially from sturdy sources like furniture packaging, forms the top panel of the cover. It’s lightweight, easy to cut, and environmentally friendly. Ensure the cardboard is clean and strong enough to maintain its shape.
- Contact Paper (Walnut and White Patterns): Used to finish and aestheticize the cardboard top, giving it a polished look that matches other furniture. Contact paper comes in endless styles, allowing for complete customization. This adds a layer of durability and makes the top easier to clean.
- Stapler (Heavy-Duty Recommended): An essential tool for securely attaching the fabric cover to the cardboard frame. A heavy-duty stapler or staple gun will ensure a firm, lasting hold.
Step-by-Step Guide: How to Construct Your Garment Rack Cover:
Creating this custom garment rack cover is a surprisingly straightforward process that yields impressive results. Follow these steps to transform your open rack into a dust-free, organized storage solution:
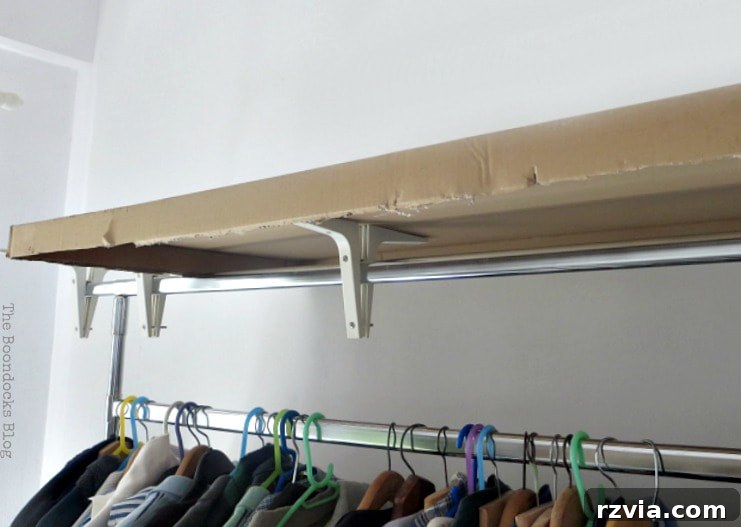
Step 1: Constructing the Sturdy Top Base with IKEA EKBY Brackets. Instead of just a flimsy sheet, we built a robust top structure using six sets of IKEA EKBY shelf brackets. The key was to screw them onto each other, strategically placing the top of the clothing rod in the middle of each bracket pair. This arrangement doesn’t just create a secure attachment point; it forms a stable, level base that will support the entire upper frame of the cover. Ensure all screws are tightened firmly to prevent wobbling and provide maximum stability for the subsequent steps. This foundational step is critical for the overall integrity and durability of your DIY cover.
Step 2: Crafting the Cardboard Top Frame. With the bracket base firmly in place, the next step involves creating the flat surface that will form the top of your cover. I utilized two pieces of leftover cardboard – remnants from IKEA kitchen cabinet packaging, which proved to be exceptionally sturdy. These pieces were carefully measured and cut to perfectly fit atop the installed shelf brackets. For added strength and stability, one cardboard piece was designed to slide snugly into the other, effectively interlocking to create a single, continuous frame or shelf. This integrated design ensures a flat, durable surface that serves as the ceiling for your enclosed clothing rack.
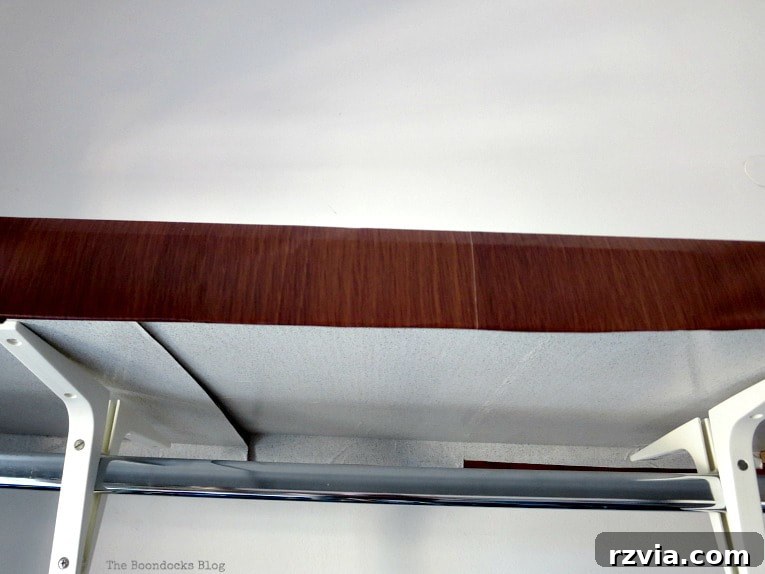
Step 3: Elevating Aesthetics with Contact Paper. To ensure the DIY cover harmonized with the existing decor, particularly a nearby dresser, I decided to finish the cardboard top with contact paper. This simple addition elevates the aesthetic from raw cardboard to a polished, unified look. For this project, I opted for a walnut-patterned contact paper for the exterior edges, providing a warm, wood-like finish, and a whitish, subtle pattern for the inside surface. Applying contact paper requires a steady hand to avoid bubbles and creases, but the effort pays off in a professional, custom appearance that seamlessly integrates the cover into the room’s design scheme. This step is where functionality meets style, transforming a practical structure into an intentional design element.
Disclosure: This post contains affiliate links for your shopping convenience. If you purchase any of these products through the links, we receive a small commission at no extra charge to you. You can find our full disclosure here.
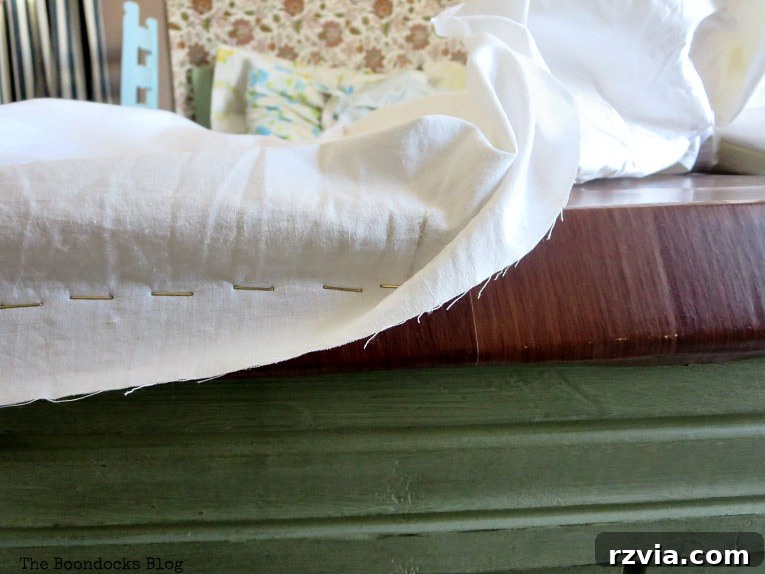
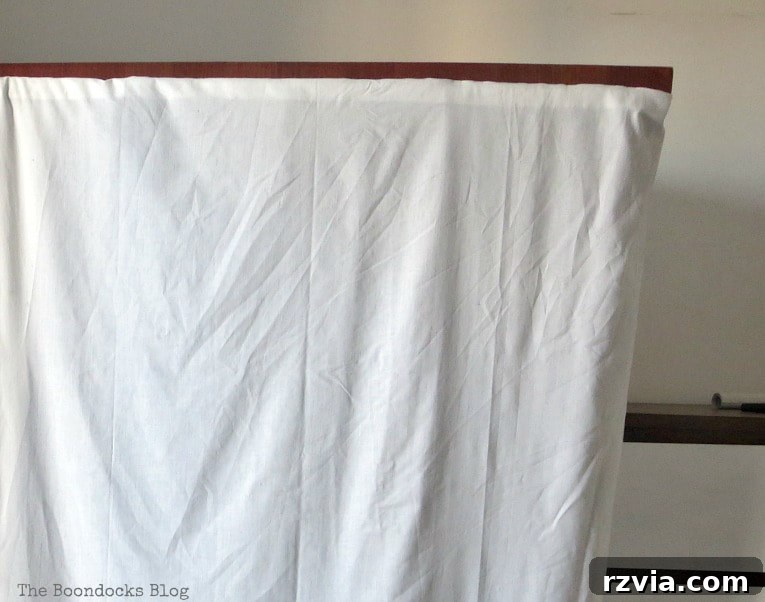
Step 4: Attaching the Fabric Cover. With the sturdy top frame complete, the final step involves transforming ordinary flat sheets into the elegant fabric cover. The beauty of repurposing sheets lies in their generous dimensions and soft drape. I carefully positioned the sheets to envelop the entire clothing rack structure. Then, using a stapler, I securely fastened the edges of the sheets onto the cardboard shelf/frame. It’s important to pull the fabric taut as you staple to ensure a smooth, clean finish, free from sags or wrinkles. Stapling all the way around the entire frame creates a snug and cohesive enclosure. While I, in my rush to catch a plane, skipped ironing the sheets beforehand, for a truly pristine, professional look, I highly recommend pressing them thoroughly. This seemingly small detail makes a significant difference in the final presentation, offering a crisp, tailored appearance that elevates the entire DIY project. This “easy peasy” method quickly provides a complete, dust-free enclosure for your garments.
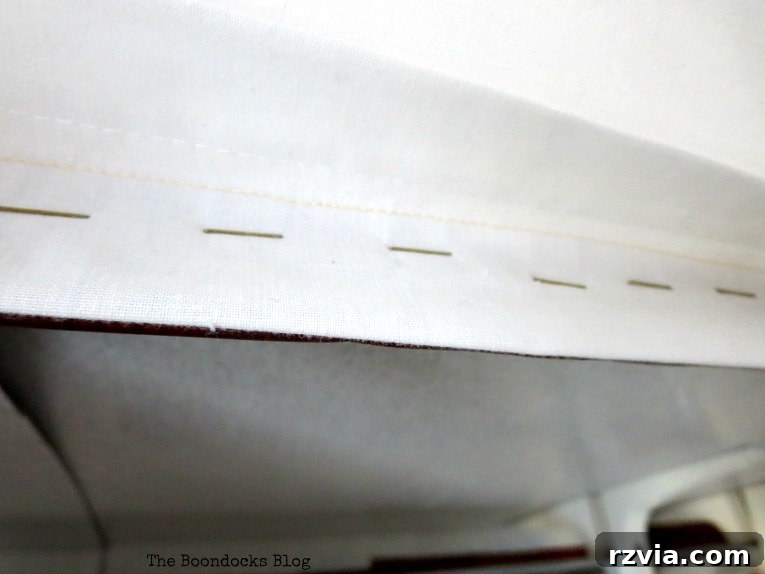
The stapling process was continued meticulously around the entire perimeter of the cardboard frame. This ensures that the fabric is held firmly in place, creating a neat and tailored appearance from all angles. The ease with which the sheets attach to the cardboard makes this a highly accessible DIY project, even for those with limited crafting experience. The goal is to achieve an even tension, so the fabric hangs straight and smooth. While aiming for perfection, remember that the primary objective is functional elegance – a cover that protects your clothes and beautifies your space without requiring complex sewing or construction techniques.
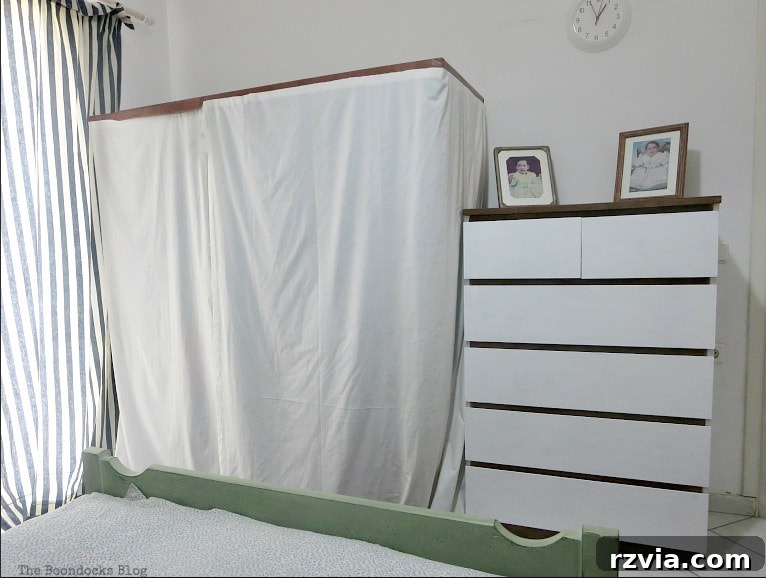
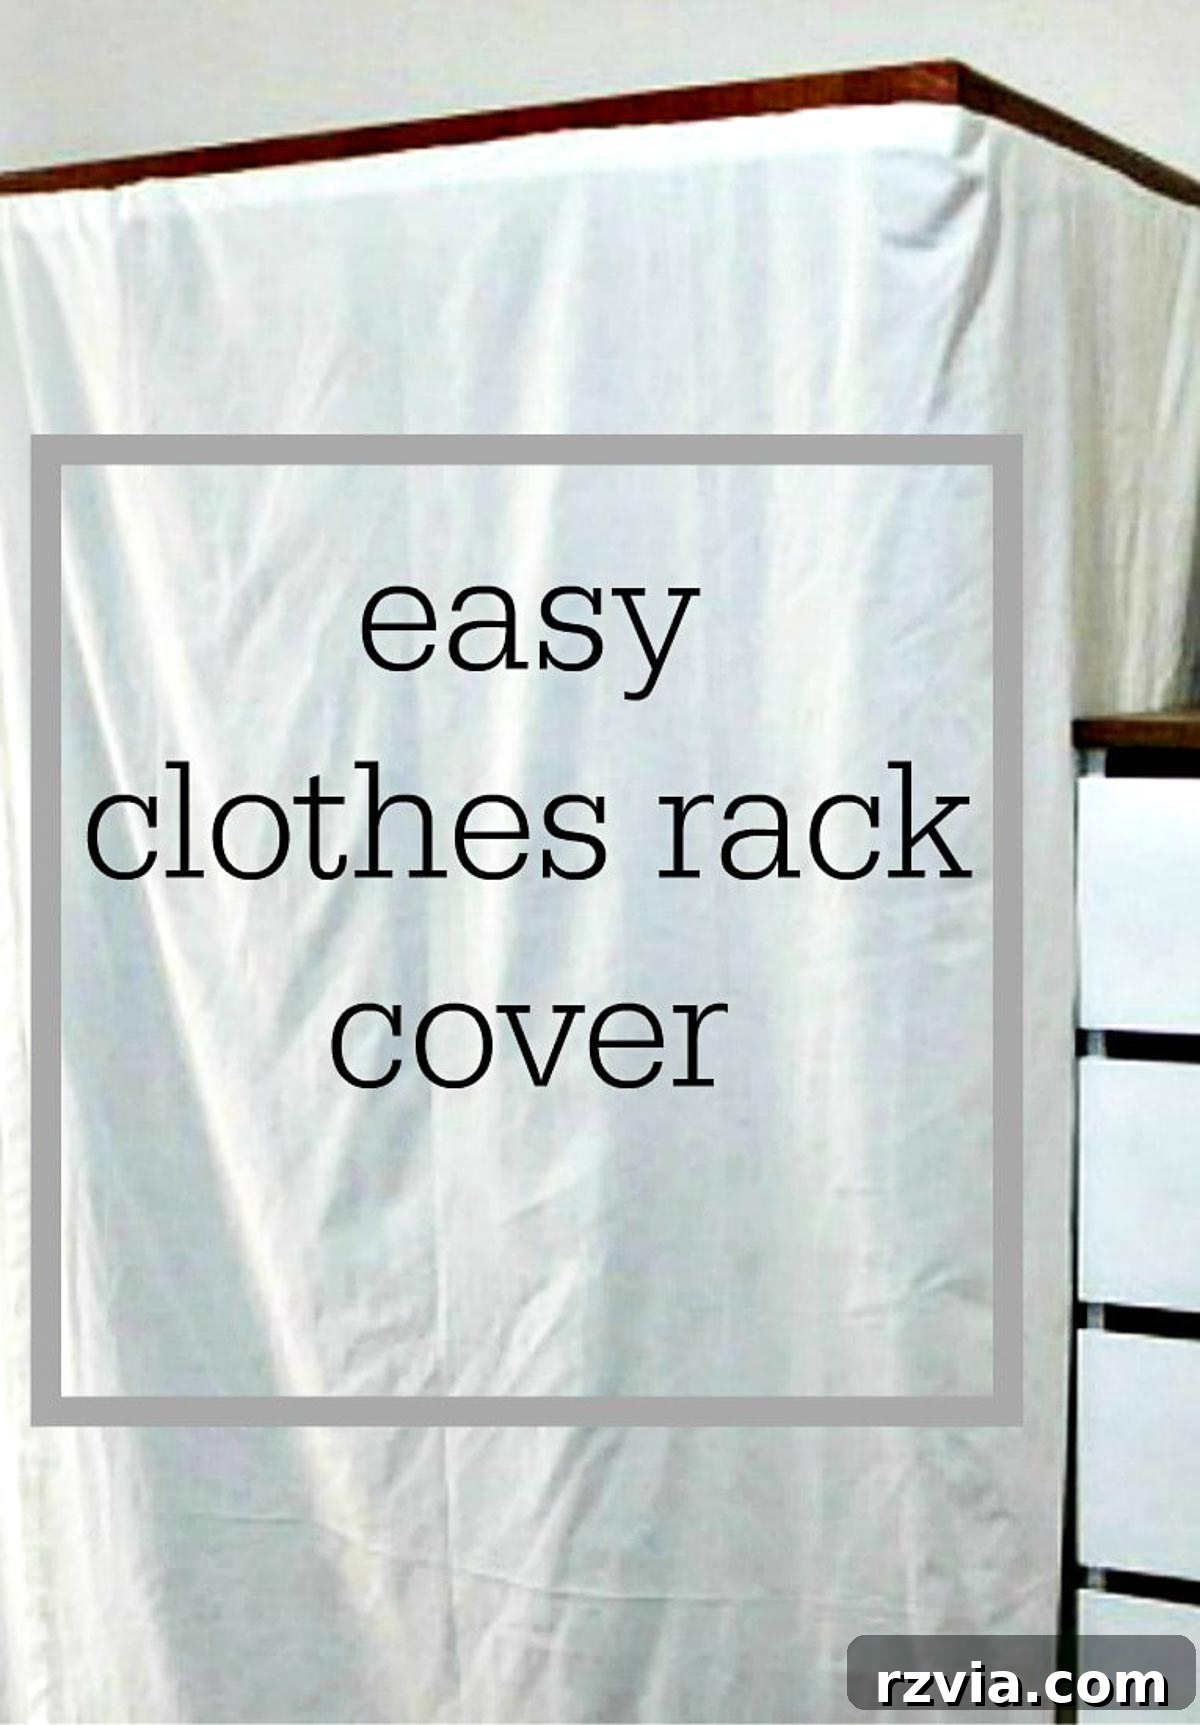
And here is the fantastic result of my DIY clothes rack cover! What initially appears as a minimalist, somewhat massive box cleverly conceals the entire clothing rack underneath, transforming a utilitarian storage item into an elegant piece of furniture. While it would undoubtedly have benefited from a quick ironing session before stapling, the impending flight meant practicality took precedence over perfection. Despite the wrinkles, the cover immediately brought a sense of calm and order to the room, proving that even under a tight deadline, a functional and aesthetically pleasing solution can be achieved. This project highlights that sometimes, “good enough” is truly excellent when it solves a practical problem with creativity and resourcefulness.
The Finished Bedroom: A Sanctuary of Style and Organization
While the newly covered clothing rack might not boast the exorbitant price tag or designer label of a Pottery Barn piece, its functionality and refined appearance certainly outshine dusty, exposed clothes any day. This DIY solution provides invaluable protection for garments while contributing significantly to the room’s cohesive aesthetic. It looks particularly stunning positioned next to the upcycled IKEA Malm dresser, demonstrating how thoughtful DIY projects can elevate standard furniture into personalized, stylish statements. The entire room is a testament to the power of creative repurposing, showcasing how everyday items can be transformed into unique, functional, and beautiful decor elements that truly make a house a home.
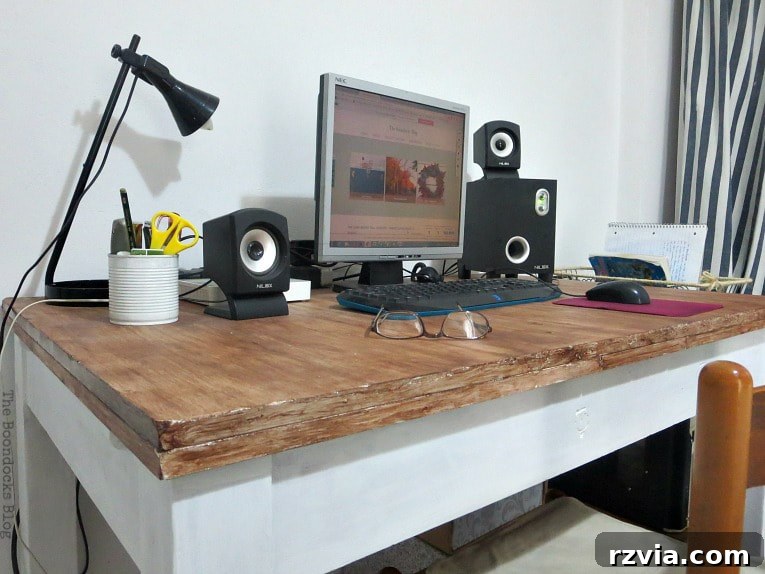
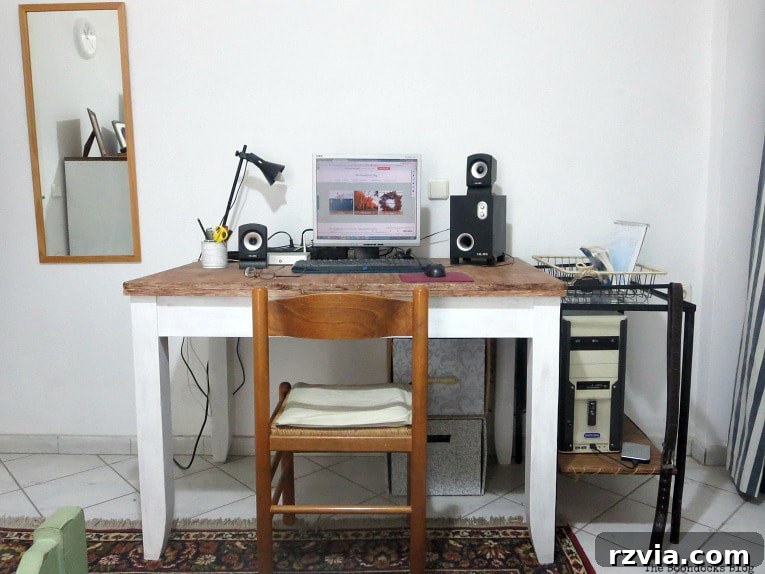
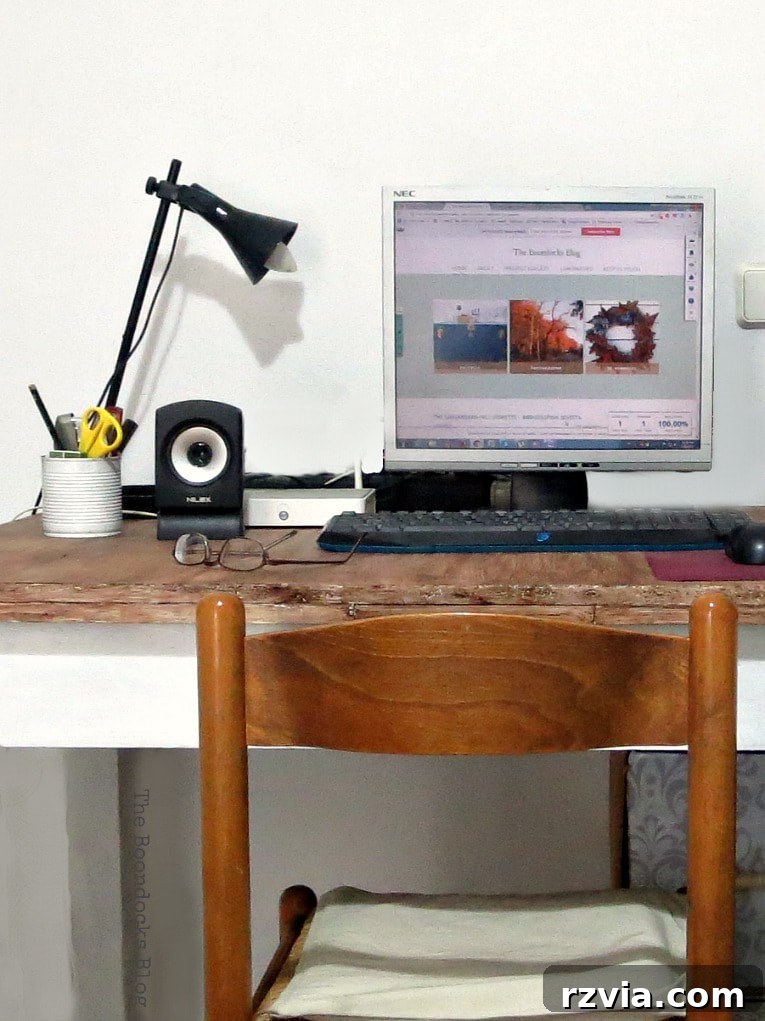
And now, let’s embark on a comprehensive tour of the entire room, showcasing how each element contributes to its overall charm and functionality. This space also serves as my home office, anchored by the skillfully made-over laminate table that I had the pleasure of sharing with you a few months ago. It’s a testament to how a simple piece can be transformed into a functional workstation, housing my computer and all the bare necessities for productivity. The design philosophy here revolves around practical elegance, ensuring that every item serves a purpose while contributing to a serene and organized environment.
Adjacent to my workstation sits another cherished upcycling project: the metal table, a piece I lovingly salvaged from the farm. Its rustic charm adds character and history to the room, providing both a visual anchor and additional surface space. Perched atop this revitalized metal table is a truly ingenious repurposing hack: a dish rack transformed into a stylish organizer. This creative solution exemplifies how everyday objects can find new life and purpose, offering practical storage for small items while enhancing the room’s unique, handcrafted feel. These elements together create a dynamic vignette that speaks to the beauty of thoughtful repurposing.
The transformation journey in this bedroom also includes this old IKEA pine dresser, which received its striking makeover over two years ago. It was, frankly, quite an eyesore before its artistic revival. I was incredibly fortunate to discover the perfect shade and technique to match the bed frame to it, culminating in a beautifully cohesive new bedroom set. This synchronized transformation demonstrates the power of a unified color palette and thoughtful design in creating a harmonious and inviting sleeping space. The once disparate pieces now work together seamlessly, embodying a sense of collected style that feels both personal and polished.
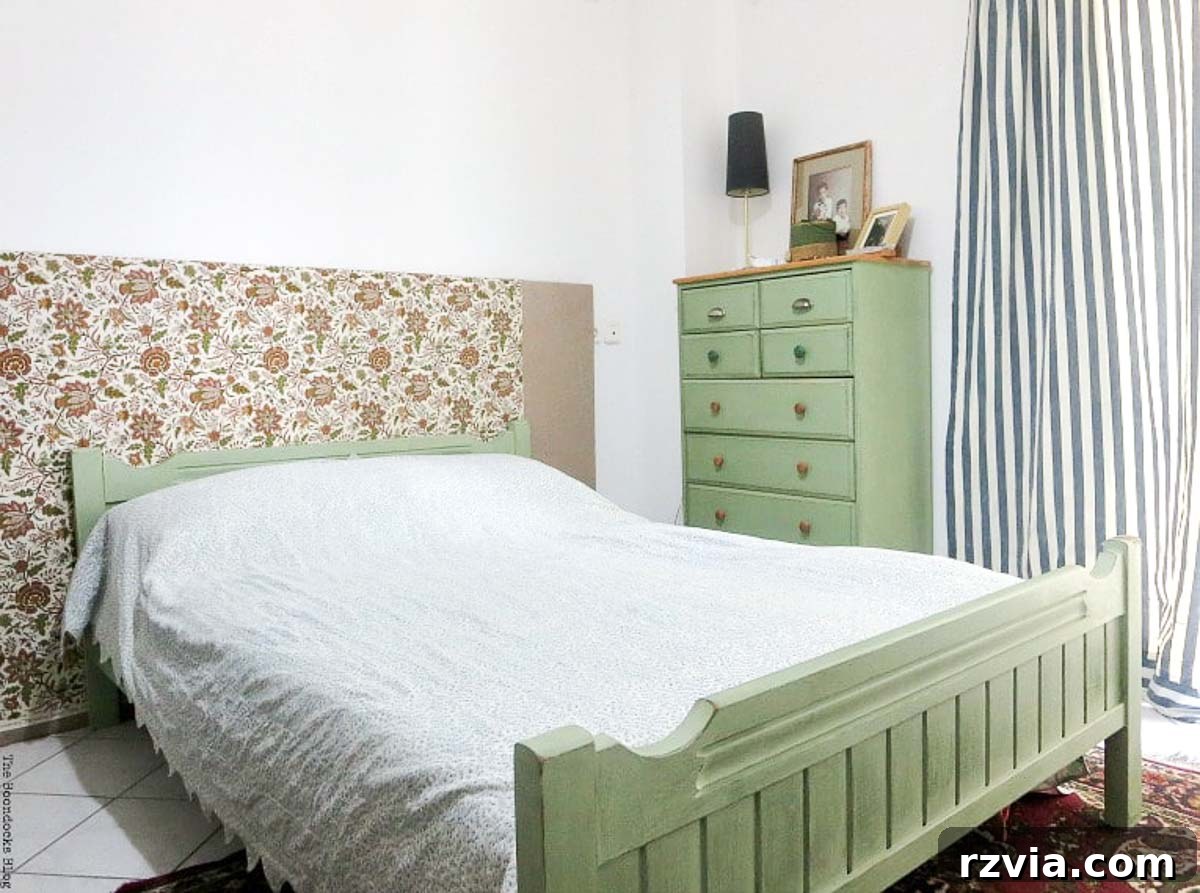
To truly tie all these diverse elements together and imbue the room with a sense of warmth and bespoke charm, I integrated a captivating fabric backing. This carefully chosen piece of fabric serves as a soft, decorative focal point, unifying the various furniture pieces and adding an inviting texture to the space. It’s a simple yet highly effective design trick that can dramatically alter the ambiance of a room, providing a finished look that feels both professional and deeply personal. The fabric’s pattern and color choice were instrumental in enhancing the room’s overall narrative, completing its transformation into a cohesive and delightful sanctuary.
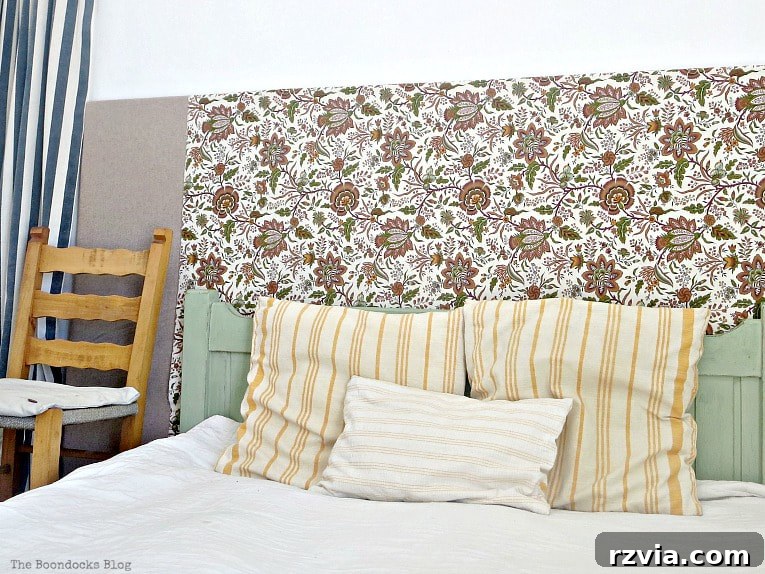
And so, this marks the final post capturing moments from my time in Greece. The bedroom, with its array of thoughtful DIY projects and upcycled pieces, truly came together beautifully. Given that it wasn’t a particularly large room, a strategic and generous use of white was employed throughout the space. This design choice was deliberate, aimed at maximizing natural light, enhancing the perception of spaciousness, and creating an atmosphere that feels inherently bright, airy, and undeniably cheery. Every element, from the custom clothes rack cover to the revitalized furniture, contributes to a cohesive design narrative that prioritizes both aesthetics and functionality in a compact living area.
I sincerely hope you enjoyed this detailed post on creating an easy DIY clothes rack cover – a project that not only conceals your garments but also brings a renewed sense of organization and elegance to your bedroom. It’s truly a simple yet impactful way to “not air your dirty laundry” in the literal sense, transforming a potentially messy area into a neat and dust-free storage solution. This project is a perfect example of how small, creative endeavors can make a significant difference in the comfort and aesthetic appeal of your home. It’s a testament to the fact that beautiful, functional decor doesn’t always have to come with a hefty price tag.
And with this comprehensive bedroom reveal, we finally achieve closure on this significant chapter. The completion of these projects in Greece allows us to gracefully move forward, setting the stage for all the exciting new endeavors and creative transformations awaiting me here in New York! Stay tuned for more innovative DIY solutions and inspiring home decor ideas as we embark on fresh adventures in a new setting.

Explore More in The Bedroom Series:
Discover More Bedroom Storage Ideas:

This blog is provided solely for entertainment purposes; my DIY tutorials do not constitute professional advice. Please read my full disclaimer here.