
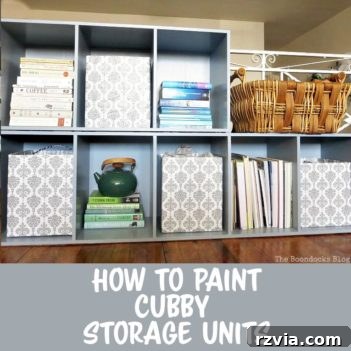
Do you own a perfectly practical but visually uninspiring cubby storage unit that’s desperately crying out for a fresh new look? Don’t despair! You’re about to discover the most effective and satisfying way to transform it from drab to fab without breaking the bank or your back.
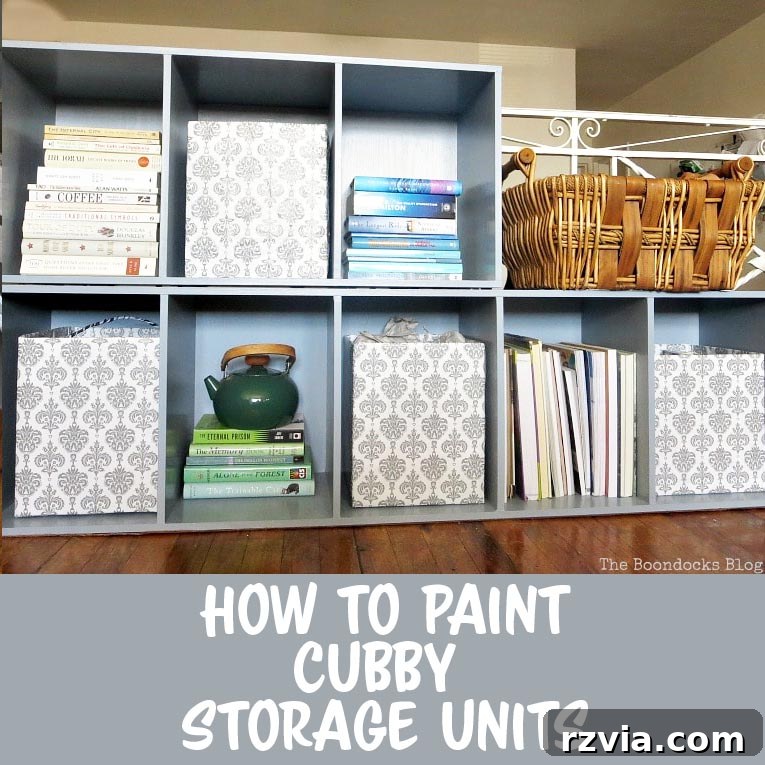
An Easy Cubby Storage Unit Makeover with Paint: Revitalize Your Home Decor
Before you consider tossing out that functional but unattractive storage unit and investing in a costly replacement, let me introduce you to a game-changing secret: “The Power of Paint.” It’s truly astonishing what a fresh coat of paint can achieve, breathing new life into tired furniture and completely transforming the ambiance of a room. This isn’t just about covering up flaws; it’s about unlocking the hidden potential within your existing pieces and creating a personalized space that reflects your style.
The Challenge: From Drab Laminate to Desired Decor
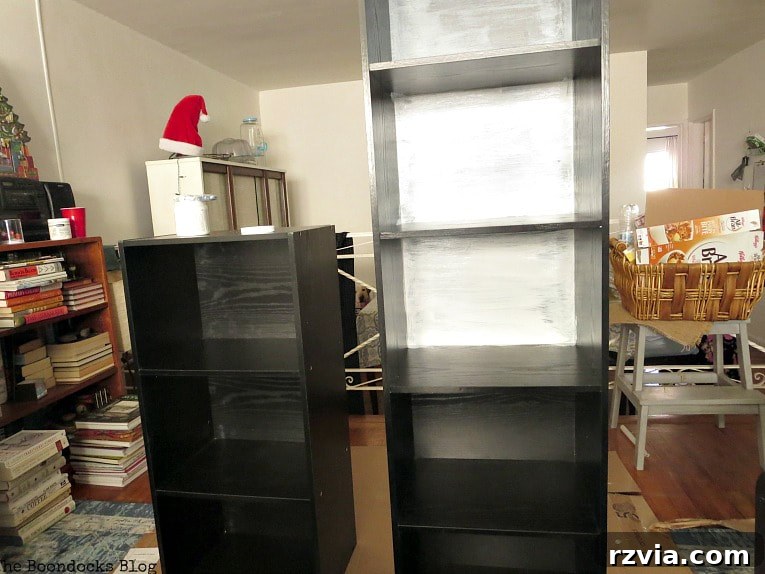
Take a look at the “before” picture below. My cubby unit, while incredibly useful for organizing various items, stood out in my living room for all the wrong reasons. Its dark, inexpensive-looking laminate surface contributed nothing to the room’s aesthetic, making the entire space feel less cohesive and polished. It was a stark contrast to the welcoming atmosphere I wanted to cultivate. This common scenario is precisely why a DIY cubby transformation is so appealing – it offers a practical solution to a common decor dilemma.
Disclosure: We have not received any compensation for this post. However, we have (and continue to) receive products from DecoArt. This post also contains affiliate links. Should you choose to purchase items through these links we will make a small commission – at no expense to you. We only recommend products we genuinely use and love.
The journey of this particular cubby unit began when I undertook a serene and relaxing makeover for my bedroom. This decluttering project revealed that the two-piece cubby unit no longer had a designated place in the newly refreshed bedroom, prompting its relocation to the living room. However, it was clear that its original finish wouldn’t complement the living area’s decor. A complete makeover was essential, and as you’ll see, a simple coat of paint made all the difference! This transformative power isn’t limited to cubbies; I’ve successfully used the same Satin Enamel paint to revitalize a wood headboard (without sanding or primer), a painted bathroom vanity, and even a set of painted kitchen cabinets, proving its versatility and ease of use across various surfaces.
Preparing for Your Cubby Storage Unit Makeover: Essential Supplies & Steps
One of the most appealing aspects of this DIY cubby transformation is the minimal preparation required, especially when using the right type of paint. Gone are the days of tedious sanding and priming for every furniture project!
Essential Supplies Needed for Painting a Cubby Storage Unit:
- DecoArt Americana Satin Enamel Paint: This is our hero product for this project! Its unique formula allows for excellent adhesion to various surfaces, including laminate, without the need for prior sanding or priming. We used a combination of White, Black, and Beige to create a custom color, but you can also opt for a pre-mixed shade like Smoke Grey or Greytaupe.
- Soft Tip Brush: The quality of your paintbrush significantly impacts the finish. A soft-bristle brush ensures smooth, even coats without unsightly streaks, which are often left by coarse-haired brushes. This is crucial for achieving a professional-looking result on laminate surfaces.
- Cleaning Supplies: Although sanding isn’t necessary, a thorough cleaning of your cubby unit is vital. Use a mild all-purpose cleaner and a damp cloth to remove any dust, grime, or grease. A clean surface ensures optimal paint adhesion.
- Drop Cloth or Tarp: Protect your workspace from paint splatters.
- Painter’s Tape (Optional): If your cubby unit has multiple colors or specific areas you wish to keep unpainted, painter’s tape will provide clean lines.
Step-by-Step Guide: How to Paint Your Storage Cubbies for a Flawless Finish
Preparation: The Foundation of a Beautiful Makeover
Even though DecoArt Americana Satin Enamel paint simplifies the process by eliminating the need for priming or sanding, preparation remains a critical step. Start by thoroughly cleaning your cubby storage unit. Wipe down every surface with a damp cloth and a mild cleaner to remove any dust, dirt, or oily residue. This ensures the paint adheres perfectly and prevents any imperfections from showing through. Allow the unit to dry completely before proceeding.
Applying the Paint: Technique Matters
Once your cubby unit is clean and dry, it’s time to begin painting. Dip your soft-bristle paintbrush into the DecoArt Americana Satin Enamel paint, making sure not to overload the brush. Apply the paint in long, even strokes, moving in the direction of the faux grain if your laminate has one. The key to a smooth finish is applying thin, consistent coats. Avoid heavy, thick applications, which can lead to drips, uneven textures, and longer drying times. The paint has excellent self-leveling properties, so trust the process, and don’t overwork the brush strokes.
The Evolution of Color: From Bold Black to Custom Grey Chic
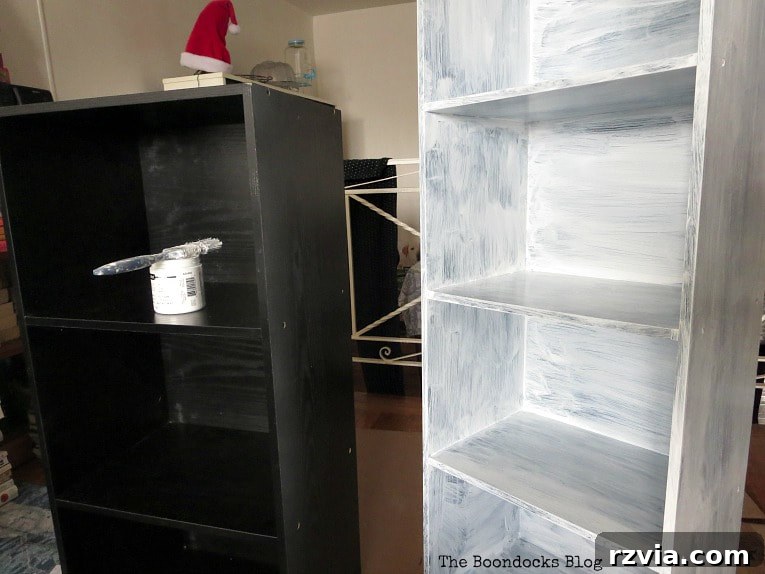
After applying two coats of the satin enamel paint, my cubby storage unit began to show signs of its emerging potential. Initially, my goal was to achieve full coverage over the black laminate. However, as I progressed, my vision for the cubby evolved, and I decided to pivot towards a sophisticated dark grey finish. This spontaneous change of heart is part of the beauty of DIY – allowing your creative instincts to guide you!
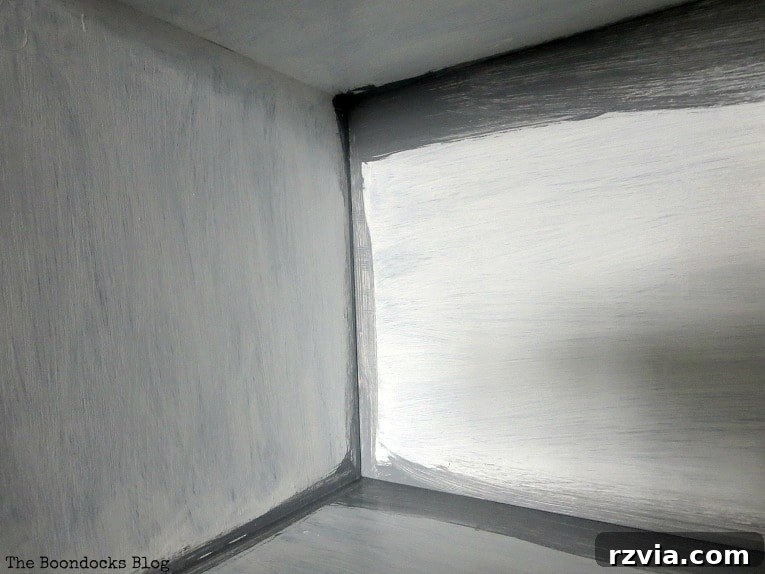
To achieve my desired custom dark grey, I mixed a bit of black paint into the white base and added a tiny hint of beige to infuse a subtle warmth into the grey. This creative process allowed me to develop a unique shade that perfectly matched my evolving decor scheme. Of course, for those who prefer convenience, ready-mixed options like DecoArt Satin Enamel in Smoke Grey or Greytaupe are excellent alternatives. My decision to custom mix was also driven by a personal mission to declutter my paint collection, using up what I already had on hand – a fantastic tip I picked up from my friend Marie of the Interior Frugalista. Her blog is a treasure trove of painting wisdom, and I highly recommend checking it out for more inspiration!
Achieving Durability: Curing and Optional Sealing
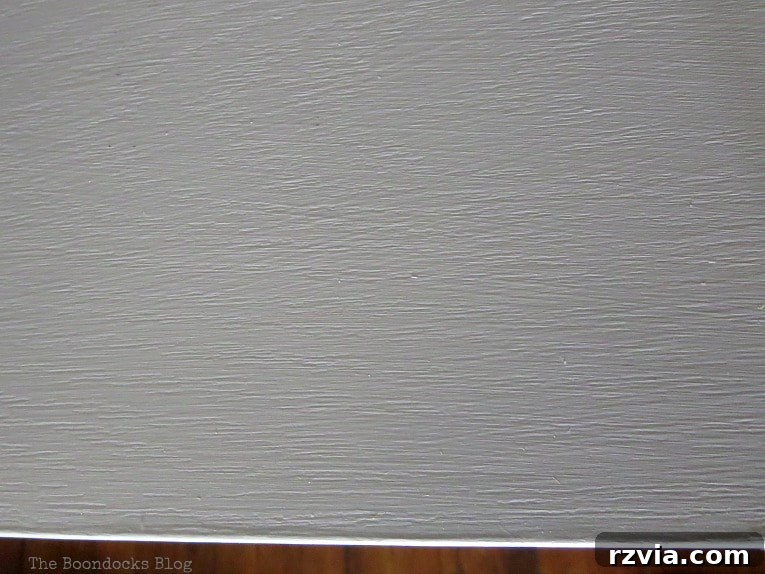
After applying a couple more coats of my custom grey, I left the cubby unit untouched for several days to allow the paint to fully cure. Curing is a crucial step that allows the paint to harden completely, achieving its maximum durability and resistance to everyday wear and tear. Rushing this process can lead to scuffs, scratches, or peeling down the line. While DecoArt Americana Satin Enamel is quite durable on its own, for wooden pieces or areas subjected to very high traffic, you might consider an additional layer of protection. For instance, a clear topcoat or sealer can add an extra layer of resilience, especially if the unit will be used frequently or hold heavy items.
Beyond the Cubby: More Laminate Furniture Transformations
My experience with this cubby storage unit is just one of many successful transformations of laminate furniture using paint. Laminate, often seen as challenging to paint, can be incredibly rewarding with the right techniques and products. I’ve had great success painting laminate many times in the past, breathing new life into a variety of pieces. Some notable projects include an elegant campaign dresser, a sleek Ikea Malm dresser, another project using gel stain on laminate, a functional Ikea desk, and even a set of previously unappealing bookcases. Each project underscored the incredible versatility of paint in modern home decor and organization. If you have laminate furniture that needs an update, don’t hesitate to give paint a try!
Styling Your Revitalized Cubby Storage Unit: Placement and Personalization
Strategic Placement and Room Harmony
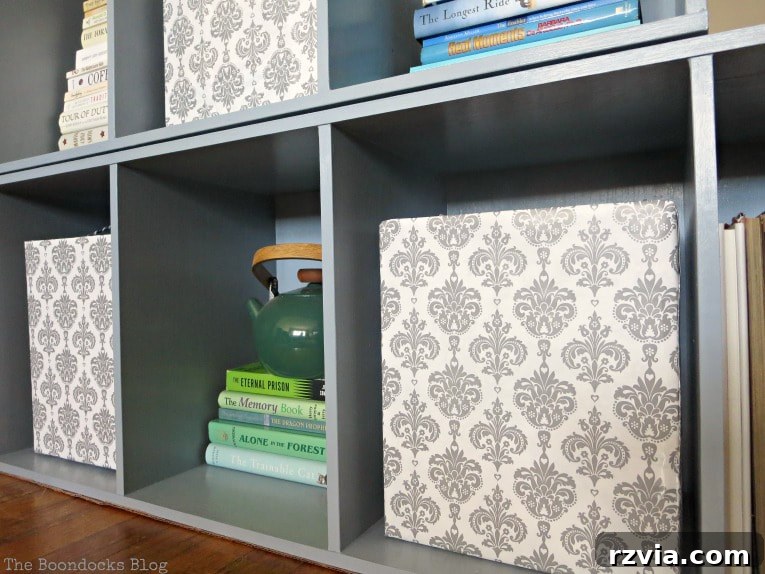
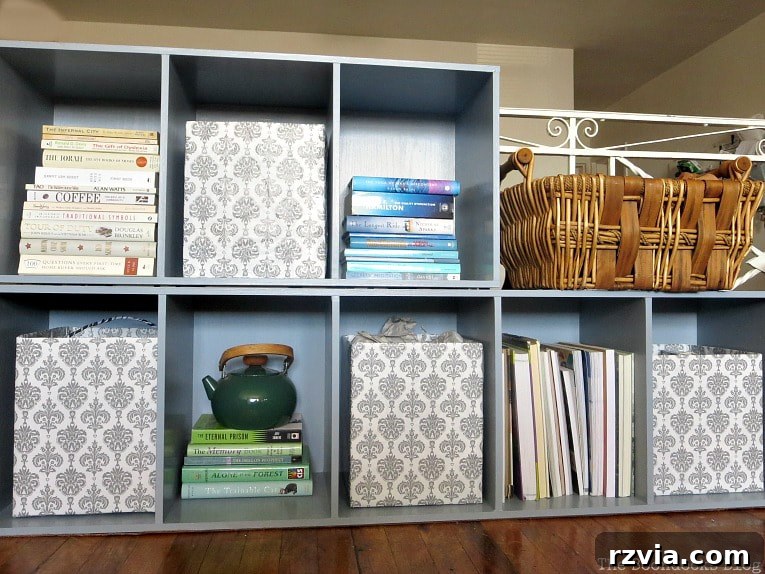
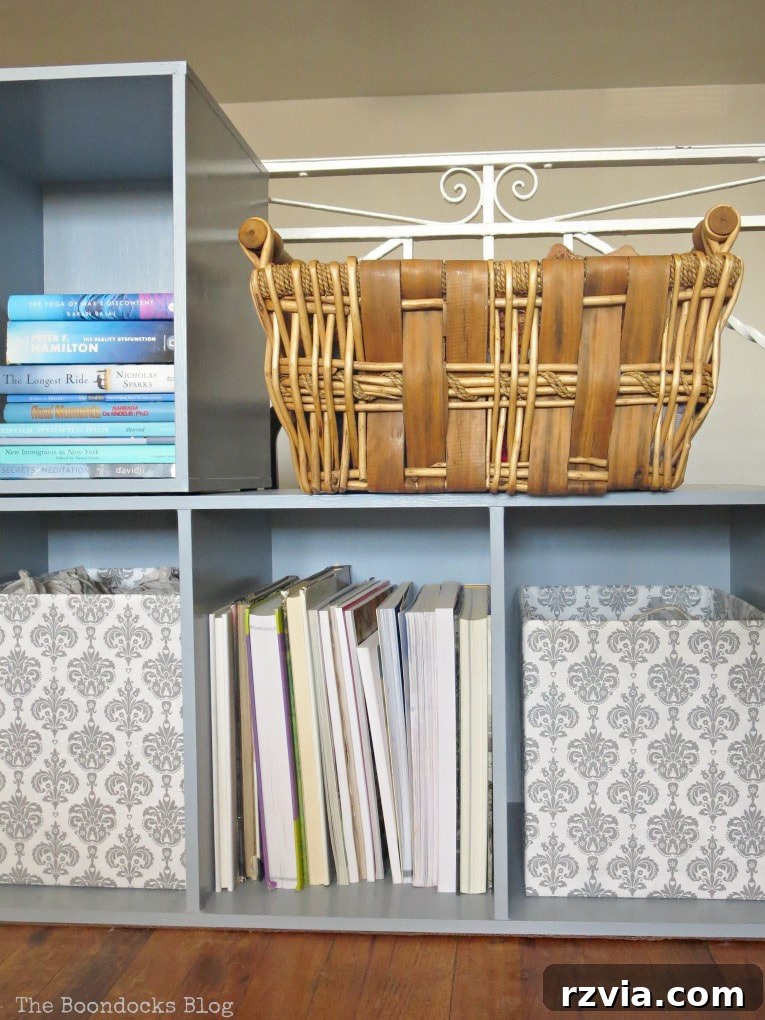
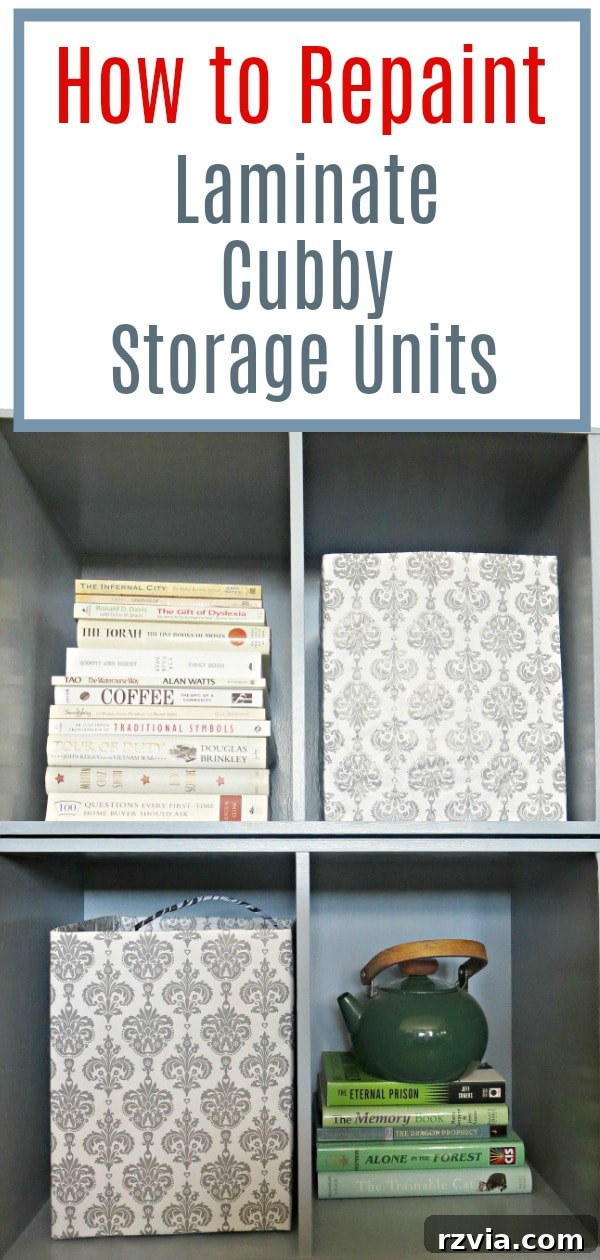
With its fresh paint job, the cubby unit was ready for its new home in the living room. I opted to place the cubbies horizontally on the floor. This strategic positioning was not only aesthetically pleasing but also highly functional: it prevented the unit from obstructing natural sunlight from reaching the dining area and perfectly fit the space, just grazing the railing. The new grey color, while primarily grey, subtly shifts with the light, occasionally revealing a hint of blue. This unexpected nuance was a welcome bonus, especially given my well-known affection for blue and how I’ve previously transformed the living room into a serene blue oasis with a stunning cloudy effect accent wall! The unit now harmonizes beautifully with the existing decor, enhancing the overall calm and inviting atmosphere.
Clever Cubby Storage Solutions: Beyond Basic Bins
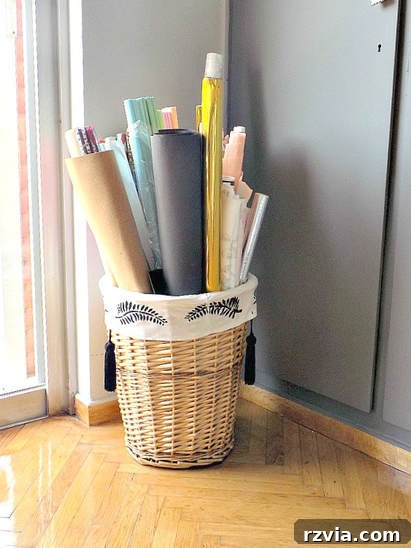
To maximize the functionality and aesthetic appeal of my newly painted cubby storage unit, I focused on creative and budget-friendly storage solutions for each compartment. Instead of buying expensive new bins, I decided to customize my own. My go-to method involves transforming inexpensive cardboard boxes by dressing them up with beautiful wrapping paper. This allows for endless customization to match any decor. Alternatively, you can use fabric to recover cardboard boxes to create durable and stylish storage bins, or even wrap tissue boxes in twine for smaller, charming storage containers. These DIY options are not only economical but also environmentally friendly, giving new life to items you might otherwise discard.
-

-
-
Transform ordinary cardboard boxes into chic storage with wrapping paper.
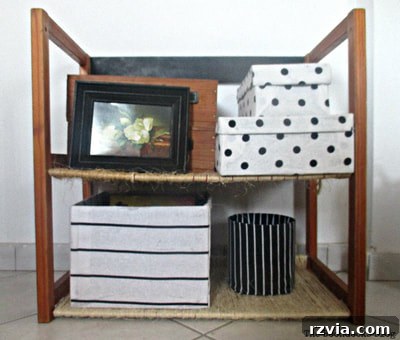
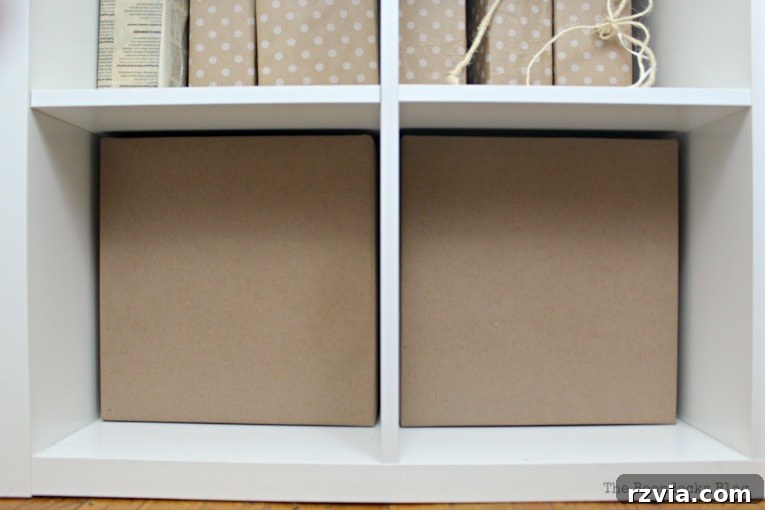
With these personalized storage solutions, I now have ample space for books that often get displaced when I indulge my passion for creating unique vignettes for every season. It’s truly a first-world problem solved with a creative touch! The rustic basket in the cubby offers a delightful textural contrast to the smooth painted surface. This brings up an interesting question for you, my readers: should I paint the basket white to match or leave it as is to maintain that organic contrast?
Final Touches for Enhanced Functionality
To further protect my floors and ensure easy movement of the cubby units, I applied felt furniture pads to the bottom of each unit. These small additions provide a soft cushion, preventing scratches and allowing the units to glide effortlessly when rearranged. It’s a simple detail that significantly enhances the practical usability and longevity of your furniture.
Conclusion: Embrace the DIY Transformation
This simple cubby storage unit makeover is a testament to how easily you can transform functional but unappealing furniture into stylish, integrated pieces within your home. I was incredibly pleased to repurpose these storage cubbies, giving them a new lease on life and integrating them perfectly into the living room’s design. This project wasn’t just about painting; it was about creating a cohesive, organized, and aesthetically pleasing environment without the need for expensive new purchases. Embrace the power of paint and see what wonders you can achieve in your own home!
For more inspiring DIY project ideas focused on clever storage solutions and furniture makeovers, be sure to explore my guide on creating a painted Ikea wood crate storage unit and an elegant wallpapered bookcase. These projects further illustrate how simple modifications can yield dramatic results.

Have you ever tried painting laminate furniture? Share your experiences and tips in the comments below!