
Transform Simple Wood Scraps into Versatile DIY Chalkboard Signs for Any Holiday
During a recent decluttering session in my basement, I stumbled upon a collection of thin, unassuming wood pieces. Instantly, my mind began buzzing with creative possibilities. With a long-standing affection for chalkboard aesthetics and a desire for an easy, impactful DIY project, I envisioned transforming these humble wood scraps into charming, customizable chalkboard signs perfect for the upcoming holiday season – and beyond!
Let’s be honest, the holiday season often brings a delightful mix of excitement and a touch of procrastination, especially when it comes to the monumental task of decorating the entire house. While the Christmas tree rightfully holds its place as the centerpiece, adding small, festive touches here and there can effortlessly elevate your holiday decor. These simple chalkboard signs offer a quick and fun way to infuse personalized charm into any corner of your home, making holiday decorating feel less like a chore and more like a creative celebration.
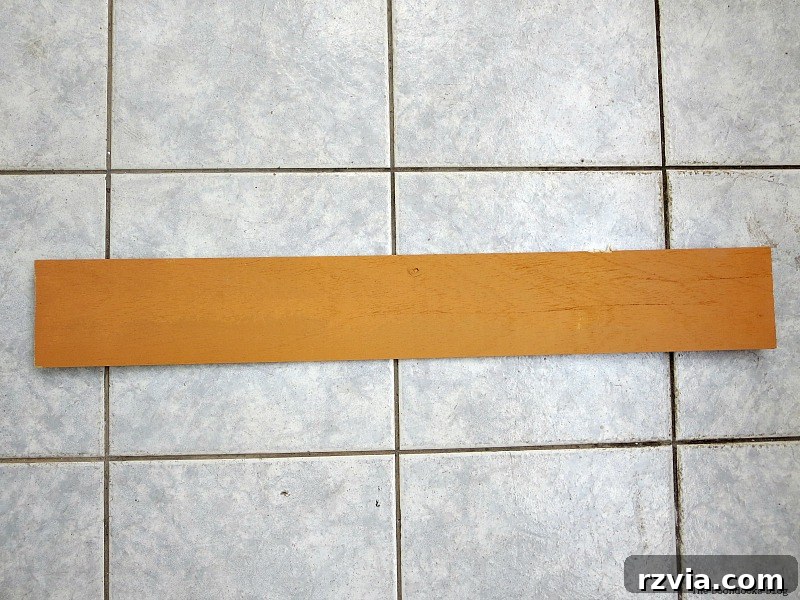
Why Choose DIY Chalkboard Signs?
DIY chalkboard signs are a fantastic addition to any home for several compelling reasons. They offer unparalleled versatility, allowing you to change messages and themes with a simple wipe and rewrite. This means one set of signs can carry you through Fall, Thanksgiving, Christmas, New Year’s, and even everyday inspirational quotes. They are incredibly cost-effective, especially when you repurpose materials like I did with these wood pieces. Furthermore, the act of creating something with your own hands brings a unique sense of satisfaction and a personalized touch that store-bought decor simply can’t match. They add a rustic, cozy, and inviting feel to any space, perfectly complementing various interior styles from farmhouse to modern minimalist.
Gather Your Materials: What You’ll Need
Before diving into the creative process, ensure you have all your supplies at hand. This project is intentionally simple, requiring only a few key items:
- Thin Wood Pieces: Look for scraps, old pallet wood, or even balsa wood. The thinner, the better for easy hanging and a refined look.
- Chalkboard Paint (Black): My preferred color for a classic chalkboard look, but feel free to experiment with other colors if you wish!
- Paintbrush or Foam Roller: A foam roller often provides a smoother finish, but a good quality paintbrush works perfectly too.
- Drill (with a small bit) or a Knife and Screw: For creating holes to hang your signs.
- White Chalk: Essential for curing your new chalkboard surface and for writing your messages.
- Soft Cloth or Chalk Eraser: For wiping off excess chalk and changing messages.
- Optional: Twine, ribbon, stencils, or liquid chalk markers for enhanced customization.
Step-by-Step Guide: Crafting Your Easy Chalkboard Signs
Step 1: Preparing Your Wood Pieces
The first step is to prepare your chosen wood pieces. I was fortunate to find some perfectly thin scraps in my basement, making them ideal candidates for this project. If your wood is a bit rough, a quick sanding can help achieve a smoother surface for painting. Ensure the wood is clean and dry before moving on. The natural grain of the wood can add character, but a clean surface ensures proper paint adhesion. This eco-friendly approach of repurposing materials not only saves money but also gives new life to forgotten items.
Step 2: Applying the Chalkboard Paint
This is where the magic truly begins! I’ve had great success with chalkboard paint in previous projects, like transforming bottle labels for Halloween decorations. The process is straightforward:
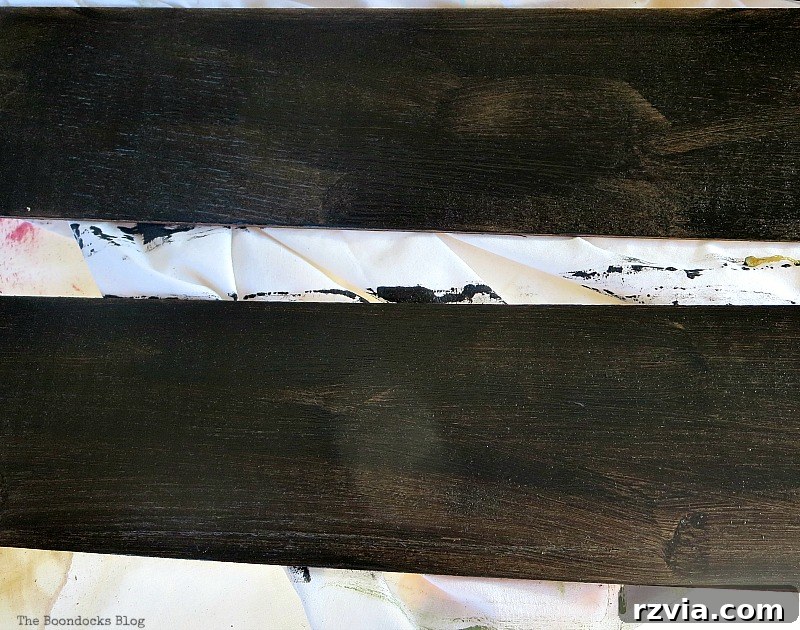
- Apply a generous, even first coat of black chalkboard paint to one side of each wood piece.
- Allow the first coat to dry completely according to the manufacturer’s instructions. This usually takes a few hours.
- Once dry, apply a second coat to ensure full coverage and a durable, functional chalkboard surface. Two coats are typically sufficient for a rich, opaque finish that’s ready for chalk.
The beauty of chalkboard paint is its ability to transform almost any surface into a writing canvas, making it incredibly versatile for various DIY projects.
Step 3: Creating Hanging Holes
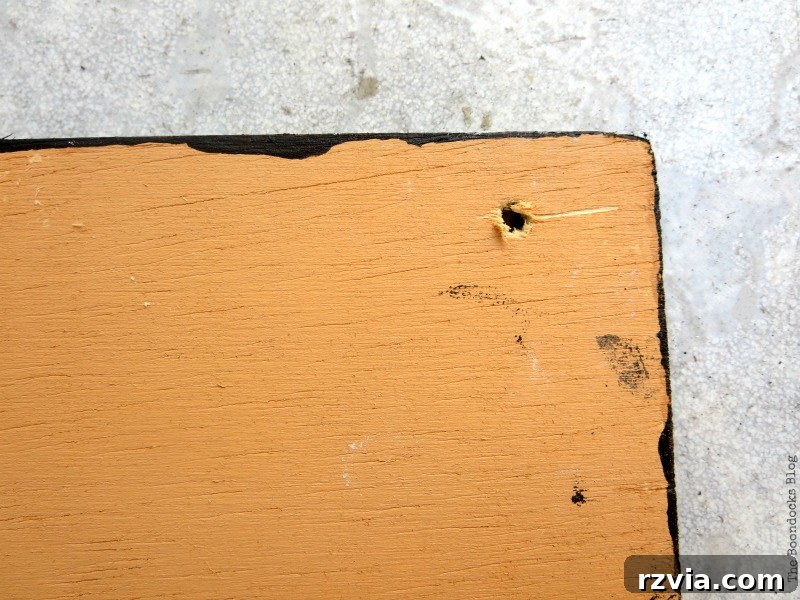
Once your paint is fully dry, you’ll want to add holes if you plan to hang your signs. I opted for a somewhat unconventional method – using a knife and a screw to carefully bore holes in the corners. While this “archaic” technique works for me, I highly recommend using a small drill bit for a cleaner, safer, and more precise result. Always exercise caution and use appropriate safety measures, regardless of your chosen method. These holes will allow you to thread twine or ribbon, giving you options for hanging your festive creations.
Step 4: Curing Your New Chalkboard Surface
This is a crucial step to ensure your chalkboard surface functions correctly and prevents “ghosting” from your first written message. Curing primes the surface, making it easier to erase future chalk writings cleanly.
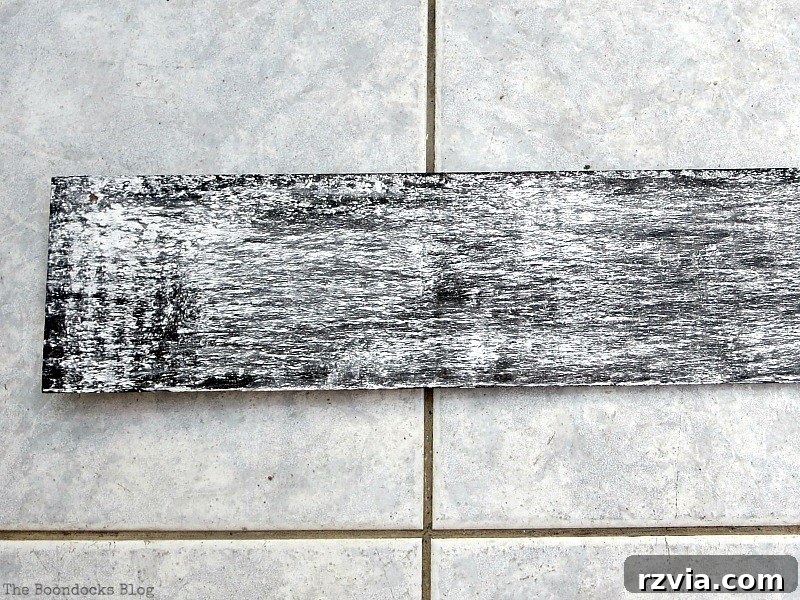
- Take a piece of white chalk and completely cover the entire painted surface of each sign by rubbing the chalk on its side.
- Make sure every inch of the black surface is coated with a light layer of chalk dust.
- Allow the signs to sit overnight with the chalk coating. This gives the surface ample time to absorb the chalk and fully cure.
This simple step will ensure your signs are ready for countless messages and seasonal transformations.
Step 5: Wiping Away the Excess
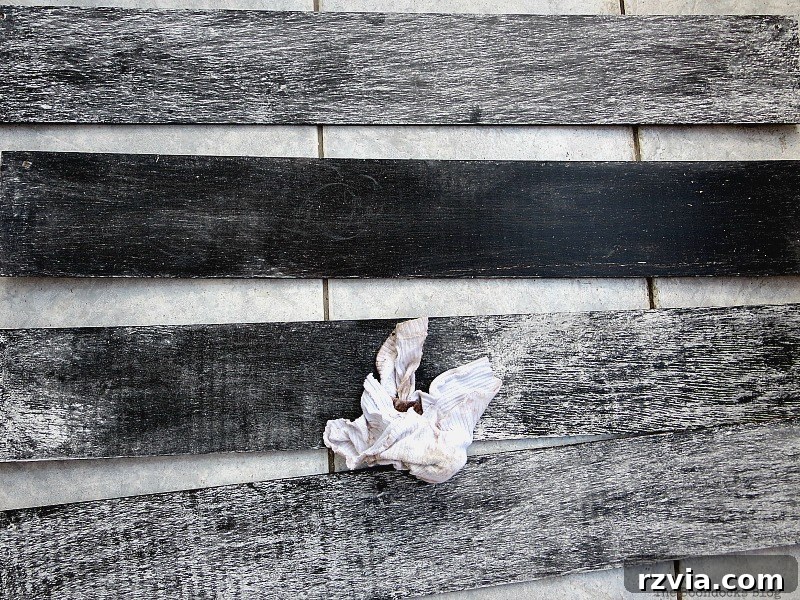
The next day, gently wipe off the excess chalk with a soft, dry cloth or a dedicated chalk eraser. You’ll notice the surface is now perfectly primed and ready for your creative messages. This simple curing and wiping process is incredibly effective – so much so that I’ve even used it to transform an entire wall into a functional chalkboard, as documented in my post “Seeing Black.”
Step 6: Unleash Your Creativity
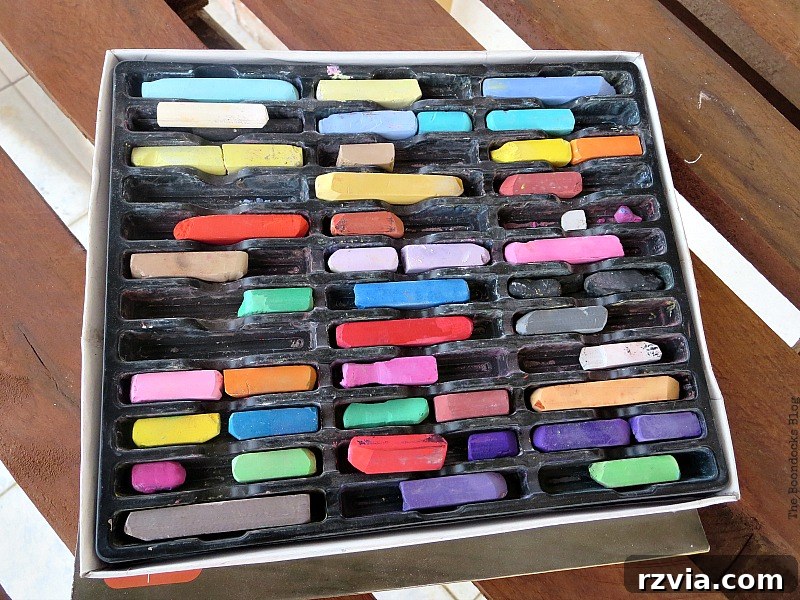
Now comes the most enjoyable part – decorating your signs! You can use traditional chalk sticks, chalk pencils for finer details, or even liquid chalk markers for a more permanent look that can still be erased with a damp cloth. I’m always thankful for my kids leaving behind their art supplies, as my box of chalk is now overflowing with vibrant colors and options.
Seasonal Versatility: From Fall to Christmas and Beyond
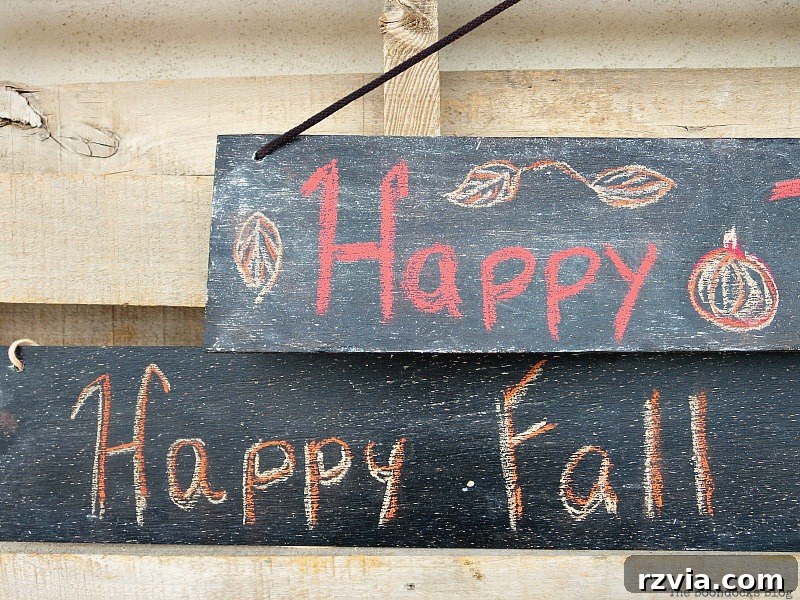
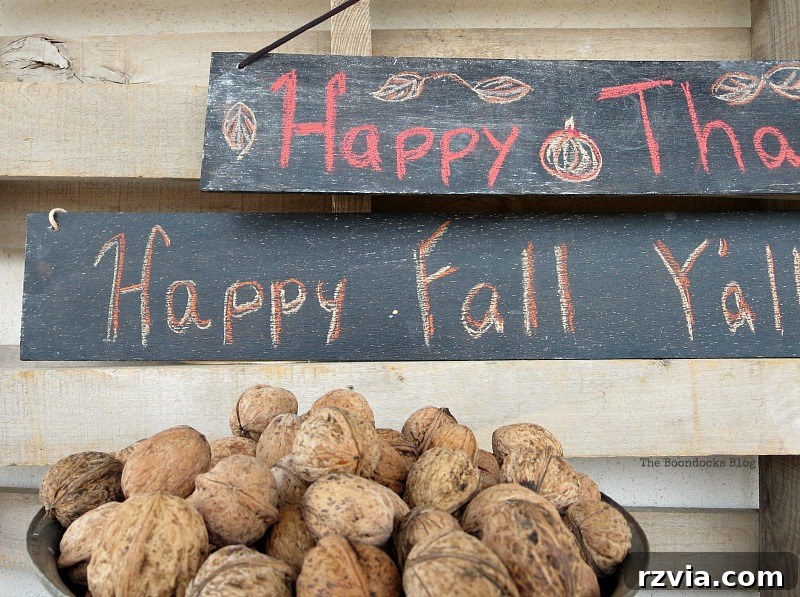
Initially, I created two super easy Fall-themed signs, and even “Paranoid Man” (my husband!) approved, which is high praise indeed! These signs instantly added a cozy, autumnal touch to our home, perfect for Thanksgiving celebrations.
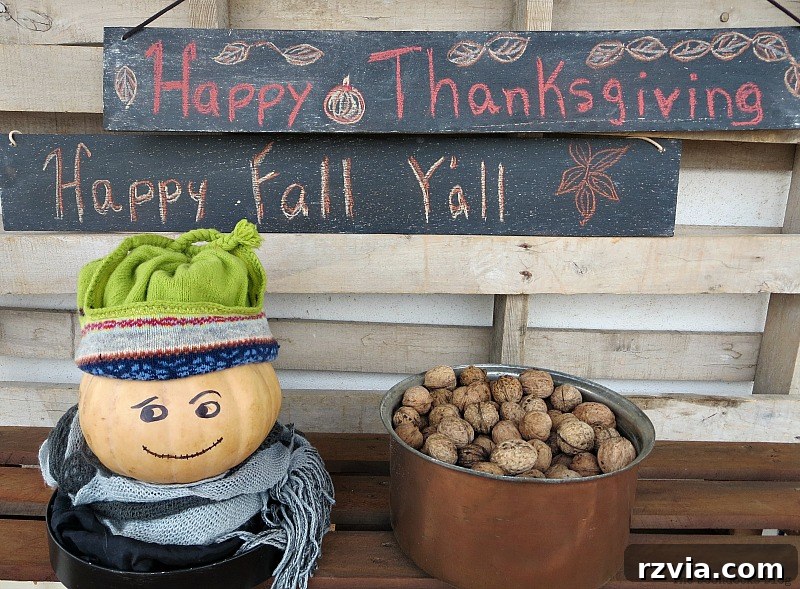
The true beauty of these chalkboard signs lies in their adaptability. They aren’t confined to a single season or holiday. With a quick wipe, you can erase your Fall message and write something entirely new for Christmas, Easter, birthdays, or just an everyday inspirational quote. This makes them an incredibly sustainable and economical decor solution for every festive occasion throughout the year. Imagine a “Welcome Spring!” sign in March, a “Happy Easter” message in April, or “Summer Fun” in July. The possibilities are truly endless, limited only by your imagination and the amount of chalk you have!
Bonus Project: Revamping Your Tube Wreath for Christmas
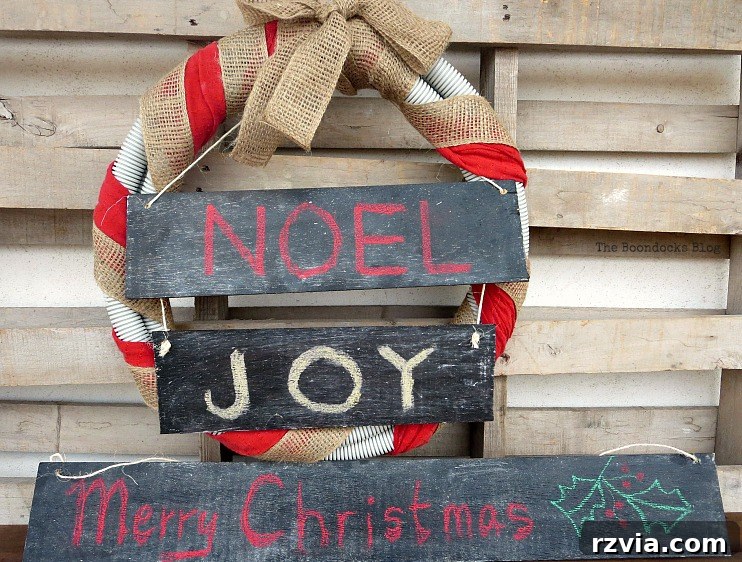
Speaking of versatility, remember that fun tube wreath I crafted a few weeks ago for Halloween? I was delighted to discover how effortlessly it transformed into a festive Christmas wreath, showcasing the power of simple seasonal updates.
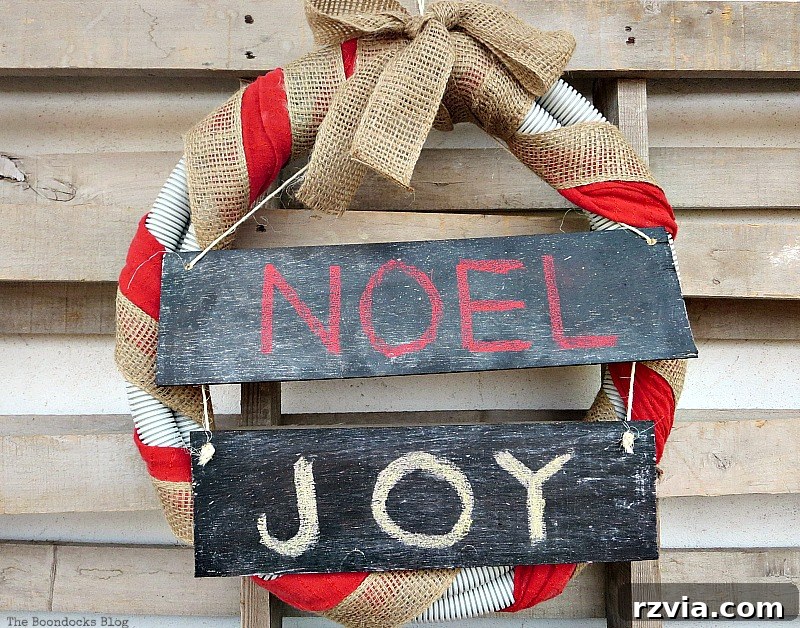
The transformation was incredibly straightforward:
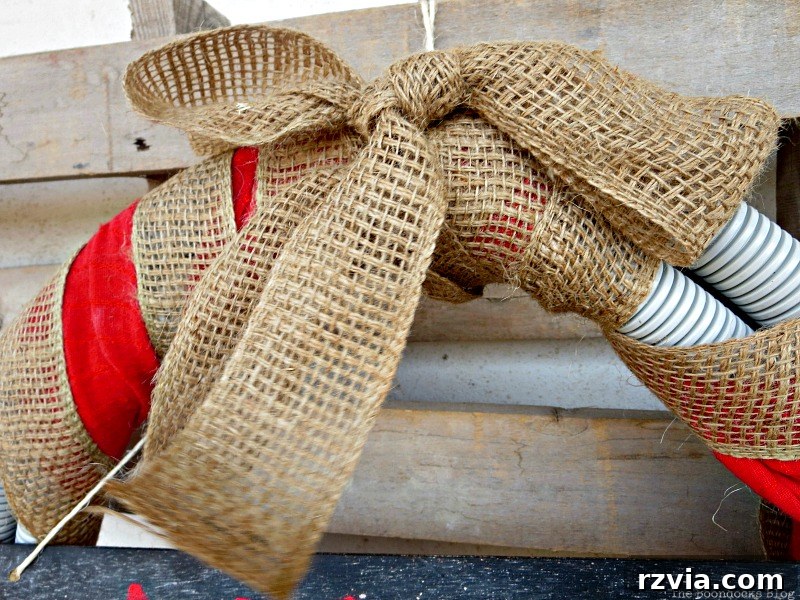
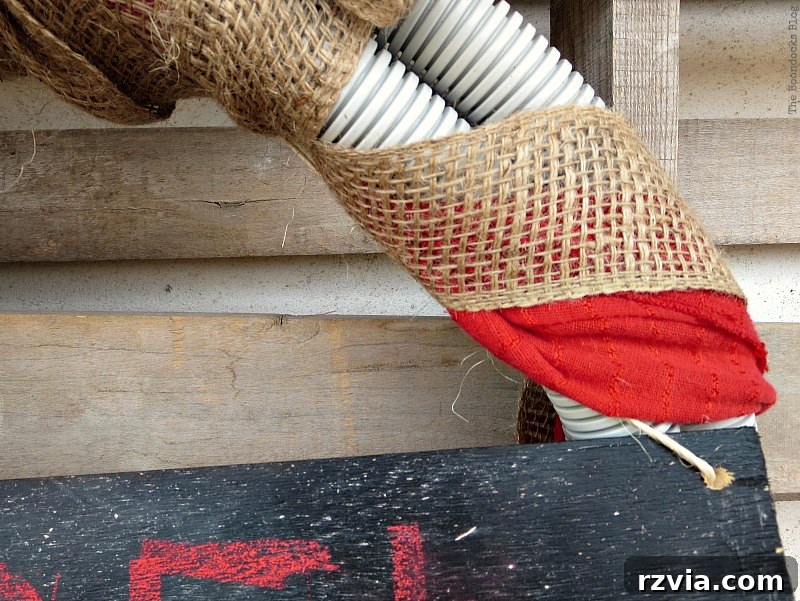
- I simply added some elegant burlap ribbon, weaving it through the wreath to give it a more rustic and holiday-appropriate texture.
Then, I incorporated one of my newly made chalkboard signs. I even cut one large sign into two smaller pieces to fit perfectly within the wreath’s design. One piece now proudly displays “Merry” and the other “Christmas,” creating a delightful and personalized festive greeting.
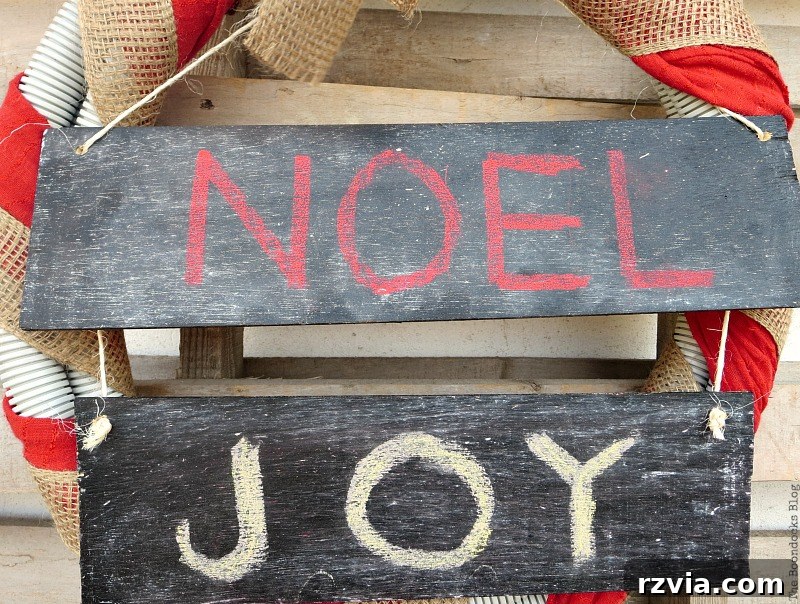
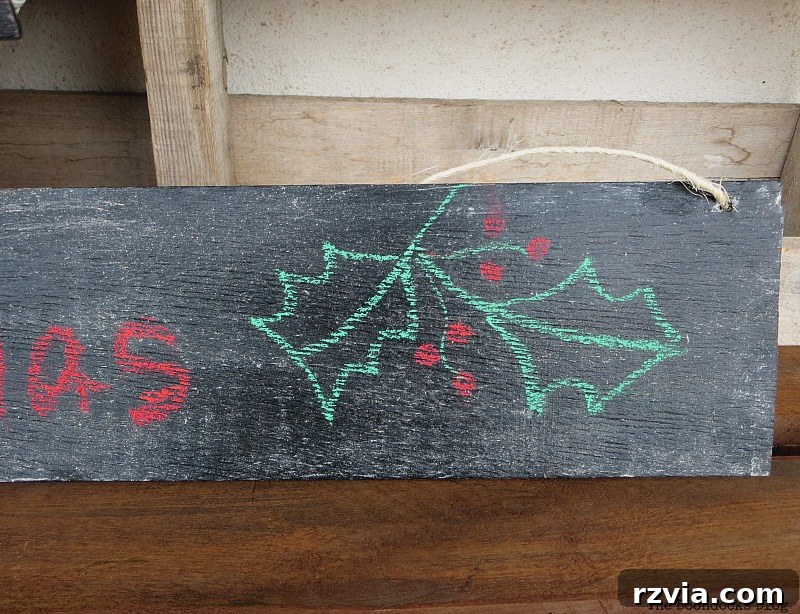
Of course, I couldn’t stop there! Because these signs are so incredibly easy and quick to make, I simply had to craft another one specifically for Christmas, featuring a classic holiday greeting. It’s hard to resist when a project brings so much joy with so little effort!
Displaying Your Handiwork
These DIY chalkboard signs are not only super easy to create but also incredibly versatile in how they can be displayed. You can easily hang them using the holes you made and some twine or ribbon, or simply lean them against a wall, on a mantelpiece, a shelf, or even as part of a festive tablescape. Their dynamic nature means you can continuously refresh your decor without needing to purchase new items for every season. As we approach the holidays, I’m certain you’ll be seeing these easy chalkboard signs gracing various spots around my home, bringing cheer and personalized touches to every room.
Now, I’d love to hear your thoughts! What do you think of that tube wreath transformation? Isn’t it amazing how a few simple additions can completely change the look and feel of a piece of decor?
If you enjoyed this project, please consider sharing it with your friends or saving it to your Pinterest boards. The image above is perfectly crafted for Pinterest!
For more DIY adventures and creative inspiration delivered twice a week, subscribe to my blog using the form on the sidebar. Rest assured, your email address will always remain confidential and will never be shared with any third party.
Related Posts: Expand Your DIY Horizons
<< Sweet Inspiration Link Party #31 HOME Facebook Photos for October >>
This blog is for entertainment purposes only; my DIY tutorials are not professional advice. Read my full disclaimer here.
I love receiving your comments and will do my best to reply to them or visit your blog. Please do not add a hyperlink to your comment, as it prevents us from publishing it.