
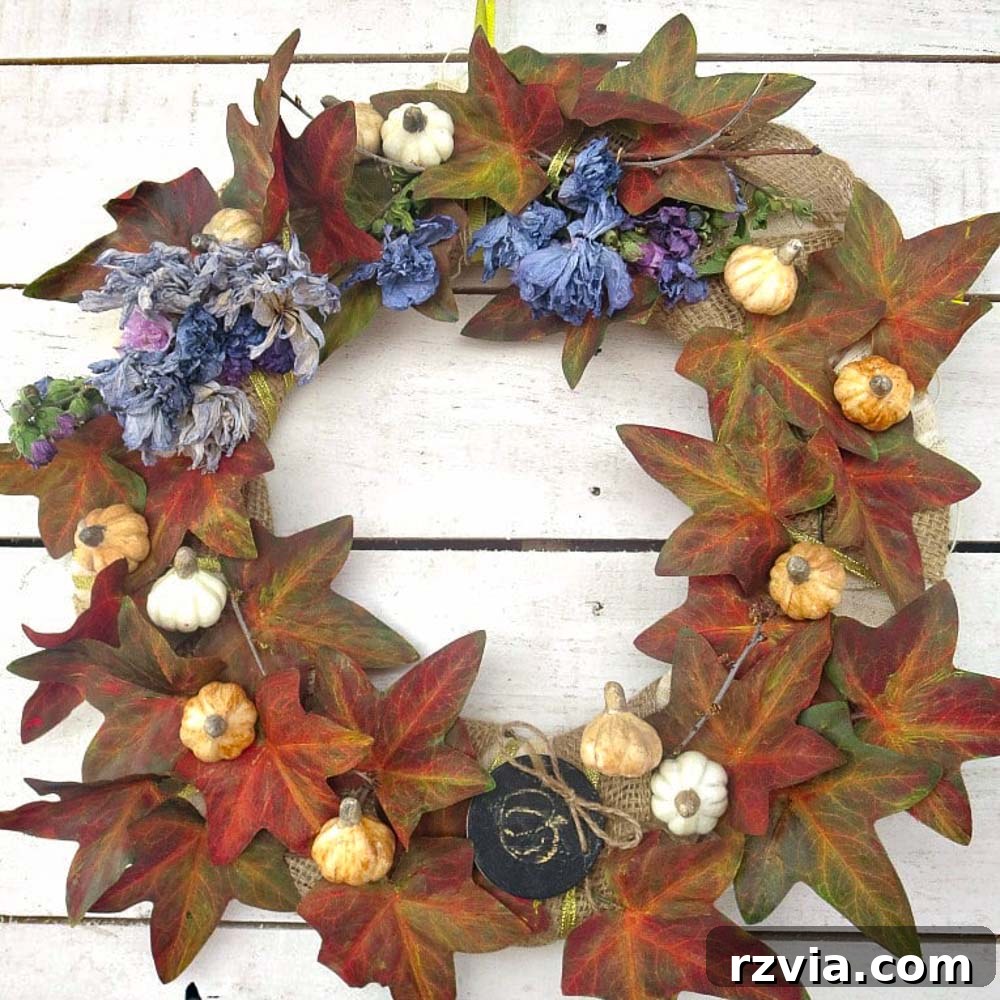
Embrace Autumn on a Budget: Craft Your Own Stunning DIY Fall Wreath from Dollar Store Finds
As the crisp air of autumn descends and leaves begin their magnificent transformation, there’s no better way to welcome the season than by adorning your home with charming, handmade decor. A beautiful DIY fall wreath on your front door or wall instantly sets a cozy, inviting tone. You might think creating such a masterpiece requires a hefty budget or complex crafting skills, but what if I told you that a stunning autumn accent could begin with a simple trip to your local dollar store?
Join me on a creative journey as we transform an unassuming dollar store vine into a vibrant, custom fall wreath that truly celebrates the spirit of the season. This project is not just about crafting; it’s about upcycling, saving money, and infusing your personal touch into every detail, proving that beautiful home decor doesn’t have to break the bank.
This endeavor is part of a fun challenge with my fellow dollar store crafting enthusiasts. You might recall our previous adventure where I crafted an easy colorful fence using dollar store flowers. The goal is always the same: to inspire creativity and show how affordable finds can be reimagined into something truly special. Make sure to stick around to the end of this post to discover the incredible creations my friends came up with using their own dollar store treasures!
Transforming the Unlikely: A Dollar Store Vine Becomes a DIY Fall Wreath Masterpiece
My quest for fall inspiration led me to the dollar store, where I quickly encountered a common crafting dilemma: shelves still overflowing with summer remnants. It was September, yet the autumn decor was nowhere in sight! Undeterred, I scouted for potential, and what I found was a rather humble, even “pathetic,” green plastic vine. It certainly wasn’t screaming “fall festival,” but I saw its hidden potential – a blank canvas ready for a seasonal makeover.
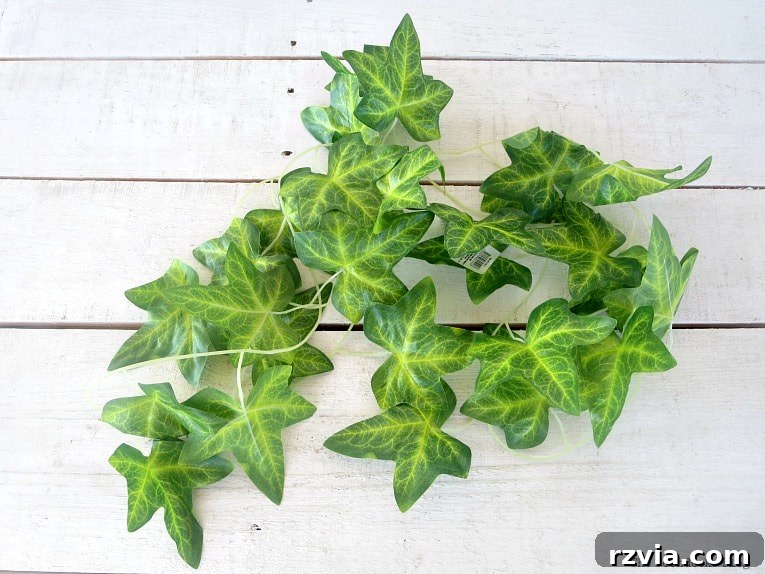
At first glance, this basic green vine might not inspire images of a cozy fall entryway. But with a dash of imagination and the right materials, even the most unassuming item can become the star of your autumn decor. This project is a testament to the power of upcycling and the joy of creating something beautiful from next to nothing.
Your Essential Crafting Arsenal: What You’ll Need for Your Budget-Friendly Fall Wreath
Disclosure: This post contains affiliate links for your shopping convenience. If you purchase any of these products through the links, we receive a small commission at no extra charge to you. You can find our full disclosure here.
Gathering your supplies is the first exciting step in any DIY project. For this upcycled fall wreath, we’re focusing on affordability and accessibility. Most of these items can be found at your local dollar store, craft store, or even around your home:
- A plastic vine: The star of our dollar store find. Look for one with leaves that can be easily painted.
- DecoArt Americana acrylic paint: In vibrant fall shades like red, yellow, black, and tan. These colors are essential for achieving that rich autumn palette.
- DecoArt Metallic Paint in Bronze: Adds a touch of elegance and shimmer to your embellishments.
- Paint brushes: Assorted sizes for detailed work and broader strokes.
- A piece of cardboard: Cut into a donut shape to form the sturdy, reusable base of your wreath. Old delivery boxes work perfectly!
- Fabric strips: Neutral colored fabric scraps are ideal for adding volume and a soft foundation to your wreath base.
- Stapler: For quick and easy assembly of the fabric strips and securing elements.
- Ribbons: A selection, including a special gold ribbon, to add color, texture, and secure your vine.
- Burlap ribbon: Provides a rustic, natural backdrop and helps hold the vine in place.
- Dried flowers: Foraged or store-bought, these add organic beauty and texture.
- Assorted embellishments: Think small pinecones, faux berries, or other seasonal items to personalize your wreath.
- Mini squash: Small, decorative squash (often found at dollar stores or craft sections) will be painted to match our fall theme.
- Toothpicks: A simple, effective tool for attaching the squash.
The How-To: Crafting Your Budget-Friendly Autumn Masterpiece
Step 1: Infusing Color – Painting Your Dollar Store Vine
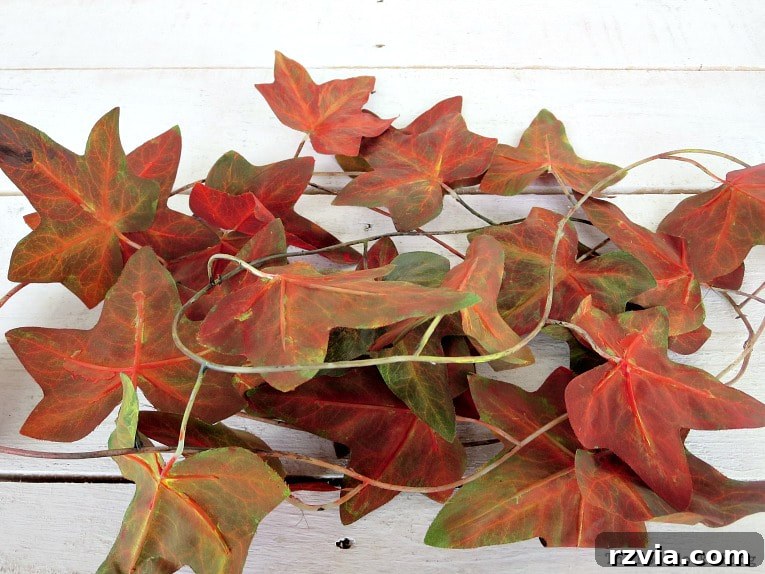
My initial reaction to the bright green vine was clear: it needed a serious dose of autumn! So, I eagerly pulled out my DecoArt Americana acrylic paints and got to work. This is where the magic truly begins – transforming a summer-green vine into a vibrant cascade of fall foliage.
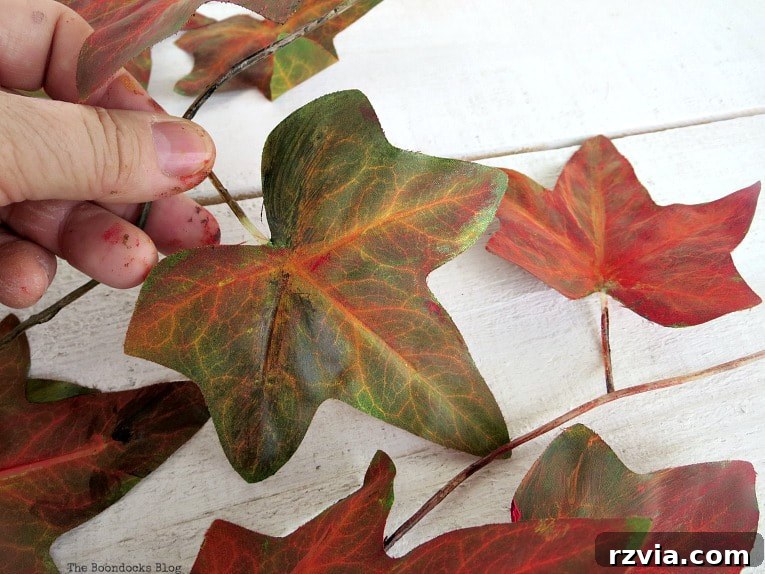
There’s something incredibly satisfying about watching those greens disappear under layers of rich red and sunny yellow. These colors, when blended, naturally create gorgeous shades of orange, perfectly mimicking the autumn leaves outside. Don’t be afraid to experiment with your brushstrokes to achieve a natural, variegated look. I’m a huge fan of DecoArt acrylics; they’re incredibly versatile and always come to my rescue for any crafting challenge. I got so engrossed in the painting that even my workspace got a colorful makeover – but we’ll keep that between us!
Initially, I had a fleeting thought of integrating this newly painted vine into another ongoing project. However, that project featured lovely blues, which wouldn’t quite capture the fierce, fiery essence of fall I was aiming for. It quickly became clear: this vine was destined to become a standalone fall wreath, much like another favorite I crafted using dollar store supplies.
Step 2: Building the Foundation – Creating Your Reusable Wreath Base
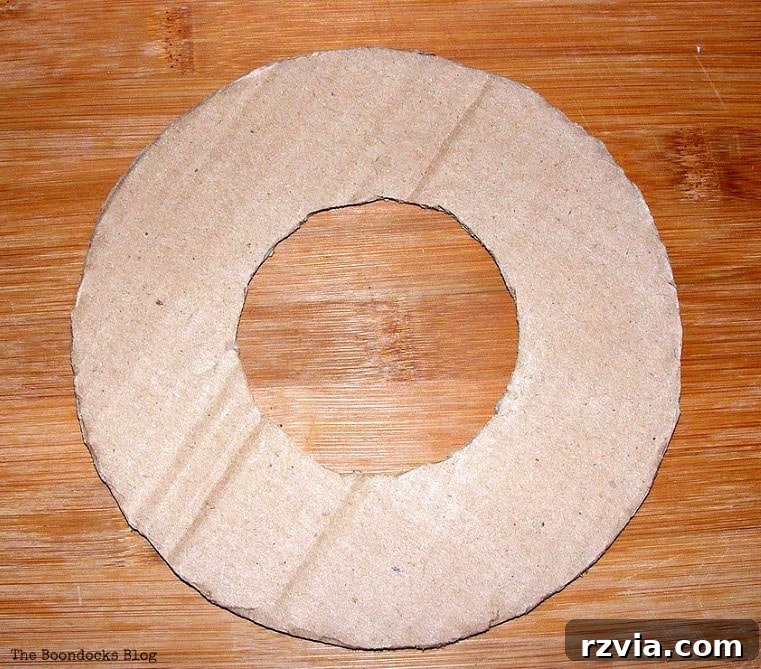
One of my favorite crafting hacks is creating a versatile, reusable wreath base from a simple piece of cardboard. This not only saves money but also promotes sustainable crafting, allowing you to easily swap out seasonal decorations without buying a new wreath form every time. Simply take a sturdy piece of cardboard (perhaps from an old delivery box) and cut it into a donut shape. This will be the durable foundation for all your future wreaths.
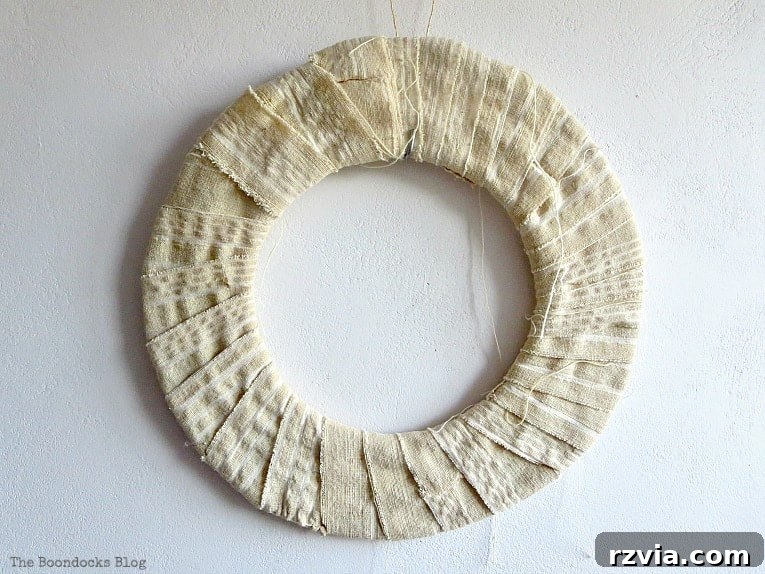
Next, we’ll add some bulk and a soft surface to this cardboard foundation. I used a neutral-colored piece of fabric, cut into strips, and wrapped it tightly around the donut shape. There’s no need for perfection here; a rustic, slightly uneven look often adds to the charm. I found that stapling the fabric strips together and then directly to the cardboard was the quickest and most secure method. If you prefer a more polished finish, you could certainly use hot glue.
Step 3: Layering for Texture – Burlap and Vine Integration
Initially, I attempted to simply wrap the painted vine directly around the fabric-covered base, but the leaves had a mind of their own and refused to stay put. This led to a better solution: incorporating burlap ribbon. Burlap not only adds a lovely rustic texture but also provides a much-needed grip to secure our vine.
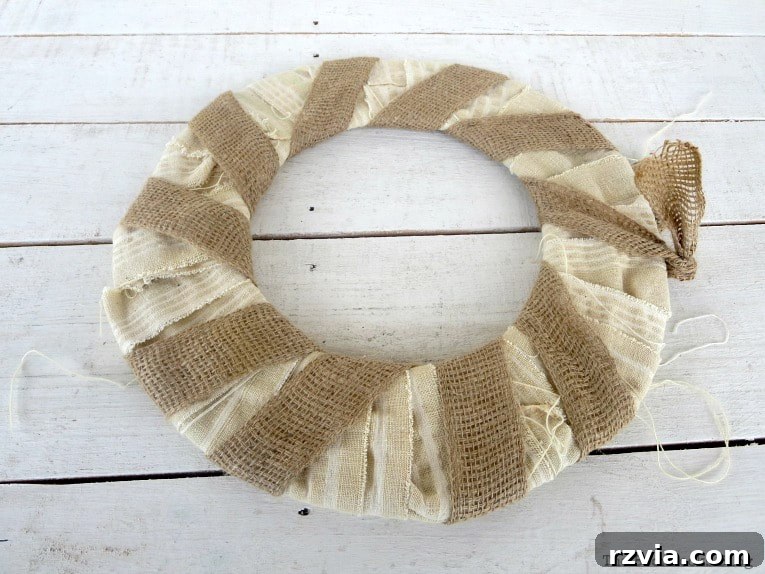
Carefully wrap the burlap ribbon around your base, ensuring it covers the fabric and provides a sturdy layer. Once the burlap is in place, you can begin to tuck the painted vine between its folds. This method allows the vine to be securely held while still displaying its beautiful fall colors.
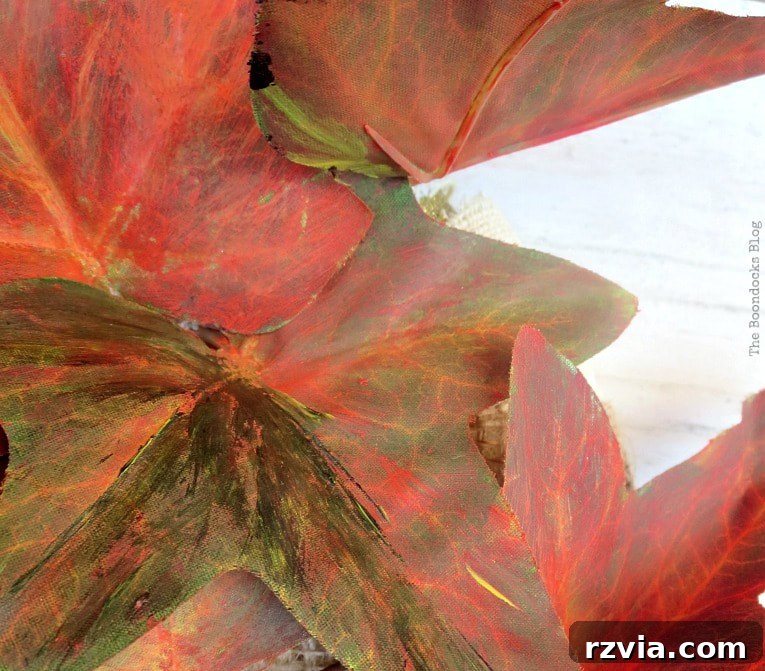
Step 4: Adding Golden Accents – The Ribbon with a Story
Even with the burlap, some of the painted leaves still felt a bit unruly. To further secure them and add another layer of visual interest, I introduced a second ribbon – a beautiful gold one. This wasn’t just a practical decision; it was inspired by a cherished fall memory.
I distinctly remember a cloudy autumn day in New York, walking through a nature preserve. Suddenly, a single ray of sunshine broke through, illuminating a cluster of yellow leaves, making them shimmer like pure gold. That moment, those golden nuggets of light, encapsulated the quintessential beauty of fall for me. It’s that vivid memory that the gold ribbon seeks to capture, adding a touch of unexpected sparkle and warmth to the wreath.
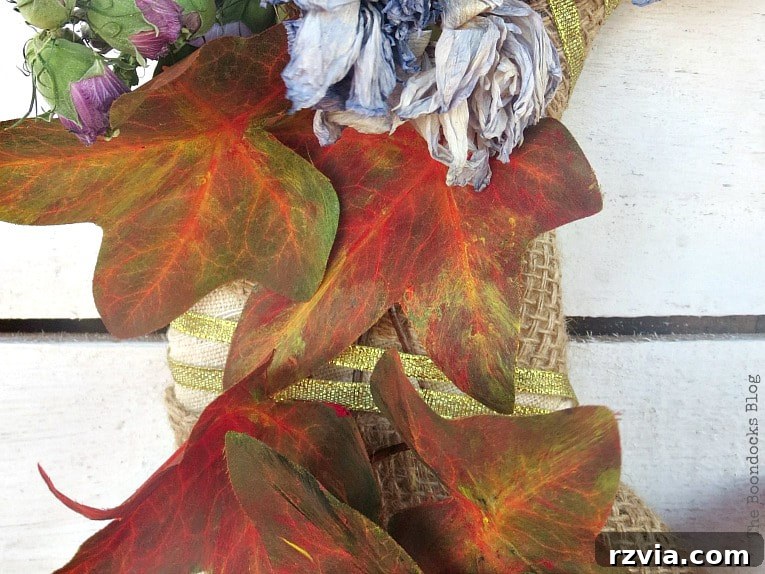
Step 5: Nature’s Touch – Incorporating Dried Flowers and Embellishments
No fall wreath is complete without natural elements. I added a few dried flowers that were readily available on the streets at the time. These particular flowers, pink or lilac when blooming, dry into a soft blue hue and grow on trees. I’m still trying to identify them – if anyone knows their name, please share! These delicate additions bring an organic, ethereal quality to the wreath.
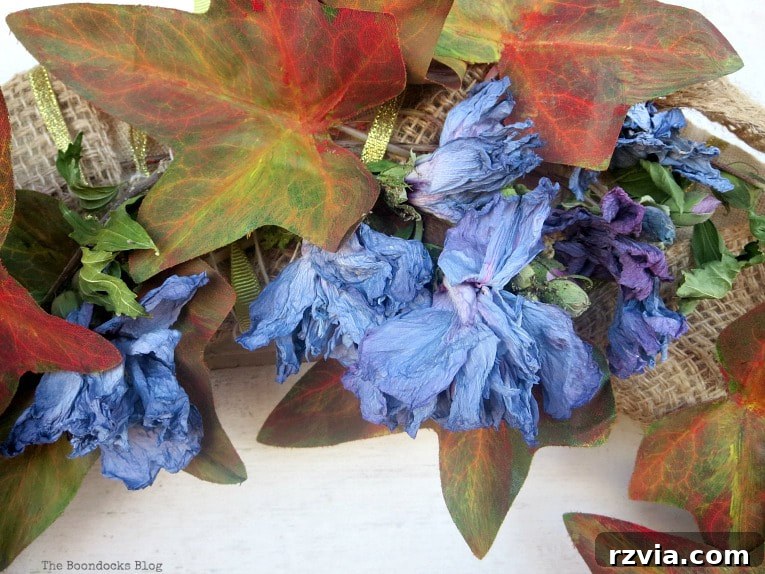
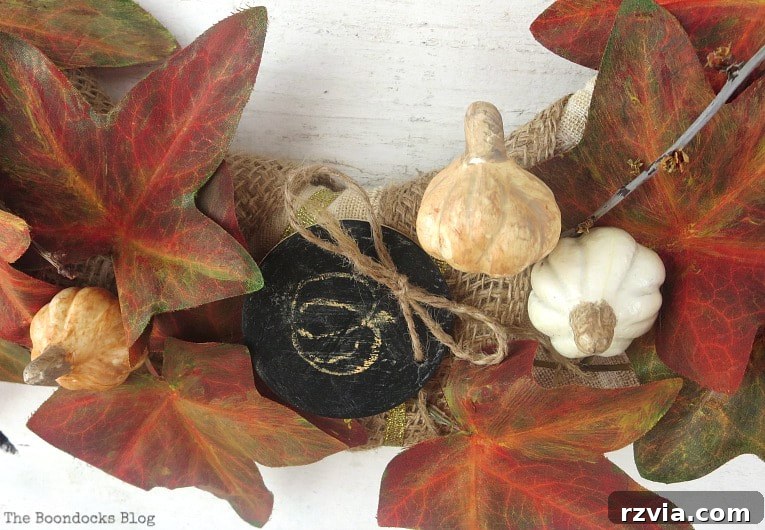
Initially, I thought a small chalkboard sign would complete the look, and for a moment, I was content. However, after stepping back, I realized the wreath still needed a little something extra, a touch more depth and character.
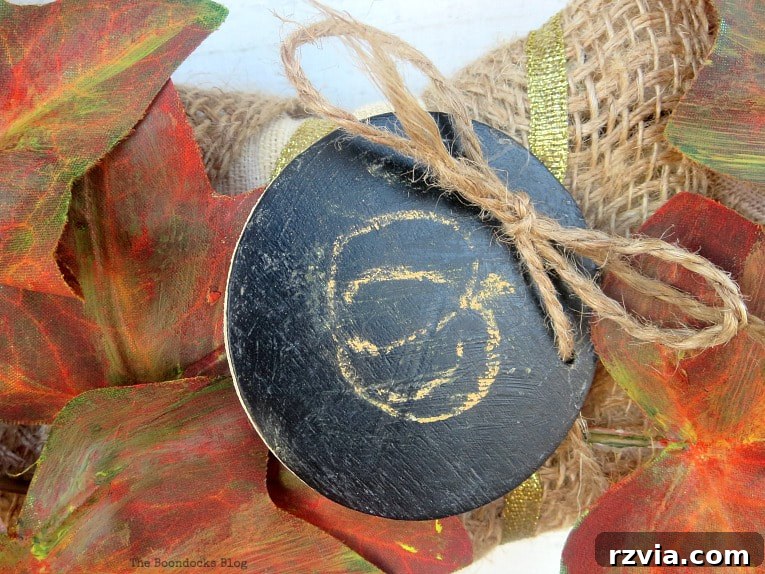
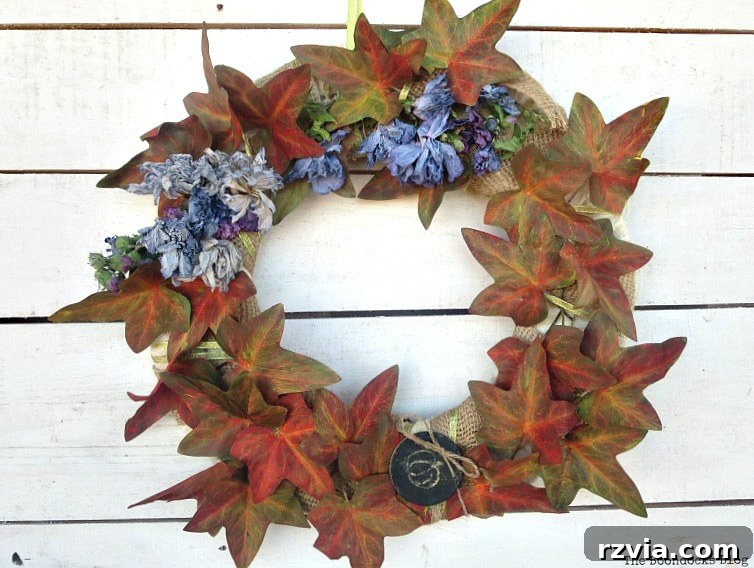
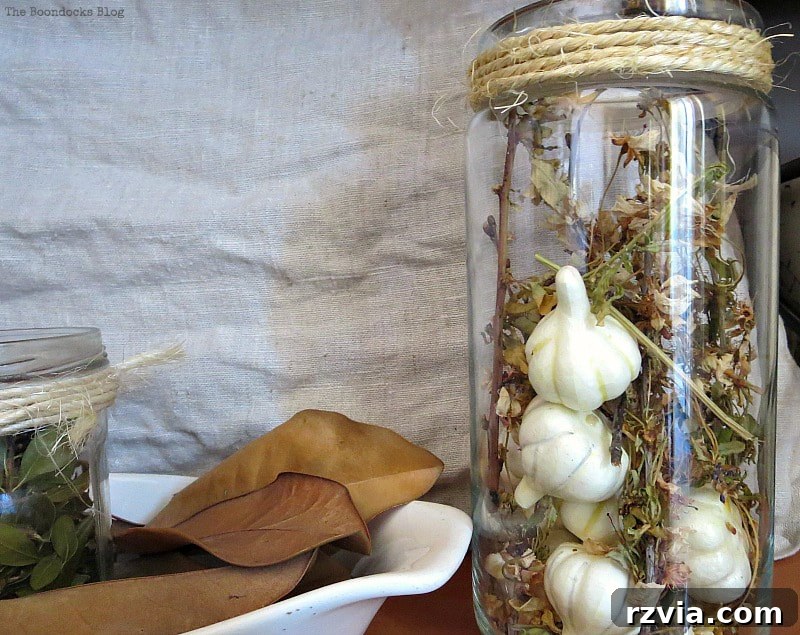
I remembered a collection of mini squash from a previous dollar store haul, used for my “How to Fake a Fall Vignette” project and later for Halloween decor. Why not give them a new life on this wreath? Repurposing existing decorations is a fantastic way to maximize your budget and creativity.
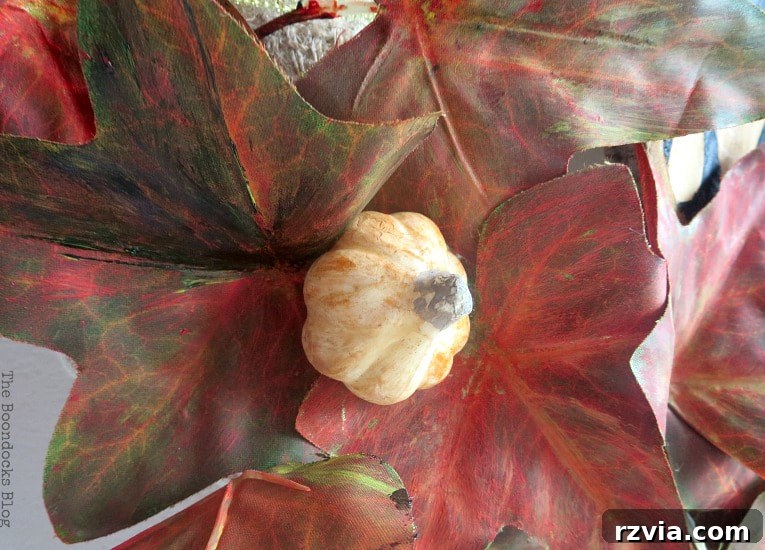
This time, instead of their original white, I painted the mini squash in complementary fall colors: bronze for a metallic sheen, tan for an earthy tone, and black for contrast. This cohesive color palette ties all the elements of the wreath together beautifully.
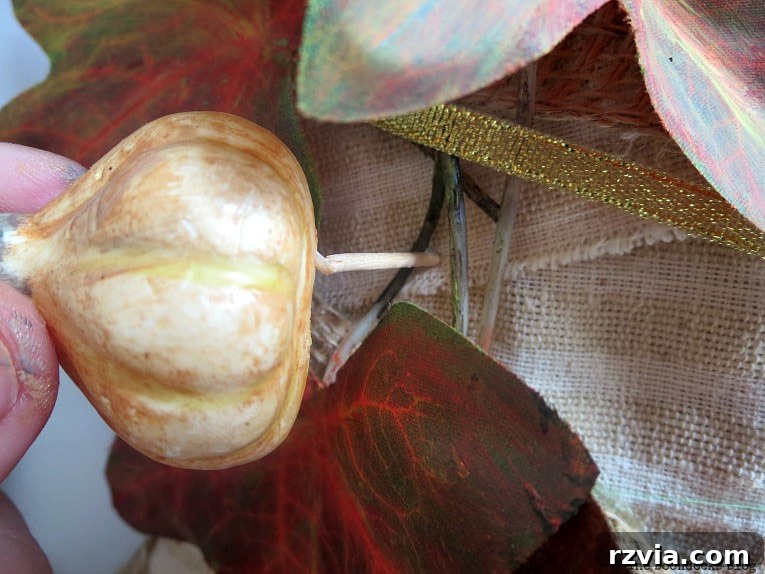
Attaching these lightweight styrofoam squash was surprisingly simple. I snapped ordinary toothpicks into two pieces, creating shorter, double-ended spikes.
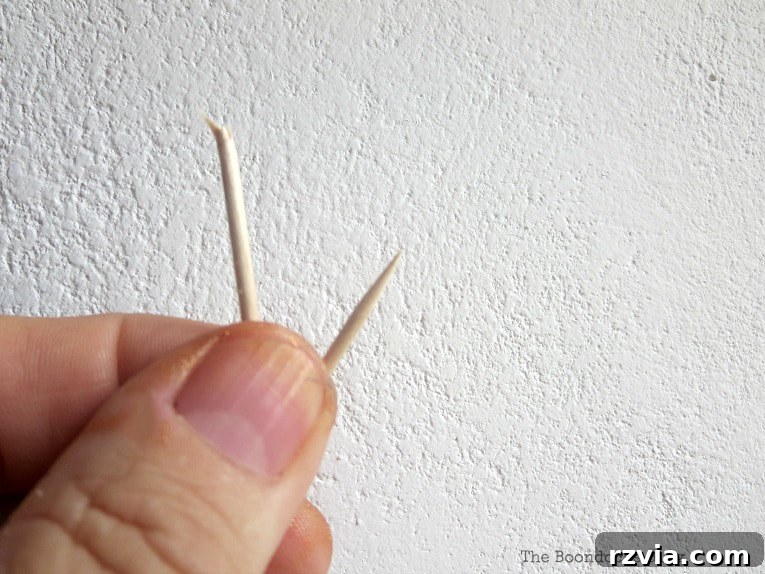
Then, I carefully pushed one pointy end of the toothpick into the cardboard base of the wreath and the other end into the styrofoam squash. This method provides a secure attachment without the need for messy glue, making it easy to rearrange or remove elements if desired.
To add a final layer of variety and visual interest, I tucked in a few random stems, scattering them amongst the leaves and squash. These small additions create more depth and a fuller, more dynamic look.
The Grand Reveal: Your Upcycled Dollar Store DIY Fall Wreath
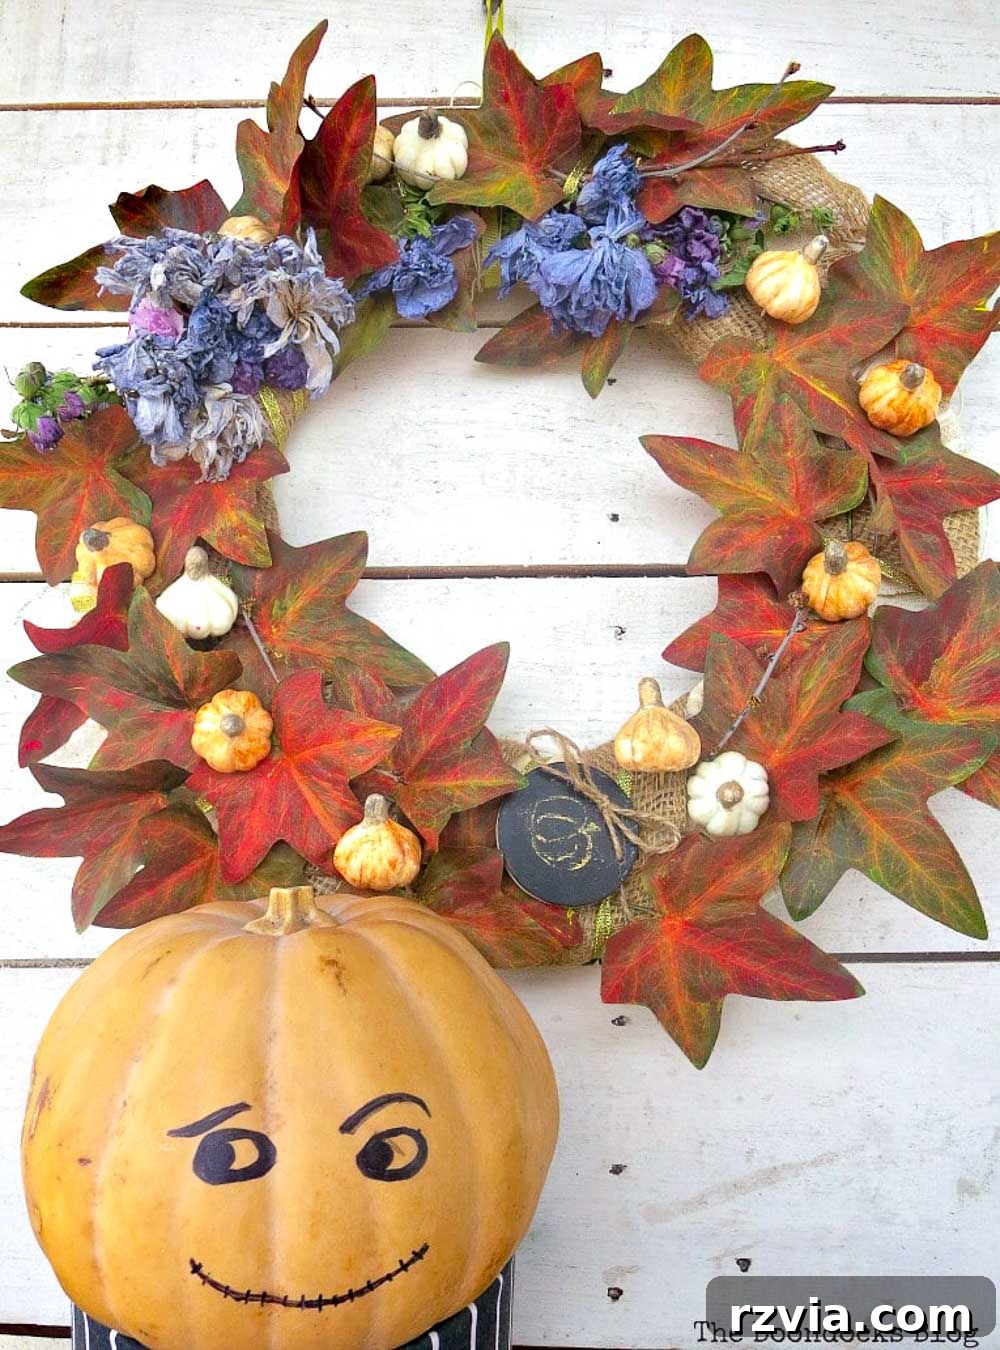
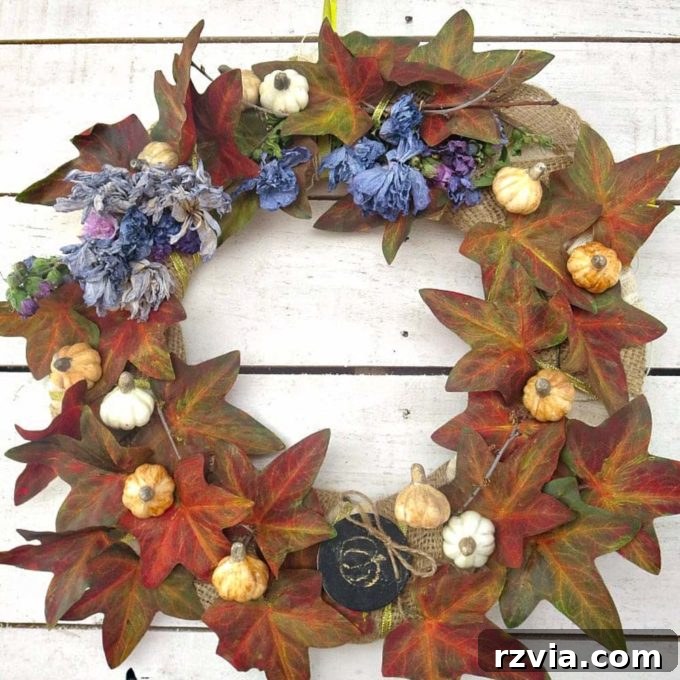
And there you have it – my pride and joy, the upcycled dollar store DIY fall wreath! From a “pathetic” green vine to a vibrant autumn display, this project truly showcases the potential within inexpensive materials. I refused to let the dollar store’s lingering summer stock dictate my fall decor, and the result is a testament to the power of creative persistence.
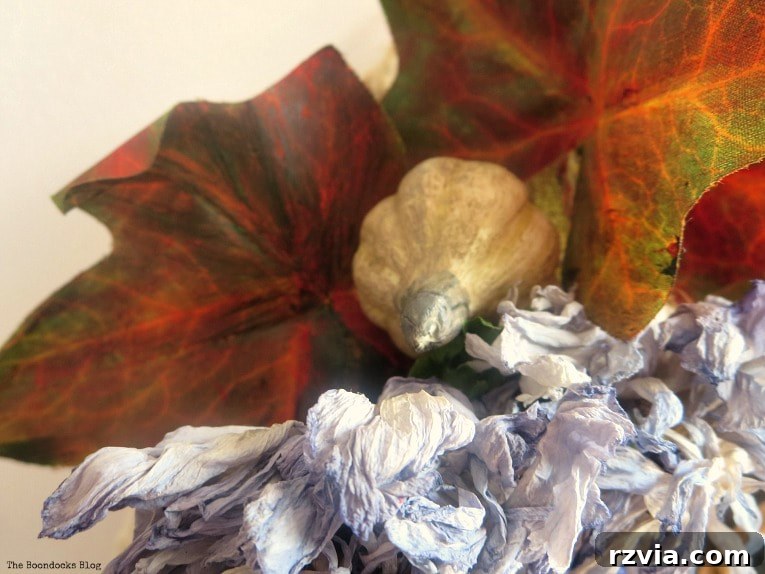
Even my beloved pumpkin man, a cherished piece of fall decor, offers his enthusiastic approval. He’s been a loyal companion, witnessing countless crafting adventures and providing his silent endorsement.
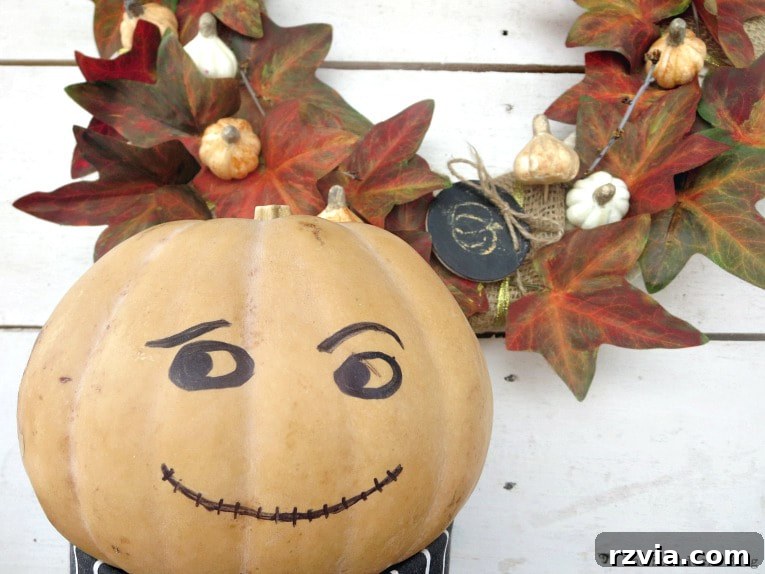
For those wondering, yes, this is the very same pumpkin I wrote about last year! He’s a true survivor, nearly a year old and still bringing joy. However, all good things must come to an end, and it’s time for him to retire gracefully, making way for the new season’s pumpkin crop.
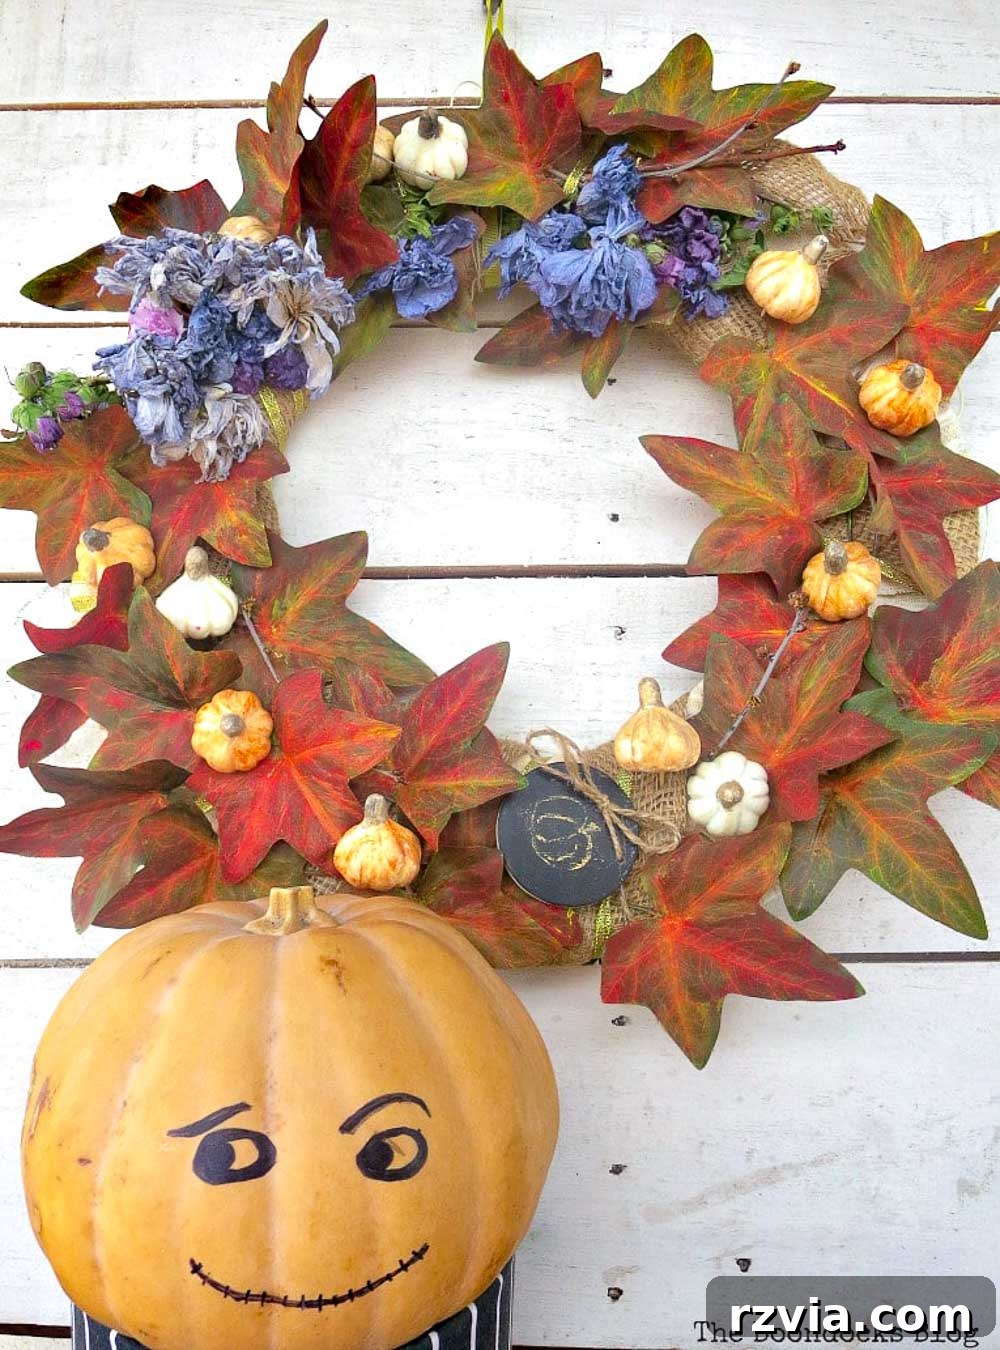
Key Takeaways from This Budget Fall Craft Project
Beyond the simple steps of painting and assembling, what deeper insights can we glean from this creative endeavor? While it’s useful to have paints on hand, never throw anything out, and always seek the pumpkin man’s approval, the most valuable lesson here is about observation and appreciation for nature’s details. When you gather natural elements, try to learn their names – it connects you more deeply with the world around you!
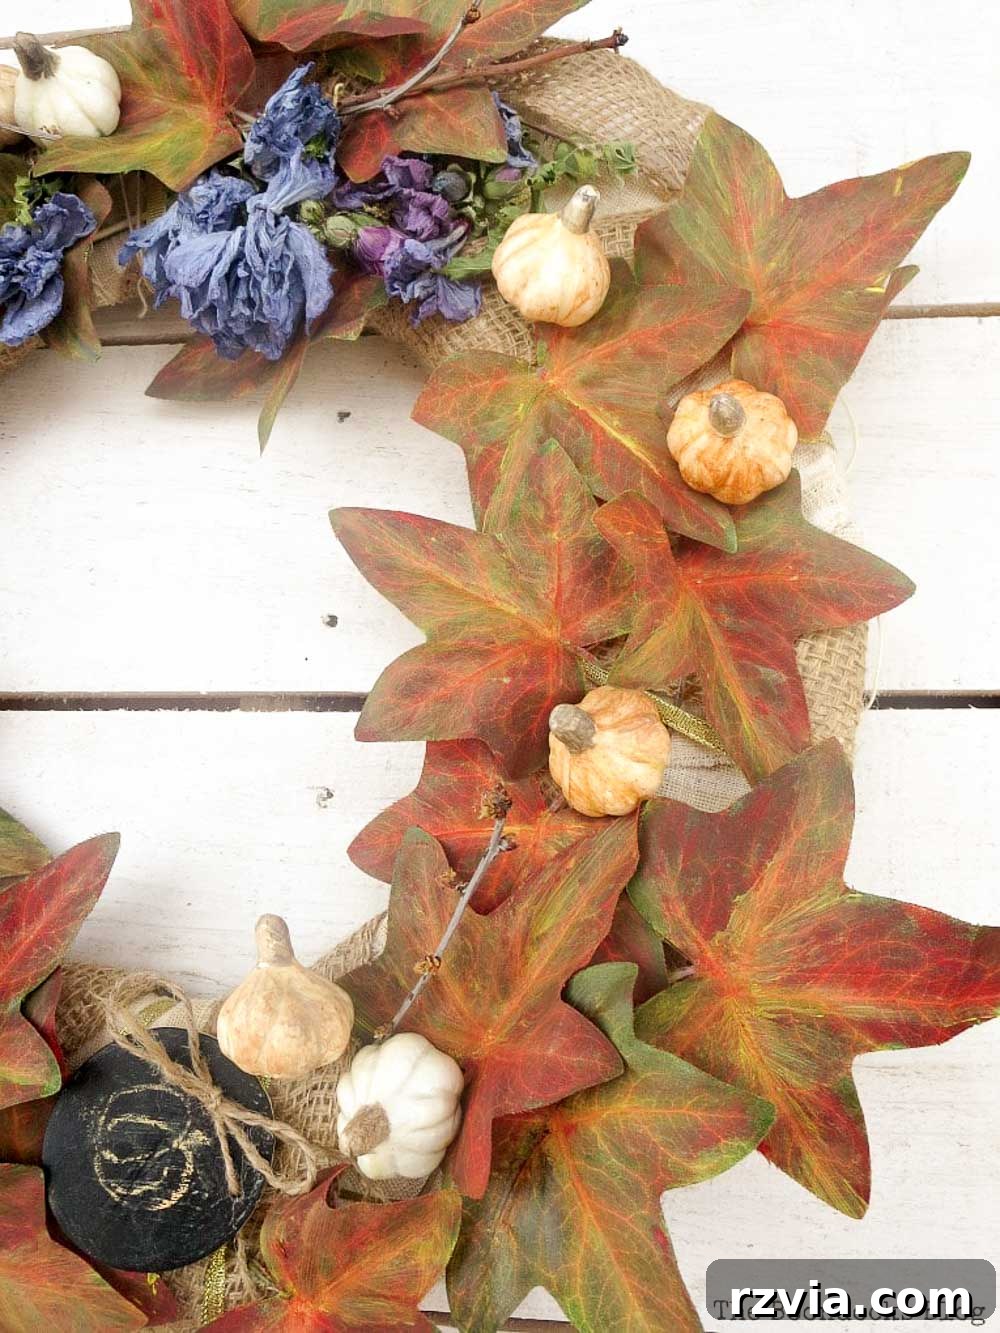
The reusable cardboard base is a game-changer. It’s incredibly cheap, simple to make, and, most importantly, environmentally friendly. In a world where sustainability is paramount, opting for reusable elements helps us be kinder to our planet. This approach perfectly aligns with my passion for thrifty and green crafting!
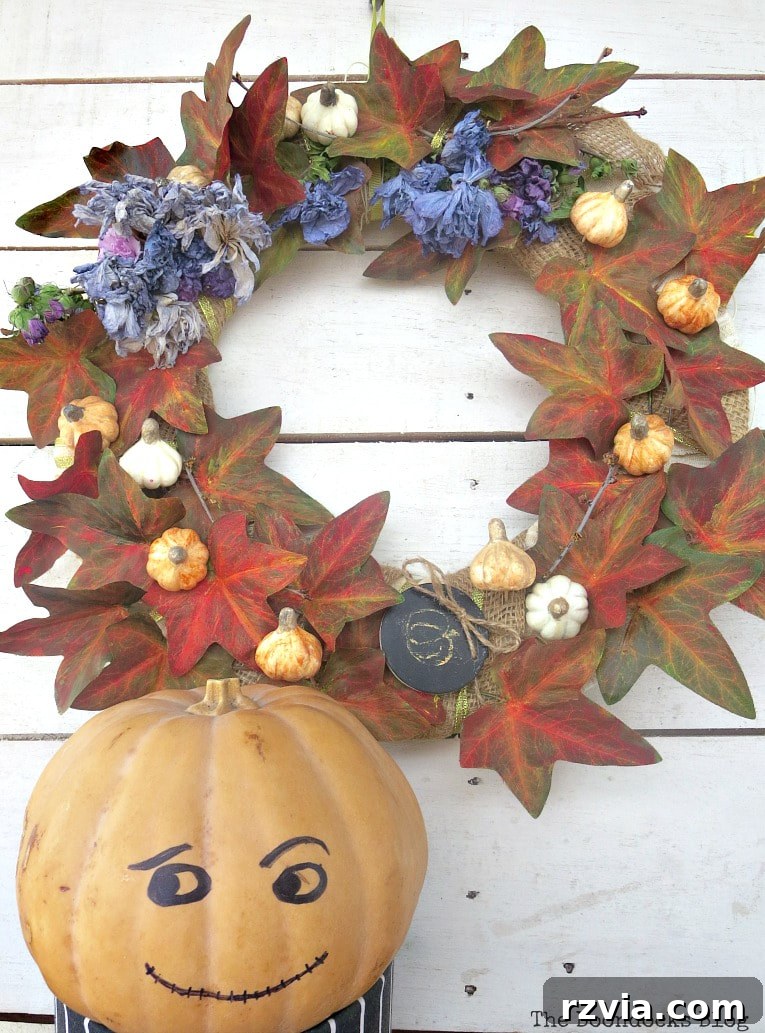
Ultimately, I’ve crafted a beautiful DIY fall wreath for my wall, showcasing how a little creativity can overcome initial limitations. While I initially felt the dollar store wasn’t quite ready for fall, it did provide the essential starting point for this project. Without that simple green vine, the journey would have undoubtedly taken a different, perhaps less budget-friendly, path.
If you’re inspired by the painted leaf look, you might also love this pretty metallic fall leaf wreath from Sustain My Craft Habit, offering another creative take on autumn foliage.
Additional Dollar Store Fall Craft Ideas from Our Creative Community
Now, it’s time to explore the amazing creations my crafty blogging friends have conjured up for this dollar store craft challenge. Prepare to be inspired by their ingenuity and resourcefulness!
- Across the Boulevard
- My Husband Has Too Many Hobbies
- Purple Hues and Me
- Sew Crafty Crochet
- Stone Cottage Adventures
- The Boondocks Blog
- Two Chicks and a Mom

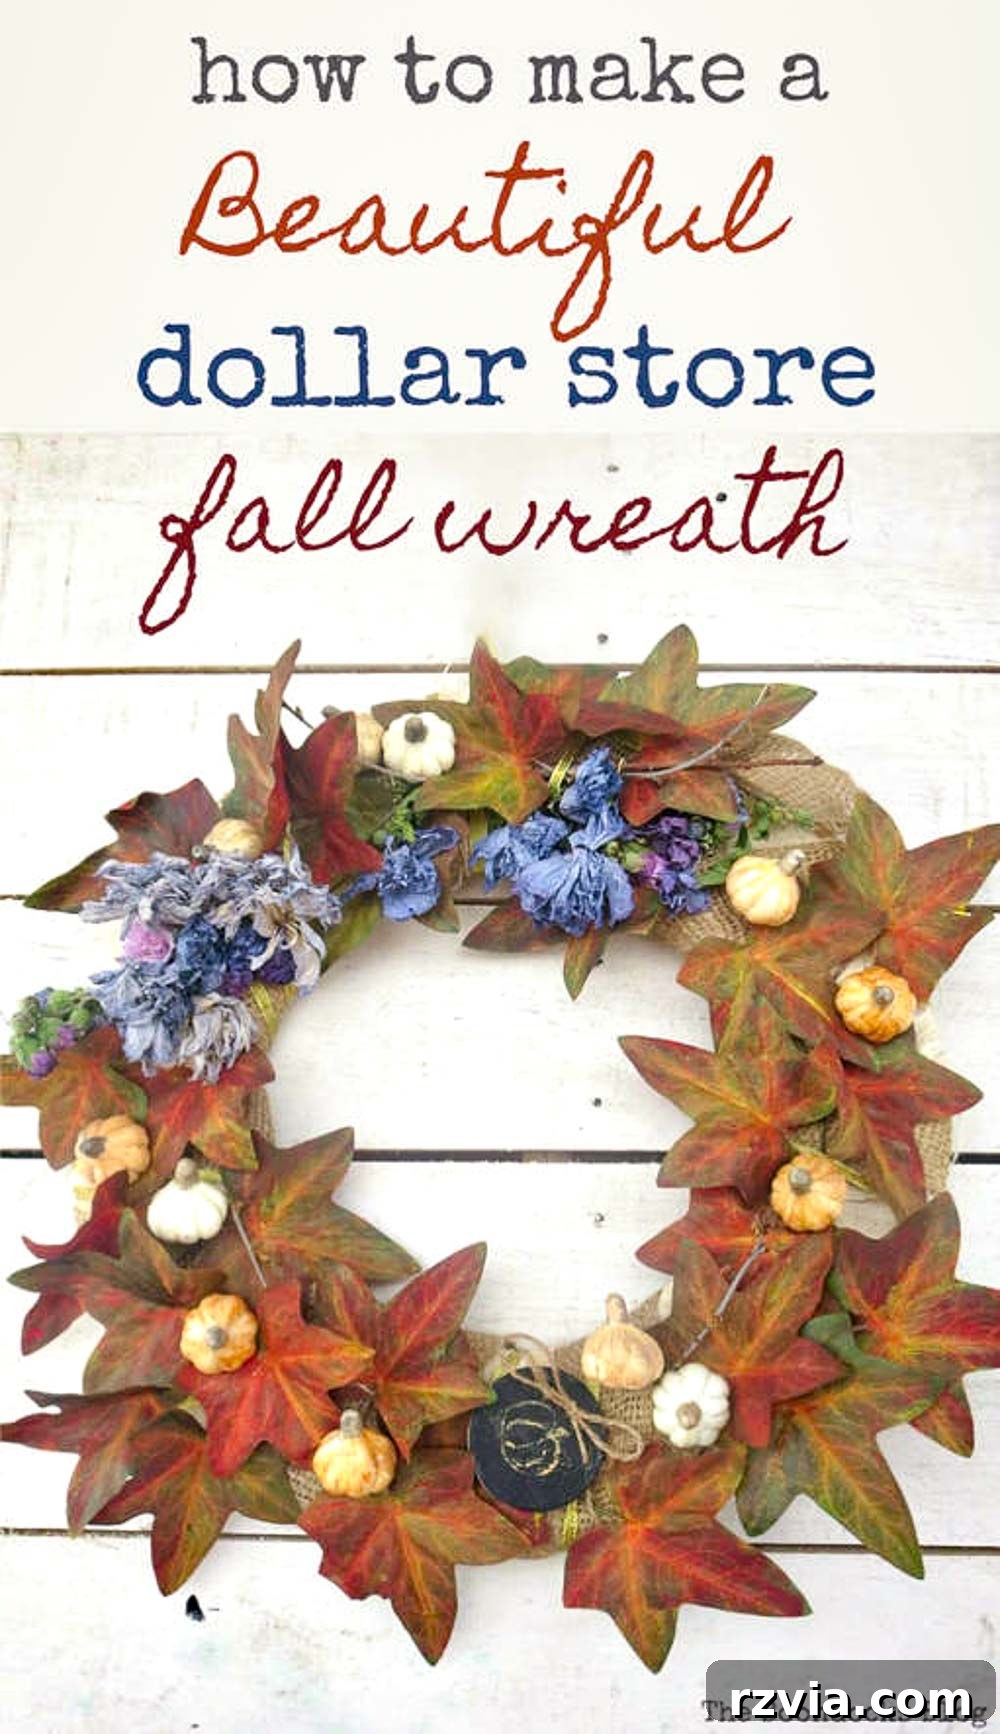
If you enjoyed this project and found it inspiring, please share it with your friends or save it to your Pinterest boards! The image above is perfectly crafted for Pinterest sharing!
More Fall DIY Ideas to Explore for a Cozy Home
If you’re eager for more autumn crafting, check out these other fantastic DIY projects that will help you infuse your home with fall charm:
If you truly love what you see and want to stay updated on all my creative adventures, subscribe to my blog! You’ll receive fresh inspiration twice a week directly in your inbox. The subscription form is conveniently located on the sidebar, and rest assured, your email will never be shared with a third party.
This blog is intended for entertainment purposes only; my DIY tutorials are not professional advice. Please read our full disclosure here for more information.