
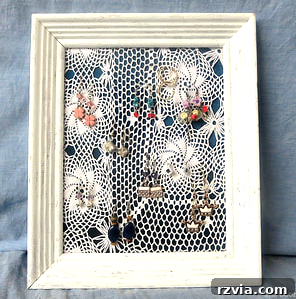
Craft Your Own Elegant DIY Earring Holder: A Step-by-Step Guide to Beautiful Jewelry Organization
Are your beloved earrings tangled in a messy jewelry box, making it nearly impossible to find the pair you want? Do you dream of a beautiful, accessible way to display your sparkling collection? Look no further! This comprehensive guide will walk you through creating an exquisite, organized DIY earring holder using materials you likely already have at home. Not only will this project declutter your dresser, but it also adds a touch of personalized charm to your space, transforming forgotten earrings into a captivating display.
Every September, our crafting community comes together for a delightful Handmade Christmas Gift blog hop. The goal? To create one unique, handcrafted gift each month, ensuring we have a collection of 12 thoughtful presents ready by December. It’s a fantastic way to spread holiday cheer and inspire fellow crafters. In past months, I’ve enjoyed making projects like a cozy fleece pillow and a charming wooden heart. This month, it’s my turn to share a project, and I’ve decided to craft something truly special – a gift for myself! After all, a happy and organized blogger is a productive blogger, and I’ve been yearning for a better way to keep my earrings in order.
The inspiration for this elegant jewelry organizer struck me after seeing a brilliant idea from my friend Lauren at Bless’er House. The concept of having all my jewelry visually accessible, neatly hung and displayed, immediately resonated. No more rummaging through cluttered boxes or untangling chains – just effortless selection of the perfect pair. This project embraces that philosophy, adapting it with a unique, soft, and sophisticated aesthetic that I’m thrilled to share with you.
Essential Supplies for Your DIY Earring Display
One of the most appealing aspects of this project is its reliance on readily available and often upcycled materials. Before you begin, gather these items:
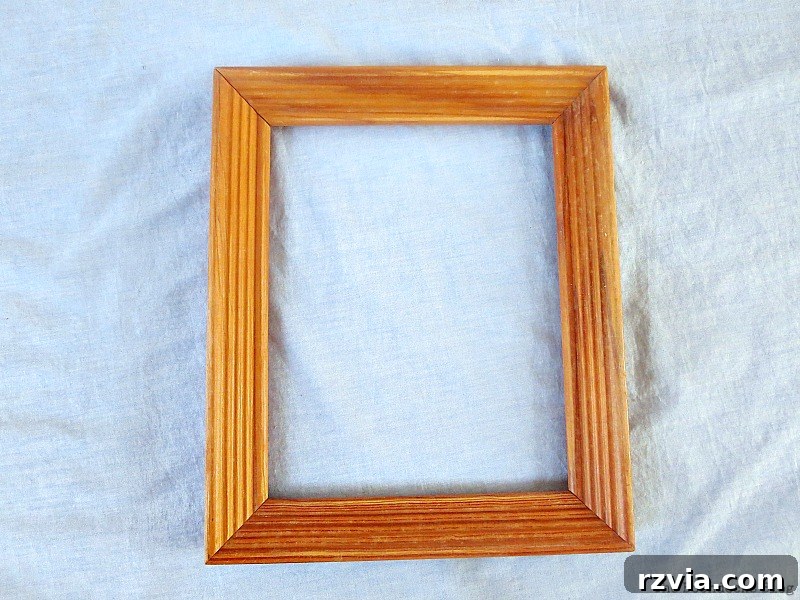
- Wood Photo Frame: A key component! Thrift stores are treasure troves for inexpensive frames of various sizes. Look for sturdy wood frames that can be easily painted and repurposed. Consider the size of your earring collection and the space where you plan to display your organizer.
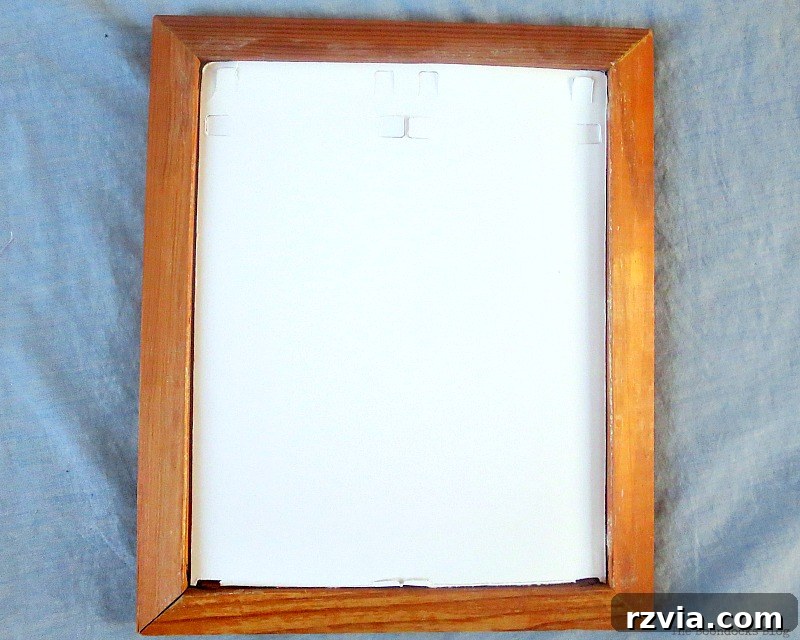
- Cardboard: A piece of thick cardboard, cut precisely to fit inside the frame’s opening. This will serve as the sturdy backing for your fabric and doily. You can repurpose a piece from a shipping box.
- White Paint (Chalk or Acrylic): Choose a paint that adheres well to wood and offers a lovely finish. Chalk paint provides a matte, vintage look, while acrylic craft paint offers a wide range of colors and finishes.
- Paint Brush: A good quality brush will ensure smooth application and even coverage.
- Fabric: This is where your creativity shines! Upcycle a beloved piece of clothing, like a satin blouse, or utilize scrap fabric from previous sewing projects. Look for fabrics with interesting textures or subtle patterns that complement your decor. A soft, slightly stretchy fabric works well.
- Large Doily or Lace Fabric: This provides the intricate pattern and the essential holes for hanging your earrings. An antique doily adds vintage charm, but any lace fabric with an open weave will work beautifully.
- Scissors: Sharp scissors are crucial for precise cutting of cardboard and fabric.
- Hot Glue Gun with Clear Craft Glue: A hot glue gun offers a quick and strong bond, essential for securing the fabric and doily in place. Ensure you have plenty of glue sticks!
Step-by-Step Guide: How to Craft Your Own Earring Organizer
Creating this beautiful jewelry display is a straightforward and rewarding process. Follow these detailed steps to bring your vision to life:
Step 1: Prepare Your Frame
Begin with your chosen wood frame. Thoroughly clean it with soap and water to remove any dust, dirt, or grime. Allow it to dry completely. If the frame has a particularly glossy finish or existing paint that you want to hide, a light sanding with fine-grit sandpaper can help the new paint adhere better. Our goal is to create a clean canvas for our elegant design.
Step 2: Cut the Cardboard Backing
Measure the interior opening of your frame precisely. Then, take a thick piece of cardboard and carefully cut it down to fit snugly within those dimensions. A precise cut is important for a professional finish, ensuring the backing doesn’t slip or buckle once assembled. If your cardboard is too thin, you might consider layering two pieces for added rigidity.
Step 3: Paint the Frame
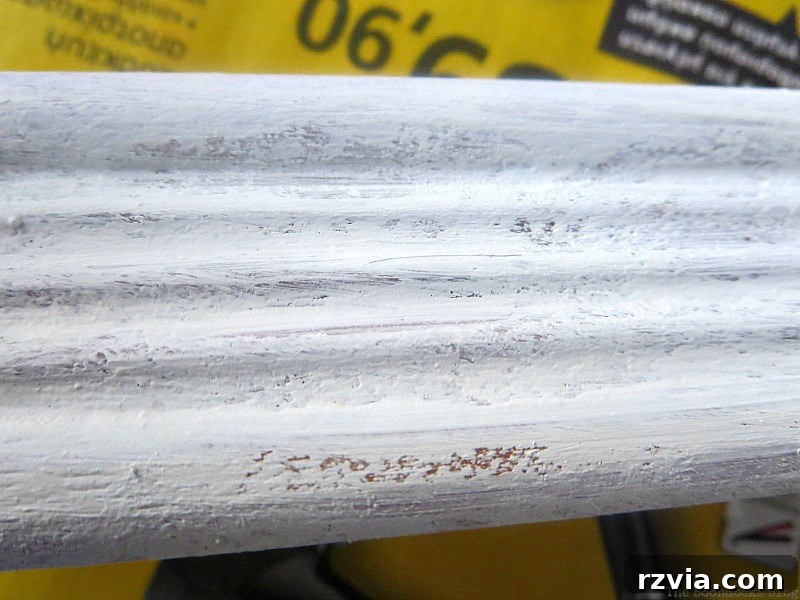
Now, it’s time to transform your frame. I used an acrylic craft paint. When I poured the paint onto my palette, it was quite thick – likely because I hadn’t closed the bottle properly! While I could have thinned it with a little water, I decided to apply it as it was. This happy accident resulted in a beautiful, textured finish that gave the frame an instant, rustic charm. One generous coat was all it needed to achieve the desired effect. If you prefer a smoother finish, thin your paint slightly, or apply multiple thin coats, sanding lightly between each. Allow the paint to dry thoroughly according to the manufacturer’s instructions.
Step 4: Repurpose Your Fabric
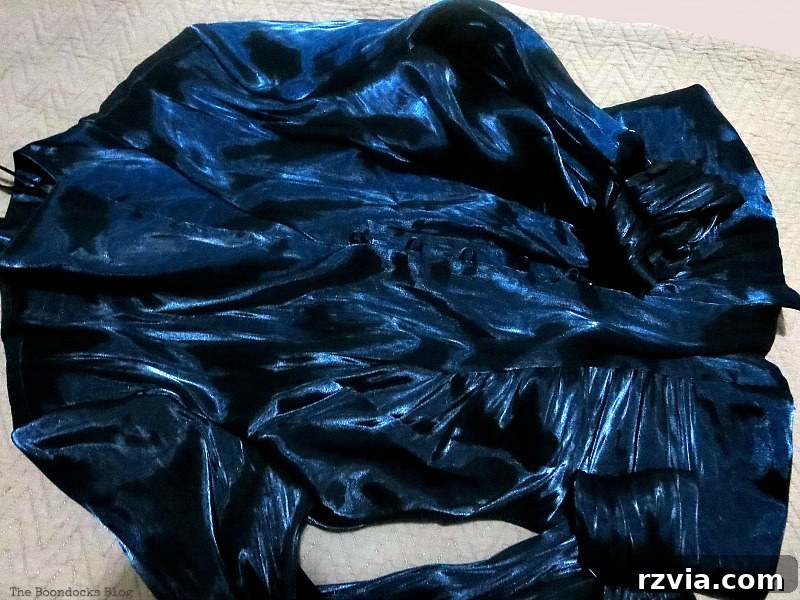
This step truly embodies the spirit of upcycling! I chose to repurpose a lovely satiny blue blouse. It was a beautiful garment, but sadly, I could barely fit one arm into it anymore. Instead of letting it languish in the back of my closet, it found a new purpose. Carefully cut a piece of your chosen fabric that is slightly larger than your cardboard backing on all sides – this allows for wrapping and securing. Then, using your hot glue gun, carefully stretch and glue the fabric onto one side of the cardboard, wrapping the edges to the back. Ensure the fabric is taut and smooth on the front, with no wrinkles or puckers. The satin created a luxurious, soft background for the earrings.
Step 5: Incorporate the Doily (or Lace)
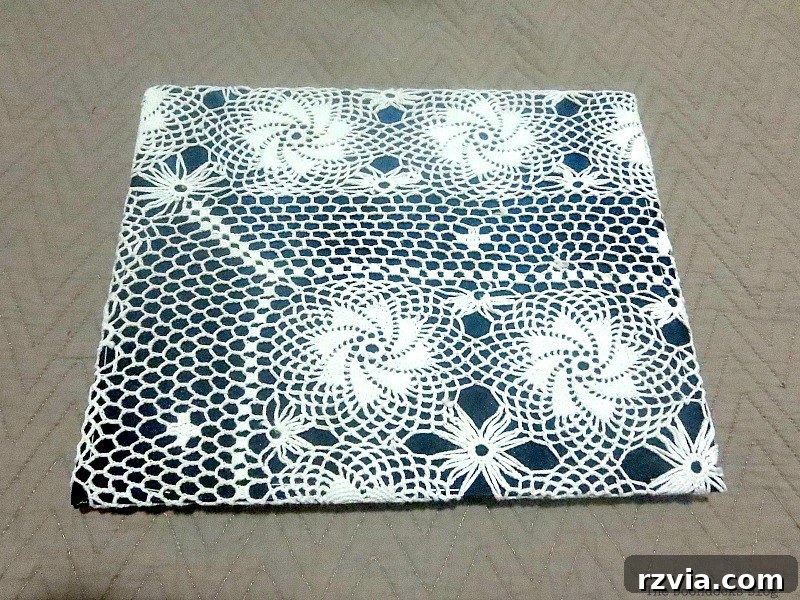
This is where we achieve the functionality for hanging earrings. While Lauren’s original idea utilized chicken wire for a rustic, industrial look, I wanted something softer and more delicate. My solution: a vintage doily! The doily’s intricate design and natural holes provide the perfect grid for earring hooks and studs, without the need for any hardware. Simply center your doily on top of the fabric-covered cardboard. I loved the slightly off-center, asymmetrical look of my particular doily, adding unique character. Secure the doily to the fabric using your hot glue gun, applying small dots of glue strategically so it lays flat and is firmly attached. Alternatively, you could hand-stitch the doily to the fabric for an even more heirloom feel.
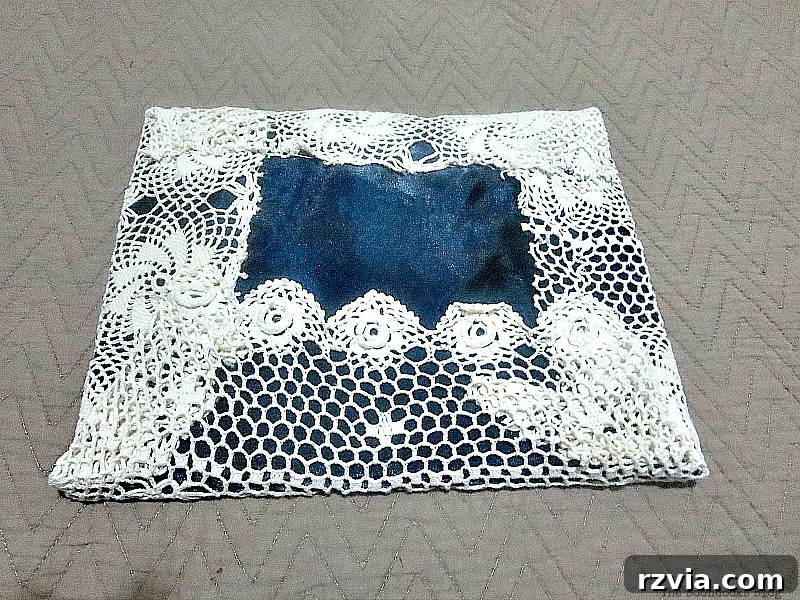
The back of your cardboard backing should now show the wrapped fabric and the glued-down doily. While I opted for hot glue, sewing the doily onto the satin fabric is another excellent, durable option, especially if you anticipate changing the fabric in the future. The important thing is a secure attachment that will withstand the weight of your earrings.
Step 6: Assemble the Organizer
With your fabric and doily securely attached to the cardboard, it’s time to bring all the components together. Carefully insert the covered cardboard snugly into the painted frame. The tight fit should hold it in place without additional fasteners, but if you find it’s a bit loose, a few drops of hot glue along the edges of the cardboard before insertion can provide extra security. I chose to leave the back uncovered, as it allows for the possibility of easily changing out the fabric and doily in the future if I desire a different look. This flexibility is a wonderful advantage of DIY projects!
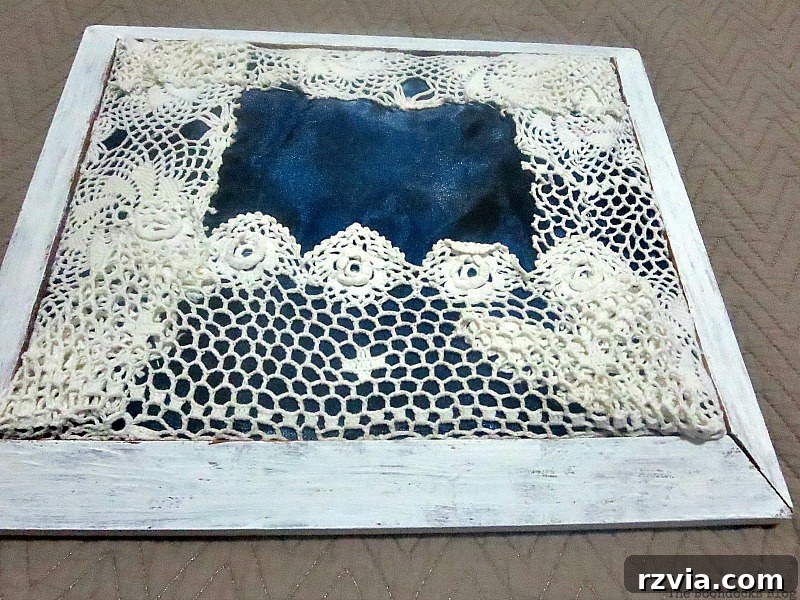
Step 7: Display Your Earrings!
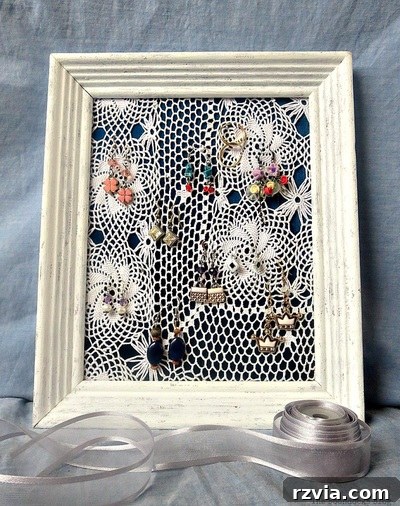
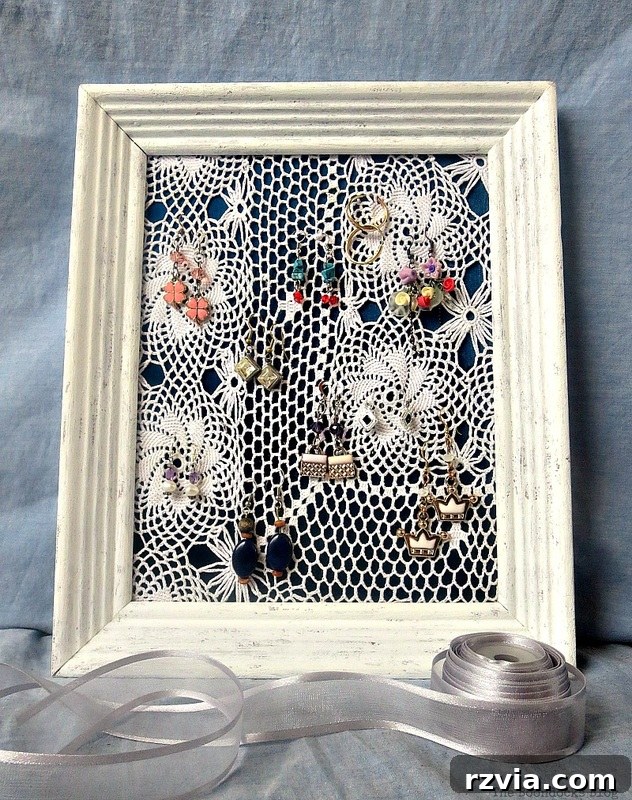
And just like that, your beautiful DIY earring holder is complete! Simply hang your earrings from the various holes in the doily. The transformation is immediate and immensely satisfying. I wasted no time adorning mine with some of my favorite pairs.
Currently, my new earring display sits proudly on my dresser, adding a touch of elegance to my vanity. I can easily add a small picture hanger to the back if I decide to hang it on the wall later on, but for now, it’s perfectly positioned for daily access. The visual appeal of having my earrings neatly arranged is truly wonderful.
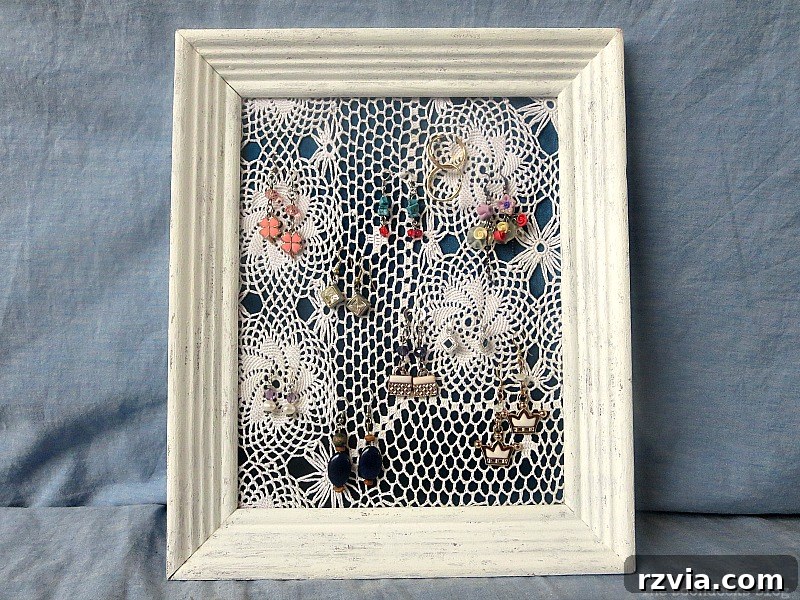
Just look at that frame! The thick paint application gave it a wonderfully rustic and worn-out appearance, a far cry from its original, rather dull orange finish. This distressed look adds so much character and vintage charm, perfectly complementing the soft fabric and delicate doily.
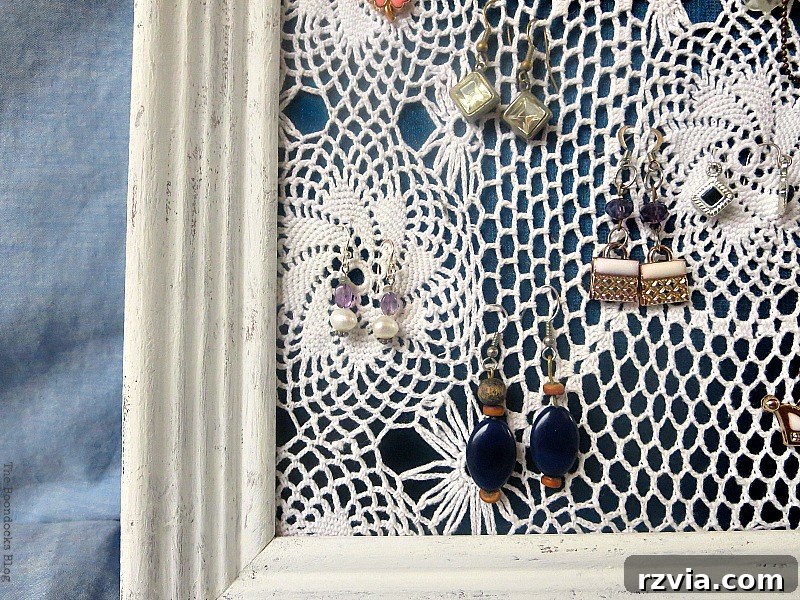
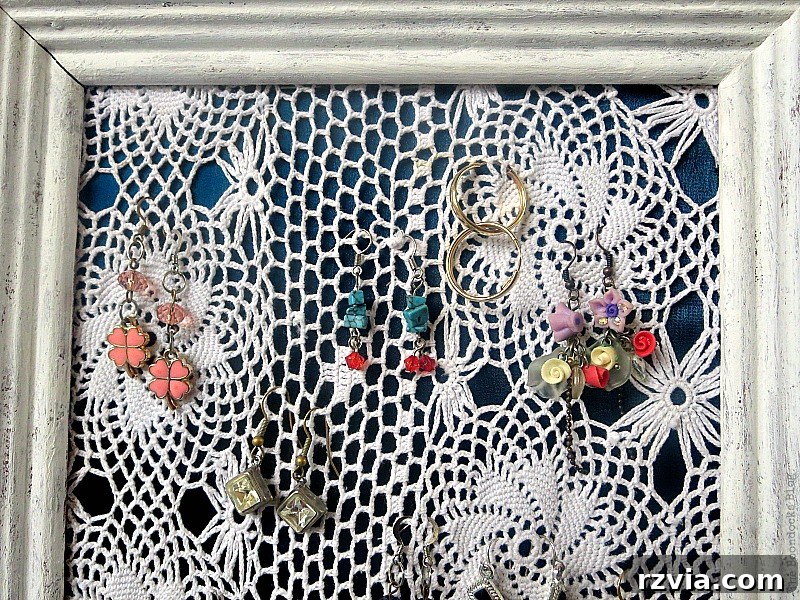
While I don’t have an enormous collection of earrings myself, I’m happily displaying some of my girls’ favorite pairs. But let’s be honest, having such a beautiful and organized place to hang them now gives me the perfect excuse to expand my own collection! It’s a win-win situation for any jewelry enthusiast.
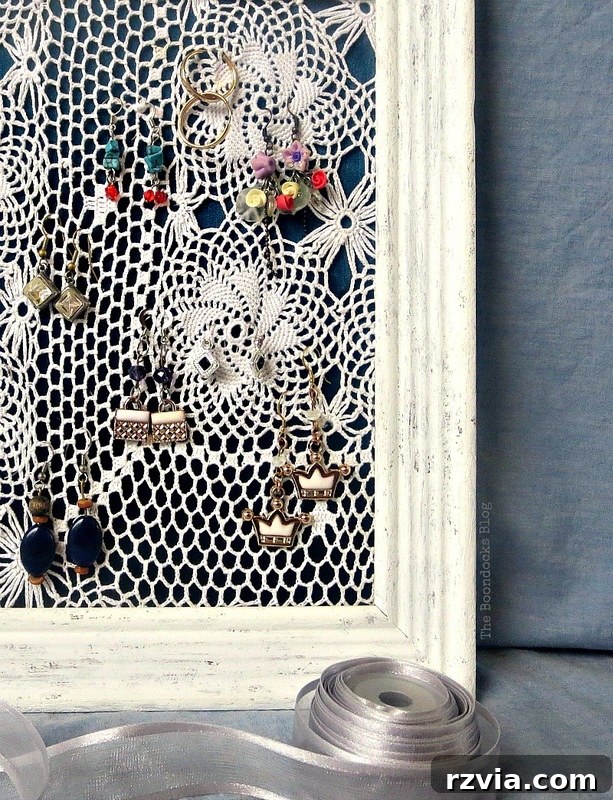
This DIY earring organizer truly feels like the perfect handmade Christmas gift to myself! I spent absolutely no money on this stylish storage idea, relying entirely on upcycled materials, and it was such an incredibly easy project to make. Most of us have an old photo frame tucked away somewhere at home, just waiting for a new purpose. Of course, if you’re drawn to a more rugged aesthetic, you might explore Lauren’s original Rustic Industrial Jewelry Organizer featuring chicken wire for a truly distinctive look.
Projects like this are not just about crafting; they’re about mindful living and getting a head start on your holiday preparations. Imagine having many of your Christmas gifts beautifully handmade and ready well in advance, avoiding the last-minute rush and the chaos of crowded stores. Doesn’t that sound like a fantastic idea? This DIY earring holder is not just a practical item but a thoughtful, personalized present that anyone would appreciate. It’s especially ideal for those who, like me, sometimes struggle with keeping their jewelry collection perfectly tidy. I certainly believe I deserve this little indulgence, and now, with my newfound organization, I can happily browse for even more beautiful earrings. It’s a complete win-win!
Love this project? Pin it for later inspiration and share with your crafting friends!
Explore More DIY Jewelry Organization Projects You’ll Love
If you’re passionate about keeping your precious jewelry neat and beautifully displayed, here are a few other inspiring DIY projects you might enjoy from our collection: