
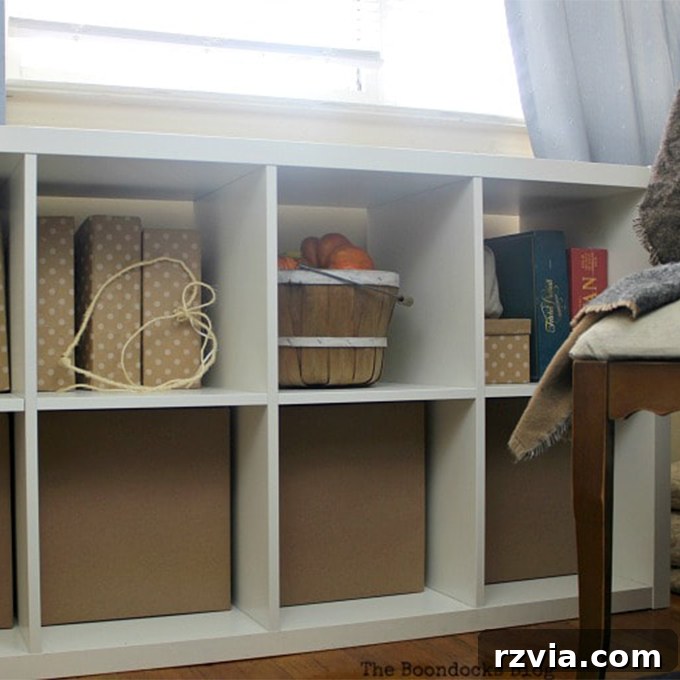
Transform your cluttered shelves into organized, aesthetically pleasing spaces with these simple and budget-friendly DIY cardboard paper organizer boxes. Perfect as a versatile cube storage solution, these organizers offer a stylish and practical way to store a variety of items, from documents to small household necessities. Discover how easy it is to create custom storage that not only tidies your home but also adds a touch of personalized charm.
NOTE: This practical DIY project was originally shared in September 2018, proving its timeless appeal and utility.
Once again, it’s that exciting time of the month when I gather with my talented friends from the International Bloggers Club to share unique and inspiring projects from around the globe. This time, we’re embarking on a fascinating creative journey: each month, we’ll tackle a new theme based on traditional anniversary gifts by year. For our inaugural challenge, we’re diving into the “first year” theme, which is, you guessed it, paper!
Following last month’s successful exploration of pebbles and rocks, I’m thrilled to present a project that perfectly aligns with our paper theme while offering an incredibly practical solution for home organization. Join me as I demonstrate how to craft durable and charming cardboard paper organizer boxes, ideal for enhancing any storage setup.
Discover the International Bloggers Club
Before we dive into the creative process, let me introduce you to the incredible community of international bloggers I’m privileged to be a part of. We’re excited to welcome some new faces to our global crafting family!
First, meet Marie from The Interior Frugalista. Hailing from Canada, Marie possesses an extraordinary talent for furniture transformations, breathing new life into forgotten pieces with stunning results. Her blog is a treasure trove of innovative upcycling ideas.
Next up is Eleanor from Just Ella Bella. From the vibrant landscapes of South Africa, Eleanor’s blog is brimming with wonderful craft ideas that inspire creativity and personal expression, making intricate projects accessible to everyone.
Then we have Leanna from Of Faeries and Fauna, another talented Canadian blogger. Leanna masterfully demonstrates how to create a beautiful and inviting home environment without breaking the bank, proving that style doesn’t require a hefty budget.
And finally, we extend a warm welcome to Evija from From Evija with Love. Originally from Latvia, Evija now calls the United Kingdom home, where she channels her passion into crafting unique decor and tirelessly working on projects to enhance her new home.
Let’s also not forget the original crew, whose creativity continues to inspire us all. There’s Katrin of KreativK, who journeyed all the way from Germany and now enjoys life in the south of Spain. Katrin is a true expert in easy, yet stylish, decorating ideas that elevate any space.
Michelle from A Crafty Mix, a brilliant South African blogger, continually amazes us with the most imaginative and unique crafts you’ll ever encounter, pushing the boundaries of creative expression.
Pili of My Sweet Things, residing on the idyllic island of Mallorca, brings us a continuous stream of fun and engaging DIY projects that are both charming and achievable.
And, of course, there’s yours truly, The Boondocks Blog. Having moved from the serene beauty of Greece to the bustling energy of New York just a year ago, I continue to find creative inspiration in my new surroundings.
As you can clearly see, our International Bloggers Club is a truly diverse and vibrant bunch, united by our passion for creativity and sharing!
Step-by-Step Guide: Crafting Practical Cardboard Paper Cubes for Storage
The inspiration for this project stemmed from a very real and rather adorable challenge: my sweet pup, Tatou, developed an unwavering obsession with gazing out our living room window. For quite some time, we had a loveseat perfectly positioned, allowing him to comfortably perch and enjoy the outside world, occasionally barking at passersby with playful enthusiasm.
However, the time eventually came to bid farewell to that old sofa, leaving Tatou without his beloved window perch. His little behind certainly didn’t fit on the narrow windowsill, and a solution was needed to restore his favorite pastime while addressing a growing need for organization.
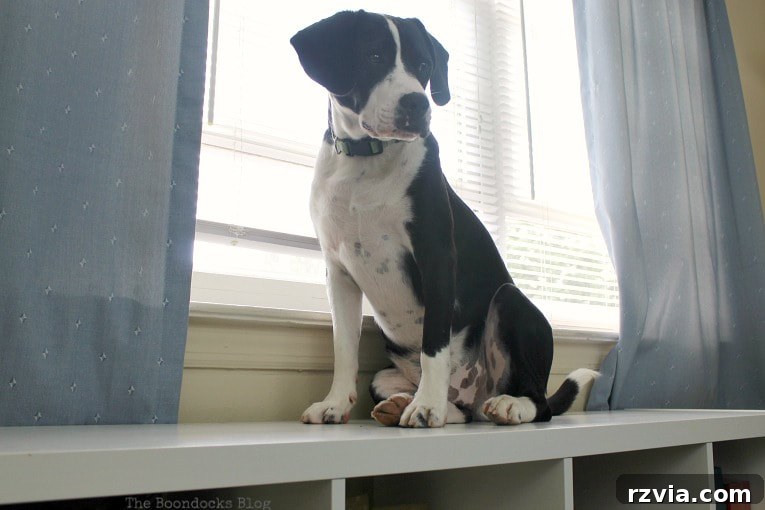
My solution was to acquire an IKEA KALLAX shelving unit. By tilting it onto its side and placing it against the wall, it became an ideal fit right under the window, instantly transforming into Tatou’s new, elevated observation deck! Problem solved, or so I thought.
While the Kallax served perfectly as a sturdy perch, its primary function is storage, and I wanted to utilize its spacious openings for practical organization. Most storage boxes available in stores were made from flimsy, often unattractive, polyester materials. Given Tatou’s playful nature and tendency to chew (most likely accidentally, but a risk nonetheless), I needed a durable, pet-friendly, and cost-effective solution. This called for a DIY approach to create truly practical and resilient cardboard storage bins that could withstand a curious pup.
Essential Materials for Your DIY Cardboard Paper Organizer
Disclosure: This post contains affiliate links for your shopping convenience. If you purchase any of these products through the links provided, we may receive a small commission at no extra charge to you. You can find our full disclosure here.
Gathering the right materials is the first step to creating your own beautiful and functional storage cubes. Here’s what you’ll need:
- Kraft paper: This forms the sturdy and neutral base for our organizers, offering a wonderfully minimalist or rustic aesthetic.
- Gift wrapping paper with dots: Choose a pattern that complements your kraft paper and adds a touch of visual interest and personality to your boxes.
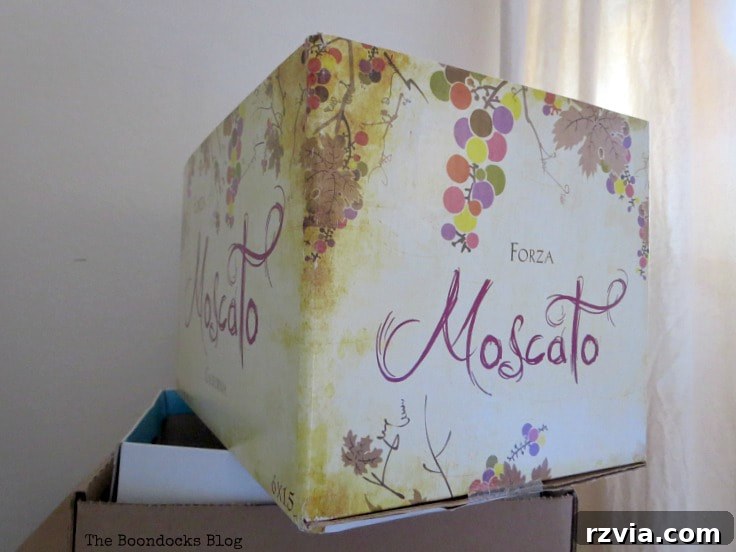
- Sturdy Cardboard boxes: The foundation of your organizers. Look for boxes that fit snugly into your Kallax (or other cube storage) unit. Moving boxes or appliance boxes are often excellent candidates.
- Liquid glue: A strong adhesive is crucial for securing the paper smoothly and durably to the cardboard.
- Scotch tape: Ideal for temporarily holding paper in place while the glue dries, ensuring crisp edges and secure seams.
My ultimate solution was remarkably simple: repurposing humble cardboard boxes. Not only are they readily available and inexpensive (often free!), but they also offer a robust structure that can be easily customized to fit any aesthetic. This choice also provided peace of mind, knowing that if Tatou decided to investigate with his teeth, it wouldn’t be a costly or harmful endeavor.
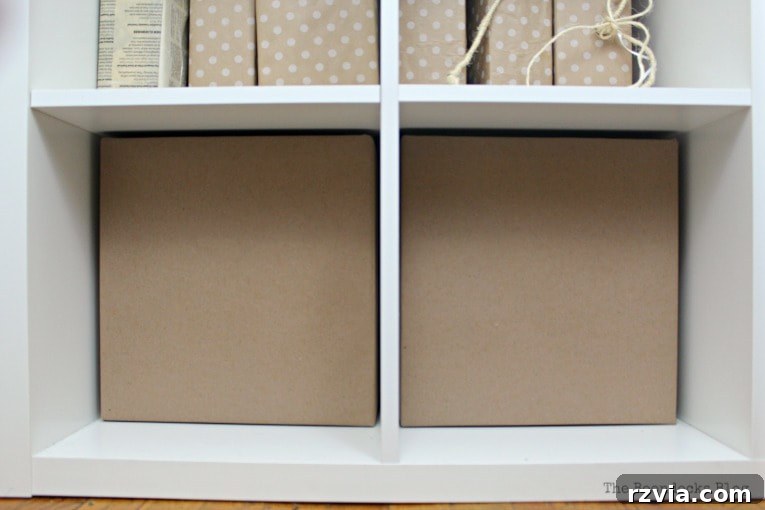
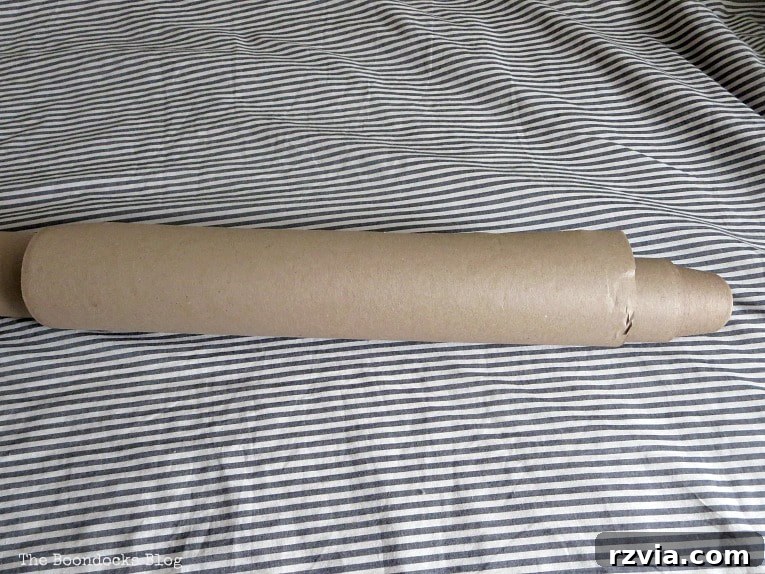
I spent some time contemplating the best material to cover these boxes. Ultimately, I settled on a wonderfully simple look using kraft paper. Interestingly, this wasn’t a fresh roll; it was leftover from a painting project where we used it to protect the floors. This serendipitous discovery reinforced the idea that sometimes, the most humble and readily available materials yield the best results, especially when aiming for a practical, understated elegance.
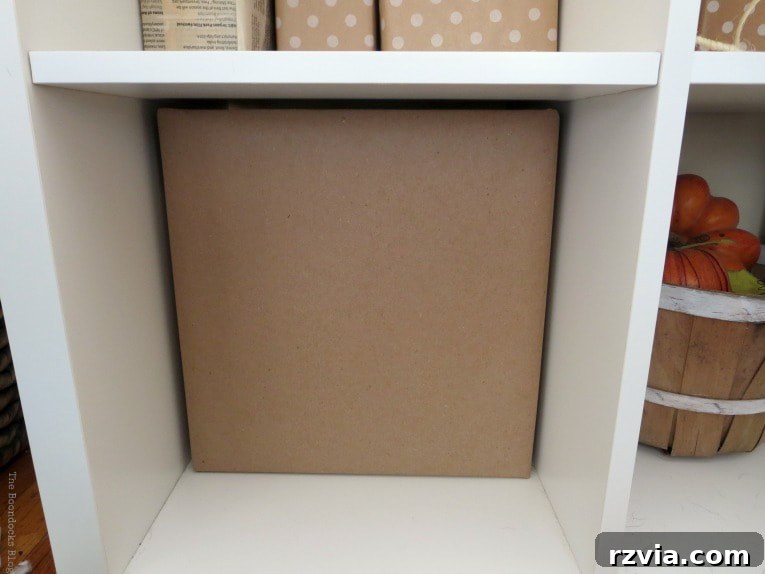
The process of wrapping the boxes was straightforward and incredibly satisfying. Using a combination of liquid glue for a strong bond and Scotch tape to hold edges securely while drying, I meticulously applied the kraft paper to each cardboard box. While I haven’t detailed the step-by-step process here, as it’s quite intuitive, I’ve shared a very similar wrapping technique in this previous project, which can serve as a helpful guide for achieving a clean finish. The key is to measure carefully, cut precisely, and apply adhesive evenly for a smooth, bubble-free surface.
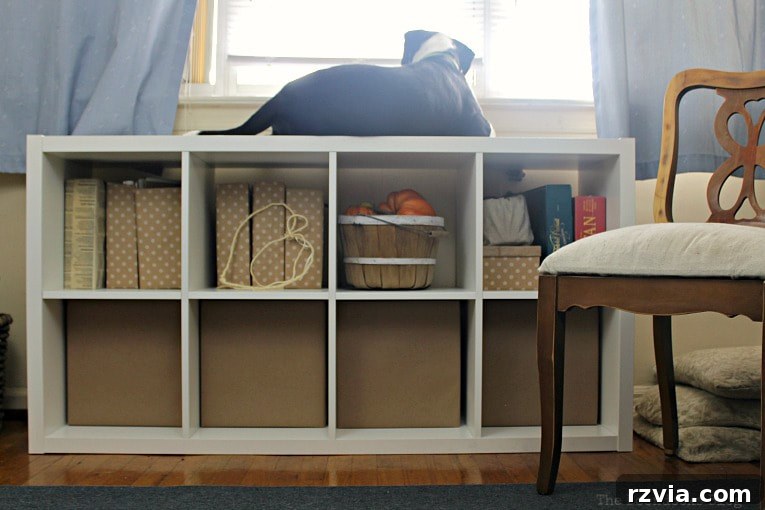
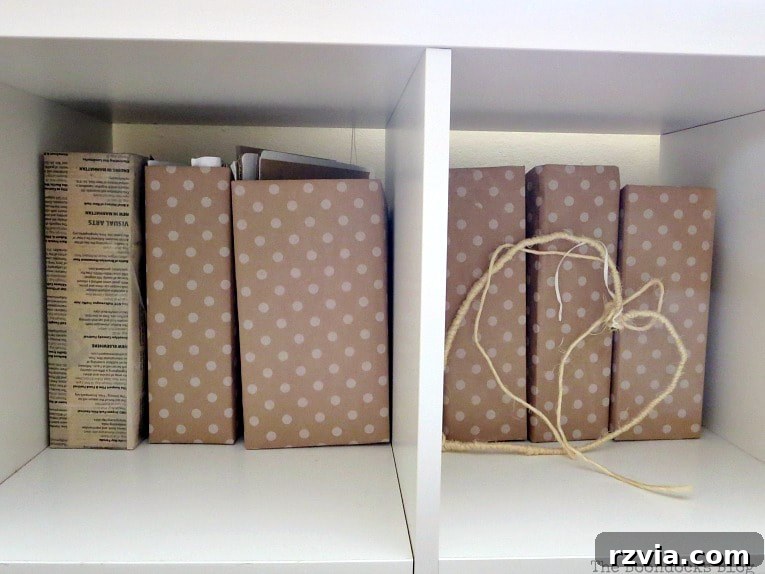
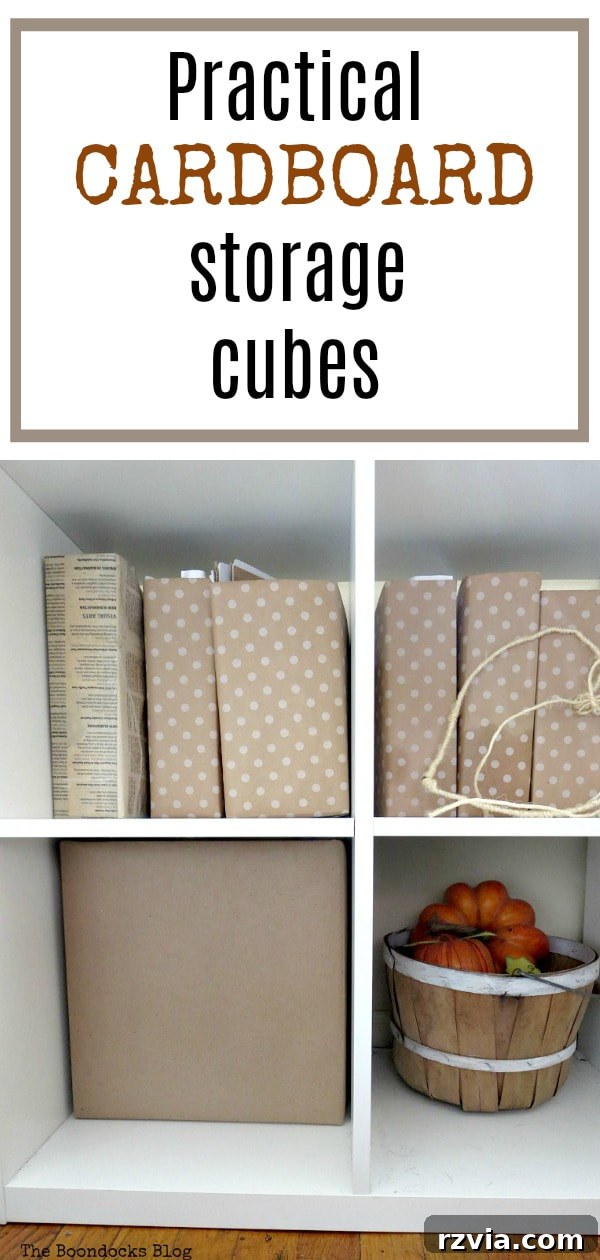
To add a cohesive and styled look to the entire Kallax unit, I extended the “paper” theme beyond the main storage cubes. For the top openings of the unit, I upcycled some old magazine files by covering them in a charming gift wrapping paper. This particular paper featured a subtle dot pattern that beautifully coordinated with the natural kraft paper, creating a harmonious visual flow. This technique is incredibly versatile; I’ve even used old maps for a similar project, demonstrating how easily you can customize the aesthetic to match your personal style or home decor.
Continuing this delightful theme, I also transformed a simple shoebox into a discrete storage solution, perfect for hiding away all those small board games and card decks that often create clutter. Covered in the same coordinating gift wrap, it seamlessly blends into the overall design, proving that even the most mundane items can become stylish storage when given a creative touch.
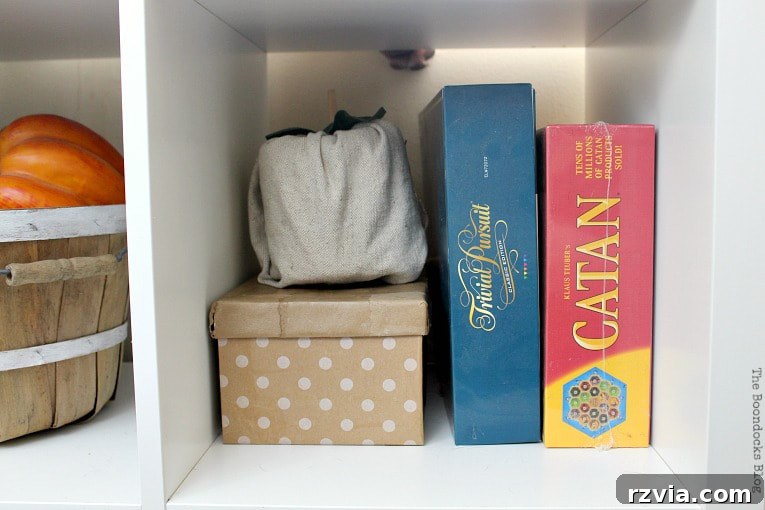
And, of course, no fall decor would be complete without a few charming pumpkins nestled among the storage solutions, adding a seasonal touch of warmth and coziness to the newly organized space. These small decorative elements help to soften the lines of the storage unit and make the area feel more inviting.
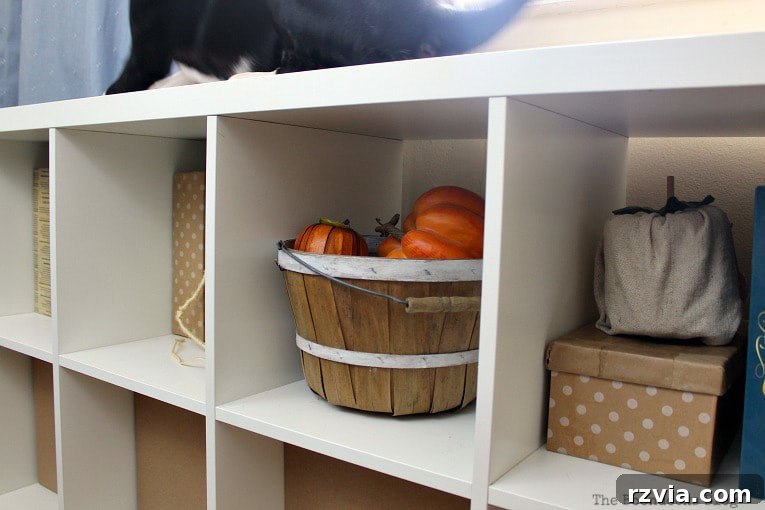
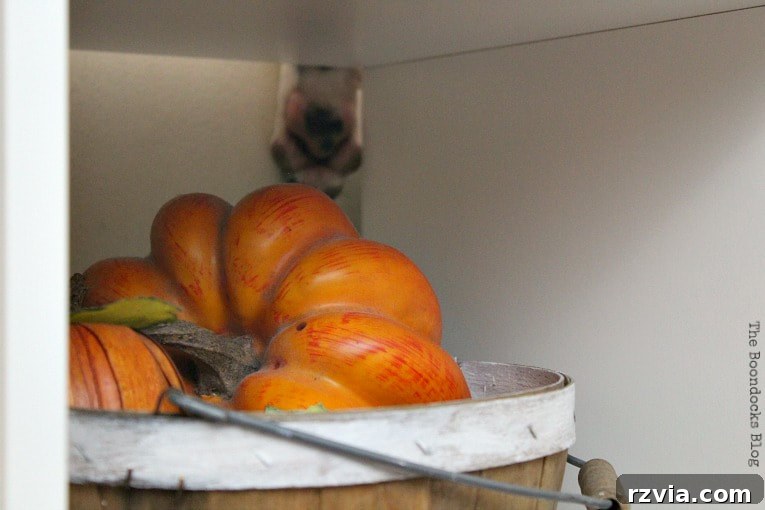
Did you spot that little paw peeking out in the background? It’s a subtle reminder of the inspiration behind this entire project and the happy beneficiary of the Kallax-turned-perch.
With all the components complete, my custom cardboard paper organizers were finally ready to bring order and style to our living room!
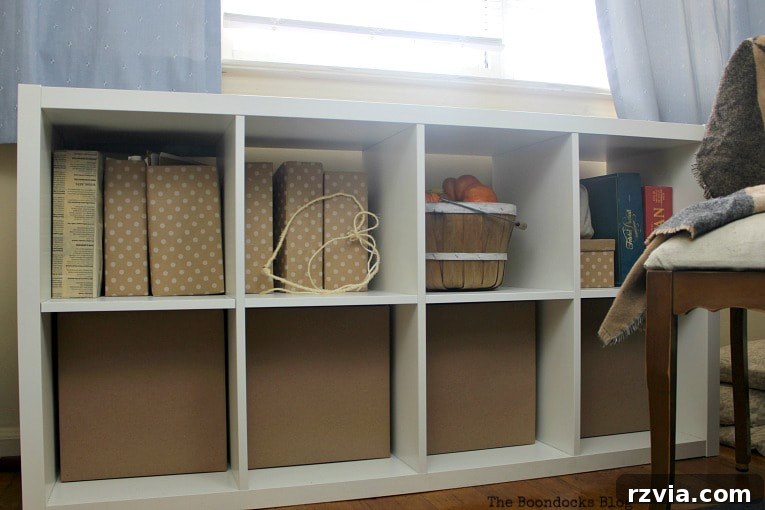
The most satisfying aspect of these DIY cardboard paper organizer boxes is their perfect fit. Because they are precisely the right size and extend deep into the Kallax openings, Tatou finds it impossible to pull them out and chew them to bits! This crucial design choice also explains why I intentionally omitted any handles. My clever little fella is known for finding ways to get into mischief, so preventing easy access was key to ensuring the longevity of these storage solutions.
This thoughtful design brings immense joy to Grandma Mary, as she’s typically the one who ends up tidying up Tatou’s playful messes. Now, with these robust and secure organizers, her clean-up duties are significantly reduced, making everyone in the household happier!
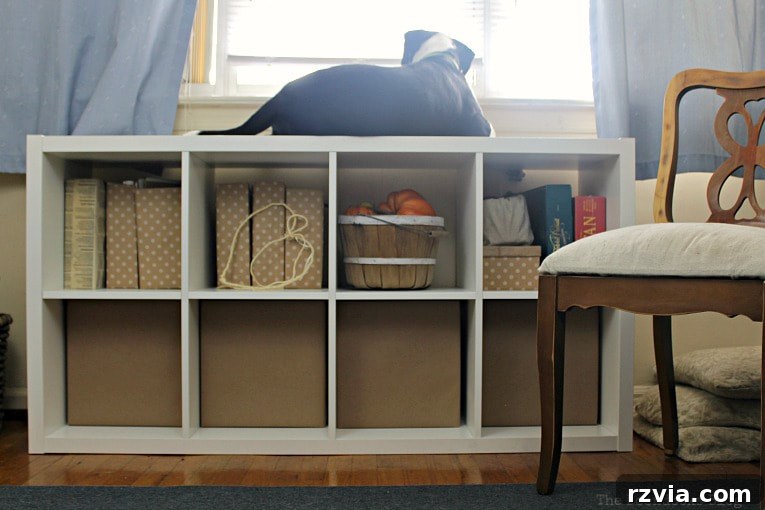
And the ultimate proof of success? A happy pup! Tatou can now spend countless hours perched atop his new Kallax observation post, watching the world go by from his elevated vantage point, content and secure.
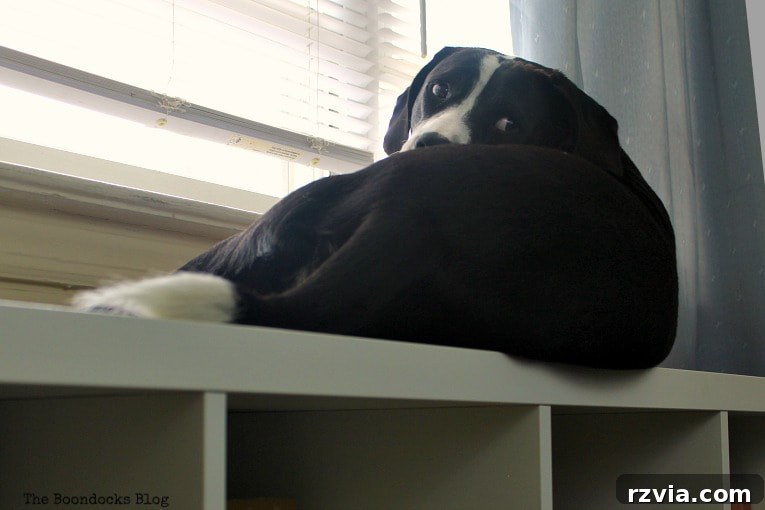
While a more elegant, fabric-covered design might have been my choice if I didn’t have a mischievous pup, or if he were a little better behaved, this practical and durable paper-covered solution perfectly meets our current needs. It’s a testament to adapting creative ideas to real-life situations and embracing functionality.
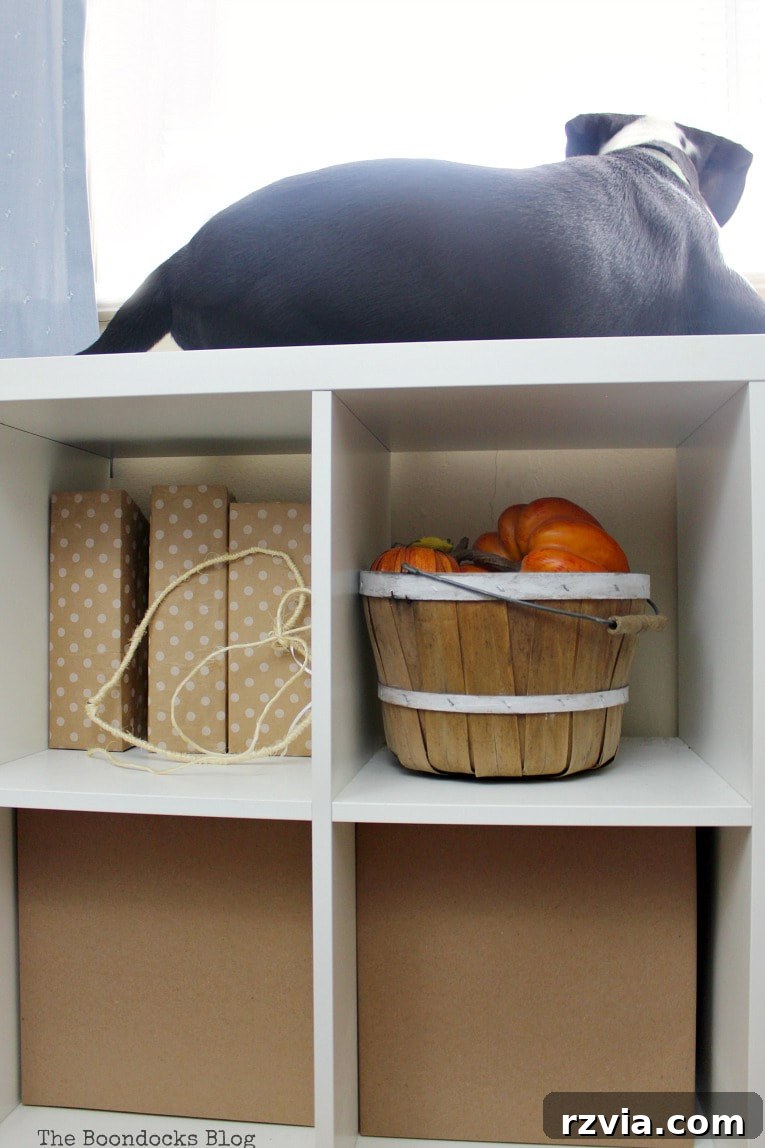
It’s fascinating how inspiration can strike from the most unexpected places, or from the most beloved family members. This project, though seemingly small, addressed a very real and persistent concern in our home. For a long time, those Kallax cubes remained bare, awaiting a solution that was both practical and pet-proof. This journey to create functional storage, sparked by Tatou’s window-watching desires, was a truly rewarding experience.
With this simple yet effective DIY solution, everyone is happy! I gain much-needed storage and organization, and Tatou gets to enjoy his favorite elevated perch. I sincerely hope you’ve enjoyed learning how to craft these practical cardboard paper organizer cubes for your own home storage needs. Does your beloved pet inspire (or sometimes complicate) your home organization projects, or is my Tatou just exceptionally energetic and curious in his youth?
Now, be sure to hop over and see what incredible projects my talented pals from the International Bloggers Club have created for this month’s paper-themed challenge!

Explore Other Creative Paper Projects:
If you’ve enjoyed this project, you might also love these other paper-focused DIY ideas: