
Transforming an Old Laminate Box: A DIY Gift Project “Seeing Red”
Another month, another party, another gift. If you’re a parent, especially one with a passion for creativity, you know this cycle well. As a dedicated DIY mom, I consistently encourage my children to participate in creating gifts for their friends, or at least a significant part of them. This approach serves a dual purpose that I deeply value. Not only does the recipient receive a uniquely handcrafted gift imbued with personal meaning, but my child also learns the profound value of effort, creativity, and thoughtfulness that goes into making something truly special.
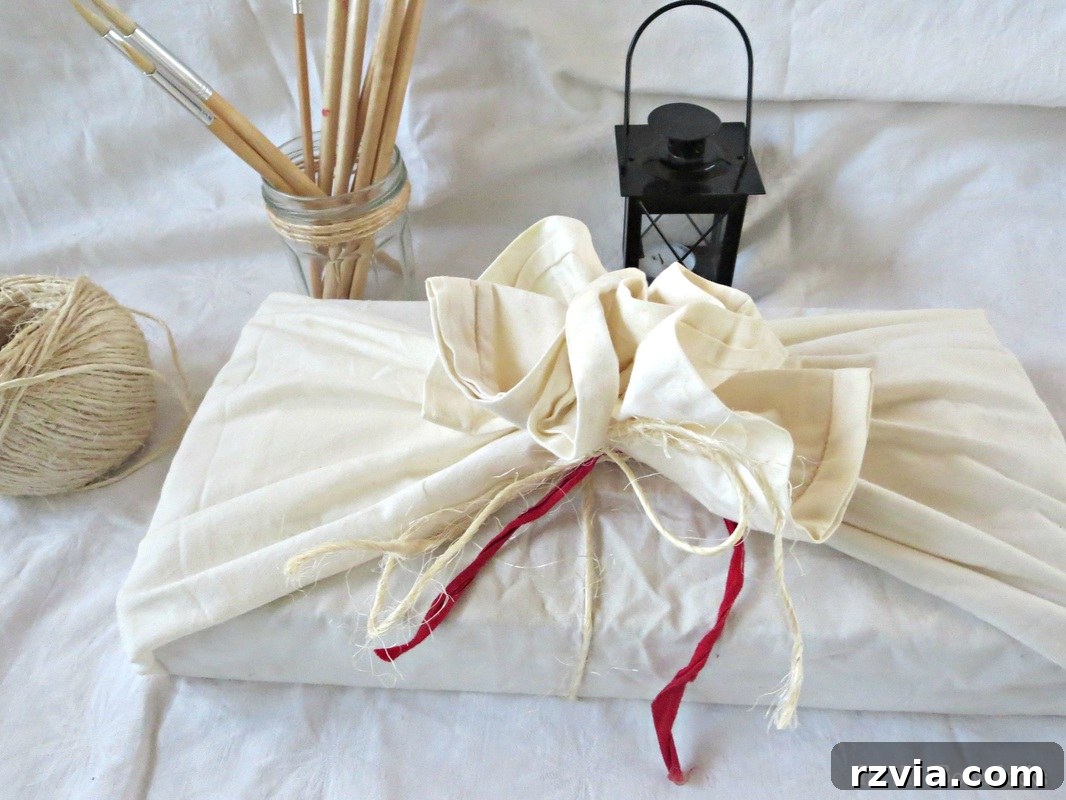
Last-Minute Inspiration: When “Seeing Red” Sparks Creativity
The day of the party arrived, and, as often happens in the whirlwind of family life, my lovely offspring approached me with those classic watery, pleading eyes, asking for help. Despite my polite nudges (which might have bordered on nagging, I confess!) to get the gift done beforehand, we found ourselves in a bit of a bind. She had no idea what to get for her friend, only one crucial piece of information: the gift absolutely had to incorporate the color red. At this point, I was truly “seeing red” – a mix of frustration at the last-minute scramble and a surge of determination to find a creative solution!
With limited time and a very specific color request, I began a frantic search around the house for anything that could be repurposed. That’s when I stumbled upon an unexpected treasure – an old, forgotten box that would soon become the canvas for our impromptu DIY adventure.
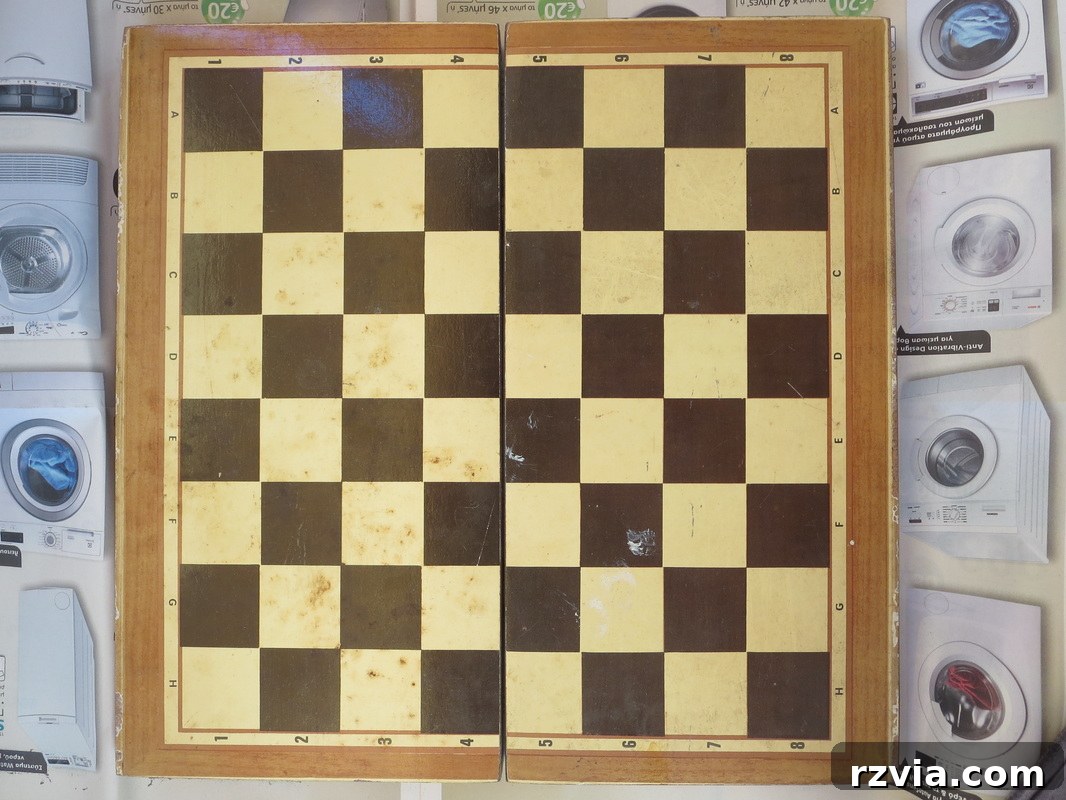
The Humble Beginnings: Transforming an Old Laminate Box
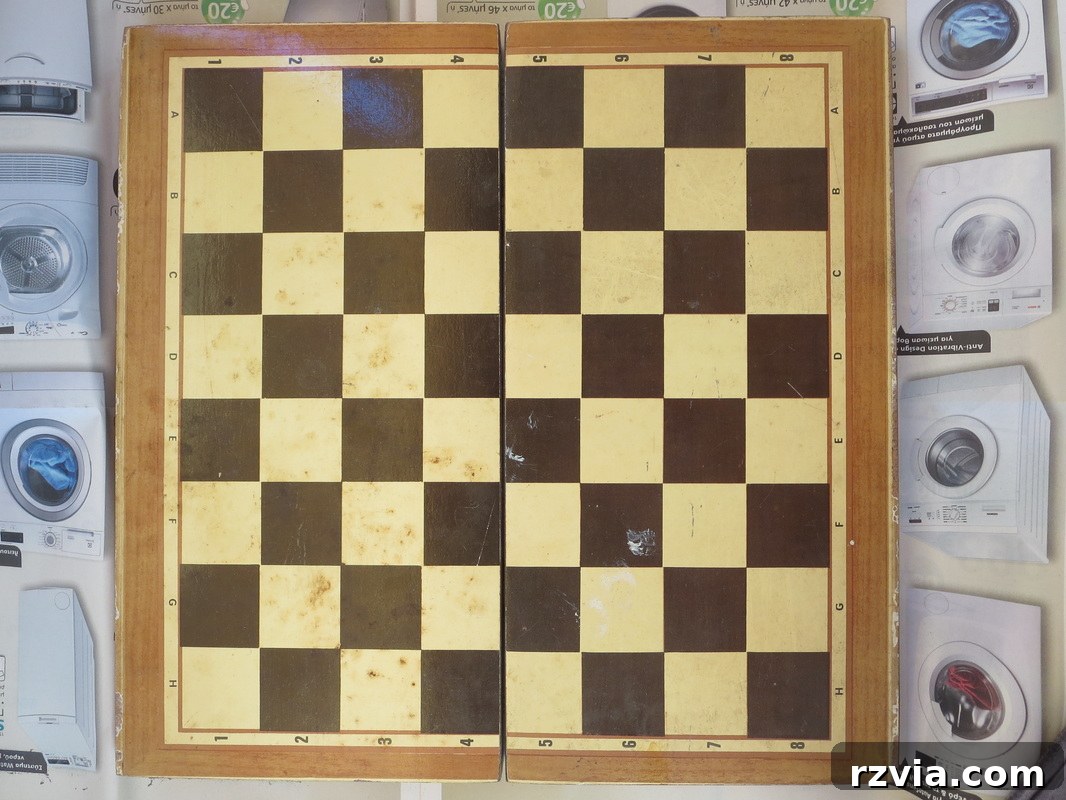
The object I found was an unassuming old wood and laminate box. On its exterior, it proudly displayed a chess pattern, while the interior was set up for backgammon. It had seen better days, showing clear signs of wear and tear, but its sturdy structure held promise. My immediate thought was chalk paint. Why chalk paint? Because it’s a DIY enthusiast’s best friend for speed and minimal preparation. I knew it would adhere beautifully to the laminate surface without the need for extensive sanding or priming, and most importantly, it would dry quickly – a critical factor given our tight deadline.
We swiftly applied two coats of chalk paint. The transformation began instantly, as the dull, dated laminate disappeared under a fresh, clean canvas. This initial step proved just how versatile and forgiving chalk paint can be, breathing new life into what was once considered an old, disposable item. After these first layers, the box had a uniform, matte finish, a blank slate ready for the next creative phase of its journey.
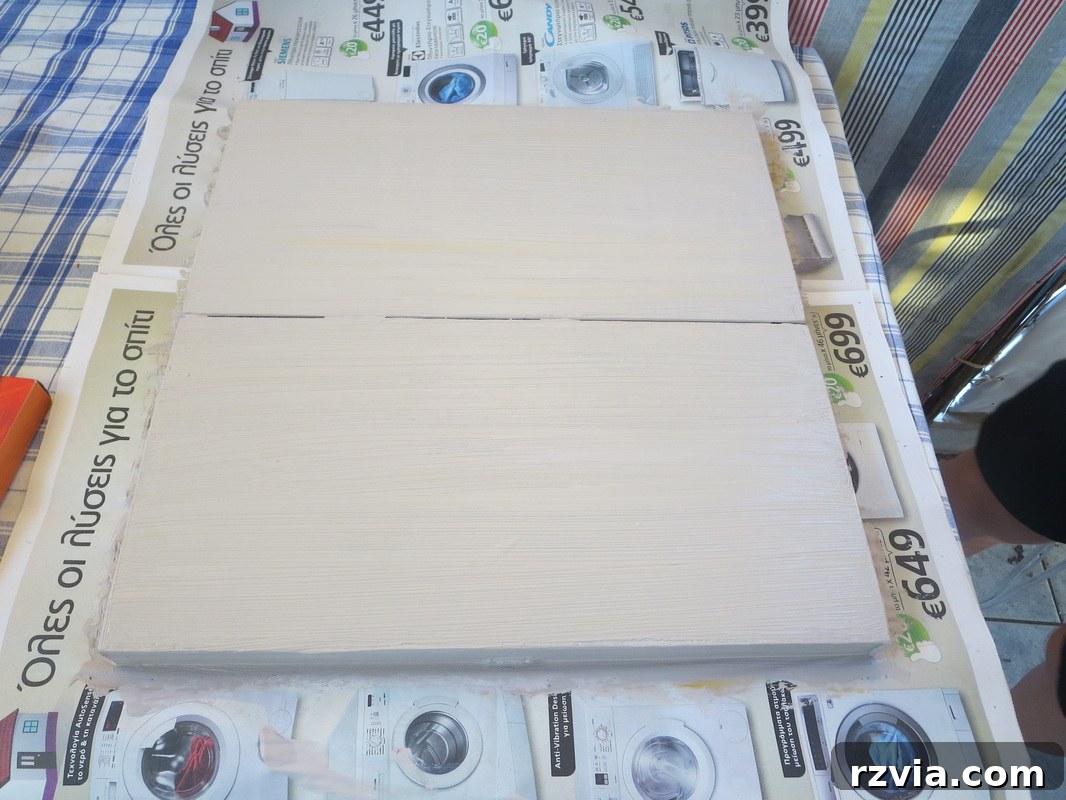
Achieving a Rustic, Weathered Look: Beyond Smooth Chalk Paint
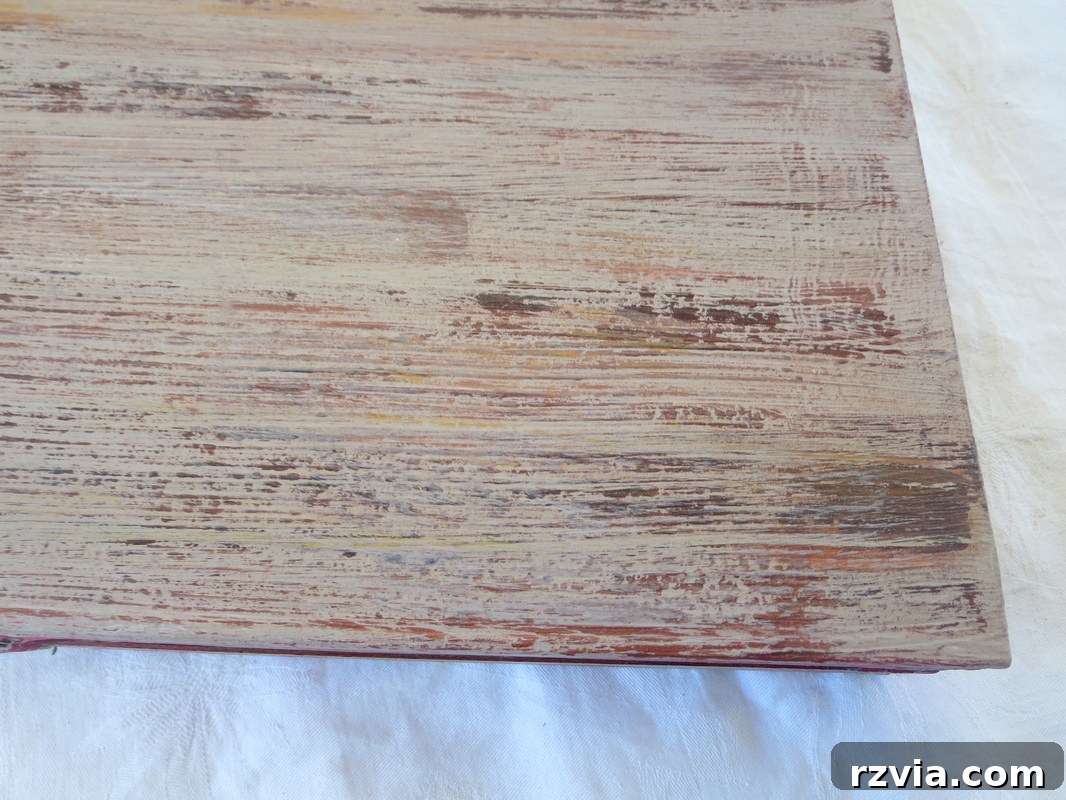
While the smooth, matte finish of the initial chalk paint coats was nice, it was, dare I say, a little boring for our vision. I wanted to infuse the box with character, to give it an aged, textured feel reminiscent of old, weathered wood – far from the typically smooth finish often associated with chalk paint projects. My goal was to create depth and visual interest, making the laminate mimic the natural imperfections and grain of genuine timber.
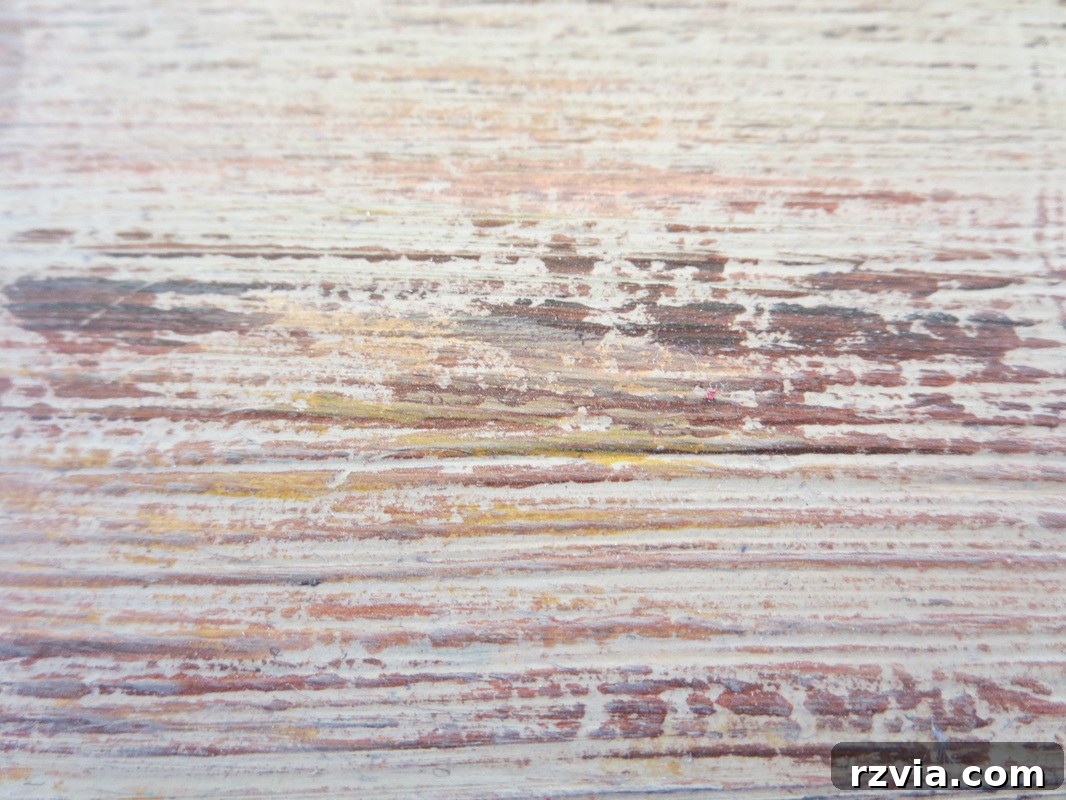
To achieve this, I decided to experiment with color layering and texture. I mixed various complementary colors with the chalk paint, creating a palette that would evoke the rich, nuanced tones of aged wood. Then, instead of meticulous, even strokes, I randomly brushed these mixed colors onto the box. This technique involved dry brushing, stippling, and a general artistic freedom, allowing the different shades to blend and overlap imperfectly. The idea was not to create a uniform surface but rather a varied, grainy texture that would catch the light and give the illusion of years of wear.
This method truly transformed the box. Each haphazard stroke contributed to a multi-dimensional surface that was anything but flat. The underlying chess pattern was completely obscured, replaced by a rich, tactile finish that invited touch. The goal was to move away from any semblance of a smooth, chalky surface and instead embrace a rustic, almost antique aesthetic. This layering technique not only added visual depth but also gave the laminate a surprising new tactile quality, making it feel like genuine, time-worn wood.
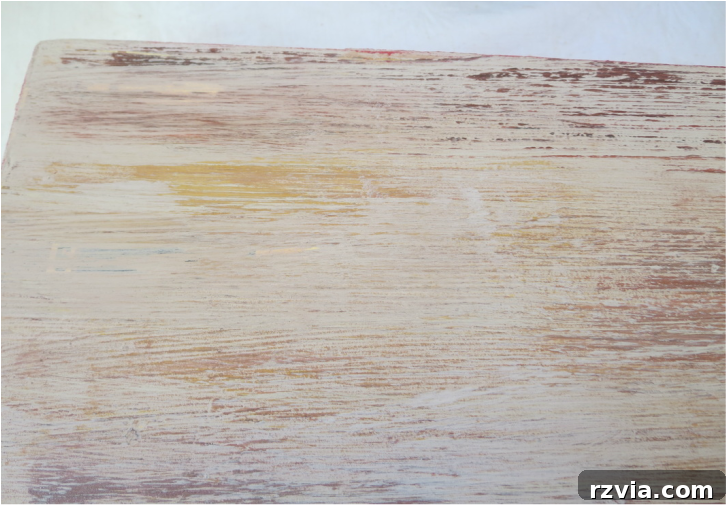
Indeed, the ultimate vision was for the box to possess the authentic feel of old wood – grainy, rich with texture, and utterly devoid of the typical chalky smooth finish. This tactile quality was crucial to the overall aesthetic, ensuring the repurposed box told a story of timeless charm and rustic elegance.
Adding the “Red” Element and Final Touches
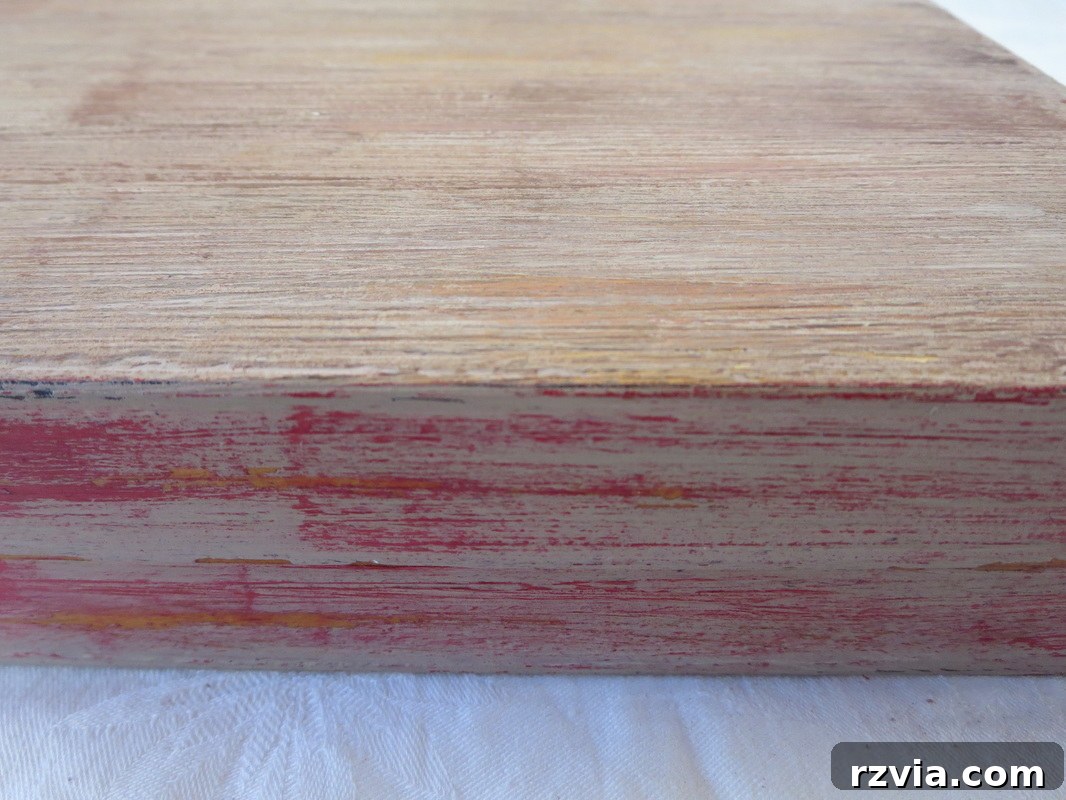
With the aged wood texture perfected, it was time to introduce the star color of the project: red. My little helper, whose initial “seeing red” moment inspired this whole endeavor, enthusiastically took on the task of adding distressed red accents to the sides of the box. This wasn’t about solid, uniform blocks of color; instead, we aimed for a subtle, worn look. She lightly brushed on the red paint, allowing it to subtly peek through the textured layers beneath, enhancing the vintage appeal and providing that vibrant pop of color her friend desired.
This step was crucial for personalizing the gift and ensuring it met the specific request of the birthday girl. The distressed application prevented the red from overpowering the rustic wood effect, instead integrating seamlessly into the aged aesthetic we had worked so hard to achieve. It was a joyful moment, watching her contribute directly to the gift, making it truly her own.
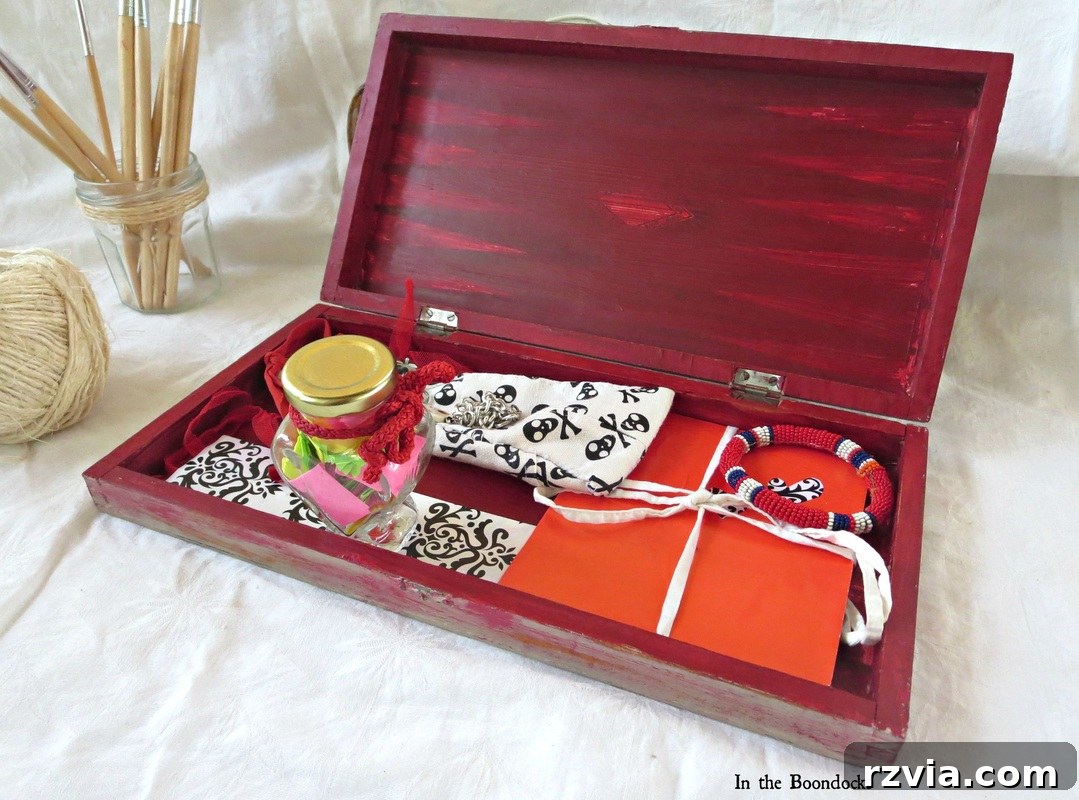
And on the inside, we continued the red theme, ensuring a cohesive design.
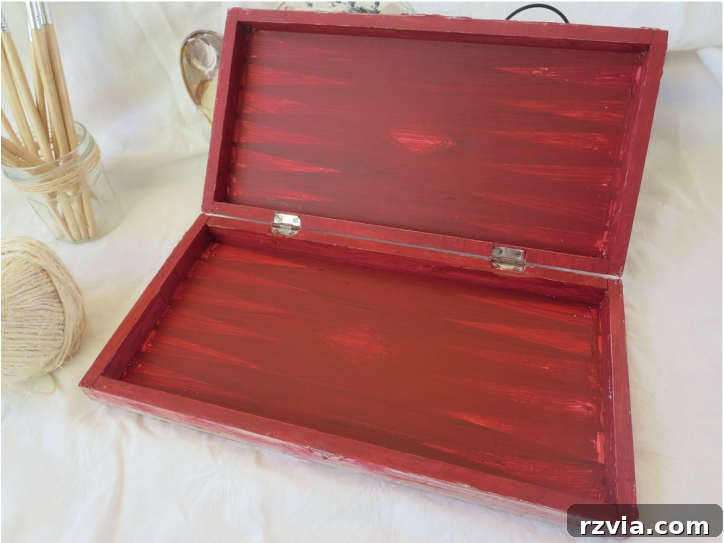
With the painting complete, the box was nearly done. To seal and protect our handiwork, and to give it a lovely, soft sheen, we quickly added a layer of homemade furniture wax. This final step not only enhanced the depth of the paint colors but also provided a durable, lasting finish. We hoped for the best, eager to see the full reaction to our quick yet thoughtful creation.
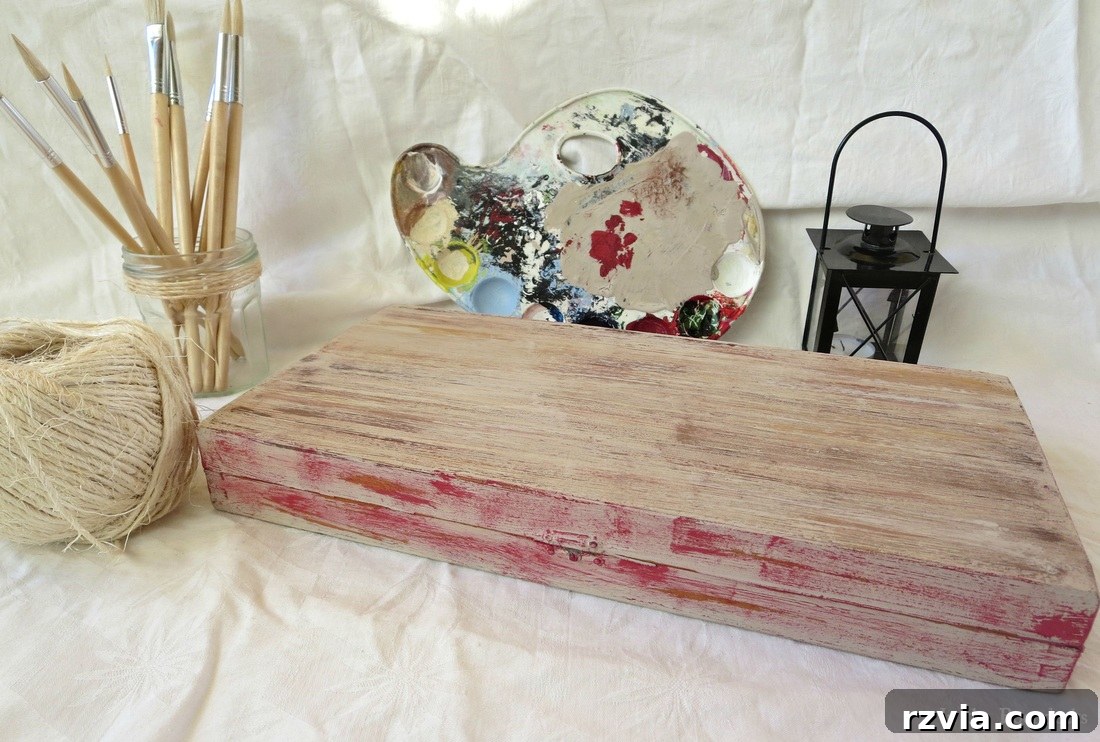
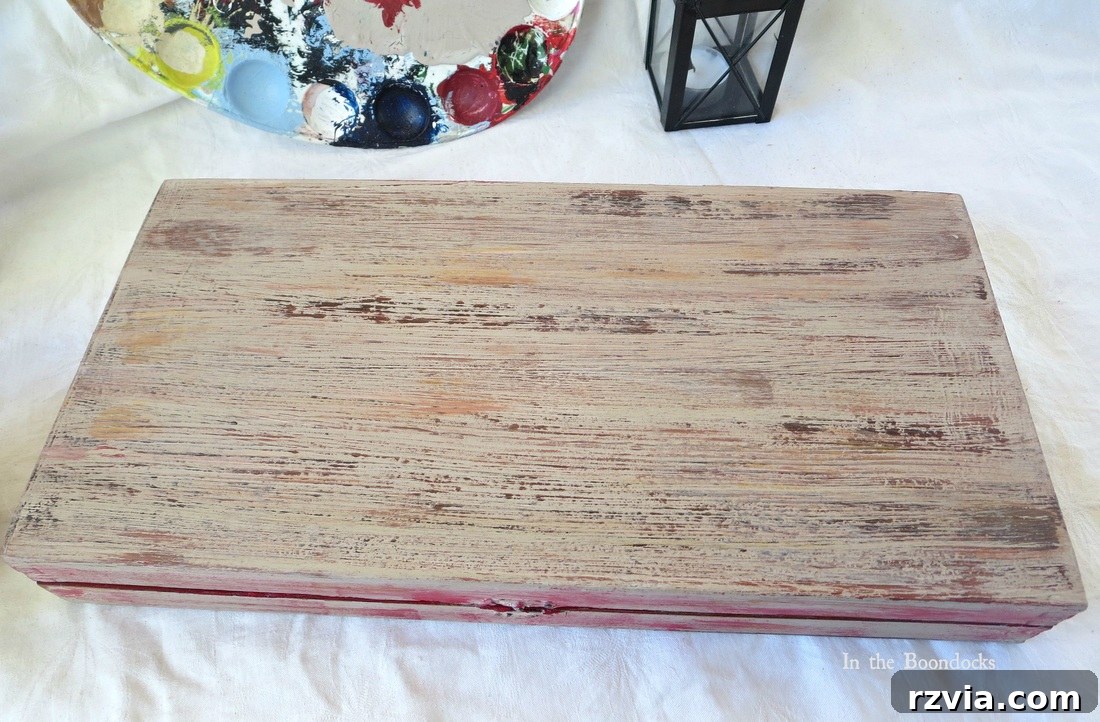
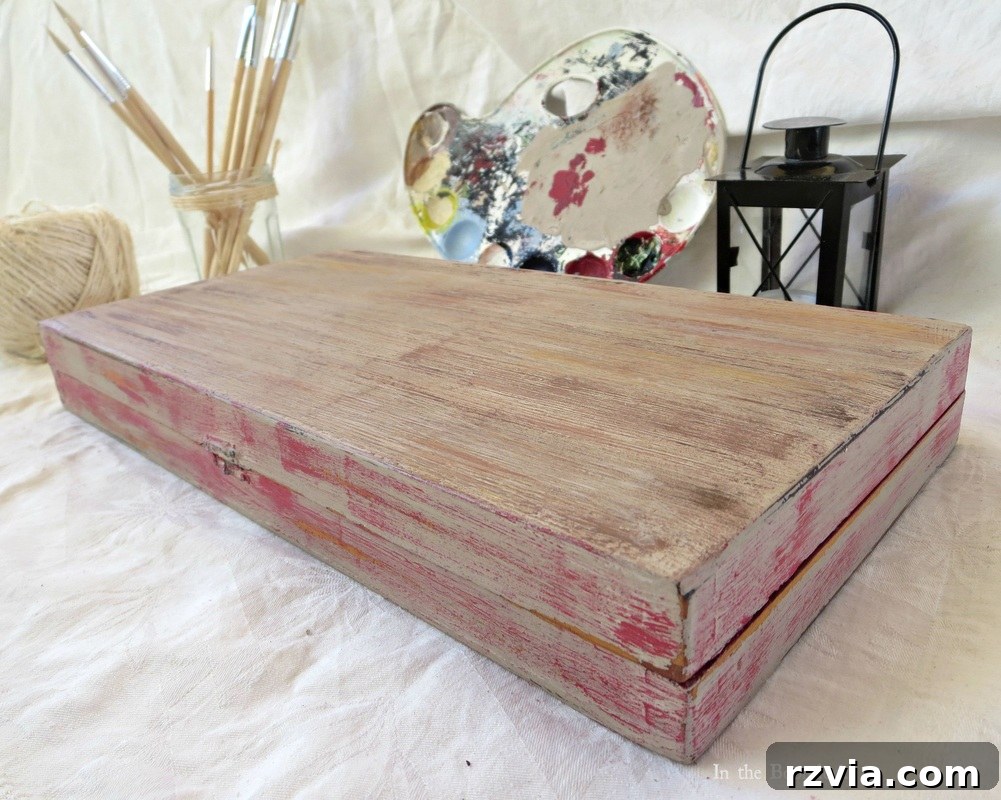
The Gift of Giving: Filled with Love and Goodies
Once the box was complete, the real fun began: filling it! My daughter gleefully packed it with an assortment of homemade goodies and small, thoughtful treasures she had prepared. This act of filling the box, carefully arranging each item, added another layer of personal touch to the gift, making it truly a “gift from the heart.” The box, now beautifully transformed, served as the perfect vessel for her affection and creativity, ready to delight her friend.
Before & After: A Remarkable Transformation
To truly appreciate the transformation, it’s always helpful to see the stark contrast. Here is a reminder of what the box looked like before we embarked on this spontaneous, last-minute DIY journey. It’s hard to believe it’s the same piece!
Reflections on a Last-Minute DIY Success
Considering that we completed this entire project in just a few hours, I must say, the outcome was remarkably successful. The old laminate box was reborn as a unique, rustic treasure, perfectly aligned with the “red” theme, and brimming with personalized charm. This unexpected adventure left us with more than just a beautiful gift; it offered a few valuable lessons.
Will I be “seeing red” again due to another last-minute request? Perhaps! The reality of family life often means unexpected rushes and spontaneous bursts of creativity. However, this project served as a powerful reminder of the joy and satisfaction that comes from resourcefulness and making something by hand. It underlined the importance of embracing imperfection and finding beauty in upcycling what might otherwise be discarded. Most importantly, it reinforced the beautiful principle that thoughtful, handmade gifts carry a unique resonance that store-bought items often lack.
Ultimately, the true lesson embedded in this hurried yet heartwarming endeavor lies in the pure joy of giving. Despite the initial rush and my momentary “seeing red” frustration, my daughter was absolutely ecstatic with the finished product and the process of creating it. And, as anticipated, the birthday girl was equally thrilled to receive such a thoughtful, one-of-a-kind present. This project truly exemplifies that the most meaningful gifts are often those crafted with love, time, and a little bit of creative urgency.
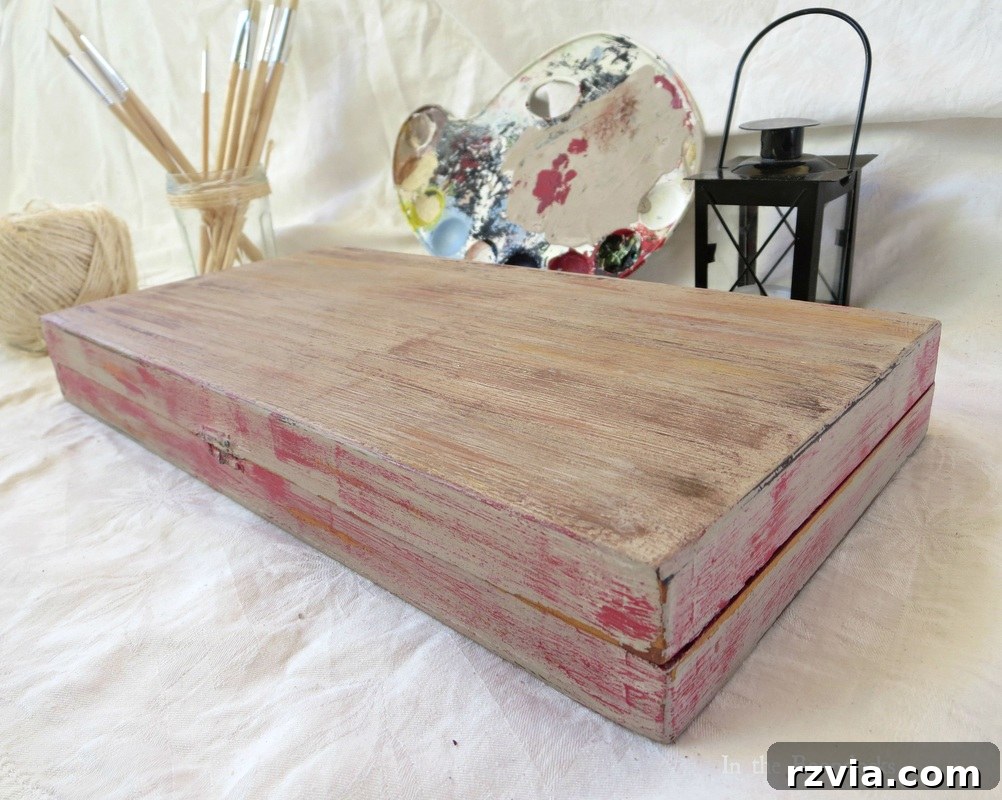
Of course, the true heart of this project lies in the immense joy of giving. Towards this purpose, my daughter was absolutely ecstatic with her handmade creation, and the birthday girl was equally delighted to receive such a thoughtful, personalized gift. This experience beautifully illustrates how a simple, repurposed item, infused with creativity and love, can bring so much happiness to both the giver and the receiver.
If you enjoyed this DIY transformation and found inspiration in our “seeing red” project, please consider sharing it with your friends or saving it to your Pinterest boards! The image above is perfectly crafted for pinning.
For more creative adventures, DIY tips, and upcycling ideas delivered directly to your inbox twice a week, I invite you to subscribe to my blog. You can find the subscription form on the sidebar, and rest assured, your email address will always remain private and never be shared with any third party.
You May Also Like: Discover More DIY Inspiration
HOME
Banishing the shine >>
This blog is for entertainment purposes only; my DIY tutorials are not professional advice. Read my full disclaimer here.
I genuinely appreciate your comments and always try to reply or visit your blog. Please ensure your comments do not contain hyperlinks, as we are unable to publish them otherwise.