
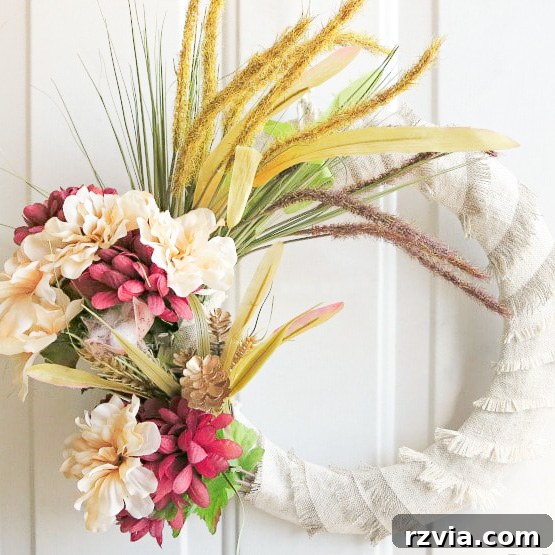
Effortlessly Craft a Stunning DIY Fall Wreath Using Dollar Store Finds
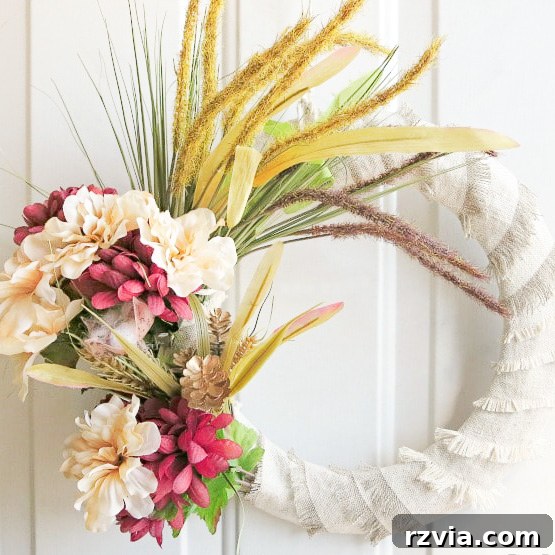
As the air turns crisp, the leaves begin their magnificent transformation, painting the landscape in hues of gold, crimson, and auburn. This magical shift signals the perfect moment to embrace the cozy spirit of autumn by crafting a beautiful and incredibly simple DIY fall wreath. What makes this project even more appealing? You can create a stunning piece of seasonal decor using budget-friendly items primarily sourced from your local dollar store!
Fall isn’t just a season; it’s an experience. It’s the scent of pumpkin spice, the comfort of chunky sweaters, and the joy of decorating your home to reflect the rich tapestry of nature outside. There’s a special charm in welcoming this beloved season with a handmade touch, and a vibrant fall wreath on your front door is the ultimate expression of autumnal hospitality. Forget complicated crafts or expensive supplies; this guide will walk you through creating an eye-catching dollar store fall wreath that’s both economical and wonderfully personalized.
Why Choose a Dollar Store DIY Fall Wreath?
The allure of dollar store crafting lies in its accessibility and affordability. You don’t need a hefty budget or specialized skills to create something truly beautiful. Dollar stores are treasure troves of potential, offering a wide array of seasonal flora, basic craft supplies, and unique embellishments that can be transformed into high-end looking decor with a little creativity. This particular DIY fall wreath project is a testament to how far a few dollars and some simple steps can go, proving that stunning seasonal decor doesn’t have to break the bank. It’s about smart shopping and unleashing your inner decorator!
Essential Materials for Your Budget-Friendly Fall Wreath
Disclosure: This post contains affiliate links for your shopping convenience. If you purchase any of these products through the links, we receive a small commission at no extra charge to you. You can find our full disclosure here.
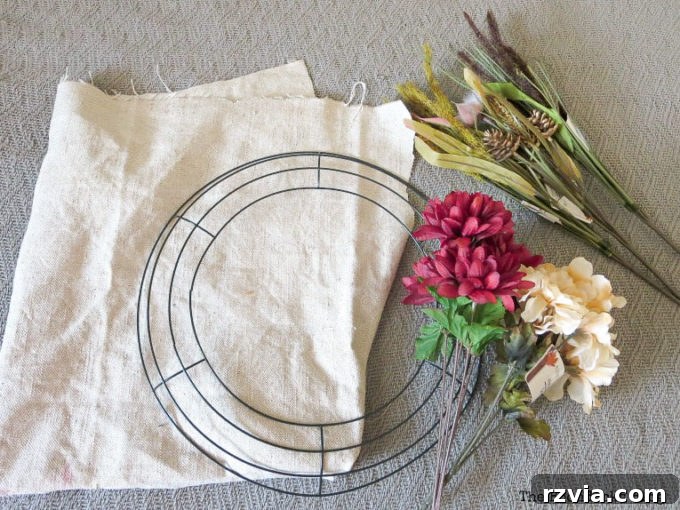
Gathering your supplies is the first exciting step in any DIY project. For this dollar store fall wreath, you’ll be amazed at how few items you truly need to achieve a gorgeous result. Many of these can be found at your local Dollar Tree, making this project as convenient as it is cost-effective.
- Wire Wreath Form from the Dollar Tree: This provides the sturdy foundation for your wreath. A metal form is reusable, making it an excellent investment for seasonal decor changes.
- 2 Faux Flower Bunches from the Dollar Tree: Look for flowers in classic fall colors like deep reds, oranges, yellows, or creams. Choose varieties that complement each other in texture and shade.
- 3 Wheat Grass Stems: These add a natural, rustic touch and beautiful texture that perfectly embodies the harvest season.
- Light-Colored Fabric: A plain or subtly textured light-colored fabric is ideal for creating contrasting frayed edges. Consider natural fibers like cotton or linen blends for the best fraying effect.
- Stapler: A quick and easy tool for joining fabric strips.
- Scissors: For precise fabric cutting.
Step-by-Step Guide: Crafting Your Easy DIY Fall Wreath
Now that you have all your materials, let’s dive into the fun part: bringing your vision to life! This process is designed to be straightforward, allowing you to create a beautiful wreath without any complex techniques.
1. Preparing Your Fabric Strips
Begin by taking your chosen piece of light-colored fabric. For this particular design, I cut the fabric into four strips, but with a specific detail in mind for the fraying effect. Two strips were cut vertically (along the warp of the fabric), and the other two horizontally (along the weft). This intentional variation in cutting direction will result in distinct fraying textures on different sections of your wreath, adding a subtle yet engaging visual interest. If you’re unsure about fabric grain, simply cutting four strips of roughly equal width and length will still work beautifully. The goal is to have enough fabric to cover your wire wreath form adequately.
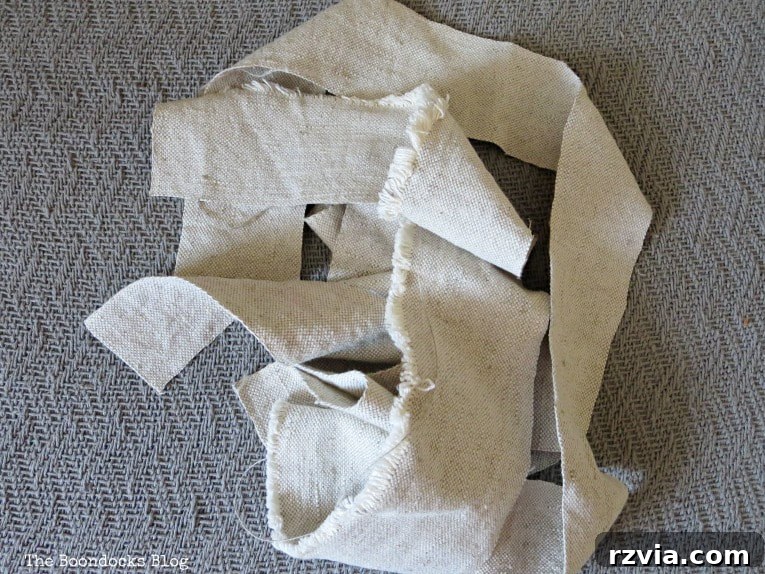
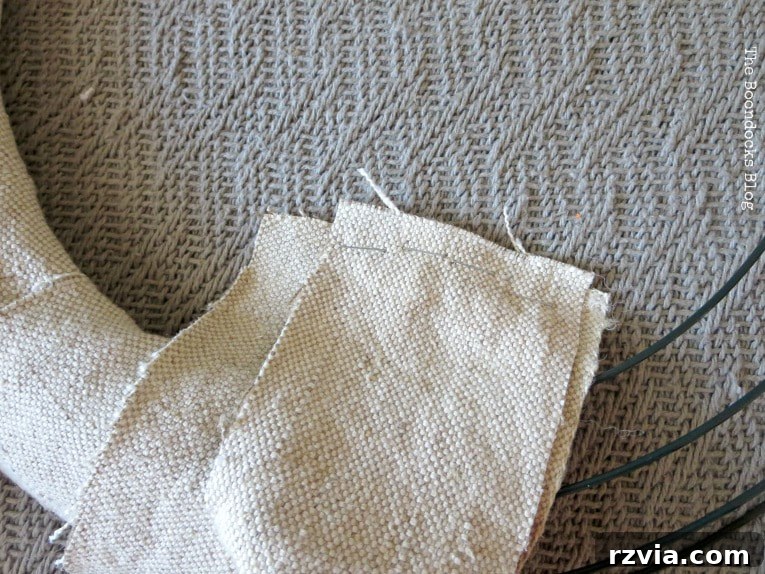
Once your strips are cut, it’s time to create one continuous length. I opted for a quick and easy method: stapling the ends of the strips together. This ensures a secure join and saves time, especially if you’re eager to see your wreath come together quickly. Alternatively, for a neater finish, you could use a needle and thread to hand-stitch the ends together, creating a seamless connection. Choose the method that best suits your preference and time constraints. The key is to have one long strip that can be easily wrapped around your wreath form.
2. Adding Texture with Frayed Edges
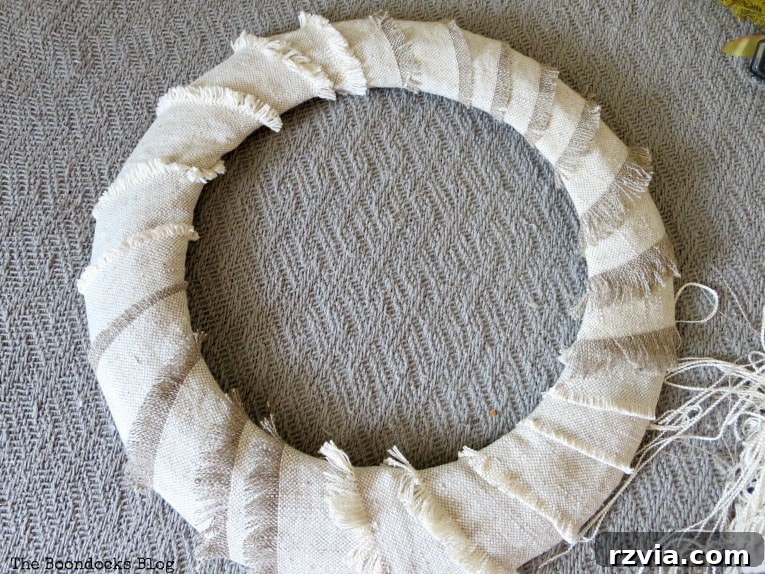
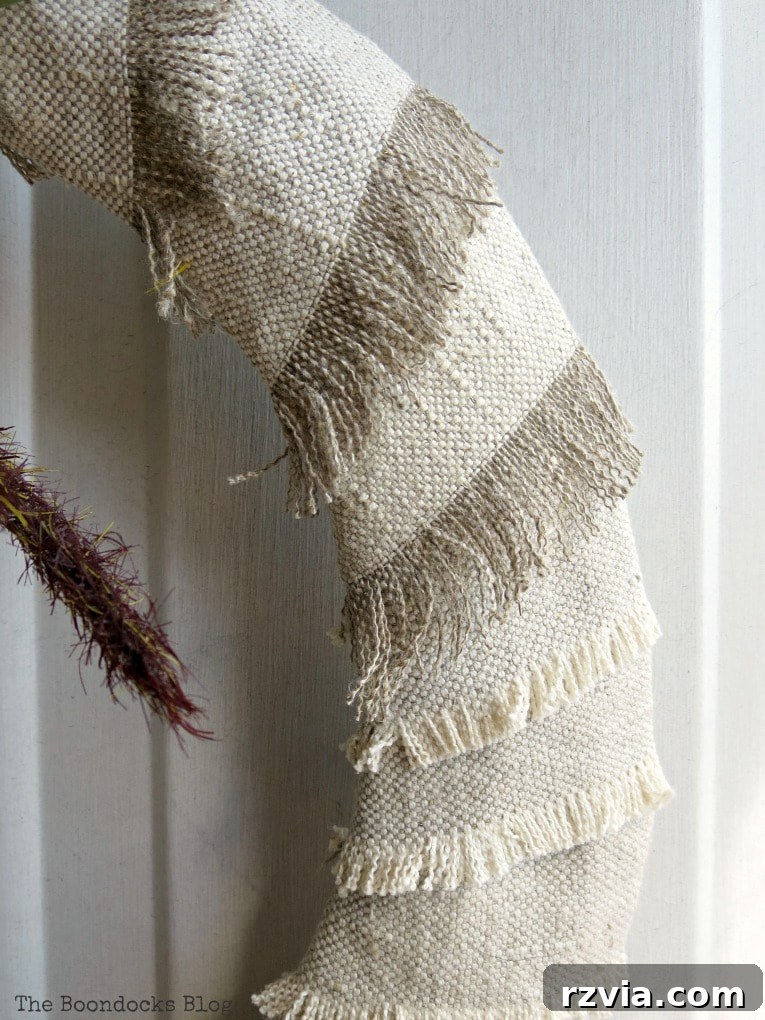
Next, to give the fabric strips a lovely, rustic look, I carefully pulled out some threads along the edges, creating a beautiful frayed effect. This step is where the intentional cutting direction of the fabric truly shines. Because my chosen fabric was woven with two different colored threads – a common characteristic in many textiles – the vertical cuts resulted in white fraying, while the horizontal cuts yielded a subtle taupe-colored fray. This creates a gorgeous, nuanced texture on the finished wreath. Don’t be afraid to pull a good amount of threads; the more pronounced the fray, the more character your wreath will have. This step instantly elevates the simple fabric, adding depth and visual appeal.
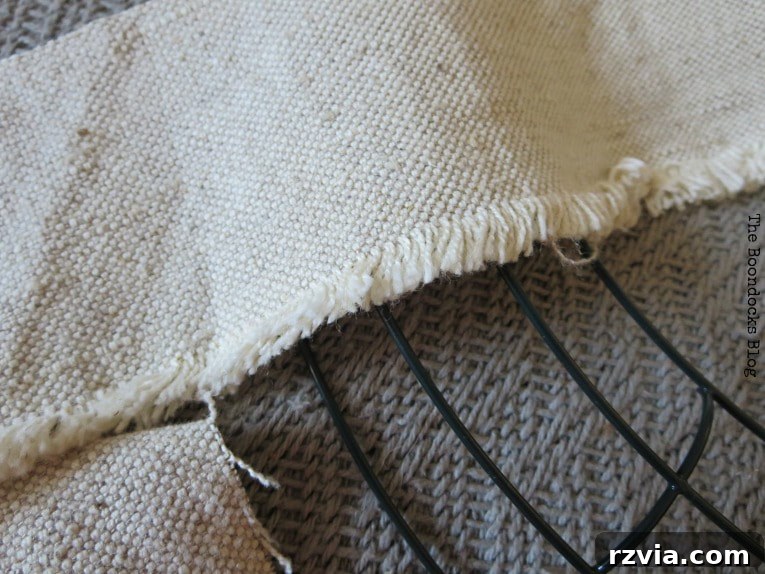
3. Wrapping the Wire Form
With your long, frayed fabric strip ready, it’s time to wrap it around the wire wreath form. Start by securing one end of the fabric to the wire form with a knot or a staple, then begin wrapping the fabric tightly and evenly around the entire form, ensuring that the wire is completely covered. Overlap the fabric slightly as you go to create a fuller appearance. The goal is to create a soft, textured base for your embellishments. As you wrap, notice how the different colored frayed edges peek through, adding an organic, artisanal touch to your dollar store fall wreath. I often reuse the same wire form for different seasons, simply unwrapping the old fabric and adding new. It’s a fantastic way to keep seasonal decor fresh without cluttering your home with multiple wreath forms!
4. Adding Faux Flowers and Embellishments
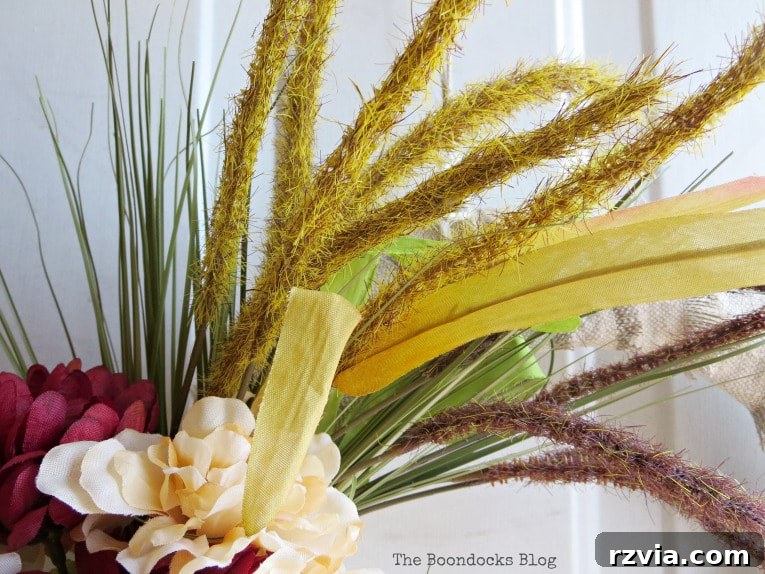
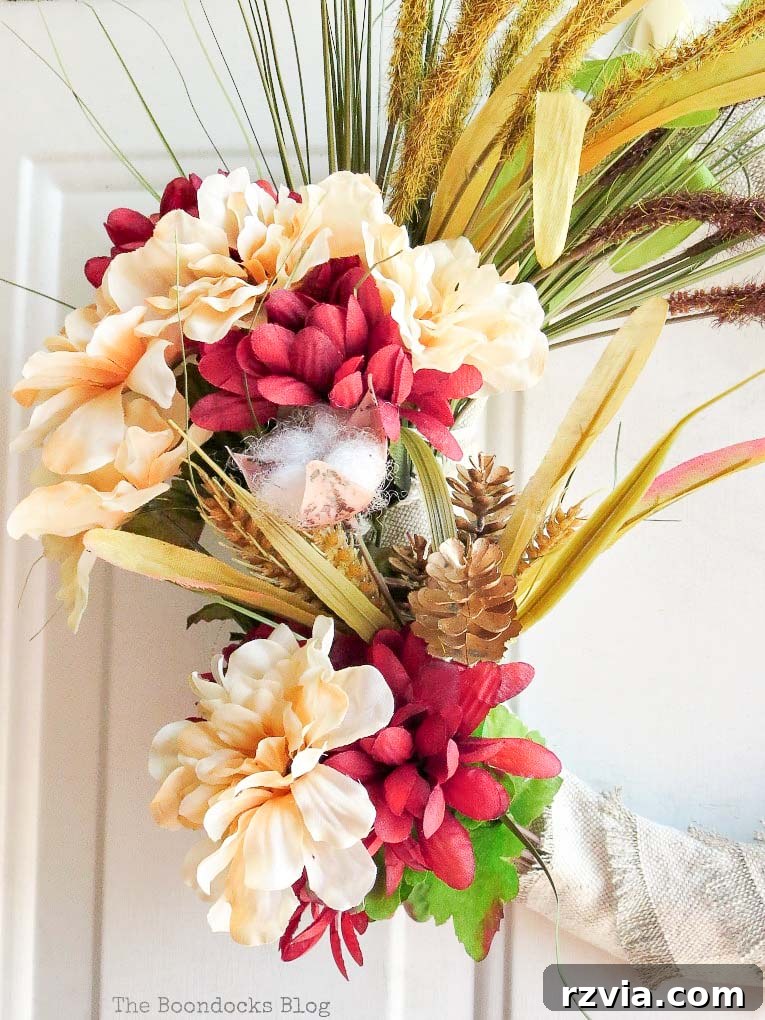
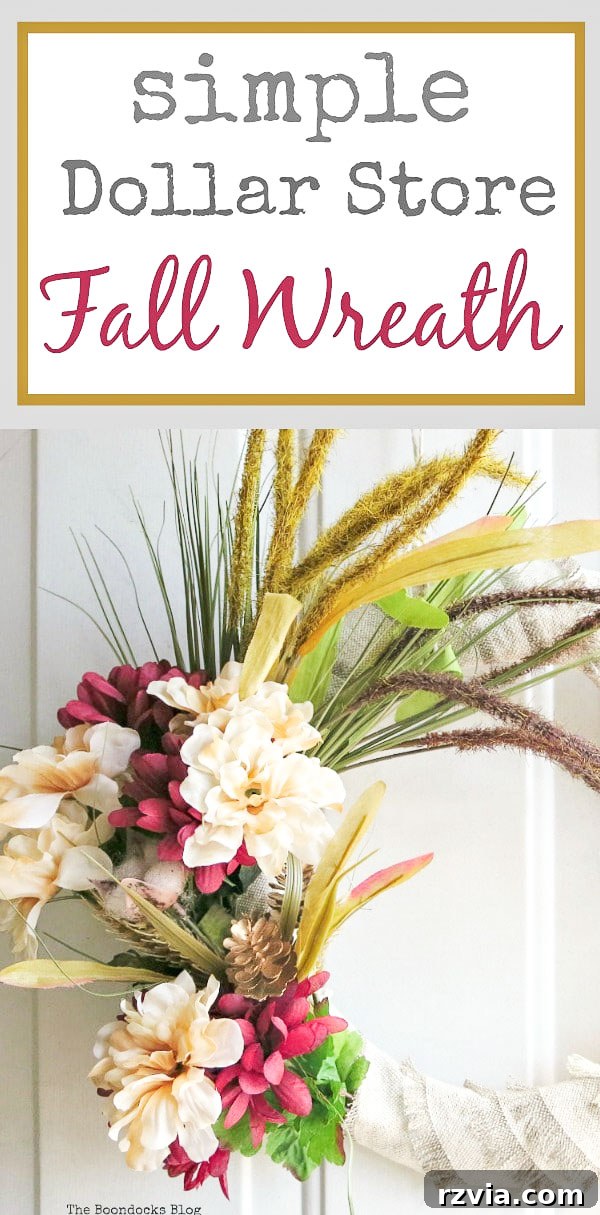
The final and most exciting step is to add your faux flowers and wheat grass. For the faux flower bunches, I strategically mixed the red and cream blooms rather than keeping them in separate clusters. This creates a more dynamic and visually interesting arrangement, mimicking the natural haphazard beauty of a fall garden. Many faux flowers can be easily pulled off their main stems, allowing you to insert individual blooms directly into the fabric loops of your wrapped wreath form. This method keeps the flowers secure without needing glue or wire. Position your flowers and wheat grass to create a vibrant, asymmetrical design. I deliberately concentrated the colorful elements on one side of the wreath, leaving the other side simpler to highlight the beautiful frayed fabric texture. This intentional asymmetry adds a modern and artistic flair, drawing the eye to the rich fall colors.
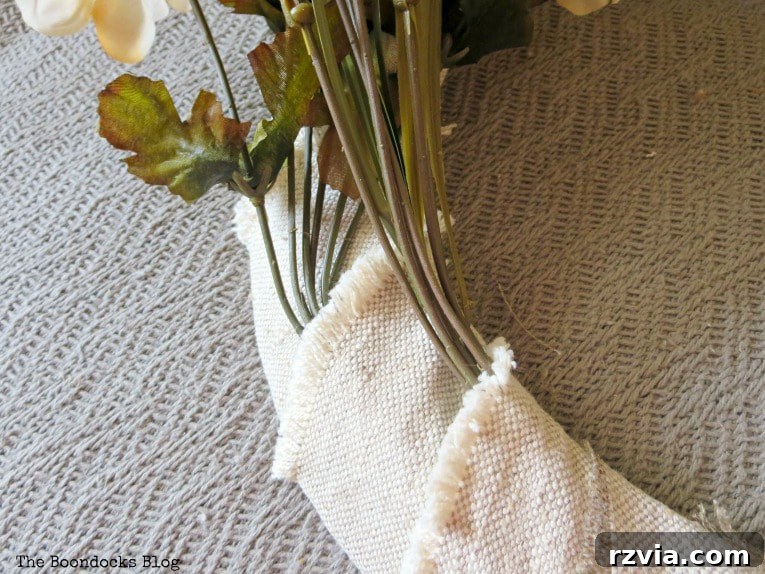
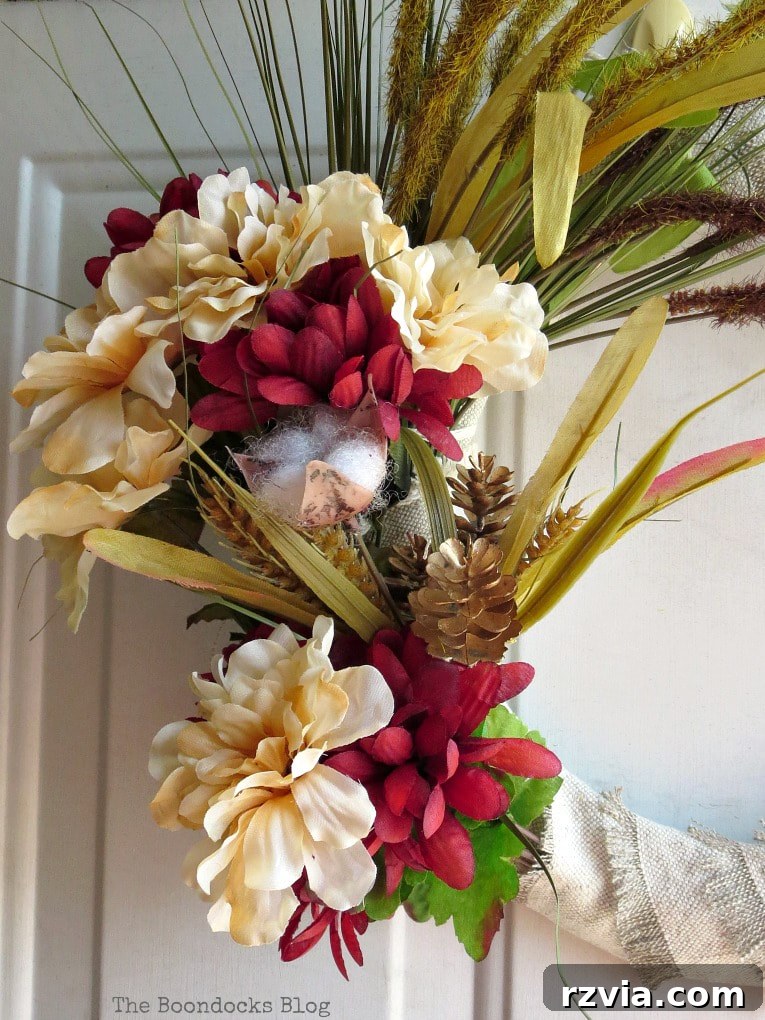
The combination of vibrant flowers, natural wheat grass, and even a charming pine cone (often found in dollar store floral mixes!) perfectly captures the essence of fall. This simple DIY fall wreath truly represents the season in all its colorful glory.
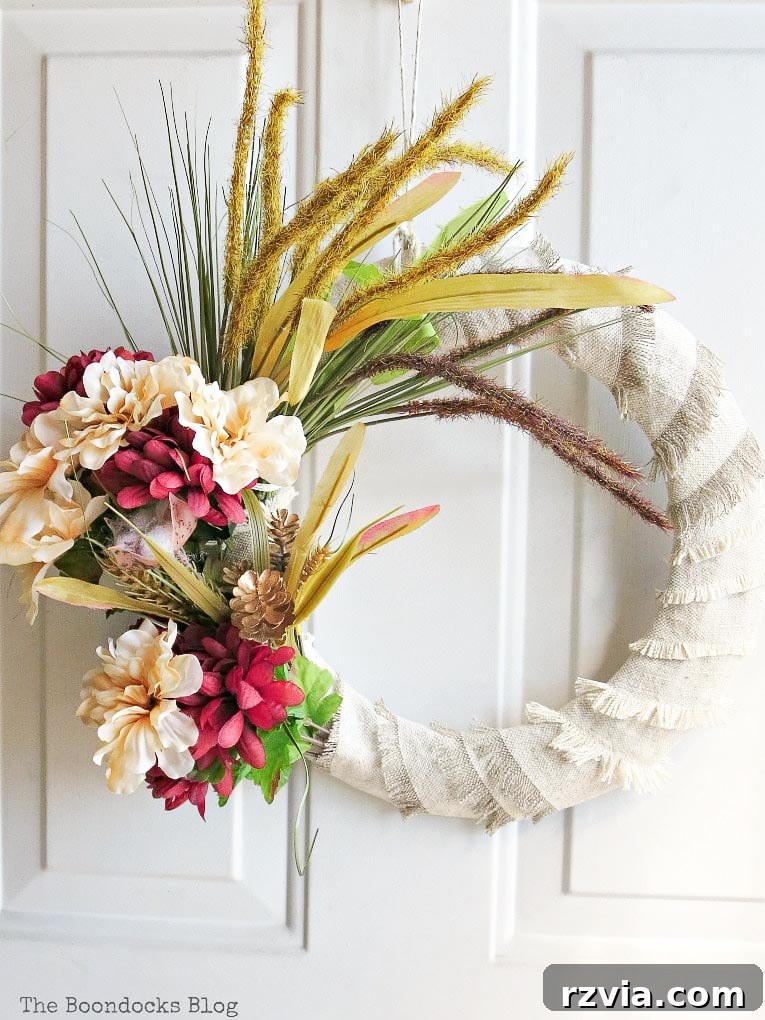
You can clearly see how the frayed edges contribute significantly to the wreath’s charm, especially on the less adorned side, creating an intriguing visual contrast with the lush floral section.

Embracing the Season with Dollar Store Decor
Having easy access to a dollar store truly simplifies seasonal decorating. I recall my time living in Greece where finding suitable fall decor was a significant challenge, often requiring me to resort to painting items to create the autumnal look I craved. The convenience of readily available, affordable materials means anyone can infuse their home with seasonal cheer without stress or a hefty investment. It’s a wonderful way to express creativity and make your living space feel welcoming and festive.
With this simple dollar store fall wreath, my door is now perfectly decked out and ready to welcome the cooler weather, which has arrived right on cue! The house is filling with the comforting aroma of pumpkin spice, and cozy sweaters are making their grand reappearance from storage. There’s a profound satisfaction that comes from creating something beautiful with your own hands, especially when it’s both stunning and budget-friendly. I wholeheartedly encourage you to try making this easy DIY fall wreath. It’s a delightful way to greet this colorful season and transform your home’s entryway into a warm, inviting focal point. Do you enjoy changing out your front door decor with each passing season? Sharing your seasonal style can inspire others to embrace the joy of DIY home embellishments.

More Inspiring Fall Projects to Ignite Your Creativity:
If you’ve enjoyed crafting this simple dollar store fall wreath, you’ll love exploring these other creative projects designed to bring autumn’s beauty into your home. Each offers a unique way to celebrate the season with handmade charm: