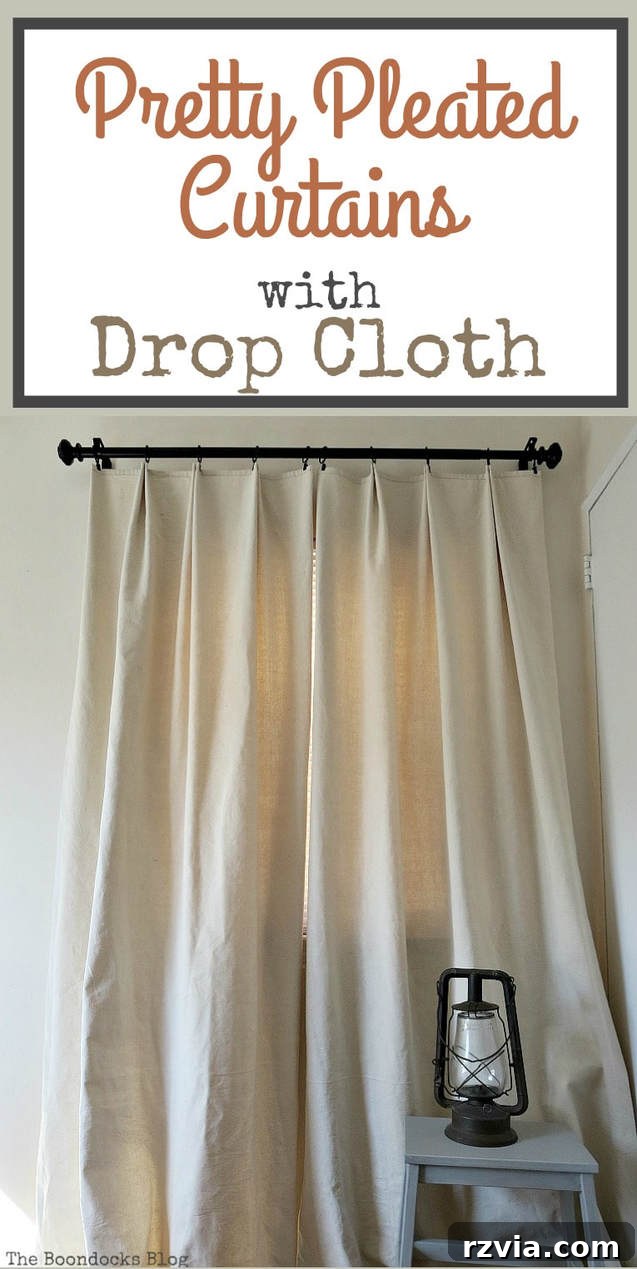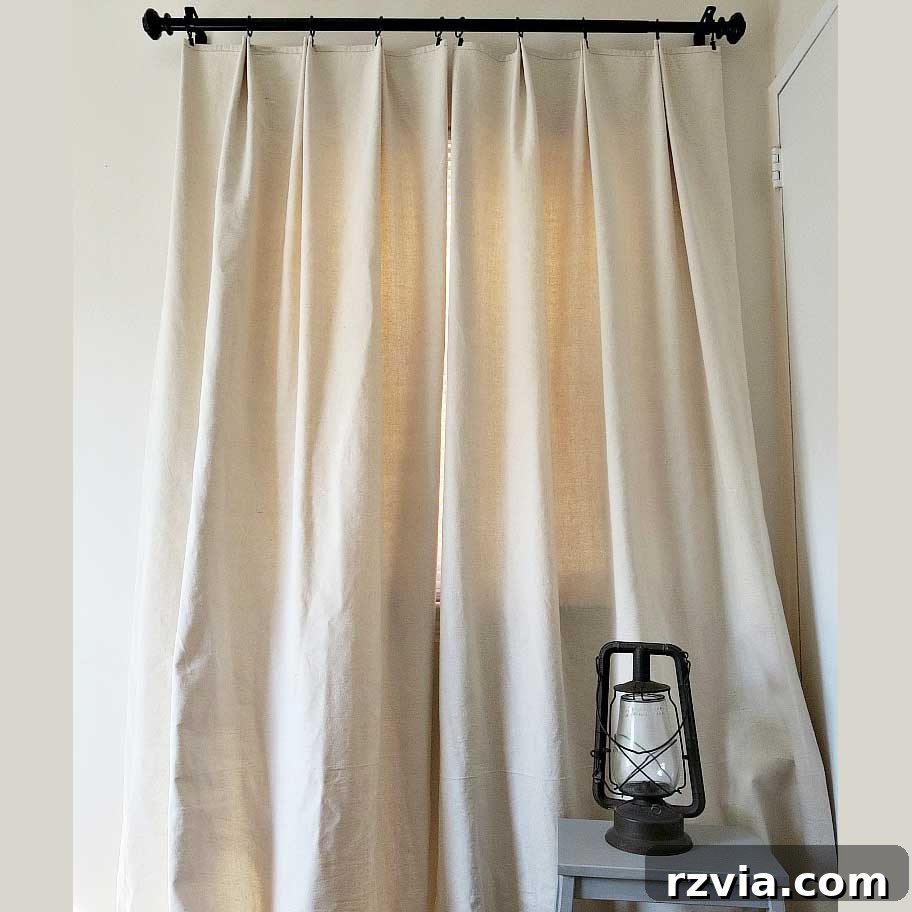
Transforming your living space doesn’t have to break the bank. If you’re yearning for fresh, stylish window treatments but are working with a tight budget, look no further! This comprehensive guide will walk you through creating stunning, DIY drop cloth curtains that promise to add privacy, elegance, and a touch of bespoke charm to any room. Say goodbye to drab windows and hello to a custom look for a fraction of the cost!
Crafting Custom Curtains from Affordable Drop Cloth
The desire for a home refresh often starts with the details, and curtains play a crucial role in setting a room’s ambiance. My own room, for instance, desperately needed a facelift. The existing window coverings had certainly seen better days; they were noticeably worn and showed significant sun fading along the edges, diminishing the overall appeal of the space.
However, instead of heading to a pricey fabric store, I embarked on a more resourceful path. My vision was to create beautiful, pleated drop cloth curtains, and for that, I chose to order canvas drop cloth online. This decision was largely influenced by the incredible buzz surrounding drop cloth as a versatile and economical home decor solution.
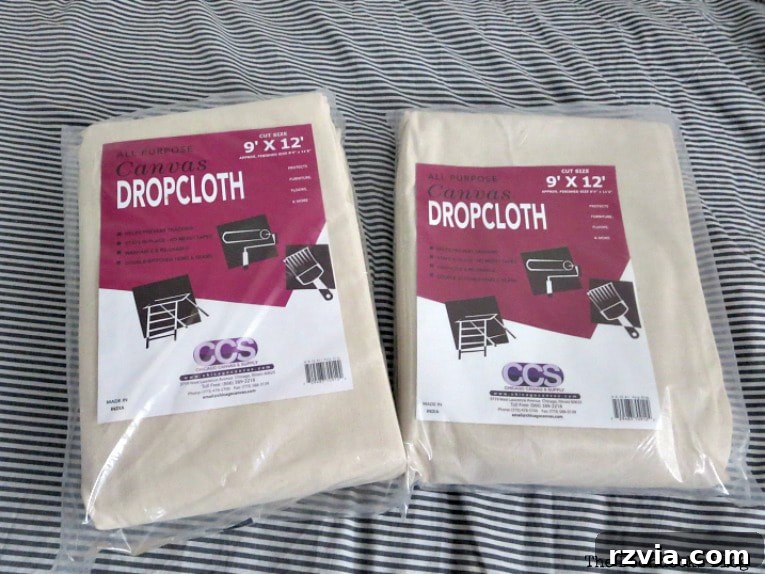
I had heard many glowing recommendations about drop cloth from fellow DIY enthusiasts, particularly from Lisa of The Purple Hydrangea. Yet, I admit, I was initially hesitant. My prior experience with drop cloth was exclusively for painting projects, and the idea of using it for home decor felt a bit unconventional. The primary concern was selecting the right material – how would I know if I was getting the appropriate weight or density for elegant curtains without physically inspecting it? Fortunately, Lisa’s invaluable advice, which included a direct link to her preferred Amazon choice, made the selection process incredibly easy and reassuring.
Taking a leap of faith, I ordered not one, but two large packages of canvas drop cloth from the same manufacturer she recommended. My reasoning was simple: it’s always better to have a bit extra than to run short midway through a project. This decision proved wise, as you’ll soon discover, given the slight variations that can occur even with materials from the same source.
Essential Supplies for Your DIY Drop Cloth Curtains
Disclosure: This post contains affiliate links for your shopping convenience. If you purchase any of these products through the links, we receive a small commission at no extra charge to you. You can find our full disclosure here.
Gathering the right tools and materials is the first step towards a successful DIY project. For these affordable homemade curtains, you’ll need the following:
- Two packages of Canvas Drop Cloth, approximately 9′ by 12′ each. This size provides ample fabric for generous curtain panels.
- A reliable measuring tape for accurate sizing and cutting.
- An iron to achieve crisp, professional-looking hems and remove any wrinkles from the fabric.
- Sharp fabric scissors for clean, straight cuts. Using dedicated fabric scissors prevents fraying and ensures precision.
- Needle and thread for a traditional sewn hem, or iron-on fabric tape for a convenient no-sew alternative. A hot glue gun can also be an option for quick hemming.
- One package of clip rings in black (typically 20 rings per package), essential for creating the effortless pleated look.
A Step-by-Step Guide to Making Your Own Drop Cloth Curtains
Once your canvas drop cloth packages arrive, the first and most critical step is to give them a thorough wash. Since drop cloth is made from 100% cotton, it will inevitably shrink. Pre-washing ensures that your curtains maintain their desired length and shape after future cleanings, and it also helps to soften the fabric and remove any factory sizing.
The next crucial stage involves meticulous measurement. To determine the ideal dimensions for your curtains, a helpful rule of thumb is to aim for a total curtain width of about two and a half times the width of your windows. This generous width ensures a luxurious, full look when the curtains are drawn, preventing them from appearing thin or skimpy. For my windows, I knew I would need four individual panels to achieve the desired fullness and coverage. I consulted resources like KariAnne’s book, DIY Home Planner, which provided invaluable guidance on calculating precise measurements for window treatments.
As I proceeded to measure each drop cloth individually, I quickly discovered that they were not perfectly identical. One piece, for example, had a prominent seam running down the middle. Rather than trying to work around it, I opted to cut panels from the two outer sections, reserving the seamed center for a different project entirely. The second drop cloth presented a different challenge; its factory-sewn borders ran along the width instead of the length. This variation was a valuable learning moment, highlighting the importance of thorough inspection before making any cuts. My best advice for anyone undertaking this project is to finalize all your measurements first, and then carefully examine each individual piece of drop cloth before you even think about cutting. This preemptive step can save you time, material, and potential frustration.
With measurements confirmed and fabric inspected, I began the process of folding the raw edges to create crisp, clean hems. Pressing these folds with a hot iron is an absolute game-changer; it makes it remarkably easier to achieve perfectly straight edges, giving your curtains a professional finish.
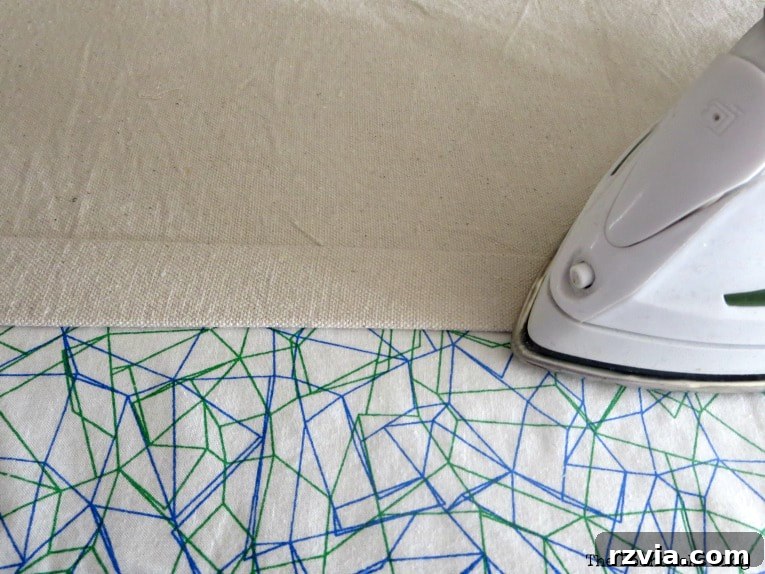
At this juncture, you have several options for securing your hems. You could use an iron-on fabric binder for a quick, no-sew approach. In my case, however, I prefer to hand sew them. This method allows for greater precision and results in a crisper look without any pulling or visible thread. I’ve also seen fellow crafters use a hot glue gun for a very fast and effective solution. The choice ultimately depends on your comfort level with different techniques and the finish you desire for your sewn drop cloth curtains.
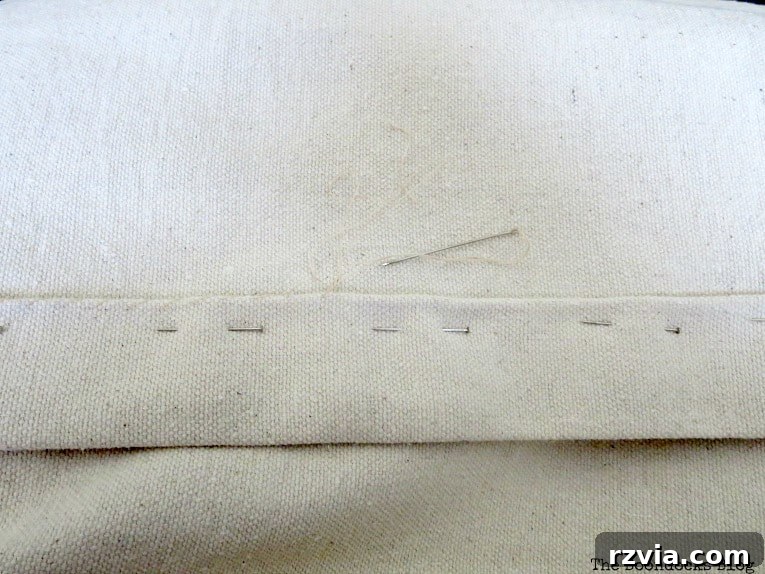
Interestingly, due to the aforementioned variations in the drop cloth panels, I only had to hem the bottom of one set of curtains. The other set already featured a perfectly sewn binding along the bottom edge, a testament to the fact that not all drop cloths are created equal. This perfectly illustrates why inspecting each piece beforehand is so vital for a smooth process.
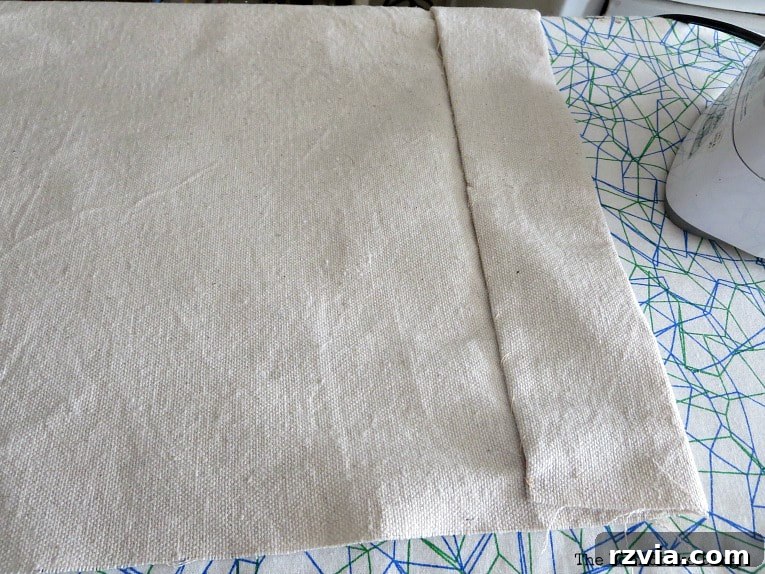
Once the bottoms were hemmed and the sides expertly sewn, it was time for the truly ingenious part: creating elegant pleats using simple clip-on rings. I had previously purchased these clip-on rings, but I wasn’t just going to clip them directly onto the fabric. Instead, a brilliant idea sparked: I could strategically fold the fabric and then clip it to instantly create beautiful, tailored pleats!
I began by folding the fabric as depicted in the image below, creating the foundation for the pleated effect.
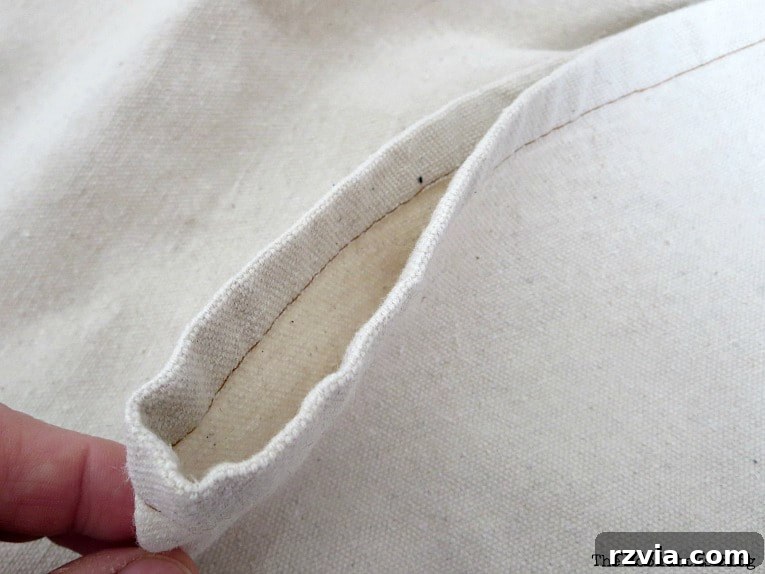
Next, I gently pushed about an inch of the folded fabric inwards to achieve a distinctive “W” shape. This specific fold is perfect for the central pleats, giving them depth and structure.
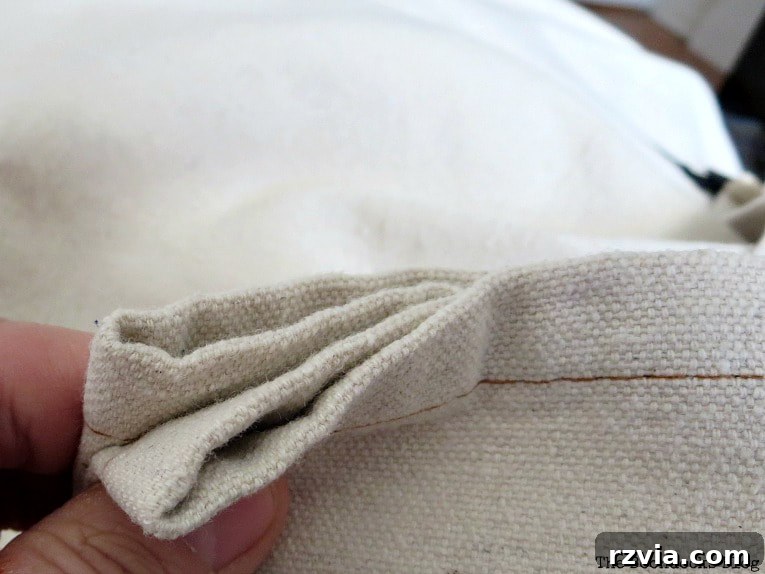
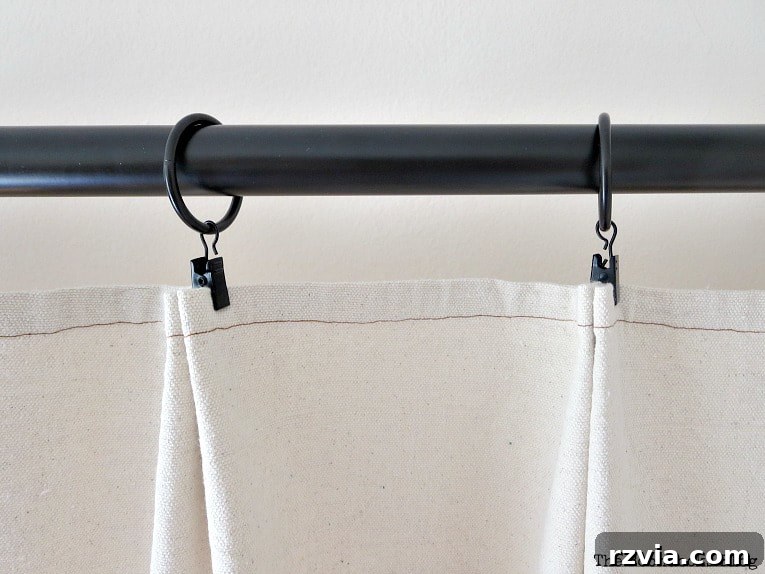
I then securely clipped this entire section of the fabric. This method, as mentioned, was applied to the central pleats, ensuring they held their elegant form beautifully.
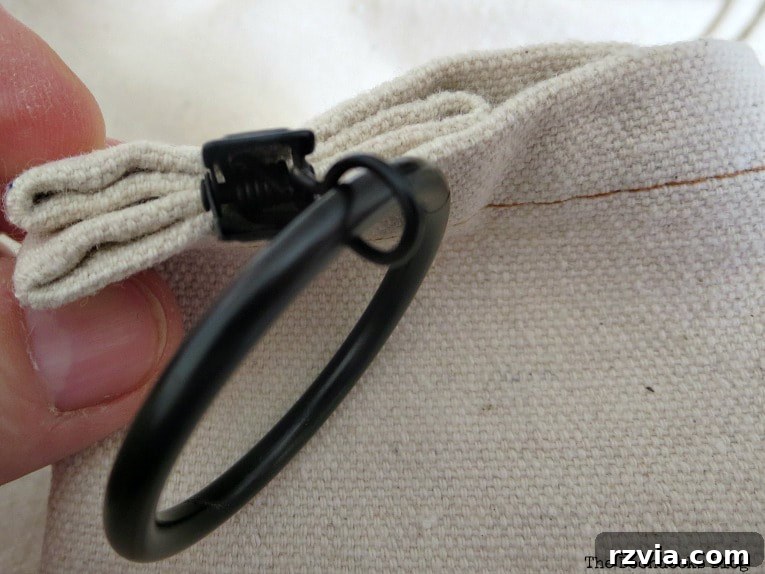
For the sides of the curtain panels, a slightly different approach was used. The fabric was simply turned inward and clipped to form a clean, subtle “V” shape, complementing the central “W” pleats and creating a cohesive, polished look.
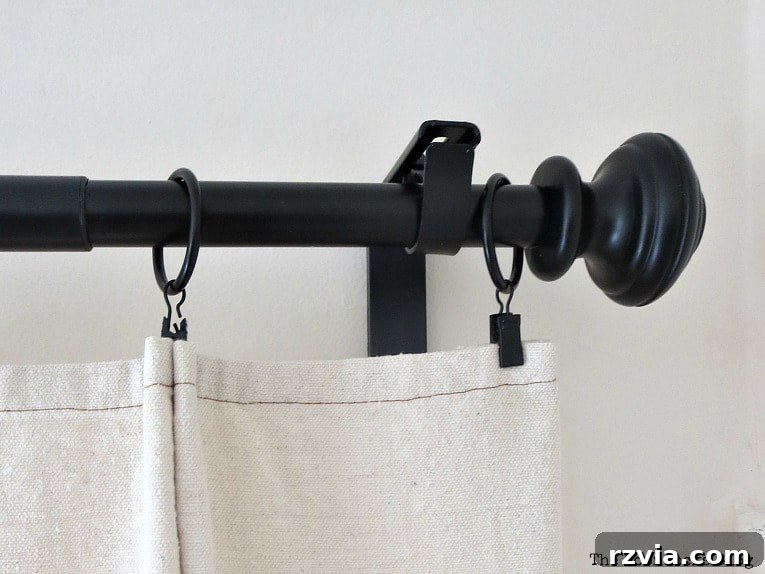
To ensure adequate support and a uniform drape, I added two additional clip rings to each panel, bringing the total to five rings per curtain. This spacing helps the fabric fall gracefully and maintains the integrity of the pleats.
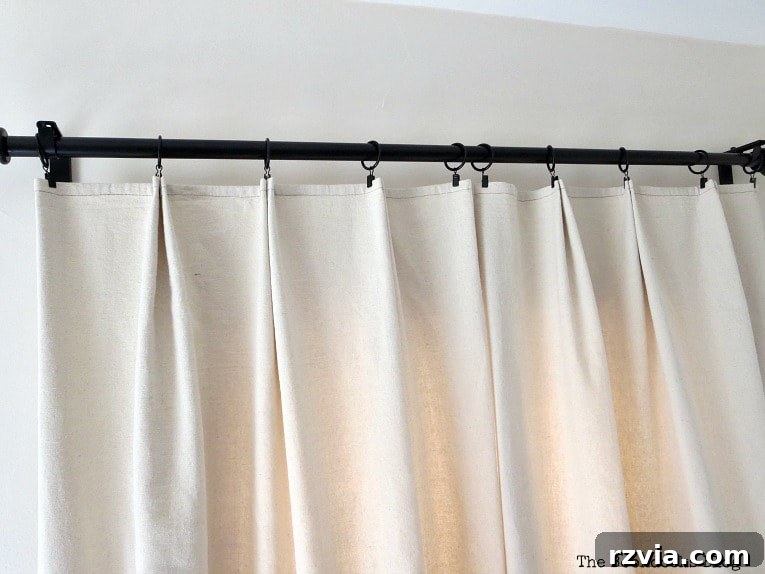
And there they were, hung in the room, effortlessly matching the wall color and instantly elevating the space. I couldn’t have been more delighted with the outcome, even if I had personally visited a store to hand-pick the fabric – a habit I usually adhere to, as I generally prefer to feel textiles before purchasing. The transformation was dramatic, and the satisfaction of having created such beautiful window treatments myself was immense.
It’s worth reiterating the incredible cost savings achieved with this DIY approach. I had, in fact, visited a fabric store previously and was absolutely staggered by the prices. Similar fabric weights were easily over $20 per yard. To create curtains of this scale with store-bought fabric would have easily cost me upwards of $240. Instead, my entire project came in at a remarkable $40! The sheer joy and savings made this project incredibly rewarding.
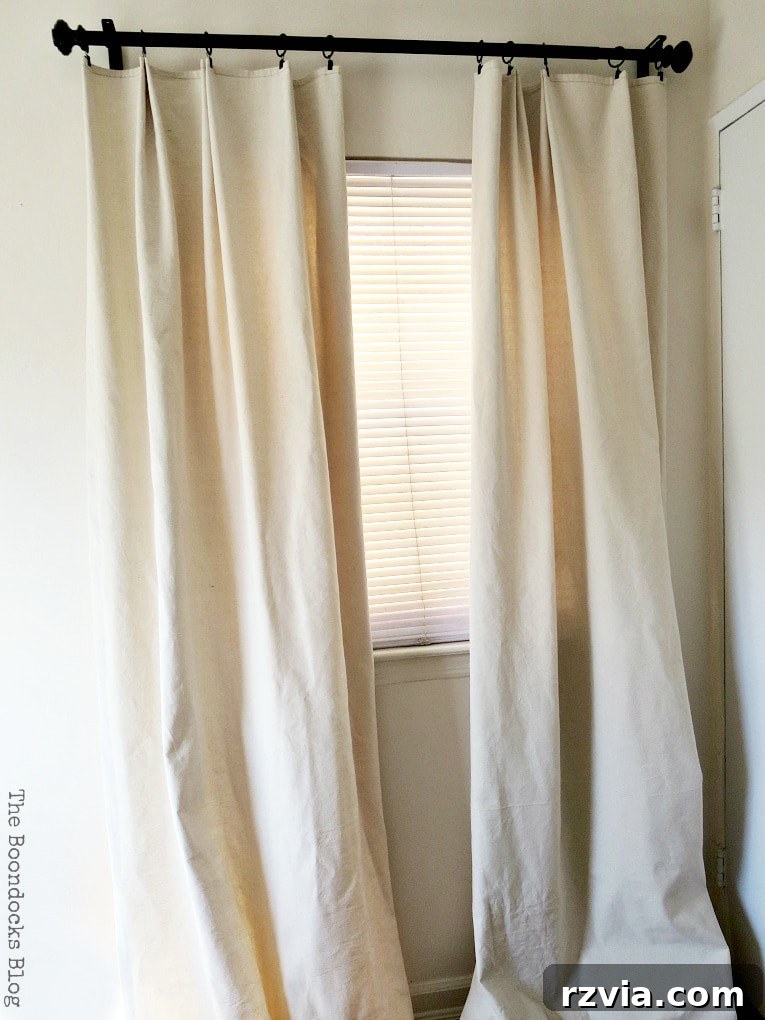
Now, I enjoy instant pleats without any of the hassle traditionally associated with sewing or gluing complex drapery. The beauty of this clip-ring method is its versatility and ease of maintenance; if I ever decide to change them out or clean them, I simply un-clip them. It’s truly “Easy Peasy!”
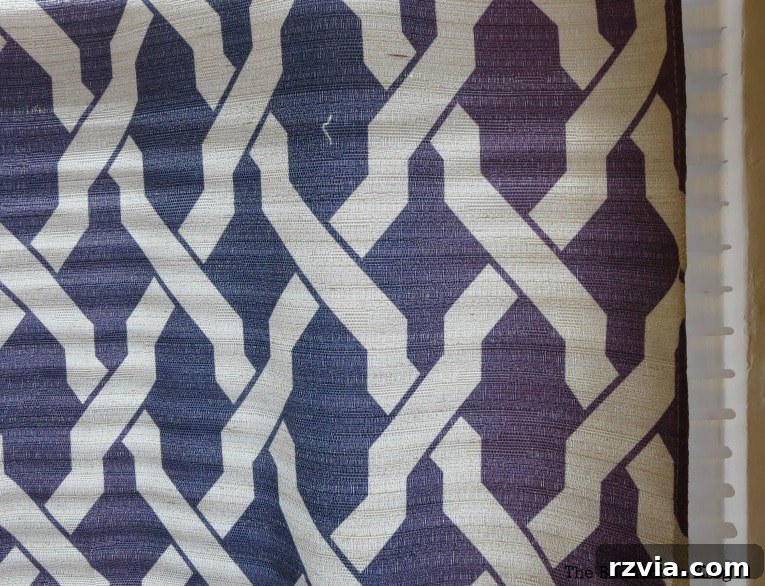
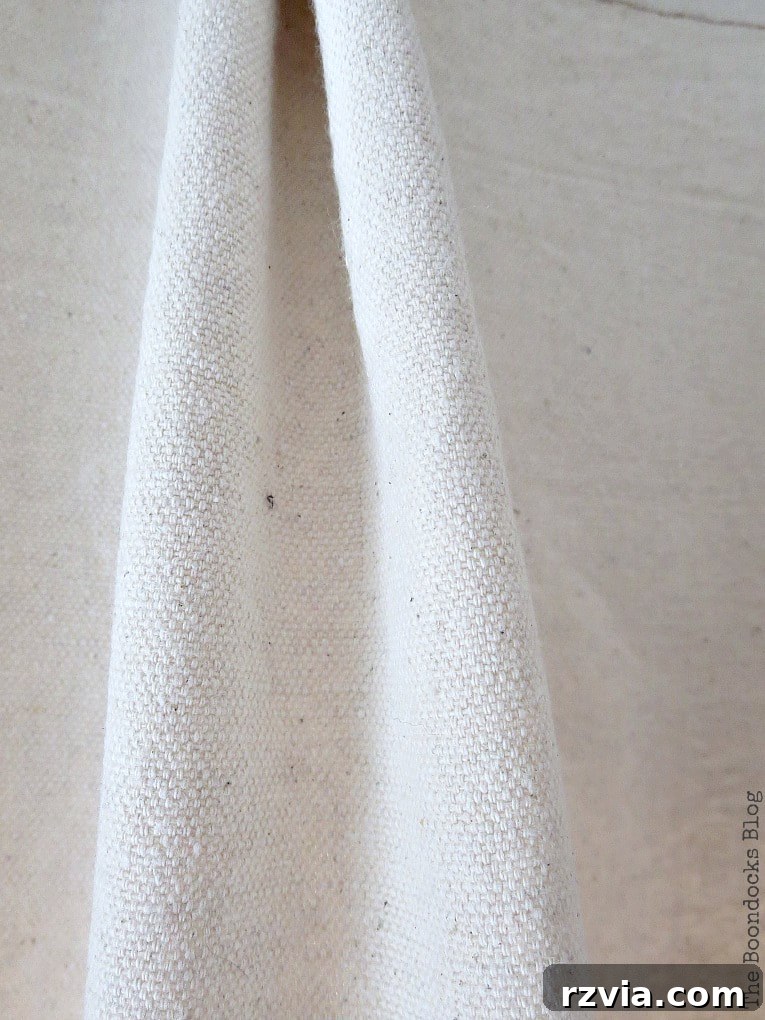
Upon closer inspection, you can truly appreciate the fabric’s dense weave. This is an important detail to note, as not all drop cloths are manufactured with the same quality or density. Opting for a higher-quality canvas ensures a more luxurious drape and greater opacity for privacy. It’s a key factor in achieving a high-end look on a budget.
When it came to the length, I deliberately chose to leave ample fabric at the bottom, creating a beautiful “puddle” effect. My reasoning was twofold: cotton fabric, even after pre-washing, can sometimes experience further minimal shrinkage over time, especially with repeated laundering. Secondly, and perhaps more honestly, I was in a rush to get these beautiful curtains hung! The puddle effect allows for flexibility to re-hem them to my exact desired length after future washes, or simply to enjoy the luxurious drape it provides in the interim.
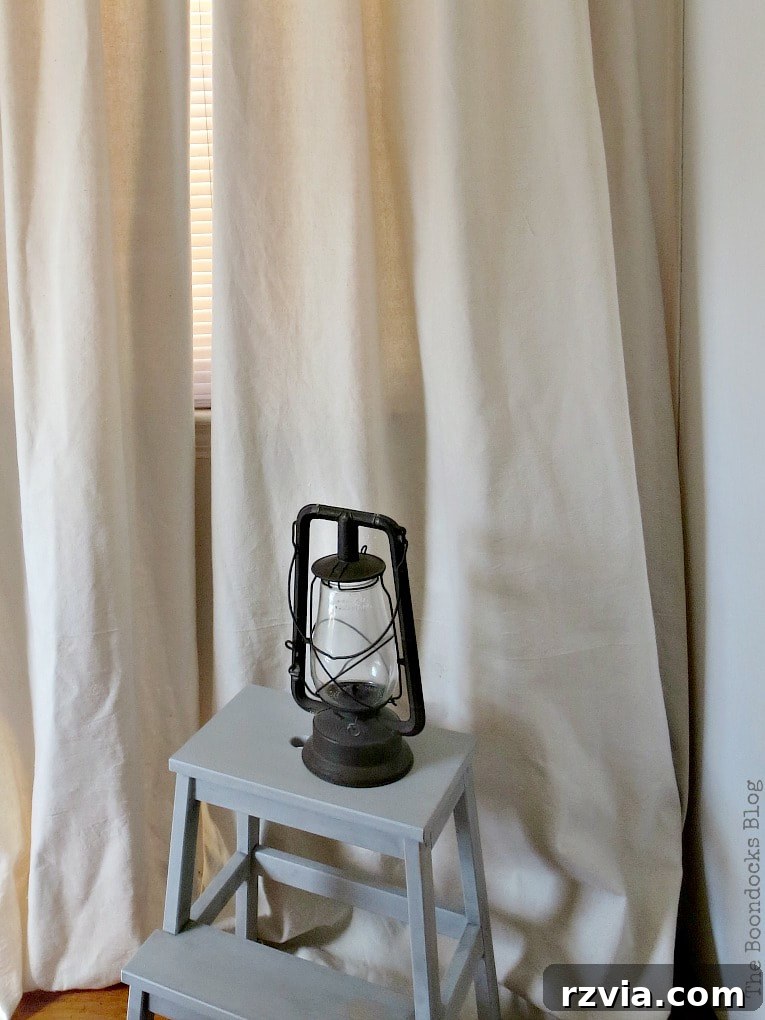
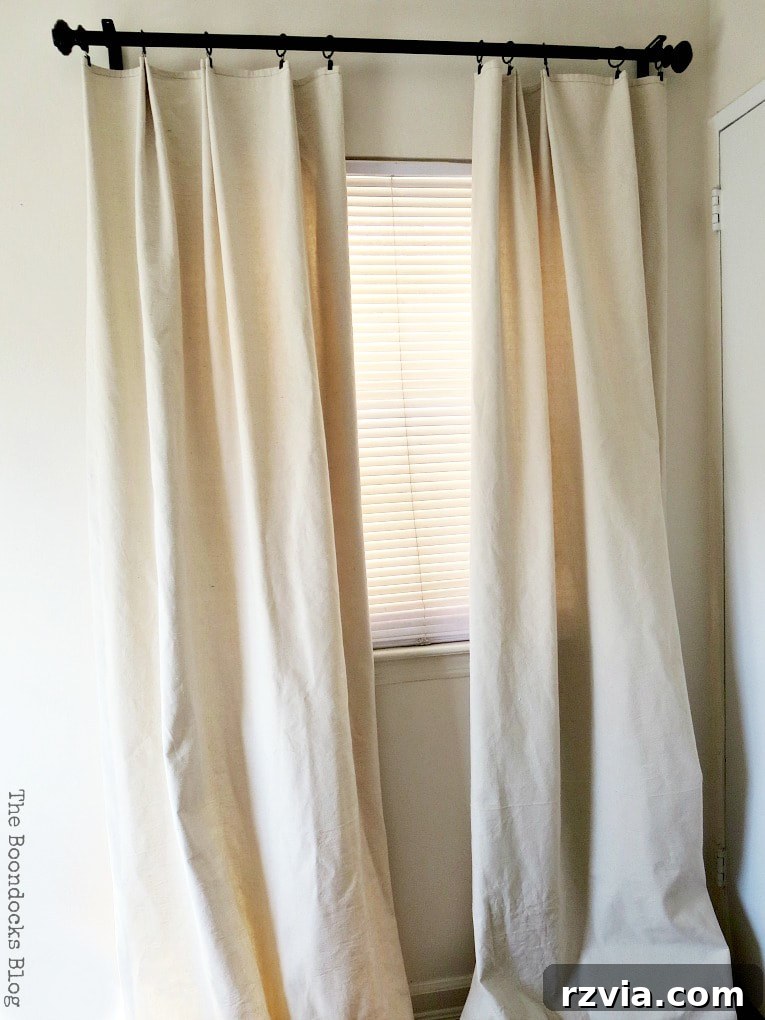
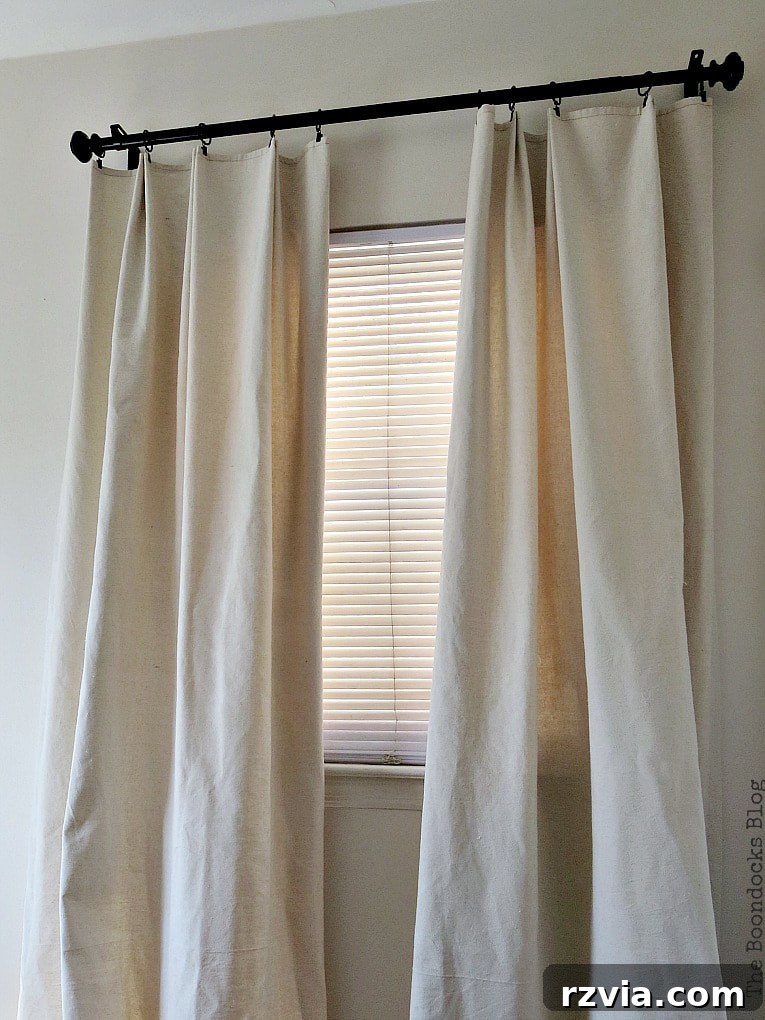
An essential design tip for hanging curtains, regardless of material, is to always position your curtain rods high and wide. This strategic placement creates the illusion that your windows are much grander than their actual size. When the curtains are open, they beautifully frame the window, enhancing its perceived dimensions. When closed, as mine are, they provide complete coverage and a lush, full appearance, because I used enough fabric width to prevent them from looking skimpy or pulled taut. Ample fabric is key to that expensive, designer look.
As you can observe in the image below, my window is quite modest in size, but thanks to the clever placement of the curtains, it appears significantly larger and more imposing, greatly enhancing the room’s aesthetic.
As part of the International Blogger’s Club, I always enjoy sharing unique cultural insights. This month, I’d like to briefly discuss traditional curtain hanging methods in Greece. The most common approaches involve either a valence that cleverly hides the curtain track, or a fabric band sewn onto the back of the curtain, which incorporates small loops. Tiny hooks on the curtain rings are then attached to these loops. When threads are pulled through these loops, they gather the fabric, creating a beautiful, pleated effect, similar to what we’ve achieved with our clip rings but through a more traditional sewing method.
Interestingly, during my own “sleuthing” for this project, I found it quite challenging to locate plain curtain rings without clips. It seems that the clip-on versions have become far more popular and are significantly easier to use, reflecting a global shift towards more convenient home decor solutions.
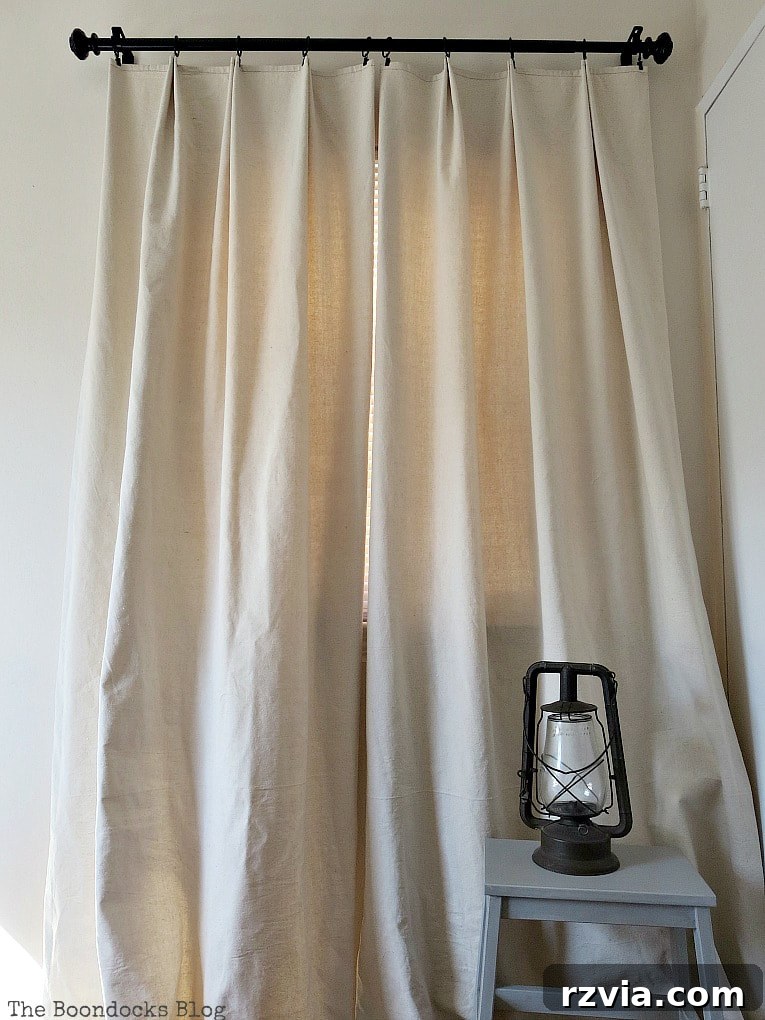
I am incredibly grateful to my fellow members of the International Bloggers Club for suggesting fabric as this month’s challenge. It genuinely pushed me to create something I didn’t realize I needed so desperately until it was done. The most astonishing part? Creating the actual pleats themselves took me only about a minute per panel! I sincerely hope that you’ve gained valuable tips and inspiration on how to make your own stunning, pleated drop cloth curtains, proving that elegance and affordability can indeed go hand-in-hand.
For more fantastic insights into the versatility of drop cloth, be sure to visit Lisa’s blog, The Purple Hydrangea, where she shares five compelling reasons why drop cloth deserves a place in your home decor arsenal.