
How to Make an Easy Rustic Hook Rack: A DIY Entryway Organizer
Every home, no matter how meticulously organized, often faces the challenge of entryway clutter. Keys, coats, shopping bags, dog leashes – these everyday essentials can quickly pile up, transforming a welcoming space into a chaotic one. I recently found myself confronting this very issue in my own tiny hallway, desperately seeking a practical yet stylish solution. My initial vision for a specific piece of wood didn’t quite materialize as planned, a common creative hurdle many DIYers face. However, this minor setback merely fueled my determination, reminding me that “necessity is the mother of invention.” What emerged from this creative pivot is a charmingly simple, **rustic hook rack** – a perfect **DIY entryway organizer** that not only tackles clutter but also adds character to any home. Join me as I walk you through how to transform a humble piece of wood into a functional and beautiful **wood hook rack**, proving that sometimes, the most unexpected paths lead to the most delightful discoveries in **easy DIY home decor**.
Disclosure: I was compensated for doing this post with product. However, all the opinions stated here are my own. I only use products I love and would recommend to my viewers.
The Need for Smart Entryway Organization
My compact entryway presented a unique challenge. Unlike grand foyers with ample space for elaborate furniture, my hallway demanded smart, vertical **wall organization ideas**. Imagine stepping through the front door, laden with grocery bags, or grabbing a light sweater for a quick dash to the mailbox – where do these items go without creating an immediate mess? I needed a solution that was efficient, aesthetically pleasing, and, crucially, space-saving. Store-bought options often fall short, lacking either the custom fit for a snug corner or the rustic charm I envisioned. While I’ve tackled similar home organization projects before, like a larger wall hanger, my current entryway called for something more compact and tailored. This quest for a small, functional, yet undeniably stylish **coat rack** became the driving force behind this project, aiming to create a dedicated spot for those everyday “necessities” that often find themselves adrift.
What You’ll Need for Your Rustic Hook Rack:
- Set of Two Double Prong Robe Hooks in Matte Nickel
- A Piece of Leftover Wood (approximately 4 inches by 26 inches) – Embrace wood with character!
- DecoArt Americana Clear Cream Wax
- Screws for the hooks (ensure they are appropriate for your chosen hooks and wood thickness)
- Screwdriver (or a power drill for ease)
- 2 Screw Eye Hooks (for secure wall mounting)
Step-by-Step: Crafting Your Easy DIY Hook Rack
1. Discovering Your Rustic Treasure
The foundation of any great **rustic hook rack** is, of course, the wood itself. For this project, I embarked on a delightful treasure hunt through my dad’s collection of salvaged wood – a goldmine for any DIY enthusiast. What I unearthed was a true gem: an unassuming, aged piece of wood, roughly 4 inches wide and 26 inches long. It wasn’t perfect; in fact, its beauty lay precisely in its imperfections. This particular piece bore the charming hallmarks of time – intriguing marks, subtle discolorations, and remnants of old white paint that hinted at a past life. The origins of these unique characteristics remain a mystery, but one thing was abundantly clear: its inherent rustic aesthetic was exactly what I needed.
2. Embracing Natural Beauty: The “No-Paint” Revelation
As someone who typically has a paintbrush firmly in hand, my initial instinct for this piece of wood would have been to reach for my favorite chalk paint or stain. However, as I held this aged timber, a different impulse took over – a whisper from my “old self,” urging me to simply “leave well enough alone.” This wood, with its history etched into its grain and its subtle patina, resonated with a profound sense of character. It was proud to display its “wrinkles” and “white hair,” much like a cherished antique. And so, for the first time in a long time, I resisted the urge to paint, choosing instead to celebrate its raw, authentic charm. This decision was pivotal in creating the true **farmhouse style decor** I was aiming for.
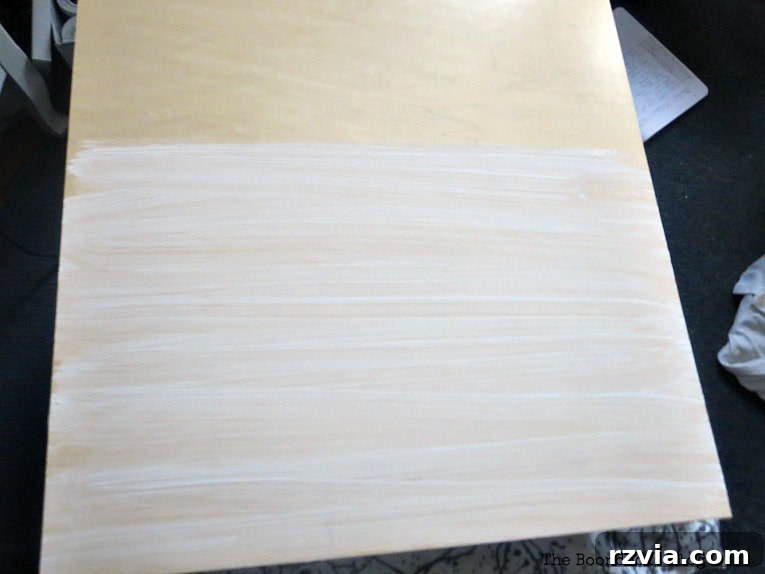
All I did to it was pass a little creme wax over it to give it a bit of shine. You know like when you use mousse on your hair!
3. Enhancing with a Touch of Wax
To honor the wood’s natural beauty while offering a touch of refinement and protection, I opted for a simple application of DecoArt Americana Clear Cream Wax. This wasn’t about covering up; it was about enhancing. Using a soft cloth, I gently rubbed a thin layer of the cream wax across the entire surface of the wood. The wax worked wonders, subtly deepening the wood’s tones, highlighting its texture, and imparting a gentle, lustrous sheen. Think of it as a nourishing conditioner for wood – it brought out its best features without altering its fundamental character, much like how a touch of mousse adds life and shine to hair without changing its color. This step was crucial for preserving the **vintage appeal** while ensuring durability.
4. Pairing with Perfect Hooks
No **hook rack** is complete without its hooks, and for this project, I sought out hardware that would not only be functional but also aesthetically harmonized with the aged wood. My choice was a set of stunning matte nickel double-prong robe hooks. I had received these from the D. Lawless Company, and their quality and finish were impeccable. The soft, understated finish of the matte nickel proved to be the ideal companion for the rugged elegance of the rustic wood. The contrast was captivating – the modern simplicity of the hooks against the time-worn wood created a perfect balance of old and new. Doesn’t the aged wood look great with that lovely soft finish on the hooks?
Disclosure: The items below are affiliate links and link to Amazon.com. If you purchase any of these products through the links, I receive a small commission, that way I can continue to provide you with lovely content. There is no extra charge to you for purchasing through my affiliate links.
5. Securely Attaching the Hooks
With the wood prepped and the hooks chosen, it was time for assembly. I carefully measured and marked the desired positions for my hooks along the length of the wood. For a 26-inch board, spacing two double-prong hooks evenly created both visual balance and optimal functionality. Using a screwdriver (or a power drill for ease), I securely fastened each hook to the wood using the provided screws. It’s important to ensure they are firmly attached, ready to bear the weight of coats, bags, and other essentials. The goal was a sturdy, reliable **DIY coat rack** that would stand the test of time.
6. Adding Hanging Hardware for Easy Installation
To prepare the **rustic wood rack** for wall mounting, I installed two screw eye hooks on the back, near each end of the board. These little hooks are simple yet effective, providing a secure point from which to hang the rack. While sturdy picture wire or even decorative twine (as you might see in some rustic designs) could be threaded through these eye hooks, I found that simply using them directly with wall anchors or a cleat system provided the most stable installation for heavy-duty use. This step ensures your beautiful new **entryway hook rack** is ready to be put to work immediately. Instead of fighting to see who will get all the attention, the wood and hooks seem to be in harmony and complement each other perfectly!
And here they are holding all of the bare necessities!
Sometimes you really need to leave well enough alone and listen to your old self! 😉
Now when I’m ready to run out the door I just grab my stuff and go…and wink at that rustic wood which can teach us all some life lessons!
Embrace DIY: Your Own Custom Entryway Solution
In a world often filled with mass-produced items, there’s an undeniable satisfaction in crafting something with your own hands. This **easy DIY home decor** project exemplifies how a little creativity and a willingness to see potential in overlooked materials can yield remarkable results. Beyond the cost savings, making your own **rustic hook rack** offers the unique advantage of tailoring it perfectly to your space and style – something a generic store-bought piece simply cannot achieve. This “gorgeous rustic beauty” found its ideal home in my entryway, not just organizing it, but also adding a layer of warmth and personality. I encourage you to unleash your inner DIYer and create your own **wood hook rack**. Discover the joy of transforming materials and, perhaps, learn to appreciate the “wrinkles” and stories they tell. For a fantastic selection of hardware to bring your vision to life, I highly recommend exploring the extensive variety of hooks available at D. Lawless Hardware – you’re sure to find the perfect pairing for your next project.
If you really like what you see subscribe to my blog and get my adventures in your mailbox. The form is on the sidebar and on top. Your e-mail will never be shared with a third party.
More Projects for Wall Organization:
<< Pleated Drop Cloth Curtains HOME Coffee Station >>
Linking up to these Link Parties
This blog is for entertainment purposes only; my DIY tutorials are not professional advice. Read my full disclaimer here.
I love it when I get your comments and I will try to reply to every one of them. Please do not add a hyperlink to your comment, otherwise it cannot be published.