
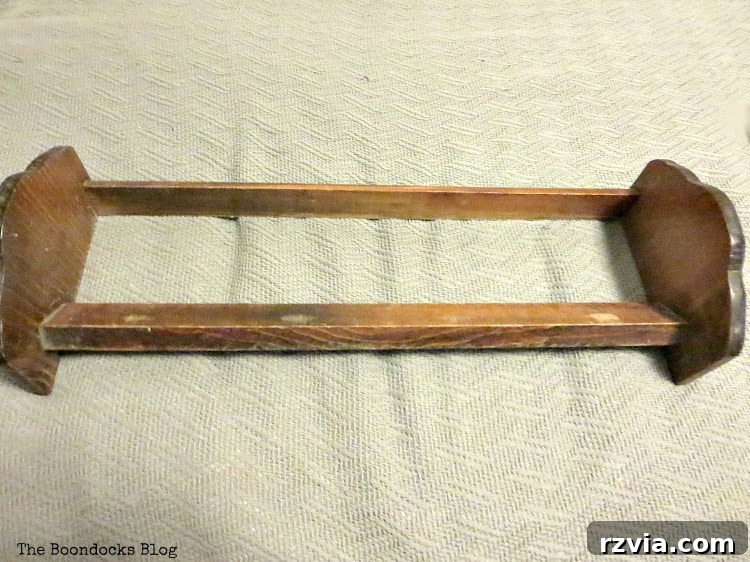
Have you ever stumbled upon a fascinating antique, perhaps in a hidden corner of a thrift store, and wondered about its story? Or, more specifically, what on earth it’s called? You’re not alone! Many avid thrifters and DIY enthusiasts share that exciting moment of discovery. We recently had just such an experience with a remarkable piece: a long wooden contraption perfect for organizing and displaying cherished items. We soon learned its intriguing name – a vintage book trough, also often referred to as a book rack or desktop bookcase. It’s a delightful find for anyone looking to add a touch of timeless charm and practical elegance to their home. Join us as we embark on a creative journey to give this vintage treasure a stunning, personalized makeover, transforming it into a functional and beautiful focal point that celebrates its inherent character.
Transform Your Space: A Comprehensive Guide to Upcycling a Vintage Book Trough
Unraveling the Mystery: What Exactly is a Book Trough?
The name “trough” might initially conjure images of rustic farm life, typically associated with long, narrow containers used for feeding animals. However, this charming wooden piece, far from its agricultural namesake, serves a decidedly different, more refined purpose. The definition of “trough” extends beyond the farmyard, encompassing “any of several similarly shaped receptacles used for various commercial or household purposes.” This alternate meaning perfectly describes our vintage find, a testament to its versatile design.
Delving into the history and nomenclature of this antique piece reveals a rich tapestry of names. An image search for this vintage wooden creation often yields a variety of terms, including “book shelf,” “book case,” and “desktop bookcase.” Regardless of its specific label, the core function remains consistent: to elegantly hold and display objects, typically those sized like books, magazines, or even vintage record albums and DVDs. These unique pieces were popular in an era when physical books were the primary source of entertainment and information, making them ideal for keeping reading materials organized and accessible on a desk, table, or side cabinet.
A vintage book trough stands apart from a conventional bookshelf. Unlike vertical shelves that maximize storage in a small footprint, a book trough offers a horizontal, more accessible display. This design encourages browsing and makes it easy to grab your next read or showcase a curated collection of beautiful covers. Its compact size often makes it a perfect addition to a home office, living room side table, or even a bedside nightstand, providing both functionality and a distinct decorative element.
The inherent character of these wooden pieces, often crafted from solid oak, mahogany, or pine, presents a fantastic opportunity for upcycling. While many might possess a charming aged patina, others may show signs of wear, neglect, or outdated finishes that simply don’t align with modern aesthetics. This is where the magic of a DIY makeover truly shines, allowing us to breathe new life into a forgotten artifact and tailor it to our personal style, proving that even a humble “trough” can become a statement piece in contemporary home decor.
Essential Materials for Your Book Trough Upcycling Project:
Disclosure: This post contains affiliate links for your shopping convenience. If you purchase any of these products through the links, we receive a small commission at no extra charge to you. You can find our full disclosure here.
Embarking on any DIY project begins with gathering the right tools and materials. For this vintage book trough transformation, we’ve curated a list of essentials that will help you achieve a beautifully distressed, aged, and personalized finish. Most of these items are readily available at craft stores, hardware stores, or online, making this a truly accessible project for all skill levels.
- Vintage Book Trough: The star of our project! Keep an eye out for these unique pieces at thrift stores, antique shops, flea markets, or online marketplaces. Look for sturdy wood construction, as minor cosmetic flaws are easily corrected.
- Sandpaper (various grits): Essential for smoothing surfaces, removing old finishes, and creating that desirable distressed look. We recommend starting with a medium-grit (100-150) for initial sanding and moving to a fine-grit (220+) for a smoother finish.
- Decoart Chalky Finish Paint in Everlasting (White): Chalk paint is a game-changer for furniture makeovers. Its excellent adhesion often eliminates the need for extensive prep work like priming, and it dries to a beautiful matte finish that’s perfect for distressing. The “Everlasting” white serves as a versatile base coat.
- Craft Paint in Blue, White, and Yellow: These acrylic craft paints will be mixed with the chalky finish paint to create a custom, soft hue. Having primary colors on hand allows for endless possibilities in color blending and personalization.
- Paint Brushes (various sizes): You’ll need brushes for applying both the chalk paint and the craft paint. A larger flat brush is good for broad surfaces, while smaller detail brushes are useful for corners and edges.
- Decorative Wax (Black): This is crucial for adding depth, sealing the paint, and enhancing the distressed, aged aesthetic. Black wax settles into crevices and worn areas, giving the piece an authentic antique appearance.
- Round Wax Brush: Designed specifically for applying wax, this brush helps work the wax into the paint for an even and thorough application, especially important for textured finishes like chalk paint.
- Lint-Free Cloths: Essential for wiping away excess wax and buffing the waxed surface to a subtle sheen, leaving no unsightly fibers behind.
With these materials at hand, you’ll be well-equipped to transform your vintage book trough from a forgotten relic into a stunning, personalized piece of home decor, ready to hold your favorite reads and add character to any room.
Step-by-Step Guide: How to Upcycle Your Vintage Book Trough
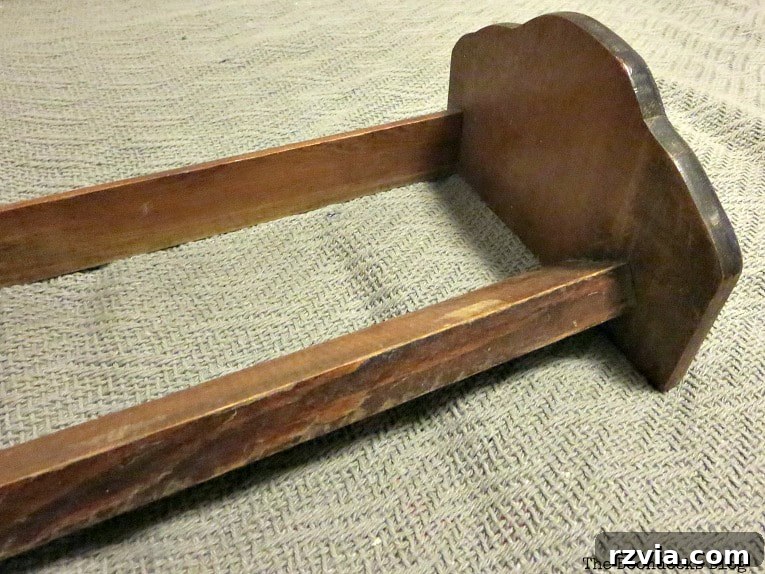
The beauty of upcycling lies in its ability to transform old, overlooked items into something fresh and new with minimal effort. Our vintage book rack, while full of potential, had seen better days, particularly its peeling varnish. Instead of laboriously stripping every last bit of the old finish, a more forgiving approach allows us to embrace its imperfections and save a significant amount of time and effort.
1. Initial Preparation and Light Sanding
When dealing with an old piece sealed with varnish that’s flaking off, attempting to remove every speck can be an arduous and often unnecessary task. Our strategy was to simply sandpaper away the most obvious loose bits and rough patches. This isn’t about achieving a perfectly smooth, pristine surface, but rather about creating a stable base for the new paint. Focusing on the areas where the old finish was visibly peeling or uneven ensures that the fresh coat of paint will adhere properly without bubbling or flaking prematurely. Use a medium-grit sandpaper (around 120-150 grit) to gently scuff the surface and smooth out any egregious imperfections. A quick wipe-down with a damp cloth after sanding will remove any dust, preparing the piece for its new look.
2. Applying the Base Coat of Chalk Paint
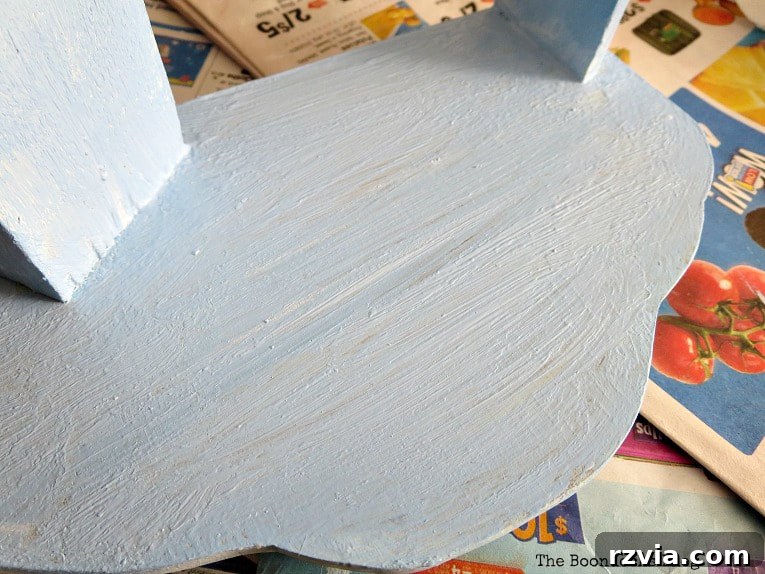
Chalky finish paint is truly a DIY enthusiast’s best friend. Its forgiving nature and excellent adhesion mean you often don’t need to prime or extensively sand. After the initial light sanding and cleaning, we applied two generous coats of white chalky paint. The “Everlasting” shade provides a crisp, neutral foundation that brightens the piece and allows subsequent colors to truly pop. Apply the paint evenly with a good quality brush, allowing ample drying time between coats (refer to the paint manufacturer’s instructions, but typically 1-2 hours). Two coats usually provide excellent coverage and create a durable, matte base that is ideal for further artistic techniques like distressing.
3. Customizing with a Pop of Color
This upcycled book trough was destined for my daughter, a passionate bibliophile, so it was only natural that the primary color reflected her vibrant personality and love for books. Blue, a color often associated with tranquility, intellect, and creativity, felt like the perfect choice. To achieve a truly unique and soft blue hue, I combined a few leftover craft paints – blue, white, and a touch of yellow – with the chalky finish paint. This mixing technique allows for endless customization, letting you create precisely the shade that speaks to you or perfectly matches a specific room’s decor. The addition of a tiny bit of yellow can warm up a blue, making it less stark and more inviting. Once the custom color was mixed, it was applied carefully over the white base coat, ensuring even coverage and allowing the personalized shade to shine through.
4. Achieving the Perfect Distressed Look
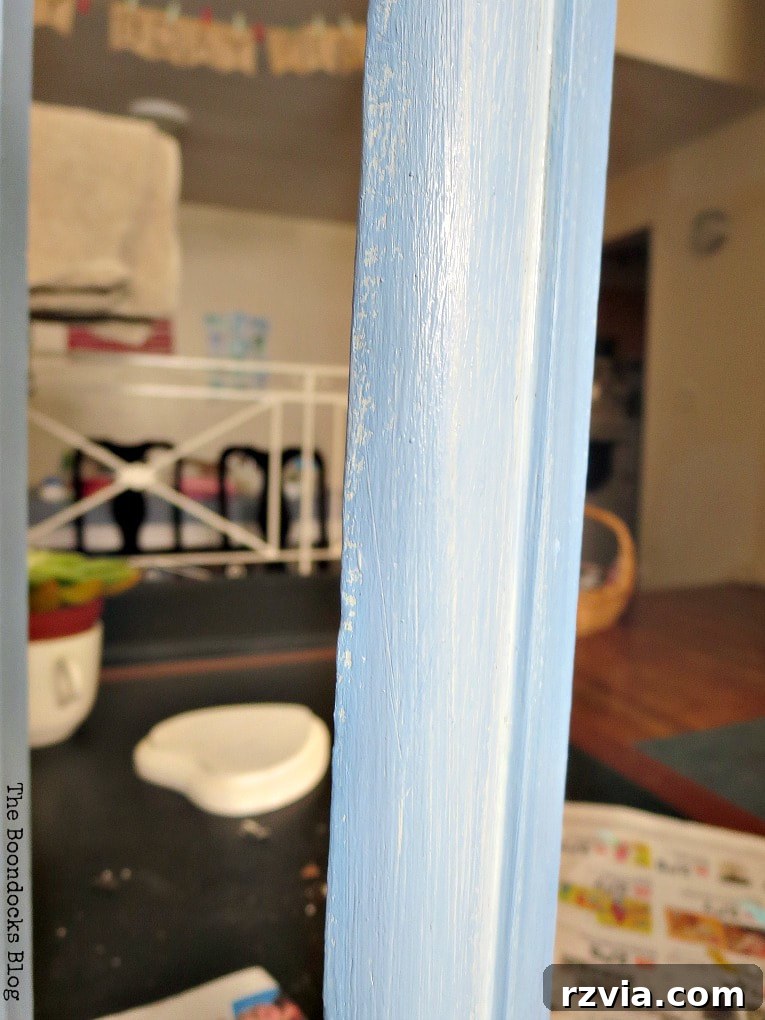
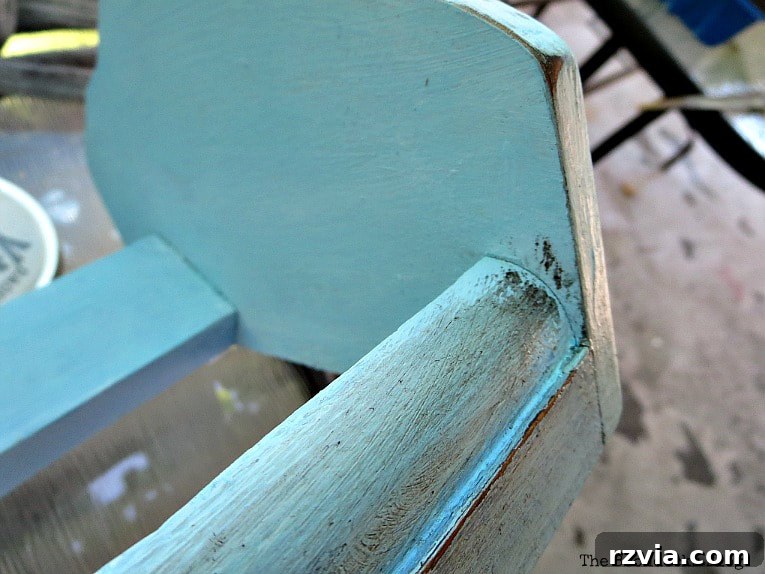
Once the custom blue paint had fully dried, it was time to introduce the characteristic vintage charm through distressing. This technique involves selectively removing small amounts of paint to reveal the underlying layers or the natural wood, mimicking years of authentic wear and tear. Using sandpaper (a fine-to-medium grit, around 180-220, works well here), gently sand along the edges, corners, and any raised details of the book trough. These are the areas that would naturally show the most wear over time. The goal is not to create uniform scratches, but rather a subtle, organic look that suggests the piece has a rich history. The white base coat peeking through the blue creates a beautiful contrast and enhances the antique feel.
5. Sealing and Antiquing with Decorative Wax
To protect the newly painted surface and further enhance the aged aesthetic, a decorative wax was applied. Black wax is particularly effective for this, as it settles into the distressed areas and creates a beautiful, grungy patina that looks genuinely old and well-loved. Using a round wax brush, apply the black wax in small sections, working it into the paint, especially concentrating on the distressed edges and any carved details. Don’t apply too much at once. Immediately after applying a section, use a clean, lint-free rag to wipe off the excess wax. This process not only seals the paint, making it more durable, but also deepens the color and adds an incredible sense of history and character to the piece. The contrast between the soft blue and the dark wax settling into the crevices creates a visually rich and tactile finish.
The Grand Reveal: A Transformed Vintage Book Trough
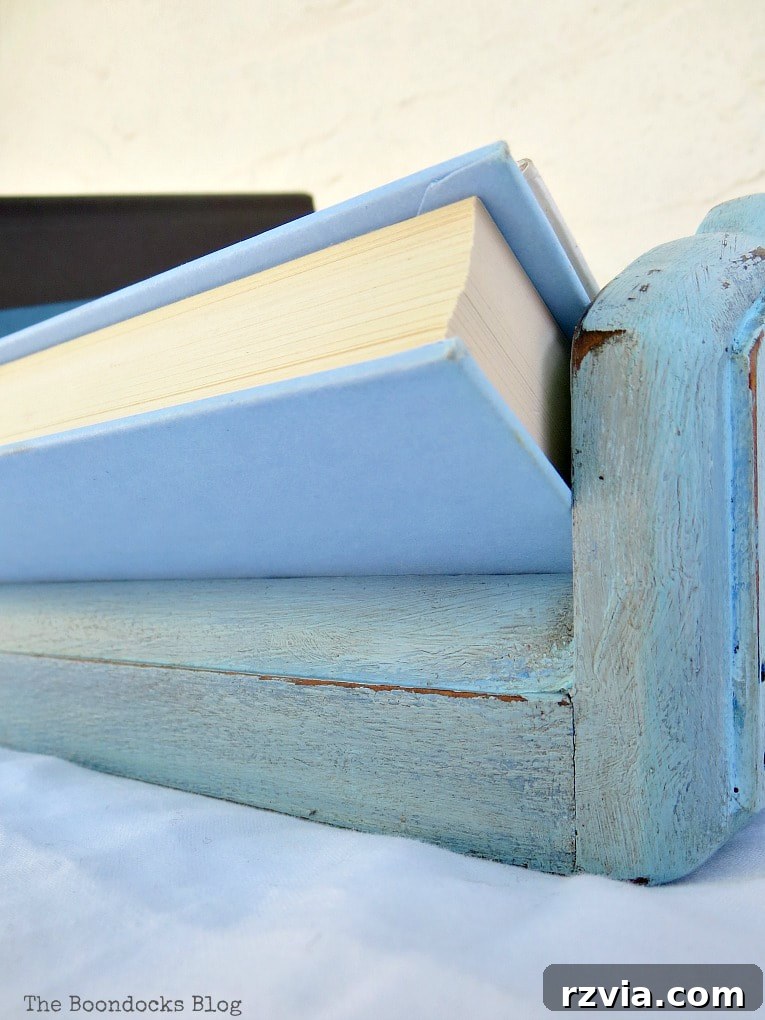
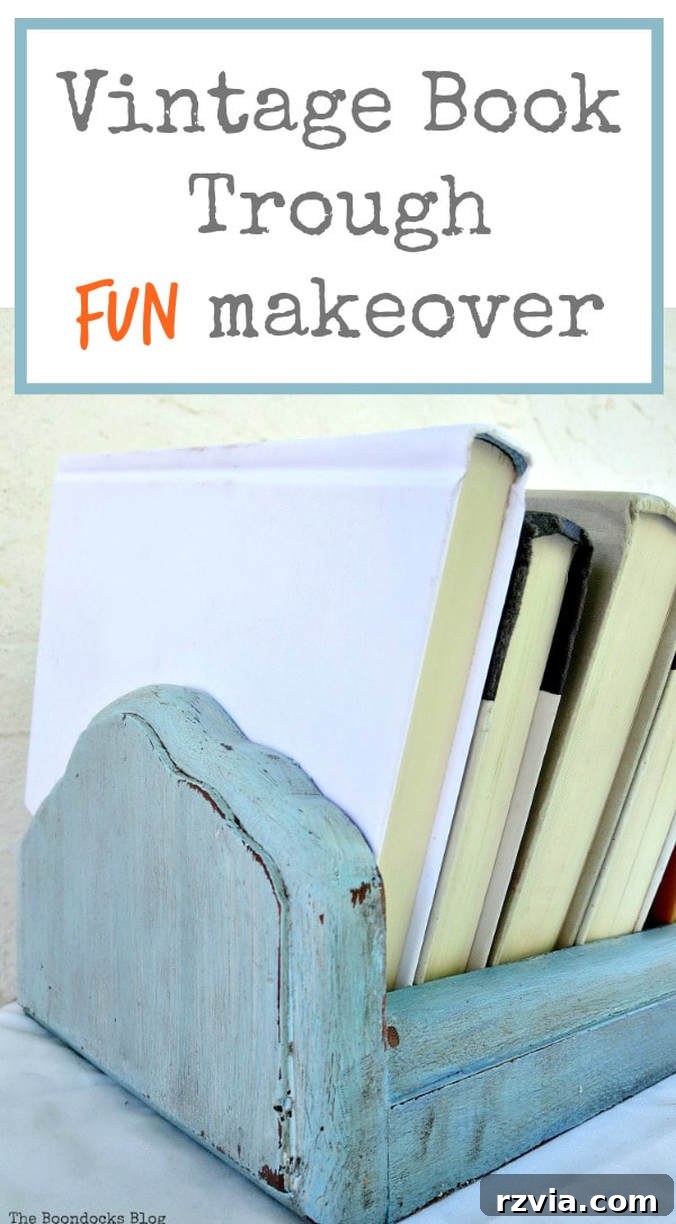
And just like that, the transformation is complete! The once forgotten and slightly worn vintage book trough has been reborn into a captivating piece of home decor, brimming with character and a renewed purpose. Seeing it now, beautifully adorned with books, truly brings the project to life and underscores the incredible potential of upcycling. The entire process, from discovery to the final distressing and waxing, was a journey of creative expression, culminating in a piece that feels both new and authentically antique.
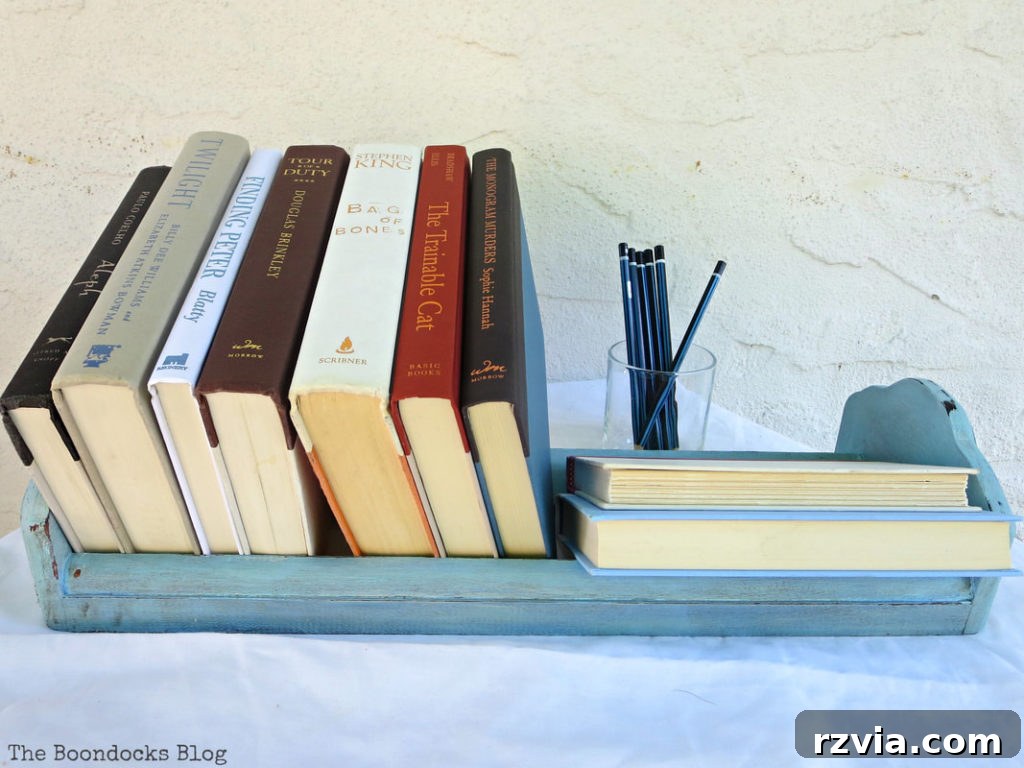
The heavy distressing technique truly yielded a spectacular result. It was a conscious choice to pay homage to the inherent vintage appeal of this book trough, allowing its past to subtly peek through its refreshed facade. The areas where the paint has been gently worn away reveal glimpses of the lighter base coat and, in some places, even the original wood, creating a multi-layered effect that tells a story. This deliberate aging adds depth and texture, moving beyond a simple painted surface to something far more intricate and visually engaging.
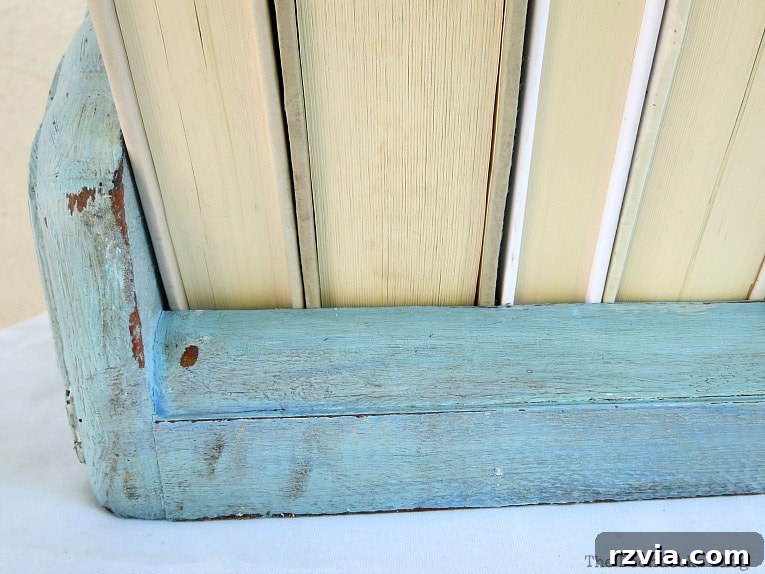
The application of black wax was the final touch that elevated the distressing from mere wear to genuine antiquity. It settles into every nook and cranny, highlighting the texture and giving the piece an appearance of being “old and grungy” in the best possible way. This look perfectly mirrors our affection for well-worn books – those beloved volumes that show the delightful signs of having been read, cherished, and perhaps even taken on a few adventures. There’s an undeniable charm in a book whose spine is cracked and pages softened from countless hours of engagement, and this book trough now beautifully embodies that same spirit of cherished utility.
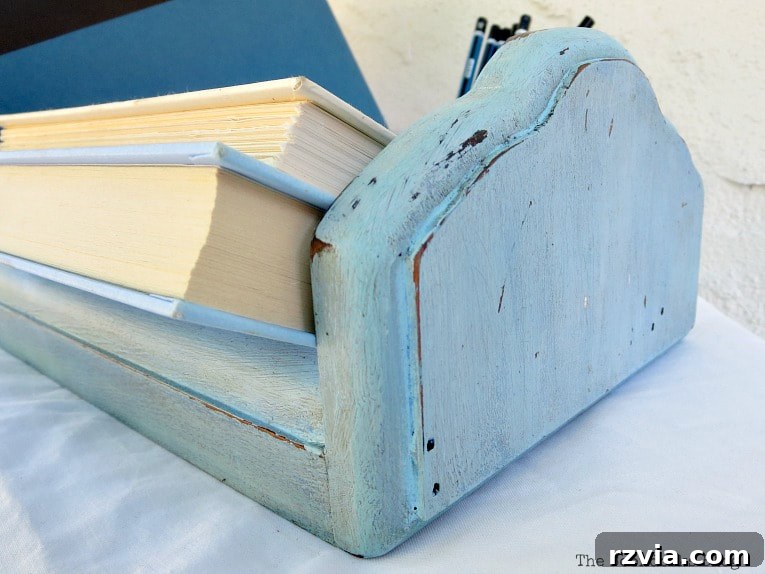
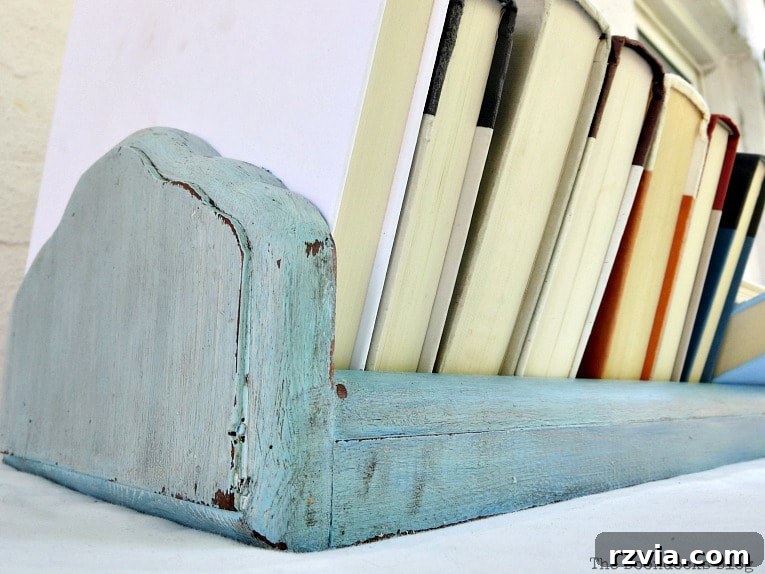
The books currently nestled in their new home, as you can see, are still sparklingly shiny and new – a collection awaiting their turn to be explored and enjoyed. But rest assured, I will systematically work my way through them, one captivating story at a time. This newly upcycled book trough will find its permanent place within my daughter’s existing bookcase, providing a special spot for her growing library. It’s more than just a storage solution; it’s a testament to creativity, sustainability, and the enduring love for literature.
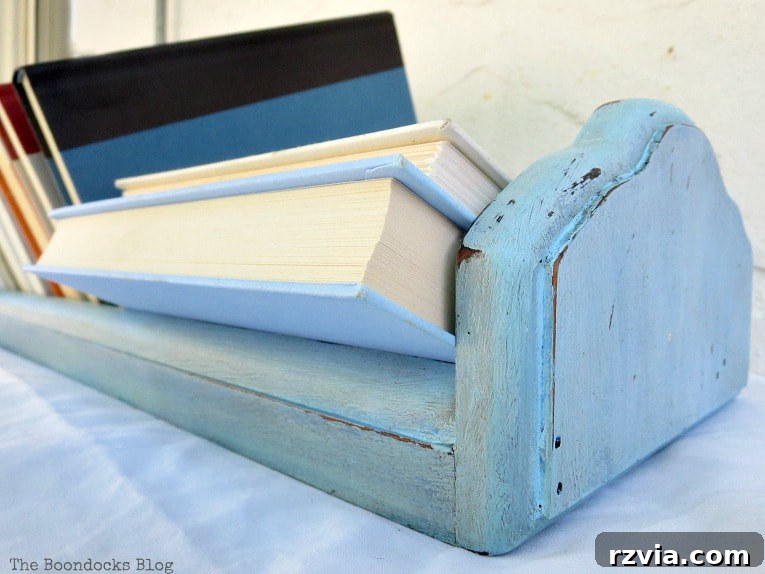
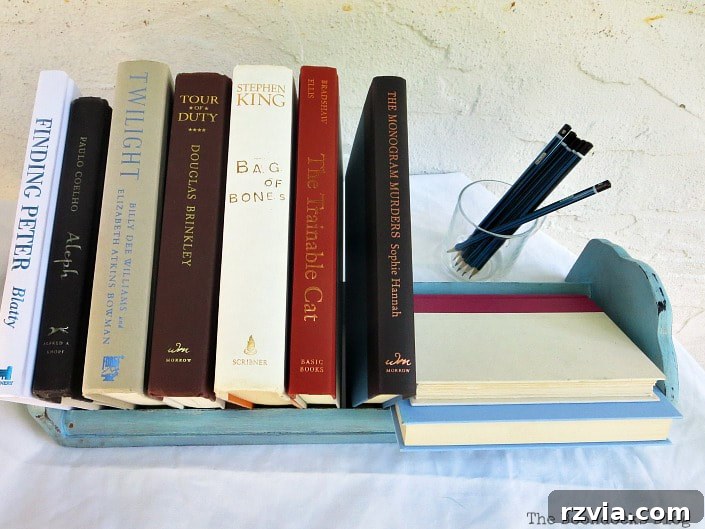
This project has been a surprisingly meaningful endeavor. Beyond the simple act of painting a piece of furniture, it fostered a deeper connection. There’s something truly special about sharing a love for books and working together on a project that celebrates this passion. We even share books – a habit that’s made even more delightful when passed through a beautifully restored piece. Who knew a humble vintage book trough could be such a wonderful catalyst for bringing a family together, fostering both creativity and a shared appreciation for stories and craftsmanship?
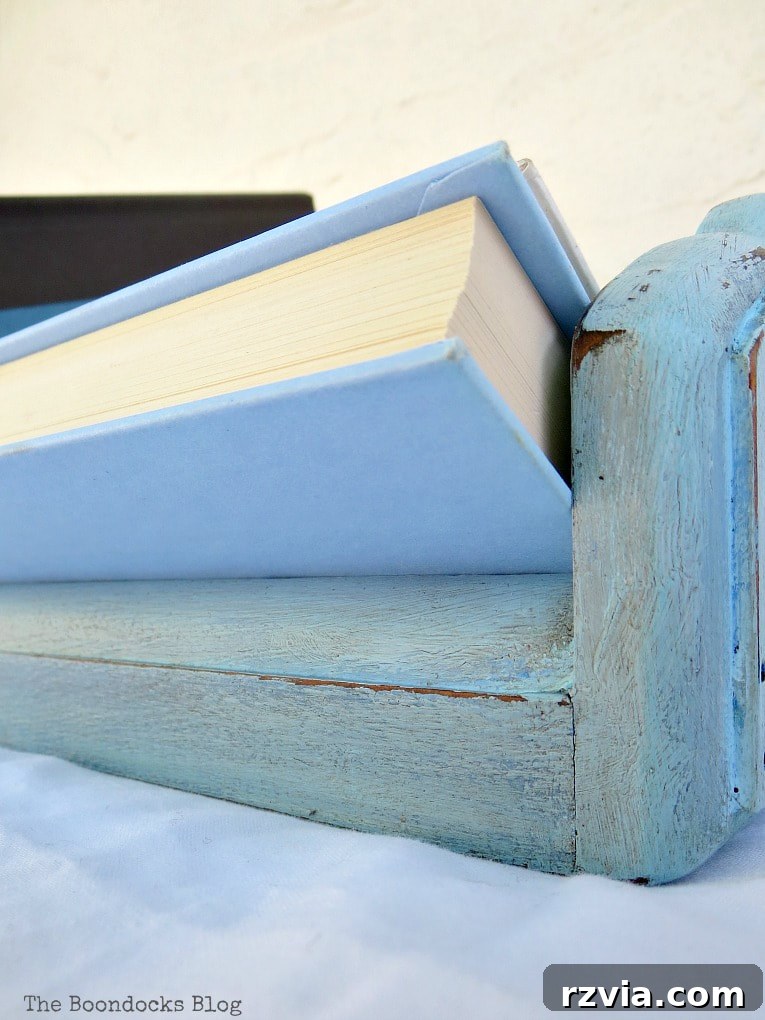
What might seem like a small, straightforward post about a DIY project has actually encompassed a significant amount of learning and accomplishment. Not only did I discover the fascinating history and purpose of a vintage book trough, but I also gained practical experience in upcycling it in a fun, personalized, and sustainable way. More importantly, this project provided a wonderful opportunity to bond with my daughter over her profound love for books, creating not just a piece of furniture, but a cherished memory. It’s a powerful reminder that sometimes the simplest projects can yield the richest rewards, transforming both objects and relationships.
Now, a lingering question for you, our esteemed readers: Have you ever encountered the term “trough” in this specific context before, referring to a book holder? Is it a more common usage in British English, or is my imagination playing tricks on me? We’d love to hear your thoughts and insights in the comments below! Share your own experiences with vintage finds and creative makeovers.

Explore More Painted Wood Projects for Your Home:
If you’ve enjoyed the creative process of transforming this vintage book trough, you’ll be thrilled to discover other projects that involve breathing new life into wooden pieces with paint. Upcycling old furniture and decor items is a fantastic way to add character, save money, and contribute to sustainable living. Here are a few more inspiring ideas that will spark your creativity and encourage you to explore the world of painted wood makeovers:
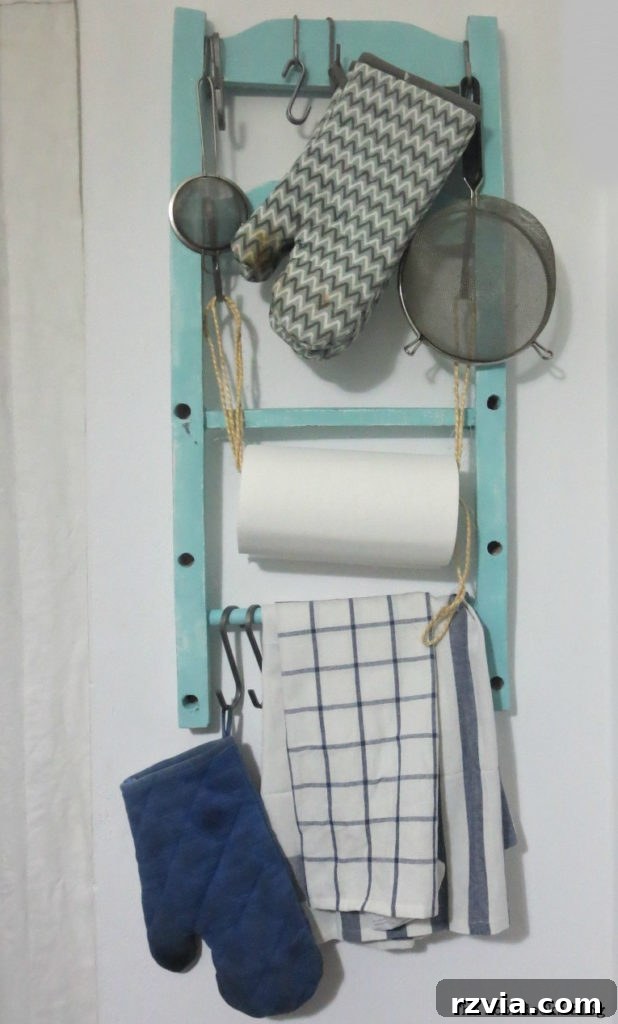
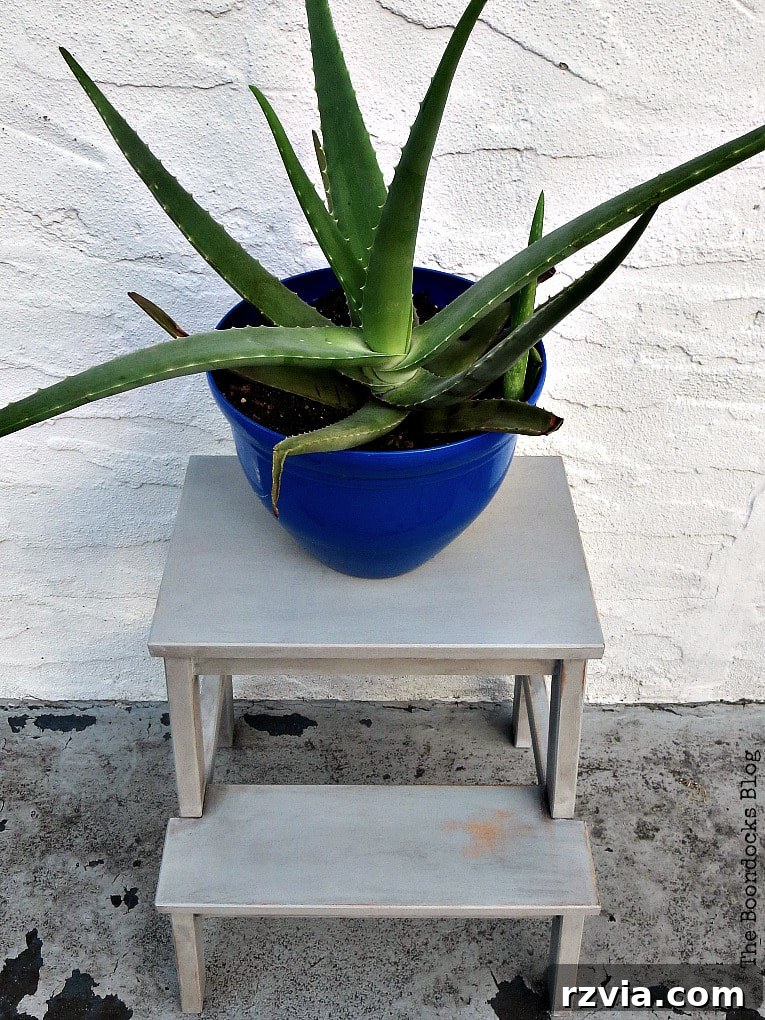
Each of these projects offers a chance to explore different painting techniques, color palettes, and decorative finishes, helping you hone your DIY skills while creating beautiful and functional pieces for your home. Happy crafting!