

Transforming Storage: A Chic Black & White Box Makeover for a Teen’s Room
Hello, wonderful readers! It feels fantastic to be back after a brief hiatus. My blog decided to play hard to get for a little while, but I’m thrilled to report that all technical difficulties are now a thing of the past! While I was away, I kept myself busy tackling some outdoor projects, particularly enhancing the privacy of my balcony – a much-needed sanctuary. However, the most exciting project currently underway, and the one I’m eager to share with you today, is the complete overhaul of my daughter’s room. This isn’t just a simple refresh; it’s a journey to create a space that truly reflects her personality and evolving style.
Revitalizing a Teen’s Space: The Vision for a Modern Room
The process of reorganizing my daughter’s room has been a delightful challenge. Like many teenagers, her space had become a collection of cherished items, school essentials, and various “teen stuff” that had accumulated over the years. Her bookcase, in particular, was overflowing with books, mementos, and a somewhat mismatched assortment of storage boxes. Our goal is to transform this space into something more cohesive, serene, and distinctly “her.” She has a strong affinity for the color blue, which we plan to incorporate as an accent, but her primary design preference leans towards the sophisticated simplicity of black and white. This timeless palette will serve as the foundation for her revamped room, providing a clean canvas that she can grow with.
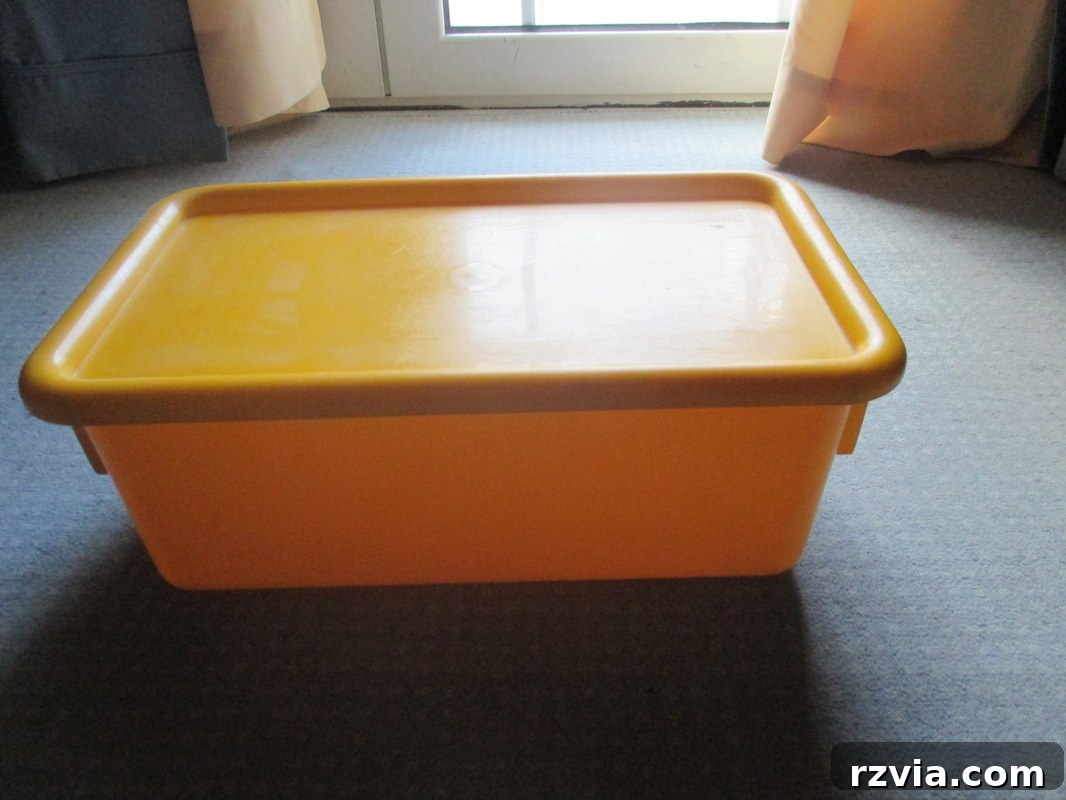
During our decluttering and reorganization efforts, we rediscovered some old plastic boxes I had purchased many years ago. To my surprise and delight, these boxes have proven incredibly sturdy, enduring nearly two decades of use without showing significant wear. While their durability is certainly commendable, their original bright colors no longer align with the elegant black and white aesthetic we envision for her new room. Instead of discarding these perfectly functional items and buying new ones, we decided to embark on an upcycling adventure, giving them a stylish second life.
From Dated to Dazzling: Crafting a Black & White Storage Solution
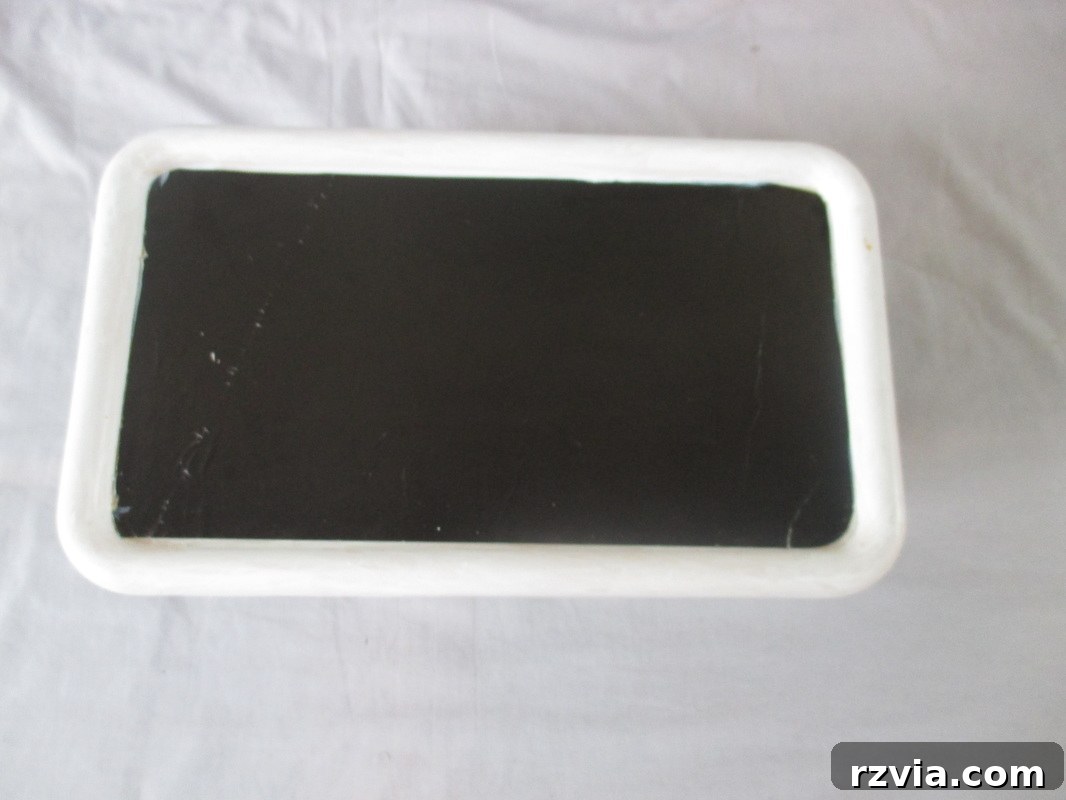
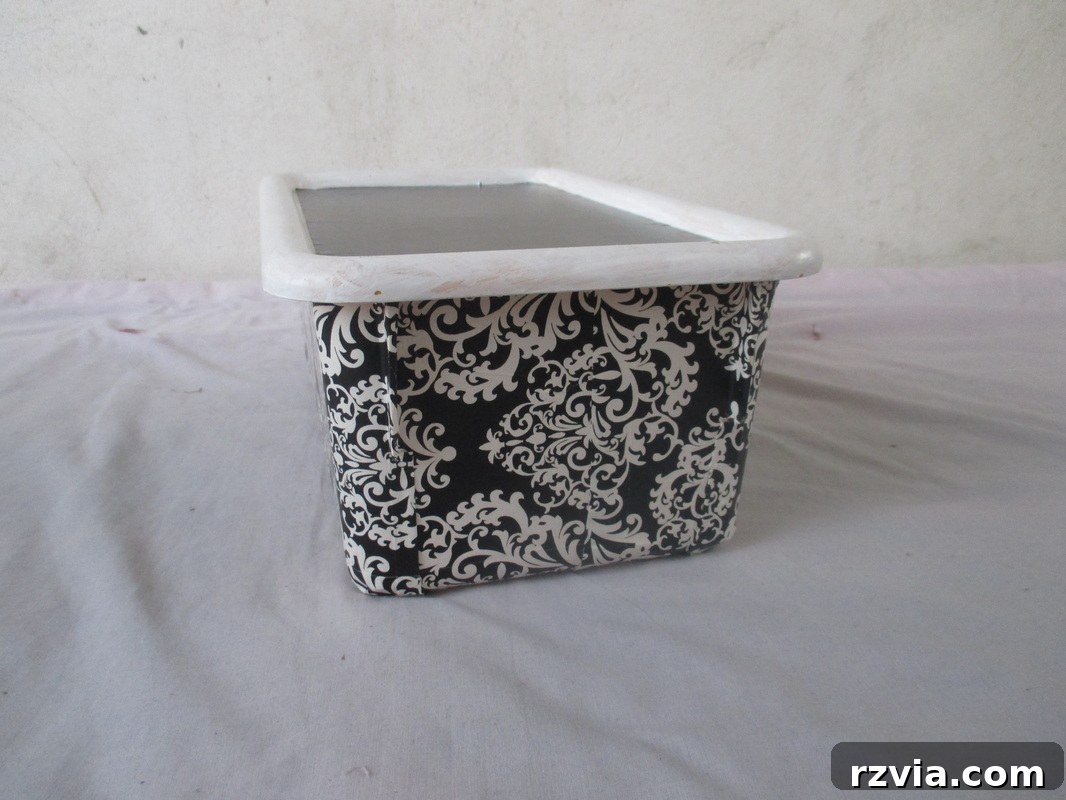
As I mentioned, the transformation of her room is a gradual process, carefully curated to match her favorite colors and reflect her unique personality. Her love for blue, coupled with a deep appreciation for the classic contrast of black and white, provided the perfect design brief. My initial thought was to tackle one of these robust, albeit visually outdated, plastic boxes. I decided to paint the top of the box, transforming its original cheerful hue into a sharp and modern black and white design. This simple change instantly elevated its appearance, making it a stylish accessory rather than just a functional container.
The Art of Decoupage: Adding Pattern and Personality
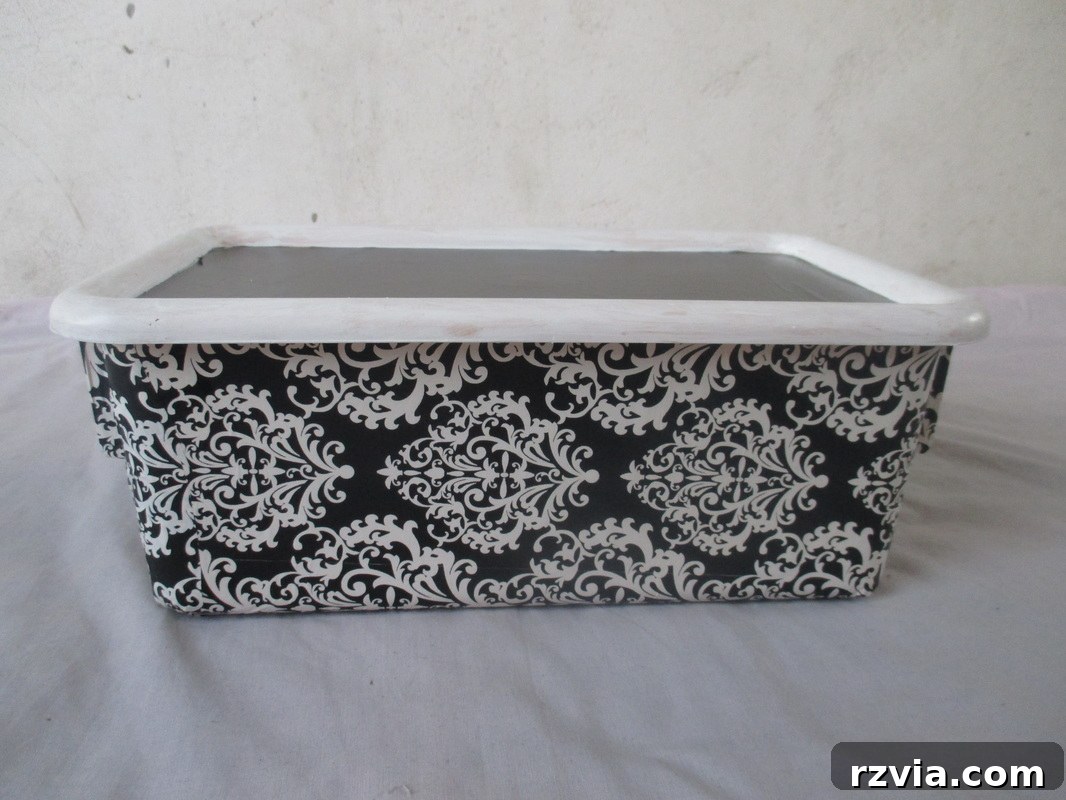
To further enhance the box’s new look, I turned to the versatile craft of decoupage. I had discovered some truly lovely decorative paper at Michael’s a while back, featuring a subtle yet captivating pattern that perfectly complemented the monochromatic scheme I had in mind. Decoupage, the art of decorating an object by gluing colored paper cutouts onto it in combination with special paint effects, gold leaf, and so on, offers an incredible way to personalize and revitalize items. For this project, I used Mod Podge, a popular all-in-one glue, sealer, and finish.
Step-by-Step Decoupage Process:
- Preparation: I first ensured the box was clean and dry. Since the top was already painted, I focused on preparing the sides. A light sanding can help the Mod Podge adhere better, though with plastic, a thorough cleaning is often sufficient.
- Paper Selection and Cutting: The paper from Michael’s was ideal. I carefully measured and cut the paper to fit each side of the box, ensuring neat edges and seamless wraps where necessary. Choosing a pattern that works well when cut and applied in sections is key.
- Applying Mod Podge: I applied a generous, even layer of Mod Podge to a section of the box using a paintbrush. Working in smaller sections helps prevent the adhesive from drying too quickly.
- Placing the Paper: I carefully positioned the cut paper onto the wet Mod Podge, smoothing it out immediately from the center outwards to remove any air bubbles or wrinkles. A credit card or a specific decoupage tool can be very helpful for this step.
- Sealing and Finishing: Once all the paper pieces were applied and smoothed, I allowed them to dry completely. Then, I applied several thin coats of Mod Podge over the entire decoupaged surface, allowing each coat to dry before applying the next. This creates a durable, protective finish that seals the paper and gives the box a polished look. I opted for a matte finish to give it a more refined, less glossy appearance, which I felt suited the sophisticated black and white theme.
A Burst of Color, Hidden Within
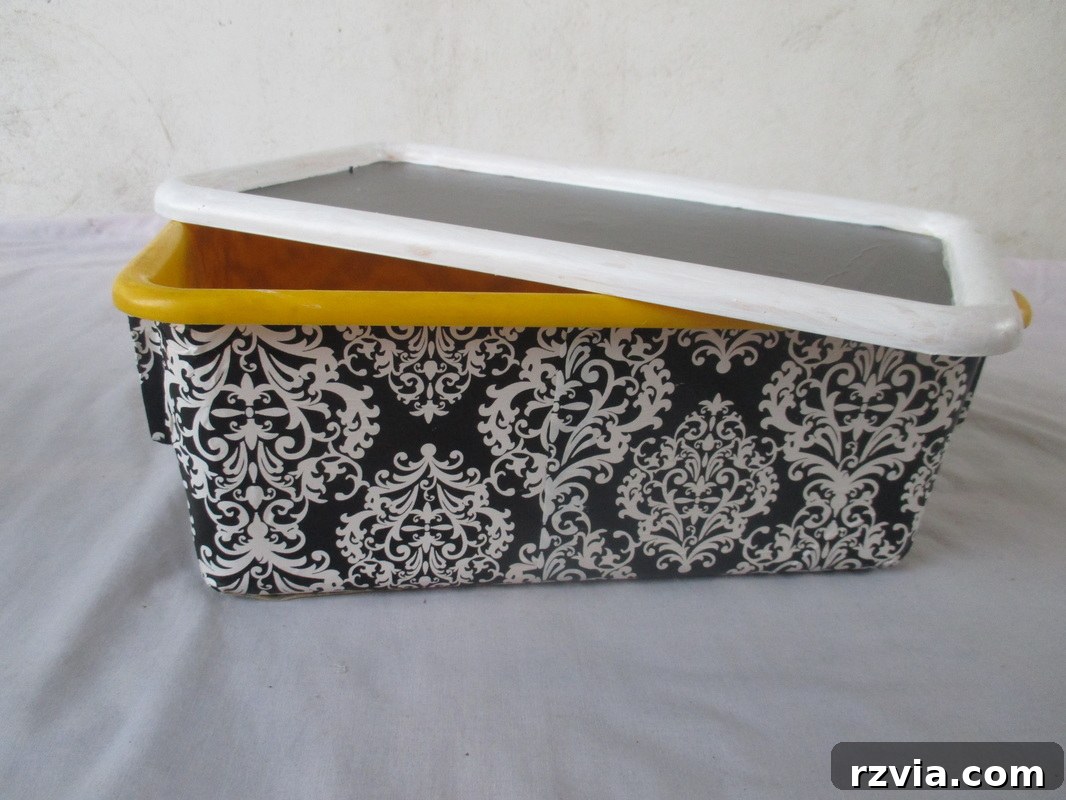
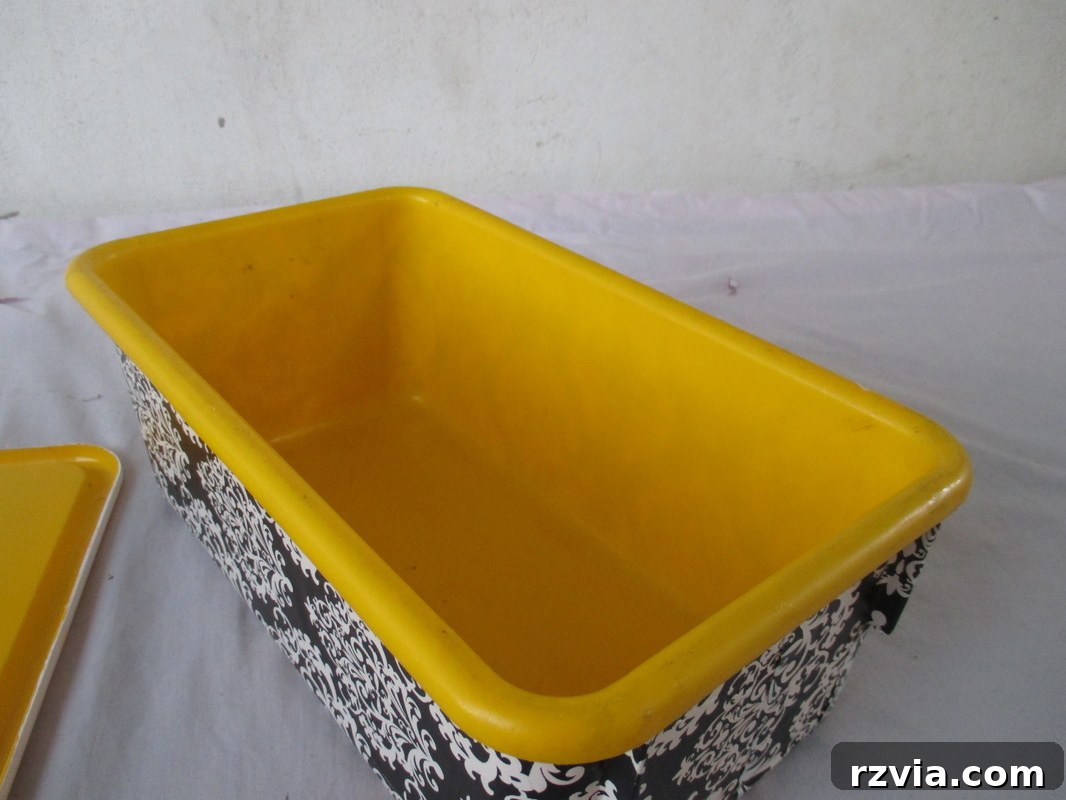
The beauty of this transformation lies not only in its external elegance but also in a delightful hidden detail. While the exterior now boasts a sophisticated black and white pattern, a peek inside reveals a vibrant burst of its original yellow color. This intentional design choice adds a playful touch, a little secret just for my daughter. It’s a reminder that while the overall aesthetic is changing to reflect a more mature style, a touch of youthful exuberance can still reside within. This splash of color makes the box truly unique and personal, visible only when it’s open, adding an element of surprise and whimsy.
Integrating the New Look: A Fresh Addition to the Bookcase
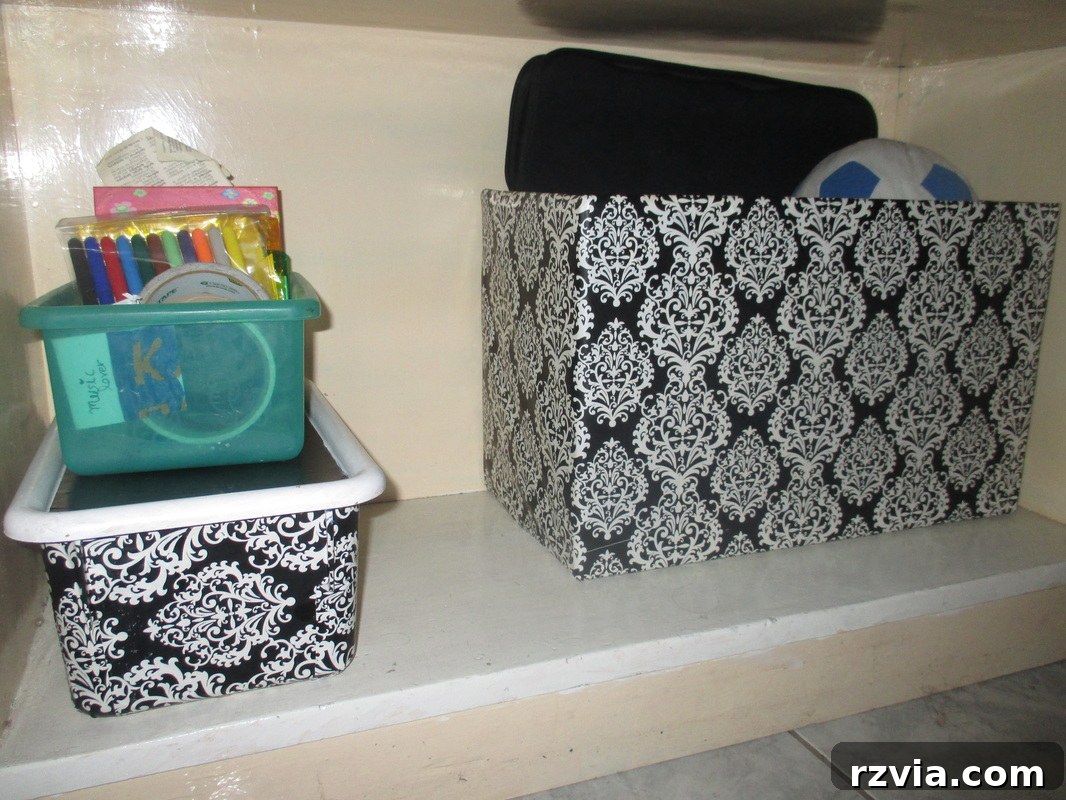
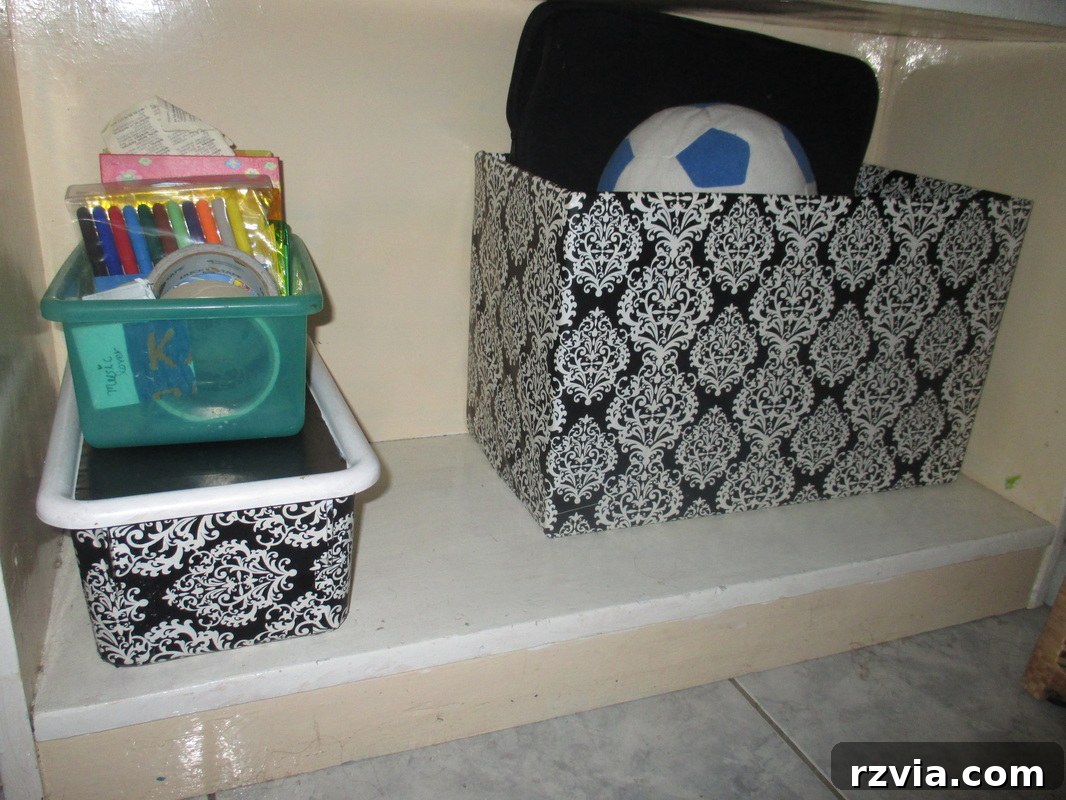
Once the box was completely dry and cured, I proudly placed it on the bookcase. The difference is remarkable. It now sits beautifully next to another box that I previously updated with the same elegant paper, creating a harmonious and organized display. This single transformed item already makes a significant impact on the overall feel of the bookcase, tying together elements and introducing a sense of sophisticated order that was previously lacking. It’s a testament to how small DIY projects can contribute immensely to a larger room makeover, proving that upcycling can be both practical and incredibly stylish.
This project embodies the spirit of DIY: taking something functional but outdated, and giving it a personalized, fresh lease on life. It’s not just about saving money, though that’s a definite bonus; it’s about the satisfaction of creating something unique, perfectly tailored to a specific vision. The black and white aesthetic provides a versatile and chic base, ready to be paired with vibrant blue accents throughout the room, creating a personalized haven for my daughter.
In my next post, I’m excited to share the complete reveal of the entire black and white bookcase makeover. You won’t believe the transformation! What do you think of my “new” black and white box? I’d love to hear your thoughts and any upcycling tips you might have!
Related DIY & Decor Projects:
<< A New Tenant for the Bread Box HOME Black and White Bookcase >>
This blog is for entertainment purposes only; my DIY tutorials are not professional advice. Read my full disclaimer here.
I love it when I get your comments and I will reply to each and every one of them.