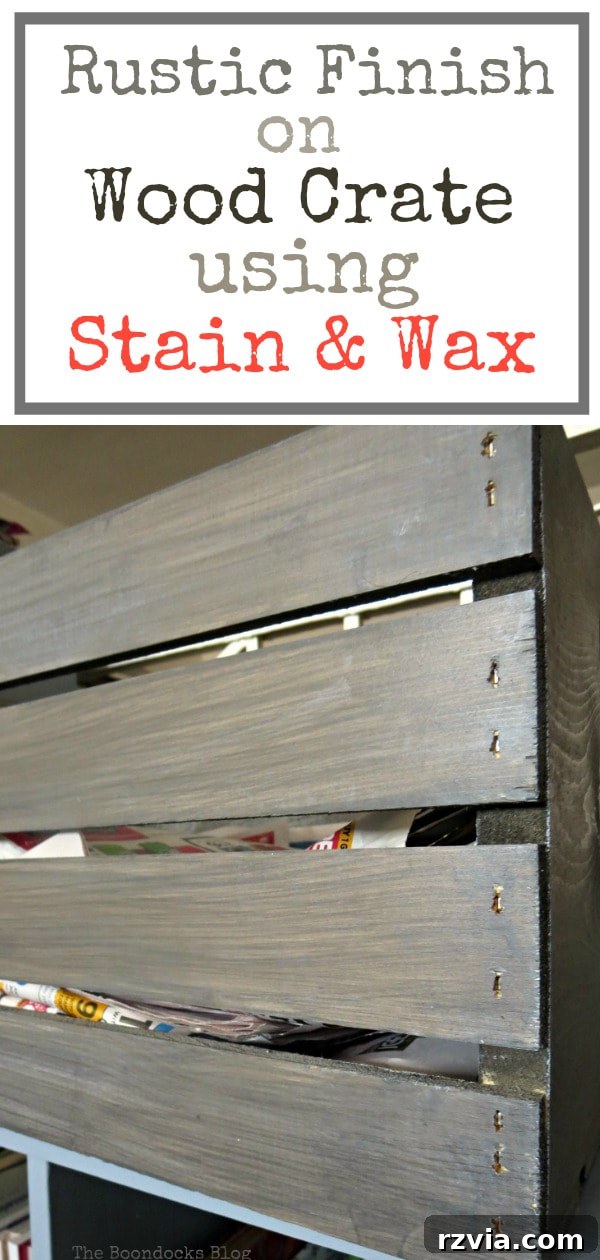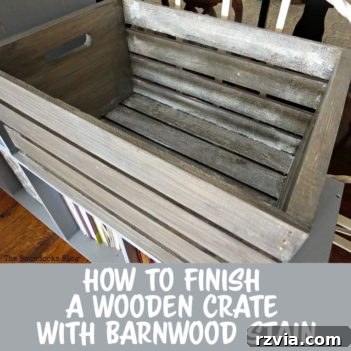
Discover the simple secret to transforming ordinary Michaels wooden crates into stunning, rustic farmhouse storage pieces. This easy DIY project uses barnwood stain and a touch of wax to create a timeless look perfect for any home.
Transforming Wooden Crates: A DIY Barnwood Stain Makeover
There’s an undeniable charm in rustic farmhouse decor, and often, the most beloved pieces are those you’ve created yourself. Today, we’re diving into an incredibly simple yet impactful DIY project: taking an inexpensive, unfinished wooden crate from Michaels and giving it a complete transformation into a stylish, functional storage solution with a beautiful barnwood finish. Whether you’re a seasoned DIY enthusiast or just starting, this project is designed for ease and stunning results.
My journey began, as many great DIY stories do, during a leisurely stroll through my favorite craft haven, Michaels. Amidst the aisles of endless inspiration, my eyes landed on these wonderfully simple wooden crates. Priced at just $10, and even less with one of their ubiquitous coupons, they represented a blank canvas brimming with potential. The beauty of these crates lies in their affordability and versatility, making them a perfect starting point for countless home decor projects.
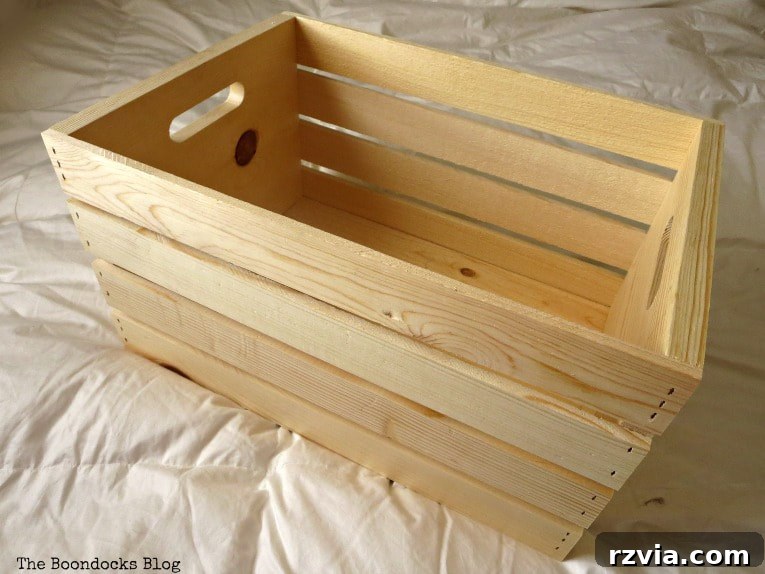
Immediately, my mind began buzzing with ideas. How could I incorporate this simple crate into my home? The first idea that sprang to mind was to position it atop a recently made-over cubby unit, using it as a chic, accessible holder for newspapers. However, the raw, unfinished wood didn’t quite match the aesthetic I envisioned. It called for a finish that would lend it character, warmth, and that coveted farmhouse appeal. This is where the magic of stain comes in. In this comprehensive guide, I’ll share exactly how I transformed that plain wooden crate into a beautifully finished piece that looks far more expensive than its humble origins.
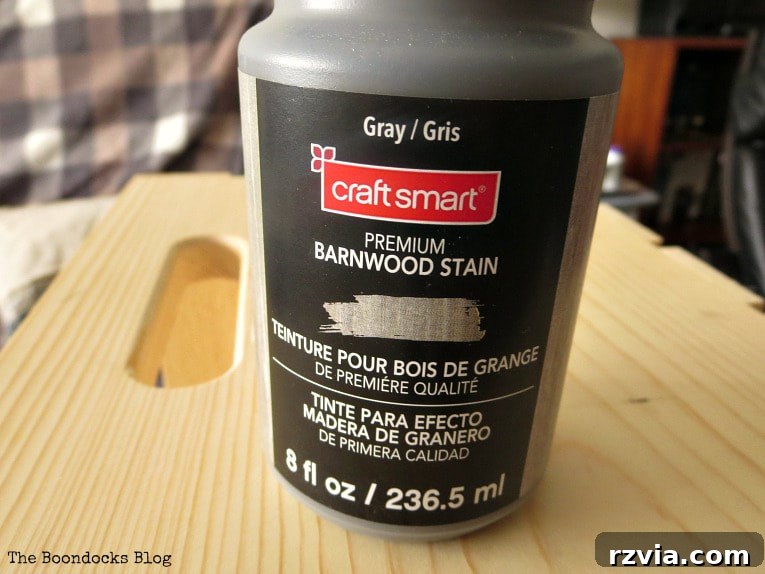
Continuing my treasure hunt through Michaels, I stumbled upon the perfect solution: Craft Smart Premium Barnwood Stain in a captivating soft gray. If you’ve followed my recent decor adventures, you’ll know my increasing fondness for soft, calming tones that bring a serene ambiance to any space. This particular shade of gray was ideal – it promised to deliver that weathered, reclaimed wood look without being too dark or overpowering. It was instantly added to my cart, sealing the fate of my plain wooden crate for an exciting makeover.
Materials Needed for Your Wooden Crate Transformation:
Disclosure: This post contains affiliate links for your shopping convenience. Should you purchase any of these products through the provided links, we may receive a small commission at no additional cost to you. For our complete disclosure policy, please refer to our full disclosure here.
- Unfinished Wooden Crate from Michael’s craft store (The Artminds brand is a popular choice for its quality and affordability).
- 150-Grit Sandpaper (Ideal for smoothing rough surfaces without being too abrasive, preparing the wood for optimal stain absorption).
- Craft Smart Premium Barnwood Stain in Gray (similar options available if Craft Smart isn’t in stock locally).
- Quality Paint Brush (A natural bristle brush works well for stain application).
- Sponge or Foam Brush (Excellent for reaching into crevices and applying thinner coats).
- Clean Paper Towels (Essential for wiping back excess stain and cleaning up).
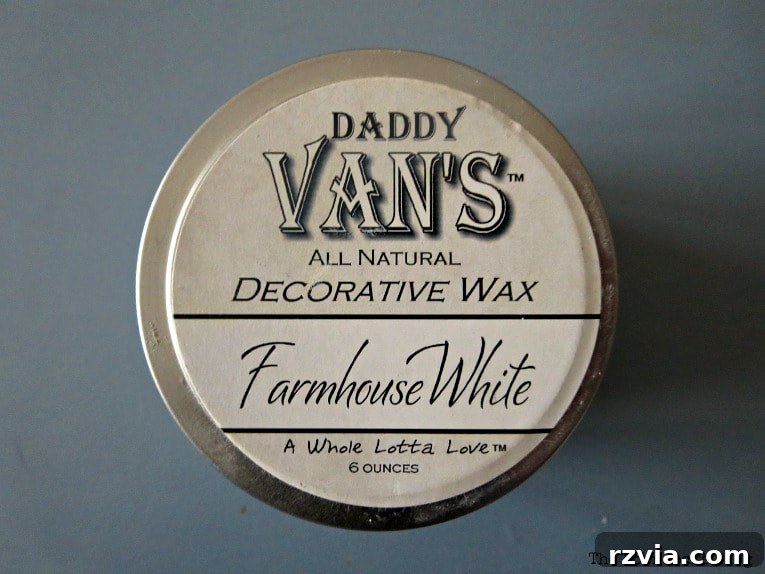
- Daddy Van’s All Decorative Wax in Farmhouse White (similar white decorative waxes are widely available).
- A Lint-Free Rag or Cloth (For buffing the wax to a beautiful sheen).
- Optional: Gloves (To protect your hands from stain) and a drop cloth (To protect your work surface).
How To Stain Wooden Crates for a Rustic Farmhouse Look:
This project is wonderfully straightforward, making it an ideal choice for a quick and satisfying DIY endeavor. The entire process, including drying time, can be completed in just a few hours, leaving you with a piece that looks like it took much longer to create.
Step 1: Preparing Your Wooden Crate
The first crucial step in any staining project is proper preparation. I began by lightly sanding the exterior surfaces of the unfinished crate. The goal here wasn’t to achieve a perfectly smooth, furniture-grade finish, but rather to remove any significant rough spots or splinters that might catch on clothing or detract from the aesthetic. I opted to skip sanding the inside of the crate entirely. This intentional choice was part of my plan to embrace a more rustic, raw texture on the interior, allowing the wood’s natural imperfections to shine through later in the process. After sanding, gently wipe down the crate with a clean, dry cloth to remove any sawdust, ensuring a clean surface for the stain to adhere to.
Step 2: Applying the Barnwood Stain
With the crate prepared, it was time for the transformation to begin. Using a good quality paint brush, I applied a generous but even coat of the barnwood stain to all exterior sides of the crate. Work in the direction of the wood grain for the smoothest application. Immediately after applying, and before the stain has a chance to fully dry, I wiped back the excess with a clean paper towel. This technique is vital for achieving that desirable weathered barnwood effect. Wiping back removes any pooling stain, prevents an overly dark or blotchy finish, and allows the natural wood grain to remain visible, enhancing the rustic appeal. Below, you can observe the subtle yet significant change after the first coat of stain.
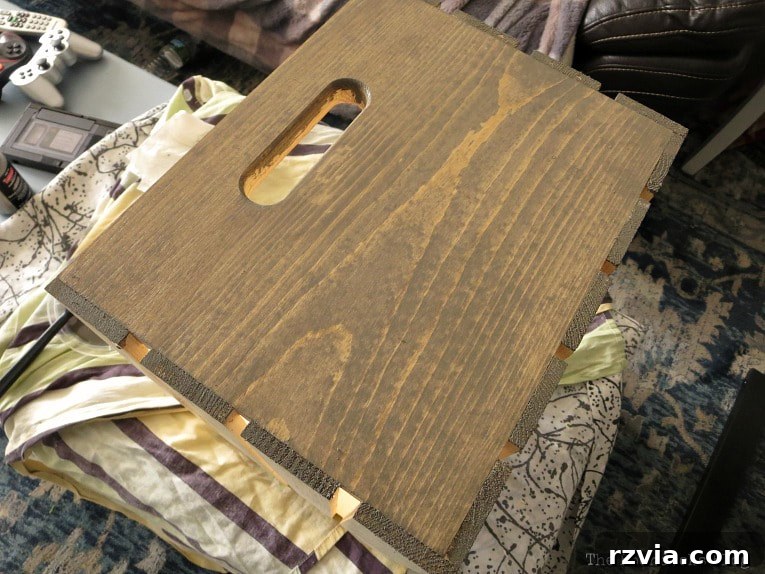
For those trickier, tighter spots – particularly in between the slats or in the corners – a sponge or foam brush proved invaluable. These brushes are excellent for precise application and ensuring complete coverage without overloading the wood with stain. They allow you to dab and spread the stain evenly in areas where a larger brush might struggle, ensuring a consistent finish across the entire piece.
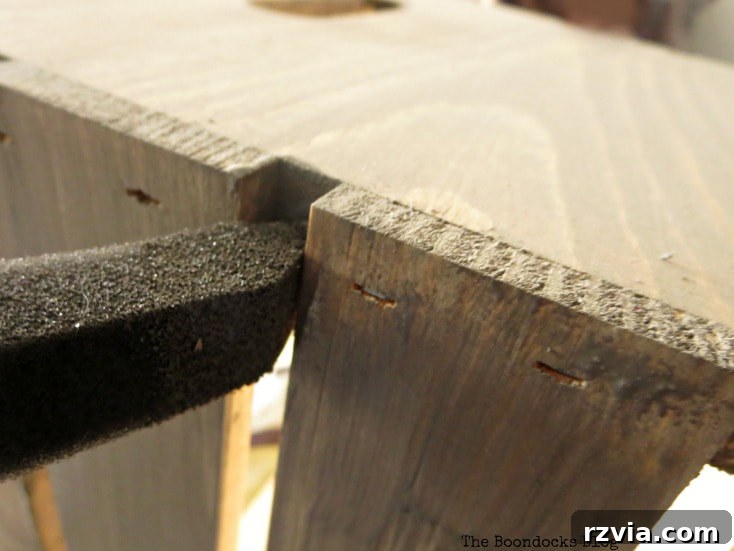
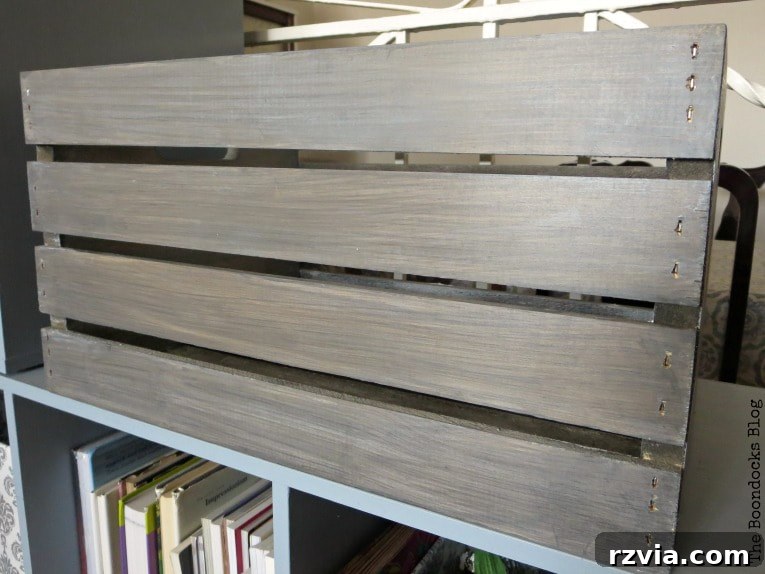
After allowing the first coat to dry according to the manufacturer’s instructions (typically a few hours), I applied a second thin coat of stain, again wiping back the excess. This second coat deepens the color and provides richer dimension, enhancing the barnwood effect. Once the second coat was dry, the crate’s color was exactly what I had envisioned – a perfect soft grayish-brown that exuded rustic charm. However, to truly protect the finish and give it a lasting quality, a protective layer was essential.
Step 3: Sealing with Decorative Wax
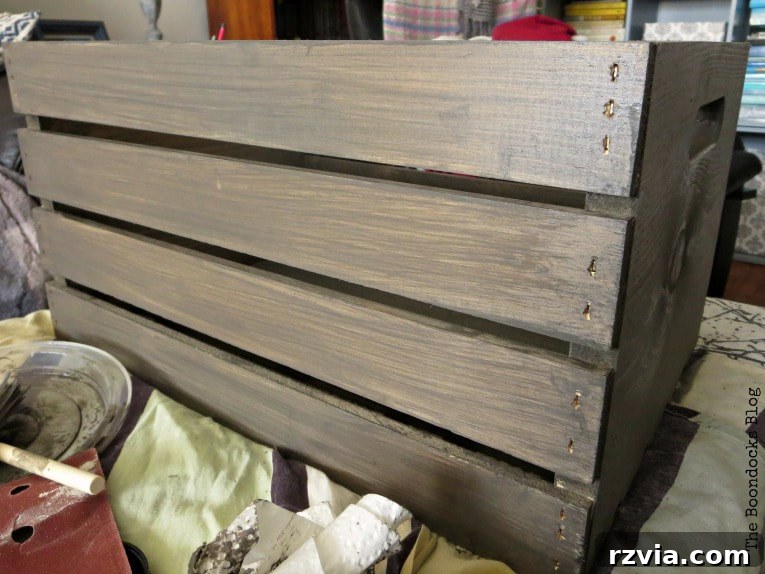
While Michaels does offer a coordinating wax for their barnwood stain, I prefer to “shop my stash” whenever possible. In the spirit of using up existing supplies and adding a unique touch, I opted for Daddy Van’s All Decorative Wax in Farmhouse White. The beauty of decorative waxes is their versatility; most brands will work beautifully to seal and protect your stained wood, and a colored wax can introduce an extra layer of visual interest. Using a white wax was a deliberate choice to gently lighten the overall appearance of the crate and introduce a subtle, almost limewashed effect that would further enhance its farmhouse appeal.
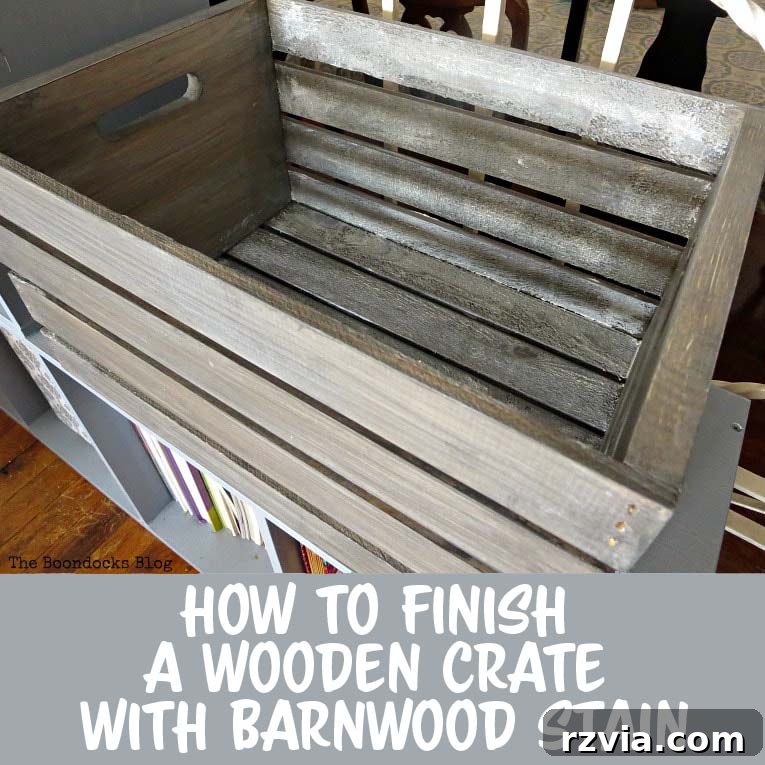
Applying the wax is incredibly simple: just apply it evenly to the stained wood using a clean cloth, then buff it off with a separate, lint-free rag. Work in small sections to ensure thorough coverage and easy buffing. The wax will create a protective barrier, deepen the color slightly, and give the wood a soft, velvety feel. The white wax, in particular, settled into the grain and imperfections, creating a beautiful, subtle highlight that truly brought out the rustic texture of the wood.
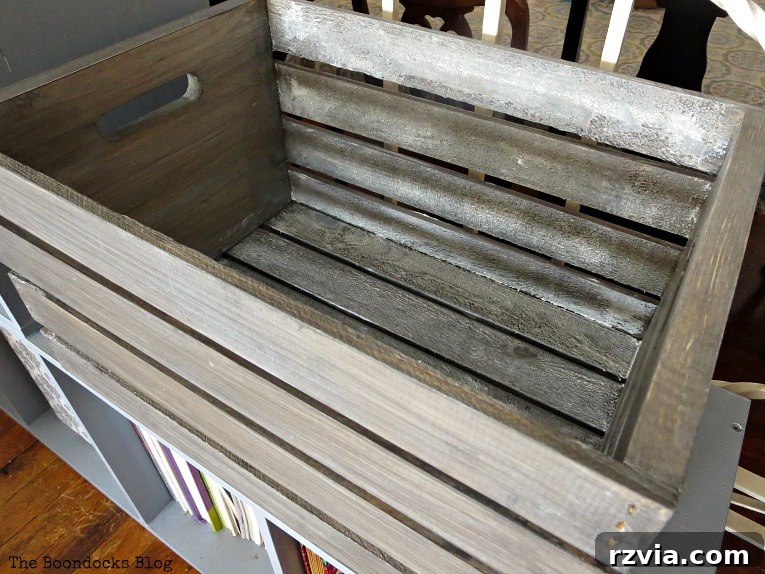
A particularly delightful outcome came from my decision not to sand the interior of the crate. The natural roughness of the unsanded wood allowed the white wax to cling to its textured surface, resulting in a wonderfully charming, rustic goodness that I absolutely adore. This unexpected detail added an extra layer of authentic farmhouse character, proving that sometimes, embracing imperfections can lead to the most beautiful results.
Versatile Uses for Your Newly Transformed Wooden Crates
With its stunning new finish, my Michaels wooden crate is now the perfect container for newspapers. But beyond just newspapers, these versatile crates can serve countless purposes around your home. For instance, I frequently use old newspapers as a protective layer on my kitchen counter when peeling potatoes or engaging in any messy kitchen task. Placing them down beforehand and simply tossing them out afterward is an ingenious way to utilize old papers while keeping your countertops pristine. This crate keeps them neatly organized and readily accessible.
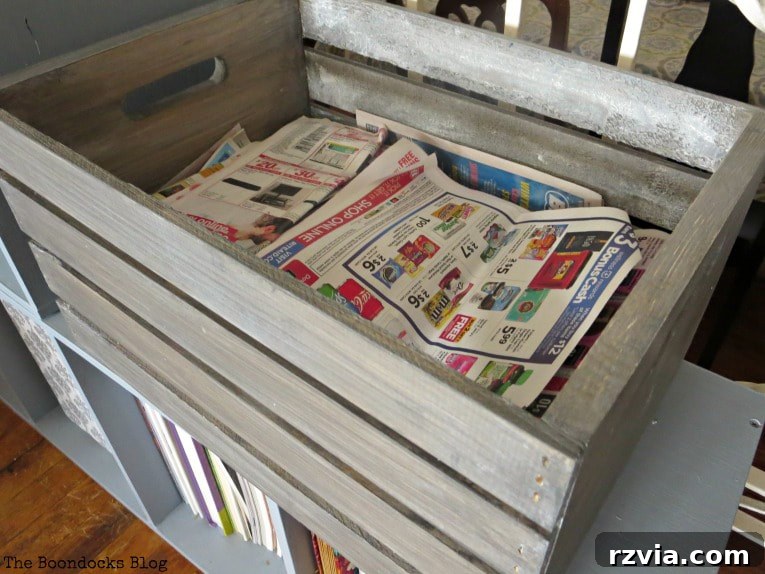
The finished color, a soft grayish-brown, is subtly sophisticated and seamlessly blends with the existing decor in my home. It’s not dark or overpowering, but rather adds a touch of understated elegance that embodies the farmhouse aesthetic we all cherish. The gentle hue ensures it complements various color palettes and styles without demanding too much attention, yet still making a statement.
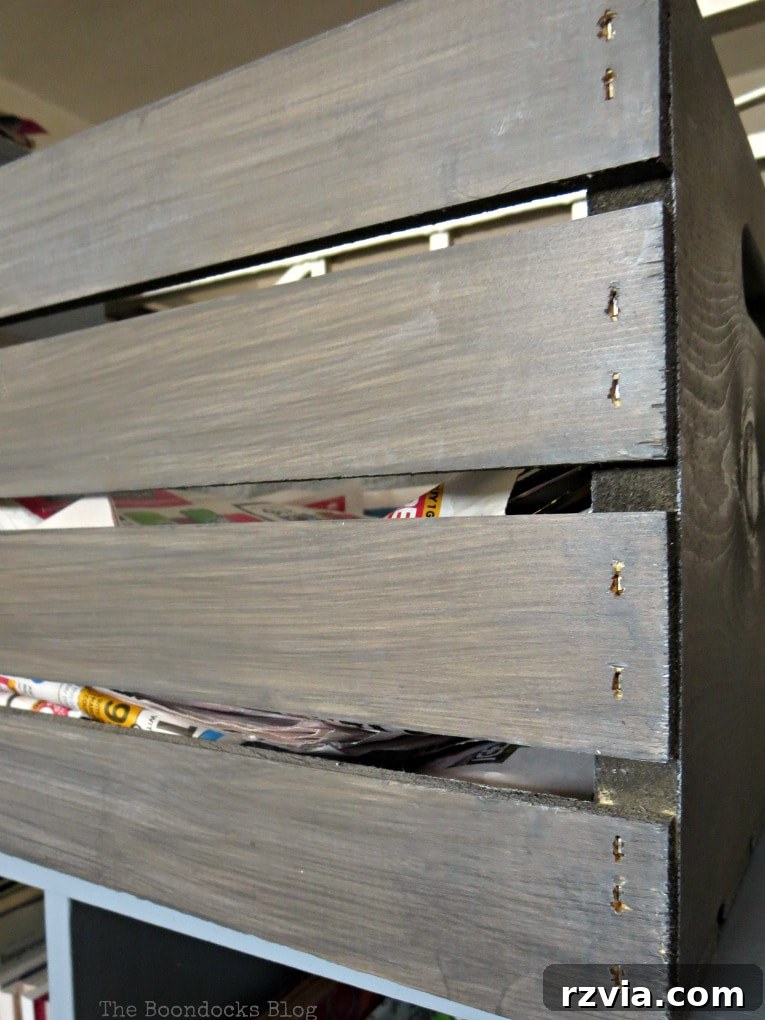
Beyond newspaper storage, consider these additional ideas for your barnwood-stained crates:
- Bookshelf Inserts: Create custom compartments within larger shelves.
- Toy Storage: A charming way to organize children’s toys in a living room or playroom.
- Indoor Planters: Line with plastic and fill with your favorite houseplants for a rustic display.
- Entryway Catch-All: Perfect for keys, mail, or shoes right by the door.
- Bathroom Storage: Neatly hold rolled towels, toiletries, or extra toilet paper.
- Kitchen Organization: Store fresh produce like onions and potatoes, or pantry staples.
- Decorative Display: Use them as risers or containers for seasonal decorations, candles, or small collections.
- Pet Accessories: A designated spot for pet toys, leashes, or grooming supplies.
- Craft Supply Holder: Keep yarns, fabrics, or art supplies organized in your crafting space.
- Side Table Alternative: Stack a few crates to create a unique and functional bedside table or end table.
I genuinely believe this crate looks absolutely stunning, in a quietly impactful way! In fact, I’m so pleased with the outcome that I might just head back to Michaels to pick up a few more for other areas of my home. Have I mentioned how much I adore shopping at Michaels? Their raw materials are truly the best starting point for so many creative projects.
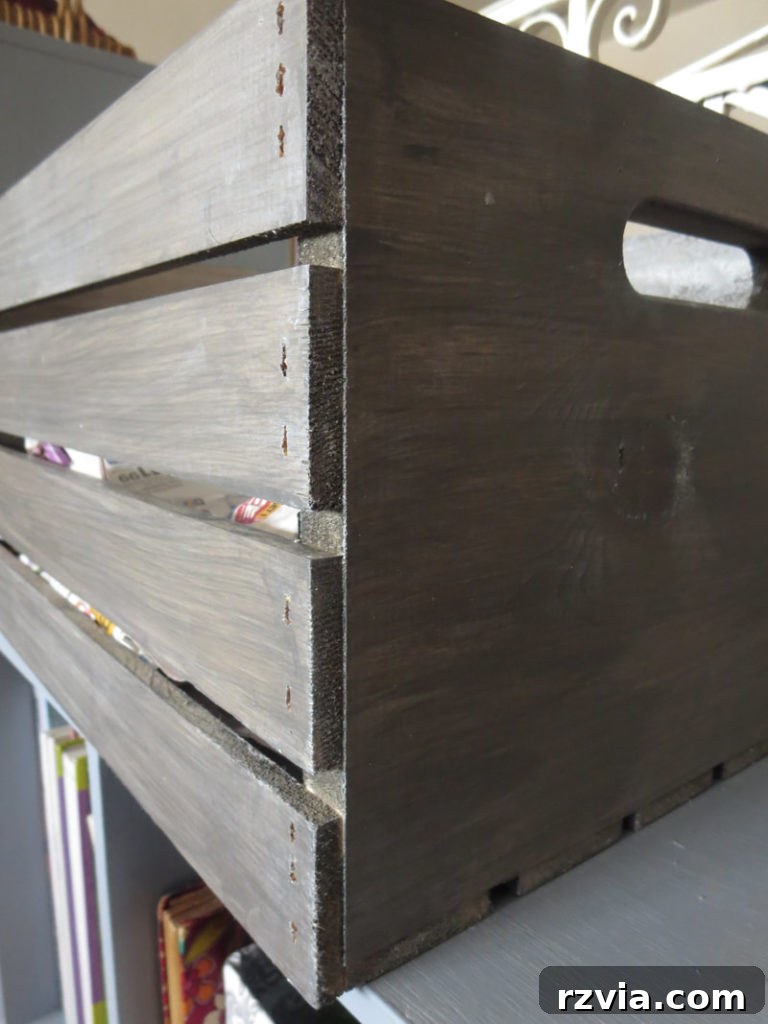
This tutorial demonstrates how incredibly simple it is to achieve a sophisticated, rustic finish on an ordinary wooden crate using barnwood stain and wax. It was a fast, rewarding project, taking only about an hour of active work plus drying time. These inexpensive crates have never looked so good, proving that with a little creativity and effort, you can elevate everyday items into cherished pieces of home decor. Don’t be afraid to experiment with different stain colors and waxes to match your unique style!
Do you enjoy finding project inspiration at Michaels? Share your favorite finds or DIY triumphs in the comments!