
DIY Closet Organization: Transforming Messy Teen Shelves with Decorative Storage Boxes
Every parent knows the struggle: a teenager’s room can sometimes feel like a whirlwind of creativity, fashion experiments, and… well, chaos. While my teen is an absolute sweetheart, her closet, specifically the bottom shelf, was a constant source of disarray. What was meant to be a dedicated spot for jeans and pants often devolved into a jumbled heap, making it nearly impossible to find anything without pulling out every single item. I’m sure many of you can relate to the frantic search for a specific pair of jeans, only to have the entire stack collapse into an even bigger mess.
Today, I’m excited to share a practical and pretty solution that helped bring order to this unruly space: DIY decorative storage boxes! This project not only tackles the organizational challenge but also adds a personalized, stylish touch to her closet. Say goodbye to the tangled mess and hello to a beautifully organized and functional wardrobe system.
The “Before” Picture: A Familiar Scene of Closet Chaos
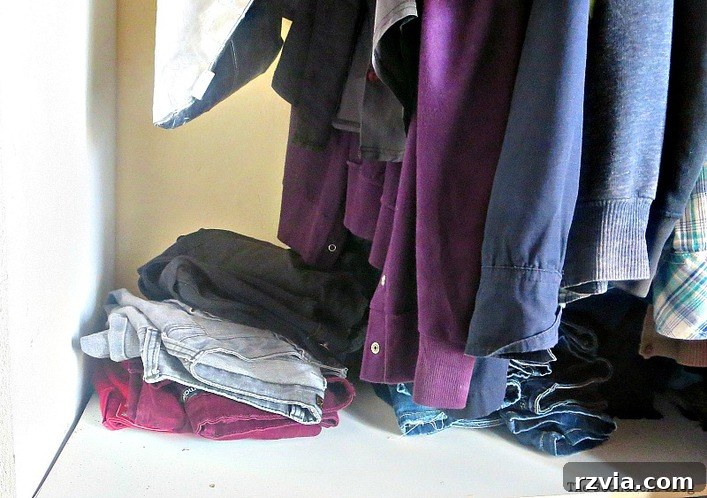
Let’s be honest, few things are as universally recognizable as a messy closet, especially when it belongs to a teenager. Before this DIY transformation, the bottom shelf of my daughter’s closet was a prime example of what I affectionately called “organized chaos” – though it leaned heavily towards the latter. As you can see in the image below, even on a “good” day, her jeans and pants shelf served as a multi-purpose catch-all, quickly becoming a tangled disaster.
The routine was all too familiar: she’d need a specific item, everything would get pulled out in the search, and then hastily shoved back in, creating an even larger pile of clothes. This cycle not only made mornings stressful but also made it difficult for her to truly see and appreciate her wardrobe. While I opted not to capture the absolute worst of it (we wouldn’t want to embarrass her unnecessarily!), the snapshot still provides a clear picture of the organizational challenge we faced. This wasn’t just about tidiness; it was about creating a system that truly worked for her and promoted better habits.
Instilling Order: The Power of Designated Storage
I’m certainly not a “neat freak” by any stretch, but I do value the ability to find what I need quickly and efficiently. This is a principle I strive to impart to my children: every item should have a designated place. When things are consistently returned to their home, retrieval becomes effortless, eliminating the frantic scramble. In my daughter’s defense, I could entirely understand why her clothes became so easily jumbled on that open shelf. Without any dividers or containment, items shifted, mixed, and lost their folded shape, leading to the inevitable mess.
Recognizing the need for a more structured system, I decided that organizing and separating her clothes using boxes would be the perfect solution. But why stop at merely functional? To encourage her buy-in and make the system appealing, I decided to turn these practical storage units into “pretty boxes”! The goal was to create not just order, but also an aesthetic that she would enjoy, making the act of putting things away a little less of a chore.
Selecting the Perfect Boxes for Optimal Accessibility
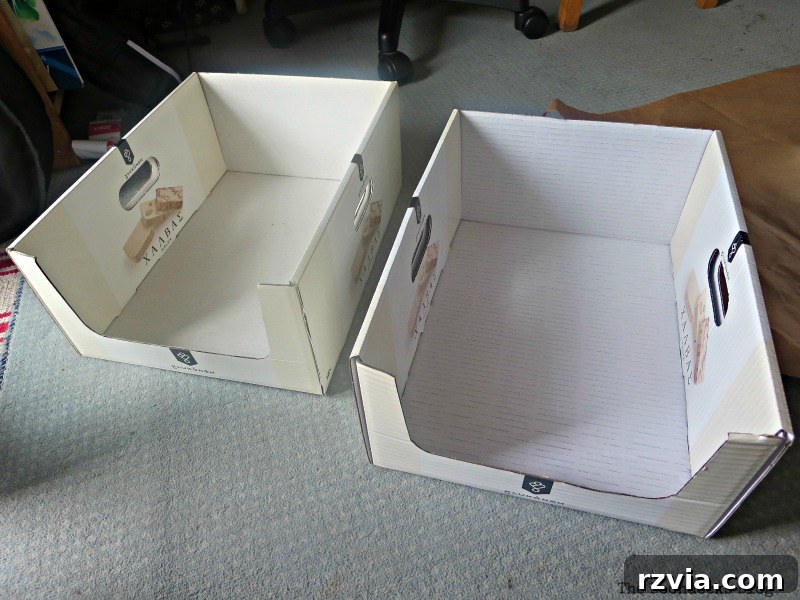
The foundation of this project was finding the right type of boxes. I specifically looked for storage containers that featured an open front. This design is crucial for closet organization, as it allows for easy access to the contents without having to pull the entire box off the shelf. Imagine being able to grab a pair of jeans directly from the box without disturbing the stack above or having to rummage around. This feature alone makes a huge difference in maintaining tidiness and encouraging regular use.
As you can see in the image below, these boxes were ideal for what I had in mind. They offered the perfect blend of structure and accessibility. However, their plain appearance needed a little something extra to truly fit into a teen’s space and motivate its user. Since my daughter’s favorite color is a vibrant red, I opted for a beautiful roll of red-patterned wrapping paper to cover the boxes. This simple addition would transform them from generic storage into personalized decor, aligning perfectly with the “pretty boxes” concept.
DIY Transformation: A Step-by-Step Guide to Covering Your Boxes
Transforming these plain boxes into attractive closet organizers is a surprisingly simple process. All you need are your chosen boxes, a roll of beautiful wrapping paper, a pair of scissors, and some tape. This project is perfect for adding a pop of color or a fun pattern to any storage space, making organization feel less like a chore and more like an act of personalizing your environment.
Here’s how you can create your own “pretty boxes”:
Step 1: Prepare Your Wrapping Paper
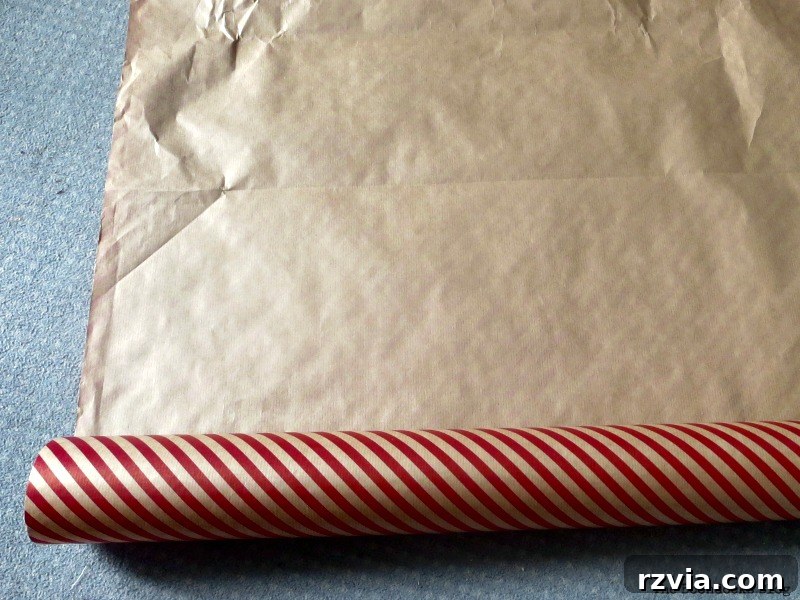
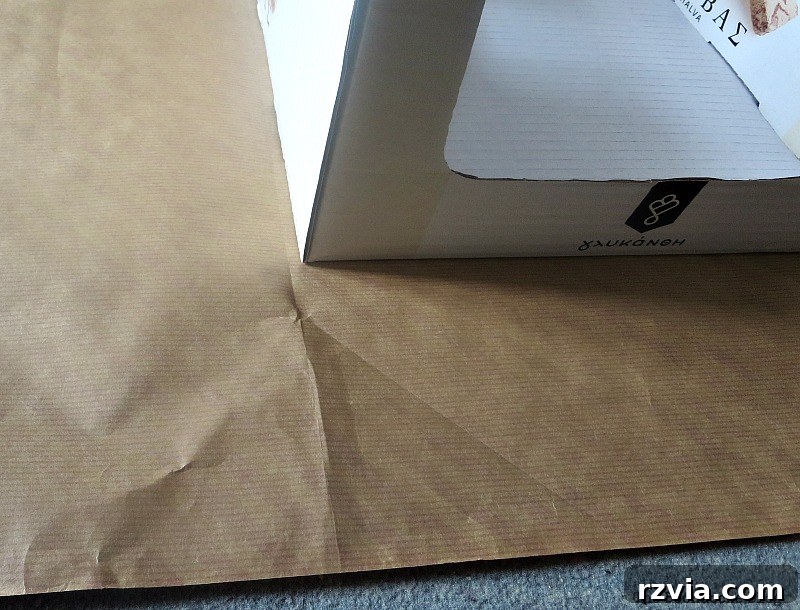
First, unroll your chosen wrapping paper. It’s important to select a design that resonates with the person using the storage, or simply one that complements the room’s aesthetic. For my daughter, this lovely red paper was the clear winner. Position the box on the paper to estimate how much you’ll need to cover all sides, ensuring enough excess for folding over the edges neatly.
Step 2: Initial Folding for Side Coverage
Lay your box on the wrapping paper. To ensure full coverage, I essentially folded the paper into three main parts around the box. This involved wrapping the paper around the box, leaving ample overhang on the top, bottom, and sides to neatly fold over the edges. Think of it like pre-creasing the paper to fit the dimensions of your box perfectly before any cutting. This step helps in minimizing waste and ensuring a clean finish.
Step 3: Wrapping the Sides Like a Gift
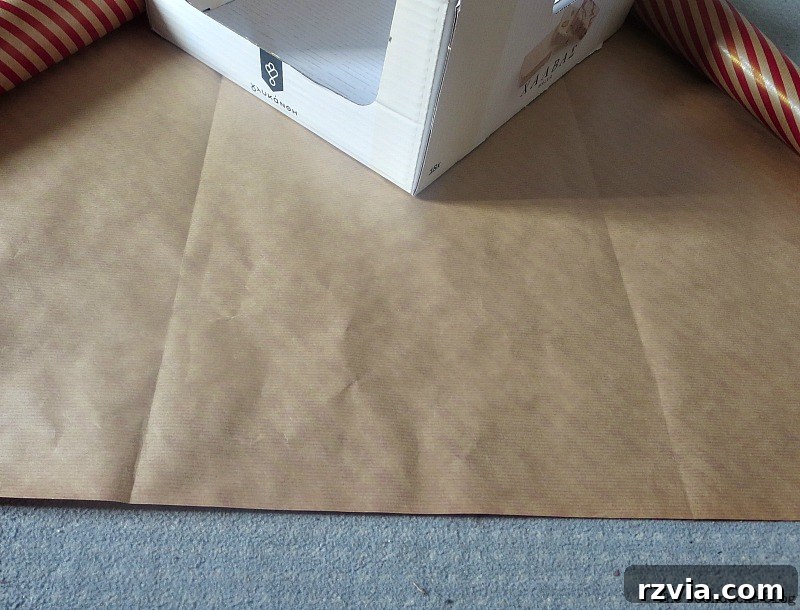
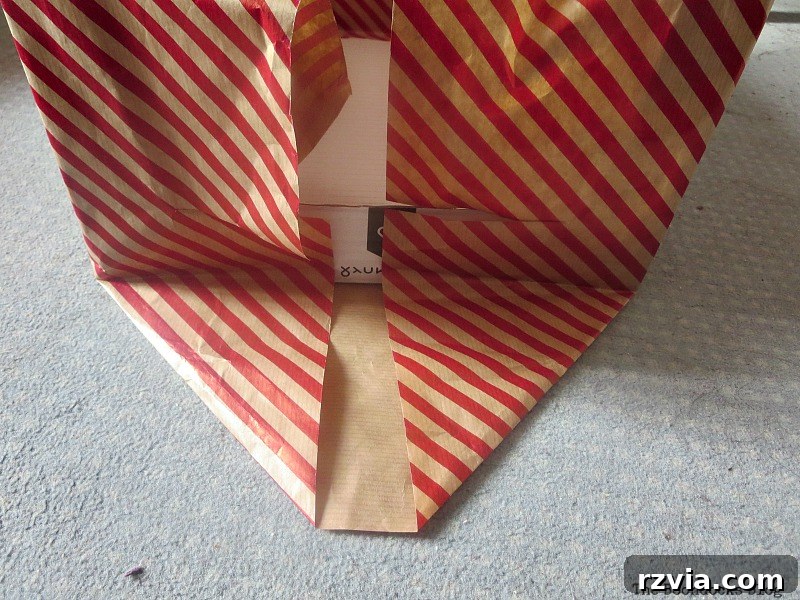
Now, it’s time to start wrapping the box as you would a gift. Carefully fold the paper around the sides, ensuring a snug fit. The key difference here, due to the open front of the box, is that you’ll need to make precise cuts around this opening. Instead of folding the paper entirely over, you’ll cut the paper along the edges of the box’s opening, creating flaps that can be neatly folded inwards. This maintains the box’s functionality while providing a seamless, wrapped look.
Step 4: Securing the Front Flap
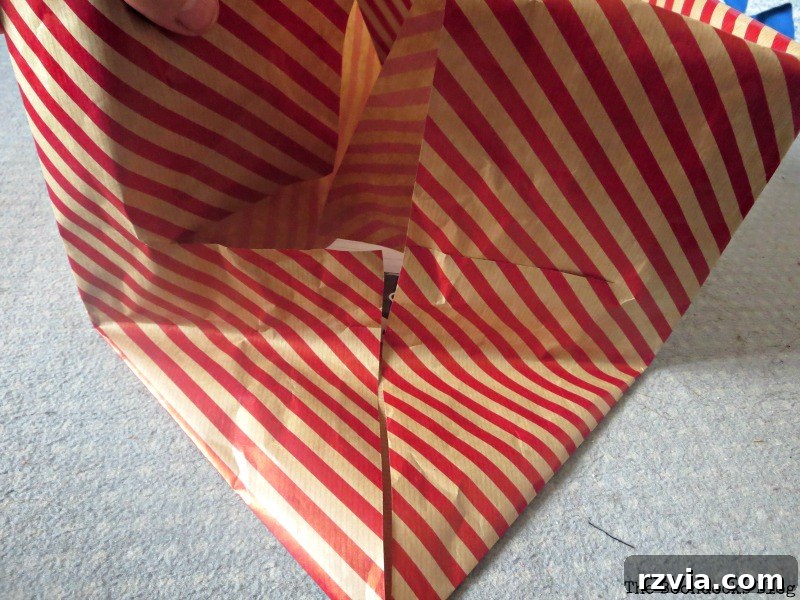
Once the cuts are made around the opening, carefully fold the resulting paper flaps inward, securing them with tape. This creates a clean, finished edge around the open front of the box. The goal is to hide all raw edges of the wrapping paper, making the box look professionally covered. Ensure the tape is applied firmly to prevent any lifting or tearing over time.
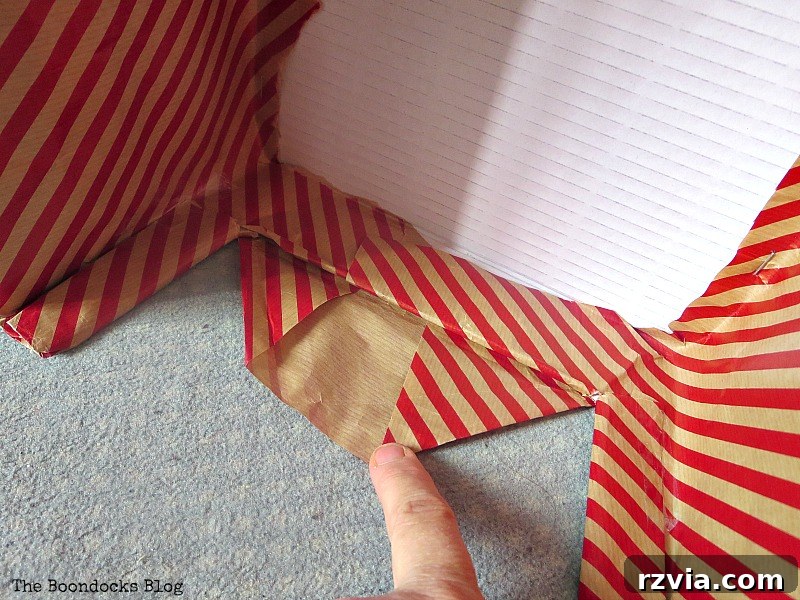
Step 5: Addressing the Back of the Box
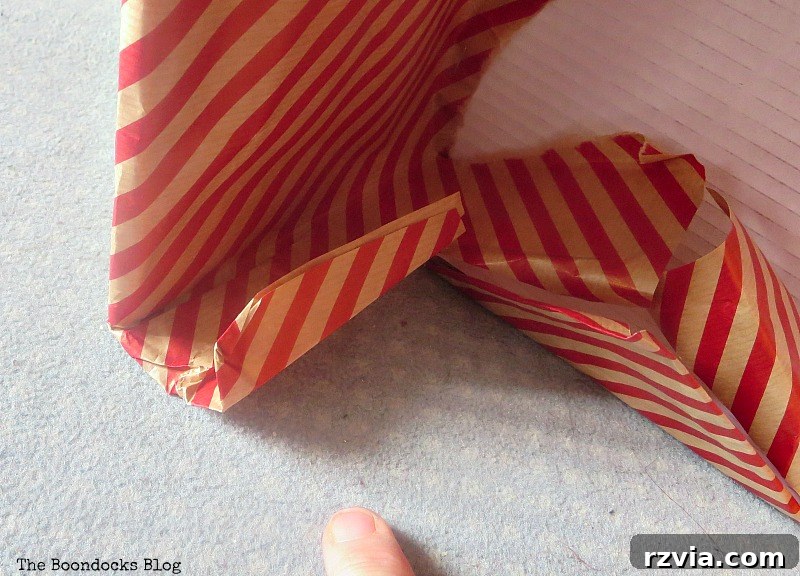
The back of the box is treated similarly to how you would wrap the end of a gift box. Fold the paper neatly, creating crisp corners. Then, fold the excess paper inwards and secure it with tape. Even though the back might not always be visible, a complete and polished look enhances the overall quality and durability of your custom storage box.
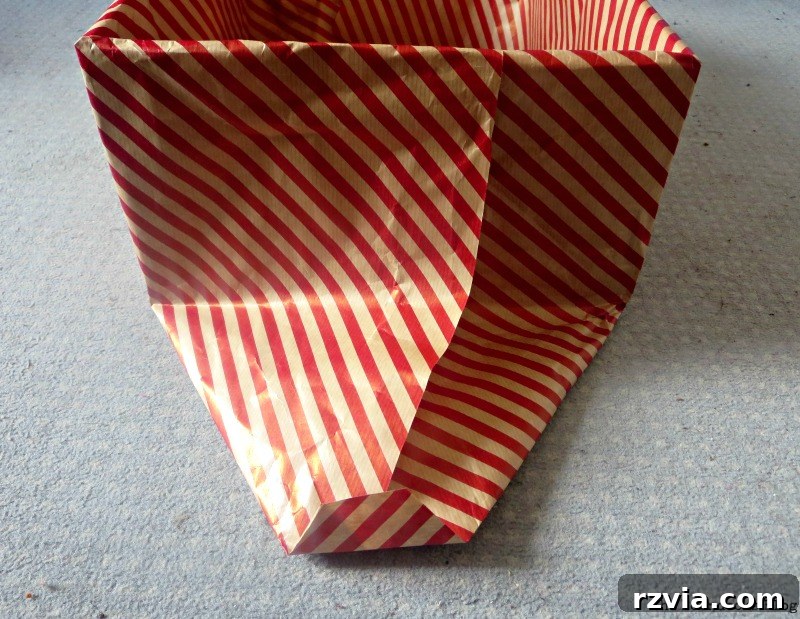
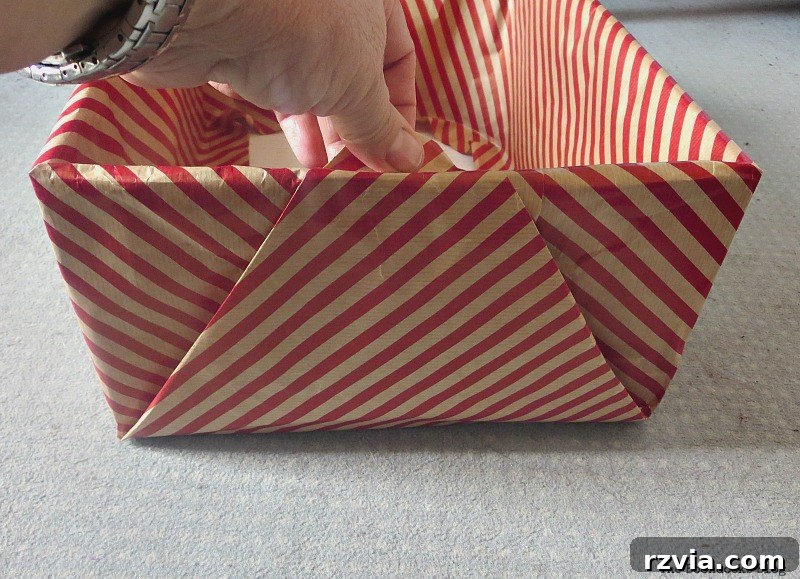
Step 6: Finishing the Bottom (for a Polished Look)
For an extra touch of perfection, and because I wanted the entire box to look pristine, I added another piece of wrapping paper to the bottom. This covers any exposed paper edges or seams, giving the box a completely finished and robust appearance. It’s a small detail that makes a big difference in the overall quality and aesthetic of your DIY storage solution.
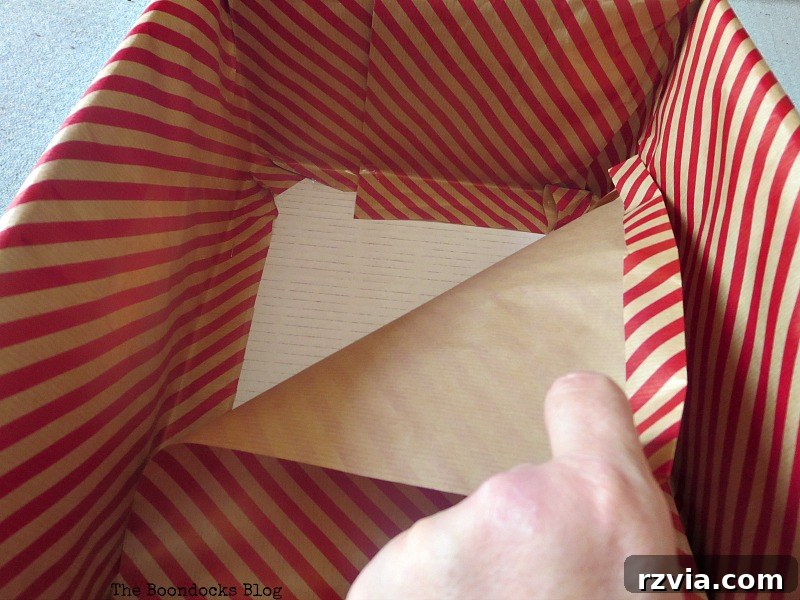
The Essential Step: Labeling for Lasting Organization
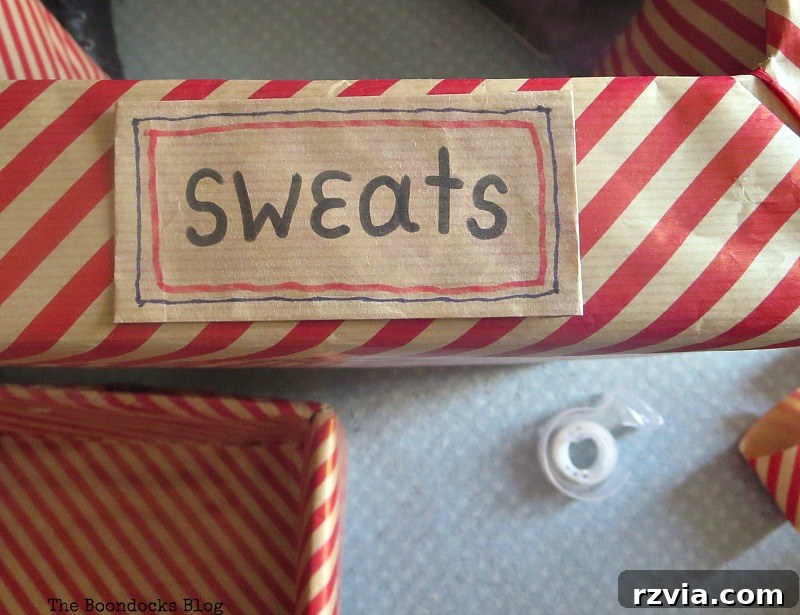
Once your boxes are beautifully covered, there’s one final, crucial step to ensure long-term organization: labeling! Without clear labels, even the prettiest boxes can quickly revert to being a mystery grab bag. Labels are the roadmap to maintaining order, helping both you and your teen know exactly where everything belongs. We added simple, clear labels to each box, designating them for specific items like “Jeans,” “Leggings,” or “Pajamas.” This visual cue is invaluable for putting things away correctly and finding them effortlessly.
The Big Reveal: An Organized and Beautiful Closet Shelf!
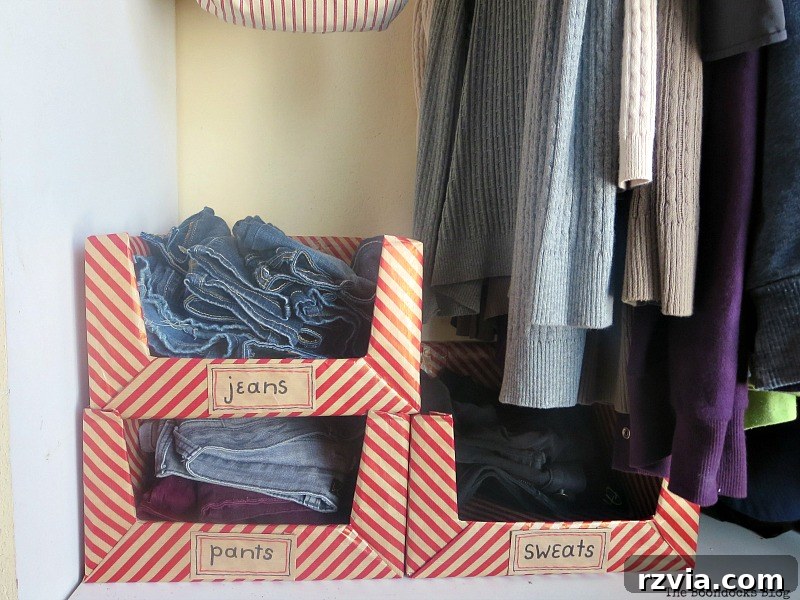
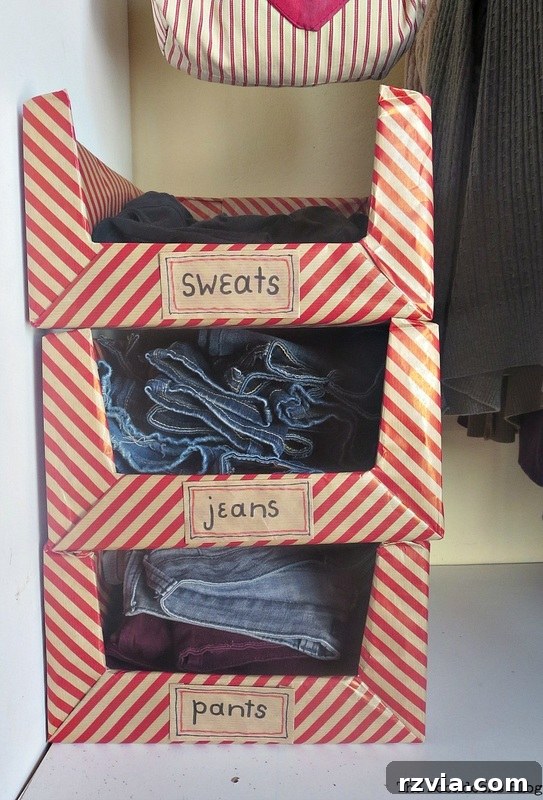
And just like that, the “pretty boxes” for organizing clothes in the closet are complete! It’s incredibly satisfying to see the transformation from a chaotic pile to a neat, structured system. The vibrant red pattern of the wrapping paper adds a cheerful and personal touch, making the closet shelf not just functional, but also visually appealing.
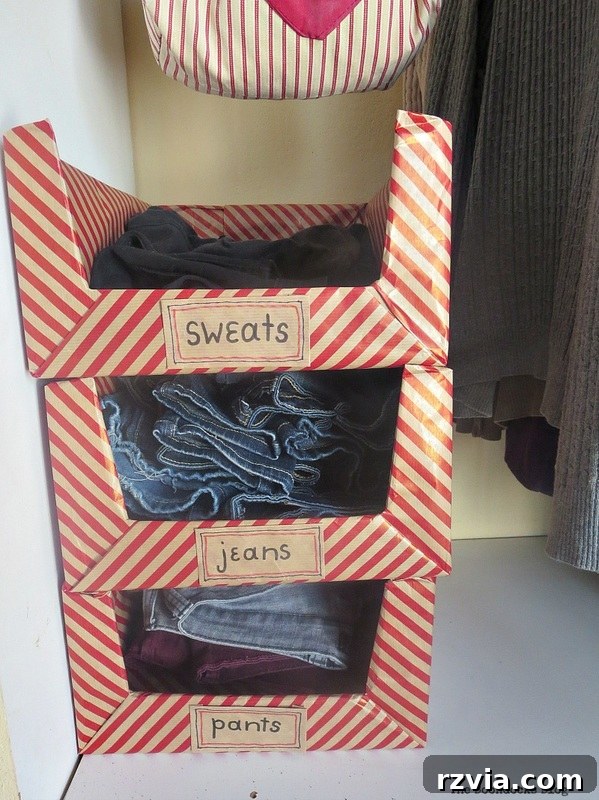
Observe how perfectly these customized storage solutions now fit on the bottom shelf of her closet! They provide clear compartments for different types of clothing, making it simple to put items away and even easier to retrieve them. No more digging through a mountain of fabric; everything is now neatly contained and accessible.
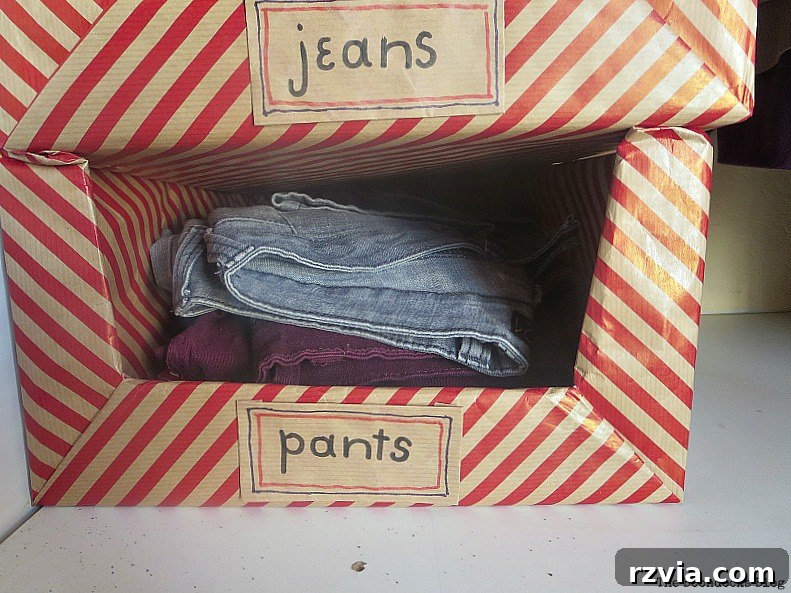
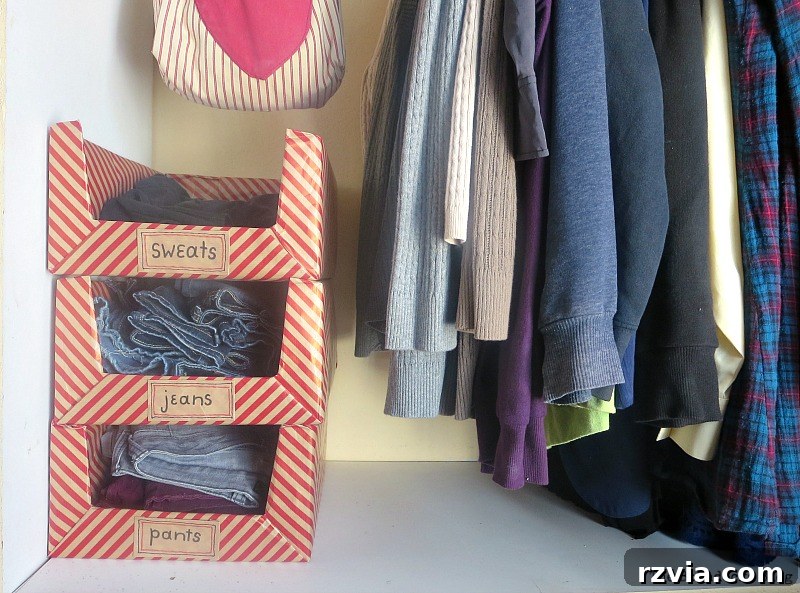
The versatility of these boxes also allows for various arrangements. Depending on the space and the quantity of clothes, they can be placed side-by-side for a flat layout, or stacked efficiently to maximize vertical storage. This flexibility ensures that the system can adapt as her wardrobe or needs change.
Fostering Lasting Habits: A Hope for Ongoing Order
The pretty boxes for organizing clothes in the closet are now stacked, labeled, and ready to welcome the clothing that previously contributed to the “mess that should not be!” My deepest hope is that the occupant of the room will do her part in maintaining this newfound order. I’m keeping my fingers crossed that the clothes will stay neatly folded and properly placed within their designated boxes. This project isn’t just about tidying up; it’s also about empowering her with a functional system that makes keeping her closet tidy easier than letting it get messy.
Organizing a teen’s space can be a continuous journey, but providing simple, appealing, and effective tools like these decorative storage boxes can make a significant difference. Now, I’m curious to hear from you: how do you deal with similar messes in your own home or tackle the organizational challenges of a teenager’s closet? Share your tips and tricks in the comments below!
If you enjoyed this DIY closet organization project, please consider sharing it with your friends or saving it to your favorite Pinterest board for future inspiration. For more home decor ideas, DIY tutorials, and adventures in creating beautiful spaces, subscribe to my blog and receive fresh content twice a week directly in your inbox.
You May Also Like:
<<The Long Overdue Fireplace Makeover
HOME
Sweet Inspiration Link Party#1>>
This blog is for entertainment purposes only; my DIY tutorials are not professional advice. Read my full disclaimer
here.
I love it when I get your comments and I will reply to each and every one of them.