
From Frugal Obsession to Fantastic Decor: Repurposing Paper Rolls for Your Home
As many of you who follow my blog know, I possess an unwavering commitment to frugality. The more ingenious and cost-effective a solution, the more I embrace it. This deeply ingrained philosophy often leads to some rather unique habits, such as my persistent “collection” – or, perhaps more accurately, my “hoarding” – of empty paper rolls. I simply cannot bring myself to consign them to the trash bin, nor even merely to the recycling pile, when my creative brain can envision and transform them into charming pieces such as this bold decorative heart or these incredibly practical upcycled bracelet holders. My collection had, quite literally, outgrown its storage space, signaling that it was high time for a new project. This post delves into the depths of my “irrational obsession” with paper rolls and how it serendipitously provided a solution to a nagging home decor challenge.
In a world increasingly conscious of waste and the environmental impact of consumption, the art of repurposing stands out as a powerful way to contribute to a more sustainable lifestyle. For me, it’s not just about saving money, though that is certainly a welcome benefit. It’s about seeing potential where others see trash, about the satisfaction of transforming a discarded item into something beautiful and functional. Every empty paper towel or toilet paper tube is a miniature building block, a testament to the endless possibilities of creative reuse. My stash of cardboard rolls isn’t clutter; it’s a raw material inventory for future projects, waiting for the perfect inspiration to strike and become a unique piece of decor.
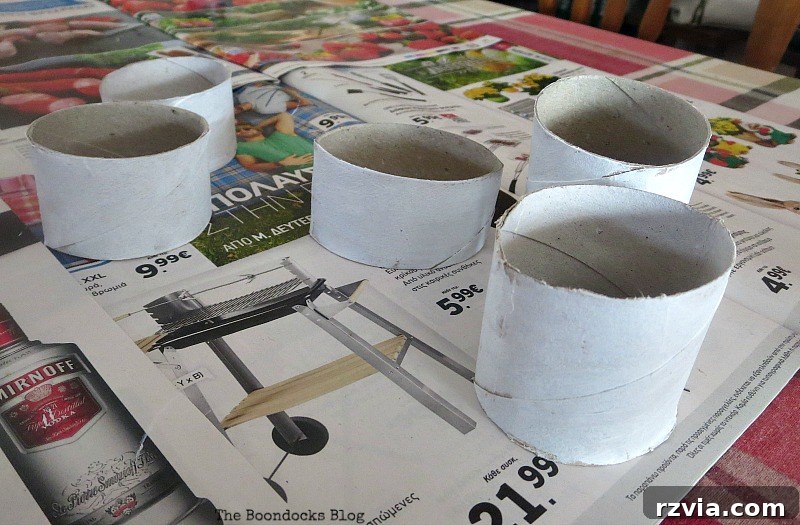
Addressing a Persistent Design Dilemma: The Case of the Unwanted Brackets
My living room, with its distinctly long and narrow dimensions, presents its own unique set of design quirks. One entire end of the room is dominated by a full-length sliding door, rather than a conventional wall. Initially, seeking to maximize privacy and light control, I had installed a robust curtain bracket and rod system directly above this expansive door. However, in an effort to make the room feel more spacious and less confined, I eventually removed the heavy, ceiling-to-floor curtains. This decision instantly brightened and expanded the room visually, but it left behind a rather glaring problem: the original, heavy-duty curtain brackets remained firmly affixed to the wall, looking entirely out of place above my new, more discreet curtain rail system.
Despite my persistent requests to my husband, affectionately known as “the hubs,” to remove these unsightly fixtures, the answer was always the same: “They can’t come down just yet.” And so, these prominent metallic eyesores remained, stubbornly clinging to the wall, a constant visual interruption in my carefully designed living space. They were a nagging detail that simply had to be addressed, not just covered. This seemingly minor aesthetic flaw became the unexpected impetus for my latest paper roll creation, proving that sometimes, the most challenging design dilemmas can spark the most innovative and satisfying DIY solutions.
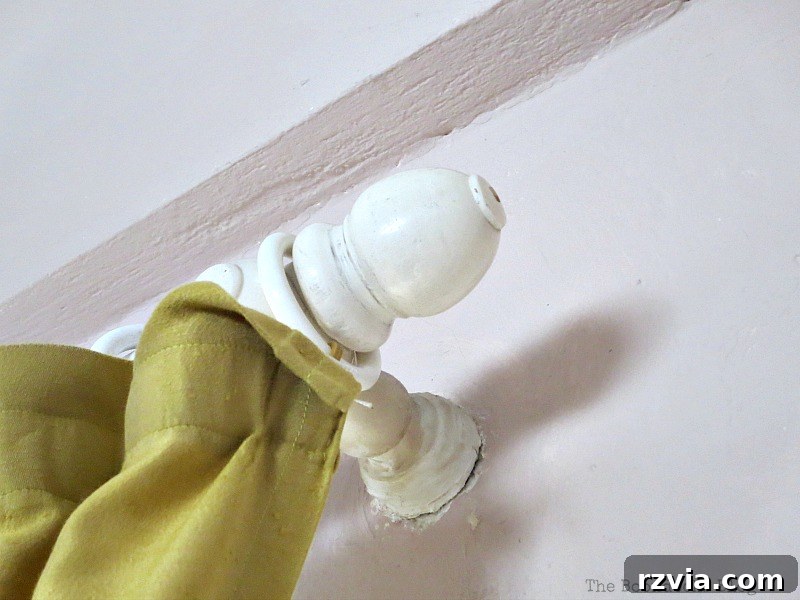
In a desperate attempt to make them disappear into the background, I took to painting the brackets to match the wall color, hoping they would seamlessly blend in. Regrettably, it was nothing short of an epic fail. Far from camouflaging them, the fresh coat of paint seemed only to highlight their awkward presence, drawing even more attention to their incongruity. It became abundantly clear that a more creative, and certainly more visually engaging, solution was required – something that would not merely conceal the brackets, but transform the entire area into an intentional design feature.
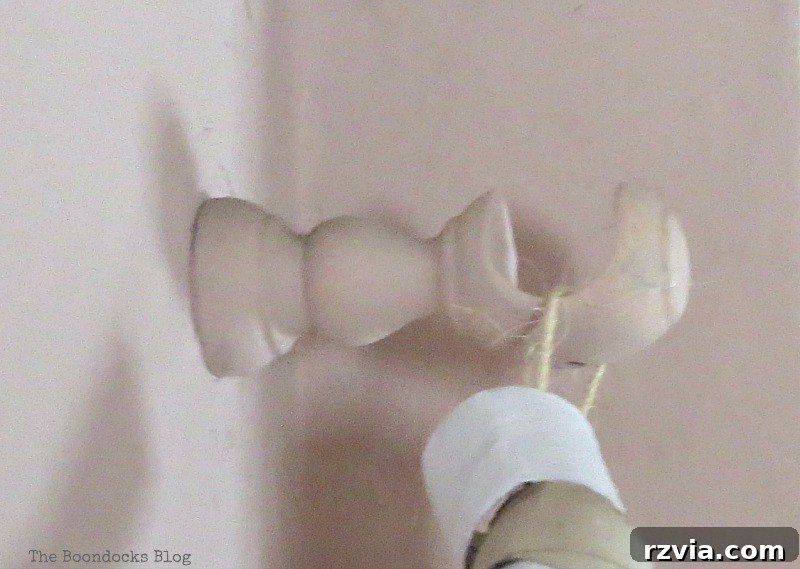
The Ingenious Solution: Paper Roll Crafts to the Rescue!
And this, dear readers, is precisely where my “irrational obsession” with collecting and repurposing paper rolls truly found its glorious purpose. I had previously crafted a charming garland using twine and paper rolls last winter, which had graced my wall unit with its rustic appeal. This earlier project proved to be the perfect wellspring of inspiration for tackling the stubbornly visible brackets above the sliding door. Its organic texture and handmade aesthetic were exactly what I needed to infuse warmth and character into the space, effectively distracting from the unwanted hardware.
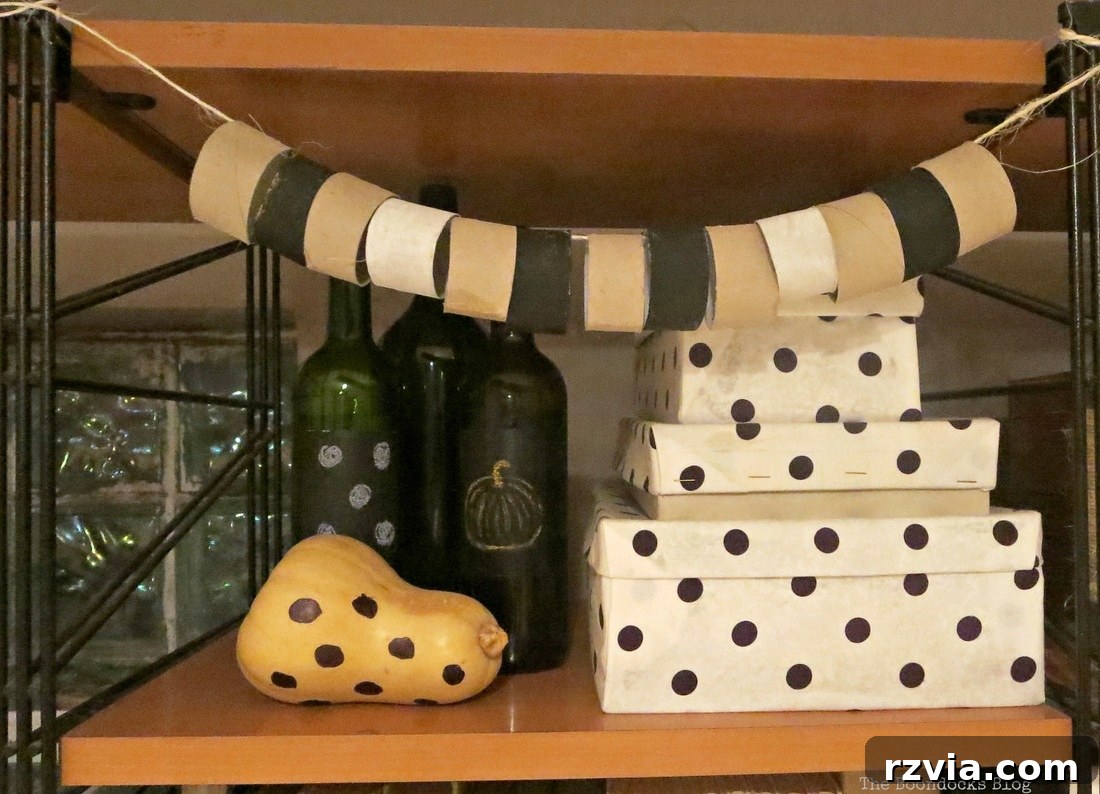
I was genuinely fond of the original garland’s rustic charm and the way it added a unique, handcrafted touch to my decor. Recognizing its potential to solve my current design dilemma, I carefully detached it from the wall unit. My plan was to relocate it, giving it a far more prominent and functional role: to adorn and transform the bare, bracket-laden expanse above the sliding door. This strategic move wasn’t just about covering an imperfection; it was about transforming a visual flaw into an engaging and intentional decorative element, making the most of every collected paper roll.
Crafting the Garland: A Simple Step-by-Step Guide
Creating this eye-catching paper roll garland is surprisingly straightforward, yielding impressive results for minimal effort and cost. Here’s a concise guide to how I brought this vision to fruition, transforming everyday cardboard tubes into captivating rustic decor:
- Gather Your Materials: Begin by collecting a substantial quantity of empty toilet paper and paper towel rolls. For a project of this scale, patience in collecting pays off handsomely – this is where my “hoarding” habit proved genuinely useful! You’ll also need sturdy twine, scissors, and craft paint in your desired neutral tones (e.g., creams, whites, light grays).
- Prepare the Rolls: I started by cutting the rolls into various widths, typically ranging from half an inch to an inch. This intentional variation in size is key to adding visual interest and creating a more organic, less uniform texture in the final piece, enhancing its handmade charm.
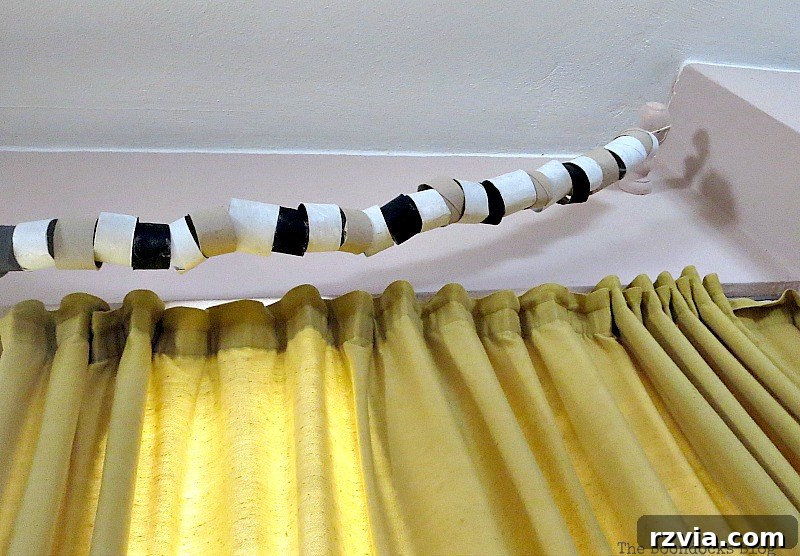
- Paint and Dry: As demonstrated in one of the initial images, I painted many of the cut rings. I opted for a palette of muted, neutral colors – creams, soft whites, and light grays – to ensure the garland would complement a wide range of decor styles and blend harmoniously with my existing wall color, even if it has an unexpected “pucky pink” undertone!
- Assemble the Garland: Once the paint was completely dry, I meticulously threaded the individual paper roll rings onto a long piece of robust twine. The critical step here is to string them closely together, ensuring a full, dense garland that effectively conceals the curtain brackets situated behind it. I continued adding rings until the garland gracefully spanned the entire length of the sliding door’s upper frame, guaranteeing maximum coverage and visual impact.
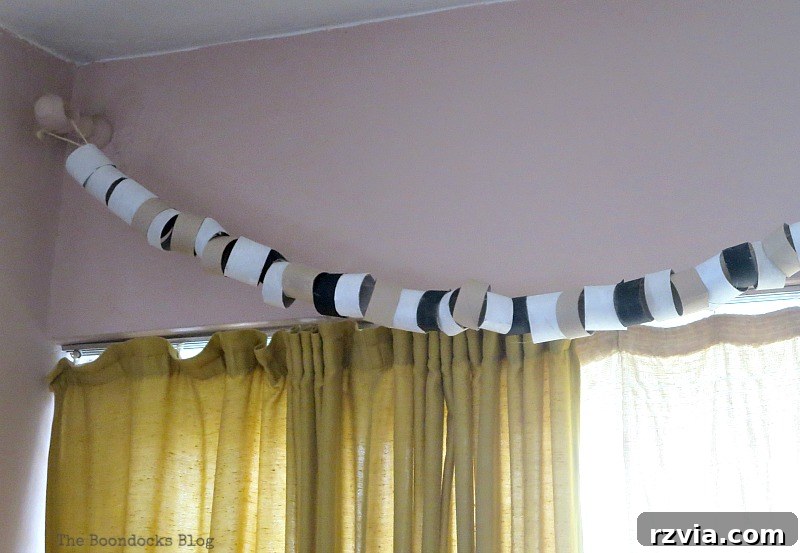
With renewed purpose and a rapidly diminishing supply of my cherished paper rolls, I diligently continued to string the remaining rings, ensuring the garland was filled to its absolute maximum capacity. Each ring added not only to the visual richness and density but also to the profound satisfaction of transforming what was once an unattractive eyesore into a genuine focal point. The ultimate goal was to construct a continuous, flowing decorative element that would completely mask the metallic intrusions, drawing the eye away from the utilitarian brackets and towards the charming, rustic craftsmanship of the garland itself.
Crafting a Complementary Wreath for the Centerpiece
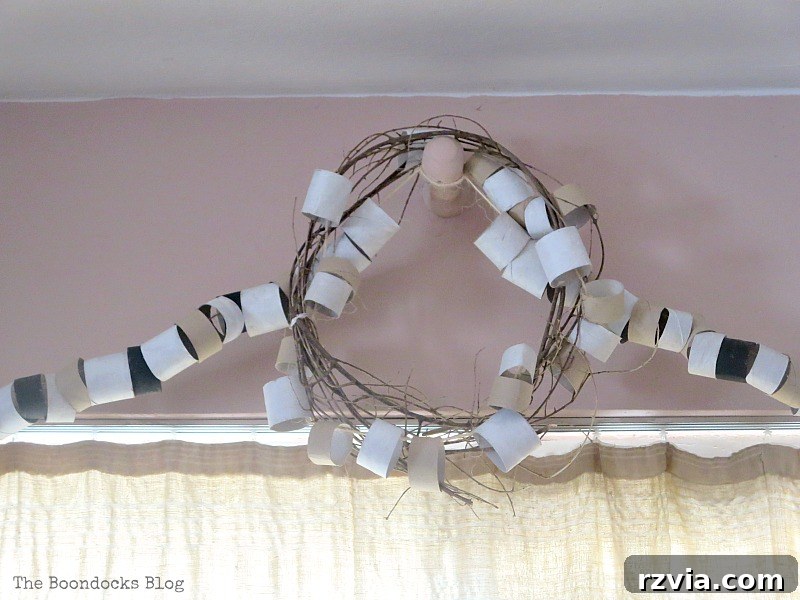
Even after extending the garland to its fullest reach, a few precious paper rolls still remained. More importantly, there was a particularly stubborn and unattractive bracket positioned squarely in the center of the sliding door. This central bracket demanded more than just a simple garland passing by; it cried out for a distinct, central feature. So, with the last of my recycled treasures, I embarked on creating a complementary piece: a rustic wreath that would serve as a striking focal point.
This wreath became a beautiful fusion of repurposed materials and natural elements. I began with a sturdy circular base, likely a piece of salvaged cardboard or wire, to which I meticulously affixed the remaining painted paper roll rings. To further enhance the natural, bohemian, and undeniably rustic aesthetic, I carefully wove in small, delicate twigs and additional lengths of twine. This combination created a multi-textured masterpiece that not only perfectly echoed the design of the main garland but also effectively covered the most prominent and central bracket, elegantly tying the entire decorative scheme together with artistic flair.
The Grand Reveal: A Harmoniously Transformed Space
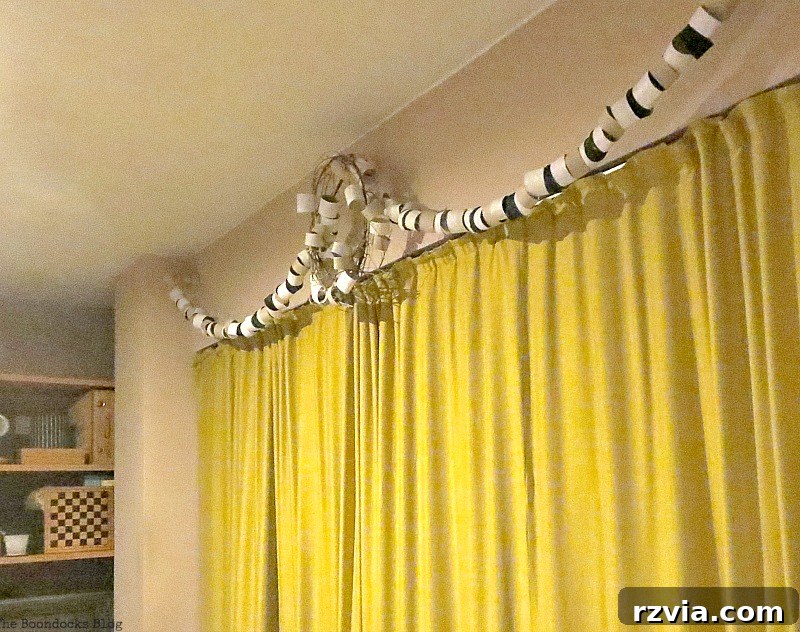
And now, for the grand reveal! Behold the complete transformation of this once-problematic area. The previously obtrusive curtain brackets are no longer a source of visual annoyance. Instead, they serve as the subtle, yet essential, support for a captivating display of handmade artistry. The long, continuous paper roll garland gracefully spans the entire width of the sliding door, creating a cohesive and visually appealing border that softens the architectural lines. In the center, the meticulously crafted rustic wreath acts as a charming anchor, drawing the eye and completing the harmonious, upcycled arrangement.
Upon closer inspection of the wreath, one can truly appreciate the intricate details that contribute to its unique character. The delicate interplay of the painted paper roll rings with the organic textures of the intertwined twigs and twine creates a multi-dimensional, tactile piece. It feels both naturally derived and thoughtfully crafted, a true testament to how simple, everyday discarded materials can be elevated into sophisticated home decor with just a touch of creativity and a willingness to embrace unconventional design solutions.
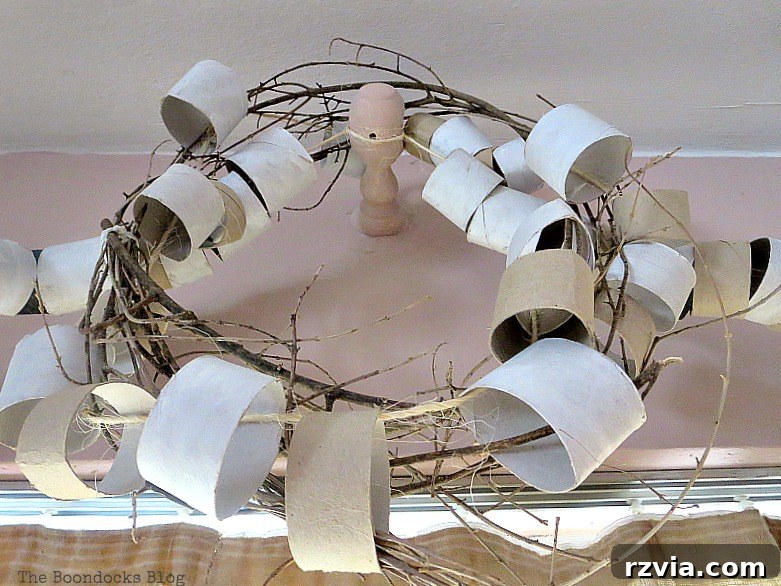
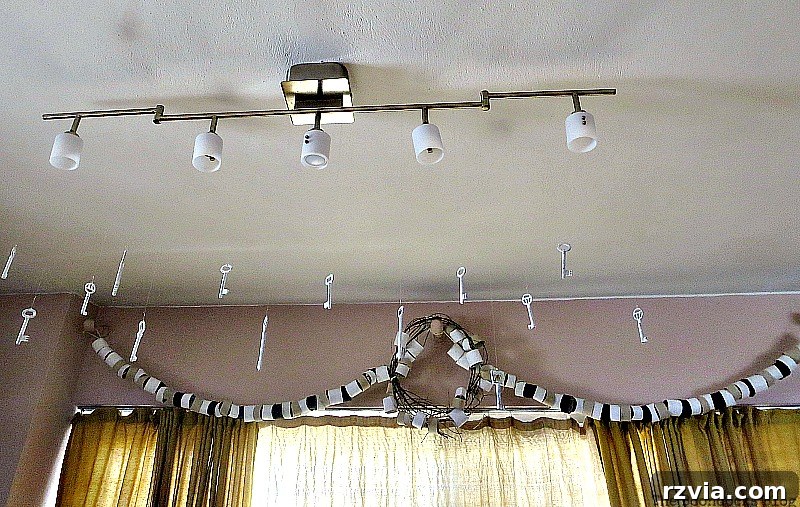
From an upward perspective, looking at the installation from below, the garland and wreath collectively present a beautiful, textured canopy. The soft, diffused hues of the painted paper rolls subtly catch the ambient light, adding a much-needed layer of warmth and a distinct handcrafted touch to the area above the sliding door. This angle particularly emphasizes just how effectively this DIY decor camouflages the once-obtrusive brackets, transforming a purely structural necessity into a compelling and artistic statement within the room.
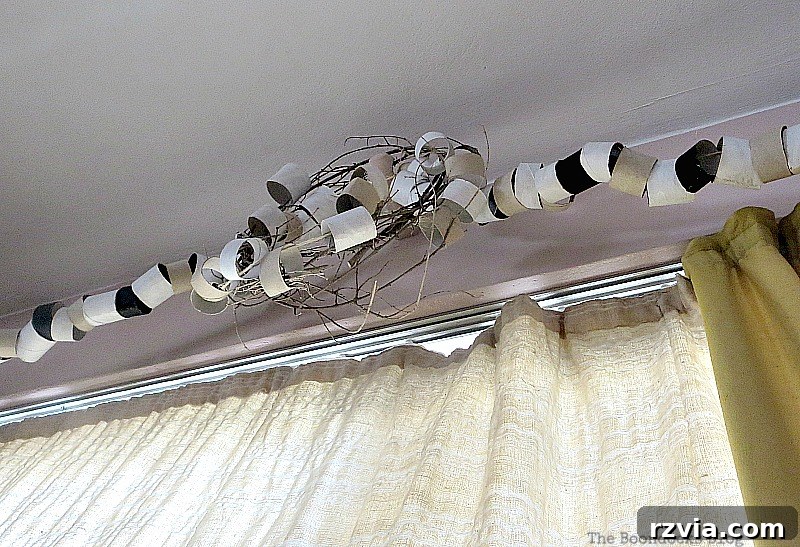
Below, you’ll find a few night shots. While the photographic quality might not be pristine, these images offer a valuable perspective on the scale and impact of the installation. You can still clearly appreciate the full length of the sliding doors and how the garland extends gracefully across, creating a consistent and visually appealing decorative element that effectively softens the entire area. Under the warm glow of interior lighting, the subtle textures and colors of the paper rolls truly come to life, imbuing the space with a cozy and inviting ambiance.
A Confession About Wall Color (and a Plea for Your Honest Opinion!)
And now, as we’re being brutally honest about home decor triumphs and tribulations, let’s address another persistent aesthetic challenge: the color of my walls! When I first purchased the paint, it was marketed and chosen as a “beachy sand” hue, promising a tranquil, sun-kissed warmth. However, as the evening light fades, this supposedly serene shade undergoes a perplexing transformation, morphing into an unmistakable “pucky pink” undertone. It’s a color shift that consistently baffles and, frankly, slightly irritates me.
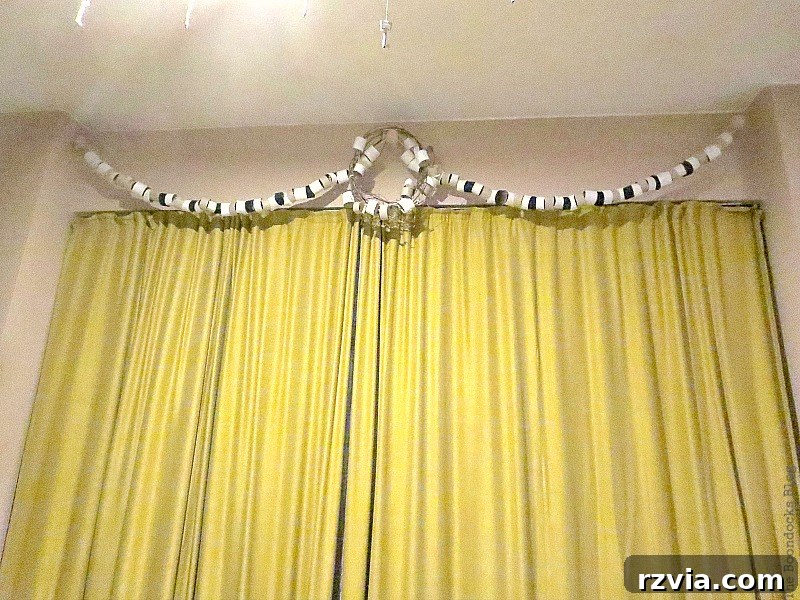
And I won’t even venture to describe its appearance when the harsh afternoon sun streams into this particular room; let’s just say it tends to invoke a colorful array of unprintable expletives! Clearly, this wall color is another significant home decor challenge that is firmly on my agenda to be tackled this summer, perhaps even before my next colossal mountain of paper rolls accumulates.
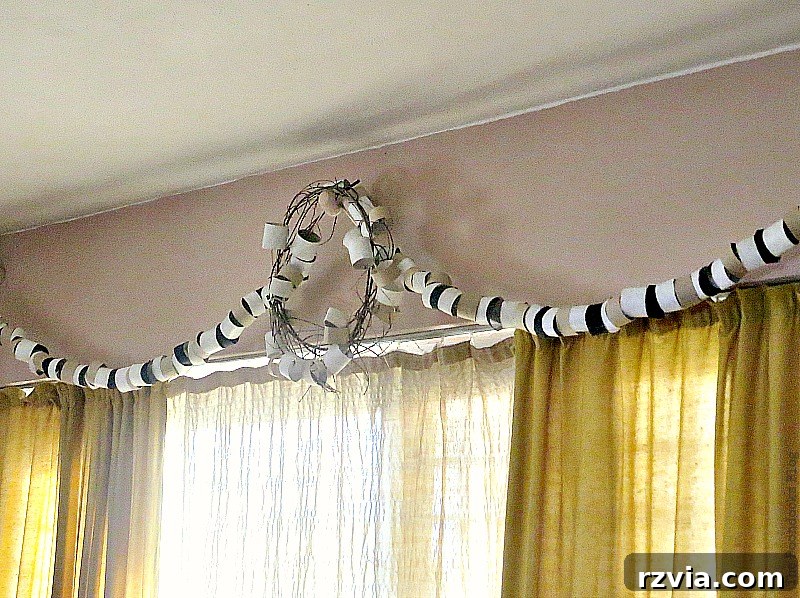
But let’s return to the main event: my paper roll creations and the dilemma they present. I genuinely need your unbiased, honest opinions here. Have I succeeded in pulling off a charming, artsy, and rustic aesthetic, or is this, in your eyes, an epic fail? What are your thoughts? I find myself genuinely torn, vacillating between viewing it as a clever, artistic, and resourceful solution, and wondering if it’s simply, well, a bit too overtly “crafty” for a refined living space.
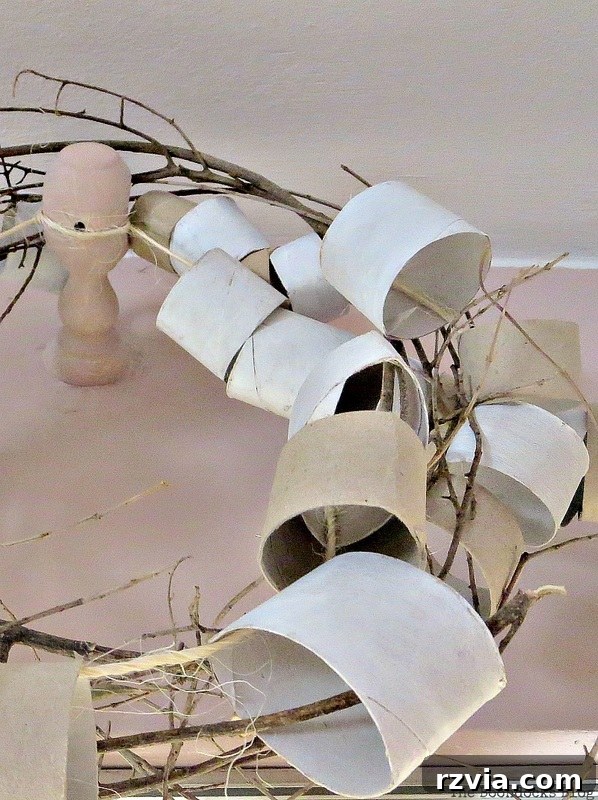
Can I confidently present this as a delightful example of “artsy cute, rustic” decor, a proud testament to the power of clever repurposing? Or should I, perhaps, admit defeat, carefully dismantle it, and return to the drawing board in search of yet another solution for those persistently visible brackets? Do I even earn any metaphorical brownie points for giving these humble, discarded paper rolls a second, more glamorous life, transforming them from potential trash into treasured decor? This is the crossroads my “irrational obsession” with paper rolls has led me to – a moment of profound creative uncertainty! Please, dear readers, I implore you to lend me your valuable thoughts and guidance in the comments below!
If you’ve enjoyed this journey of creative repurposing, I sincerely encourage you to share it with your friends on social media or save it for future inspiration on Pinterest. The image below is perfectly optimized and sized for pinning!
If you truly appreciate what you see and wish to follow more of my DIY adventures, frugal living tips, and creative home decor solutions, please consider subscribing to my blog. You’ll receive fresh updates twice a week, delivered directly to your email inbox. You can conveniently find the subscription form located on the sidebar of my blog, and I assure you, your email address will always remain private and will never be shared with any third party.
You May Also Like:
<< Between the Lines Home Sweet Inspiration Link Party #8 >>
Please note: This blog is intended for entertainment purposes only; my DIY tutorials and advice should not be considered professional guidance. For full details, please read my complete disclaimer here.
I genuinely love receiving your comments and make it a personal priority to reply to each and every one of them. Your feedback, questions, and shared experiences truly brighten my day!