
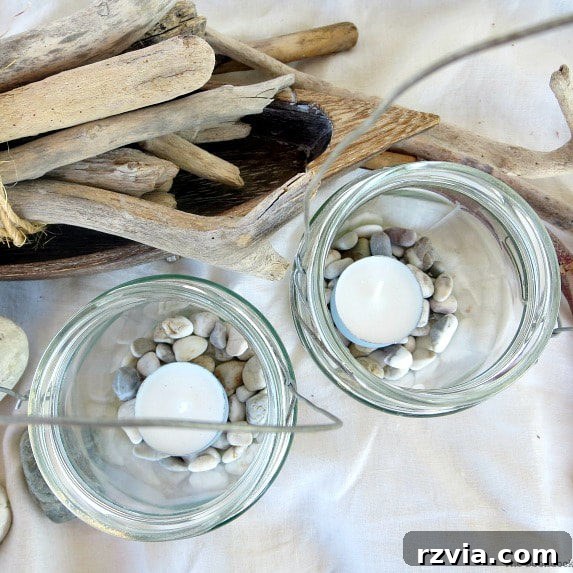
Welcome to my favorite time of the month, the International Bloggers Club Challenge! It’s an exciting opportunity where I team up with my amazing blogger friends from around the globe for a shared journey into crafting. Each month, we tackle a new theme, and this time, our challenge is to create beautiful projects using common household items. For my contribution, I’ve chosen humble glass jars, transforming them into stunning, beach-themed DIY Mason Jar Lanterns. Get ready to discover just how simple it is to bring a touch of coastal charm to your home or outdoor space!
For those new to our creative community, the International Bloggers Club Challenge is a fantastic monthly event where we, a diverse group of bloggers, gather virtually to share our unique interpretations of a given theme. It’s a wonderful way to connect, draw inspiration from different cultures, and see how crafting traditions and styles vary across the world. Last month, we explored innovative projects with tin cans, and before that, we ventured into creative outdoor projects. This month, we’re focusing on upcycling everyday items, and I’m thrilled to share my take on sustainable and beautiful home decor.
Transforming Trash into Treasure: What You’ll Learn
In this comprehensive guide, you’ll learn the art of turning ordinary household recyclables, specifically glass jars, into captivating indoor or outdoor decor. These charming lanterns are not only a testament to sustainable living but also a fantastic way to add a personalized, cozy ambiance to any setting. We’ll cover everything from selecting your jars to the simple wire-wrapping technique and final embellishments, ensuring you can confidently create your own stunning repurposed jar lanterns.
Crafting Coastal Charm: Easy DIY Mason Jar Lanterns
Living in Greece, glass jars are an everyday staple. From the countless jars of local honey I purchase to marmalades and delicious jams, my pantry is always overflowing with them. While I often repurpose them for storage, this month’s challenge inspired me to think outside the box and create something truly special. Given our love for spending time outdoors, especially on our patio, these beach-inspired mason jar lanterns felt like the perfect, serene accent to enhance our al fresco living space. They offer a soft, inviting glow that perfectly complements the natural beauty of our surroundings.
Essential Materials for Your Glass Jar Lantern Project:
Gathering your supplies is the first exciting step in any DIY project. For these charming glass jar lanterns, you’ll need just a few basic items, many of which you might already have on hand. This project is not only creatively satisfying but also incredibly budget-friendly, making it accessible to everyone.
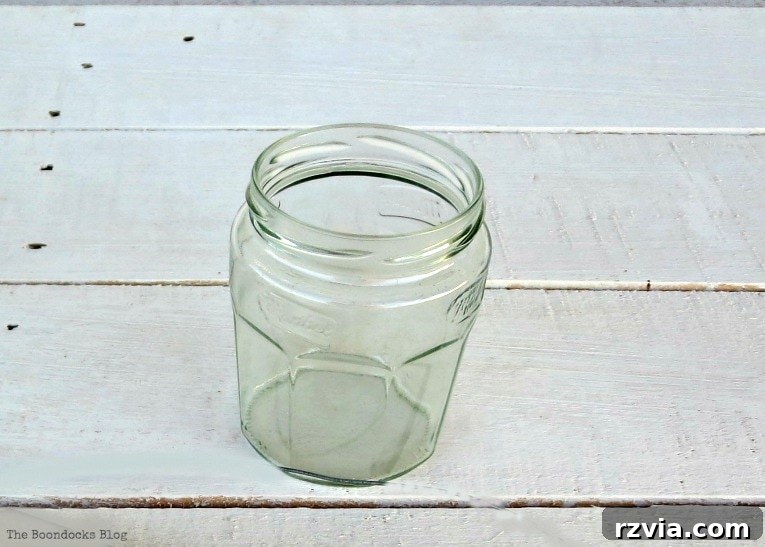
- Two clean glass jars: Any size or shape will work, but opt for sturdy ones like mason jars or recycled food jars. Ensure they are thoroughly cleaned and labels removed for the best aesthetic.
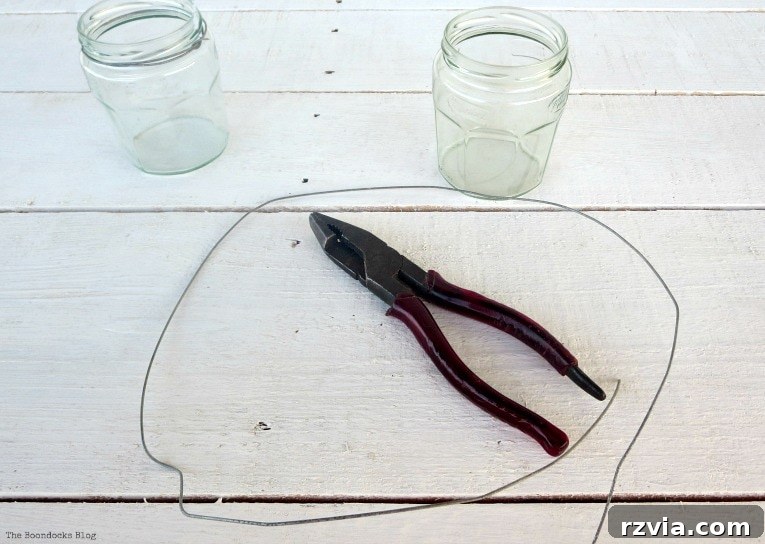
- Two pieces of craft wire: Approximately one yard (or meter) each. A medium-gauge wire (around 18-20 gauge) is ideal as it’s flexible enough to shape but sturdy enough to hold the jar’s weight. Silver or copper wires can offer different aesthetic appeals.
- Pliers: Round-nose or needle-nose pliers are best for bending and securing wire, but any sturdy pliers will do.
- Decorative pebbles: Small, smooth pebbles or stones for the bottom of the lantern. You could also use sand, sea glass, or small shells to enhance the beach theme.
- Tea lights: Standard wax tea lights or battery-operated LED tea lights for a safer, flameless option.
- Craft paint (optional): Acrylic craft paint to customize the color of your tea lights or to add a subtle design to your jars.
Step-by-Step Guide: How to Craft Your Own Mason Jar Lanterns
Creating these beautiful lanterns is a straightforward process that even beginners can master. Follow these steps carefully to construct a sturdy and attractive wire frame for your jar. Remember, the beauty of handmade items lies in their unique imperfections, so don’t strive for absolute perfection!
Step 1: Forming the Initial Loop
Begin by taking one end of your wire and, using your pliers, carefully bend it to form a small loop. This loop should be about half an inch in diameter. This initial hook will serve as the anchor point for the rest of your wire structure, so ensure it’s securely formed.
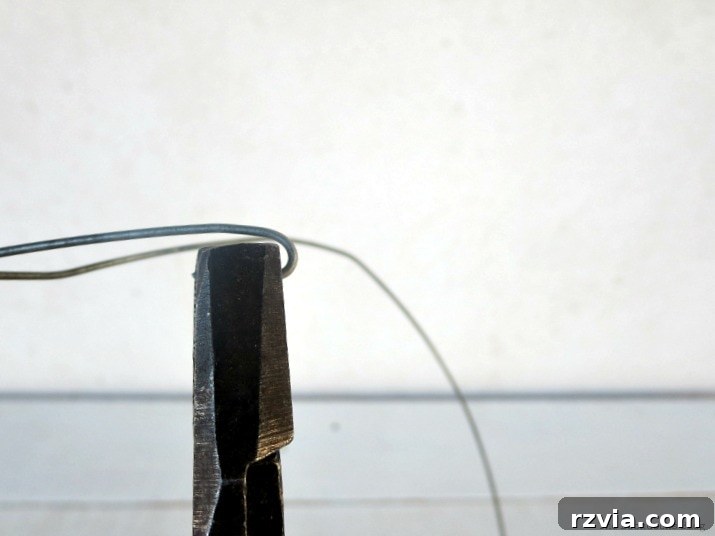
Step 2: Securing the Hook
The loop you’ve just created should resemble a small, sturdy hook. A quick note on my hands in the images: please overlook the paint splatters! I was in the midst of another creative endeavor before diving into this project, and my excitement to finish these lanterns meant a little paint wasn’t going to deter me. This serves as a reminder that crafting is often wonderfully messy and always fun!
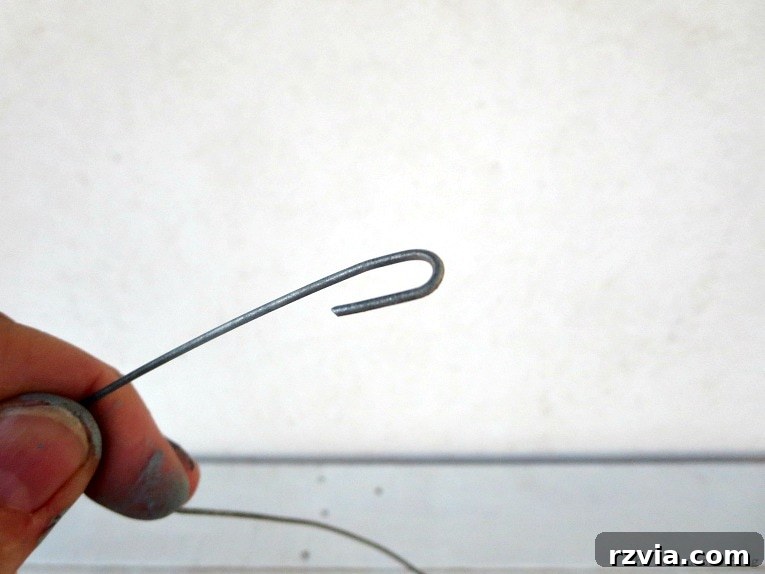
Step 3: Creating the First Wire Circle
Now, take the longer end of the wire and carefully form a full circle around the circumference of your chosen jar. Once you have made a complete circle, thread the free end of the wire through the small hook you created in Step 1. Use your pliers to gently but firmly close the hook around the wire, securing the circle in place. This forms the base ring that will rest on the jar’s rim.
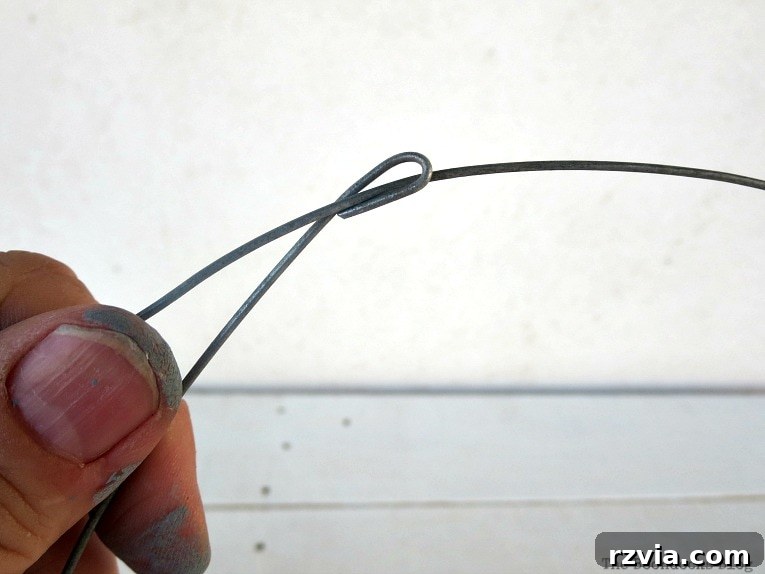
Step 4: Positioning the Wire Circle
With the circle now securely closed, carefully position it around the outer rim of your glass jar. It should fit snugly, creating a firm grip just below the lip of the jar. This tight fit is crucial for the stability of your lantern, ensuring the wire frame won’t slip down when the lantern is hung or moved.
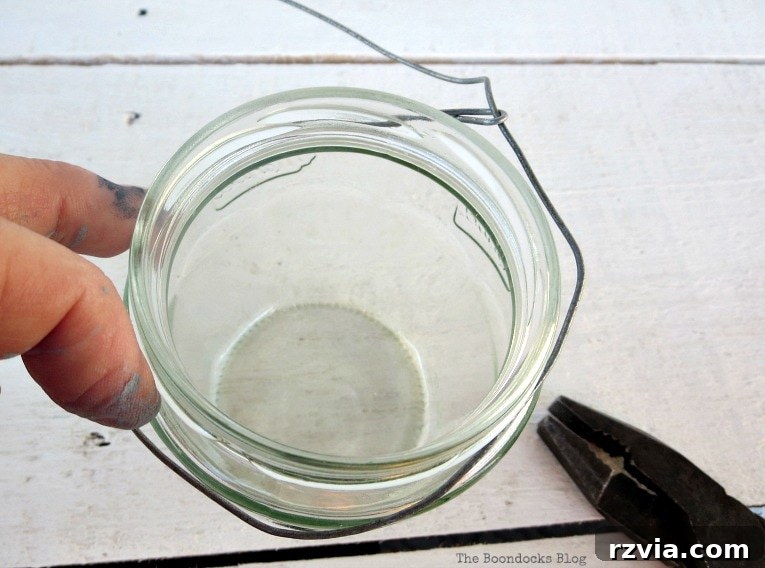
Step 5: Forming the Second Securing Circle
Once the initial wire circle is tightly fitted around the rim, take the remaining free end of the wire. Using your pliers, pull this end in the opposite direction from where you just secured the first loop. Continue to wrap this wire around the outer rim of the jar, directly over the first circle, to form a second, reinforcing circle. This dual-layer wrapping provides extra stability and ensures your lantern’s handle will be firmly anchored.
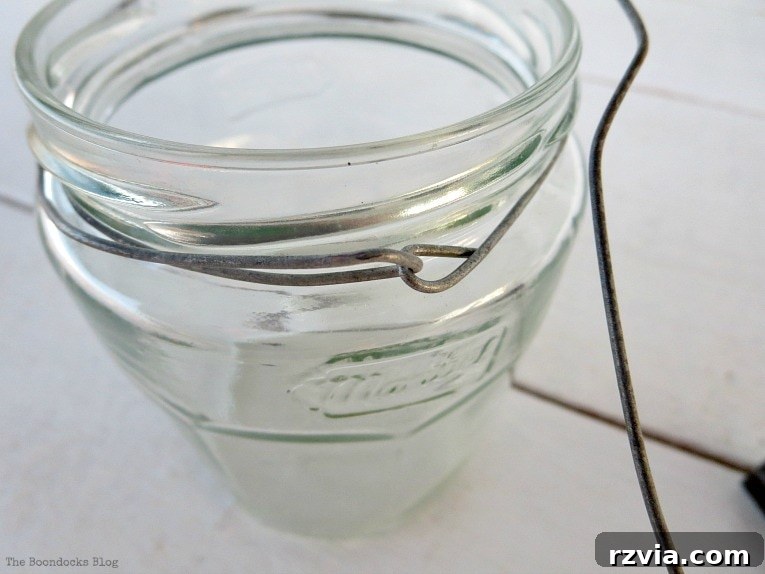
Step 6: Observing the Double Wrap
From a top-down perspective, you should now clearly see two distinct circles of wire wrapped around the jar’s outer rim. These circles run in opposing directions, creating a robust and symmetrical base for your lantern’s handle. This layered approach not only adds strength but also a touch of rustic charm to the design.
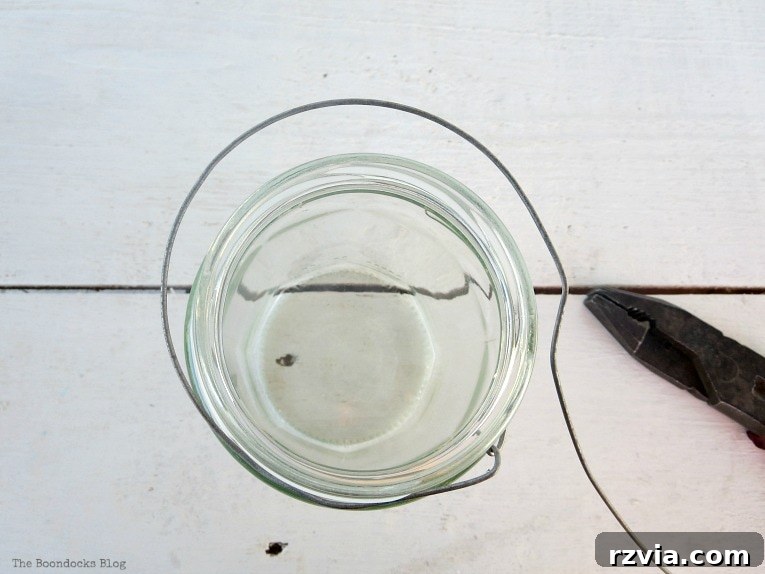
Step 7: Crafting the Handle
With both circles securely in place, take the free end of the wire and thread it upwards through the initial loop. Pull the wire firmly to create an arch that will serve as the handle. Guide this arch gracefully over the opening of the jar so that it comes down on the opposite side of the jar rim. The height and curve of the handle are entirely up to your preference, allowing for a personalized touch.
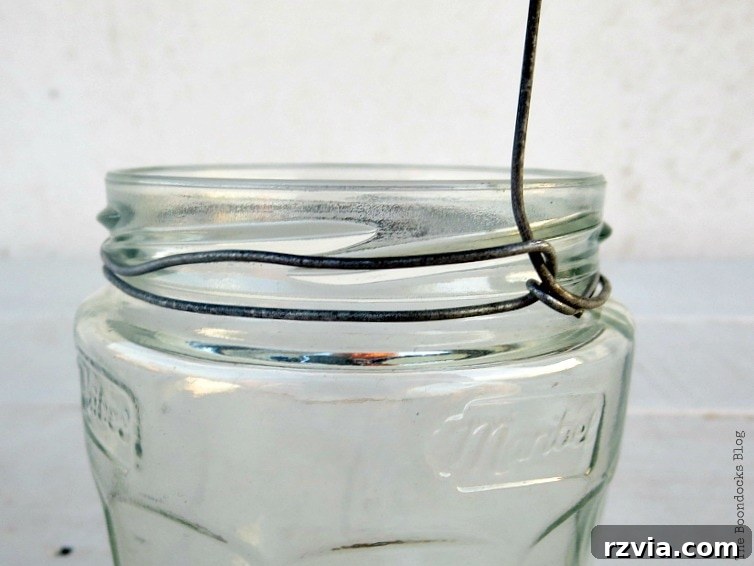
Step 8: Finalizing the Handle Attachment
Once you’ve formed the handle, loop the free end of the wire downwards and securely attach it to the opposite side of the jar rim. Create another small hook or twist it firmly around the existing wire circles to secure it. This final connection completes the wire frame, making your jar ready for its transformation into a lantern. You’ll find that a perfectly uniform wire structure isn’t necessary; in fact, the slight variations add character. As I always say, “Perfection is Overrated!” and the charm of a handmade item often lies in its unique, rustic appeal.
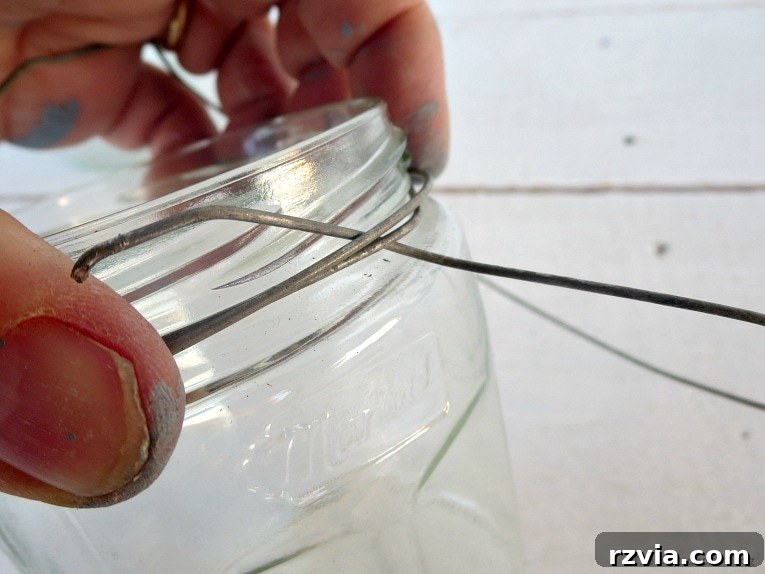
Step 9: Admire Your Handiwork
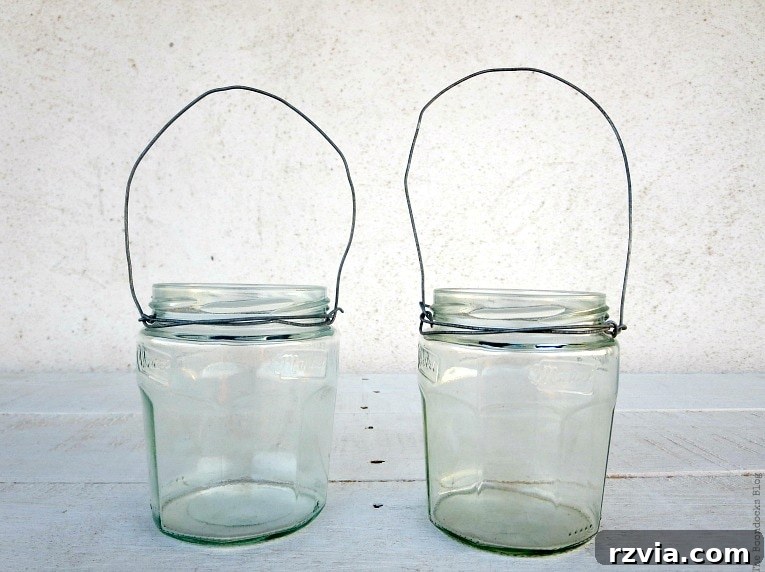
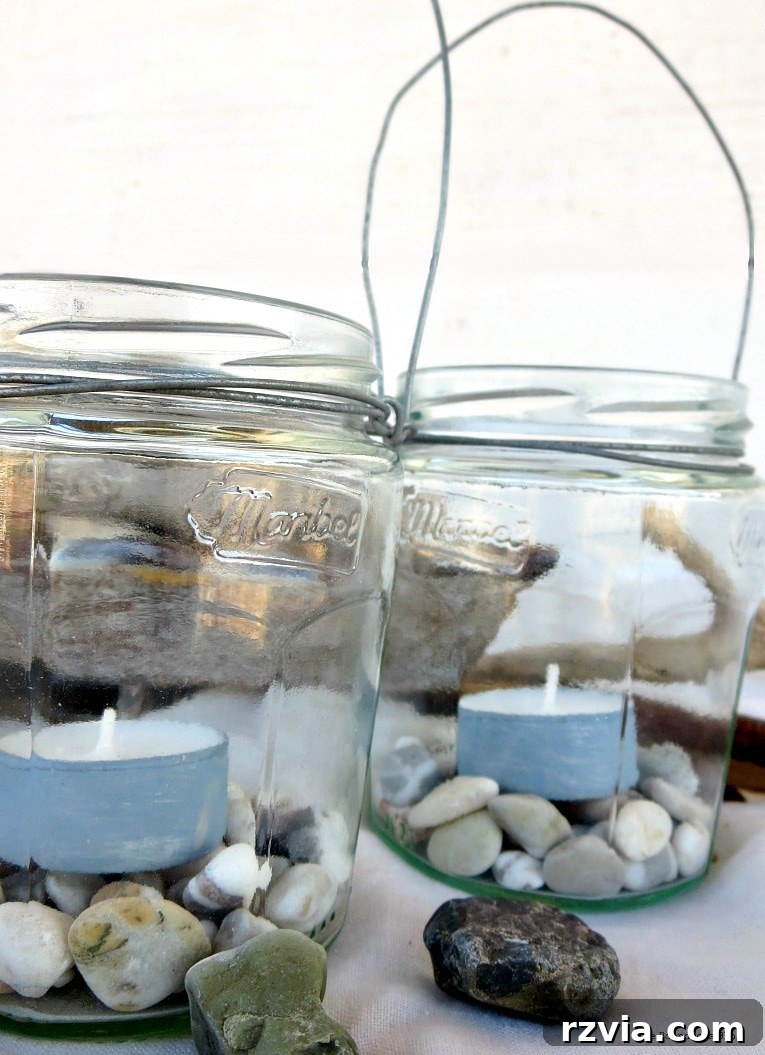
Here they are – my two newly crafted mason jar lanterns! As you can see, I embraced the natural, slightly imperfect curves of the wire. This handcrafted aesthetic adds to their rustic charm and embodies the spirit of DIY. Don’t worry about every bend being factory-perfect; the slight irregularities tell the story of your creative process.
Step 10: Adding the Final Touches
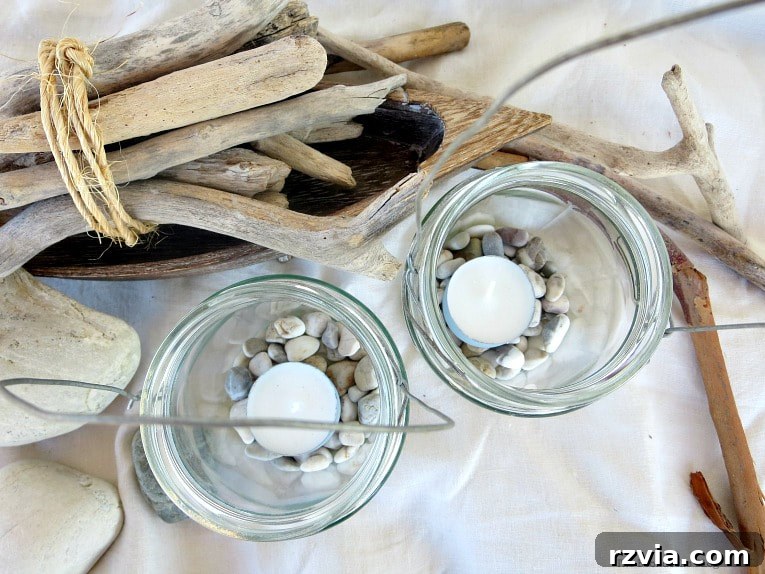
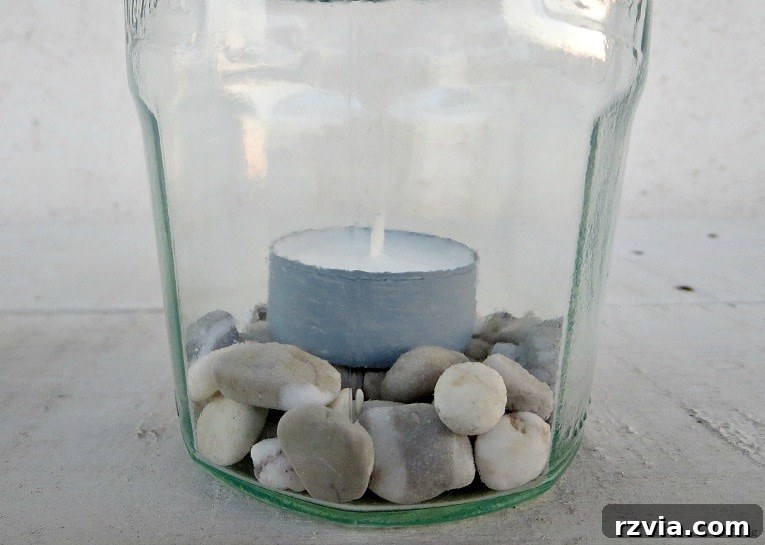
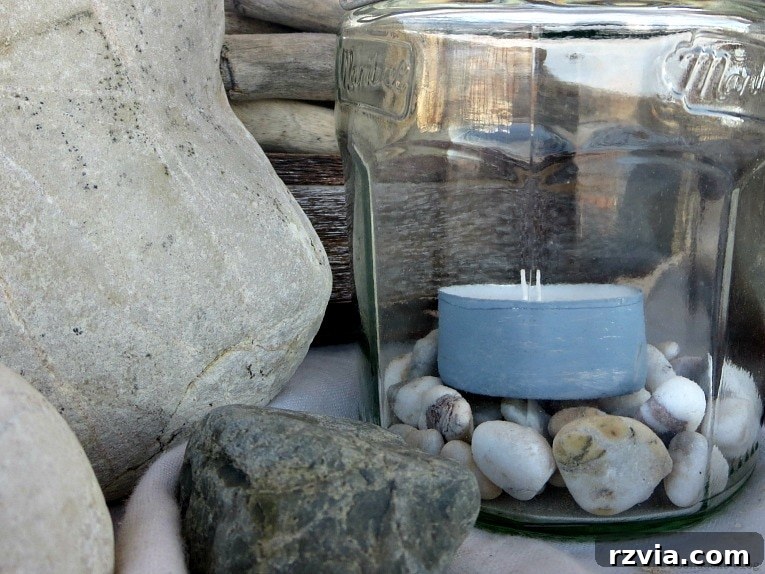
The final, delightful step is to personalize your lanterns. I added a layer of small, smooth pebbles to the bottom of each jar, which provides a stable base for the candle and enhances the beachy aesthetic. To complete the look, I placed a tea light candle on top of the pebbles. This simple addition instantly transforms the jar into a charming lantern, ready to cast a warm, inviting glow.
Versatile Display Options for Your Mason Jar Lanterns
One of the best features of these easy mason jar candles is their incredible versatility. You can choose to hang them, allowing their light to sway gently in the breeze and illuminate your outdoor space from above.
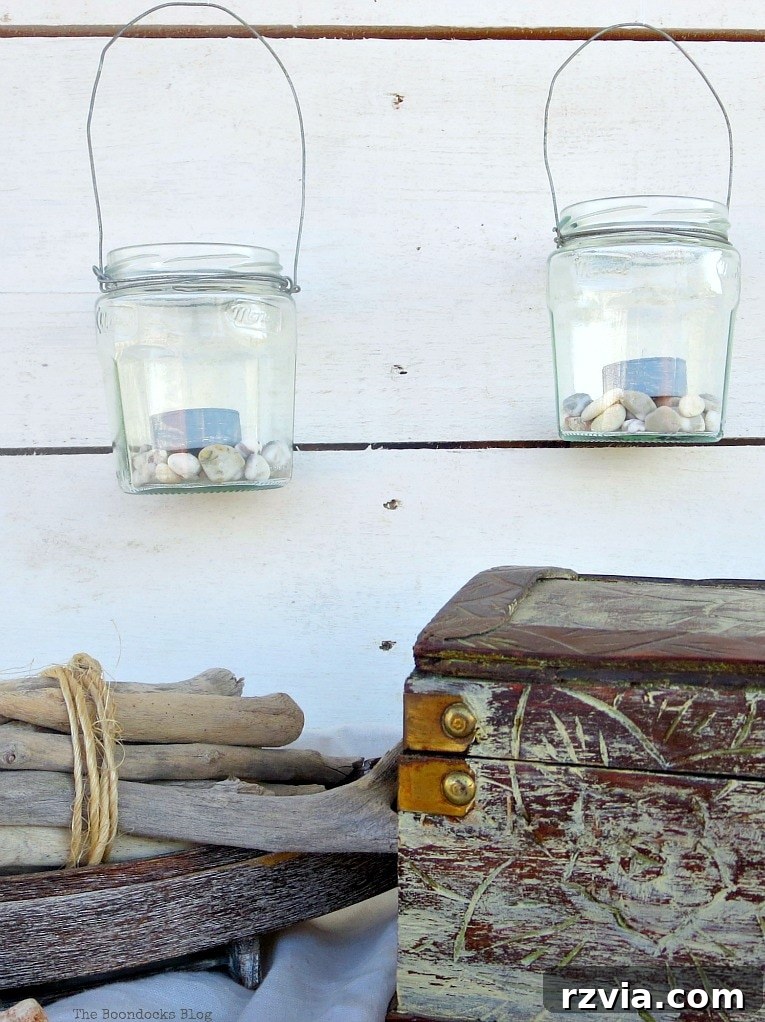
Alternatively, they can be elegantly placed on any flat surface – a patio table, a balcony railing, a shelf indoors, or even nestled among plants in your garden. The choice is yours, allowing you to adapt their placement to suit your mood and decor needs. Remember, I also shared another unique lantern project using tea lights with a completely different nautical look, proving just how much variety you can achieve with simple lighting.
I find that the soft, natural tones of these pebbles beautifully complement the rustic charm of driftwood. For an even more pronounced beachy vibe, consider using a layer of fine sand at the bottom of your jars instead of pebbles. You could even add a few tiny shells or pieces of sea glass for an extra authentic coastal touch.
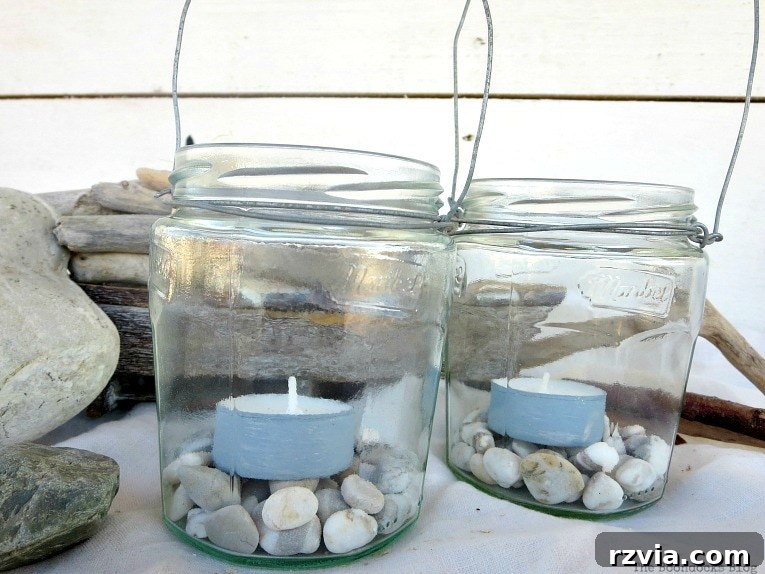
As a small but impactful detail, I decided to paint my tea lights in a color that harmonized perfectly with the pebbles. This simple step takes literally seconds to execute but makes a significant difference in the overall polished appearance of the lantern. It’s these thoughtful little touches that truly elevate a DIY project from good to great.
Curious to see where these lovely lanterns ended up? Head over here to my post where I showcase them beautifully arranged on my balcony. You’ll also discover the amusing story behind my blue-stained fingers, a testament to the joys and occasional quirks of creative crafting!
Why Upcycle Your Jars? The Benefits of Repurposing
Repurposing old jars into decorative and functional items like these lanterns offers numerous benefits beyond just aesthetics. Firstly, it’s a fantastic way to practice sustainability and reduce waste. Instead of discarding glass jars, you’re giving them a new lease on life, minimizing your environmental footprint. Secondly, DIY projects like these are incredibly cost-effective. You’re transforming items you already possess or can acquire cheaply into unique decor, saving money on store-bought alternatives. Thirdly, there’s immense satisfaction in creating something with your own hands, adding a personal touch to your home that reflects your style and creativity. These upcycled glass jar lanterns are not just lights; they’re conversation starters, tangible expressions of your ingenuity.
Endless Customization and Themes
While I opted for a beach theme, the possibilities for customizing your repurposed jar lanterns are truly limitless. Consider different themes:
- Rustic Farmhouse: Use twine or burlap instead of wire, and fill with dried flowers or small pinecones.
- Bohemian Chic: Wrap with colorful embroidery thread, add beads, or paint intricate mandala designs.
- Seasonal Decor: For autumn, fill with miniature pumpkins and fall leaves; for winter, use faux snow and small ornaments.
- Garden Whimsy: Paint the jars with outdoor-safe paints in vibrant colors or use stencils for floral patterns.
You can also experiment with different types of lights. Small LED fairy lights can be strung inside for a magical, twinkling effect, especially useful if you prefer flameless options. Battery-operated votives are another safe alternative to traditional tea lights, offering a consistent glow without the need for constant supervision. The choice of wire itself can also influence the look – try copper for a warm, antique feel, or black wire for a more contemporary contrast.
Beyond Lanterns: Other Creative Jar Repurposing Ideas
The magic of glass jars doesn’t end with lanterns. They are truly one of the most versatile items for upcycling. Here are a few more ideas to inspire your next project:
- Storage Solutions: Organize your pantry, craft supplies, or bathroom essentials. Label them beautifully for an aesthetic touch.
- Vases: Simple and elegant, jars make perfect vases for fresh flowers, adding a touch of greenery to any room.
- Gift Packaging: Fill jars with homemade treats, bath salts, or small gifts, then decorate with ribbon and a tag for a personalized present.
- Terrariums: Create miniature ecosystems with soil, small plants, and decorative elements for a low-maintenance indoor garden.
- Candle Holders: Beyond tea lights, jars can hold larger pillar candles, creating a safe and enclosed flame.
I genuinely hope you’ve enjoyed this simple guide on how to repurpose ordinary mason jars into charming tea light lanterns. They are a wonderful, eco-friendly addition to any indoor or outdoor space, providing a warm ambiance and a touch of handmade elegance. Do you love to repurpose old jars? Share your creative ideas in the comments below!

If you’re inspired by what you’ve seen and want to stay updated on more creative adventures and DIY projects, I invite you to subscribe to my blog! You’ll receive all my latest posts and crafting ideas directly in your mailbox. You can find the subscription form conveniently located on the sidebar and at the top of the page. For details on how I handle your personal information, please refer to my comprehensive privacy policy here.