
Transforming a Blue Room: A DIY Fabric Banner & Upcycling Guide
Hello, fellow DIY enthusiasts and home decorators! I hope you’re all having a fantastic day and that your week is off to a wonderful start. Today, I’m thrilled to share an exciting update on my ongoing mission to complete my daughter’s serene blue room. We’re truly in the home stretch now, adding those essential details that bring a space to life and, most importantly, banishing any lingering traces of “nasty pink” from its previous incarnation! This project is all about infusing personality and charm through thoughtful, handmade touches, and it perfectly embodies my passion for repurposing materials.
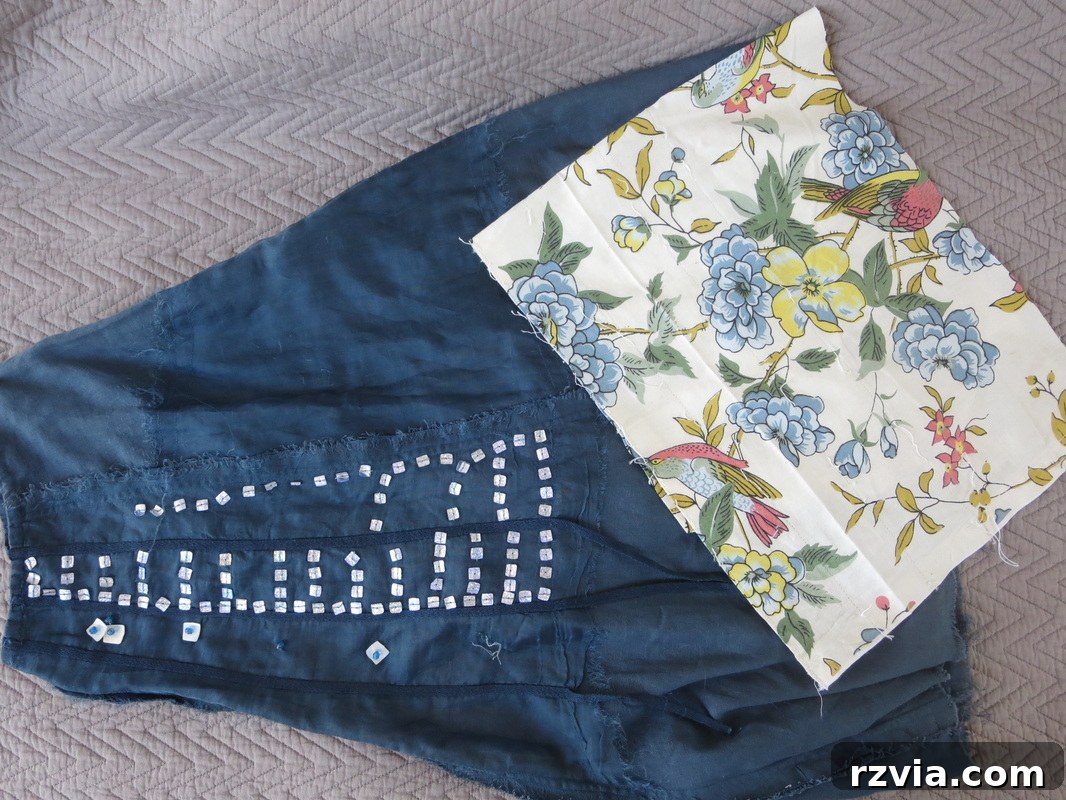
As I surveyed the nearly finished room, one wall stood out. It felt a little bare, lacking that special something to make it truly sing. Coincidentally, I had these gorgeous fabric swatches on hand – a delightful mix of patterns and textures that seemed destined for a creative reincarnation. The pièce de résistance among them was a beautiful dark blue linen fabric, originally part of a skirt that, despite its potential, never quite found its moment in the wardrobe. A lightbulb went off: why not transform these forgotten fabrics into a charming, custom-made banner for that empty blue wall? This idea not only promised to fill the visual void but also offered a wonderful opportunity to integrate sustainable decor into the room’s design. This DIY fabric banner project is a testament to how small, thoughtful details can make a huge impact on a room’s overall feel, making it cozy, inviting, and uniquely yours.
The Art of Repurposing: From Fabric Scraps to Stunning Decor
If there’s one thing many of you know about me, it’s my unwavering love for reusing and reimagining items I already have at home. This project was, naturally, no exception. Repurposing isn’t just a hobby for me; it’s a philosophy that guides my decorating choices, allowing me to create unique, character-filled pieces while also embracing a more sustainable lifestyle. It’s incredibly satisfying to take something destined for the back of a closet or the recycling bin and give it a vibrant new life, especially when it contributes to a personalized space like my daughter’s room.
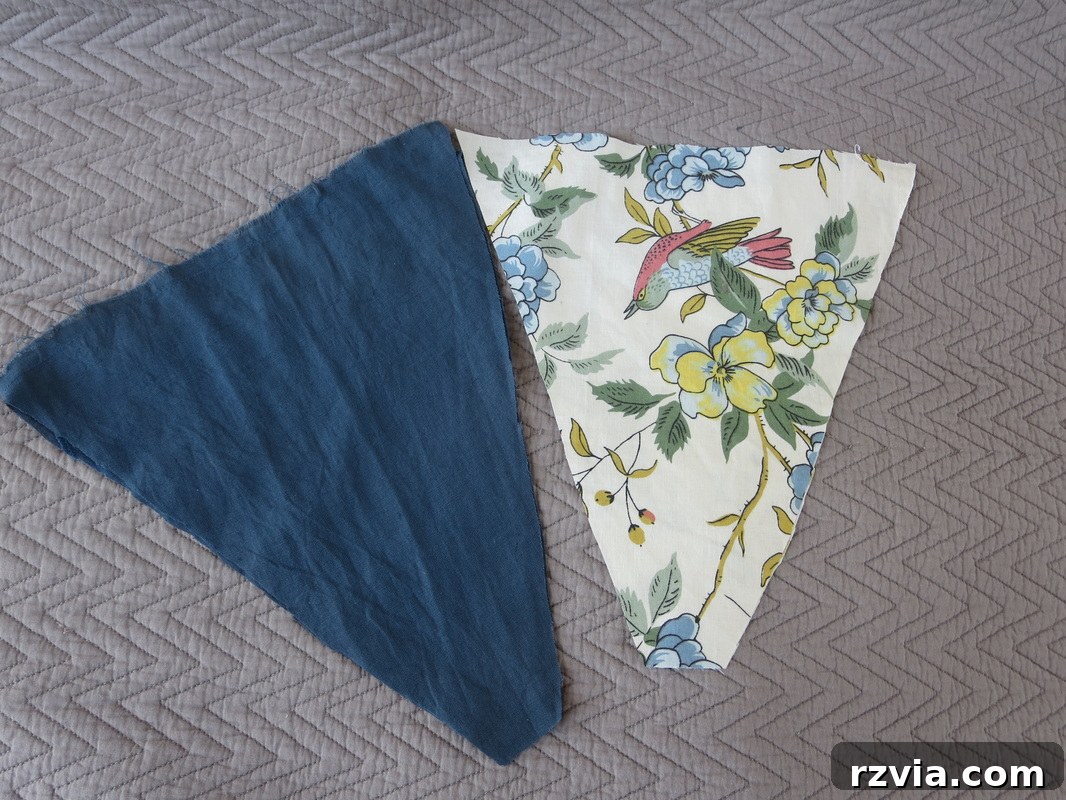
The first step in crafting our beautiful DIY fabric banner involved preparing the fabric. I carefully selected a combination of patterns and solid colors from my collection of swatches and that trusty linen skirt. To achieve the classic banner look, I decided to cut them into uniform triangles. For precision, I recommend creating a cardboard template or using a clear ruler and rotary cutter if you have one. Consistent triangle sizes ensure a cohesive and polished final product. The joy of cutting into these fabrics, knowing they were about to be transformed, was palpable. Each snip brought the vision closer to reality, turning simple scraps into building blocks for a charming decorative piece.
Sewing Your Banner Triangles: A Step-by-Step Guide
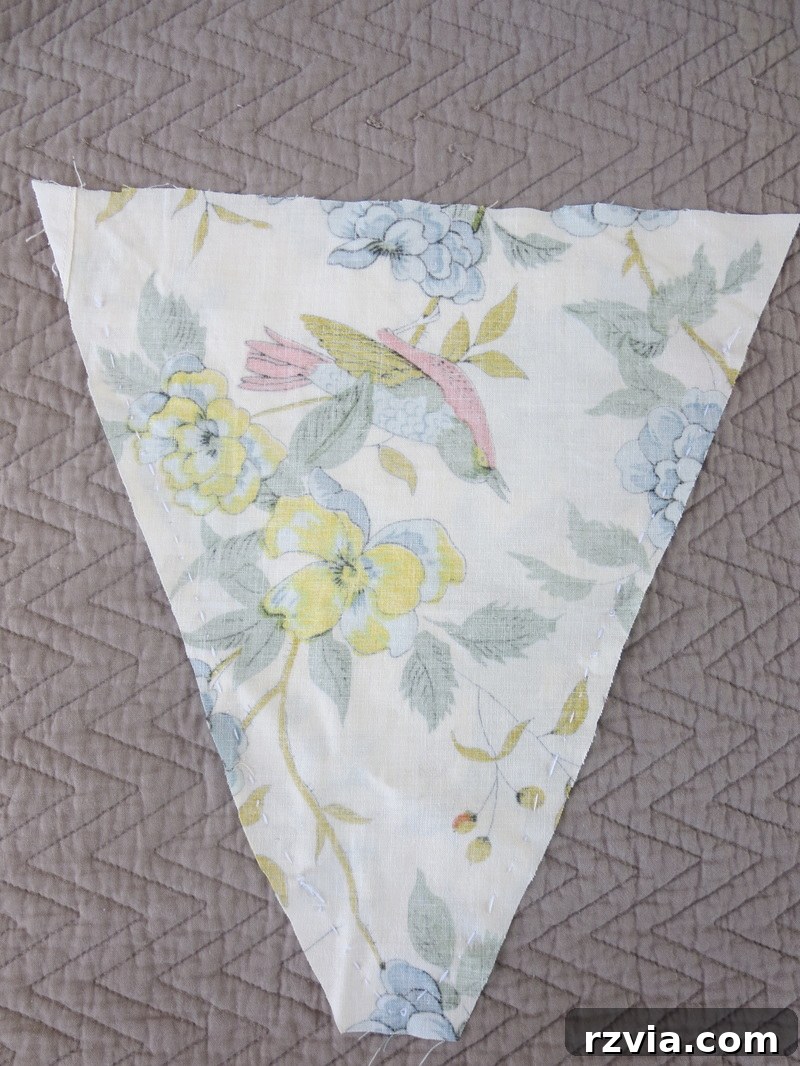
Once all my fabric triangles were neatly cut, it was time to bring them together. I flipped each triangle over, right sides facing each other, and then carefully sewed the two angled sides. It’s crucial to stop sewing about an inch (or 2.5 cm) from the top edge. This creates a small opening at the peak of the triangle, which will later be used to thread the twine for hanging. This method ensures clean edges and a professional finish, even if you’re a beginner at sewing. The satisfaction of watching these flat pieces of fabric begin to take a three-dimensional shape is one of the most rewarding aspects of this DIY project.
No-Sew Alternative: Crafting Without a Machine
For those who prefer a needle-free approach, or if you simply don’t have access to a sewing machine, don’t fret! You can absolutely achieve the same beautiful results by gluing the fabric pieces together. High-quality fabric glue or a strong adhesive like hot glue can work wonders. Simply apply a thin bead of glue along the edges where you would normally sew, pressing them firmly together. Make sure to leave that crucial unglued section at the top for the twine. Personally, I find immense joy in hand-sewing. It’s a meditative process that connects me directly to the craft. Fun fact: I actually own a sewing machine, but I’m often too “lazy” (or perhaps too eager to get started immediately!) to take it out and set it up. So, most of my sewing projects, including this charming fabric banner, are completed entirely by hand. This just goes to show that you don’t need fancy equipment to create something beautiful and meaningful for your home – just a little creativity and willingness to dive in!
The Magic of Ironing: Shaping Your Banner for Perfection
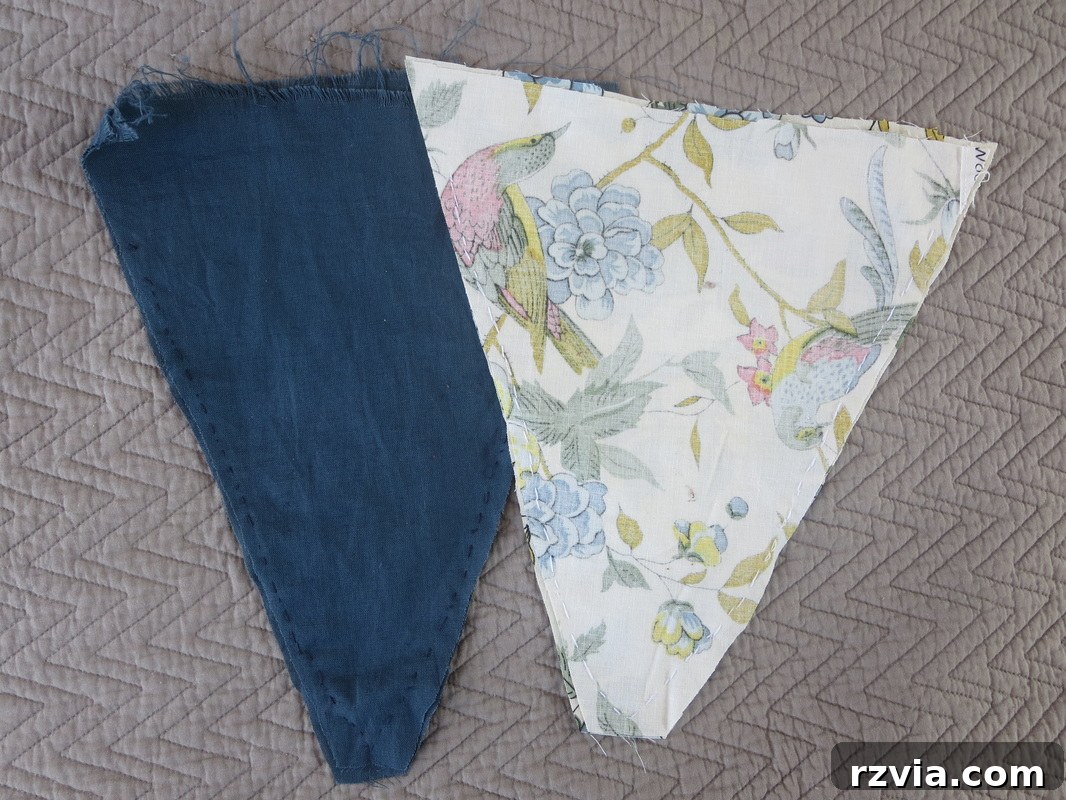
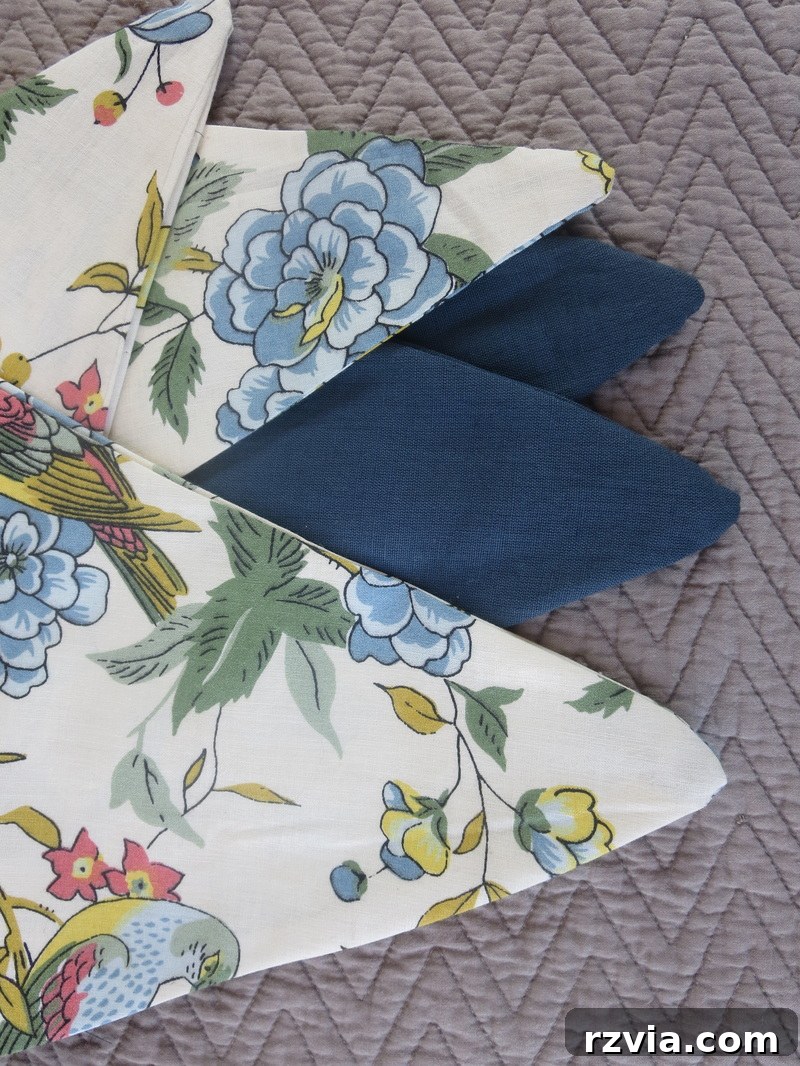
Once the sides are sewn or glued, it’s time for a very important step that often gets overlooked: ironing. This is where the magic truly happens! Flip your triangles right side out. Then, with a warm iron, press each piece carefully. Ironing doesn’t just remove wrinkles; it’s essential for giving the fabric a crisp, stiff quality and helping it hold its perfect triangular shape. This process also allows us to meticulously shape the triangles, hiding any minor imperfections from cutting or sewing. By gently pulling and pressing the fabric, you can ensure each point is sharp and each side is straight, resulting in a much more polished and professional-looking banner. It truly elevates a simple DIY project into a piece of art that looks professionally made. Don’t underestimate the power of a good iron in any fabric craft!
Assembling and Hanging Your Beautiful Fabric Banner
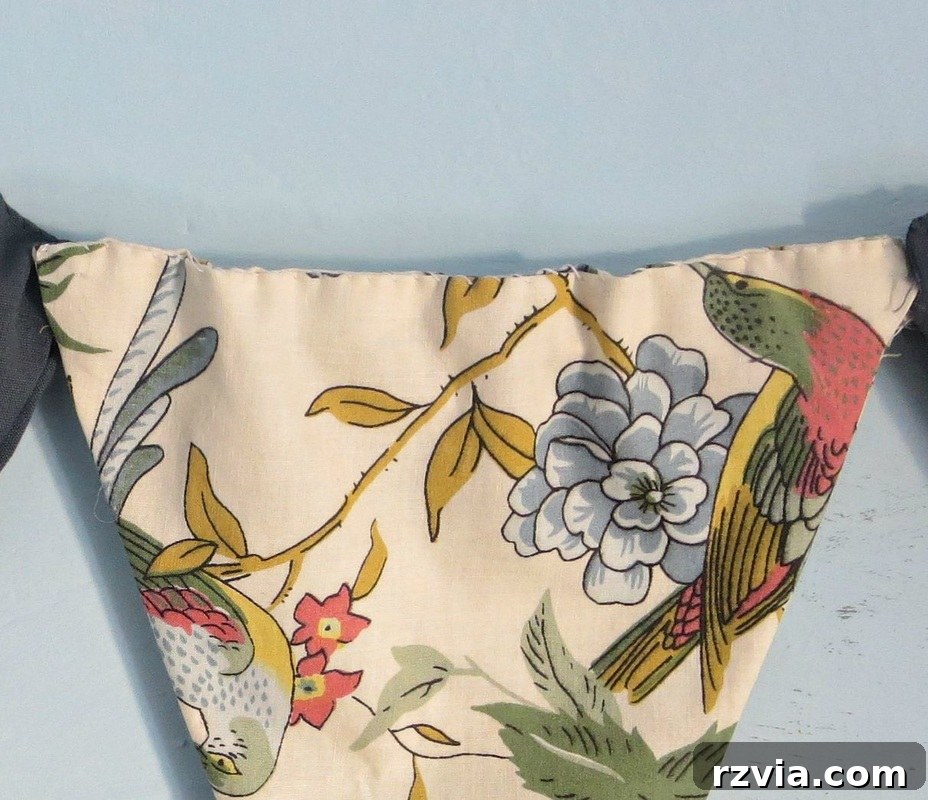
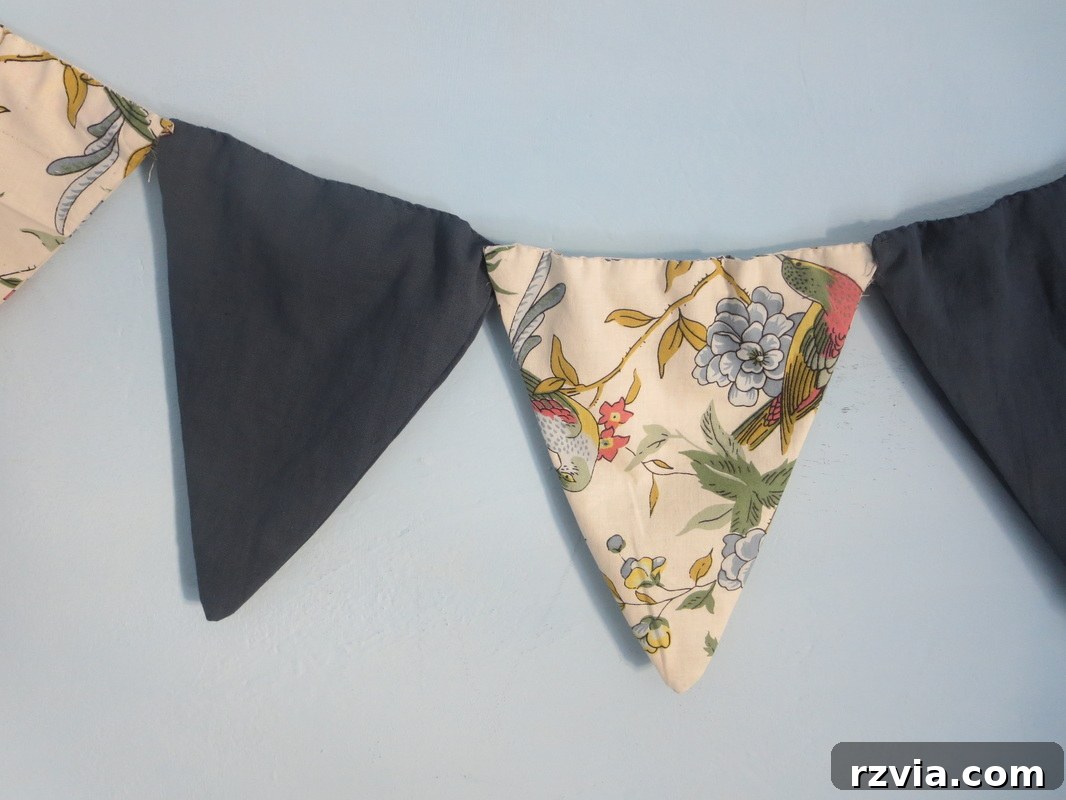
Now, with our perfectly shaped fabric flags ready, it was time to hang them on that once-forlorn wall. For this, I reached for a trusty piece of twine – because, truly, what would a DIY blog post be without some twine?! It’s my go-to for adding a touch of rustic charm and it’s incredibly versatile. I folded the twine in half to create a double strand, which adds a bit more visual weight and durability to the banner. Then, I carefully folded the open top edge of each fabric triangle over the double strand of twine. Using a needle and thread, I sewed the tops closed, securely enclosing the twine within the fabric. If you’re going the no-sew route, a strong fabric glue applied inside the fold would work just as well, ensuring a firm grip on the twine. The choice of twine itself can make a difference; a thicker, natural jute twine offers a rustic feel, while a thinner, colored string might lend a more delicate touch. Consider the overall aesthetic of your room when making your selection.
Cohesive Design: Extending Your Fabric Story
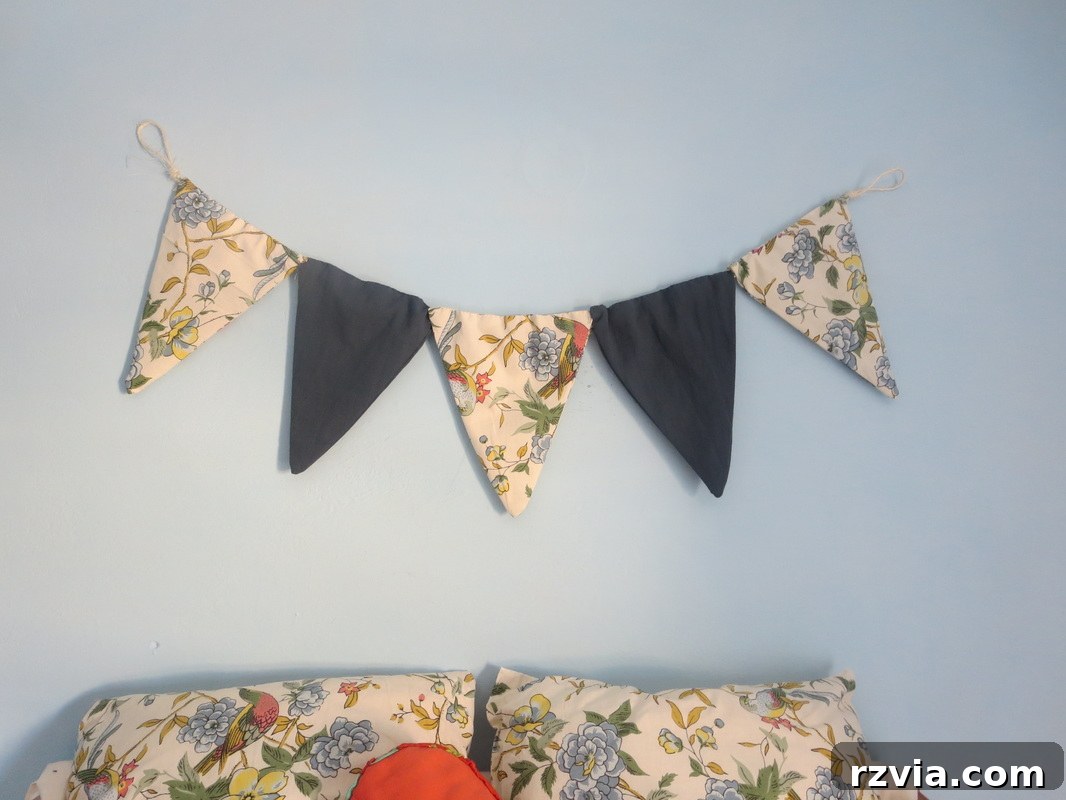
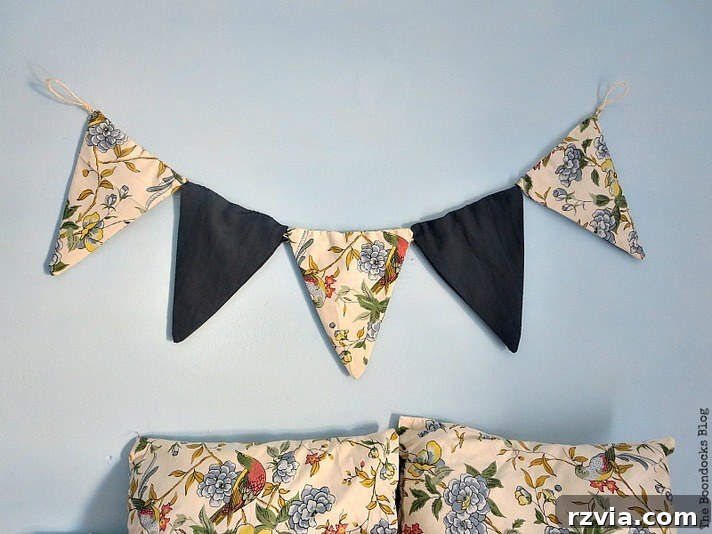
The beauty of repurposing fabric is often the ample material it leaves you with for coordinating projects. Because I had plenty of fabric left over from the banner, I couldn’t resist covering a few throw pillows. This simple step instantly tied the entire room together, creating a cohesive and thoughtfully designed space. Imagine a room where the wall decor, cushion covers, and perhaps even a small fabric-wrapped storage box all echo the same textile story – it’s a wonderful way to achieve a designer look without the hefty price tag. Matching pillows not only enhance the visual harmony but also reinforce the theme of personalized, handcrafted decor, making the room feel even more special and inviting. This strategy of using leftover materials across multiple elements is key to achieving a polished and unified aesthetic in any home decor project.
Embracing Imperfection: The Charm of Handmade Decor
Now, you might notice that the banner isn’t absolutely perfect; it looks a little “scrunched” at the ends. And you know what? I absolutely love it this way! There’s an inherent charm in handmade items that stems from these subtle imperfections. They tell a story of effort, creativity, and the unique touch of the artisan – in this case, me! If a perfectly straight, taut banner is more your style, it’s an easy fix. I have extra twine, so I could easily loosen it, spread the triangles out a bit more, and give the banner a gentler, more expansive curve. But for me, the slight gathering adds character and a cozy, lived-in feel that perfectly suits the informal, inviting atmosphere I’m creating in my daughter’s blue room. It’s a reminder that decorating your home should be about personal expression, not rigid adherence to perfection. Embrace the unique qualities of your handmade crafts; they often make the piece even more special and beloved.
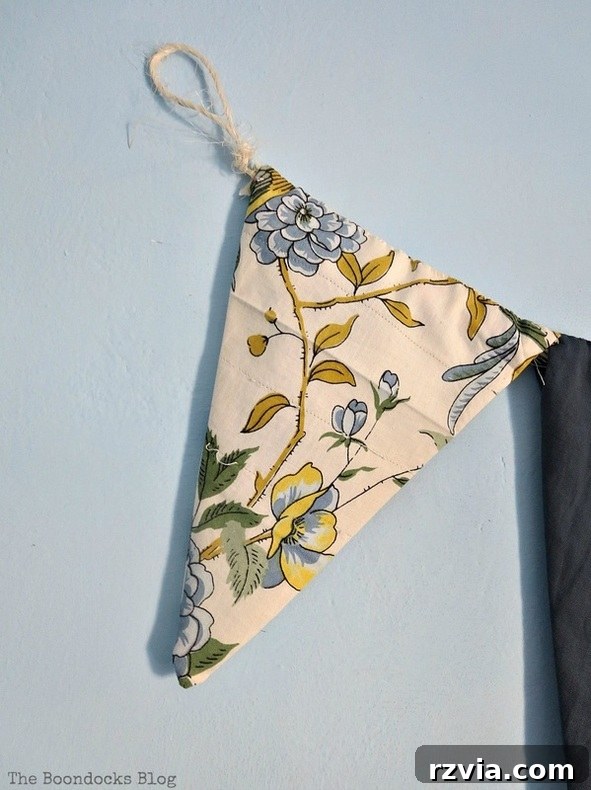
Just a little bit of fabric, thoughtfully chosen and creatively transformed, can make all the difference in a room. It adds warmth, texture, and a touch of handcrafted artistry. This DIY fabric banner proves that you don’t need to spend a fortune to create meaningful and beautiful decor. It’s a simple, cost-effective, and wonderfully personal way to ensure that no wall ever feels lonely again. So, next time you’re looking at an empty space, consider the hidden potential in your fabric scraps!
If you’ve enjoyed seeing this blue room transformation and are inspired by the idea of repurposing materials, please consider sharing this post with your friends or saving it on Pinterest for future reference. The image below is perfectly optimized for pinning!
For more creative DIY adventures, home decor inspiration, and upcycling tips delivered straight to your inbox twice a week, I invite you to subscribe to my blog. You’ll find the subscription form conveniently located on the sidebar. Rest assured, your email address is safe with me and will never be shared with any third party.
Related DIY Inspiration:
This blog is intended for entertainment purposes only; my DIY tutorials and advice are not professional guidance. Please read my full disclaimer here.
I truly appreciate your comments and will do my best to reply to them or visit your blog in return. Please refrain from adding a hyperlink to your comment, as it may prevent it from being published. Thank you for being a part of our creative community!