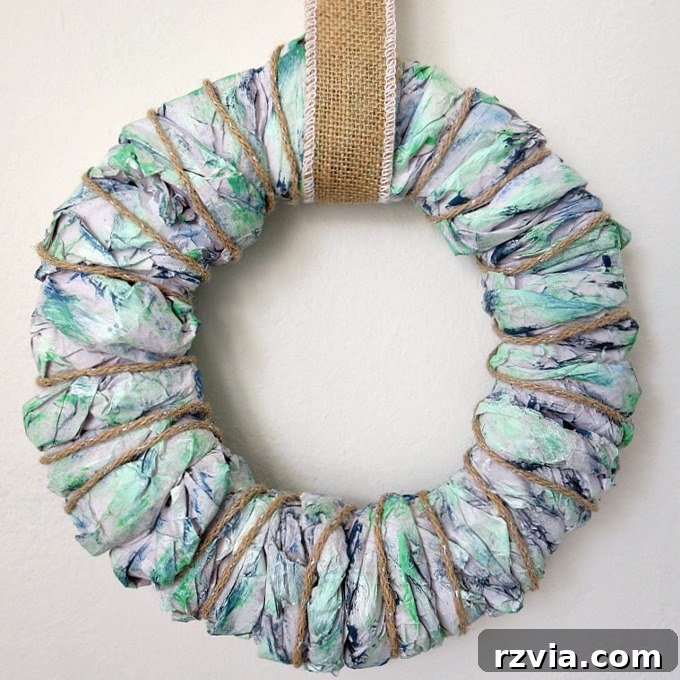
In an age where sustainability meets creativity, the art of upcycling has never been more relevant or rewarding. I recently discovered a delightful way to transform what often ends up in the recycling bin into a beautiful piece of home decor: a vibrant DIY wreath crafted from colorful packing paper. This project isn’t just a simple craft; it’s an opportunity to breathe new life into everyday materials like wrapping paper, packing paper, or even classic Kraft paper, turning them into something truly unique and eye-catching.
While my passion often leads me to paint furniture and explore various renovation projects – a journey I frequently share with you – I also dedicate time to seeking inspiration from the incredible talent within the blogging community. It was during one of these inspiring online expeditions that I stumbled upon Tanya’s blog, Twelve O Eight, and her stunning farmhouse wreath made from Kraft paper. Her creation instantly captivated me, not just with its rustic charm but with its ingenious use of simple materials. I was so profoundly impressed that I felt compelled to embark on my own version, eager to infuse it with a touch of personal flair and a splash of color. This project offered a fresh perspective on repurposing, moving beyond traditional crafting to embrace a more sustainable and visually appealing approach to home decoration.
Embracing the Art of Upcycling: My Colorful DIY Wreath Journey
My inspiration for this particular DIY wreath stemmed from a deep desire to reduce waste and find beauty in the overlooked. Like many crafters and DIY enthusiasts, I’ve accumulated a fair share of packing paper from various online purchases. Instead of discarding these perfectly good sheets, I saw an opportunity to transform them. This project became a celebration of resourcefulness, turning humble packing paper into a vibrant, textural statement piece for my home. The idea of an “easy DIY wreath” truly resonated, especially when combined with the satisfaction of upcycling.
Materials Needed for Your Upcycled Paper Wreath
Disclosure: This post contains affiliate links for your shopping convenience. If you purchase any of these products through the links, we receive a small commission at no extra charge to you. You can find our full disclosure here.
- Cardboard: Essential for creating the sturdy base of your wreath. Look for thick, rigid cardboard from old boxes – a fantastic way to further your upcycling efforts!
- Plates to use as templates: Any two circular objects of different sizes will work perfectly for outlining your wreath shape.
- Sharp Scissors: A good pair of scissors is crucial for clean cuts, especially when working with cardboard and paper.
- Lots of Packing Paper: This is the star of our show! Gather various shades if you desire a multi-toned wreath, or stick to natural tones for a classic look. The more you have, the fuller your wreath will be.
- Acrylic Paints: Choose colors that complement your home decor. Acrylics are versatile and offer great coverage on paper.
- Farmhouse Wax: Optional, but highly recommended for adding a beautiful, subtle sheen and enhancing the aged, rustic feel of your painted paper.
- Twine: Adds a touch of natural texture and can be used for decorative wrapping or hanging.
- Burlap Ribbon: Perfect for creating a strong and aesthetically pleasing hanger for your finished wreath, aligning with a natural or farmhouse aesthetic.
How to Craft Your Own Easy DIY Packing Paper Wreath: A Step-by-Step Guide
My approach to DIY projects often emphasizes frugality and resourcefulness. Why purchase a Styrofoam wreath form when a perfectly good, sturdy alternative can be found right in your recycling bin? For this project, I opted to create my own wreath base using cardboard. I simply used two different-sized plates as templates to trace concentric circles onto a piece of cardboard, then carefully cut out the “donut” shape. This not only saved money but also gave me complete control over the size and thickness of my wreath, demonstrating that an “easy DIY wreath” doesn’t have to compromise on quality or customization.
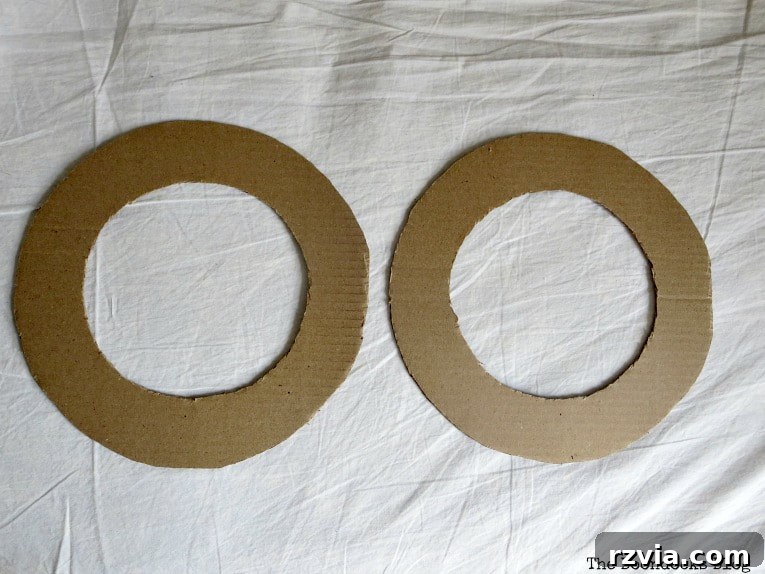
The primary motivation for this project, beyond its inherent beauty, was a recent decluttering spree in my home. During this process, I rediscovered an abundance of packing paper – the kind that cushions items during shipping – all leftover from countless online purchases. For those who know me, you’ll understand that I’m not one to simply discard useful materials. This trove of paper presented the perfect opportunity for an “easy DIY wreath” project, allowing me to transform what would otherwise be considered waste into a decorative triumph. It’s incredibly satisfying to give these materials a second life, contributing to a more sustainable lifestyle while creating something beautiful.

With the cardboard base ready and my stash of packing paper at hand, the next step involved preparing the paper. I began by cutting the larger sheets of packing paper into manageable long strips. The key to creating the wreath’s unique texture and fullness lies in how these strips are treated. Each long strip was then meticulously twisted, much like wringing out a cloth, to create a rope-like consistency. This twisting not only adds a beautiful, organic texture but also makes the paper more pliable and easier to work with, ensuring a rich and dimensional finish for your easy DIY wreath.
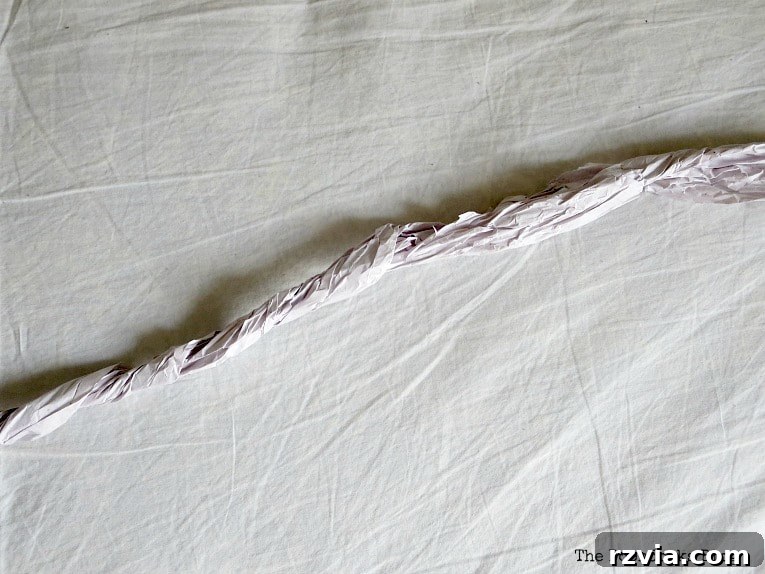
Once you have a good supply of twisted paper strips, the wrapping process begins. Starting at one point on your cardboard wreath shape, securely attach the end of a twisted paper strip. Then, begin wrapping the paper tightly around the cardboard base. As you wrap, continue to twist the paper slightly. This continuous twisting and wrapping action helps to build volume and ensures that the finished wreath looks robust and organic. Overlap each wrap slightly to completely cover the cardboard, creating a seamless and full appearance. This methodical process ensures your “easy DIY wreath” has a professional, finished look.
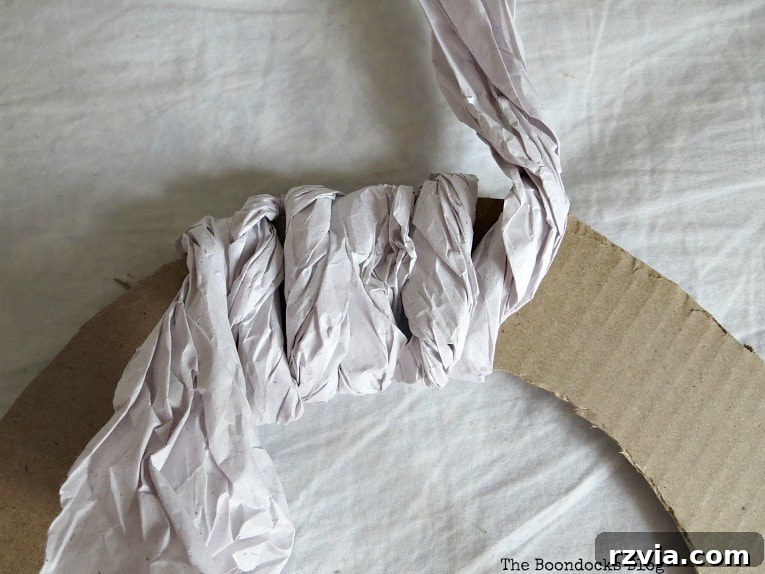
One of the most satisfying aspects of this “easy DIY wreath” project is how beautifully full and substantial it appears once all the paper has been wrapped. Remarkably, I didn’t need any glue to secure the paper! When one twisted strip ran out, I simply inserted the end of the new strip into the end of the previous one and gave them a gentle twist together, creating a continuous flow. For the final end piece, I merely tucked it securely into the wrapped paper, making sure it was hidden. This method not only simplifies the process but also allows for a cleaner finish and makes adjustments easier. The natural friction and tension of the twisted paper hold everything firmly in place.
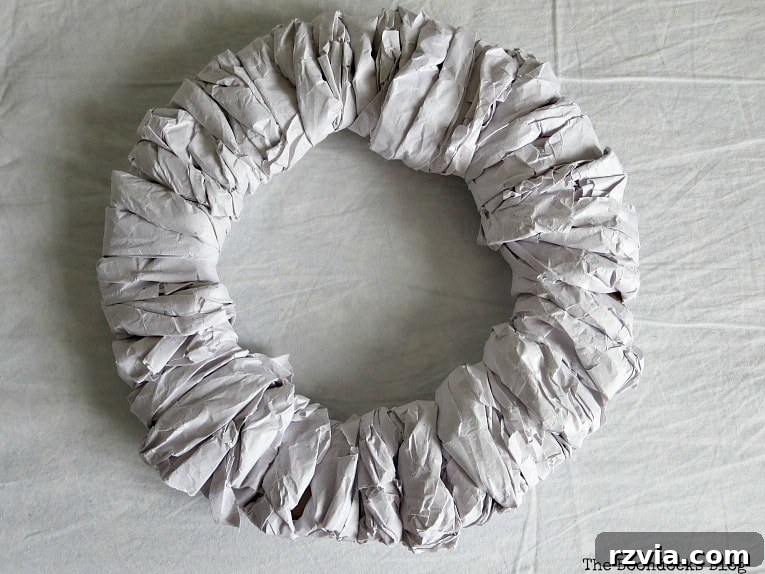
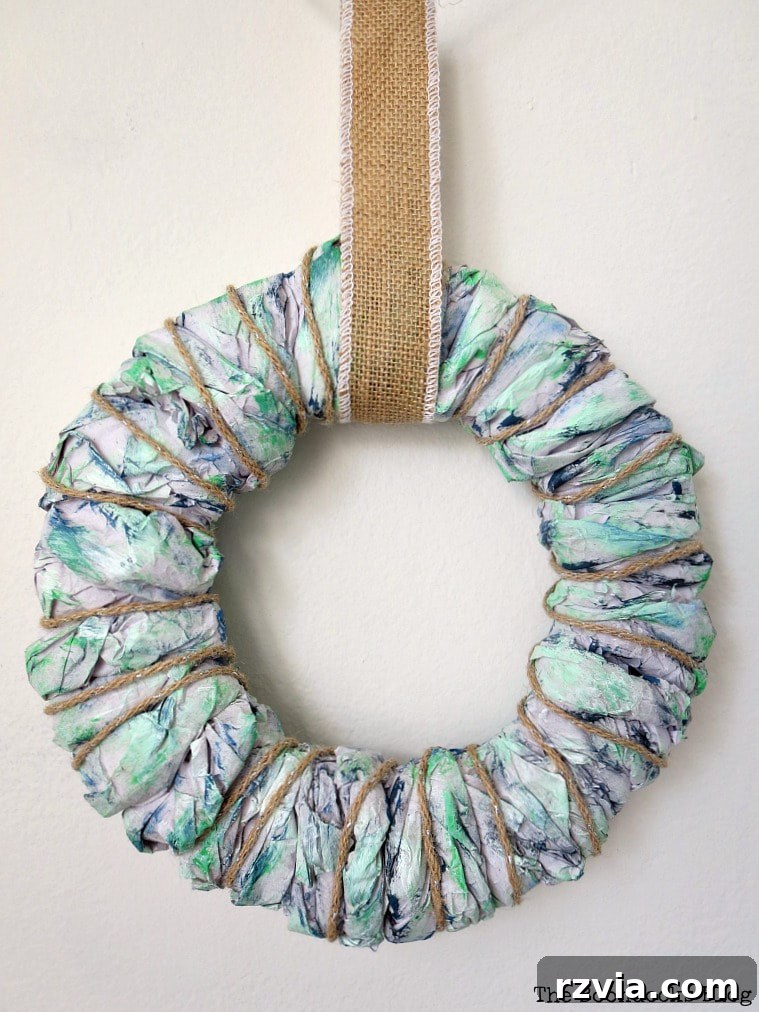
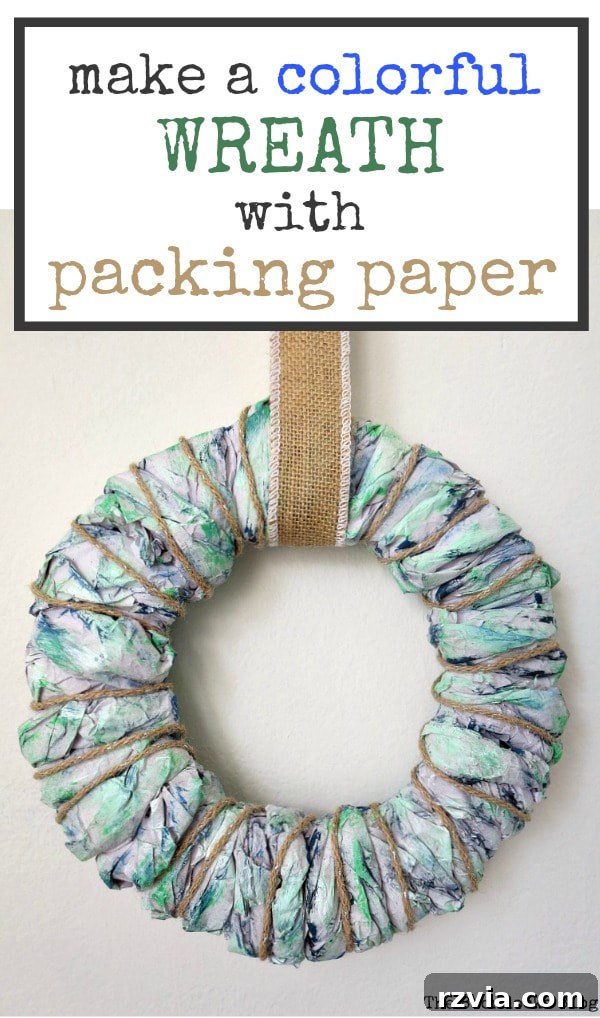
While you could certainly create an “easy DIY wreath” with natural Kraft paper for a classic farmhouse aesthetic – a look that inspired me initially – I envisioned something distinctly different for my space. I wanted to infuse my home with a touch of fresh color, so the next step involved adding paint to my wrapped wreath. This personalization is where your creativity truly shines. I decided on a vibrant green as my base, carefully applying it to the textured paper. This initial layer instantly began to transform the wreath from a rustic base into a lively decor piece.
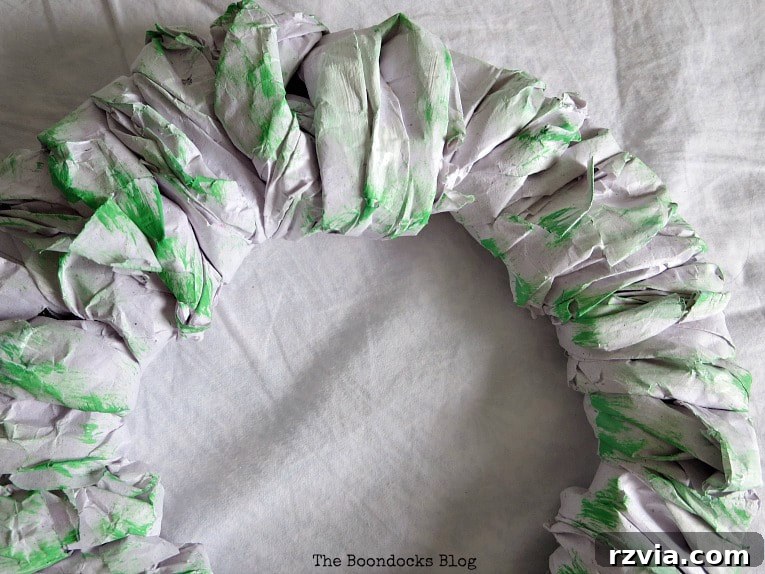
To achieve a more nuanced and organic look, I wasn’t content with just a single shade of green. I then mixed some of my green paint with a hint of black to create a deeper, more sophisticated forest green, applying this in strategic areas to add depth. Following that, I introduced a soft, ethereal blue, blending it subtly with the greens to create beautiful transitions and highlights. The final touch for this colorful easy DIY wreath was a light application of Farmhouse White Wax. This wax isn’t just for shine; it subtly mutes the colors, adding a vintage, slightly distressed finish that truly elevates the overall aesthetic, making it feel more refined and cohesive. Of course, the beauty of this project is its adaptability: you can paint yours any color imaginable. For my home, I yearned for a touch of green, and this proved to be an incredibly simple and effective way to incorporate it, perfectly aligning with my vision for a personalized and inviting space.
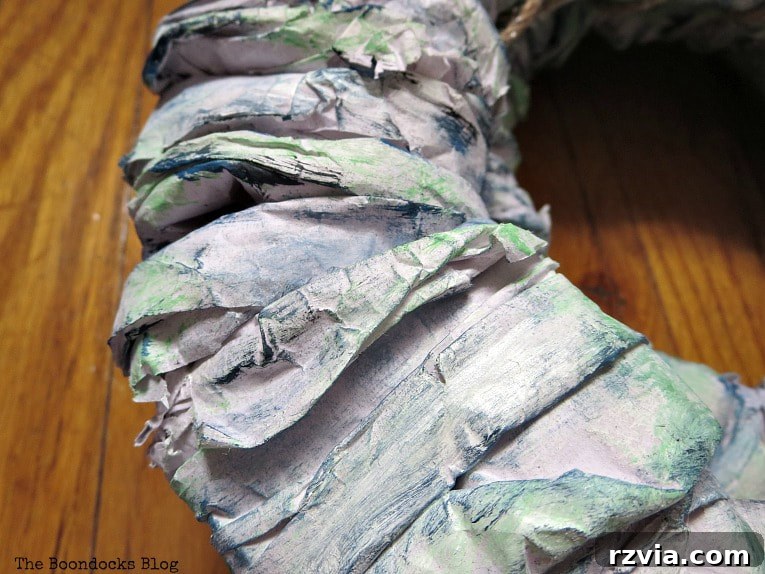
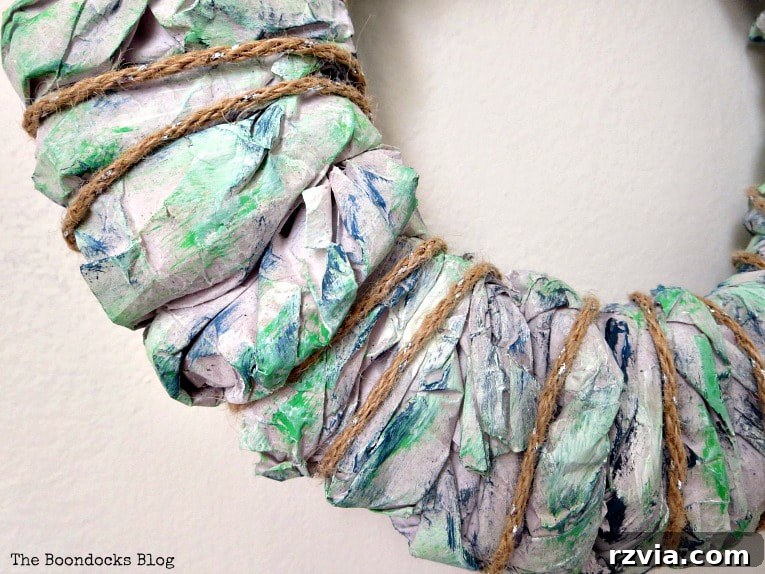
Once the painted paper had completely dried, ensuring the colors were set and the wax had cured, I moved on to adding another layer of texture and charm. I carefully wrapped some delicate twine around the wreath. This step is purely decorative but immensely effective in enhancing the rustic, handmade appeal of the “easy DIY wreath.” The twine provides a lovely contrast to the painted paper, adding a natural, earthy element that ties the whole design together beautifully. You can wrap it as sparsely or as densely as you prefer, depending on the look you’re aiming for.
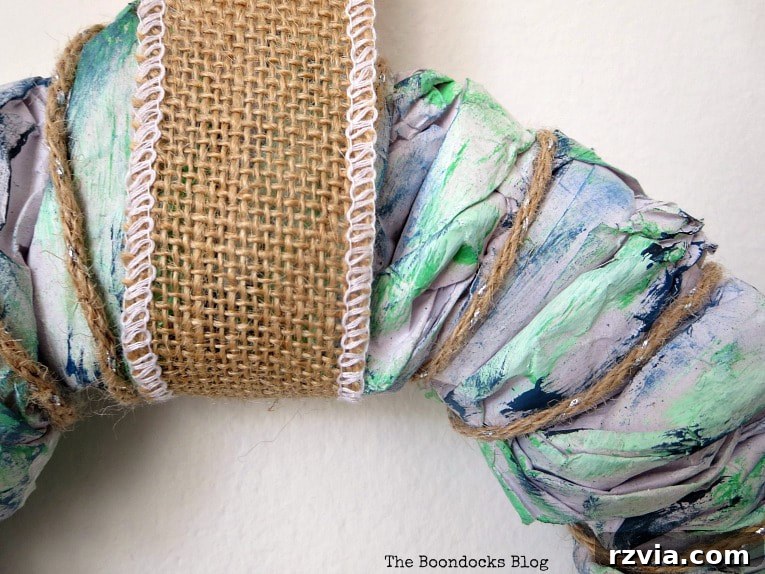
To complete my easy DIY wreath, the final functional, yet decorative, touch was adding the hanger. I opted for a sturdy piece of burlap ribbon, which perfectly complements the natural textures of the paper and twine. I simply tied a loop of burlap ribbon securely at the top of the wreath, ensuring it was strong enough to support its weight. The burlap not only serves its purpose as a hanger but also contributes to the overall rustic charm and farmhouse-inspired aesthetic, making the wreath ready for display.
With my beautiful, handcrafted wreath complete, the next enjoyable step was finding its perfect home. After a little consideration, I discovered an ideal spot to hang my easy DIY wreath, where its vibrant colors and unique texture could truly shine and complement the surrounding decor. The satisfaction of seeing a project come to life and find its place within your living space is unparalleled.
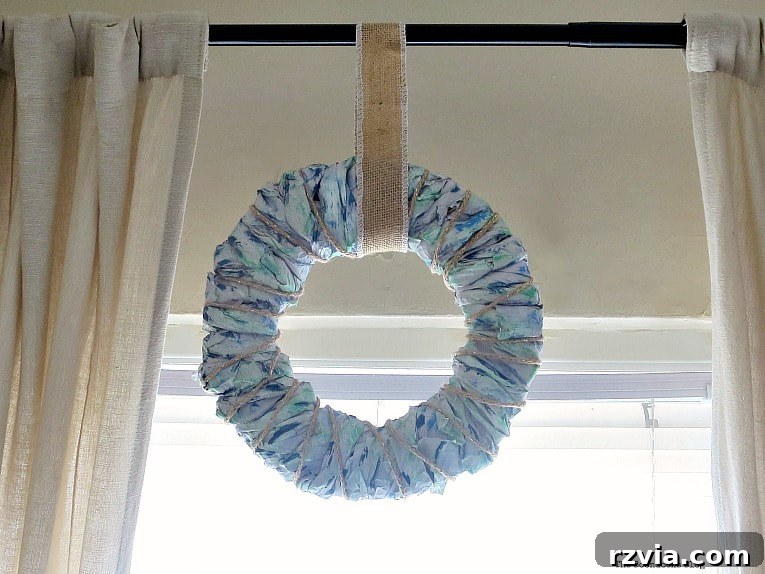
Inspired by the success of the first two, I decided to craft a pair of these delightful wreaths. They now hang proudly in their designated spots in the living room, adding a harmonious touch of color and texture to the space. The visual balance is pleasing, but it led me to ponder: should I perhaps create a third one to place in the center, completing a trio? It’s a fun dilemma, and I’d love to hear your thoughts! What do you think would enhance the arrangement most?
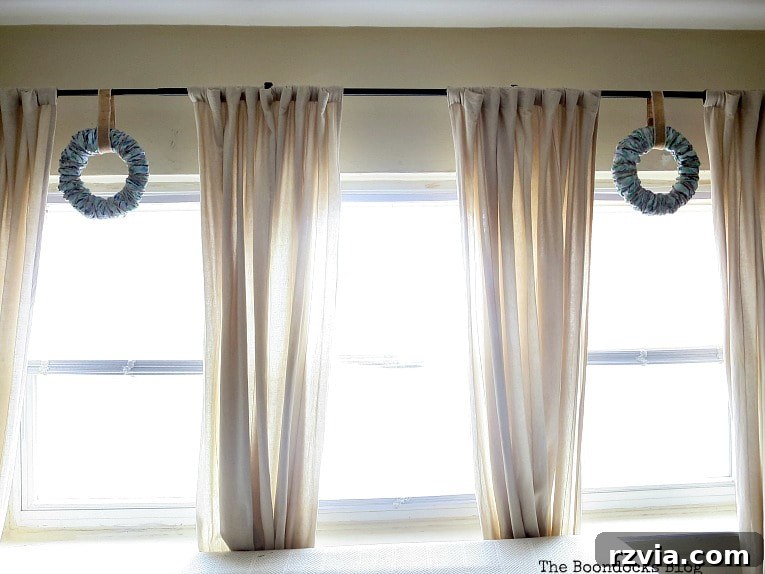
The prospect of adding a third wreath is exciting, especially since I’ve already accumulated more than enough packing paper to bring another one to life! This continuous supply of materials makes such upcycling projects incredibly appealing and sustainable. It’s a testament to how readily available and versatile these everyday items can be when viewed through a creative lens.
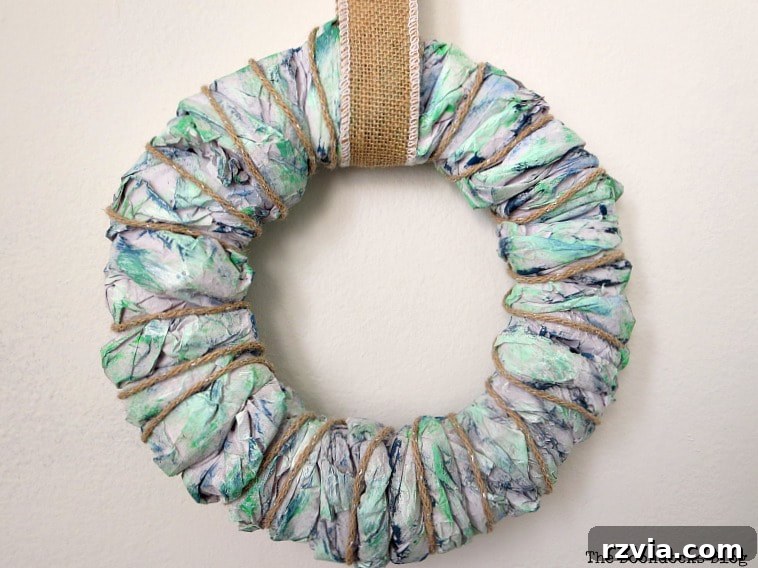
I had been diligently collecting and saving all that packing paper for quite some time, patiently waiting for the perfect project to present itself. This “easy DIY wreath” proved to be exactly that. It’s a wonderful reminder that you don’t always need to throw things out; often, a little imagination is all it takes to transform them into something truly valuable and decorative. While I certainly don’t want to encourage the inner hoarder in anyone, in this instance, my tendency to save paid off beautifully! The end result was not just a craft project, but a genuine enhancement to my home decor, proving that sustainable living can also be stylish.
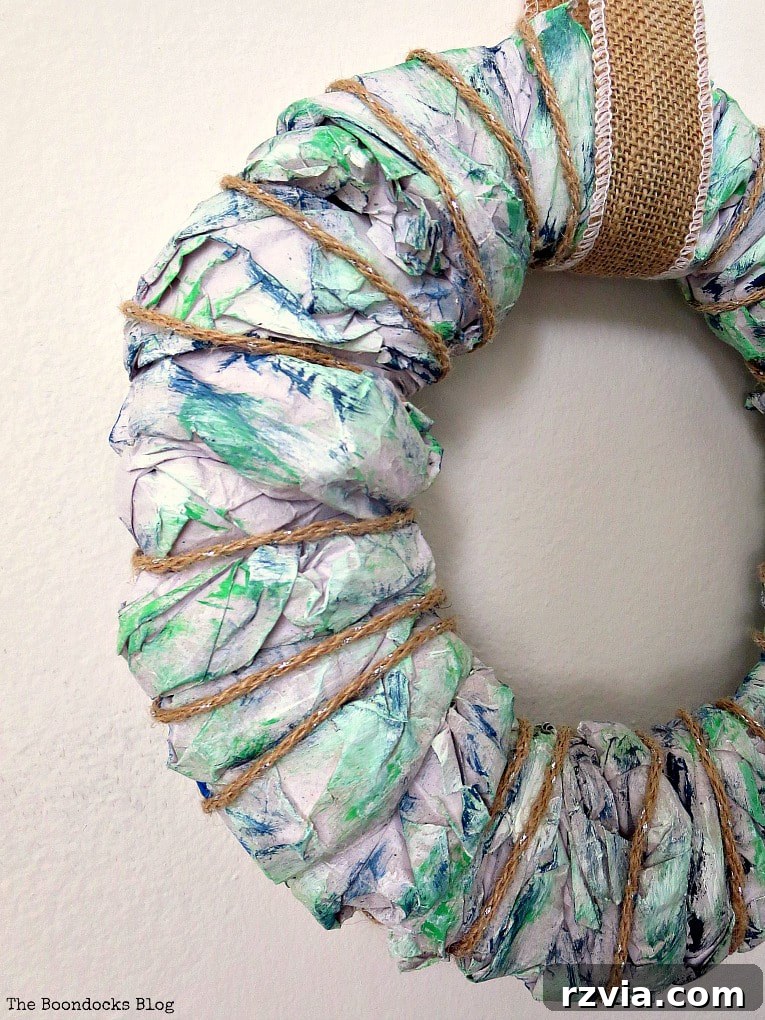
In conclusion, creating this colorful easy DIY wreath from packing paper was a joy from start to finish. It’s a project that combines creativity, sustainability, and personal expression into one delightful package. I sincerely hope that this tutorial inspires you to give it a try! It’s a fantastic, low-commitment way to introduce a vibrant splash of color and unique texture into any room in your home. After all, it’s just packing paper, making it an accessible and forgiving medium for anyone looking to experiment with DIY decor. Transform your living space with this simple yet impactful craft, and enjoy the satisfaction of knowing you created something beautiful from materials you already had on hand.

More Easy DIY Wreath Ideas to Inspire Your Creativity: