
Transforming the Doily Top Side Table: A DIY Furniture Makeover Journey
When I first embarked on this blogging adventure, my knowledge of paints and finishes was, to put it mildly, limited. I couldn’t tell chalky style paint from enamel, and the local paint store offered what seemed like the only option for furniture: a stubborn enamel that dried too quickly and ran incessantly. It was a frustrating introduction to the world of DIY, often leading to less-than-perfect results.
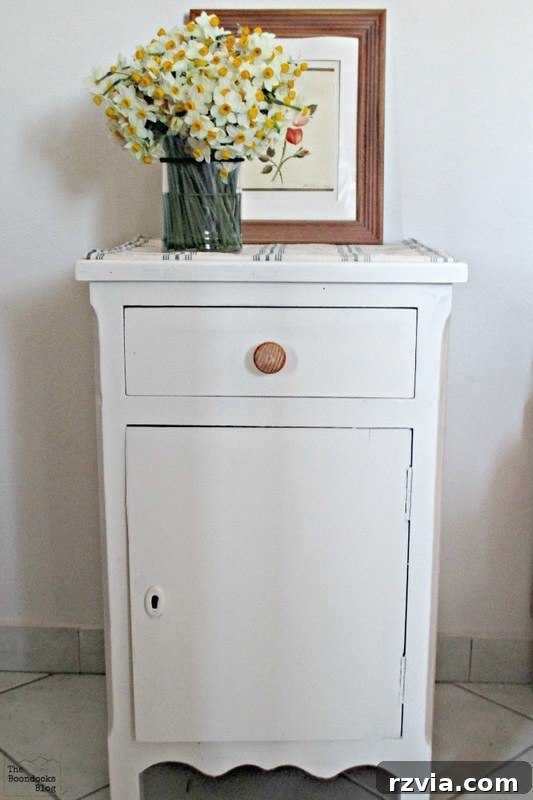
Long-time readers might recall a small table from my early blogging days, featured in a post titled “Spring is in the Air.” That humble piece, once a testament to my beginner struggles, has since undergone a significant transformation. Today, it proudly stands as “the Doily Top Side Table,” a true reflection of how much I’ve learned and evolved in my creative journey.
Disclosure: This post contains affiliate links. While I received product compensation, all opinions expressed are genuinely my own. I only recommend products I genuinely love and believe in.
From Drab to Fab: The Story of a Much-Needed Makeover
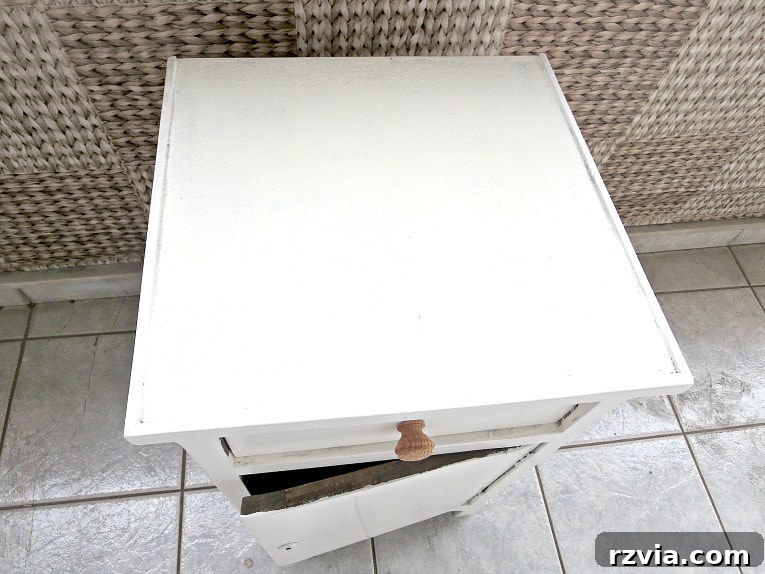
That little side table, despite its initial appearance, was riddled with the very enamel paint I grew to dislike. It was plain, uninspiring, and as exciting as a slice of un-toasted white bread. It desperately cried out for a makeover, a new lease on life that would reflect its hidden potential. The top surface, in particular, was a chaotic mess. Before I even attempted painting it white, it had a piece of fabric glued onto it. My first attempt to hide this fabric with white enamel resulted in a patchy, uneven surface that I eventually covered with yet another piece of fabric, creating layers of DIY attempts gone awry. It was clear this table needed more than just a fresh coat of paint; it needed a complete artistic intervention.
Essential Tools and Materials for Your DIY Doily Table Makeover
Embarking on a furniture transformation project requires the right arsenal of tools and materials. For this particular makeover, focusing on ease of application and a unique finish, I gathered a selection of items that proved invaluable. Here’s a detailed look at what I used, along with why each item was crucial for achieving the “Doily Top Side Table” look:
- DecoArt Americana Chalky Finish Paint in Everlasting: This was my primary paint choice. Chalk paint is incredibly forgiving, requires minimal prep, and offers a beautiful matte finish that’s perfect for distressing. The “Everlasting” shade provided a clean, crisp base that allowed the subsequent details to truly pop. Its quick-drying nature also meant less waiting time between coats, making the project move along smoothly.
- Sandpaper: Essential for achieving that coveted distressed look. Sandpaper allows you to gently wear away areas of paint, revealing glimpses of the layer beneath, adding character and age to the piece. I used a finer grit for delicate distressing and a slightly coarser one for more prominent areas.
- Brushes: Good quality brushes are key for smooth paint application. I used a flat brush for larger surfaces and a smaller detail brush for the accent colors and Mod Podge application. Clean brushes ensure a streak-free finish and prevent stray bristles from sticking to your project.
- Mod Podge: This water-based sealer, glue, and finish is the star of any decoupage project. It not only adheres the doilies to the tabletop but also provides a protective, clear topcoat, sealing in the design and making it durable.
- Daddy Van’s Beeswax: A natural and effective way to protect painted surfaces, especially those finished with chalk paint. Beeswax provides a soft, durable finish that enhances the paint’s texture and offers a lovely sheen without being overly glossy. It’s easy to apply and buff, giving a professional-looking seal.
- Paper Doilies: The creative heart of this project! Simple, inexpensive paper doilies can be transformed into intricate, elegant patterns when decoupaged. They bring a touch of vintage charm and delicate texture, perfect for the “doily top” effect.
With these materials at hand, I was ready to transform a neglected piece into a charming accent table, proving that even a beginner can achieve stunning results with the right approach.
The Step-by-Step DIY Doily Top Side Table Makeover
This makeover was all about embracing imperfections and finding beauty in the unexpected. Here’s a detailed breakdown of how I transformed my side table:
Step 1: Embracing Texture with Chalk Paint
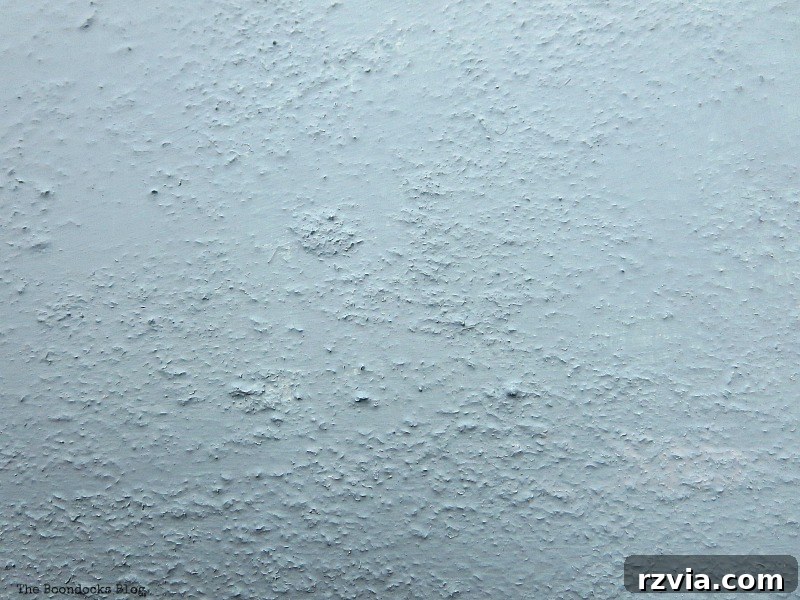
The top of the table was a canvas of old paint layers and stubborn glue residue from its previous fabric covering. Instead of spending hours meticulously stripping it down, I decided to leverage the forgiving nature of chalk paint. My chosen weapon: Americana Decor Chalky Finish Paint by DecoArt. Its excellent adhesion meant I could paint right over the existing texture, creating an intriguing, subtly textured base rather than a perfectly smooth surface. Some might call it lazy; I call it a strategic decision to add character without extra effort! Chalk paint is renowned for its minimal prep requirements, making it ideal for projects where you want to skip sanding and priming.
Step 2: Adding Character Through Distressing and Blue Accents
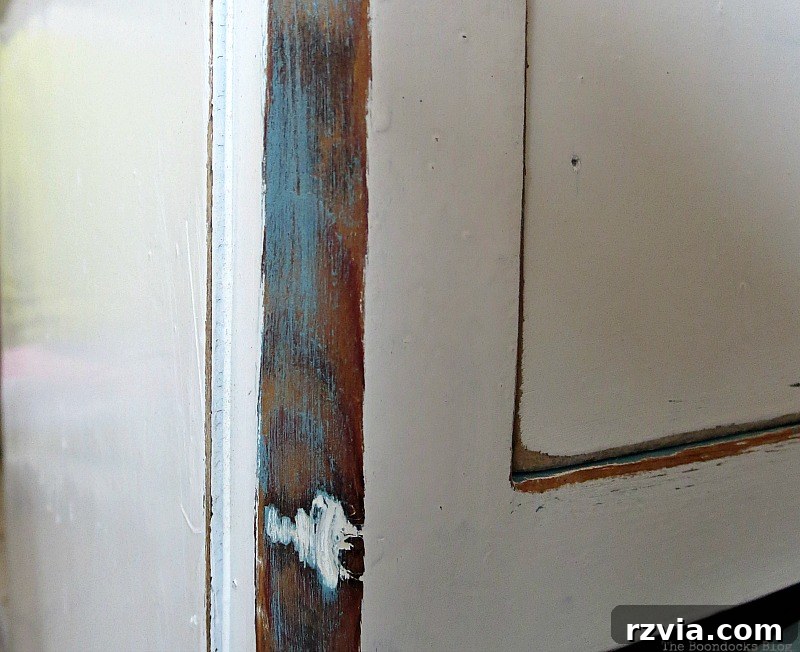
Once the base coat of chalk paint was dry, I moved on to distressing. This technique involves lightly sanding certain areas to reveal the underlying layers or the original wood, giving the piece an aged, well-loved appearance. I focused especially on the sides of the table, highlighting a lovely indentation that offered a natural spot for wear and tear. This not only added depth but also accentuated the table’s unique architectural features.
To introduce an element of visual interest and break up the white, I decided to incorporate a touch of blue. I painted specific areas with a vibrant blue hue, carefully selecting spots that would complement the distressed white rather than overpower it. This small detail added a fresh, cheerful contrast that brought the table to life, making it feel more bespoke and thoughtfully designed. The blue was applied subtly, ensuring it enhanced the overall aesthetic without being too bold or distracting.
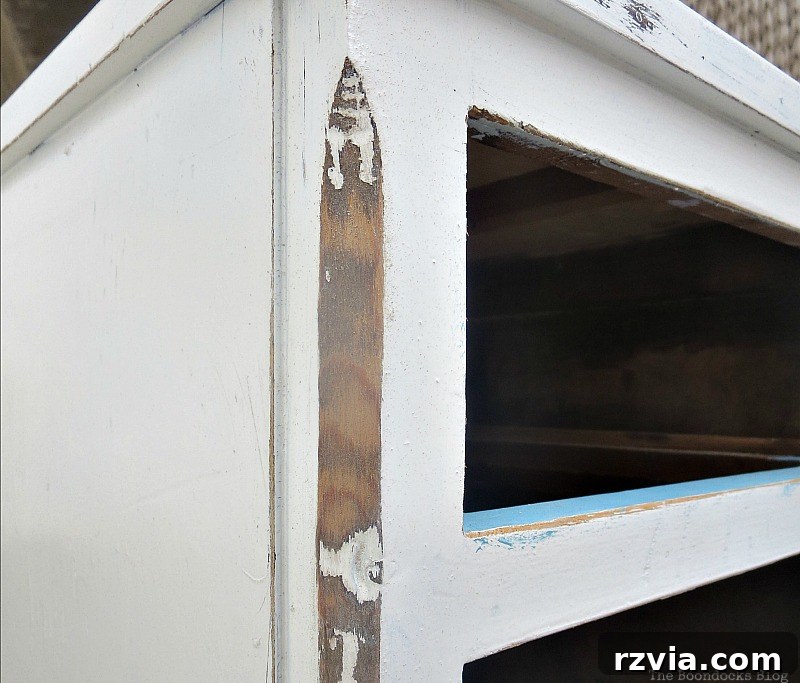
To further enhance the table’s personality, I extended the blue accent to another subtle area, ensuring a cohesive yet dynamic look. This strategic application of color helped define the table’s lines and add an unexpected pop of brightness.
Step 3: Finding Inspiration and Pivoting Projects
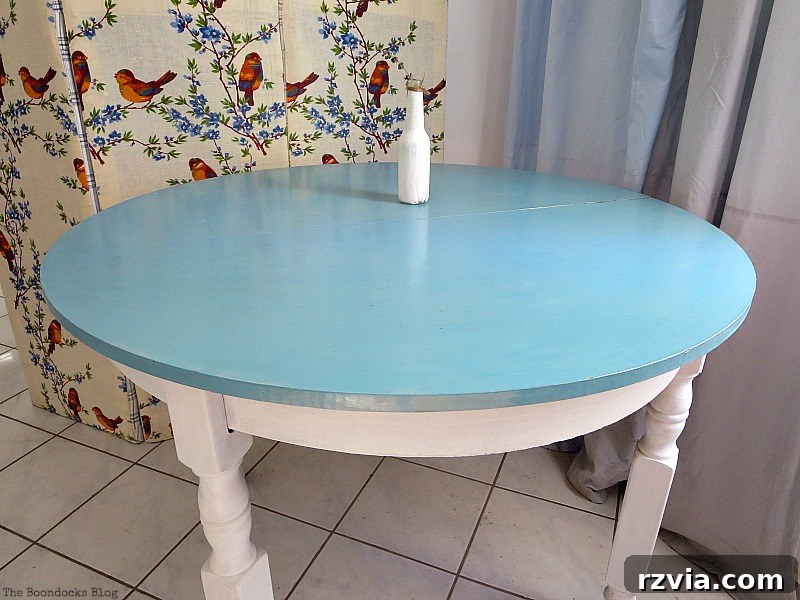
Originally, I had plans to add a decorative element to my Greek beach table. However, as often happens in DIY, projects evolve. I ultimately decided to keep the beach table design simpler, opting for a protective coat of varnish to let its natural beauty shine through. This freed up the decoupage idea for another piece, and the side table became the perfect candidate.
My initial inspiration for the doily decoupage technique came from the incredibly talented Capitulo dos Vintage. Her work is truly amazing, featuring countless incredible projects that ignite creative sparks. While my version is a humble interpretation of her artistry, it captures the essence of using simple materials to create something beautiful and unique. It’s a wonderful example of how you can draw inspiration from others and adapt it to your own style and available resources.
Step 4: Crafting with Paper Doilies
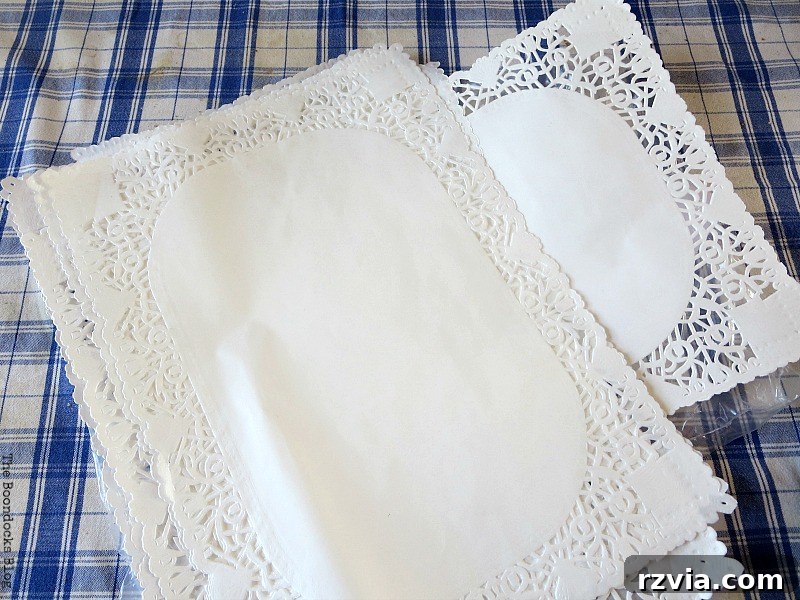
For the central design element, I chose simple paper doilies. I purchased a pack of ten from the supermarket, proving that stunning decor doesn’t require expensive materials. These delicate paper creations, often overlooked, became the foundation for a unique tabletop design. I carefully cut them into various shapes and sizes, preparing them for the decoupage process. The idea was to create a mosaic-like pattern that was both intricate and whimsical, transforming the plain tabletop into a focal point.
Step 5: Decoupaging the Doily Design
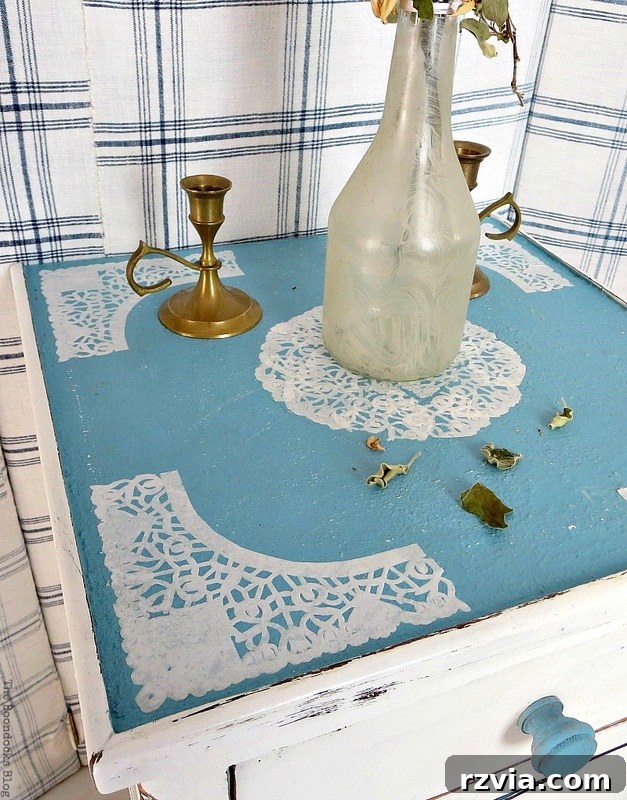
With my doilies ready, it was time for the decoupage. Using Mod Podge, I meticulously adhered the pieces to the tabletop. The process involves applying a thin layer of Mod Podge to the surface, carefully placing a doily piece, and then brushing another layer over the top to seal it. This creates a smooth, durable finish that protects the paper while integrating it seamlessly into the table’s surface.
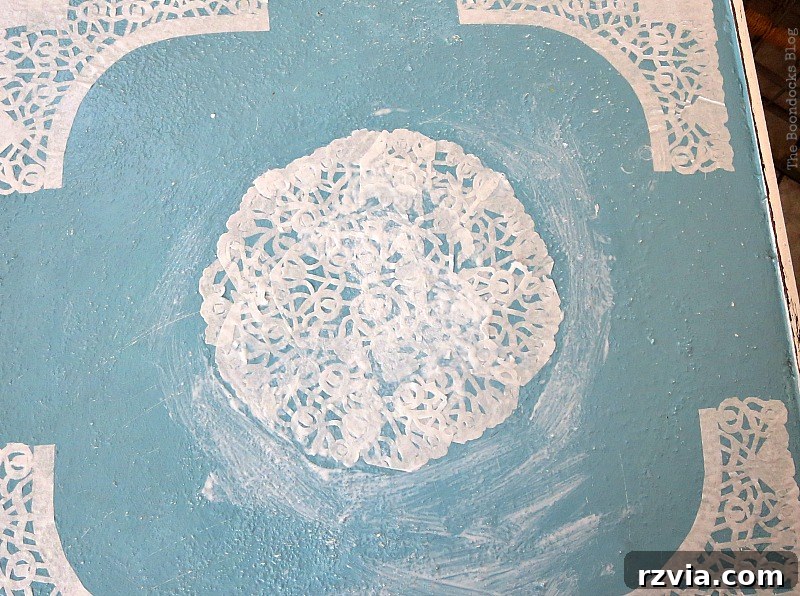
To define the central design, I traced a circle with a pencil. This simple guideline helped me keep the doily mosaic contained and symmetrical. Within this circle, I arranged random pieces of the paper doily, overlapping them slightly to create a rich, layered effect. The beauty of decoupage is in its flexibility; you can be as precise or as free-form as you like, and the end result always has a unique charm. The randomness of the doily pieces added to the organic, handcrafted feel of the table.
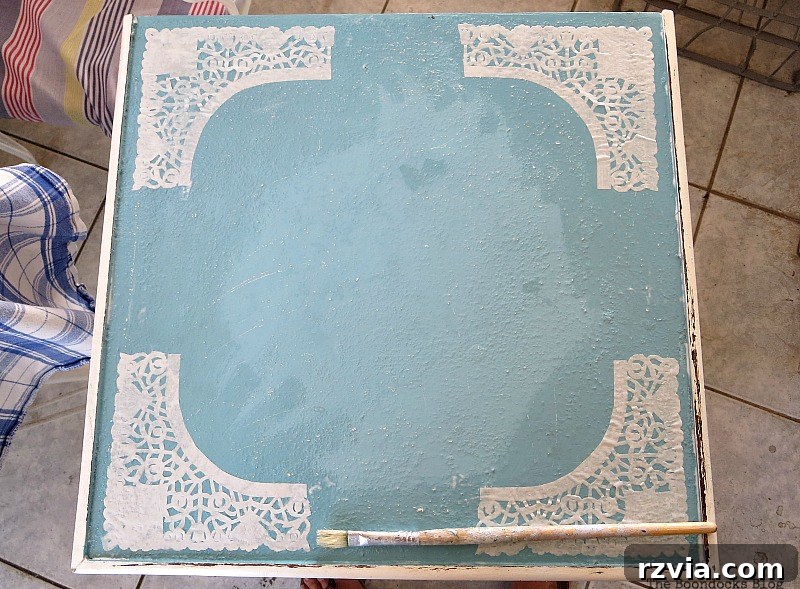
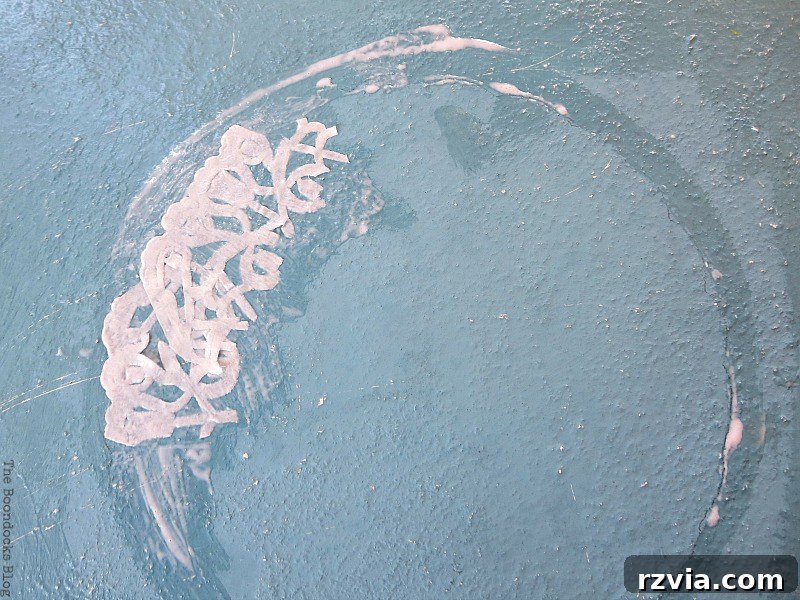
At this stage, the Mod Podge looked quite visible, appearing milky and wet over the doilies. Many first-time decoupagers worry about this, but rest assured, Mod Podge dries completely clear, leaving a beautiful, subtle sheen that highlights the texture of the paper. Patience is key during the drying process, ensuring a smooth and permanent bond.
Step 6: Final Touches and Protection
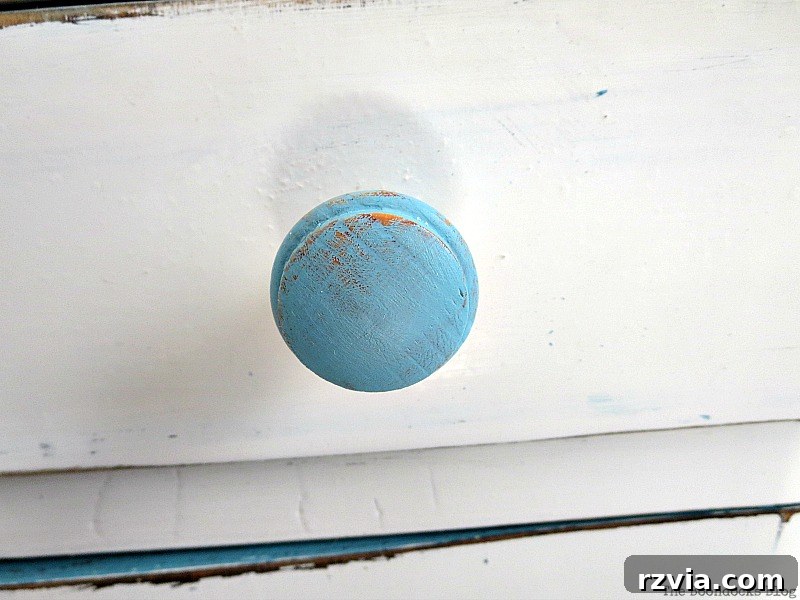
To complete the transformation, I added a fun pop of blue to the table’s knob, tying it in with the blue accents on the body of the table. This small detail added a cohesive and playful element. Finally, to protect all the newly painted surfaces, especially the delicate chalk paint and the decoupaged top, I applied a generous amount of Daddy Van’s Beeswax. Beeswax not only provides a durable, natural seal but also imparts a lovely, soft luster to the finish, enhancing the chalk paint’s texture and ensuring the table withstands daily use. It’s an eco-friendly and effective way to seal your DIY furniture projects.
And with that, the transformation was complete!
Disclosure: The links below are affiliate links that direct to Amazon.com. Should you choose to purchase any of these products through the provided links, I will receive a small commission. This commission helps me continue to provide valuable content to my readers, at no extra cost to you.
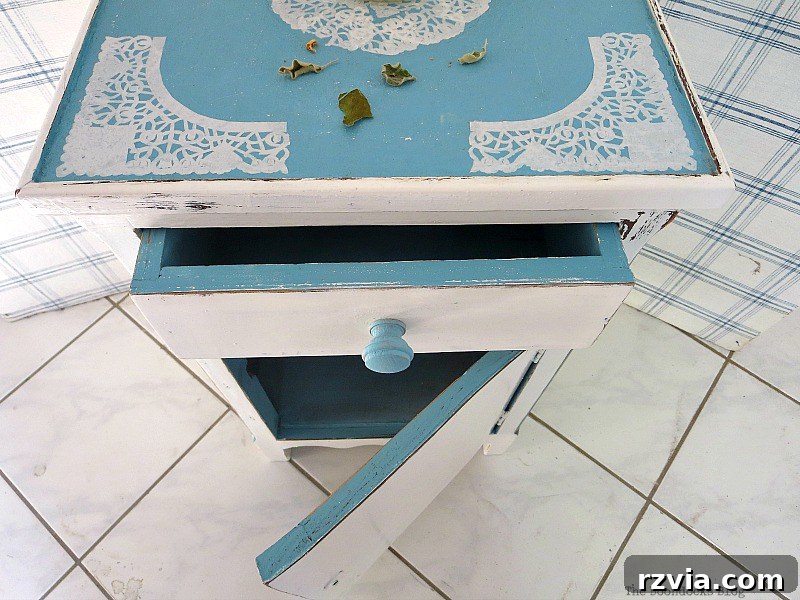
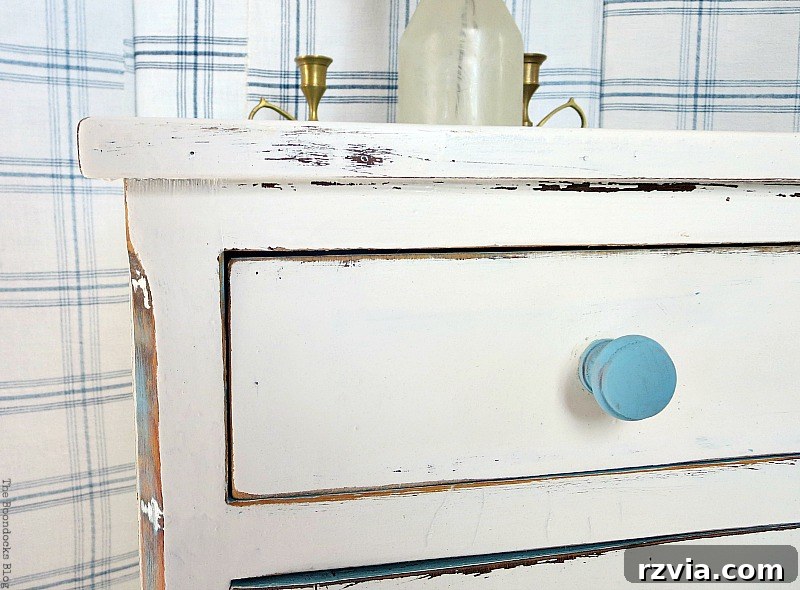
Not only did the exterior get a fresh look, but the inside of the table was also painted to provide a pleasing aesthetic even when opened. This attention to detail elevates the piece, making it feel truly finished and thoughtfully updated.
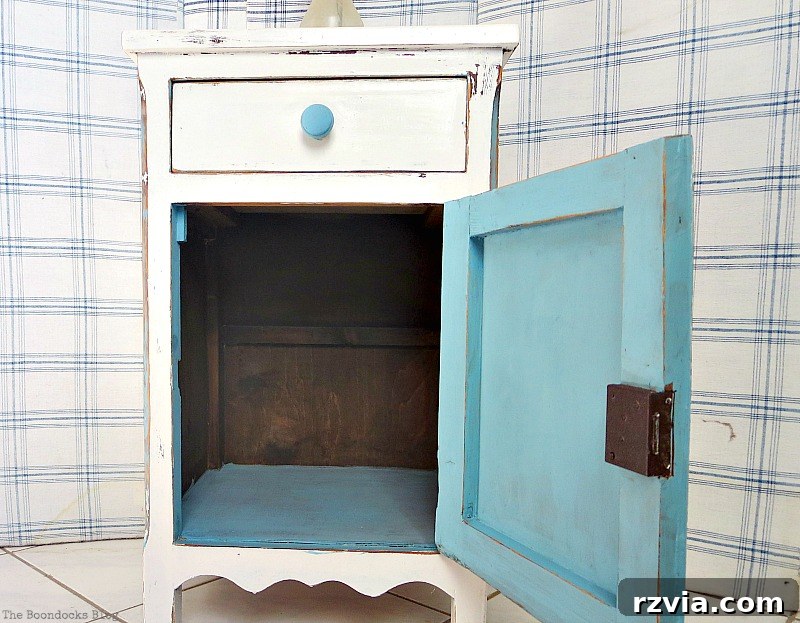
A Tale of Two Tables: Comparing Finishes
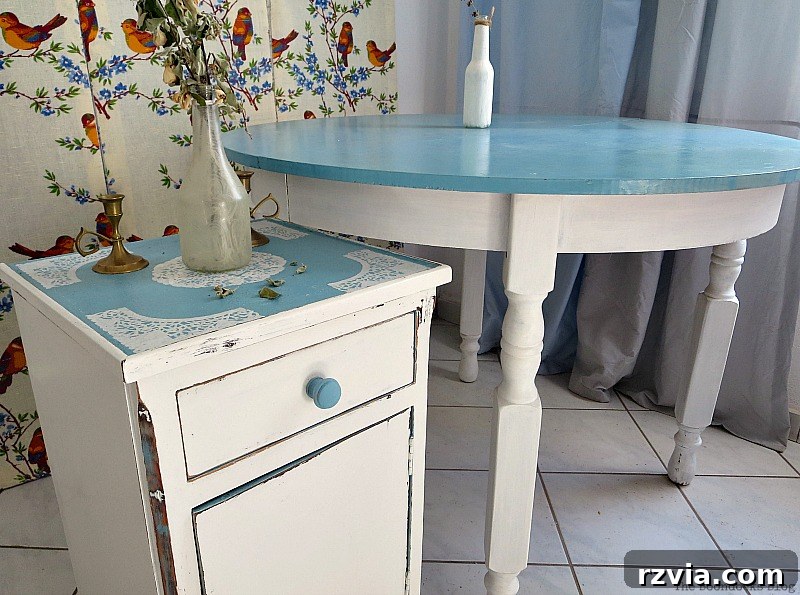
It’s always interesting to see how different paints perform on different pieces. Here, you can see both my newly transformed Doily Top Side Table and the Greek Beach Table side by side. While both feature similar color palettes, their finishes tell a story.
The round Greek Beach Table boasts a lovely chalky style paint on its legs, known for its velvety matte finish and ease of distressing. In contrast, the Doily Top Side Table’s base still retains that challenging white enamel I struggled with in my early blogging days. This comparison clearly illustrates the dramatic difference in working with various paint types and highlights why I’ve come to prefer the versatility and forgiving nature of chalk paint for my furniture makeovers.
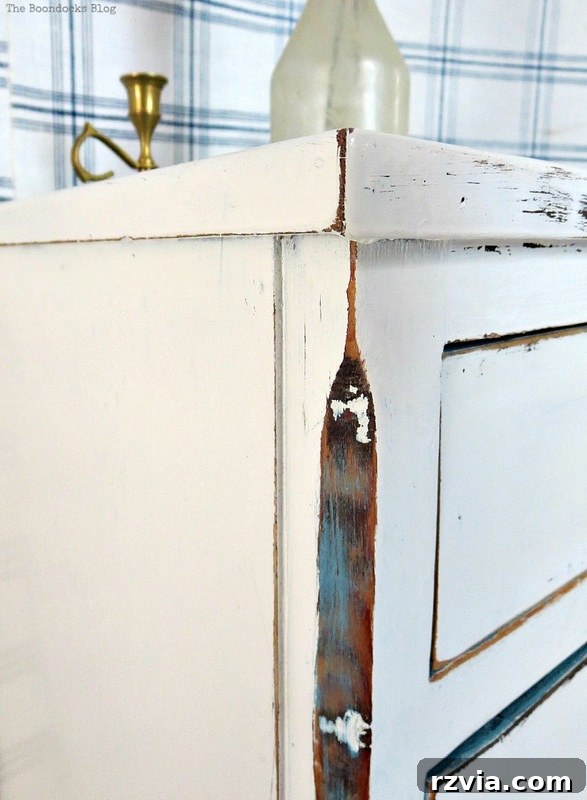
I’m particularly fond of how the blue accent turned out on the side indentations. It’s a subtle yet impactful detail that adds a layer of sophistication and bespoke charm to the piece. This small touch of color highlights the table’s unique shape and breaks the monotony of a purely white finish.
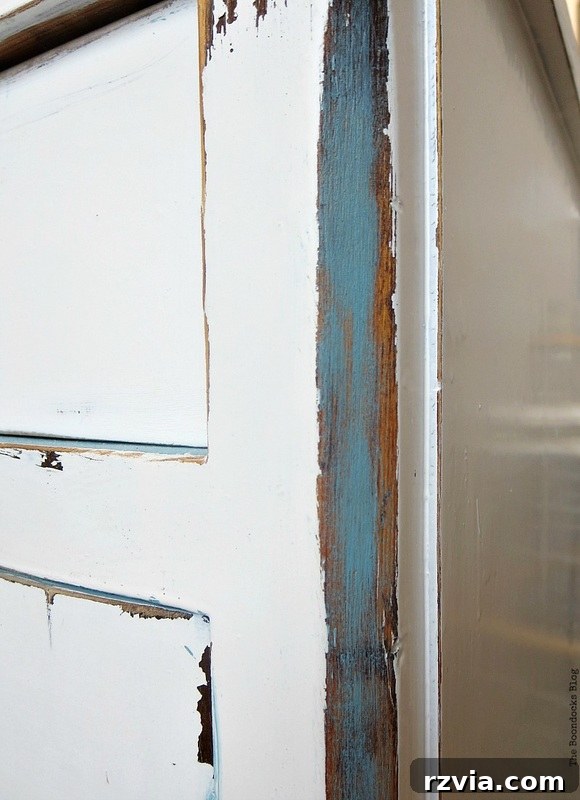
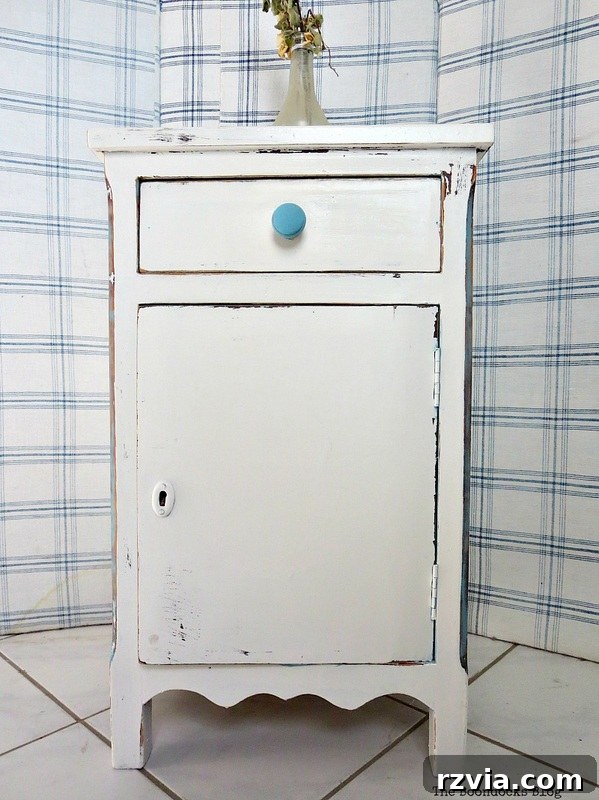
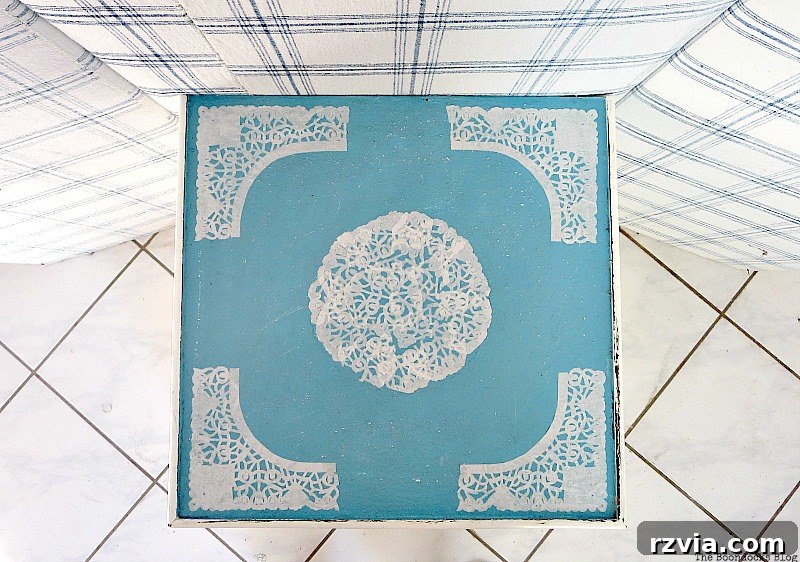
The finished table exudes a delightful sense of old-world charm, reminiscent of something a beloved grandmother might have cherished in her home. It’s a blend of vintage aesthetics and personalized craftsmanship. One of the practical advantages of this decoupage technique is that once the Mod Podge is dry and sealed, the doily design is permanently fixed to the tabletop, meaning it won’t shift or slide around, ensuring both beauty and functionality.
And there it is: my beloved Doily Top Side Table! This project was a true joy, allowing me to experiment with new techniques and push my creative boundaries on a small, manageable piece of furniture. It’s a wonderful example of how a forgotten item can be transformed into a charming, functional accent piece with a little imagination and effort.
What are your thoughts on this transformation? Do you appreciate the unique decoupage treatment, or do you prefer a simpler finish? And speaking of simpler finishes, do you think this elaborate decoupage would have looked good on the round Greek Beach Table, or would it have been too “fussy” for its minimalist aesthetic?
If you enjoyed this furniture makeover journey, please consider sharing it with your friends on social media or saving it to your Pinterest boards for future inspiration. If you’d like to stay updated on all my creative adventures, subscribe to my blog to receive new posts directly in your inbox twice a week!
You may also like:
<< Sweet Inspiration Link Party #18 HOME Five Minutes to a Pretty Clock >>
This blog is for entertainment purposes only; my DIY tutorials are not professional advice. Read my full disclaimer here.
I love hearing from you! Please feel free to leave your comments below, and I promise to reply to each and every one of them.