
Reviving a Rusty Relic: From Forgotten Farm Piece to Farmhouse Chic
Every now and then, a hidden gem reveals itself in the most unexpected places. For me, that place was my own farm, and the gem was a humble, rusty old table. I must have walked past this piece countless times over the years, barely giving it a second glance. It was just part of the background, weathered by time and neglected by purpose. But one particular day, as the sun cast a different light or perhaps my eye was simply more open to possibility, I truly “saw” it for the first time. No longer just an old, forgotten item, I suddenly envisioned its immense potential for a stunning transformation, ready to reclaim its place in the home.
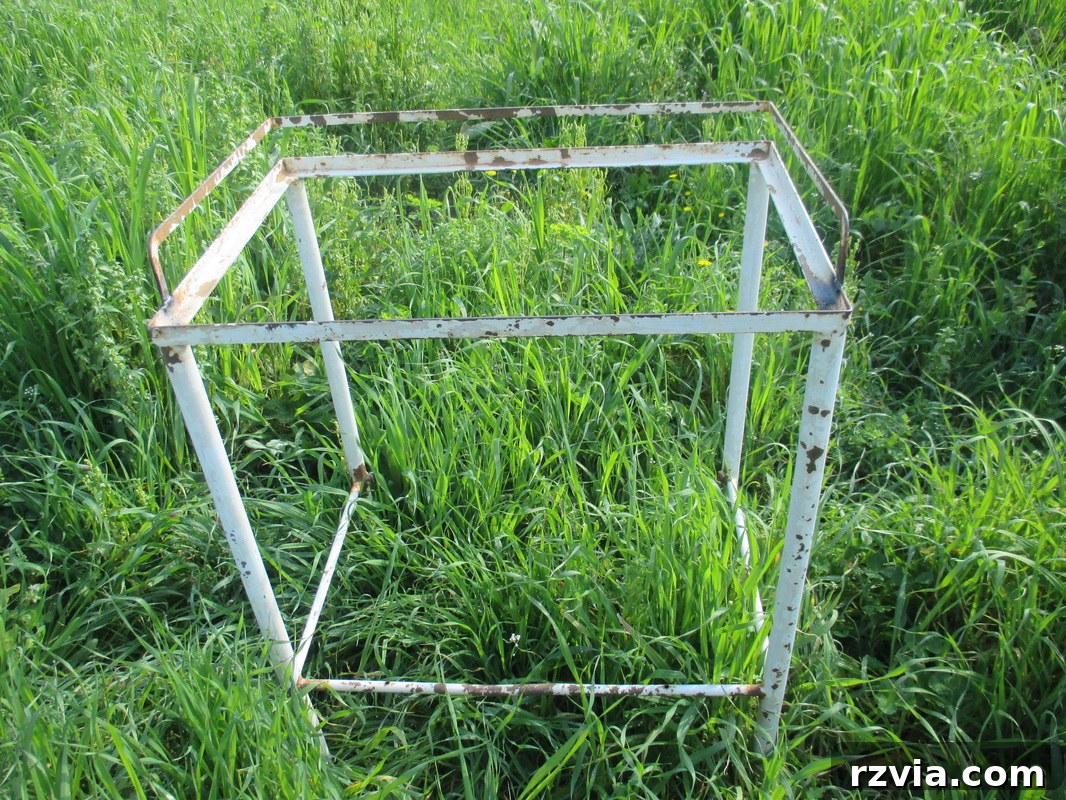
The original state: a rusty, forgotten table.
The Initial Challenge: More Than Just Rust Deep
My excitement quickly turned into a sobering realization when I attempted to move my newfound treasure. As I tried to lift it, the entire top metal section detached and stayed in my hands, while the rest of the frame collapsed. It became immediately clear that this project was going to involve more than just a simple sanding and painting job. The table needed structural intervention. A quick trip to my trusted “metal man” was in order. He skillfully reattached the top, providing the essential structural integrity the table desperately needed to begin its journey from discarded scrap to a cherished piece of furniture. This initial repair was a vital first step, ensuring the table had a solid foundation for the subsequent restoration work.
The table after structural repair, ready for rust removal.
Bringing Metal Back to Life: Rust Removal and a Touch of Black
Tackling the Rust
With the structure stabilized, the next significant hurdle was the extensive rust. Years of exposure had left the table heavily corroded, masking its true character. I meticulously sanded it down, working tirelessly to remove as much of the stubborn rust as possible. This stage demanded patience and elbow grease, utilizing various grades of sandpaper and a wire brush to get into every nook and cranny. While it was impossible to eliminate every trace of rust without professional industrial treatment, I managed to get the majority of it off, creating a smooth enough surface for the next step.
A Classic Choice: Black Paint
For the finish, I opted for my favorite classic black using high-quality spray paint. Black offers timeless elegance and provides a stunning contrast, allowing the table’s revitalized form to truly stand out. Spray paint is an excellent choice for metal furniture as it provides an even, durable finish and dries relatively quickly. I applied two careful coats, ensuring full coverage and a smooth, consistent appearance. The transformation was immediate and dramatic. What was once a reddish-brown, corroded mess began to emerge as a sleek, sophisticated piece, hinting at its new life.
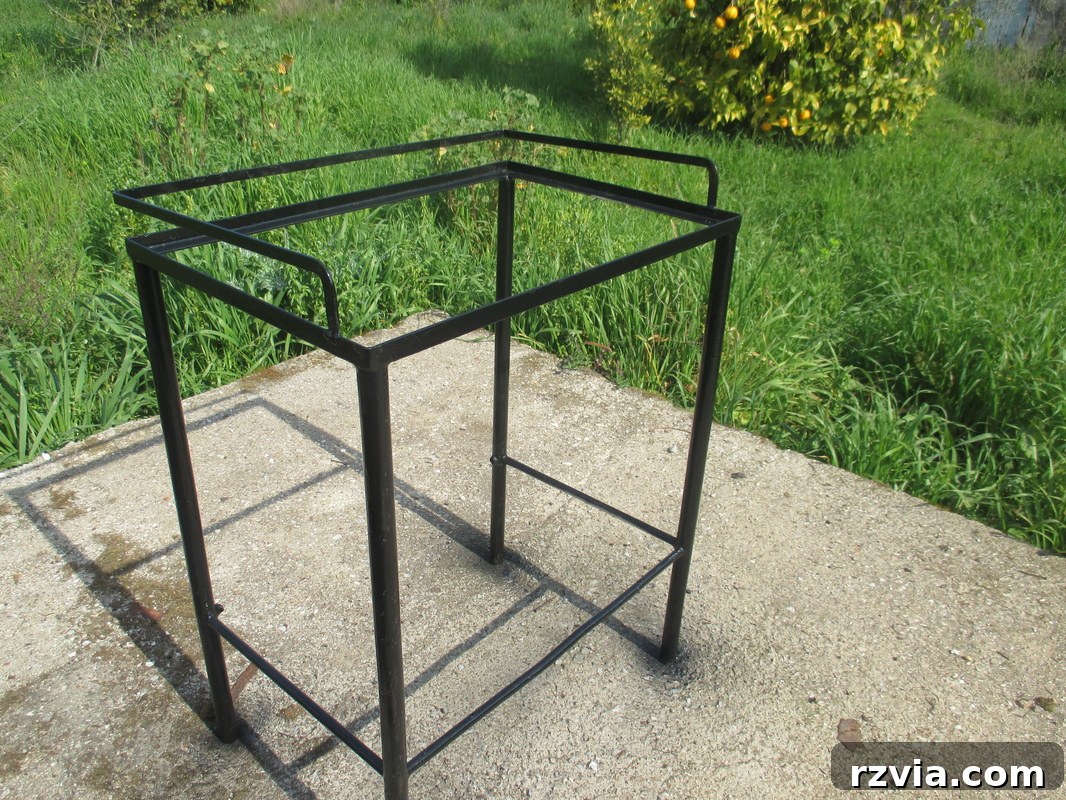
The table beautifully transformed with two coats of classic black spray paint.
Crafting the Rustic Shelf: Plywood with Character
Finding the Perfect Fit
The original table lacked a bottom shelf, which was an opportunity to add both functionality and rustic charm. I found a piece of sturdy plywood that was perfectly suited for the task. After carefully measuring the internal dimensions of the table’s base, I had the plywood cut precisely to size. Choosing plywood allowed for a natural, unrefined aesthetic that would complement the table’s industrial past while offering a sturdy surface for storage or display.
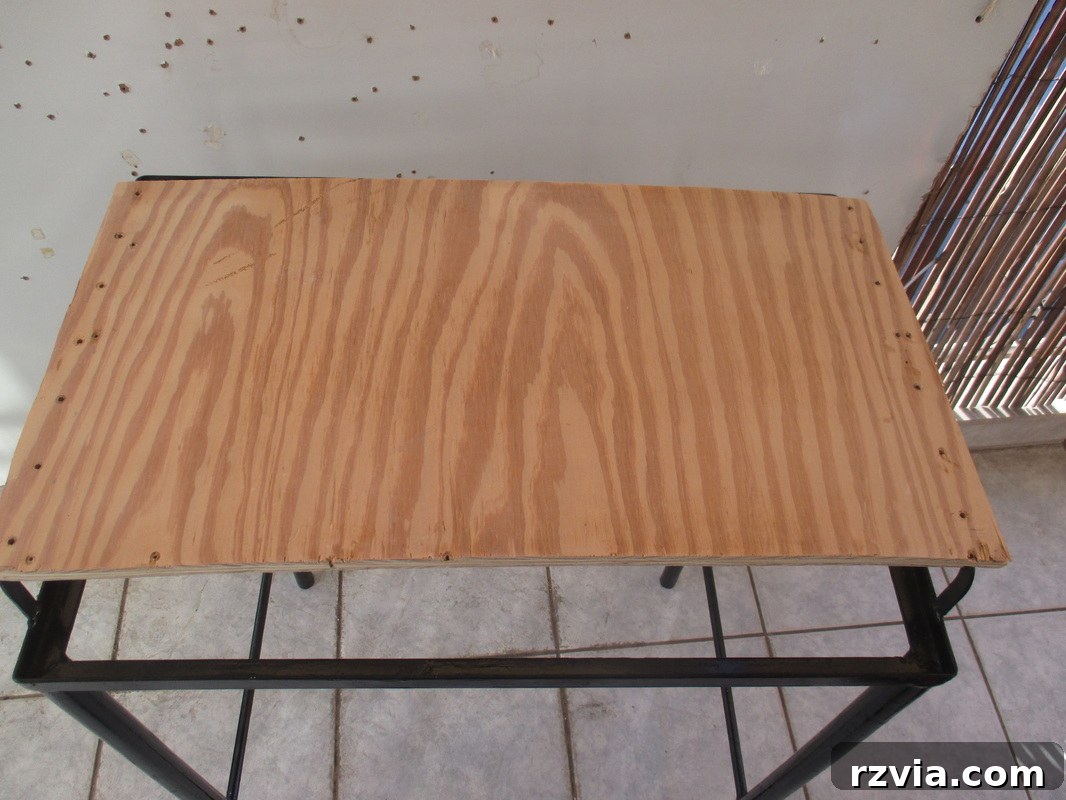
Plywood cut to size, ready to become the new bottom shelf.
Embracing Imperfection: Adding Decorative Holes
Interestingly, the plywood I sourced already had a few small holes along its edges from previous uses. Instead of trying to hide these imperfections, I decided to embrace them and even enhance them as a design feature. I intentionally added more holes along the perimeter of the plywood, creating a consistent, rustic pattern. This small detail added a layer of visual interest and purpose to the shelf, turning potential flaws into unique characteristics that contribute to the table’s overall charm.
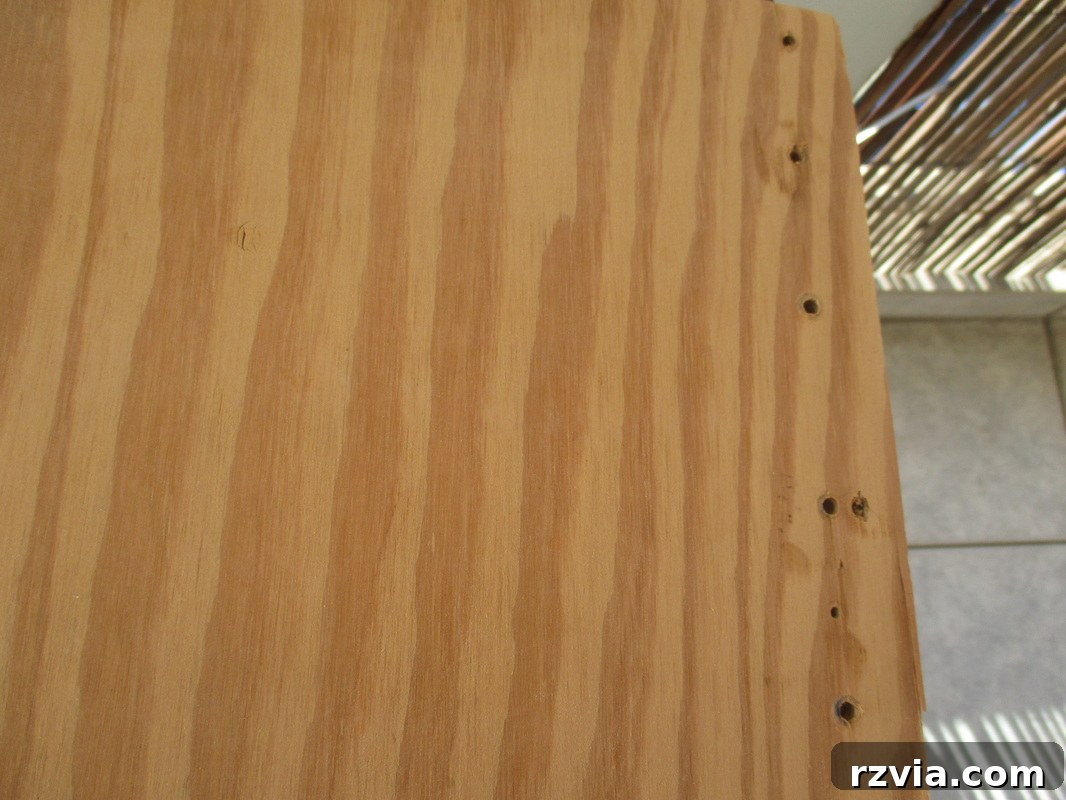
Adding decorative holes to the plywood, turning imperfections into features.
Natural Luster: The Oil and Vinegar Treatment
To give the plywood shelf a natural, warm glow and enhance its grain, I treated it with a simple yet effective solution: a blend of oil and vinegar. My recipe was two parts oil to one part white vinegar. This mixture works wonders not only as a cleaner but also as a natural conditioner, penetrating the wood fibers to add much-needed luster and a subtle, protective sheen. I wiped it down thoroughly, and the difference was remarkable. The wood’s natural beauty emerged, providing a perfect complement to the stark black metal frame. This eco-friendly treatment is a fantastic alternative to harsh chemicals, bringing out the wood’s inherent beauty while nourishing it.
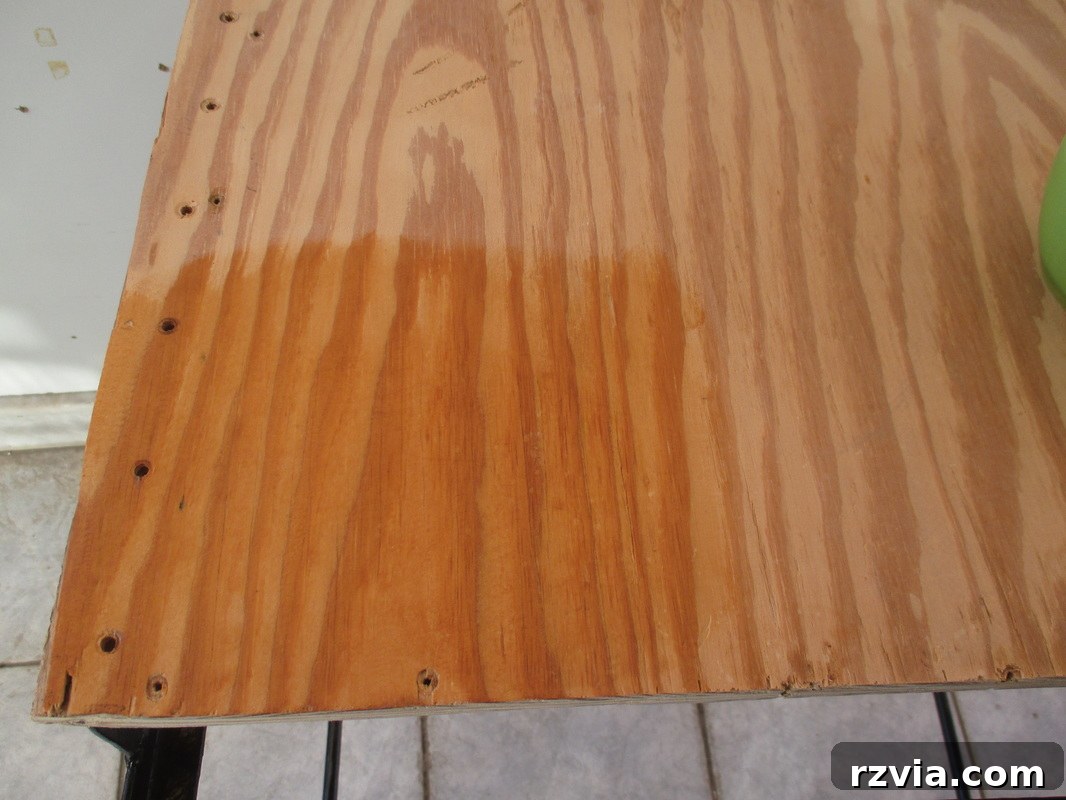
The oil and vinegar treatment brings out the plywood’s natural warmth.
The Twine Lady’s Signature: A Rustic Attachment
Those who follow my crafting adventures often playfully refer to me as “the twine lady.” It’s a moniker I happily embrace, as twine frequently features in my projects, adding a touch of rustic, handmade charm. Keeping with this personal theme and making practical use of the holes I had added to the plywood, I decided to secure the shelf to the table’s bottom frame using natural twine. I carefully threaded the twine through the holes, creating a series of strong, decorative loops that firmly held the plywood in place. This method not only provided a robust attachment but also significantly contributed to the table’s desired rustic aesthetic, creating a cohesive look that tied together the metal and wood elements beautifully.
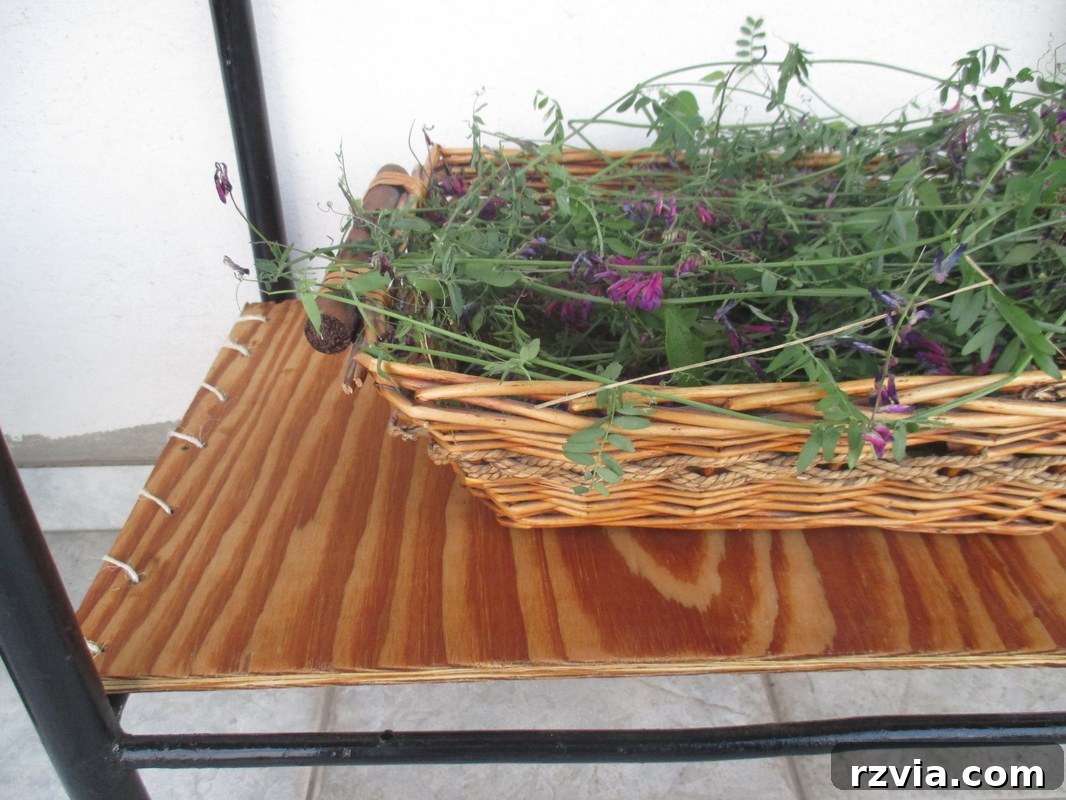
Twine securing the plywood shelf, a signature rustic touch.
The Final Flourish: A Clear Glass Top
With the base restored and the rustic bottom shelf in place, the final step was to add a sleek, functional top surface. I chose a clear glass pane for the tabletop. Glass offers a modern contrast to the distressed metal and rustic wood, creating an elegant balance. It’s also incredibly practical, easy to clean, and protects the painted metal beneath while allowing its new black finish to shine through. The addition of the clear glass transformed the table into a truly refined piece, ready for use as a stylish side table, an accent piece, or even a unique plant stand.
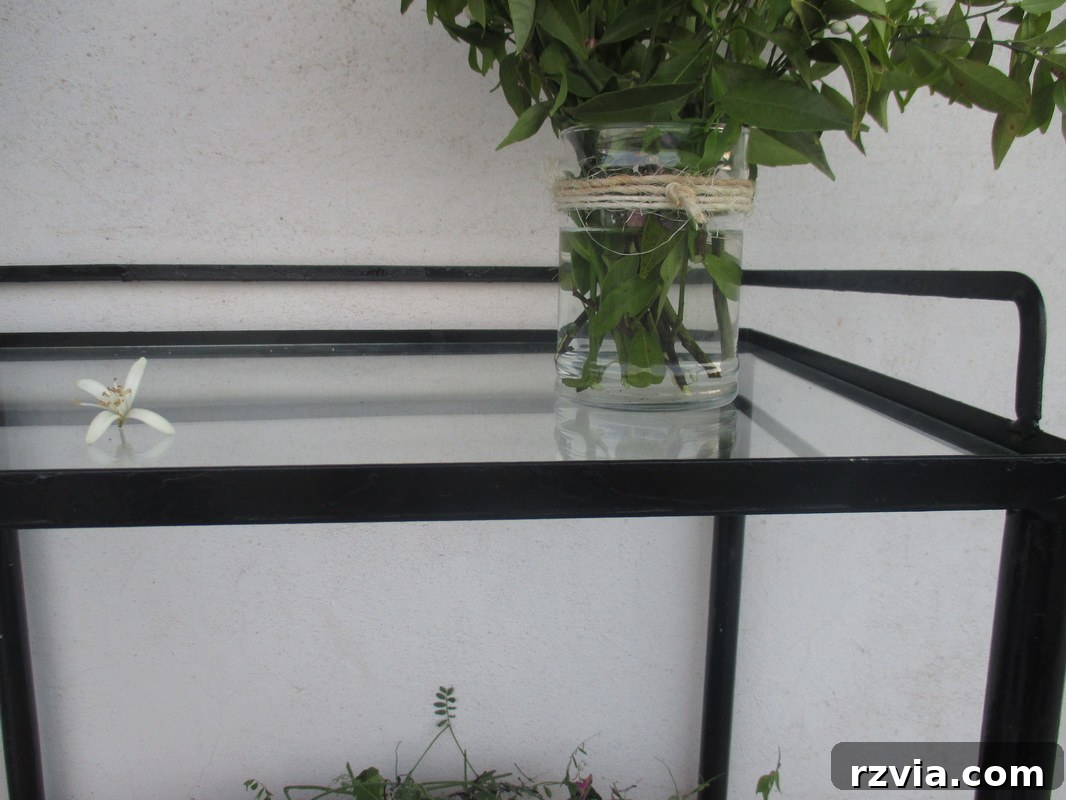
The final touch: a clear glass top adds elegance and functionality.
From Neglected Rust to Renewed Charm: The Transformation Unveiled
Witnessing the journey from its initial state to its final form is always the most rewarding part of any DIY project. Let’s take one last look at where we started and how far we’ve come.
Before: A Story of Decay
The table in its original, rusted and broken state.
After: A Vision Realized
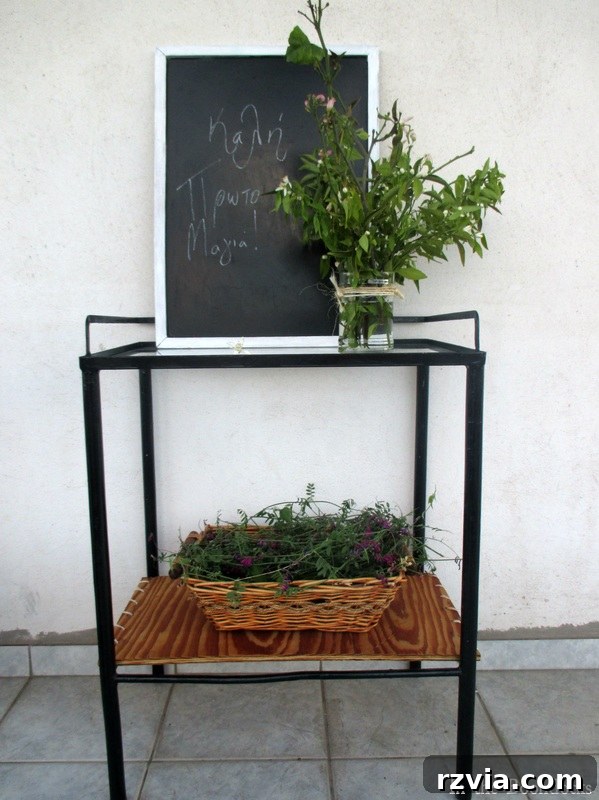
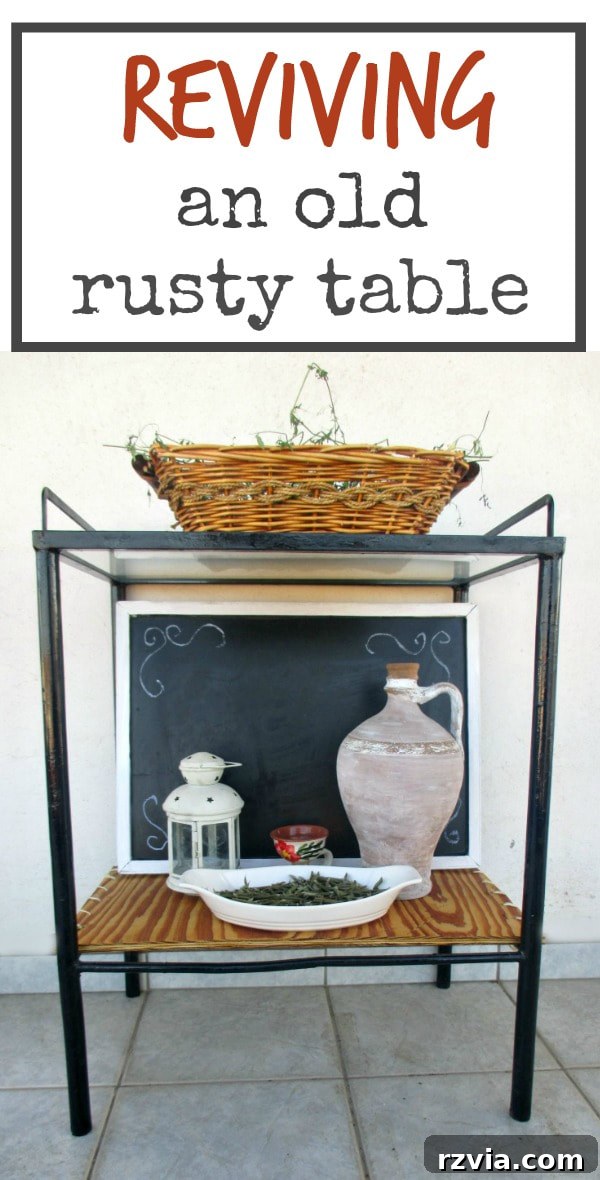
The finished table: a testament to the power of upcycling.
Embracing Imperfections: The Beauty of Upcycling
While the table is far from “perfect” in a factory-new sense – the bottom steel isn’t perfectly straight, and some stubborn traces of rust remain – these minor imperfections tell a story. They are a testament to its long life and the journey it has undertaken. For me, these elements add character and authenticity, distinguishing it from mass-produced items. Considering that I managed to rescue it from what I affectionately call “rust purgatory,” I truly believe a good deed has been done. This project wasn’t just about restoring a piece of furniture; it was about giving new life, seeing potential where others saw discard, and celebrating the unique history embedded within every scratch and imperfection.
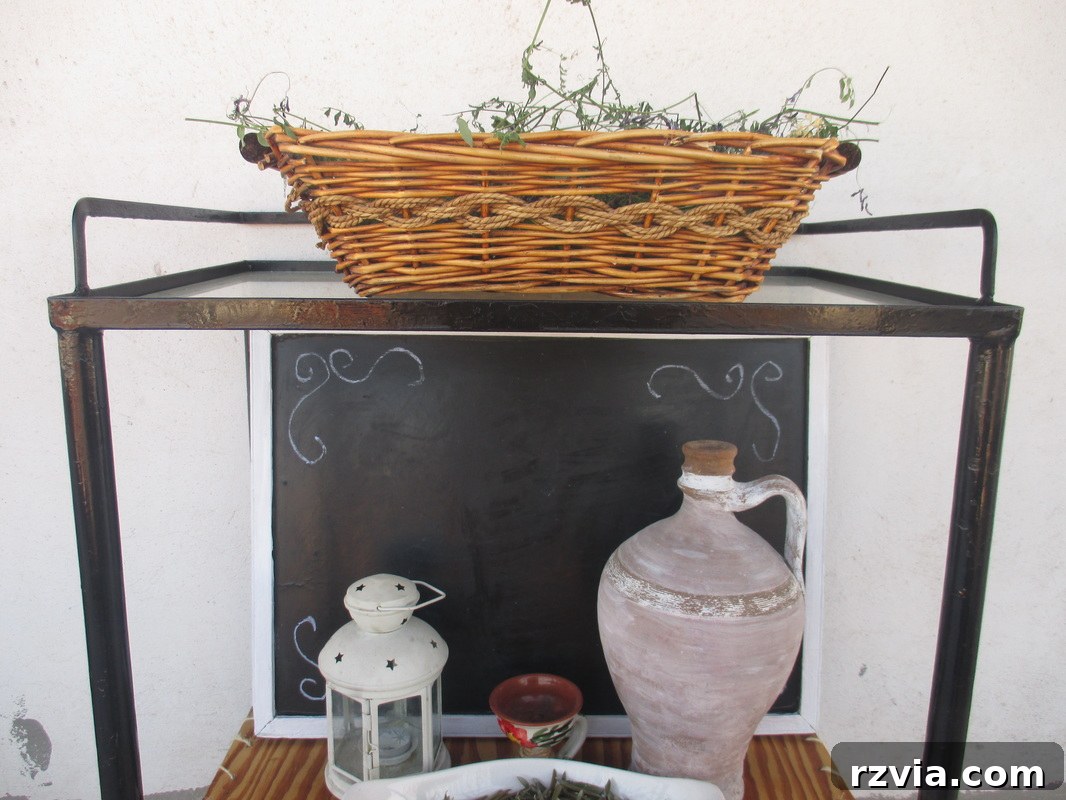
Detailed view of the restored table, highlighting its unique character.
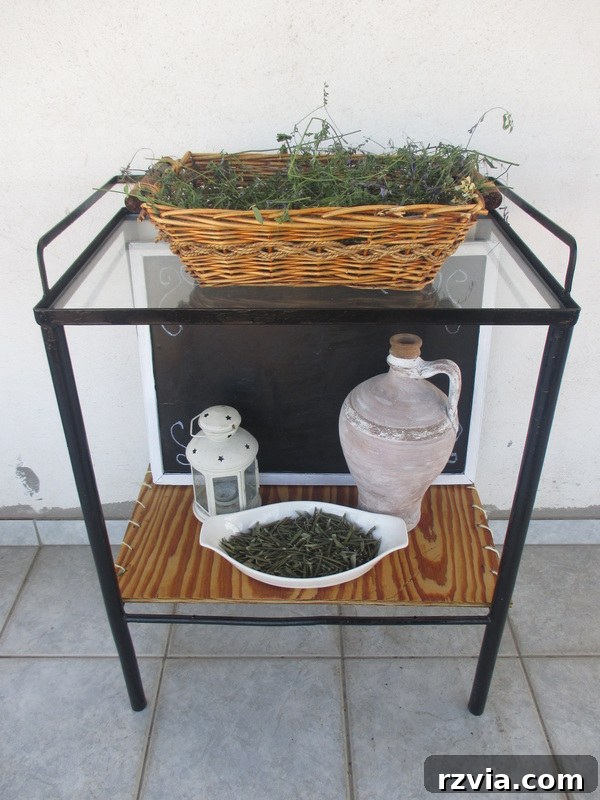
The table makeover complete, ready for its new home.
Disclosure:
The items below are affiliate links and link to Amazon.com. If you purchase any of these products through the links, I receive a small commission, which helps me continue to provide you with lovely content. There is no extra charge to you for purchasing through my affiliate links.
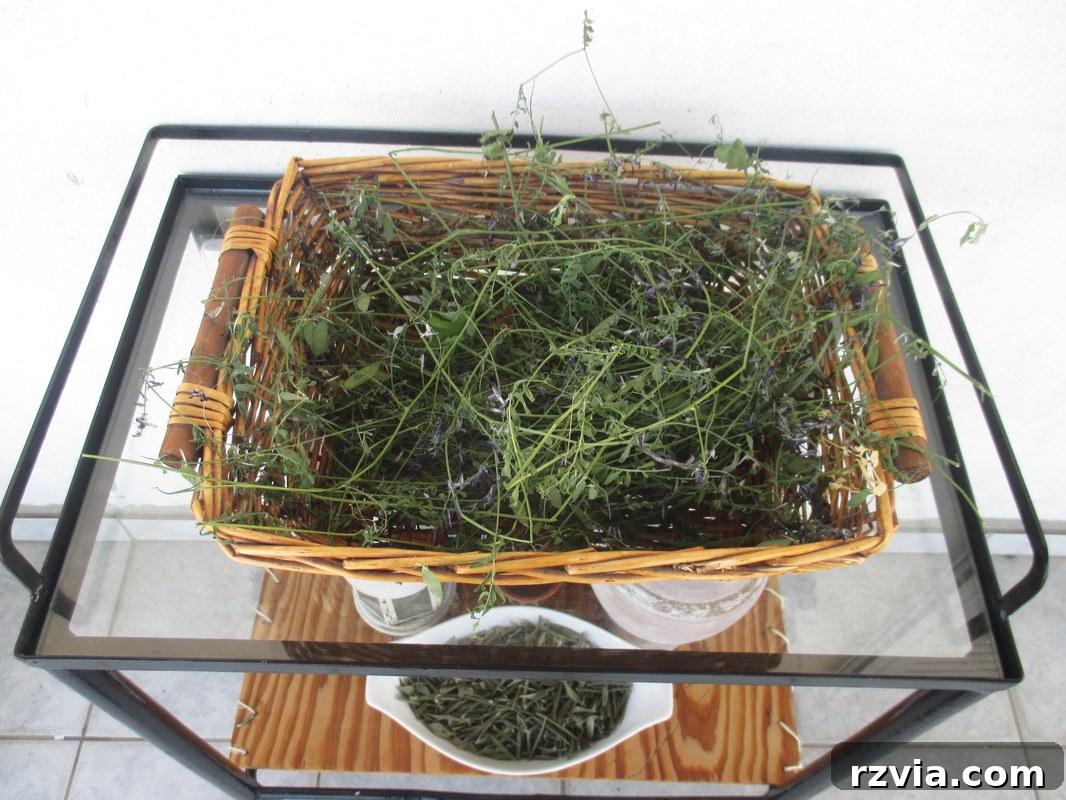
This rusty project truly holds a special place in my heart. I hope you find as much joy in its transformation as I did. It was destined to remain neglected at the farm, slowly succumbing to the elements, if I hadn’t taken the time to uncover the beauty hidden beneath its years of rust. This project serves as a powerful reminder that with a little vision and effort, forgotten items can be given a second chance, adding character and history to our living spaces.
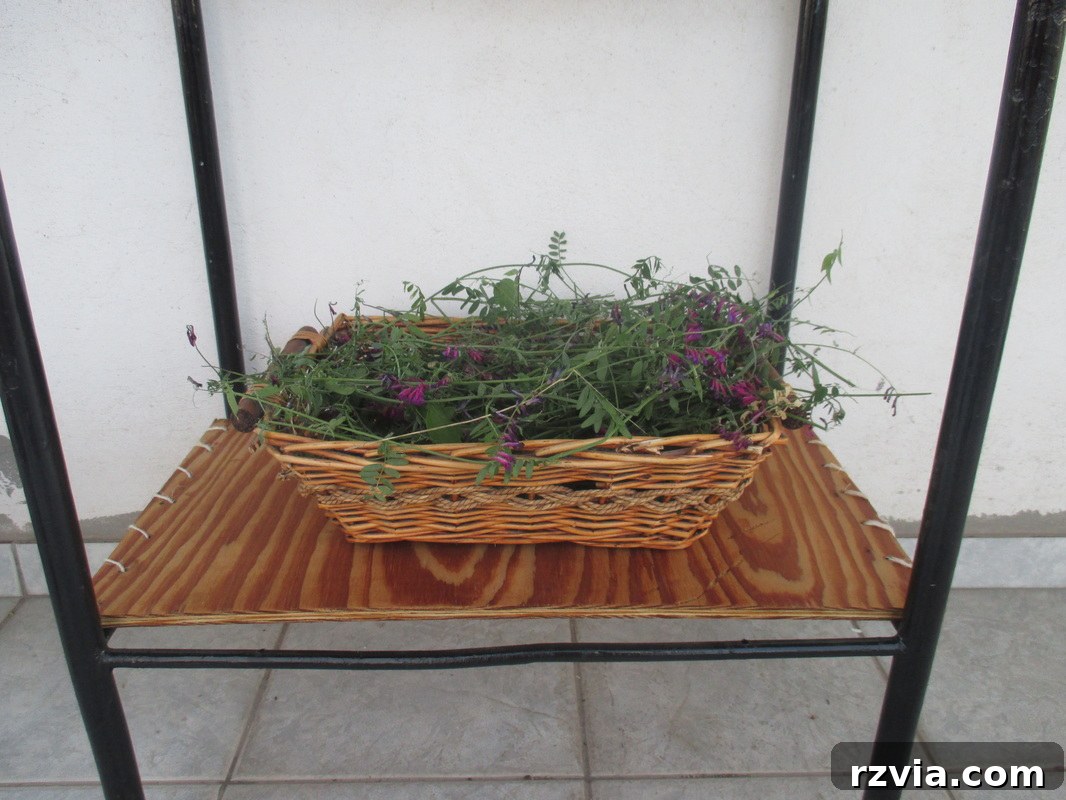
I cannot express enough how happy I am to have started this blog and to share all of these wonderful ideas and projects with you all. It is a true pleasure to connect with fellow DIY enthusiasts and inspire creativity.
If you really like what you see, subscribe to my blog and get my adventures delivered directly to your mailbox. The subscription form is conveniently located on the sidebar and at the top of the page. To see my privacy policy, click here.
You may also like:
The Story of a Dresser
Upcycling the Milk Crate Table
This blog is for entertainment purposes only; my DIY tutorials are not professional advice. Read my full disclaimer here.
I love it when I get your comments and I will reply to each and every one of them. Your feedback and engagement mean the world to me!