
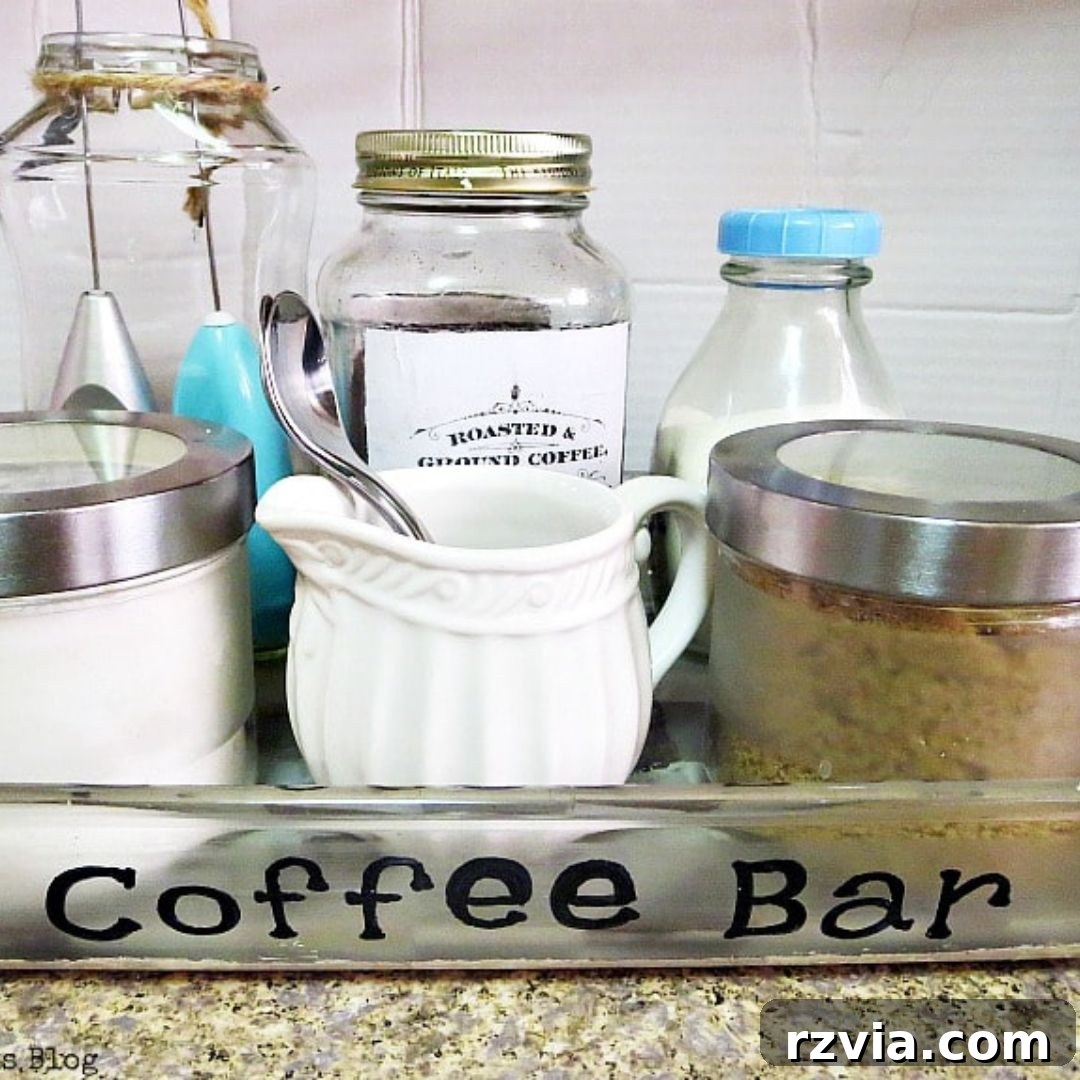
Transform your daily coffee routine from chaotic to charming with a custom DIY coffee bar! This project uses an upcycled glass tray to create a practical, stylish, and space-saving coffee station idea that will revolutionize your mornings. Say goodbye to scattered coffee supplies and hello to an organized, inviting corner dedicated to your favorite brew.
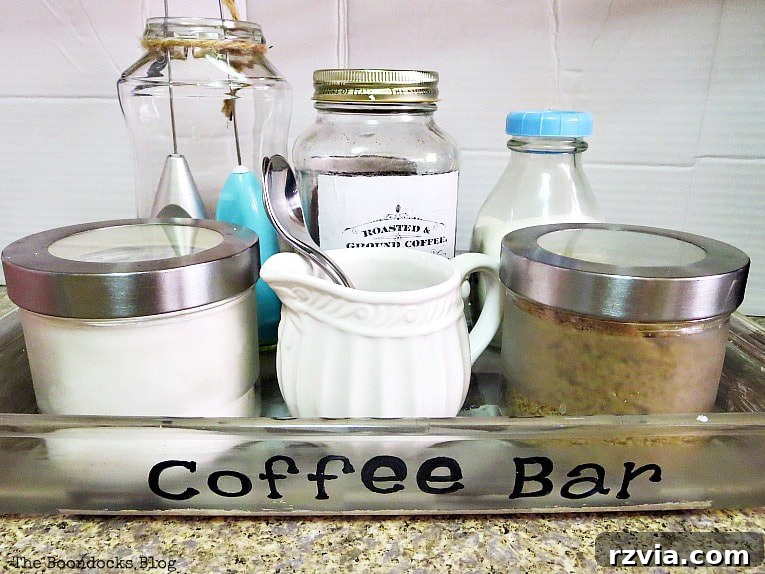
For many of us, coffee isn’t just a drink; it’s an essential morning ritual, a comforting midday pick-me-up, or a relaxing evening indulgence. As a self-proclaimed coffee aficionado, I understand the importance of having all your coffee essentials readily accessible. For years, my coffee paraphernalia was relegated to the back of cabinets, requiring a frantic search every morning just to start my day. This daily scramble was far from ideal, especially when I needed that first caffeine fix!
The vision of a dedicated homemade coffee organizer or a beautifully styled kitchen organization solution began to take shape after seeing friends create their own elegant coffee stations. I loved the idea of consolidating everything into one neat, attractive spot. It promised not only efficiency but also a touch of decorative flair to my kitchen countertop.
Before embarking on this delightful craft project, my makeshift coffee area was, to put it mildly, an uninspiring mess. It was a jumble of mugs, coffee grounds, sugar packets, and stirring spoons, creating an eyesore that certainly didn’t spark joy or simplify my mornings. It was high time for an intervention, a complete transformation that would bring both order and beauty to my coffee habit.
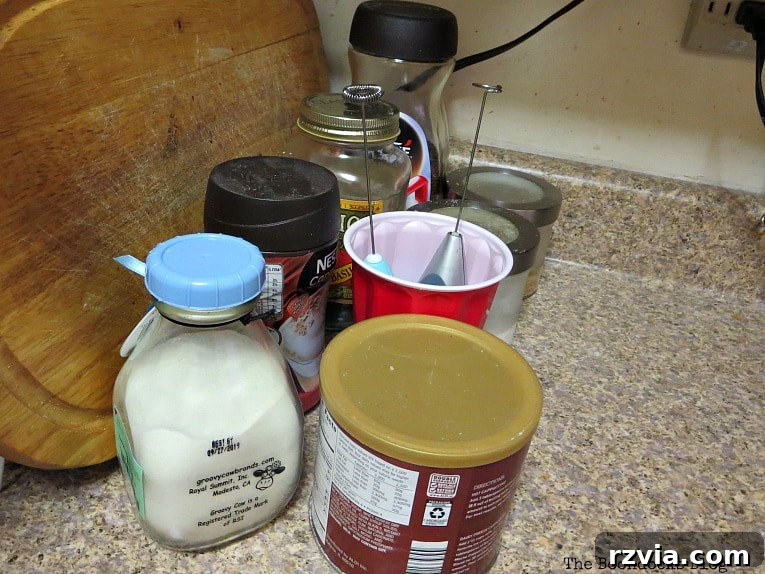
The spark for this transformation truly ignited after I saw a friend’s impeccably organized coffee station. Her setup was not just functional; it was a testament to how a little effort can elevate an everyday necessity into something special. This immediately inspired me to tackle my own coffee clutter. My goal was simple yet ambitious: to corral all my coffee-making essentials into one designated area, making it not only aesthetically pleasing but also supremely organized and easy to use. This project isn’t just about creating a space for coffee; it’s about creating a moment of calm and beauty in your busy day.
Essential Materials for Your Upcycled DIY Coffee Bar:
Disclosure: This post contains affiliate links for your shopping convenience. If you purchase any of these products through the links, we receive a small commission at no extra charge to you. You can find our full disclosure here.
- An old rectangular glass dish or tray
- Acrylic paints (various colors, brown/beige tones recommended)
- Masking tape
- Deco Art Varnish, 8-Ounce, Ultra Matte
- Permanent black marker
- Printable image from The Graphics Fairy
- Mod Podge (matte or gloss finish)
- Printer and paper
- Clean spaghetti sauce jar or similar glass jar for coffee grounds/beans
Crafting Your Dream Coffee Bar: A Step-by-Step Guide
The beauty of this project lies in its simplicity and the joy of upcycling. My journey began with an old glass baking dish I unearthed from the depths of our basement. It’s astonishing how many “multiples” one can accumulate over the years! This particular dish, perfectly functional but entirely superfluous, became the ideal candidate for a new life. Don’t worry if you don’t have an identical dish; any old tray you have lying around, whether glass, metal, or wood, can be transformed into a stunning coffee bar. The key is to find something that fits your space and your style.
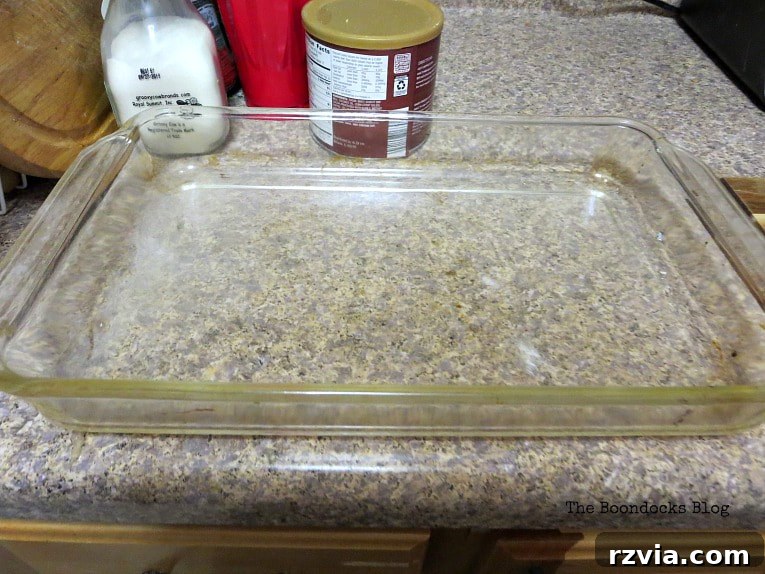
Once I selected my glass dish, the first crucial step was a thorough cleaning. After it was sparkling clean and completely dry, I turned it upside down to work on the exterior bottom. This thoughtful approach ensures that any painted designs or embellishments won’t come into direct contact with your coffee items, preserving both the design and the hygiene of your coffee station. My initial vision involved creating a geometric pattern using masking tape to define distinct areas for painting.
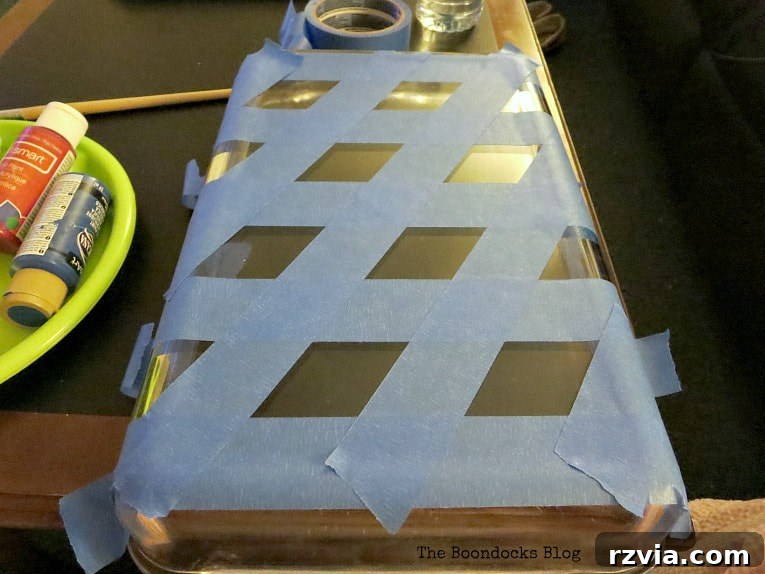
My aesthetic preference leaned towards earthy, neutral tones, specifically shades of brown and beige, to complement my existing kitchen countertop. However, upon checking my paint stash, I realized I didn’t have the exact colors on hand. Resourcefulness is key in DIY! I decided to mix my own brown by combining primary colors – red, blue, and yellow – in varying proportions until I achieved the desired hue. This is a fantastic tip for any DIYer: don’t be afraid to experiment with color mixing to get exactly what you envision.
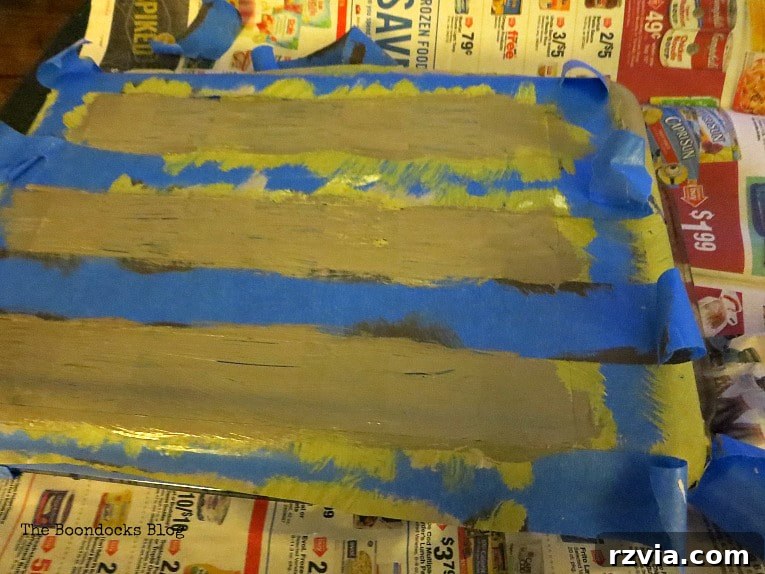
With my custom brown paint ready, I began applying it to the diagonal sections of the taped-off pattern. Once the first coat was applied, I carefully removed the masking tape. Next, I lightened some of the brown paint with white to create a lighter beige tone and painted the remaining sections. This entire process was surprisingly relaxing, undertaken casually while I enjoyed my favorite TV show. This laid-back approach is part of the charm of DIY; it doesn’t always have to be a high-stress endeavor.
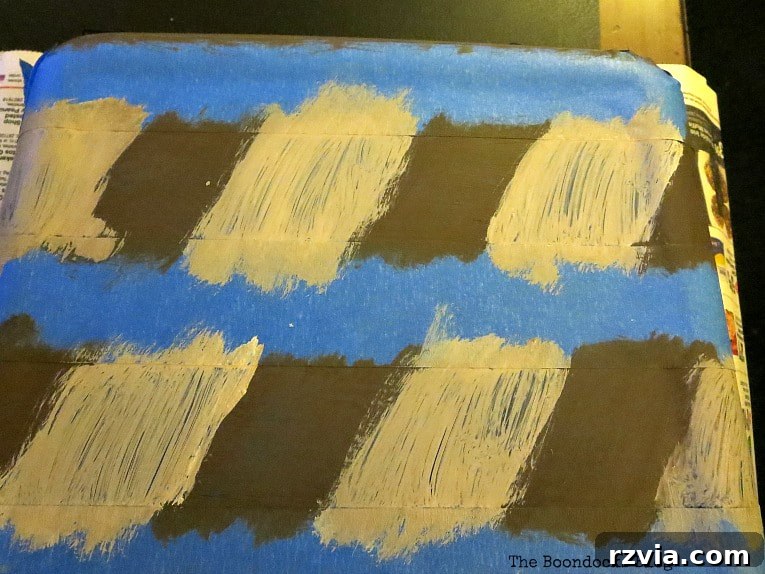
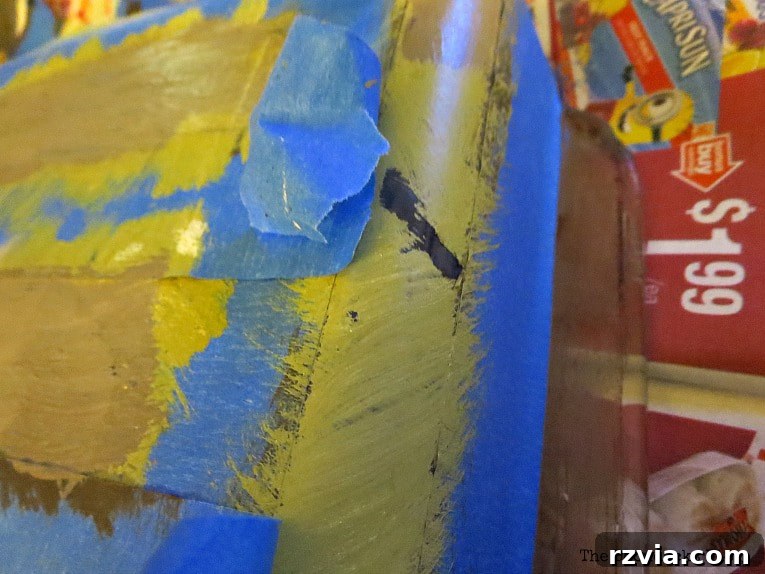
Now, for a moment of candid DIY reality! I must admit, I was so engrossed in my television program that my painting technique became, shall we say, a little “artfully distressed.” After pulling up the masking tape (perhaps a tad too prematurely), I noticed some of the paint had peeled off, creating a worn, aged effect. Initially, I might have been tempted to start over, but a true crafter knows when to embrace serendipity. This unexpected outcome gave the tray a wonderfully vintage and authentically “loved” appearance, as if it had been a cherished family heirloom for decades. It was a happy accident that perfectly suited the rustic, upcycled vibe I was aiming for. And honestly, the allure of watching how they were going to repurpose a bathtub into modern chairs was simply too strong to resist restarting!
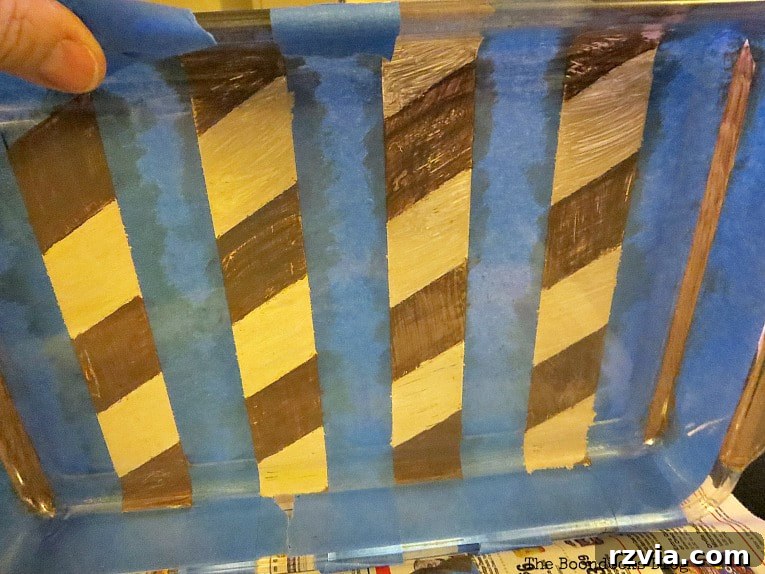
Indeed, a closer inspection revealed exactly where the paint had mischievously lifted with the masking tape. Instead of viewing it as a flaw, I leaned into the “distressed” aesthetic. After all, not every project has to be perfectly polished; sometimes, the imperfections tell the best story. Embracing this newfound “sloppiness,” I decided to intentionally enhance the aged look by layering another shade of beige over the areas where the paint had peeled. This technique added depth and character, giving the tray a unique, rustic charm that would be difficult to achieve with precise painting.
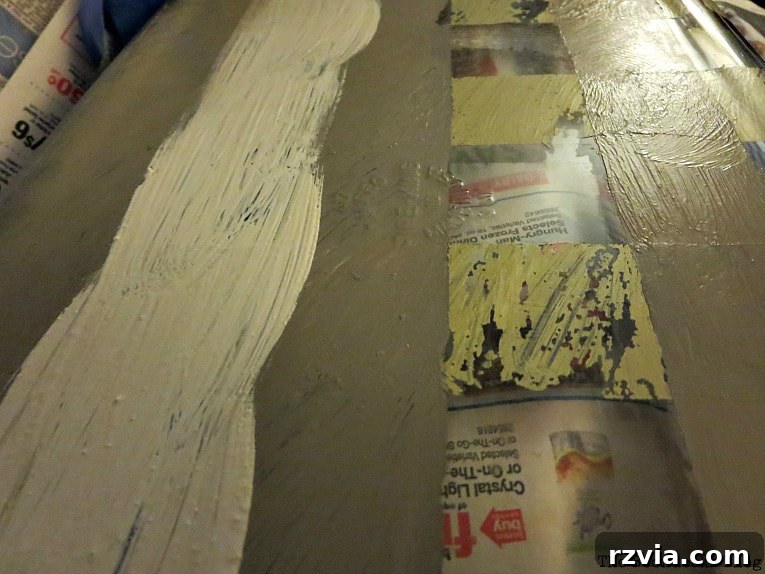
This decision truly put me on a creative roll! The realization that perfection wasn’t the goal liberated my artistic spirit. I continued to add more paint, even extending it to the handles and sides of the tray, embracing a free-form, organic approach. It might have been the most “undisciplined” painting I’d ever done, and to my surprise, I absolutely loved it. The entire process became a joyful experiment, a delightful escape where the focus was on enjoying the moment—mixing colors, watching my show, and simply creating without the pressure of producing a masterpiece. The result was a truly unique piece that reflected the relaxed, happy energy of its creation. My coffee bar was coming together, with a personality all its own!
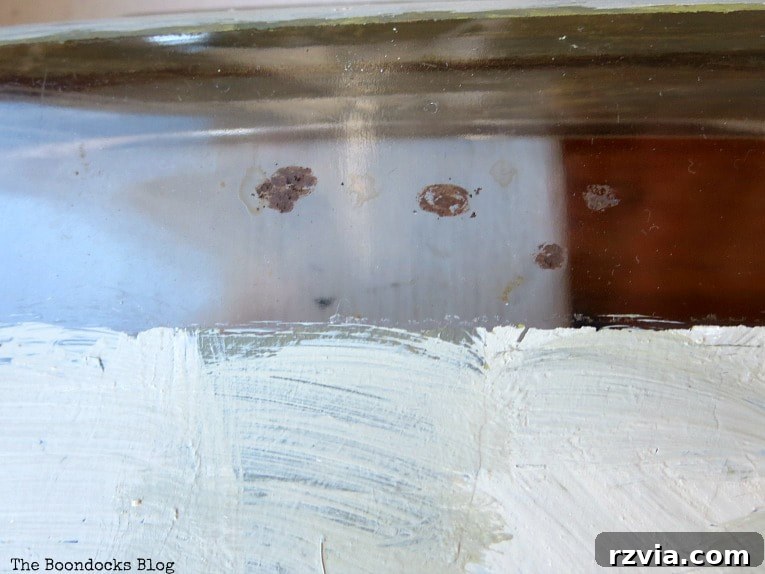
To further enhance this perfectly imperfect aesthetic, I took the “sloppy chic” approach to another level. Inspired by the idea of an authentic coffee-house vibe, I even used my daughter’s brown eyeliner (don’t tell her!) to create tiny, artful “coffee spill” dots on the bottom of the tray. This playful detail added an element of whimsical realism, making the tray look truly lived-in and loved – as if it had witnessed countless cups of coffee being prepared. It was all about achieving that genuinely authentic, effortlessly cool look for my new coffee bar station.
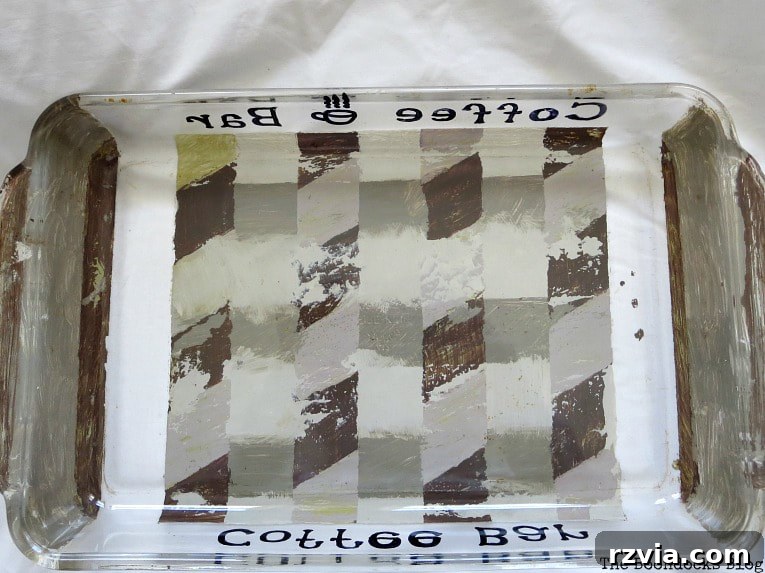
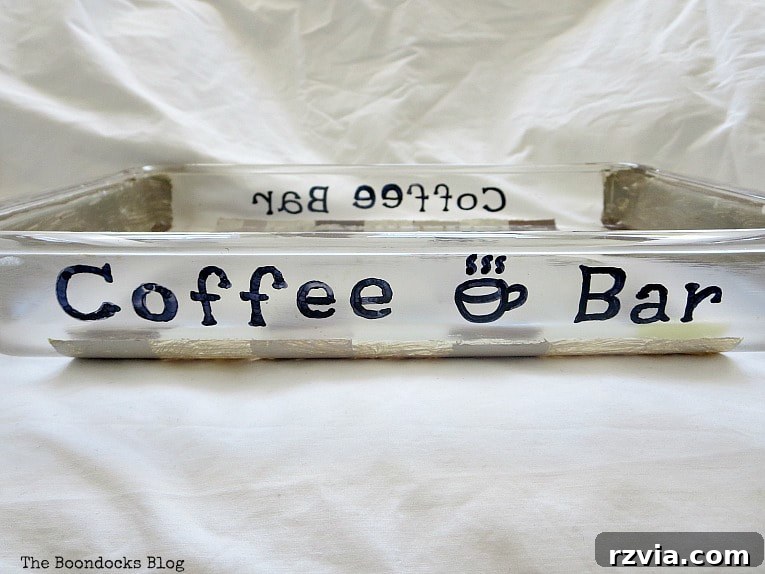
The final touches on the tray involved protecting its unique distressed finish. After the paint was completely dry, I applied two generous coats of clear varnish. This crucial step provides a durable, protective layer, essential for a coffee station that will inevitably encounter occasional spills and moisture. The varnish not only safeguards the design but also gives the tray a subtle, polished matte finish, enhancing its overall appeal. To personalize it further, I enlisted my daughter’s artistic hand. Using a permanent black marker, she elegantly inscribed “coffee bar” on both sides of the tray, adding a sweet, custom detail that truly made the piece our own.

With the tray complete, my attention turned to the accompanying coffee jar. I repurposed a simple spaghetti sauce jar, envisioning a stylish chalkboard label. After applying several coats of chalkboard paint, I diligently cured it by rubbing chalk over the surface and wiping it down, anticipating that classic, beloved blackboard look. This method often yields beautiful results, creating a rustic, customizable label perfect for any pantry item.
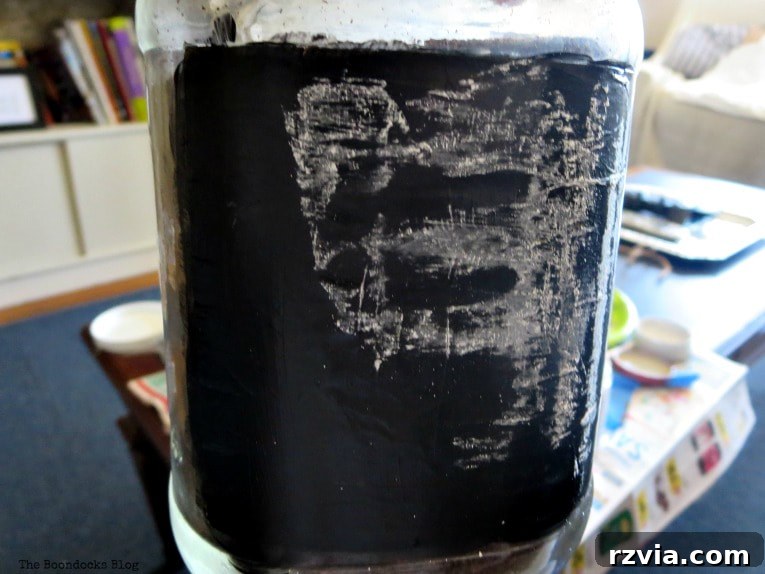
However, as I often share in my DIY adventures, not everything goes according to plan, especially when your mind is partly focused on a captivating TV show! This particular chalkboard label turned out to be an undeniable fail. The finish wasn’t as smooth or as vibrant as I’d hoped, and the overall effect was less “charming rustic” and more “unintentional smudge.” I believe in showing the authentic journey of crafting, warts and all, so you know that even experienced DIYers encounter setbacks. After leaving it overnight and reviewing the photos, it became clear: the chalkboard idea needed to be scrapped, and a fresh approach was required for the coffee jar.
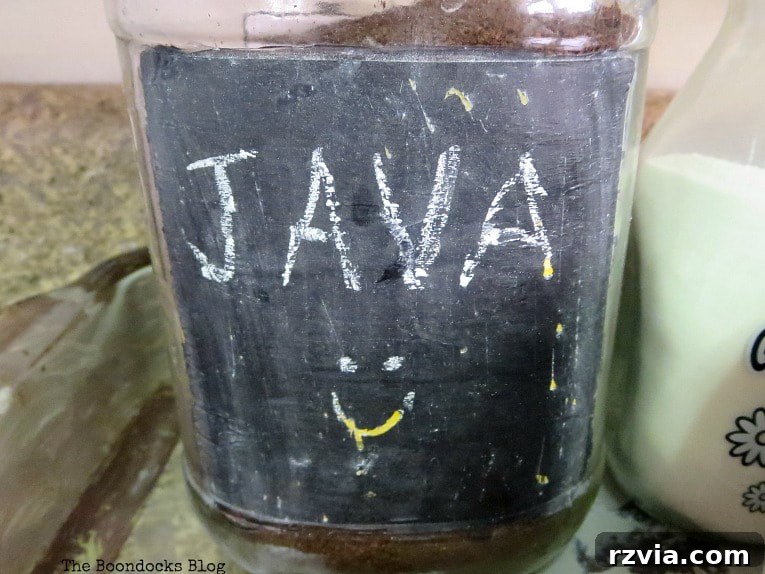
Serendipitously, while contemplating my next move for the coffee jar, I stumbled upon a brilliant idea on Michelle’s blog, A Crafty Mix. Her creative approach offered the perfect solution! I decided to borrow her clever concept for an elegant label. Instead of struggling with paint, I opted for a simple yet highly effective method: printing an image from The Graphics Fairy.
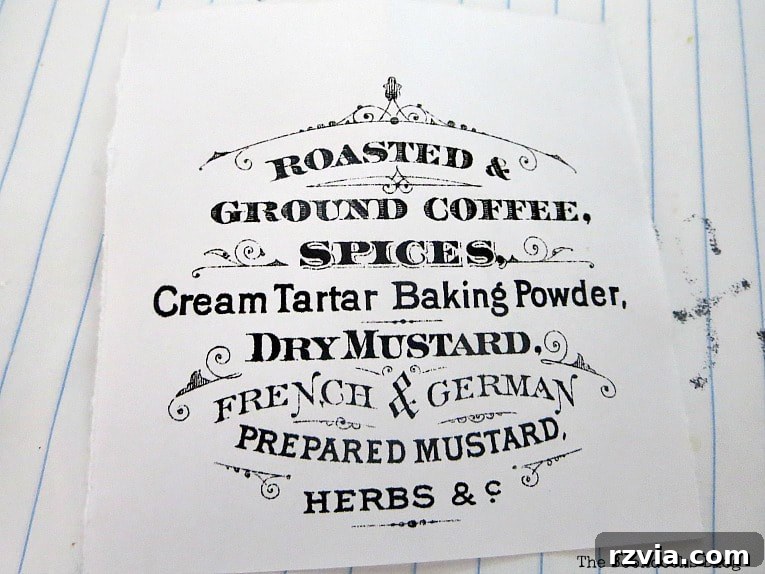
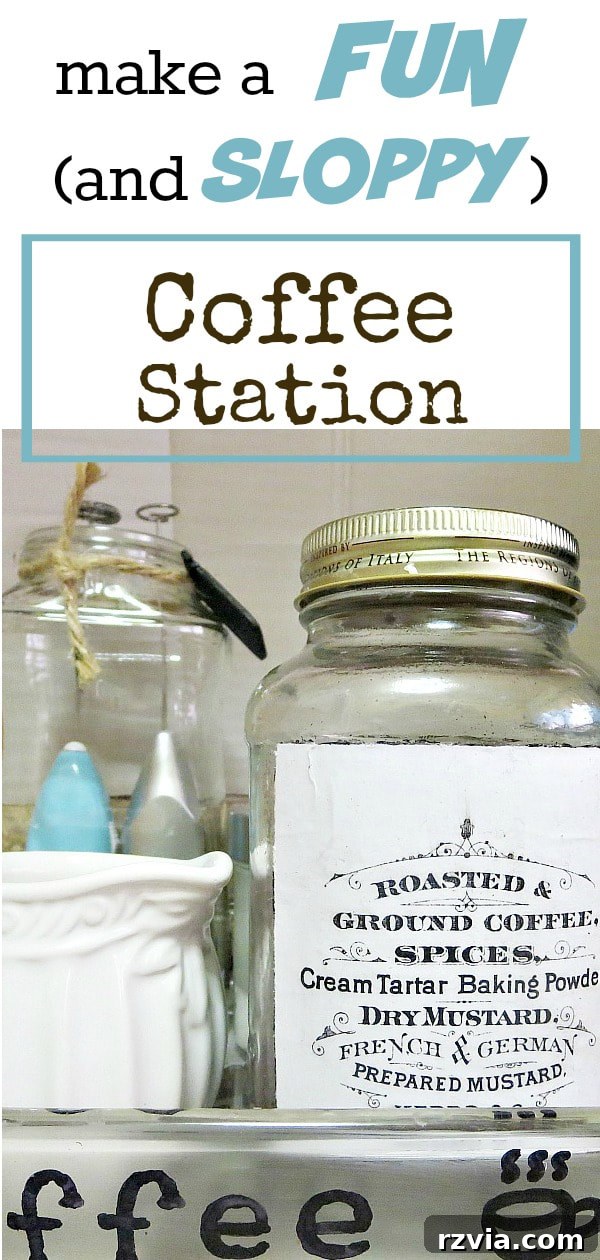
I printed out this beautiful typography coffee sign and then carefully glued it onto the glass jar using Mod Podge. This versatile adhesive and sealer is a DIY essential, known for its ability to create a smooth, durable finish. After adhering the paper, I applied an additional coat of Mod Podge over the top of the label. This step not only seals the paper, protecting it from moisture and wear, but also gives it a lovely, integrated look, almost as if it were printed directly onto the glass. The transformation was instant and impressive: a simple idea yielded a huge, positive difference, turning my “fail” into a polished success!
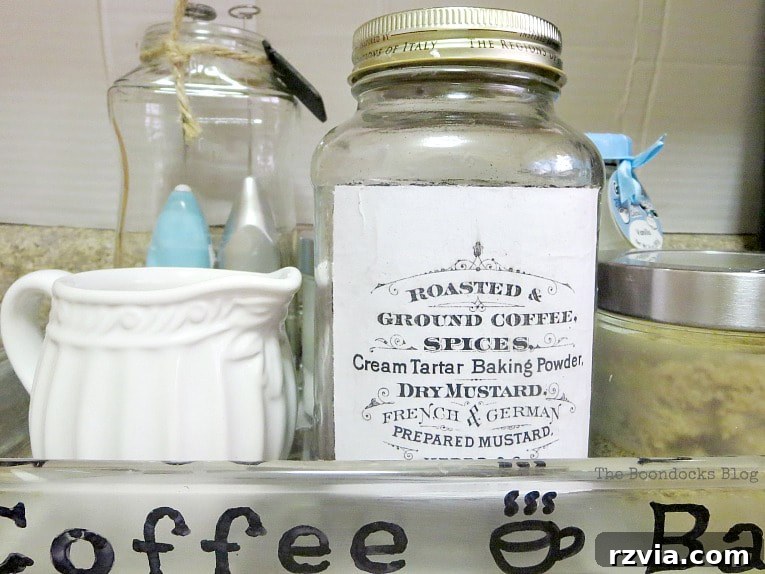
The newly labeled coffee jar looked fantastic, effortlessly stylish, and perfectly aligned with the rustic charm of the upcycled tray. It truly makes a statement, especially when paired with my favorite white pitcher. The cohesive aesthetic instantly elevated the entire coffee station, proving that sometimes, the simplest solutions are the most effective and elegant.
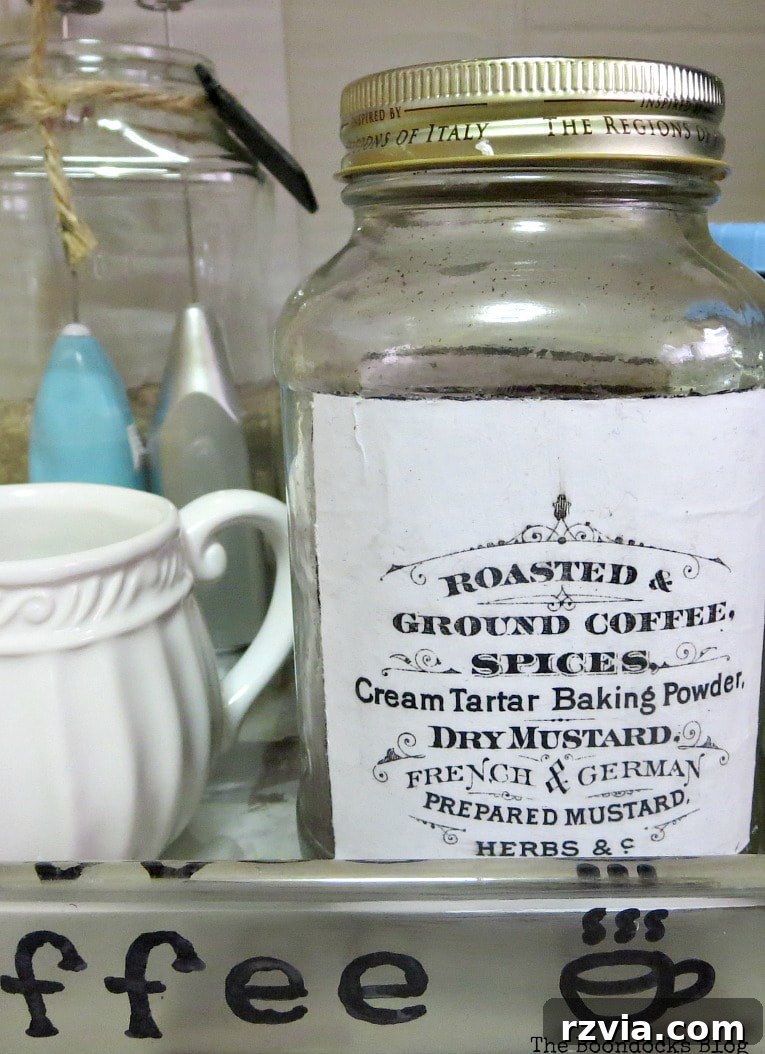
The Perfect Coffee Station: Organized and Stylish
And there you have it – a perfectly charming DIY coffee bar station, ready to house all my essential coffee-related treasures in one convenient, organized spot. No more frantic morning searches for sugar, stirrers, or that elusive coffee scoop! This dedicated space ensures that my mornings start smoothly, free from the grumpiness that often accompanies disorganization.
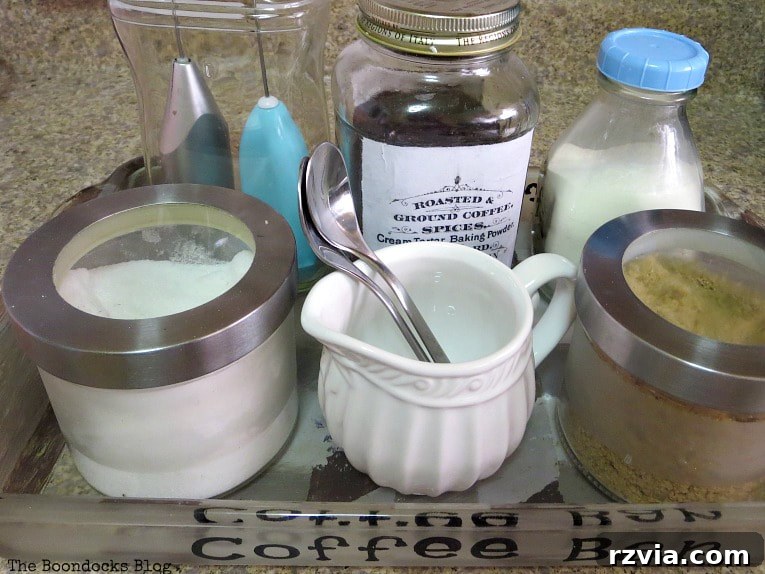
Our new coffee station is thoughtfully stocked with everything we need: various sugars, freshly ground coffee, and a special white powdered mix that my daughter enjoys. The handy stirrers are neatly tucked away, ready for my son’s beloved Frappe preparations. You won’t find any tea boxes here, though! Tea is an entirely different affair in our household, deserving a dedicated shelf within a cabinet to prevent its expansive collection from overwhelming our precious counter space. This carefully curated setup ensures that every item has its place, making our coffee ritual a truly enjoyable and streamlined experience.
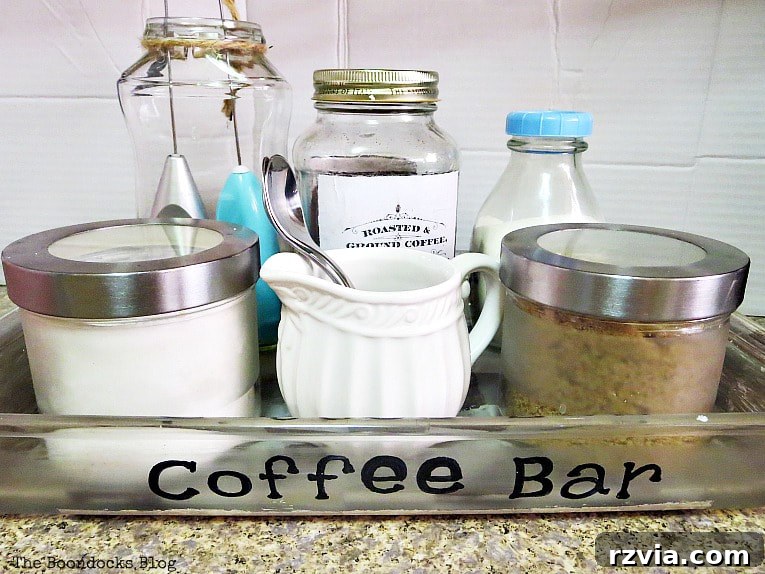
This compact and highly efficient coffee bar doesn’t monopolize valuable counter space, yet it dramatically enhances organization. What started as a simple desire to declutter morphed into a fun, creatively liberating project. Embracing a “sloppy chic” aesthetic allowed me to enjoy the process without the pressure of perfection, proving that sometimes the most charming results come from letting go and having fun. This project was a delightful reminder that DIY should be enjoyable, even if it means a few artistic “mistakes” along the way! The satisfaction of having everything neatly at hand, ready for that perfect cup, is truly invaluable.
Creating this coffee bar felt like quite an adventure, especially with my favorite show playing in the background. Now that the project is complete and I’ve successfully binge-watched my series, I’m already looking for new recommendations! Do you have any fantastic shows you’d suggest for my next crafting session, perhaps while I sip a freshly brewed coffee from my wonderfully organized new coffee station? Share your favorites in the comments below!

More Creative Organizing Ideas for Your Home:
If you loved this upcycling project, explore these other fantastic ideas to bring more order and style into your living space. From desktop solutions to clever bookcase makeovers, these projects will inspire you to transform everyday items into functional art.