
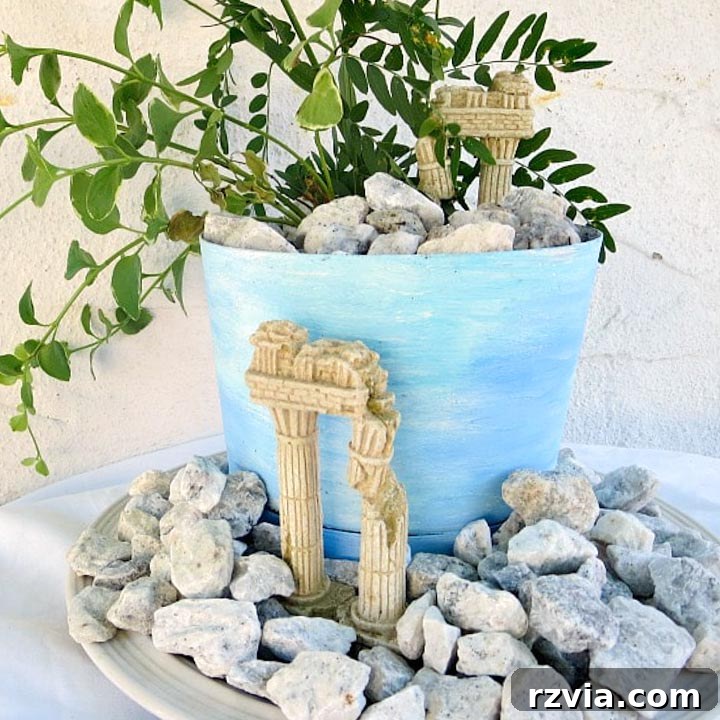
Create Your Own DIY Mediterranean Beach Vignette: A Pebble-Inspired Oasis
Imagine the soothing sounds of the waves, the warm sun on your skin, and the unique feel of smooth, worn pebbles beneath your feet. Wouldn’t it be wonderful to capture that serene coastal feeling and bring it right into your home or patio? With a little creativity and a few simple materials, you can transform an ordinary plastic planter into a captivating beach-inspired vignette. This DIY project is not just about crafting; it’s about preserving cherished memories, especially if you incorporate pebbles and keepsakes from a memorable seaside vacation. Get ready to infuse your space with the timeless charm of the Mediterranean coast, all inspired by the humble pebble.
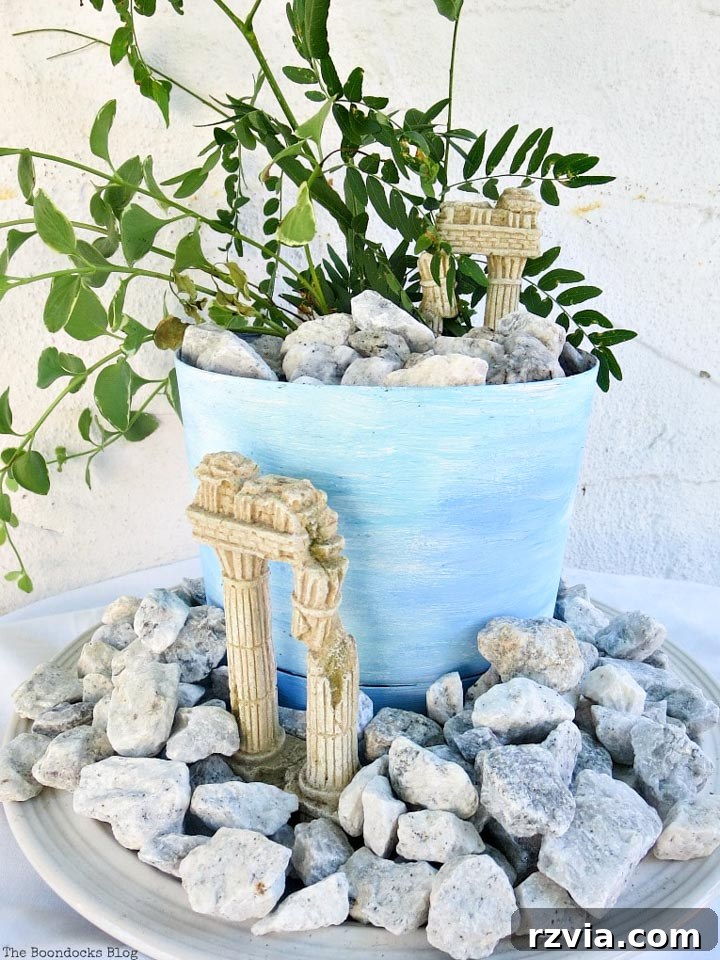
The Allure of Pebbles: My Mediterranean Muse
For me, pebbles hold a deep connection to the beach. Growing up, the stunning coastlines of Greece were not defined by vast stretches of sand, but by an abundance of beautifully smooth, multi-colored pebbles. These natural treasures have always represented the essence of the sea – their rounded forms shaped by countless tides, each one a testament to nature’s artistry. It’s this profound appreciation for pebbles, coupled with my enduring love for the beach, that serves as the primary inspiration for crafting this coastal-style display. This project aims to bring a piece of that Greek seaside magic to my current surroundings, demonstrating how simple, natural elements can evoke powerful memories and transform a living space.
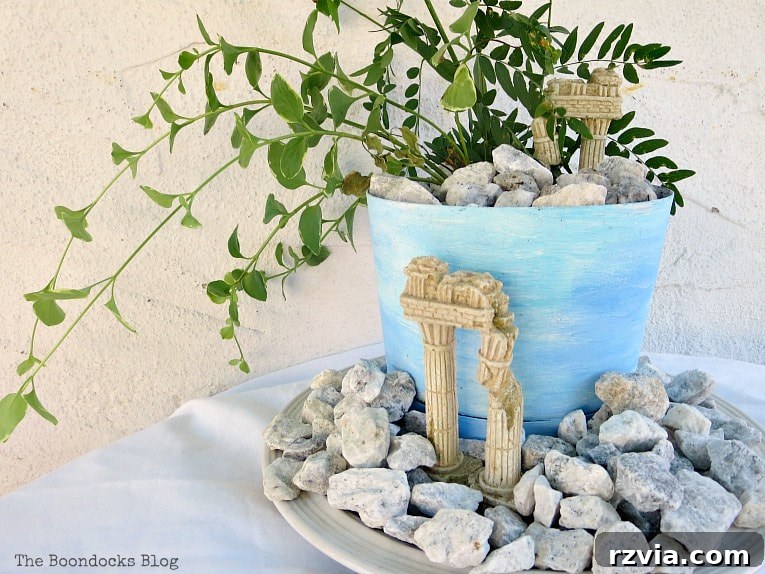
Interestingly, one of the biggest challenges I faced in starting this project was sourcing the right pebbles. In Greece, finding an endless supply of exquisite, naturally tumbled pebbles was as easy as a stroll along the shore. Miles upon miles of gorgeous, variegated stones were freely available, each one telling a story. However, here in New York, the landscape is entirely different. The scarcity of comparable natural pebbles meant I had to explore alternative options, often leading to store-bought varieties that, while functional, lacked the unique character and sentimental value of those Greek shores. This initial hurdle only underscored the preciousness of those beach memories and the lengths one might go to recreate that feeling.
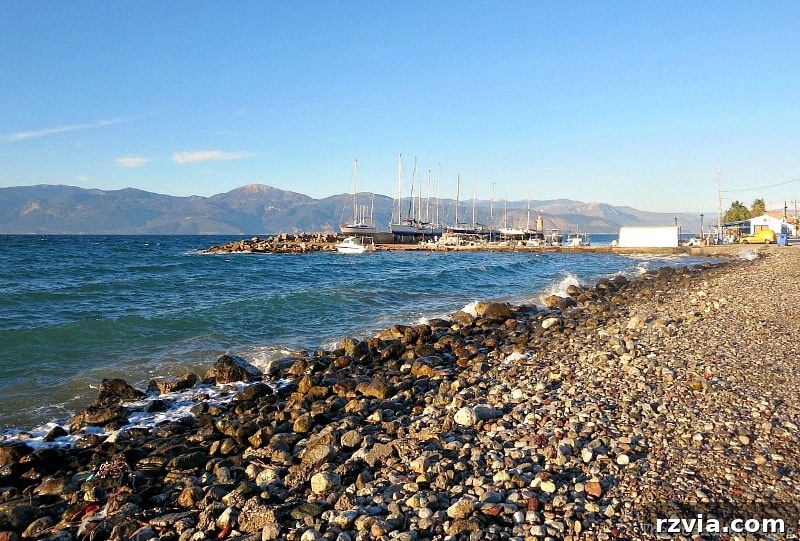
Gathering Your Coastal Treasures: Materials Needed
To embark on your own journey of creating a Mediterranean-inspired beach vignette, you’ll need a collection of items that blend functionality with aesthetic appeal. Many of these can be found around your home, upcycled, or easily acquired, making this a budget-friendly and sustainable craft. Here’s what you’ll need to gather:
- White or Natural Pebbles: These will form the foundation of your beach scene. If you can’t find natural ones, decorative garden pebbles work perfectly.
- Plastic Planter: Choose a simple, inexpensive plastic planter. Its material allows for easy transformation with paint.
- Americana Chalky Finish Paint in “Everlasting” (White): Chalk paint is excellent for achieving a distressed, antique, or weathered look, perfect for a coastal aesthetic.
- Acrylic Craft Paints in Blue Hues: Varying shades of blue will help create depth and mimic the colors of the sea and sky, essential for a Mediterranean vibe.
- A 12-inch Plate: This will serve as the base for your vignette, providing a sturdy and contained area for your display.
- Plant and Potting Soil: Choose a plant that thrives in a planter and complements the coastal theme, such as a trailing vine or a small succulent.
- Two “Ruins” or Miniature Ancient Structures: These unique elements add a touch of historical charm, reminiscent of ancient Mediterranean sites. Think small decorative pieces or old aquarium ornaments.
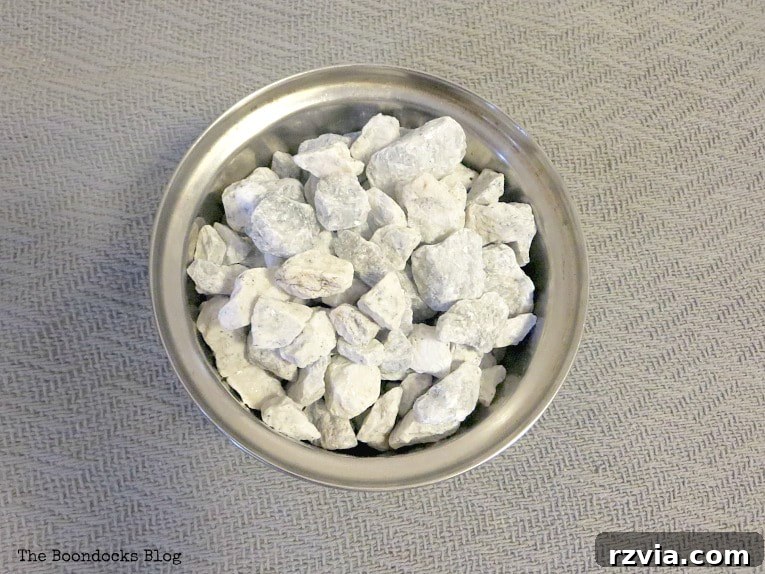
The pebbles I ultimately found were a bit of an accidental discovery. During one of my daily dog walks, I spotted a small pile and, with a quick chat with my neighbor, “borrowed” a few. While they didn’t quite capture the vibrant spirit of my Greek pebbles, their neutral tones offered a perfect canvas for this project. At that moment, I wasn’t entirely sure what their destiny would be, but their presence felt serendipitous, guiding me towards this creative endeavor. Bringing them home was the first step in envisioning this coastal transformation.
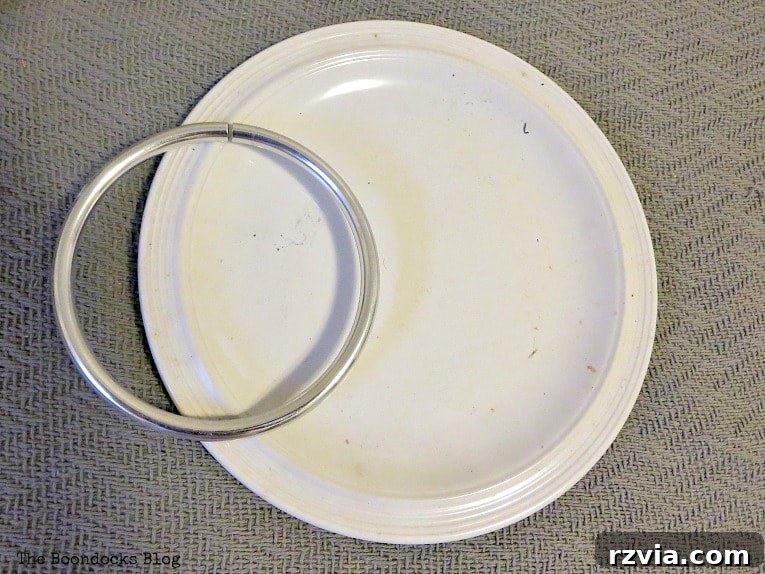
Initially, I also had plans for a plate and a metal ring, which I envisioned wrapping in twine. However, as often happens in a bustling household, my playful puppy decided that the twine-wrapped ring made for an excellent new toy, thus ending that particular design path! Flexibility is key in DIY projects, and sometimes the unexpected leads to even better ideas.
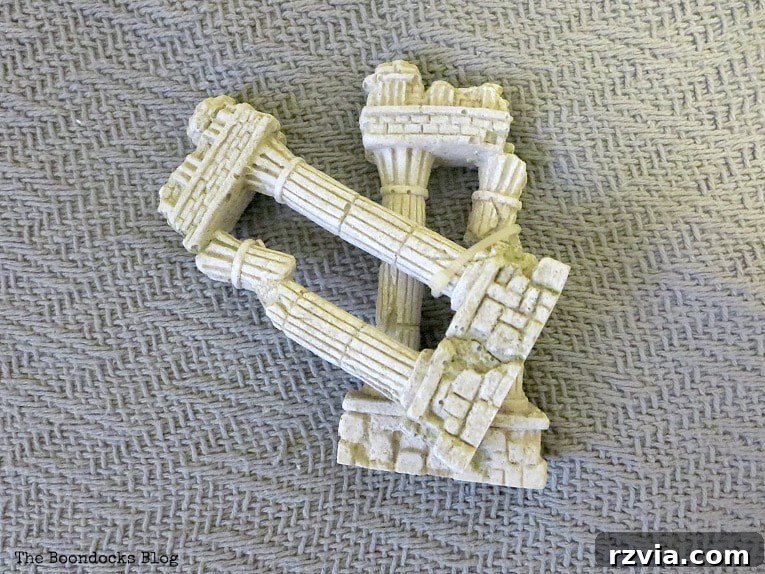
The “ruins” are another fascinating element with their own story. These miniature structures were originally part of my son’s fish tank. After they were retired from their aquatic duties, they found themselves relegated to a forgotten corner of a drawer. Recognizing their unique potential for adding an ancient, archaeological feel to my Mediterranean theme, I salvaged them. These seemingly discarded items are now poised to become focal points, adding depth and a sense of history to the beach vignette.
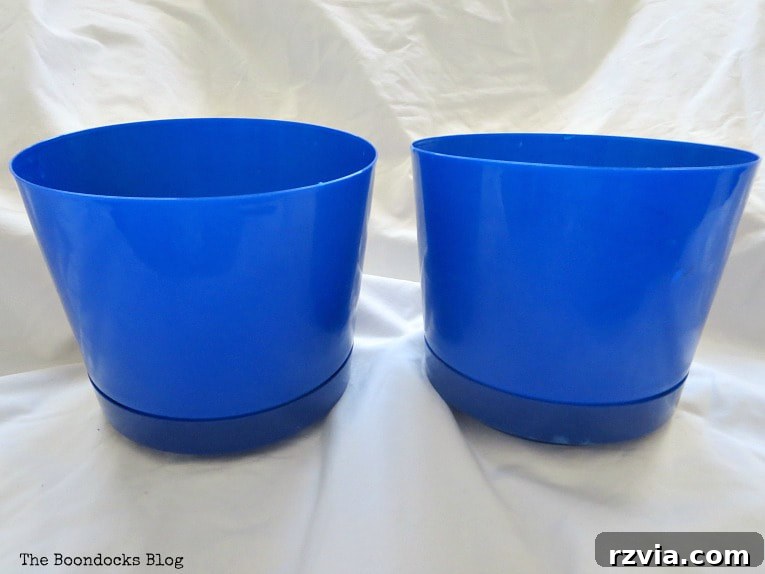
The plastic planters themselves were a bargain find from the Dollar Store, purchased some time ago with future projects in mind. Their simple design and affordable price point make them ideal candidates for upcycling and creative transformation. For this particular beach vignette, I selected one of these unassuming planters, ready to give it a complete Mediterranean makeover.
From Ordinary to Ocean-Inspired: Step-by-Step Guide
Transforming these simple materials into a charming coastal display is a straightforward and enjoyable process. Follow these steps to create your own DIY Mediterranean beach vignette.
Step 1: Preparing Your Planter – The Coastal Canvas
The first step involves painting the plastic planter to give it that authentic, weathered coastal appearance. I began by applying a generous layer of Chalky Finish Paint in white. The beauty of chalk paint lies in its ability to adhere well to various surfaces without extensive prep, and it dries to a matte, slightly textured finish. I applied it quite thickly, deliberately not striving for a perfectly smooth or pristine coat. The goal was to create a rough, almost stucco-like texture, reminiscent of aged buildings found along the Mediterranean coast. This initial white layer serves as a perfect base, ready to be layered with color and character.
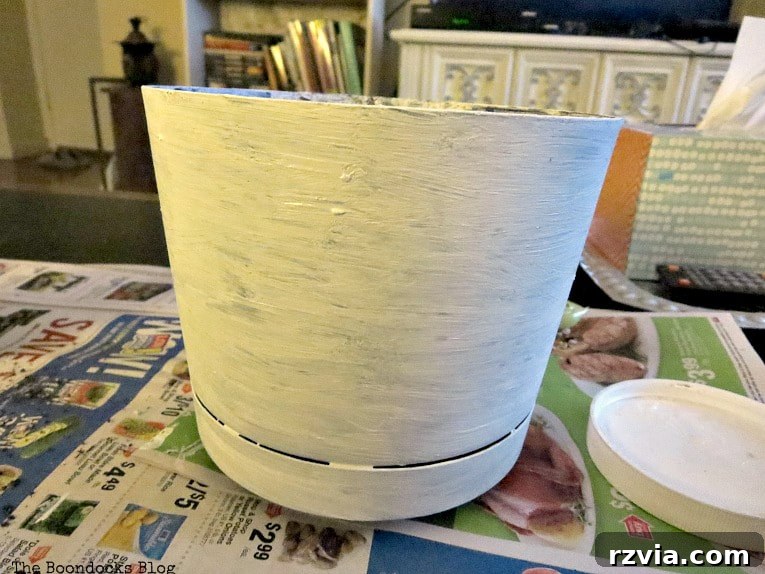
Step 2: Infusing Mediterranean Hues
Once the white base coat was dry, it was time to introduce the vibrant colors of the Mediterranean. I mixed a few shades of blue acrylic craft paint with a small amount of the white chalk paint. This technique helped soften the blues and allowed them to blend seamlessly, creating a beautifully mottled and authentic look. I then lightly brushed this custom blue mixture over the white planter. The goal was not full coverage, but rather a layered effect, allowing hints of the white to show through. This layering gives the planter a naturally aged, sun-bleached appearance, perfectly mimicking the charming patinas found on buildings and pottery along the Greek Isles. It’s this subtle blend of colors that truly captures the essence of a beachy Mediterranean vibe.
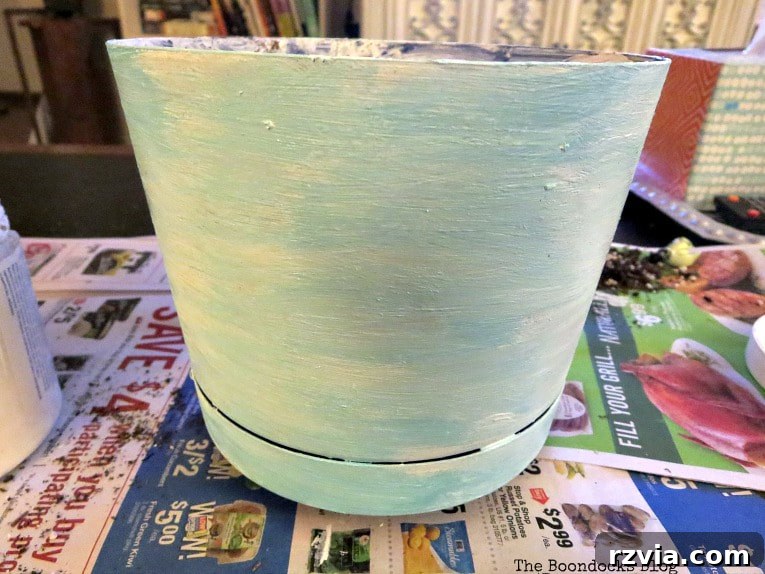
Step 3: The Heart of the Vignette – Arranging Pebbles and Planter
With the planter painted and drying, the next step involves assembling the core elements of your vignette. I used the 12-inch plate as a stable and contained base for the entire display. Once the plate was in position, I carefully placed the newly painted planter centrally upon it. This provides a strong focal point. Next, I began to surround the planter with the collected pebbles. Arranging them loosely but purposefully, ensuring they completely cover the base of the plate and create a natural, organic bed around the planter. The varying textures and subtle colors of the pebbles instantly evoke the feeling of a sun-drenched beach, forming a perfect backdrop for the coastal scene.
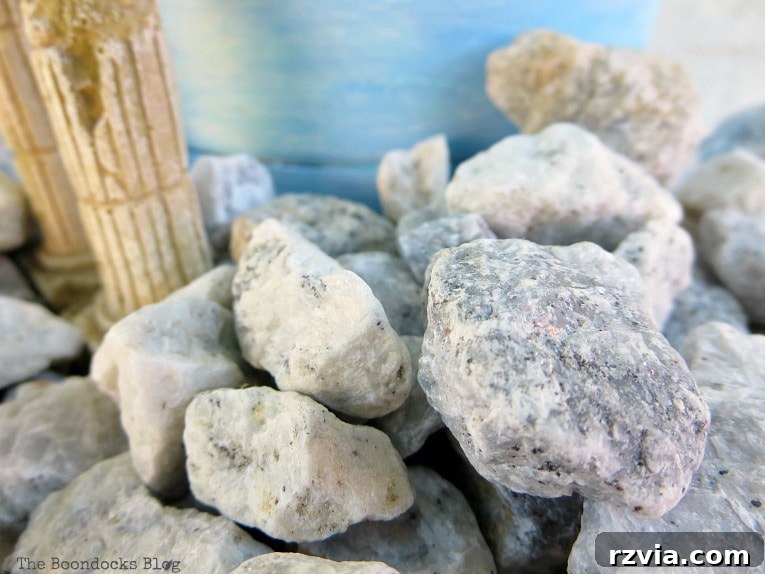
Step 4: Incorporating Personal Touches – Ancient Ruins and Greenery
This is where the vignette truly comes to life with unique personality and narrative. I strategically placed the “ruins” amongst the pebbles, giving the impression of ancient structures peeking out from a seaside landscape. Their placement wasn’t random; I aimed for a balanced composition that suggested a history within the scene. As an alternative decorative touch, I also considered adding glass accent gems to the pebbles. While they offer a different kind of sparkle, I ultimately decided that the rustic charm of the ruins better suited the Mediterranean aesthetic I was aiming for. What do you think, would the glass gems have enhanced or detracted from the look?
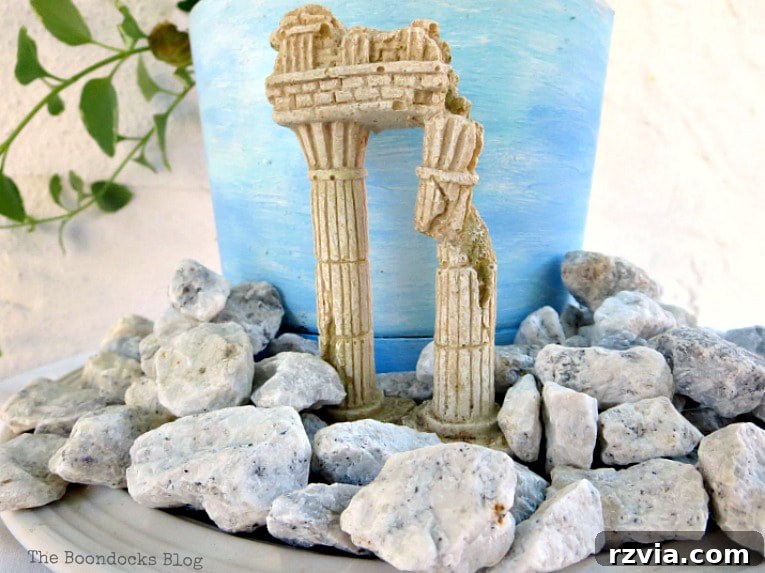
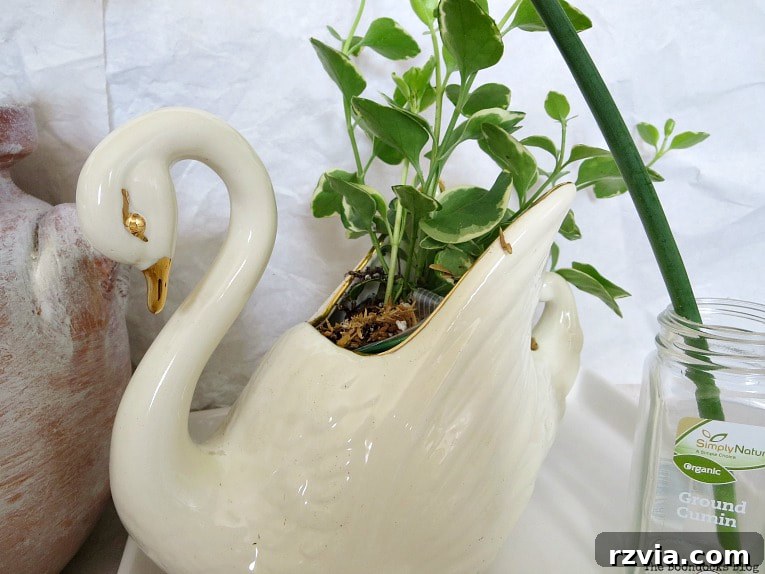
You might remember this particular planter from my earlier post on unusual planter ideas. It once housed a thriving vinca vine, but over time, the plant grew too large for its original container, becoming quite cramped and uncomfortable. This project presented the perfect opportunity to give the vinca vine a new, more spacious home and a fresh setting.
With the new planter painted and the base set, I carefully replanted the vinca vine into the plastic planter. After settling the plant with fresh soil, I added another layer of pebbles on top of the soil, not only for aesthetic appeal but also to help retain moisture. To further enhance the ancient, beachy feel, I incorporated an additional small “ruin” among the pebbles around the base of the plant. Finally, I embellished the scene with another small plant, carefully chosen to complement the vinca vine and add another layer of natural beauty and texture to this charming coastal display. The combination of lush greenery, natural pebbles, and weathered ‘ruins’ creates a miniature landscape that truly transports you to the Mediterranean.
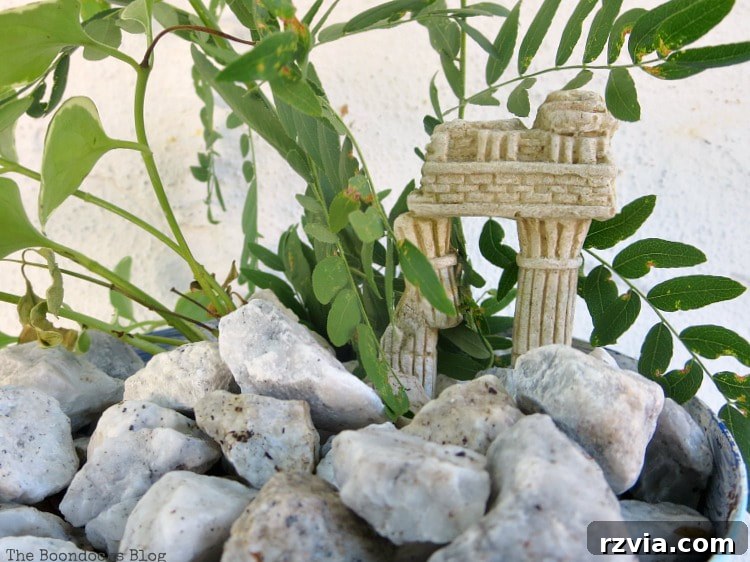
Now, my beloved vinca vine has ample room to breathe, spread its roots, and flourish, truly thriving in its new, aesthetically pleasing home!
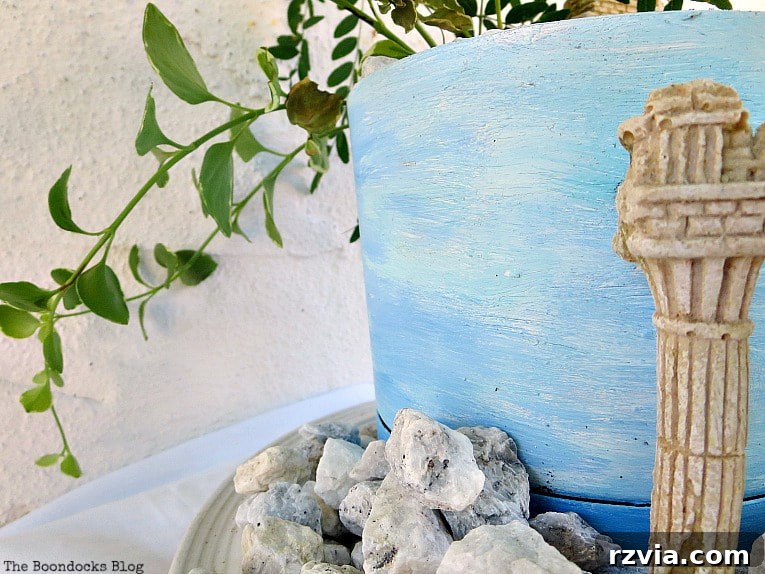
And with all these elements combined, the setting is unmistakably Greek Mediterranean, evoking the sun-drenched landscapes and ancient histories of that beautiful region!
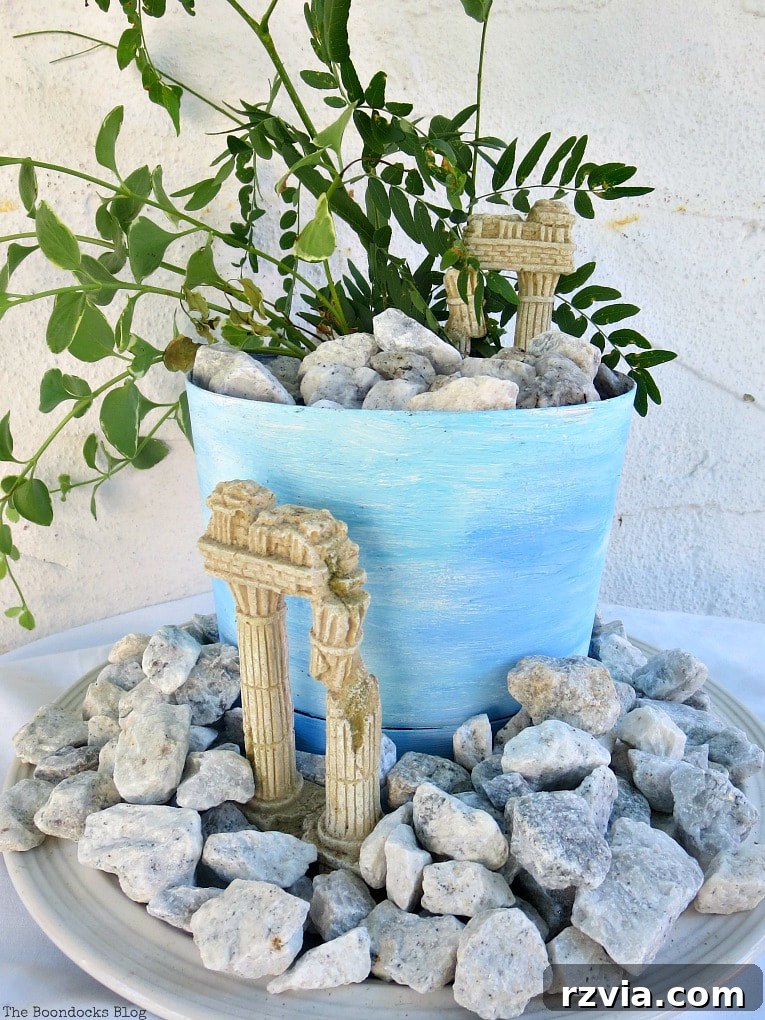
Bringing Greece Home: The Final Touch
This simple DIY project is a small yet significant way to infuse a piece of Greece, and its tranquil coastal beauty, directly onto my patio. Every glance at this charming vignette transports me back to those pebble-strewn beaches and ancient landscapes. It’s a testament to how personal touches and sentimental items can elevate everyday decor into something truly meaningful. Whether it’s a memory of a cherished trip or simply an appreciation for coastal aesthetics, this planter vignette serves as a constant reminder of serene shores.
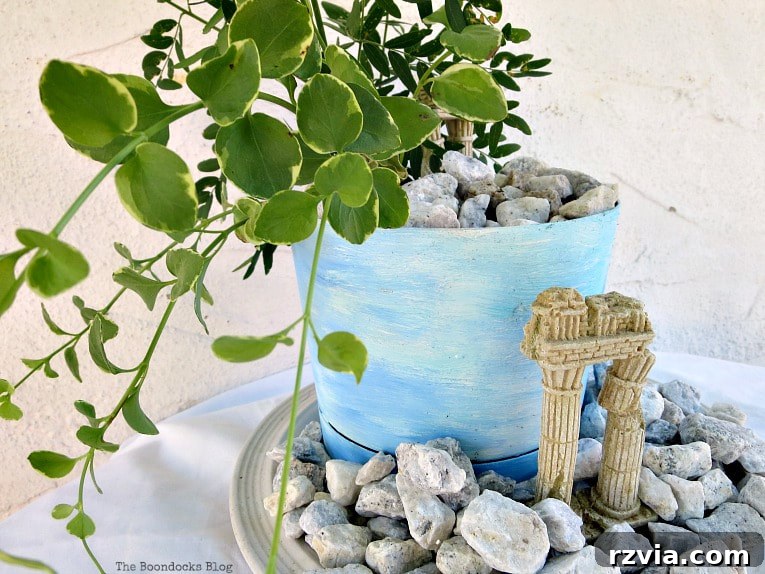
I am particularly delighted that my son had the foresight to save those little “ruins.” He usually has a knack for decluttering everything, so their survival was a fortunate coincidence. Previously, I might have overlooked their potential, seeing them as mere discarded trinkets. But now, gracefully combined with the natural pebbles and vibrant greenery, they truly shine. They add an unexpected, fun, and historically rich element to the planter, transforming it from a simple decorative piece into a miniature storytelling landscape. It’s amazing how context can completely redefine an object’s value and beauty.
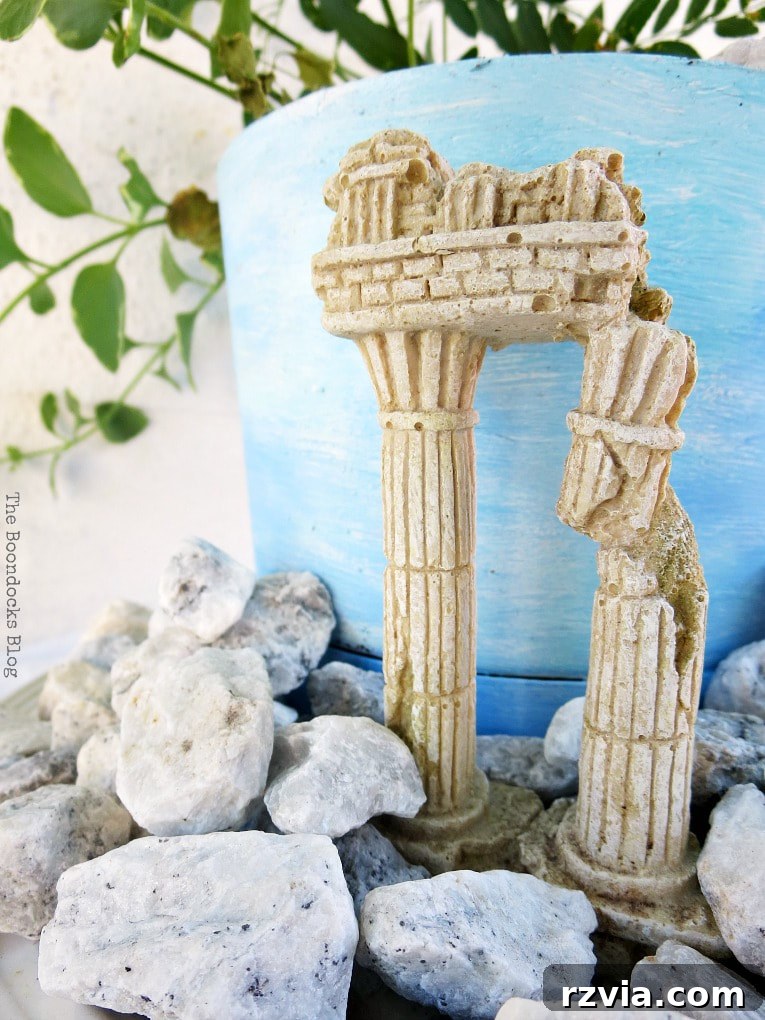
When you encounter pebbles, what memories or inspirations do they spark for you? For many, they might just be stones, but for some, like me, they are powerful conduits to memories of the sea and sun. It’s not always obvious how a collection of smooth stones can inspire a deep affection for the beach, but I hope this project illustrates the journey to that conclusion. This DIY planter vignette is more than just a decoration; it’s brimming with the essence of Mediterranean sunshine, bringing warmth, history, and natural beauty into any space. It’s a reminder that even the simplest elements can tell a rich story and evoke cherished feelings.
Do you ever find yourself incorporating natural elements like pebbles into your own home decor or craft projects? Share your creative ideas in the comments below!

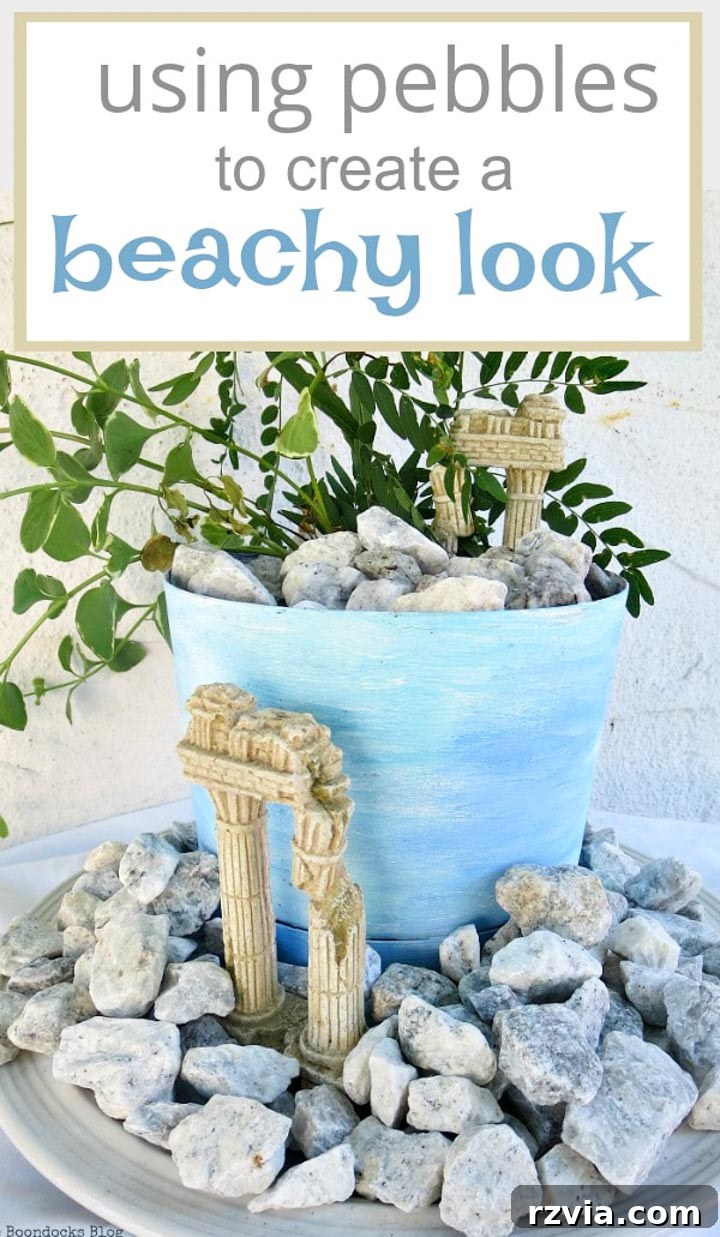
If you enjoyed this creative journey and want to discover more inspiring DIY projects and upcycling adventures, be sure to subscribe to my blog! You’ll receive all the latest content delivered directly to your inbox. Look for the subscription form conveniently located on the sidebar or at the top of the page. For details on my privacy practices, please click here.
This blog content is provided for entertainment purposes only, and the DIY tutorials presented herein do not constitute professional advice. Always exercise caution and use appropriate safety measures when undertaking any craft or home improvement project. For a complete understanding of our disclaimer, please click here.