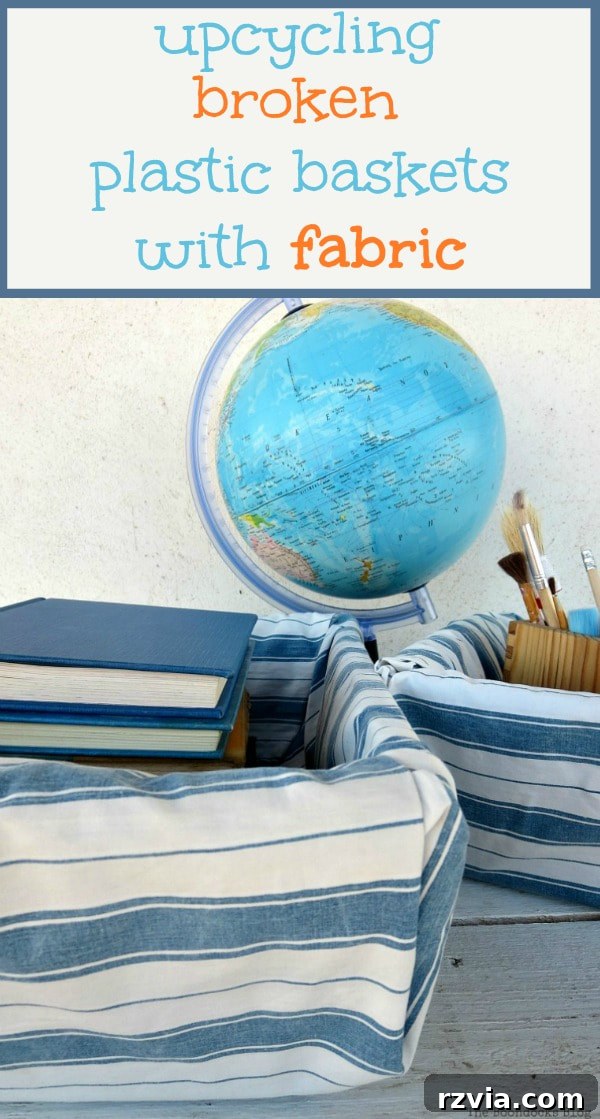
Are you tired of staring at those drab, damaged, or simply uninspiring plastic baskets cluttering your home? Do you wish there was a simple, budget-friendly way to transform them into chic, functional storage pieces that perfectly complement your decor? You’re in luck! This ultimate guide to fabric-wrapped plastic basket upcycling is a quick, easy, and incredibly rewarding home organization idea. Get ready to learn how you can effortlessly update your broken, cheap, or old plastic baskets, giving them a new lease on life and infusing your living spaces with a touch of personalized style.
There’s nothing quite like the satisfaction of turning something old into something new, especially when it results in a practical and aesthetically pleasing addition to your home. This particular project was born out of a creative challenge with my fellow global bloggers, the International Bloggers Club. Each month, we explore different themes, sharing our unique perspectives and DIY approaches from various corners of the world. This time, our focus was on crafts involving baskets, and I knew immediately I wanted to tackle a common household dilemma: the sad, often broken, plastic basket.
While I’ve dabbled in basket makeovers before – a simple coat of chalk paint can work wonders for an uninspired piece – I wanted to push the boundaries a bit further for this challenge. Instead of a straightforward paint job, I aimed for a transformation that would not only enhance the visual appeal but also cleverly conceal imperfections. This project focuses on upcycling those plain, often flimsy, plastic baskets with fabric, offering a sophisticated and durable solution to common storage problems. Join me as I demonstrate how easily you can breathe new life into even the most broken plastic basket, turning it into a stylish storage essential.
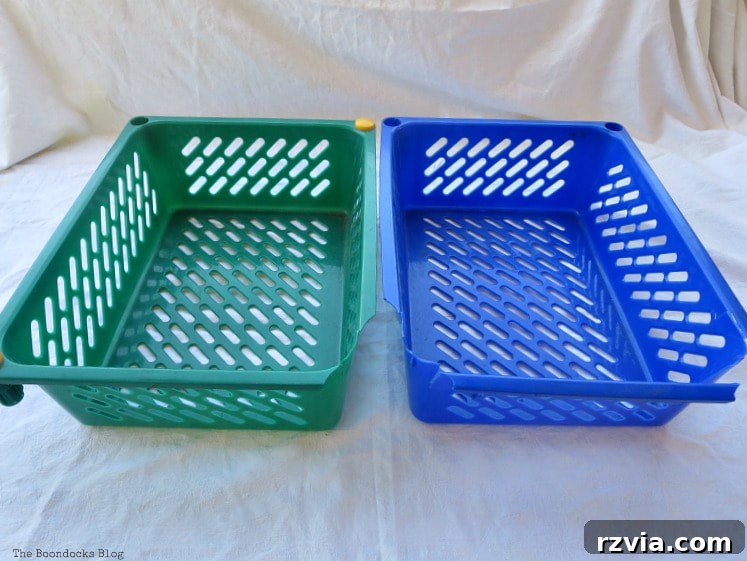
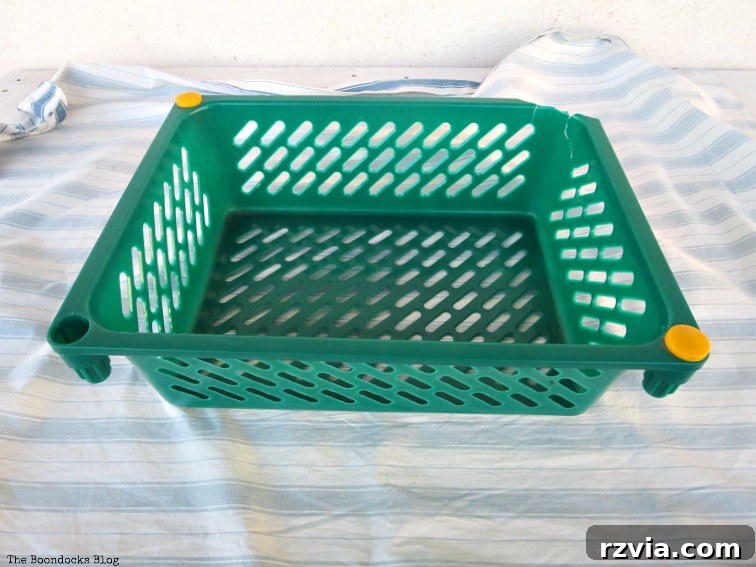
The inspiration for this project came from a couple of plastic baskets I had that were certainly past their prime. While they remained highly practical for storage and transport, their appearance was far from ideal. They were missing edges in several places, particularly the blue basket which had significant damage along its front rim, and the inner corners showed signs of wear. These imperfections made them look tired and neglected, unsuitable for visible storage in a neatly organized space. My goal was to completely disguise these flaws, making the baskets look intentionally designed and perfectly integrated into my home decor.
Why Choose Fabric for Your Basket Upcycle?
Upcycling with fabric offers a myriad of benefits beyond just aesthetic improvement. Firstly, it’s an incredibly sustainable approach, diverting plastic waste from landfills and extending the lifespan of functional items. Secondly, it’s highly cost-effective, often utilizing fabric scraps, old curtains, or inexpensive remnants you might already have. Most importantly, fabric allows for unparalleled customization. You can choose patterns, textures, and colors that perfectly match your home’s existing aesthetic, transforming a generic plastic item into a bespoke design piece. This method not only hides structural damage but also adds a layer of softness and warmth that plastic alone cannot provide, elevating the basket’s perceived value and usability.
Materials Needed To Upcycle a Plastic Basket
Disclosure: This post contains affiliate links for your shopping convenience. If you purchase any of these products through the links, we receive a small commission at no extra charge to you. You can find our full disclosure here.
Gathering the right materials is the first step to a successful upcycle. While the list is simple, your choices can significantly impact the final look and feel of your transformed baskets:
- 2 Plastic Baskets: Any size or shape will do, even those with visible damage. The beauty of this project is its ability to conceal flaws.
- Fabric of Your Choosing: This is where your creativity shines! Consider patterns, colors, and textures that align with your home decor. For this project, I used remnants from an old curtain, which proved to be a good way to recycle. While I initially considered denim, it can be quite stiff and challenging to work with on this type of project. Softer fabrics like cotton, linen, or even worn denim would be easier. Ensure you have enough fabric to cover the entire basket, with ample allowance for folding over edges.
- Fabric Glue or Needle and Thread: While needle and thread offer a more traditional, durable finish, fabric glue provides a much quicker and often less frustrating alternative, especially when dealing with rigid plastic or tougher fabrics. Hot glue can also be a viable option for quick adhesion.
- Scissors: Essential for precise cutting of your fabric.
- Measuring Tape or Ruler: For accurate fabric measurements.
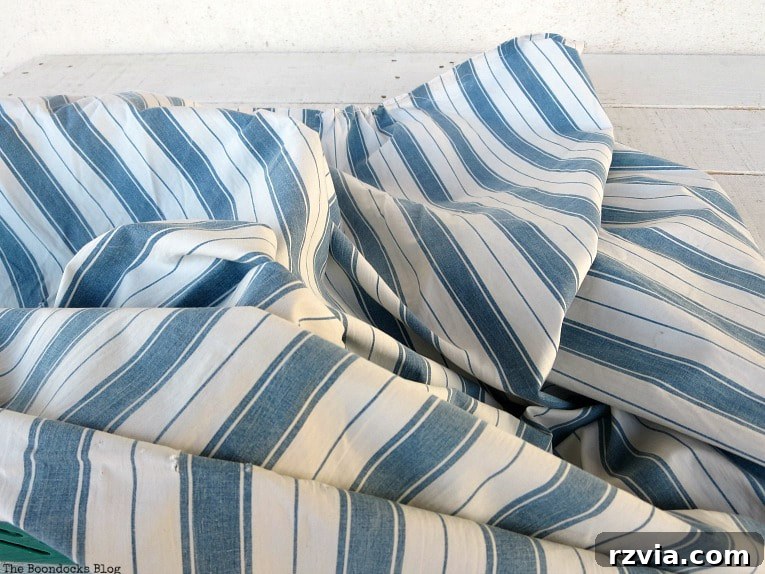
I needed a foolproof method to hide those unsightly missing edges, and the leftover curtain fabric I found was a perfect candidate. It had a lovely blue stripe pattern that I knew would add a fresh, nautical touch. As mentioned, I originally envisioned using denim for a rustic look, but after a quick attempt, I realized its rigidity made it incredibly difficult to maneuver around the basket’s structure. Perhaps a softer, well-worn denim in a future project would be more suitable. For now, this sturdy yet pliable curtain fabric was the ideal choice.
How To Upcycle Plastic Baskets: A Step-by-Step Guide
Transforming your plastic baskets with fabric is a straightforward process, even for beginner crafters. Follow these detailed steps to achieve a professional and seamless finish:
Step 1: Prepare Your Fabric and Basket
Before you begin, ensure your plastic baskets are clean and dry. Lay your chosen fabric flat. The very first crucial step is to accurately measure your fabric. You need to ensure that when the basket is placed in the center, there’s enough fabric to completely wrap around all four sides and extend over the top rim by at least 1-2 inches (2.5-5 cm), allowing for a neat fold-over into the basket. This extra allowance is vital for hiding any broken edges and creating a clean finish. Cut your fabric to these dimensions, making sure it’s a rectangle large enough to cover the entire surface area of the basket.
Step 2: Start Wrapping and Securing the Sides
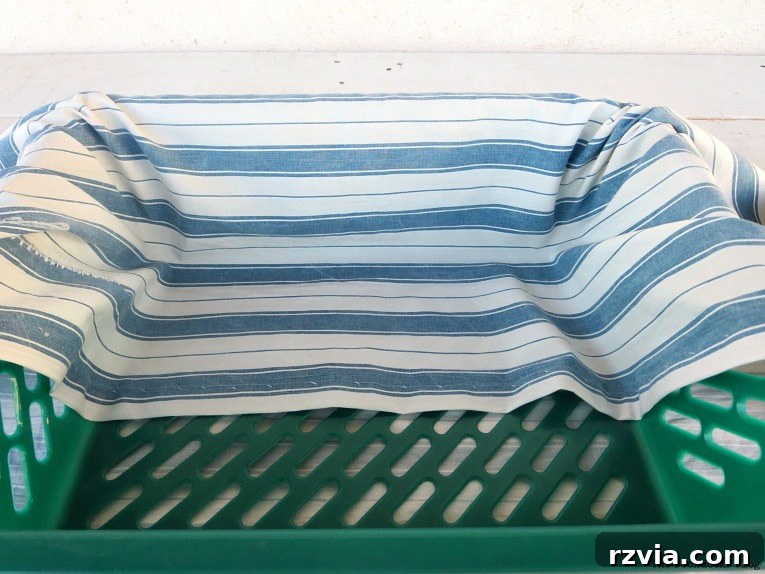
Position your plastic basket squarely in the center of your cut fabric. Begin by folding one of the longer sides of the fabric up and over the rim of the basket. Carefully smooth the fabric down along the inside surface. My initial thought was to sew the fabric through the existing holes in the plastic basket. However, I quickly discovered this was incredibly difficult and impractical due to the rigid nature of both the basket and the fabric (a chintz with a glossy, albeit faded, finish).
Step 3: Embrace the Glue!
After a few frustrated attempts and pricked fingers, I decided to switch to fabric glue – a much wiser choice for this project! Fabric glue provides a strong, lasting bond without the struggle of stitching through tough materials. Apply a generous, even layer of fabric glue along the inside rim and inner wall of the basket where the fabric will adhere. Press the folded fabric firmly into place, ensuring it is smooth and wrinkle-free. Repeat this process for the opposite long side of the basket, making sure to pull the fabric taut to avoid any sagging.
Step 4: Master the Corners (The “Gift Wrap” Technique)
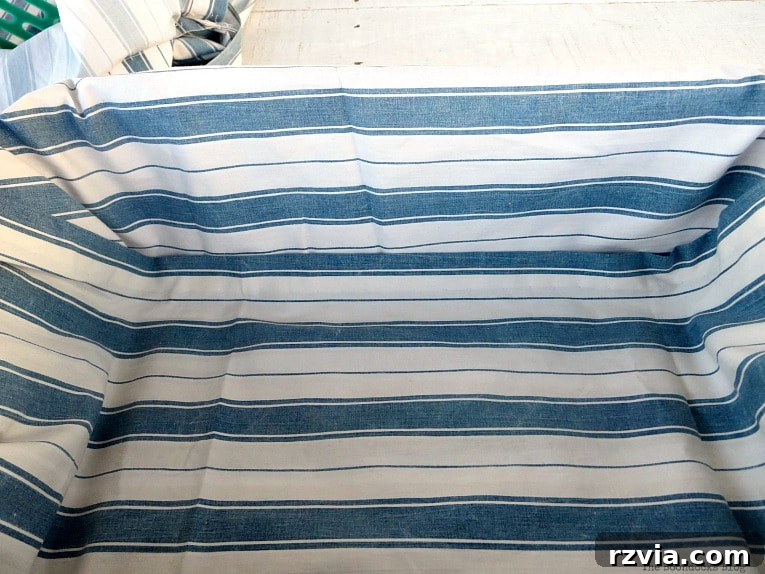
Once the long sides are secured, it’s time to tackle the shorter ends and corners. Think of this step like wrapping a gift. Flip up the remaining fabric on one of the shorter sides. You’ll notice excess fabric at the corners. Carefully fold these corners inwards, creating a crisp, diagonal fold. This method helps to minimize bulk and create a clean, tailored finish. The goal is to make these folds as neat as possible, mimicking the clean lines of a well-wrapped present.
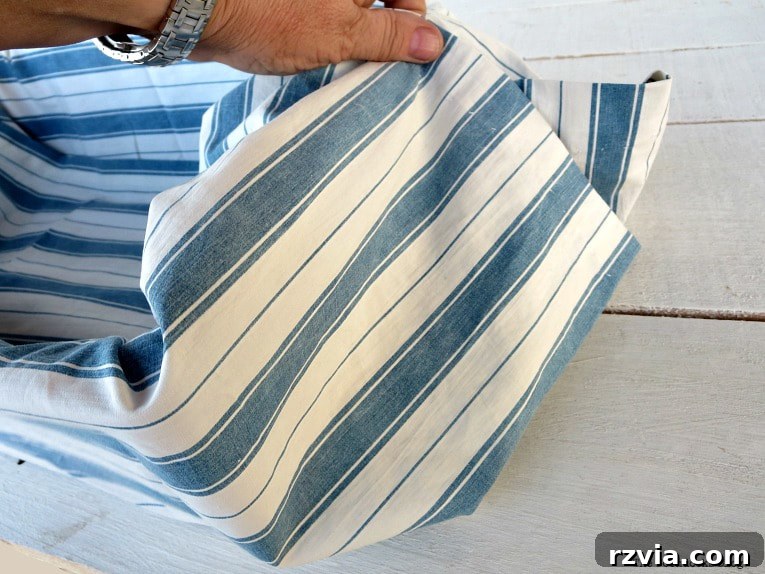
Step 5: Secure the Short Sides and Bottom
With your corners neatly folded, pull the remaining fabric over the rim of the basket and down into the interior, just as you did with the long sides. Apply fabric glue generously to the inside of the basket where this fabric will attach, including along the bottom edge where the fabric will meet the base. Press the fabric firmly into place, smoothing out any air bubbles or wrinkles. Ensure that all raw edges are tucked under and secured, especially if you’re trying to hide broken plastic rims. This creates a fully covered, polished interior. Repeat this process for the final short side of the basket.
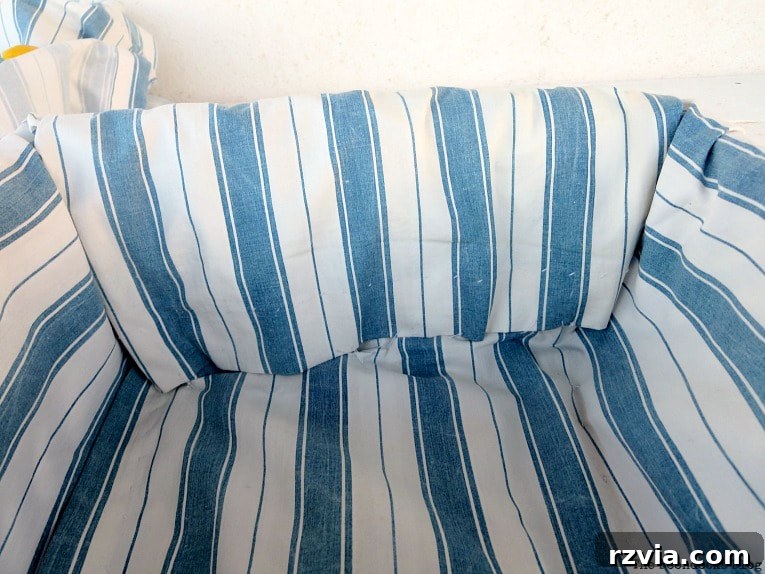
Step 6: Allow to Dry
Once all sides and corners are glued, allow the baskets ample time to dry completely according to your fabric glue’s instructions. This usually takes a few hours, but it’s best to leave them overnight to ensure a strong, lasting bond. Rushing this step could result in the fabric coming loose, especially if the baskets will hold heavier items.
The Big Reveal: A New Lease on Life for Your Baskets
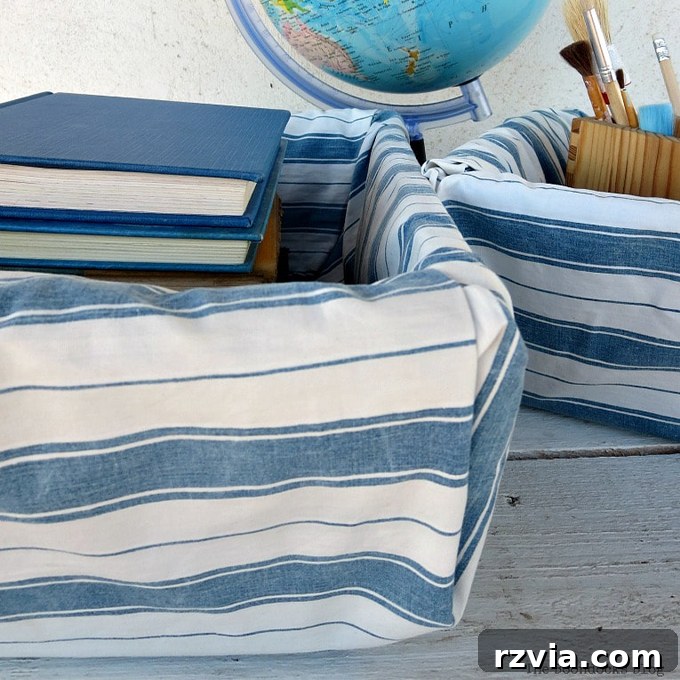
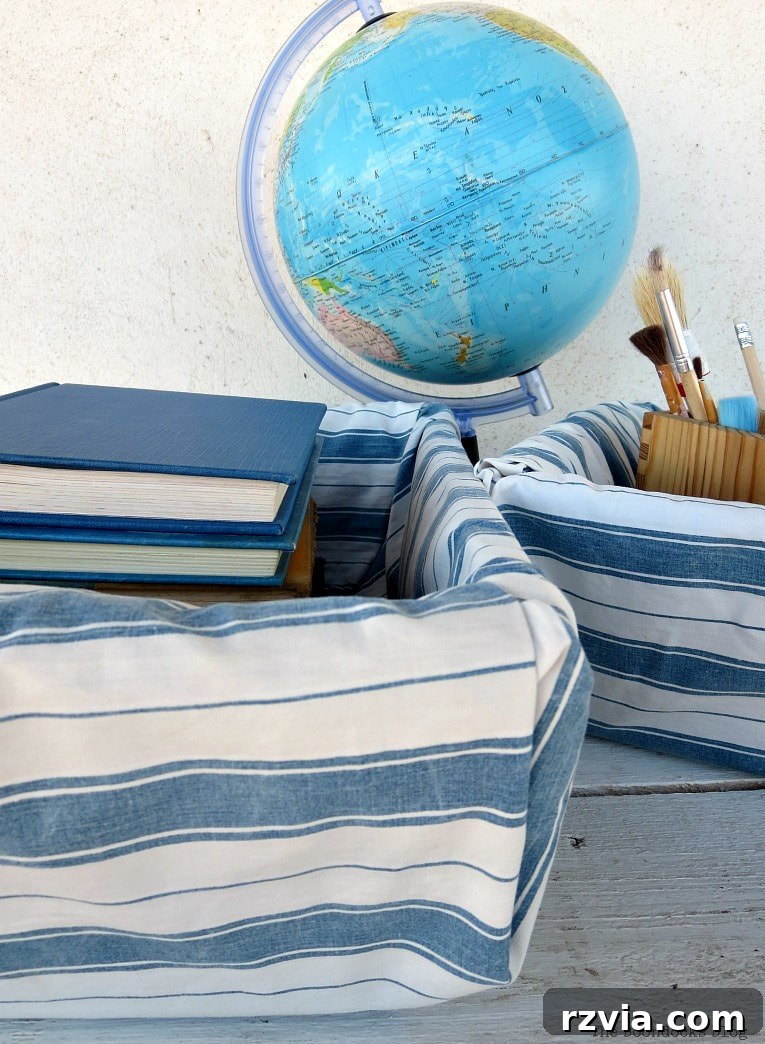
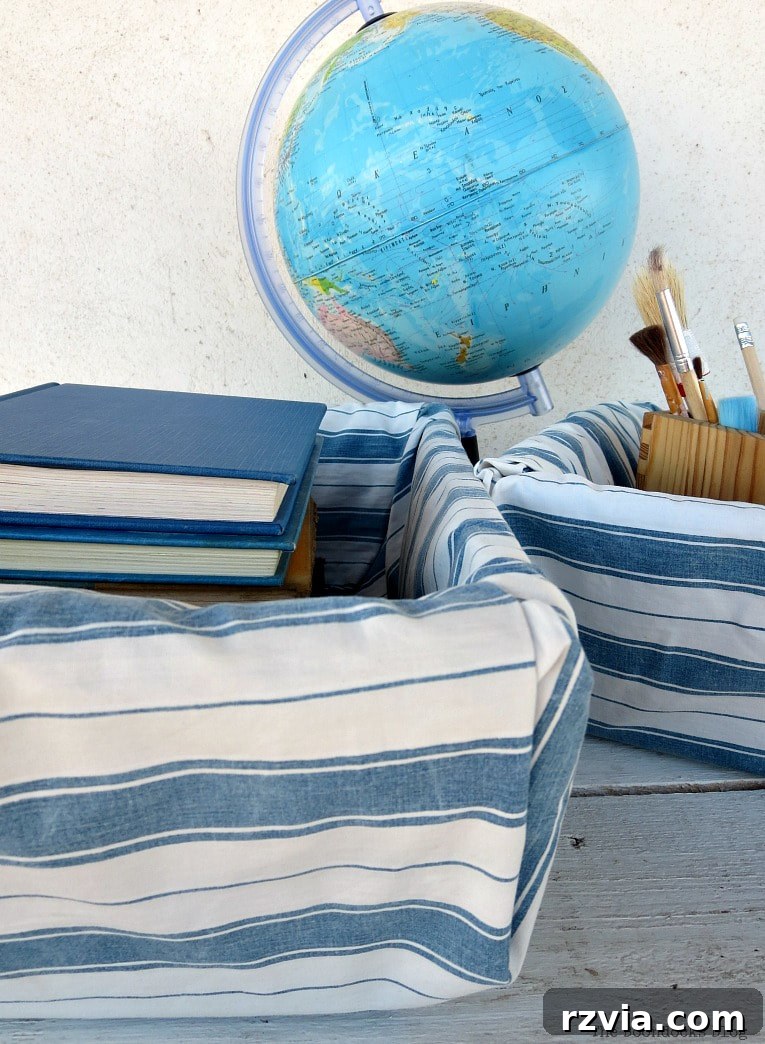
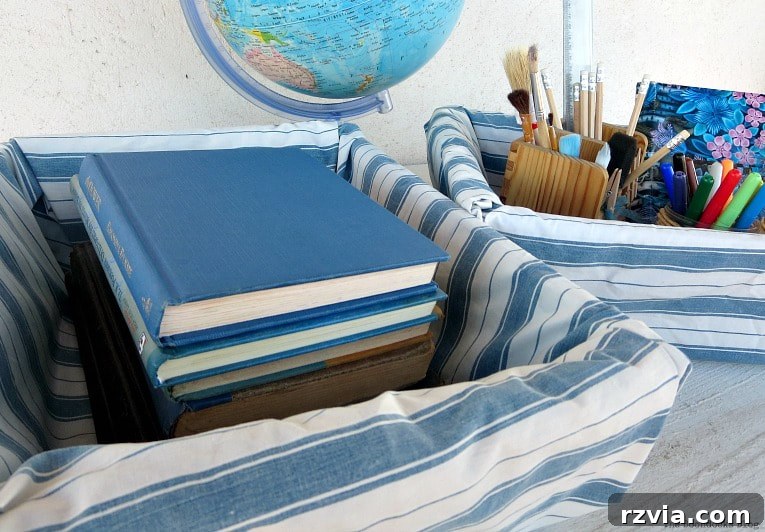
The transformation is truly remarkable! With just a few simple steps, my once broken and unsightly plastic baskets were completely reborn. I had two different sized pieces of fabric, so each basket ended up with stripes going in slightly different directions, but I think this adds a unique, handcrafted charm rather than detracting from their appeal. They now look sophisticated and intentionally designed, far removed from their humble, damaged origins.
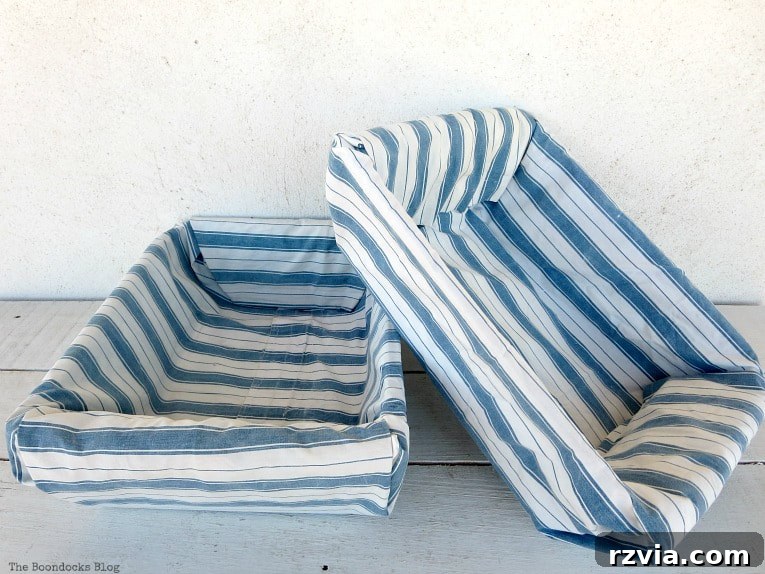
The true test of this upcycle’s success lies in its ability to conceal the original flaws. Looking at the finished product, can you discern where the edges were once broken or missing? The seamless fabric wrap completely masks these imperfections, creating a smooth and uniform rim. This project has to be one of the easiest and most impactful DIYs I’ve ever undertaken. Not only does it effectively hide the defects of the baskets, but with the right fabric, these upcycled pieces look infinitely better and more elegant than they ever did in their bare plastic state.
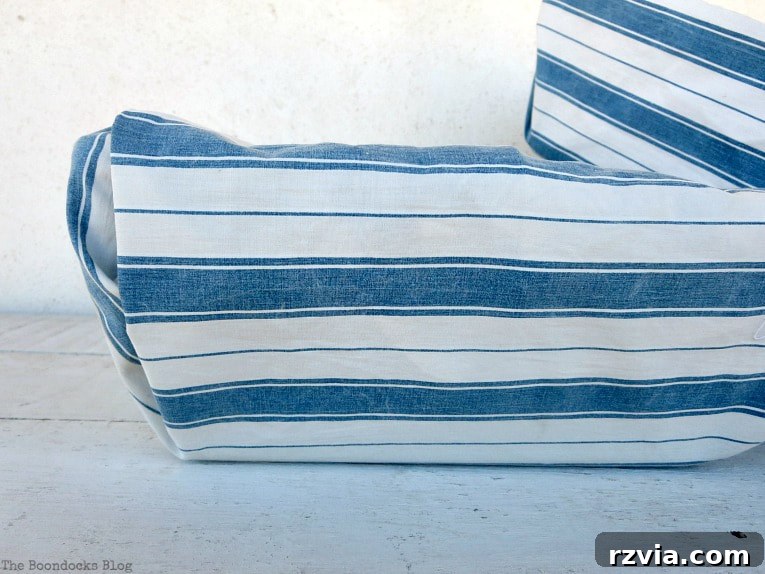
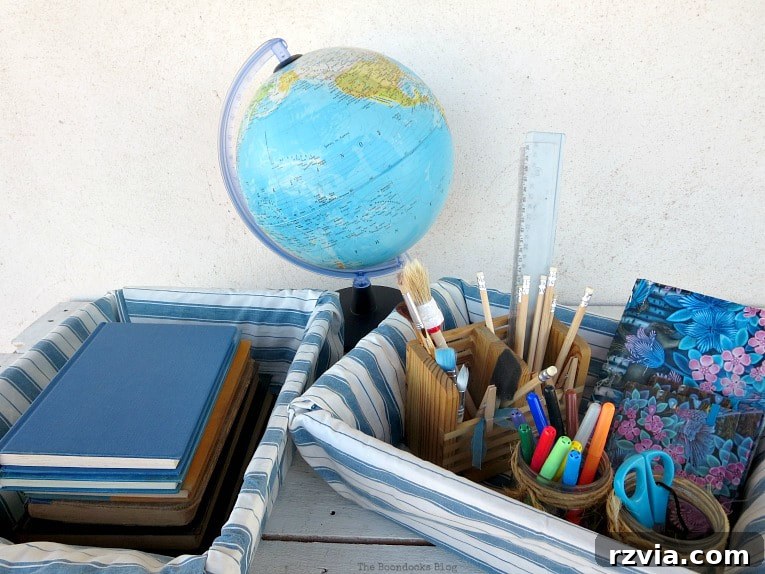
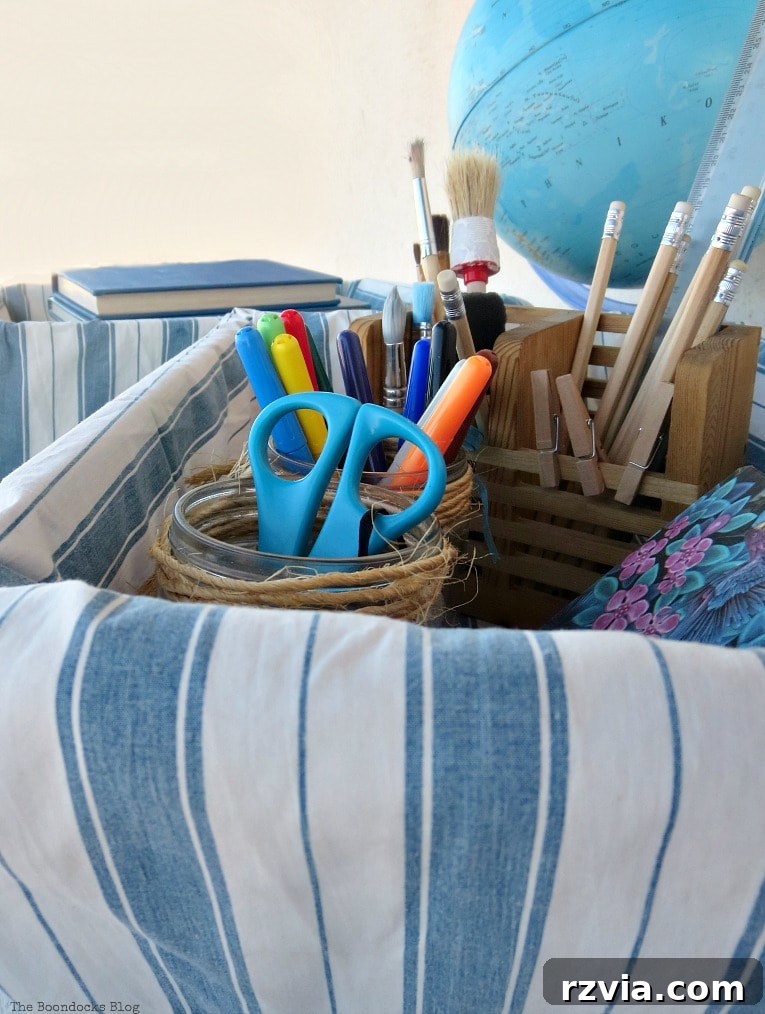
These versatile, newly transformed baskets are perfect for a multitude of organizational needs around the home. I’m currently using them to store school supplies, making it incredibly easy to grab what’s needed for homework or craft projects on the go. They provide an accessible and tidy solution for keeping essentials close at hand without sacrificing style.
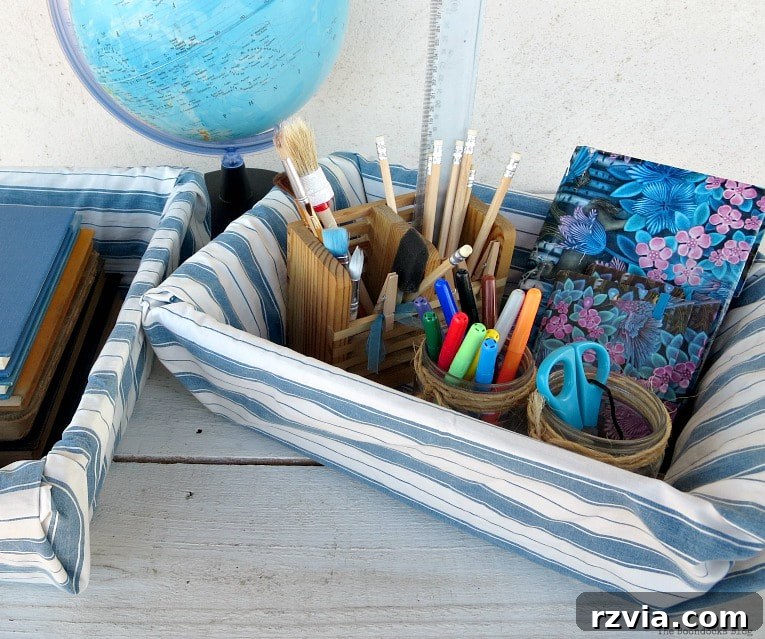
Beyond school supplies, these fabric-wrapped baskets are incredibly handy for various storage purposes. They’ll find a permanent home on my Hejne shelving unit, where they’ll be perfect for holding neatly folded towels, creating a more organized and aesthetically pleasing linen storage solution. Imagine them in a craft room, neatly containing yarn or fabric scraps, or in a bathroom, holding toiletries. The possibilities are truly endless, making this upcycle project a win-win for both style and functionality.
My Journey into Textiles: A Personal Connection
As I was browsing various fabrics, a nostalgic wave washed over me, reminding me of my early career. Before I had children, I had the incredible opportunity to work for a textile company, specifically for one of their talented designers. It was a fascinating experience to witness the entire creative process, from the initial sketch of a pattern to its transformation into a beautiful, tangible fabric. That period ignited a deep appreciation for textiles and their power to transform spaces and objects. This personal history makes choosing fabrics for projects like this even more enjoyable, as I get to reconnect with that creative spark and bring beautiful patterns into practical household items.
And there you have it – a simple, effective, and stylish method to upcycle broken plastic baskets with fabric! This easy-peasy project demonstrates how a little creativity and effort can dramatically enhance the functionality and aesthetic appeal of everyday items. It’s an empowering way to embrace sustainability and infuse your home with personalized touches. Why throw out perfectly usable baskets when you can give them a beautiful, brand-new purpose? I encourage you to look around your home, identify those forgotten plastic bins, and embark on your own fabric upcycling adventure. You’ll be amazed at the stunning results!