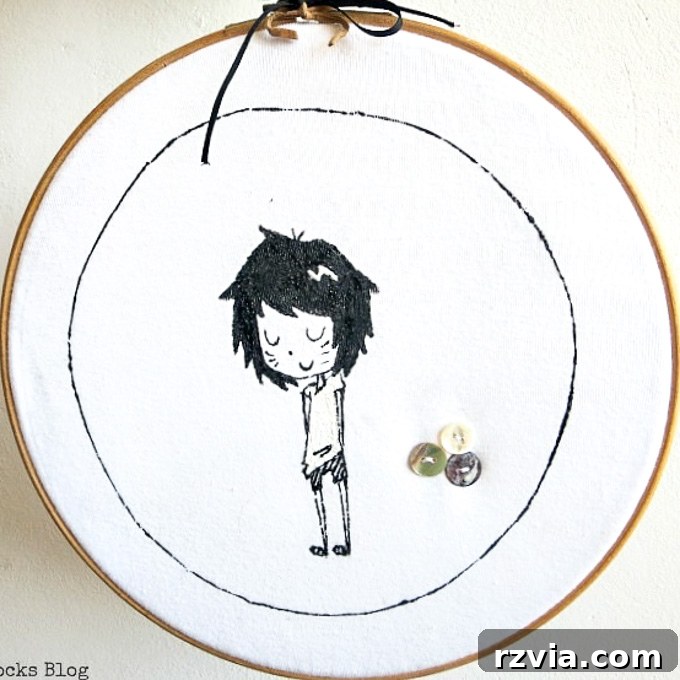
Welcome to a truly special DIY project that breathes new life into cherished memories! Today, we’re diving into the wonderfully rewarding world of upcycling, transforming an old, beloved t-shirt into a stunning piece of personalized wall art. While my projects often involve intricate steps, this particular craft stands out for its simplicity, speed, and immense sentimental value. If you’ve ever wondered how to easily repurpose old t-shirts or other sentimental clothing items, get ready to discover a delightful method that combines sustainability with heartfelt decor. This tutorial will guide you through creating unique, eye-catching fabric wall art that tells a story, saving a precious garment from oblivion and adding a touch of personality to your home.
A T-Shirt’s Journey: From Childhood Dream to Cherished Decor
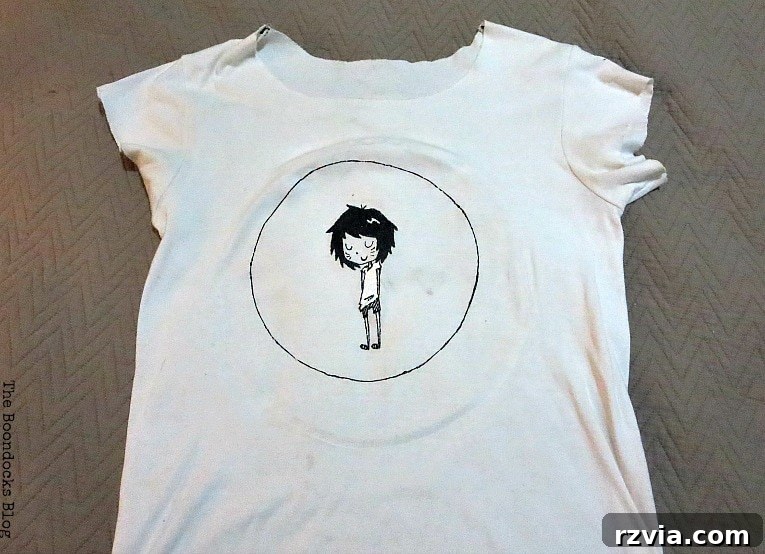
The inspiration for this project comes from a deeply personal place. This particular t-shirt, adorned with a captivating character drawing, was lovingly created by my sweet daughter many years ago. It’s a tangible piece of her childhood creativity, a snapshot of her artistic endeavors during a very special time.
You know, there was a period when my girls, in their youthful entrepreneurial spirit, actually ran a small t-shirt business. The older one, ever the pragmatist, handled the finances, meticulously tracking expenses and earnings. Meanwhile, the younger one, my creative genius, would spend hours painstakingly copying intricate images onto t-shirts. It was an incredibly demanding process, requiring immense focus and artistic precision. After a few months of dedicated work, she eventually burned out, but it was an invaluable experience – her very first taste of running a business, complete with the highs of creation and the challenges of execution. Those early days taught them so much about hard work, dedication, and the value of a dollar, all while fostering their unique talents.
Fast forward to today, my daughter is all grown up and, naturally, no longer wears this specific t-shirt. She wanted to clear out her closet, and this beloved garment was on the chopping block. But I, being the incredibly proud mama that I am, simply couldn’t bear the thought of her throwing it away! It held too many memories, too much history, and too much of her unique spirit. Instead of letting it go into the discard pile, I embarked on a super easy t-shirt upcycle project, transforming it into a vibrant, fun piece of wall art that we can cherish for years to come. This way, a piece of her creative journey continues to inspire and delight within our home, a constant reminder of her youthful talent.
Why Upcycle Your Old T-Shirts? Embrace Sustainable Style and Sentimentality
Before we dive into the steps, let’s explore why upcycling old t-shirts is such a fantastic idea, both for our planet and our hearts. This seemingly simple act of transformation carries a multitude of benefits, making it more than just a quick craft project.
Environmental Impact: Reducing Textile Waste
In an age where fast fashion dominates, mountains of textile waste are a growing concern. Every year, millions of pounds of clothing end up in landfills, contributing to pollution and resource depletion. By choosing to upcycle a t-shirt, you are actively participating in a sustainable lifestyle. You divert an item from the waste stream, giving it a new purpose and extending its life cycle. This simple act reduces your carbon footprint, lessens the demand for new production, and conserves valuable resources like water and energy.
Cost-Effectiveness: Budget-Friendly Decor
Decorating your home can be an expensive endeavor, but upcycling offers a brilliant, budget-friendly alternative. You’re transforming something you already own, often something that would otherwise be discarded, into a valuable decorative item. Most of the materials needed for a project like this – an old t-shirt, an embroidery hoop, a few buttons – are likely already in your home or can be acquired for minimal cost. It’s a fantastic way to refresh your decor without breaking the bank.
Personalization and Uniqueness: Art That Tells a Story
Unlike mass-produced wall art, an upcycled t-shirt piece is inherently unique. It reflects your personal style, your memories, and your creativity. Whether it’s a t-shirt from a memorable concert, a cherished family vacation, or, in my case, a beautiful drawing by a loved one, each piece tells a story. This kind of personalized decor adds warmth, character, and a deeply personal touch to any room, making your space truly your own. It’s a conversation starter, a nostalgic reminder, and a celebration of your unique journey.
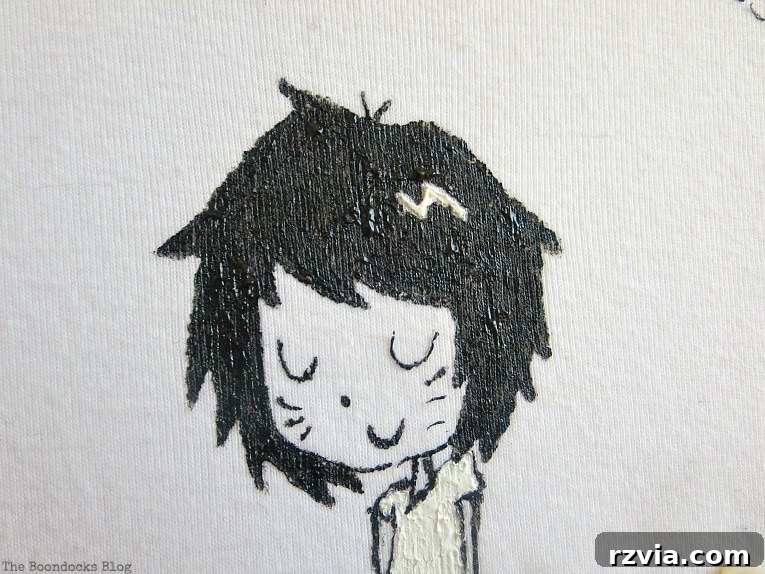
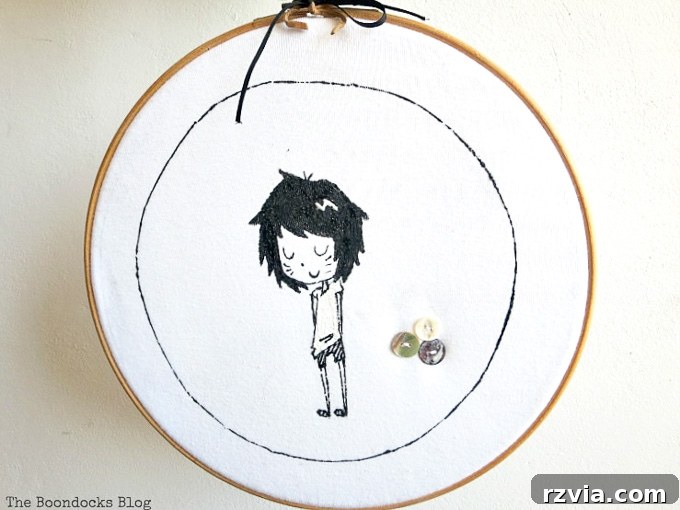
Just look at that cute face on the t-shirt! There was absolutely no way that precious piece of art, full of sentimental value and childhood charm, was going into the recycling bin or, worse, the trash! Its expressive features and unique style made it far too special to discard. Instead, it deserved a place of honor, transformed into something lasting and beautiful.
A Creative Solution for Imperfections
One challenge I encountered with this particular t-shirt was a noticeable stain. Now, the logical thing would have been to try and wash it out. However, in my defense, it was a rather nasty smudge, and I honestly doubted if it would ever fully come clean without leaving a faint mark. Plus, sometimes, a quick creative fix is just more appealing than laundry! So, instead of a wash cycle, I opted for an artistic solution.
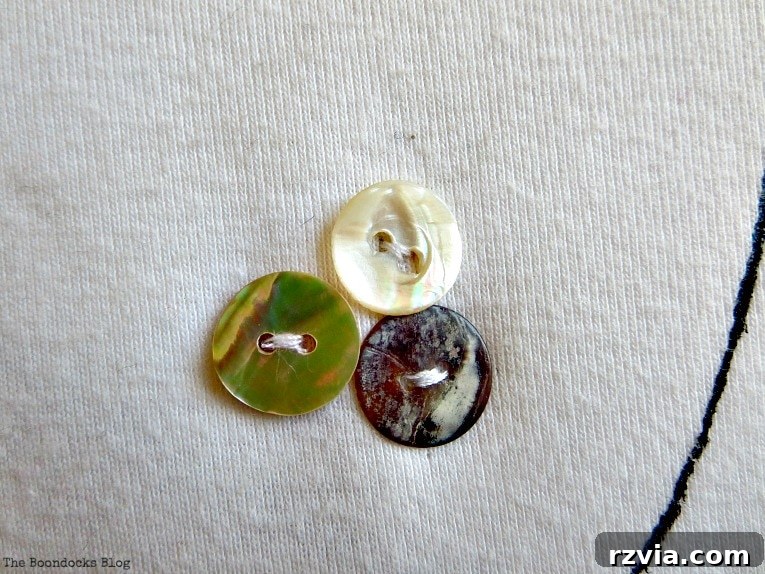
I decided to sew some charming, pretty buttons directly on top of the smudge. This not only concealed the imperfection but also added a lovely, decorative element that enhanced the overall design. It’s a perfect example of how minor flaws can become opportunities for unique embellishment in upcycling projects. This small detail transformed a problem into a feature, adding texture and interest to the finished wall art.
How to Upcycle a Tshirt into Wall Art: A Simple Step-by-Step Guide
Ready to transform your own sentimental garments? This project is incredibly straightforward, even for beginner crafters. Here’s how you can turn an old t-shirt into a beautiful piece of hoop art, just like I did.
Essential Materials for Your T-Shirt Wall Art:
- An Old T-Shirt: Choose one with a design, graphic, or sentimental value that you’d love to display. Ensure the fabric is relatively clean, or be prepared to creatively hide any imperfections, as we discussed!
- Embroidery Hoop: A wooden or plastic embroidery hoop is crucial. The size will depend on the area of the t-shirt design you wish to frame. Wooden hoops often offer a more rustic and natural aesthetic.
- Scissors: For trimming fabric.
- Needle and Thread: If you plan to add embellishments like buttons or do any minor repairs.
- Decorative Buttons, Beads, or Fabric Scraps: (Optional) For hiding stains or adding extra flair.
- Stapler or Fabric Glue: For securely fastening the excess fabric on the back of the hoop.
- Cord, Ribbon, or String: For creating a hanging loop. Choose colors that complement your t-shirt design and the hoop itself.
Step 1: Selecting and Preparing Your T-Shirt
The first and most crucial step is to select the perfect t-shirt. Look for one with a design, graphic, or specific section that you find aesthetically pleasing or holds significant sentimental value. Consider the colors and imagery – how will it look as a piece of art? Before beginning, give your t-shirt a good wash to ensure it’s clean and fresh. As mentioned, if you encounter a stubborn stain or imperfection, don’t despair! This is where creativity truly shines. You can choose to sew on decorative buttons, apply a fabric patch, or even use fabric markers to subtly blend or cover the area, transforming a flaw into a unique design element.
Step 2: Framing with an Embroidery Hoop
I happened to have an embroidery hoop lying around the house, which was absolutely perfect for this project. These versatile tools are not just for embroidery; they make fantastic, ready-made frames for fabric art. I used to indulge in a lot of embroidery when I was younger – in fact, it was one of my favorite relaxing activities before kids came along and life became a delightful whirlwind of activity. Now, time for such hobbies is a luxury, but rediscovering this hoop for a new purpose was a pleasant surprise.
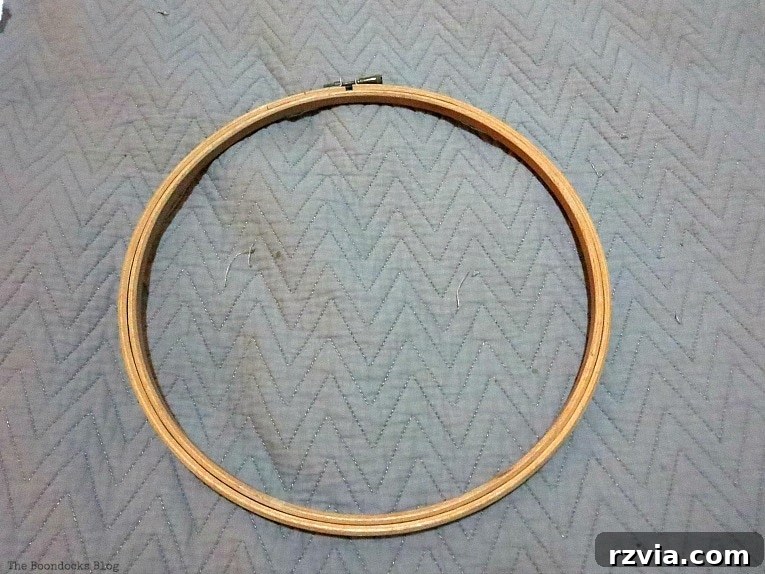
To begin, separate the inner and outer rings of your embroidery hoop. Lay the inner ring flat, then carefully center the desired portion of your t-shirt design over it. Place the outer ring over the fabric, aligning it with the inner ring. Gently push the outer ring down, ensuring the fabric is taut and wrinkle-free between both rings. Tighten the screw on the outer ring until the fabric is held firmly in place. Take your time with this step, adjusting the fabric until your design is perfectly centered and the tension is even across the entire surface. The tighter the fabric, the neater and more professional your finished piece will look.
Step 3: Securing the Fabric (No Loose Ends!)
Once your t-shirt is perfectly positioned and tightened within the hoop, it’s essential to secure the excess fabric on the back. While I didn’t bother to meticulously cut the fabric into a perfect circle, I did fasten the excess material in the back with a stapler. This simple step is crucial, as it prevents the fabric from shifting, sagging, or flying all over the place over time. You want your wall art to maintain its taut, clean appearance. Alternatively, you could use fabric glue for a smoother finish or even hand-stitch the excess fabric to the inner ring, creating a very neat backing. The goal is to ensure that the fabric remains securely stretched, preserving the integrity of your artwork.
Step 4: Adding the Hanging Element
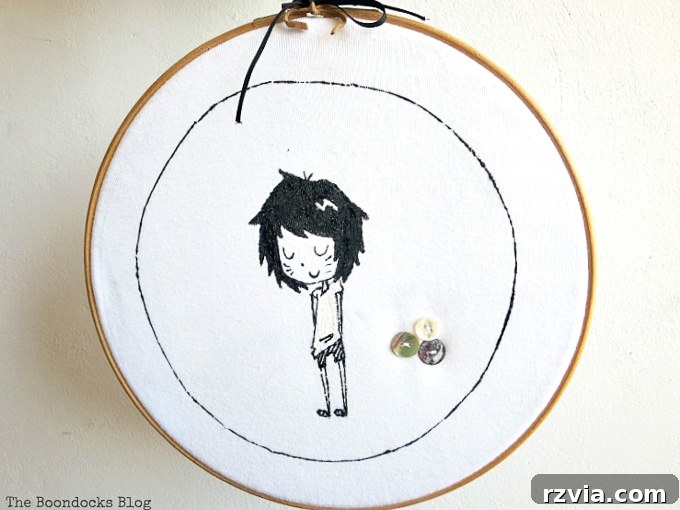
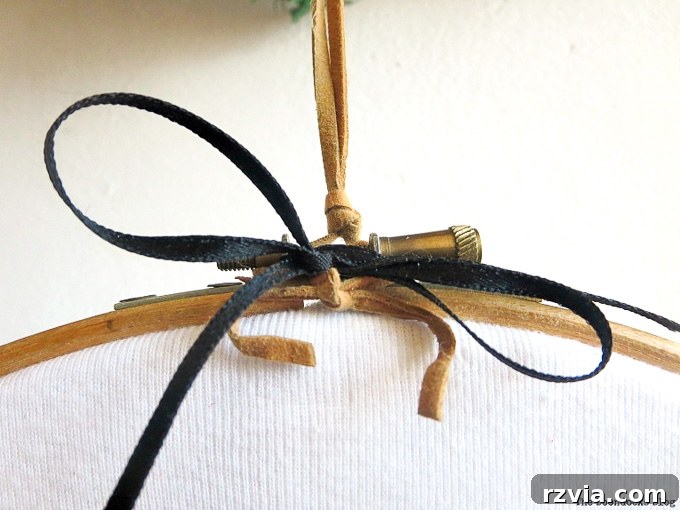
With the t-shirt securely framed, the final step is to add a way to hang your beautiful new wall art. I opted for a combination of a rustic brown cord and a sleek black ribbon. The brown cord was chosen to complement the natural wood of the embroidery hoop, creating a cohesive and earthy feel. The black ribbon, on the other hand, perfectly matched the dark outlines and details of my daughter’s drawing, tying the entire piece together aesthetically. Simply loop the cord or ribbon through the hoop’s tightening mechanism or tie it securely around the top of the hoop. Ensure the knot is strong and that the loop is adequate for hanging your artwork on a nail or hook.
Personalizing Your Wall Art: Beyond the Basics
The beauty of DIY projects like this lies in the endless possibilities for personalization. While a simple t-shirt in a hoop is charming on its own, you can take it a step further. Consider adding more buttons, as I did, not just to hide imperfections but as decorative accents. You could also embroider over existing lines, add beads, tassels, or even small fabric patches to enhance the design. Fabric paints are another fantastic option for adding details, highlights, or text. Let your imagination guide you – this is your chance to truly make it your own unique masterpiece!
You have to admit, I did a pretty good job of hiding that smudge on the t-shirt, turning what could have been a blemish into a charming design detail. It’s a testament to how small creative touches can transform an object.
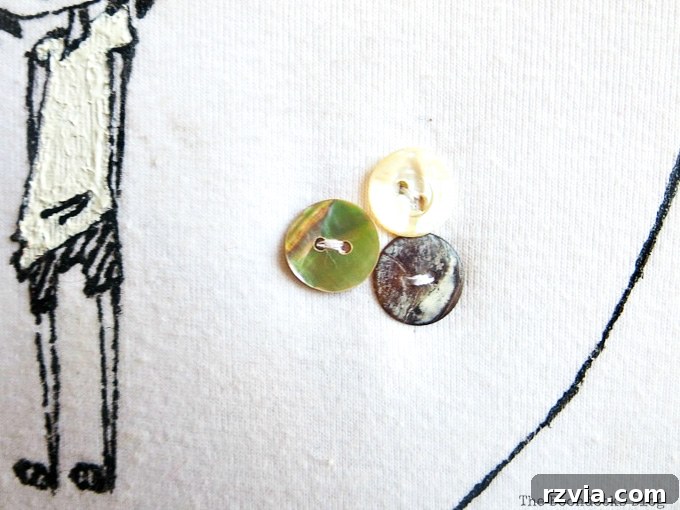
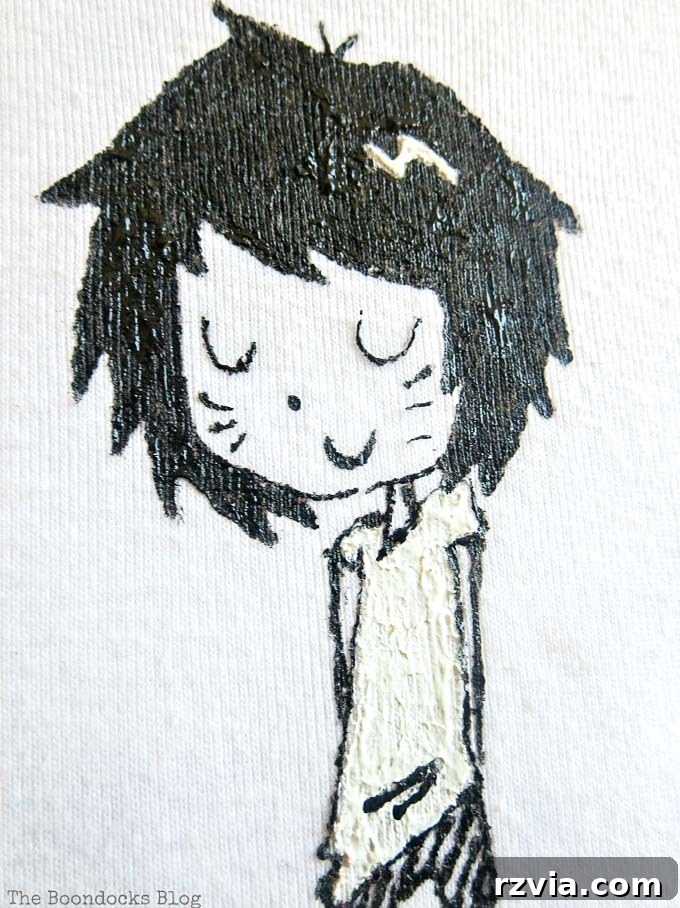
Behold Your Upcycled Treasure: A New Life for an Old T-Shirt
It’s truly incredible how a simple, discarded t-shirt can be transformed into such a delightful piece of decor. How could my daughter have ever thought I’d let her throw out this little masterpiece? Its whimsical charm and personal history make it far too precious to simply discard. Now, it graces our wall, a constant reminder of her creative spirit and a beautiful conversation piece.
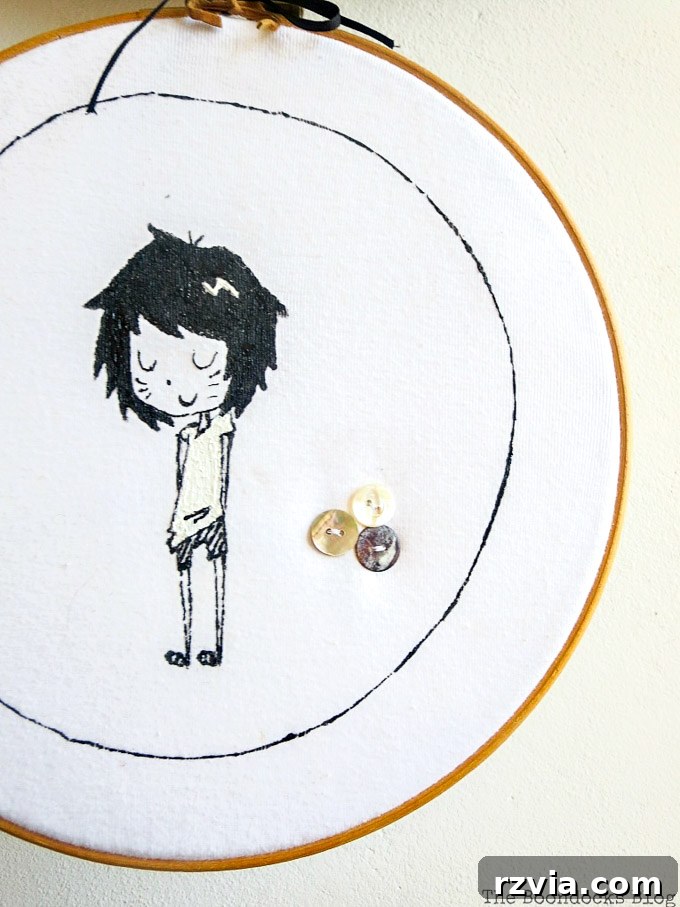
And just like that, the day was saved, and so was that awesome (at least, according to me!) t-shirt that I easily repurposed into vibrant wall art! This project perfectly encapsulates the joy of upcycling – taking something old, giving it a new purpose, and imbuing it with renewed meaning and beauty. It’s a simple craft with a significant impact, both decoratively and emotionally.
Join the Upcycling Movement: Share Your Story!
Now, it’s your turn to spill the beans! I know for a fact that your kids, nieces, nephews, or even you yourself, create artistic masterpieces all the time. Whether it’s a finger painting, a school project, a hand-drawn card, or a beloved piece of clothing that holds special memories, what do you do with these little gems? Are you a sentimental hoarder like me, finding creative ways to preserve every piece of art and memory? Or do you have a system for decluttering, bravely letting go of items that have served their purpose?
I’d love to hear your stories and see your inventive solutions for displaying or preserving sentimental items. Share your own t-shirt upcycle ideas, or tell me about other creative ways you give new life to old treasures. Let’s inspire each other to embrace sustainable crafting and cherish our memories!
For additional fantastic t-shirt upcycle ideas that go beyond wall art, be sure to check out these equally easy and rewarding projects:
- Discover how to create a practical and stylish upcycled t-shirt bag, perfect for groceries or everyday use.
- Learn the clever technique for making your own versatile t-shirt yarn using the whole shirt, which can be used for knitting, crocheting, or other crafting projects.