
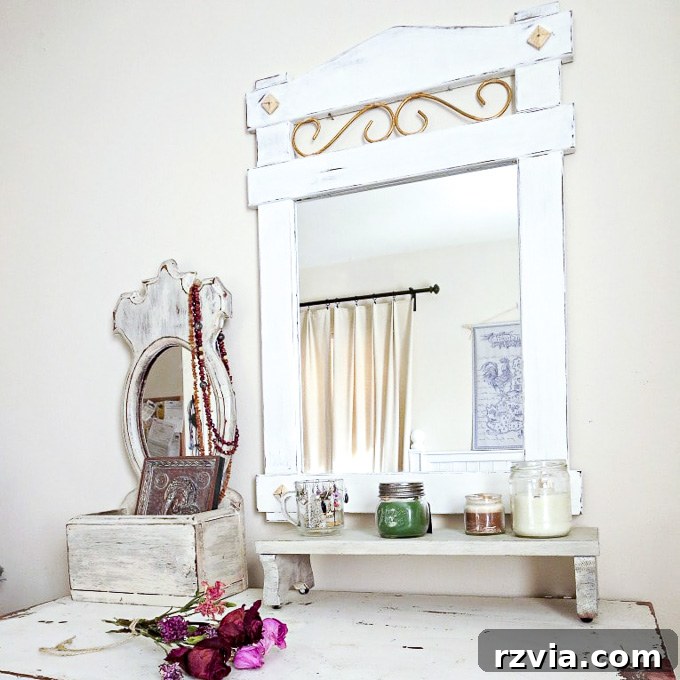
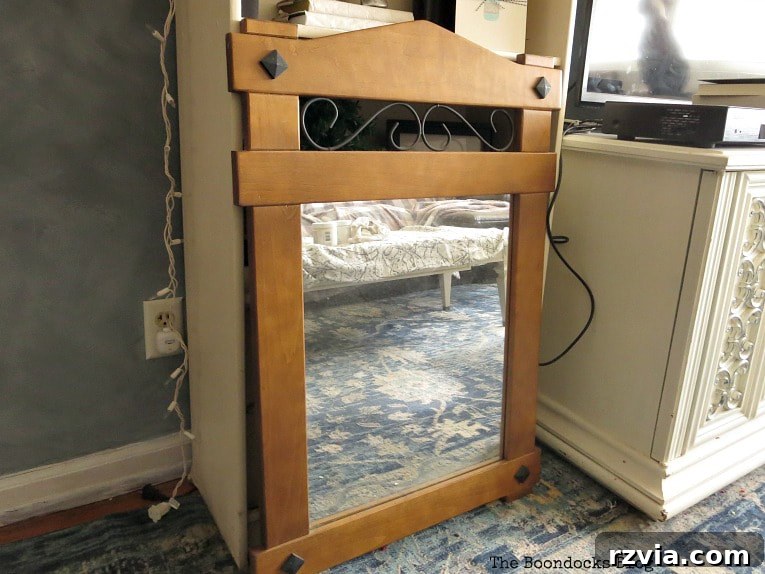
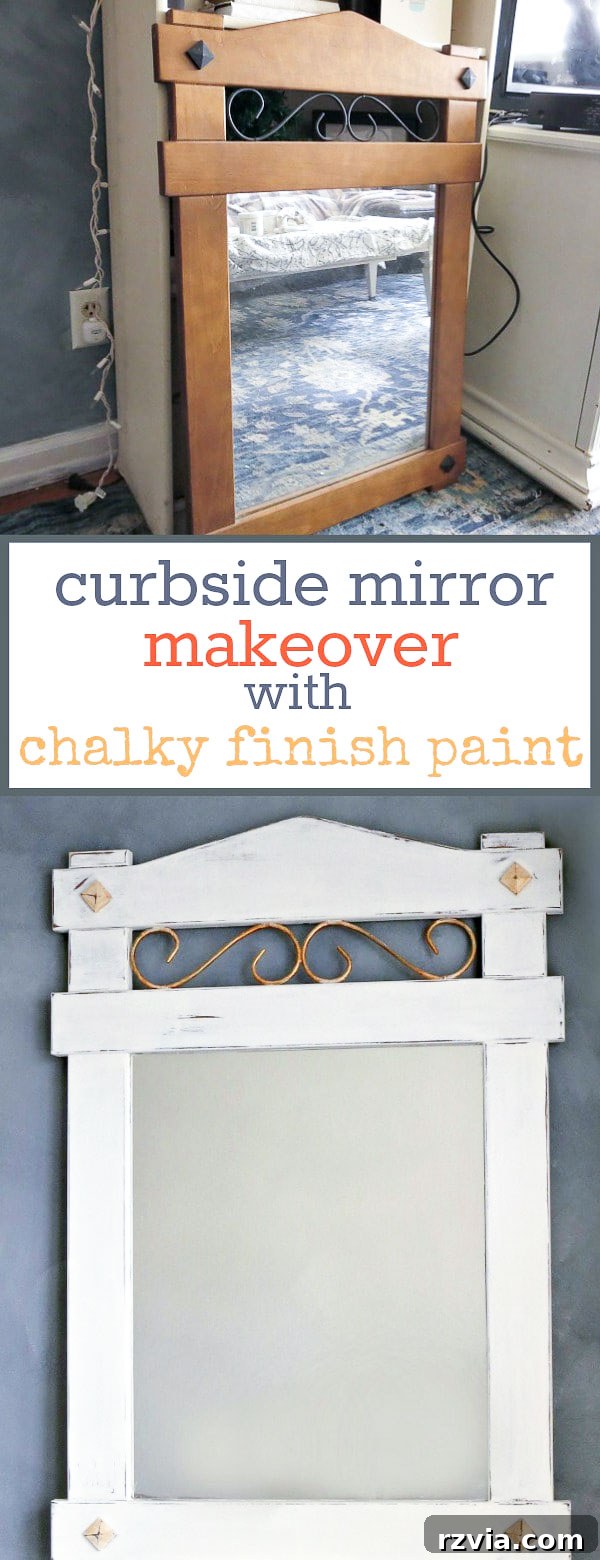
In the world of home decor, can you truly ever have too many mirrors? I certainly don’t think so! This thought perfectly captured my imagination when I stumbled upon a forgotten wooden mirror on the curb last autumn. What others saw as trash, I envisioned as a treasure, ripe for a stunning transformation. Today, I’m thrilled to share the surprisingly simple journey of this curbside find into a beautiful focal point through a super easy wood mirror makeover.
Initially, my plan for this discarded mirror was to give it a fresh coat of grey or silver paint and present it to my son. He’s the thoughtful one who once brought home another old mirror for me, so it felt like a fitting gesture. However, when I mentioned it to him, he politely declined, stating he already had a mirror and, more importantly, no available space. Undeterred, I kept the mirror around, even without a clear purpose. For a long time, it became an unwelcome guest, perpetually shuffled from room to room as I grappled with indecision about its fate.
Then, one serendipitous day while I was in my bedroom, I glanced at my existing mirror and had a sudden realization: it was simply too small. While it had been beautifully transformed in a previous makeover, its primary function of “mirroring” was severely lacking. Is “mirroring” even a proper verb? Regardless, this moment sparked a definitive decision: this neglected curbside find would become *my* mirror. After all, didn’t I deserve a mirror that truly excelled at reflecting a full, clear image?
Why Embrace a DIY Mirror Makeover?
Upcycling old furniture, especially a vintage mirror, is more than just a hobby; it’s a sustainable and creative way to personalize your living space. Giving new life to a forgotten item prevents it from ending up in a landfill and allows you to create a unique piece that perfectly matches your aesthetic. This “lazy way” approach to DIY proves that even without extensive experience or a huge budget, you can achieve stunning results. It’s about seeing potential where others see discard and transforming it with a little paint and imagination. A simple mirror makeover can elevate an entire room, adding character and a touch of bespoke charm.
Essential Tools and Materials for This Mirror Makeover:
Before diving into any DIY project, gathering your supplies is key. For this vintage wood mirror transformation, I opted for products that are user-friendly and deliver fantastic results, especially for a chalk paint mirror project. Here’s what you’ll need to replicate this stylish distressed finish:
- DecoArt Americana Chalky Finish Paint in Everlasting: This paint is a dream to work with, offering excellent coverage and a beautiful matte finish that’s perfect for a vintage look.
- DecoArt Americana Creme Wax Finish: Essential for sealing your chalk paint, protecting the finish, and adding a subtle sheen.
- Sandpaper: Various grits will be useful for distressing and smoothing.
- Quality Paint Brushes: For smooth application and avoiding streaks.
- Clean white rag or dedicated waxing brush: For applying the protective wax finish.
- Gold metallic paint: To add elegant accents and highlight the mirror’s unique features.
- Razor blade or small spatula: For easily cleaning paint off the mirror surface.
How to Paint and Transform a Vintage Wood Mirror: A Step-by-Step Guide
The beauty of this project lies in its simplicity. You don’t need to be a seasoned DIYer to achieve a stunning distressed mirror finish. Let’s get started on transforming your own curbside mirror!
1. The First Coat: Embracing Chalky Finish Paint
I began by applying the chalky finish paint to the entire wood frame. While I specifically used this particular brand, the key is to choose any high-quality chalk paint you prefer. Chalk paint is incredibly forgiving, making it perfect for both beginners and experienced crafters. It adheres well to various surfaces without much prep and dries quickly, which is a huge bonus. Even if you think you’ve made a mistake, chalk paint is wonderfully tolerant, allowing for easy touch-ups or distressing later on. It’s ideal for achieving that coveted vintage farmhouse look.
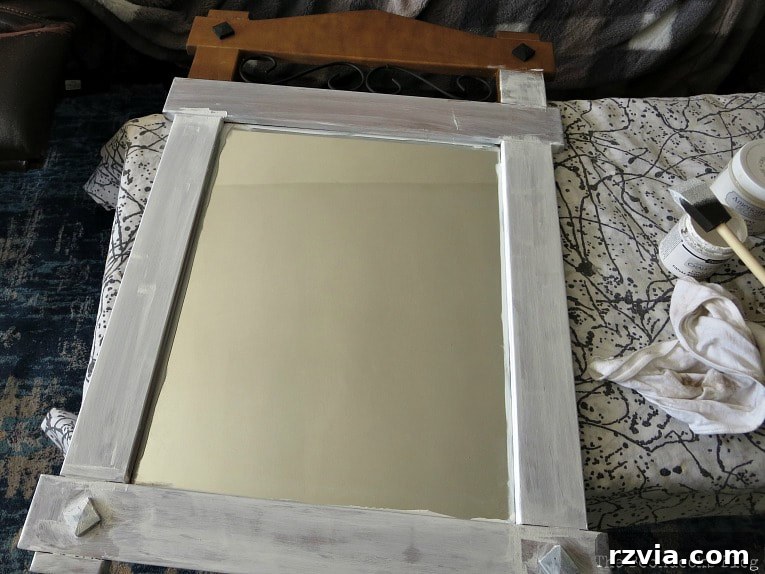
However, I must confess a small misstep during this initial stage. I made the mistake of using a sponge brush for the first coat. While some might appreciate the textured look, it left noticeable streaks on the wood, which wasn’t the uniform finish I was aiming for. If you desire a perfectly streaked, artistic effect, a sponge brush might be your tool of choice. But for a smooth, even base for your chalk paint mirror project, I highly recommend a different approach.
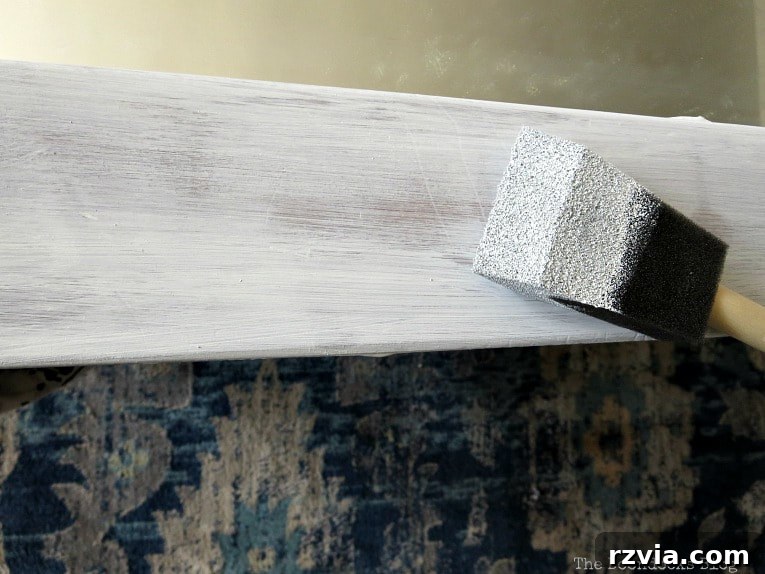
2. Achieving a Smooth Finish: The Second Coat
For the second coat, I switched to a proper bristle brush, and the difference was immediate and significant. The bristle brush provided a much smoother, more uniform application, eliminating the streaks left by the sponge brush. This is a valuable lesson: the right tools can make all the difference in achieving your desired aesthetic. Once the paint was completely dry, I lightly sanded back any areas where the paint might have been too thick or uneven, ensuring a flawlessly smooth base for the subsequent steps of this vintage mirror upcycling.
As for protecting the mirror’s glass, you’ll notice I didn’t bother with masking tape. Call it lazy, call it efficient, but I find it to be a complete waste of time. Any paint that inevitably gets onto the glass can be easily scraped off with a razor blade or, in my case, a handy spatula. My philosophy for this DIY mirror project is to keep it simple and practical, even if it means a tiny bit of clean-up later!
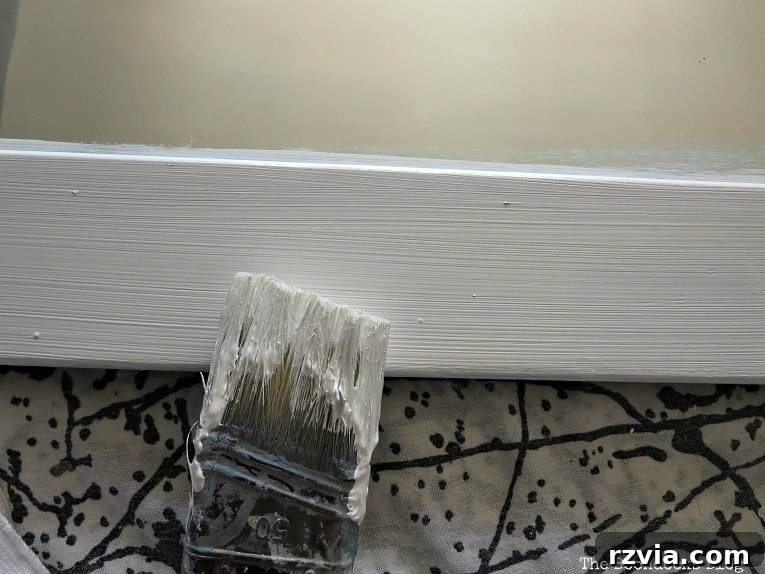
3. Adding Golden Elegance: Metallic Accents
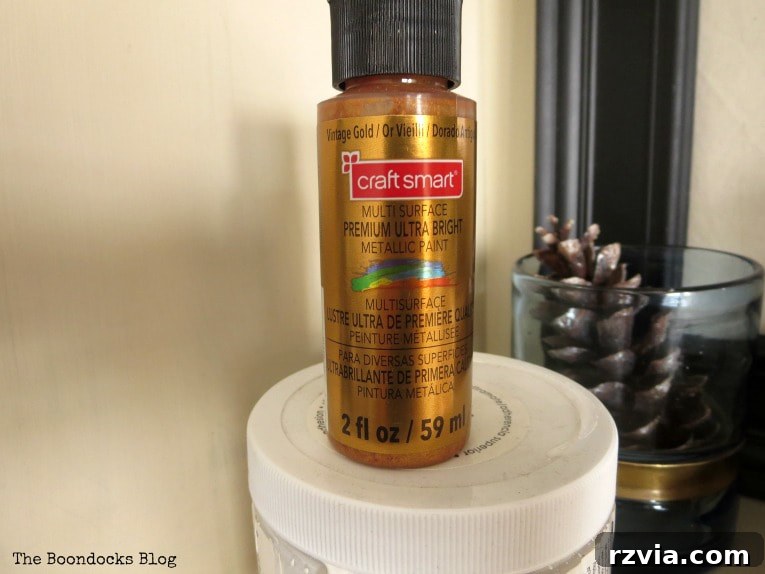
As I painted, some of the chalky white finish inevitably overlapped onto the mirror’s metal trim. Instead of meticulous clean-up, I decided to embrace it. I then went over the metal trim with a metallic gold acrylic multi-surface paint. I picked up this rich, dazzling color at Michael’s Craft Store—my absolute favorite place for creative supplies, as you might know from my other projects, like how to get a stunning finish on a wood crate. The gold paint, in my opinion, creates such a warm, luxurious effect that it honestly looks like genuine brass, adding a sophisticated touch to the entire piece and perfectly complementing the farmhouse mirror aesthetic.
Below, you can observe the subtle yet impactful transformation after a light coat of gold paint was applied over the white chalky base. The beauty of metallic paints is their versatility; you can layer as many coats as you desire to achieve a deeper, more pronounced golden hue. This layering technique allows for greater control over the intensity of your gold accent mirror, letting you customize the finish to your exact preference.
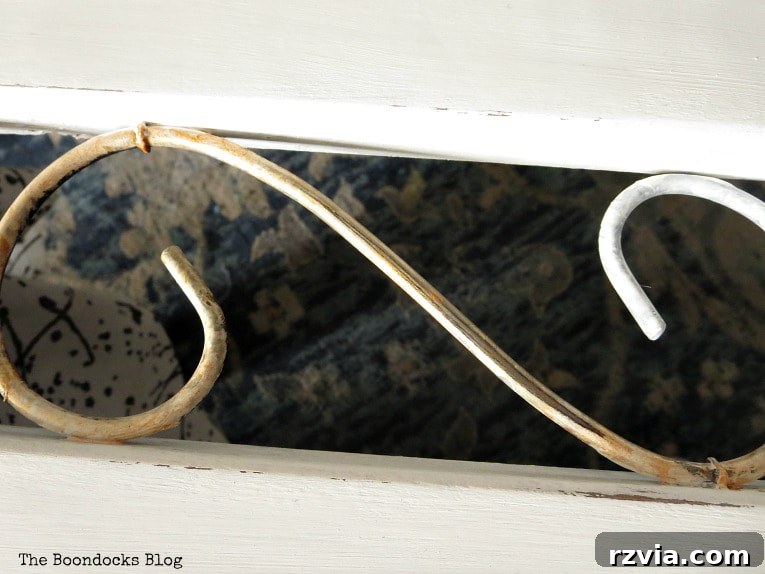
4. Distressing for Character and Cohesion
The mirror also featured charming little wood embellishments. These were carefully painted with the chalky white finish and then lightly sanded. This process is crucial for creating that coveted distressed look, allowing hints of the original wood or even deeper paint layers to peek through, giving the mirror an authentic, aged appearance. This distressing technique was applied to the entire frame, ensuring a consistent vintage look.
At this stage, I had a brilliant idea: to integrate the mirror with the existing dresser in the bedroom. While their styles weren’t an exact match, I aimed for a harmonious relationship – making them “friends” in terms of decor. A cohesive look, even with mismatched furniture, adds character and depth to any room, transforming it into a thoughtfully curated space.
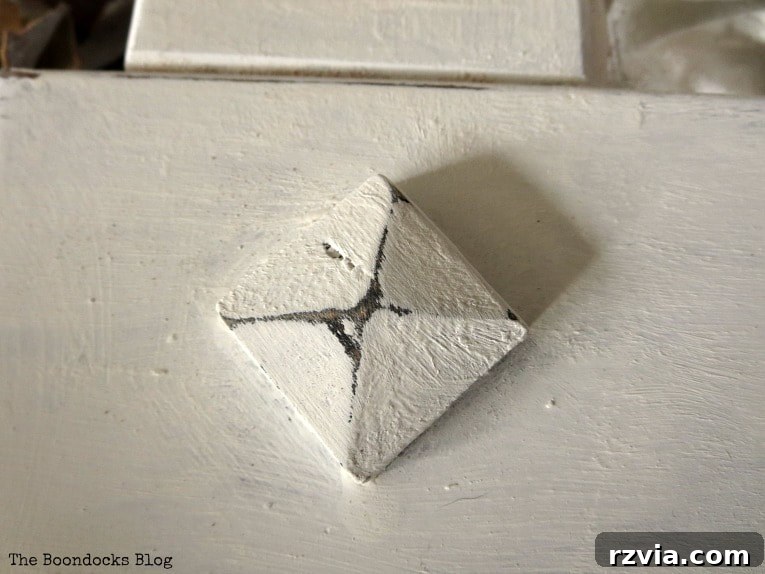
To further unify the pieces and add a touch of subtle glamor, I returned to the gold metallic paint. With a light hand, I delicately added hints of gold to the distressed embellishments. This subtle accenting brings out the intricate details of the carvings and ties into the overall gold accent mirror theme, enhancing the mirror’s elegance without overpowering its rustic charm.
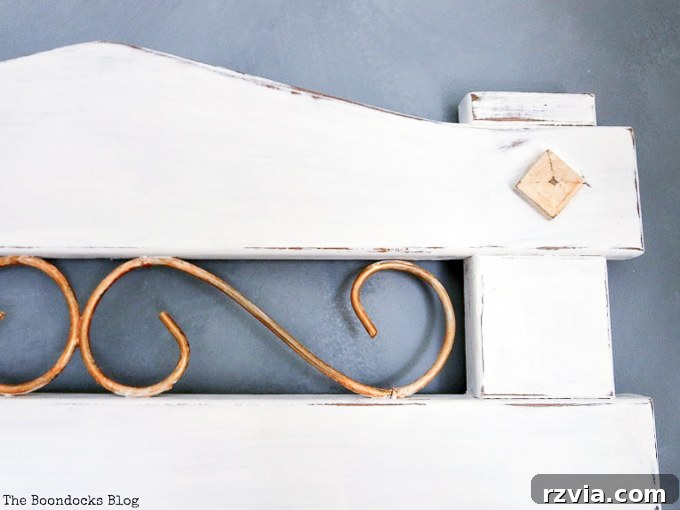
5. Sealing the Deal: Protecting with Wax
The final, yet crucial, step in this DIY mirror makeover was to seal all the beautiful white chalky finish paint with wax. This step protects the paint from wear and tear, makes it easier to clean, and imparts a lovely, subtle sheen that truly enhances the finished look. You could use one of those fancy brushes designed for waxing, but in my true “lazy DIY” spirit, I opted for a clean, soft white cloth. It works just as effectively to buff in the wax, ensuring every inch of that chalky goodness is sealed and protected, guaranteeing the longevity of your upcycled mirror.
The Grand Reveal: A Perfect Addition to Our Home
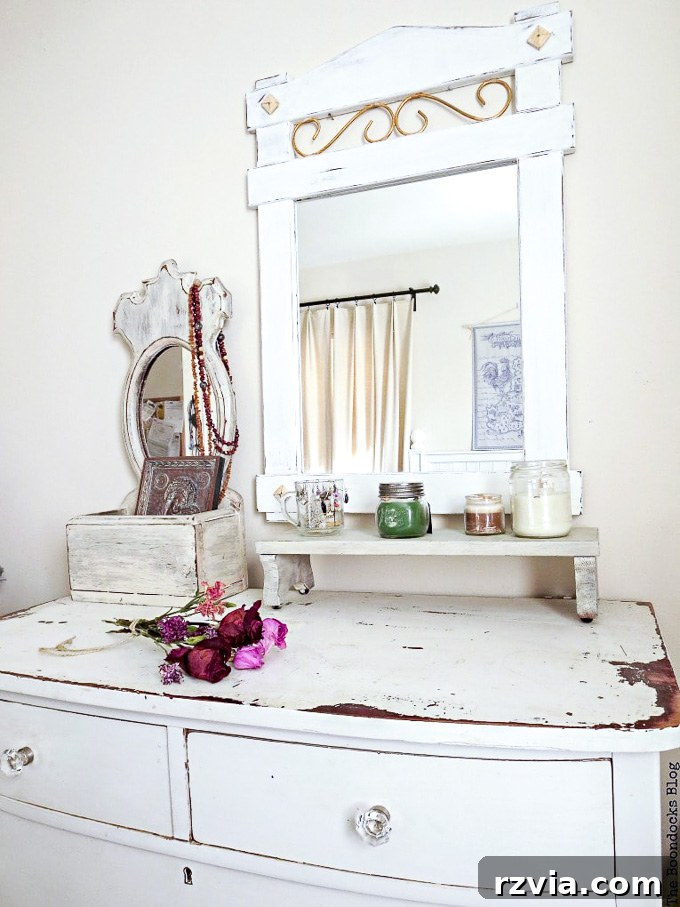
And just like that, my wood mirror makeover was complete! The result was everything I had hoped for: a mirror with just the right balance of soft white and warm gold, imbued with the character and charm I absolutely adore. The transformation from a forgotten curbside item to a treasured piece of vintage farmhouse decor was incredibly satisfying.
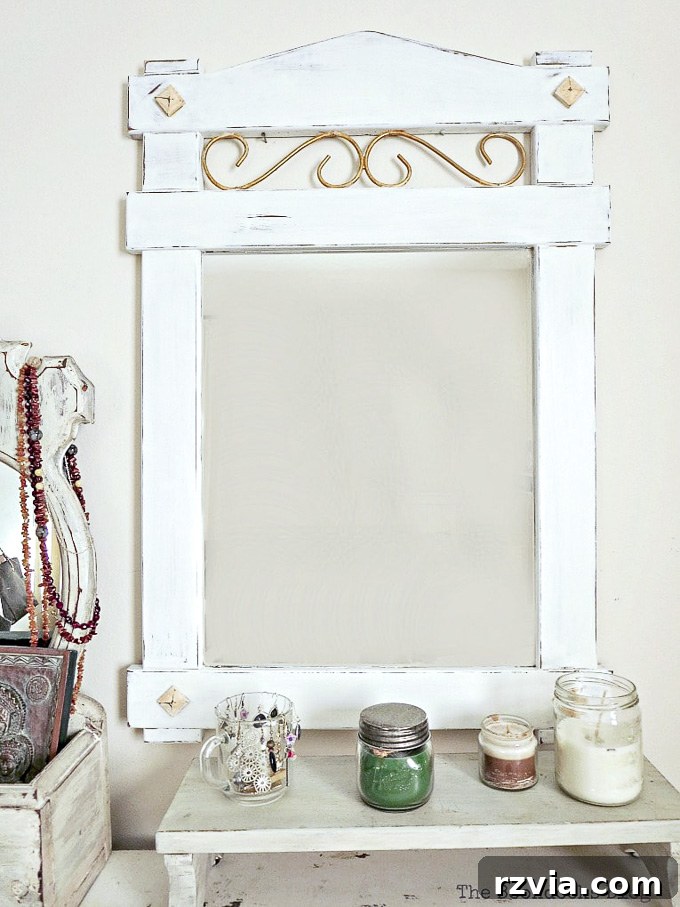
The best part? It looks absolutely stunning perched atop that old dresser of mine, creating a cohesive and inviting look in the bedroom. This pairing perfectly exemplifies how a little creativity can harmonize different pieces of furniture, giving an entire room a fresh, updated feel.
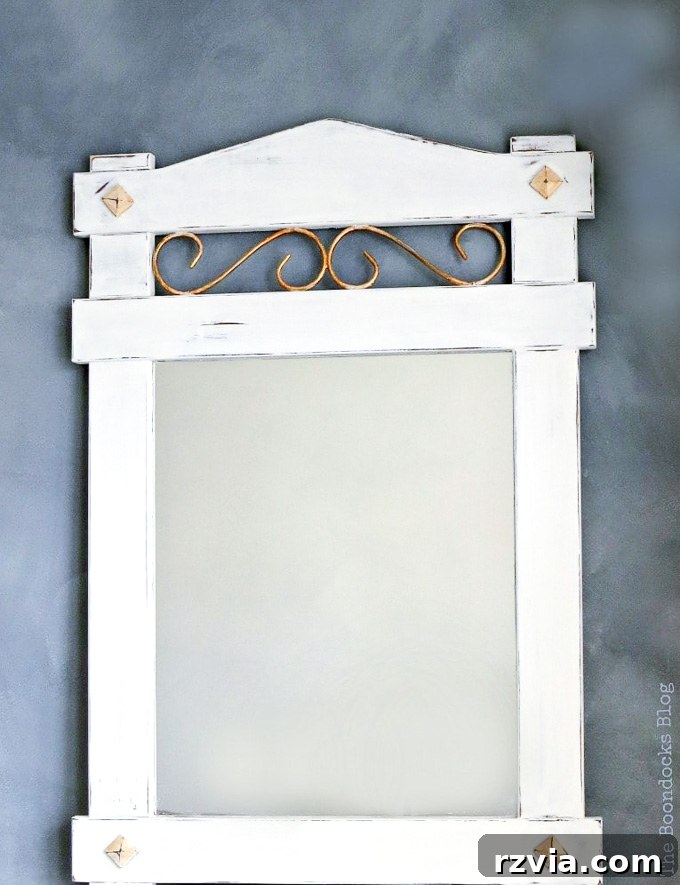
While I may have dragged this old curbside find home last fall and let it sit patiently for a while, the wait was undoubtedly worth it. I now possess a mirror that not only performs its essential function flawlessly but also boasts an abundance of character and charm. It truly looks perfect above the farmhouse vintage dresser, adding a touch of rustic elegance to my space. This project is a prime example of how you can achieve a sophisticated farmhouse mirror look through practical, “lazy” DIY methods.
This is how you embark on a curbside find transformation the “lazy way,” because let’s be honest, we all have more important things to do, even if I do tend to procrastinate a bit! “Wink.”
What do you think? Was it a good decision to replace the smaller, old oval mirror with this magnificent new addition? Your thoughts are always welcome!

If you’ve enjoyed this DIY adventure and want to discover more creative projects and home transformations, be sure to subscribe to my blog! You can find the subscription form conveniently located on the sidebar and at the top of the page. Don’t miss out on future inspiration delivered straight to your inbox. For details on how I protect your information, please review my privacy policy here.
Please remember that this blog is created purely for entertainment and inspiration. While I love sharing my DIY tutorials, they are based on my personal experiences and should not be considered professional advice. Always exercise caution and use appropriate safety measures when undertaking any home improvement project. You can read my full disclaimer for more information.
I genuinely appreciate every comment and message I receive from you, my readers. Your engagement means the world to me, and I strive to reply to each and every one of your thoughtful contributions!