
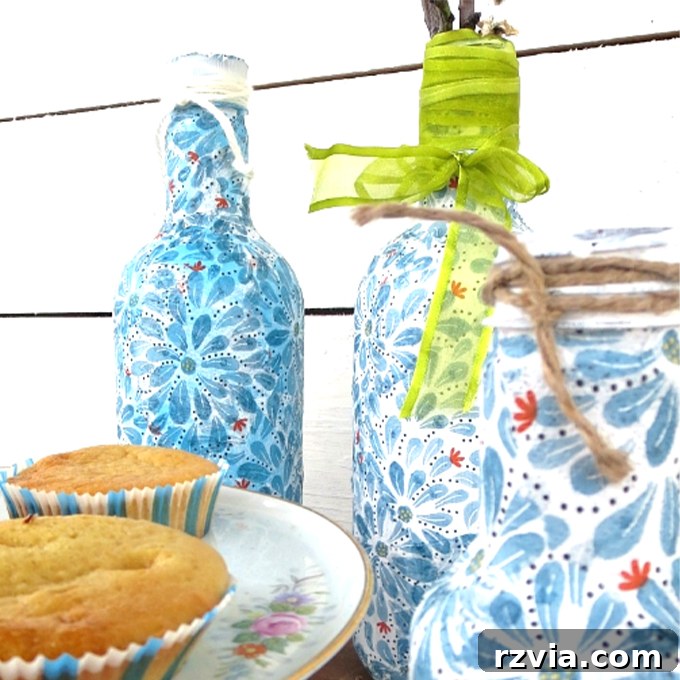
Transforming ordinary household items into decorative masterpieces is a rewarding pursuit, and decoupage stands out as a wonderfully versatile craft. If you’ve ever found yourself pondering how to decoupage napkins on plastic, you’re in the right place. This comprehensive guide will not only share effective techniques but also delve into common pitfalls, offering invaluable insights to help you achieve stunning results with ease. Decoupaging on plastic presents unique challenges, but with the right approach, you can turn mundane plastic bottles, containers, or any plastic surface into eye-catching decor.
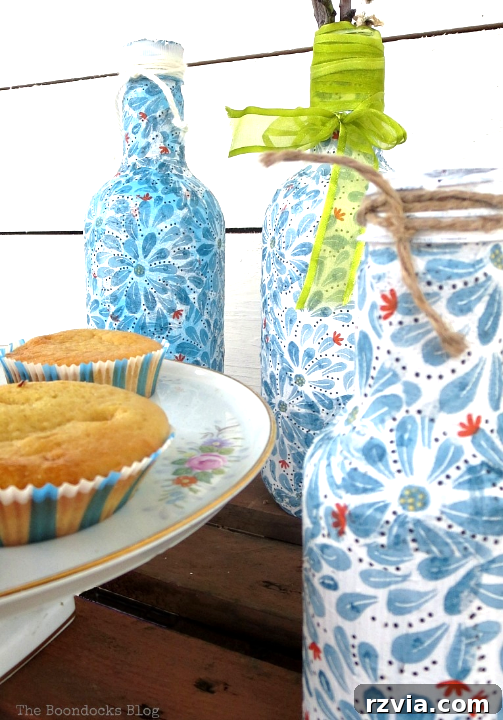
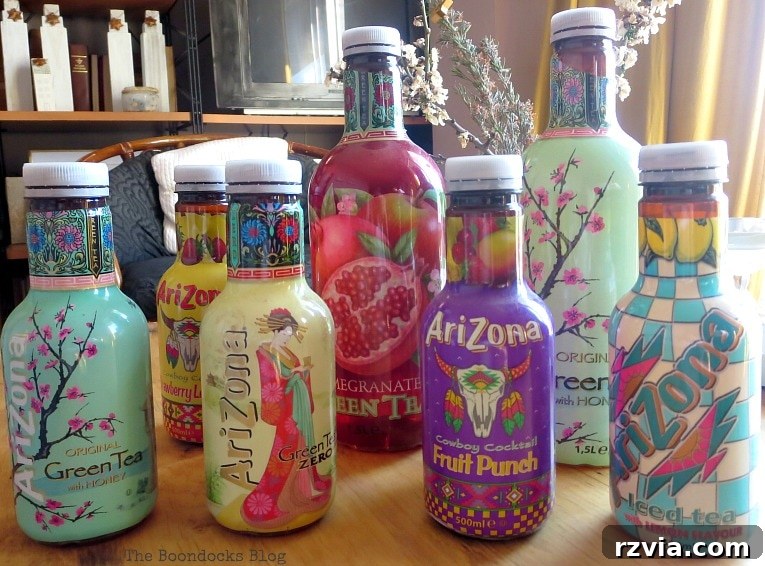
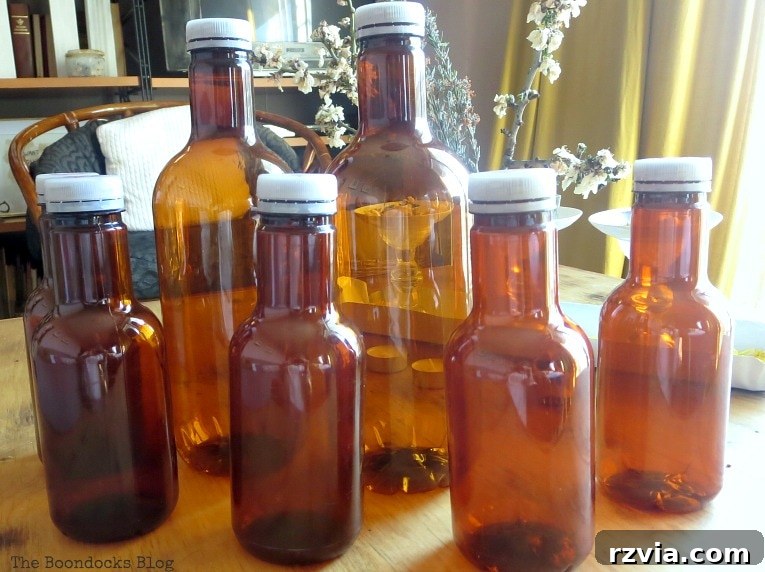
The journey into decoupage, especially on unconventional surfaces like plastic, often begins with inspiration. For me, it started with a thoughtful gift: a bag full of plastic tea bottles, lovingly collected by my daughter’s friend. Knowing my passion for recycling and repurposing, she presented me with this treasure trove, igniting a spark for a new DIY project. These bottles, otherwise destined for the recycling bin, represented a canvas for creative expression and an opportunity to contribute to a more sustainable lifestyle.
Initially, I envisioned a quick, simple spring project. Little did I know, this seemingly straightforward task would evolve into a valuable learning experience, challenging my preconceived notions about decoupage. While I’ve had success with various decoupage projects in the past, plastic proved to be a different beast entirely. So, prepare to learn not just the ‘how-to’ but also the crucial ‘how-NOT-to’ when it comes to decoupaging on plastic surfaces, ensuring you avoid the common pitfalls I encountered.
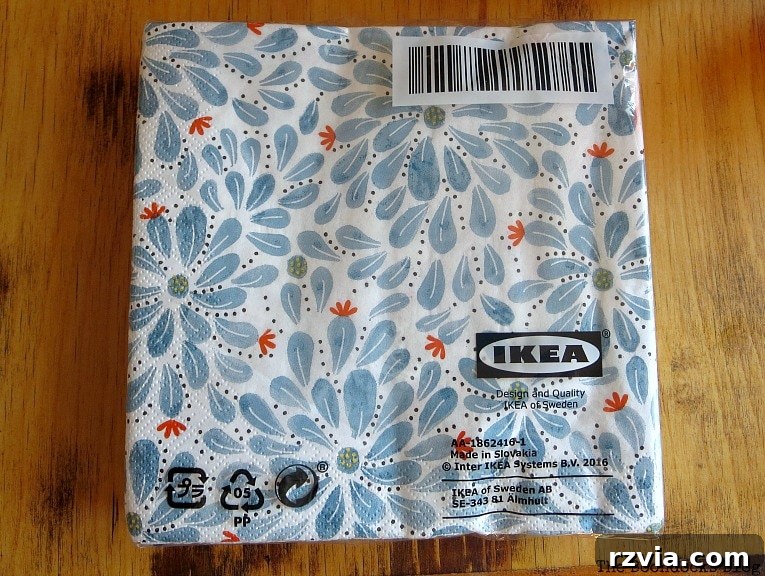
The turning point arrived during a visit to Ikea, where I discovered a pack of charming napkins adorned with a delicate spring pattern. A lightbulb moment! These beautiful patterns seemed perfect for transforming the plain plastic bottles. The idea was simple: infuse these recycled items with new life and a touch of seasonal charm, making them decorative pieces for my home.
The initial steps were straightforward: I removed the existing plastic labels and thoroughly washed out the bottles, ensuring a clean surface. While they looked decent in their natural state, the vision of adding those lovely napkins was too compelling to resist. My past experiences with decoupage, which included successful makeovers of a dresser, a suitcase, and a side table, even a challenging trunk covered with book pages, led me to believe this project would be a quick, half-hour affair. Oh, how wrong I was! The nuances of decoupaging on plastic proved to be a masterclass in patience and technique, reminding me that every material has its unique requirements.
Essential Materials for Decoupaging Napkins on Plastic
Disclosure: This post contains affiliate links for your shopping convenience. If you purchase any of these products through the links, we receive a small commission at no extra charge to you. You can find our full disclosure here.
Before embarking on your decoupage journey, gathering the right supplies is crucial. Using quality materials can significantly impact your results, especially when working with plastic surfaces that require specific preparation. Here’s what you’ll need to successfully decoupage plastic bottles or other plastic items:
- Mod Podge: The quintessential decoupage medium. For plastic, a matte or gloss finish will work, but ensure it’s suitable for your desired look. Get your Mod Podge here.
- Chalk Paint: This is a game-changer for plastic. Chalk paint adheres wonderfully to smooth surfaces without extensive priming and provides an opaque base for your napkins. Find quality chalk paint.
- Decorative Napkins: Choose beautiful, single-ply napkins for the best results. Multi-ply napkins need to be separated carefully to avoid bulk and opacity issues. Explore a variety of decorative napkins.
- Plastic Bottles/Items: Thoroughly cleaned and dried, these are your canvases. Any smooth plastic surface can be decoupaged.
- Sponge Brush: Ideal for applying Mod Podge smoothly and evenly, minimizing brush strokes. Purchase a sponge brush.
- Paint Brush: For applying chalk paint. A flat or angled brush works well for coverage. Invest in a good paint brush.
- Embellishments (Optional): To add a finishing touch and hide imperfections, consider twine, ribbon, or yarn.
Having these materials ready will set you up for success. Remember, preparation is key, especially when dealing with plastic surfaces that can be notoriously tricky for adhesives.
Mastering Decoupage: A Step-by-Step Guide to Napkins on Plastic
Decoupaging napkins onto plastic requires a bit more finesse than on porous surfaces like wood or glass. My initial attempts, filled with enthusiasm but lacking the right technique, led to a series of valuable lessons. Here’s a refined guide based on those experiences, designed to help you avoid common frustrations and achieve beautiful, professional-looking results.
1. The Critical First Step: Surface Preparation and Priming
My first mistake was trying to apply the napkin directly to the plastic bottle. I quickly learned that plastic, being a non-porous and often dark-colored surface, needs proper preparation. The underlying color of the plastic will show through delicate single-ply napkins, distorting the pattern’s true colors and making it appear muddy.
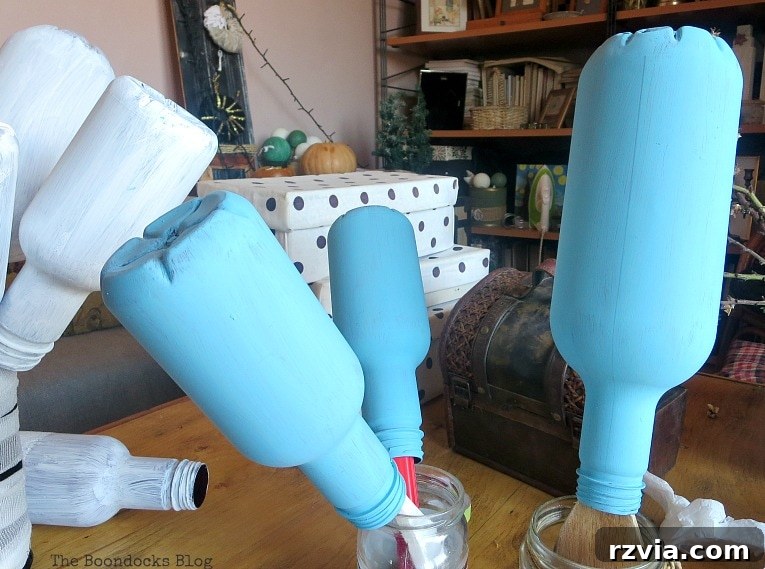
The solution? Priming with chalk paint. After thoroughly cleaning and drying your plastic bottles, apply a thin, even coat of chalk paint. Chalk paint adheres exceptionally well to plastic without sanding, creating a beautiful matte base. For vibrant napkin patterns, a white or light-colored chalk paint is ideal. I found that two coats were sufficient for complete opacity. Allow each coat to dry completely before applying the next, and let the final coat cure overnight. This patient step, though adding time, is absolutely essential for bright, crisp napkin designs.

2. Understanding Napkin Plies: A Decoupage Essential
Another crucial lesson involved the napkins themselves. Many decorative napkins are multi-ply, typically two or three layers. When decoupaging, you only want to use the top, patterned layer. My initial application with a three-ply napkin was a disaster; it was too thick, didn’t conform well to the bottle’s curves, and created an unsightly, lumpy texture. The underlying layers absorb too much Mod Podge and prevent the design from adhering smoothly.
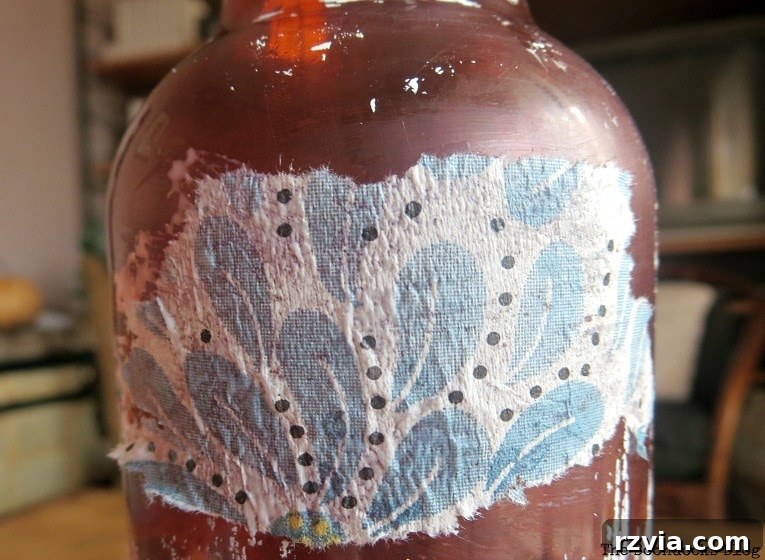
Always separate your napkins carefully, peeling away the plain white layers until you are left with just the thin, delicate patterned sheet. This single ply is incredibly fragile, so handle it with extreme care. This step, combined with the chalk paint base, guarantees that your chosen pattern will pop with its true colors and adhere seamlessly.
3. The Application Process: Patience and Precision
With your bottles primed and cured, and your napkins separated into single plies, it’s time for the delicate application. This is where patience truly becomes a virtue. I recommend working in small sections, especially on curved surfaces.
- Cut Napkin Sections: Instead of trying to cover an entire bottle with one large napkin piece, cut your single-ply napkin into manageable strips or individual motifs, depending on the pattern. For the bottles, I found that strips worked best for covering the main body, while individual cutouts were better for more intricate designs or smaller areas.
- Apply Mod Podge: Using a sponge brush, apply a thin, even layer of Mod Podge to a small section of your painted plastic surface.
- Place Napkin: Carefully lay your single-ply napkin piece onto the wet Mod Podge. Starting from one edge, gently smooth it out with your fingers or a soft brush, working outwards to remove any air bubbles or wrinkles. The key here is light pressure and a steady hand. If the napkin tears, don’t fret; small imperfections often blend in or can be covered.
- Seal (Optional): Once the napkin piece is in place, you can gently brush a very thin layer of Mod Podge over the top to seal it. Be incredibly delicate, as the wet Mod Podge can easily tear the fragile napkin. Allow this layer to dry completely.
Repeat this process, overlapping pieces slightly if necessary, until the entire desired surface is covered. Navigating the curves of the bottle, particularly around the neck, often requires making small relief cuts in the napkin to help it lie flat without creasing excessively. This meticulous approach, though time-consuming, ensures a smooth and professional finish.
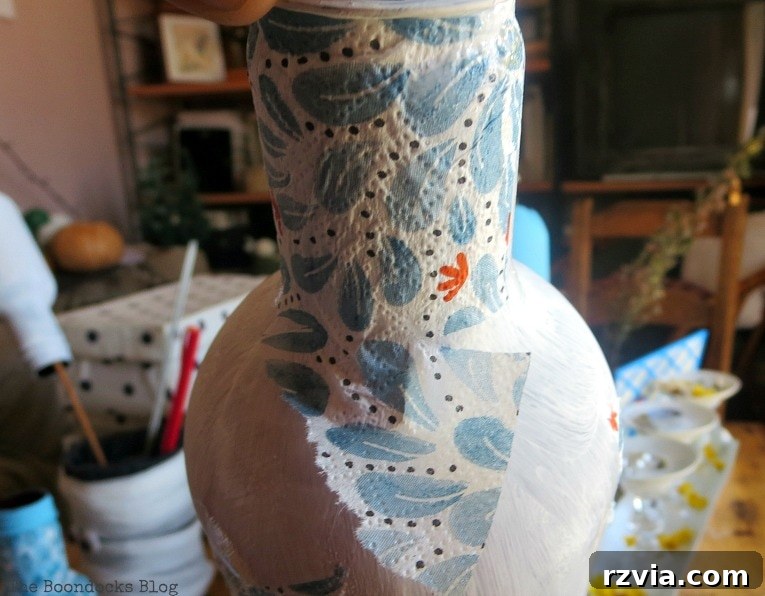
My earlier attempts at speed often resulted in catastrophic failures, with napkins tearing, wrinkling beyond repair, or simply not adhering properly. This “half an hour job” quickly stretched into a multi-day endeavor, a testament to the fact that shortcuts rarely lead to superior results in crafting.
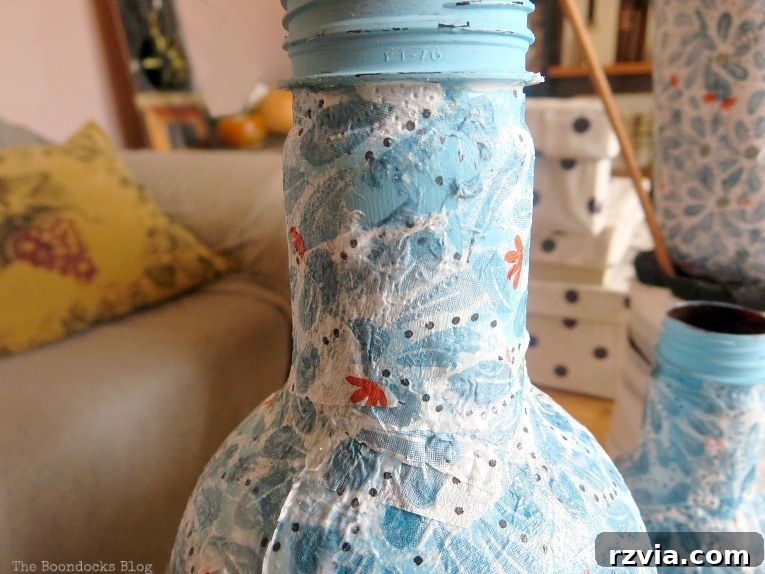
4. Embracing Imperfections or Opting for Individual Motifs
Initially, I considered cutting out individual flowers from the napkin and applying them one by one, believing it would offer more control and a cleaner finish. While this method can work well for certain projects, for the continuous surface of a bottle, it proved to be even more time-consuming and often resulted in a disjointed look unless meticulously planned.
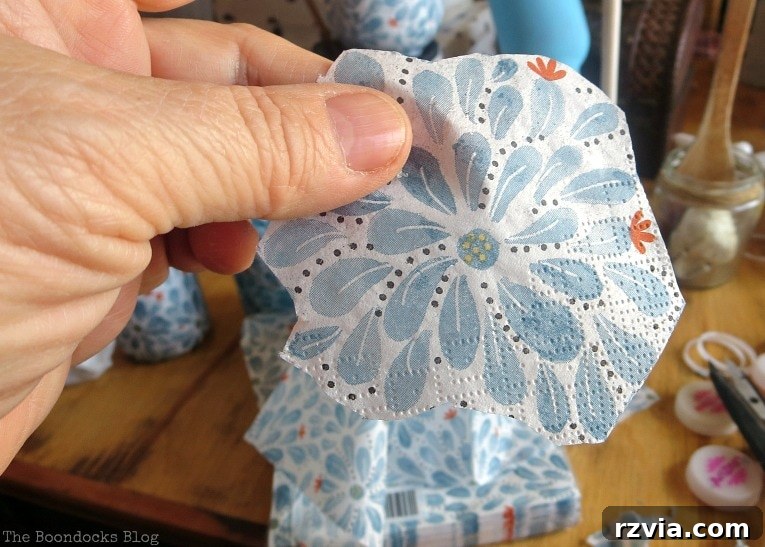
Ultimately, I reverted to applying larger strips or sections, finding that the overall effect was more cohesive. If you choose to go the individual motif route, ensure a good understanding of your design and how the pieces will fit together to form a complete pattern. This method is particularly effective for adding accent details to an already painted or decoupaged surface.
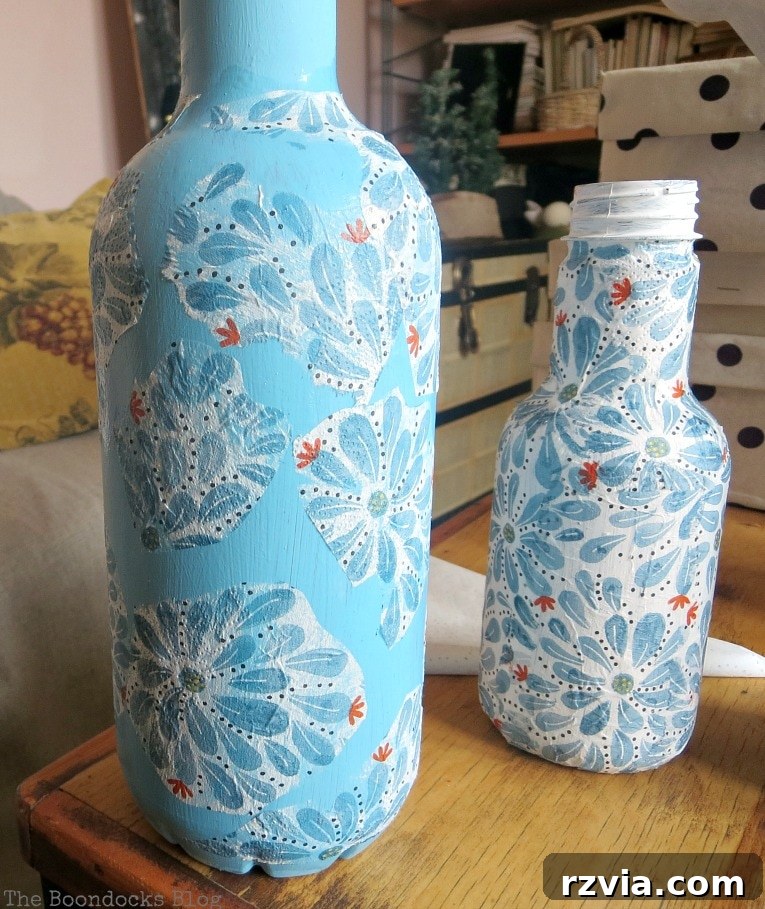
After much anguish, and far more hours than anticipated, the decoupage phase of the bottles was finally complete. The satisfaction of seeing the once-plain plastic transformed was immense, despite the journey filled with learning curves.
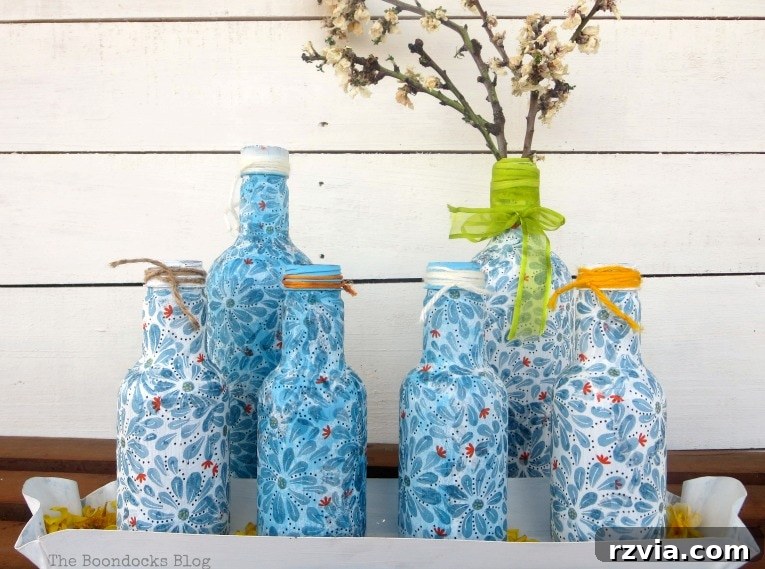
5. The Finishing Touches: Embellishments and Sealing
Once your decoupaged surface is completely dry, which can take several hours depending on humidity, it’s time for the final touches. A protective top coat of Mod Podge or a clear sealant is essential to protect your beautiful work from wear and tear. This final layer also helps to unify the look and provide a consistent finish.
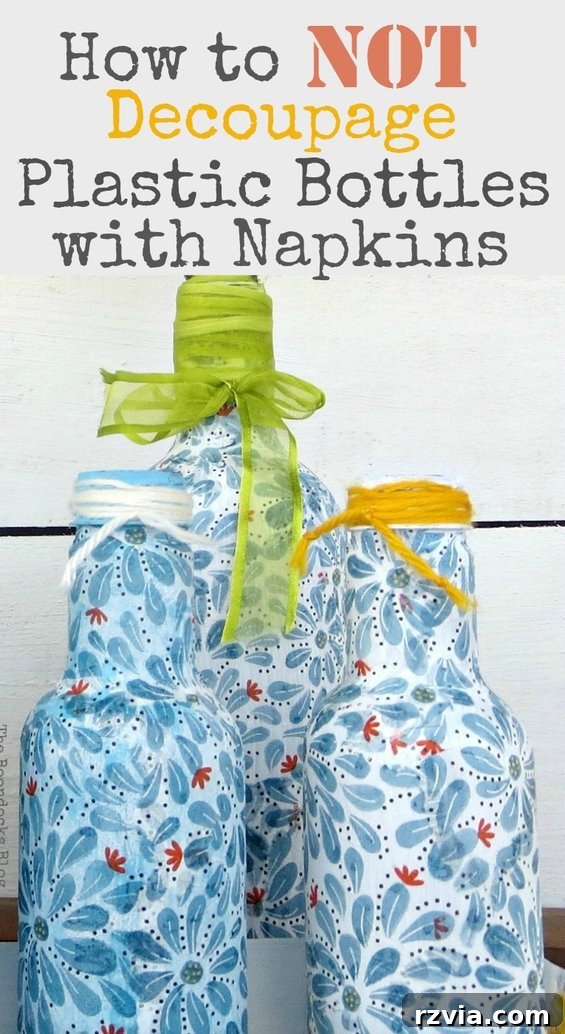
To add extra charm and subtly mask any minor imperfections, I embellished my bottles with various cords, ribbons, and yarn. These decorative elements can be wrapped around the neck of the bottle, tied in bows, or creatively integrated into the design. This step not only enhances the aesthetic appeal but also adds a personalized touch, completing the transformation from recycled plastic to decorative art.
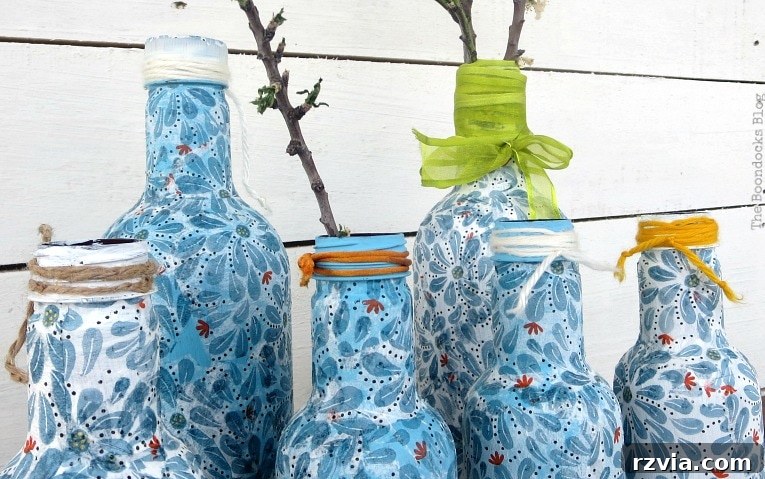
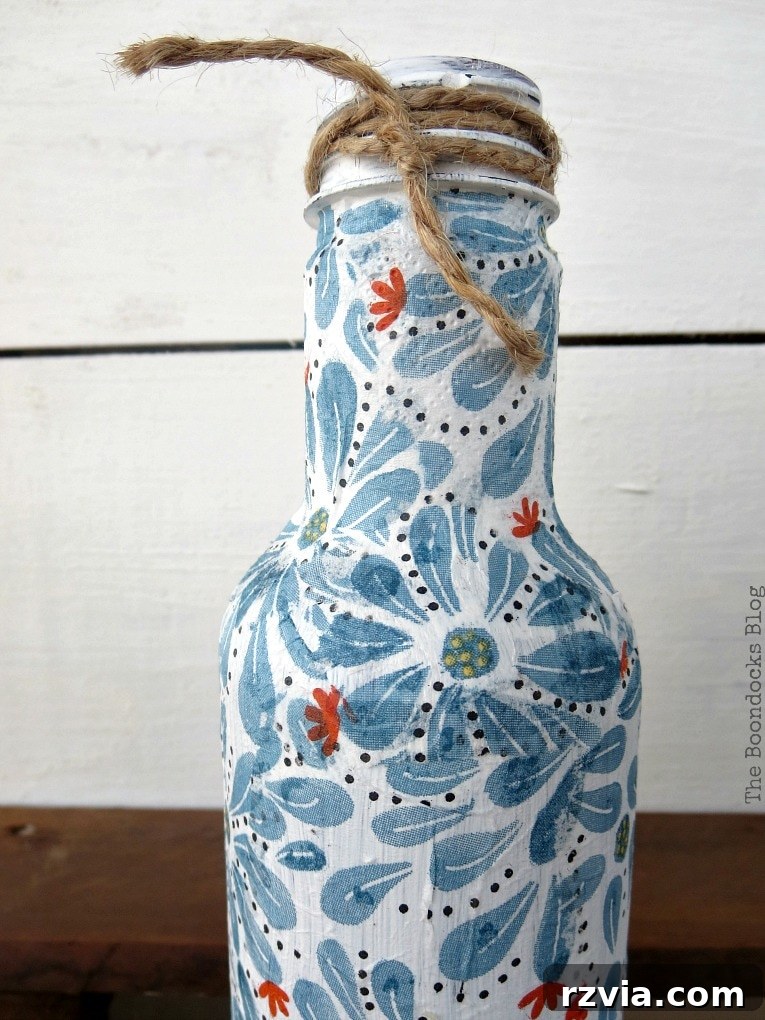
Upon reflection, the contrast between the white and blue painted bottles was striking. The white base truly allowed the napkin patterns to shine, appearing bright and crisp. This reinforces the importance of using a light, opaque base coat when working with delicate, translucent napkin patterns, especially on darker plastic surfaces.
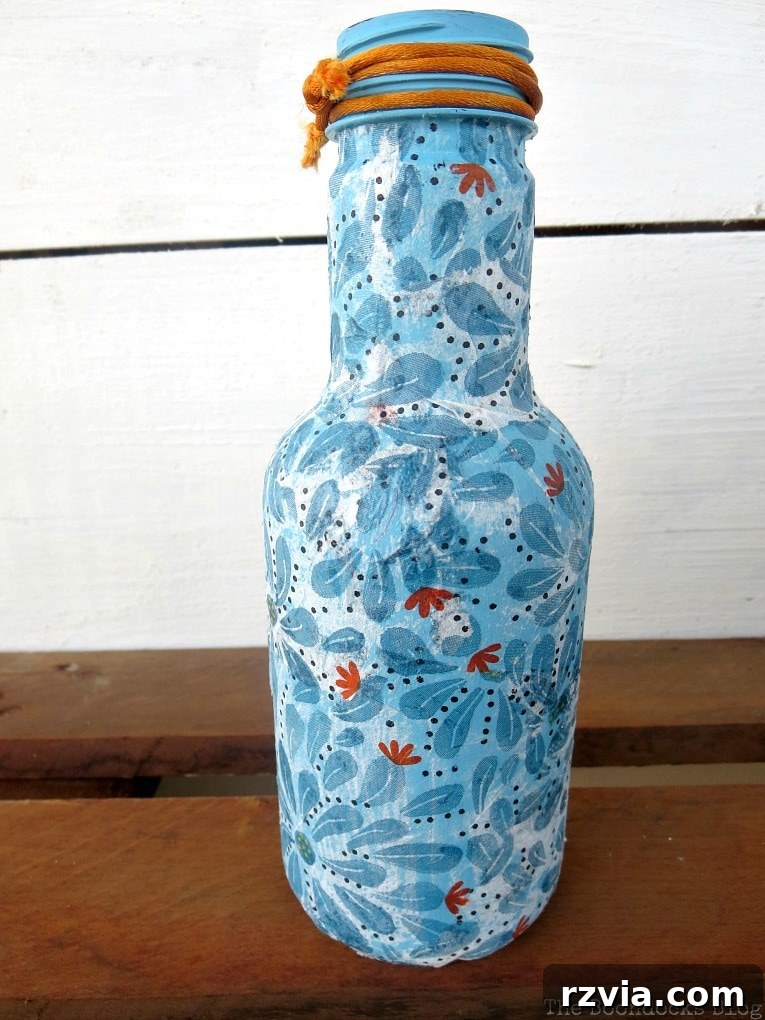
Conversely, the blue bottles, while lovely, did show some areas where the white of the napkin overlapped, creating a slightly less uniform appearance. This minor inconsistency serves as a reminder that every project is a chance to refine techniques and learn new tricks for achieving even better results next time.
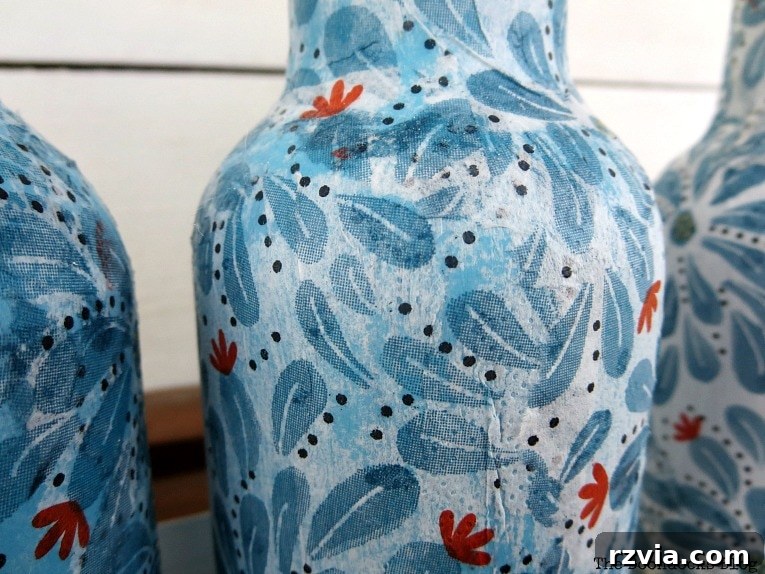
And yes, there were still a few “epic fails” – small wrinkles or areas where the underlying paint peeked through more than intended. Why share these imperfections? Because crafting, like life, is rarely perfect. It’s about the journey, the learning, and the joy of creation. I have a confession to make: despite my bragging about past decoupage successes, this project humbled me.
It turns out, my decoupaging abilities, especially on tricky surfaces, still have room for growth. This experience with a few lowly plastic bottles reinforced the idea that it’s not the size or perceived difficulty of an item, but the finesse and understanding of the material that truly count. I was certainly put in my place!
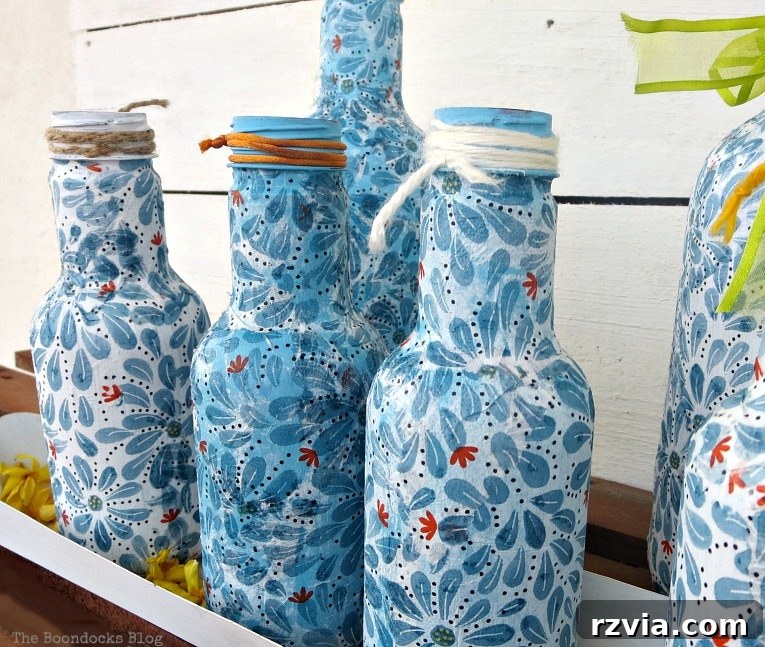
So, I am metaphorically eating my words. There is still so much to learn about decoupaging, especially the intricacies of working with different materials. After completing this project, I even stumbled upon resources like Mod Podge Rocks, which offers a wealth of helpful hints, and a detailed seven-step guide to perfect Mod Podging. If only I had found these earlier! This serves as a good reminder not to rush into projects without proper research, a lesson I also learned during my Fabulous Ikea Desk Makeover.
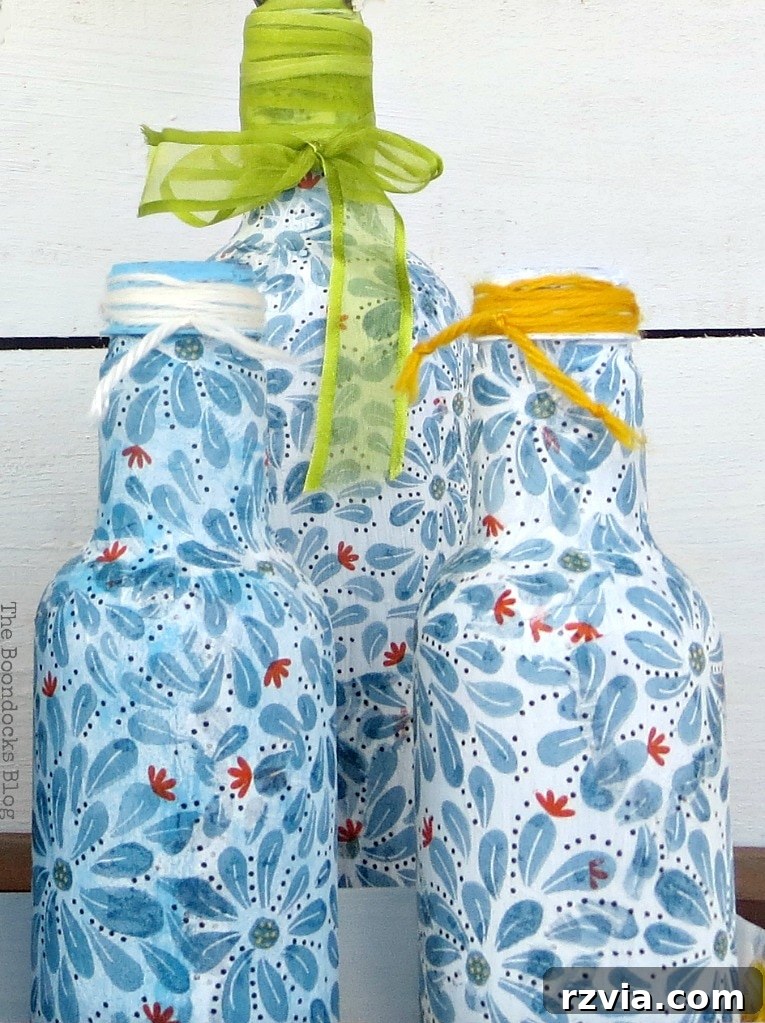
In conclusion, while I may bow my head in slight shame over a few imperfections, the overall outcome is a testament to perseverance and the beauty of upcycling. And to distract from any decoupaged mishaps, I’ve strategically placed a few delicious muffins in the photos. How am I doing at diverting your attention?
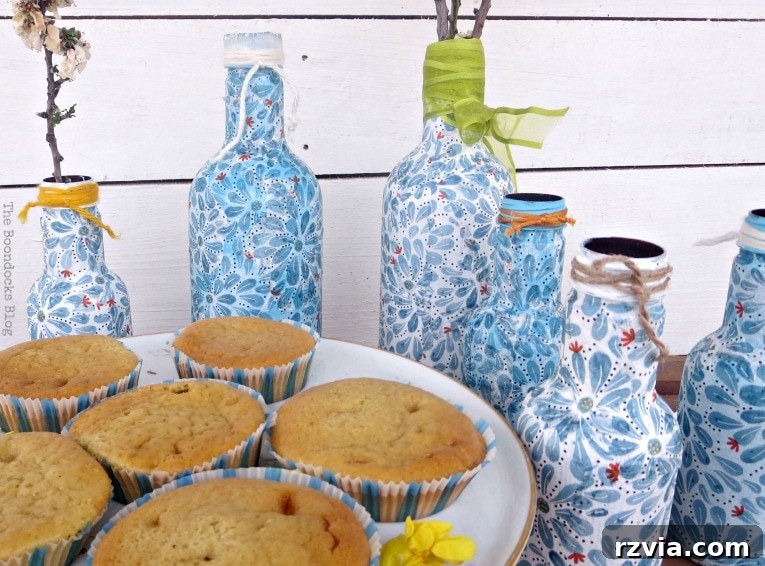
This project was a humble reminder that perfection isn’t always the goal; joy in the process and learning from mistakes are equally valuable. My biggest takeaway? Too much bragging will get you nowhere, but a willingness to learn can lead to wonderful discoveries. Thank goodness for my daughter’s muffins, which truly saved the day, or at least the photo shoot!
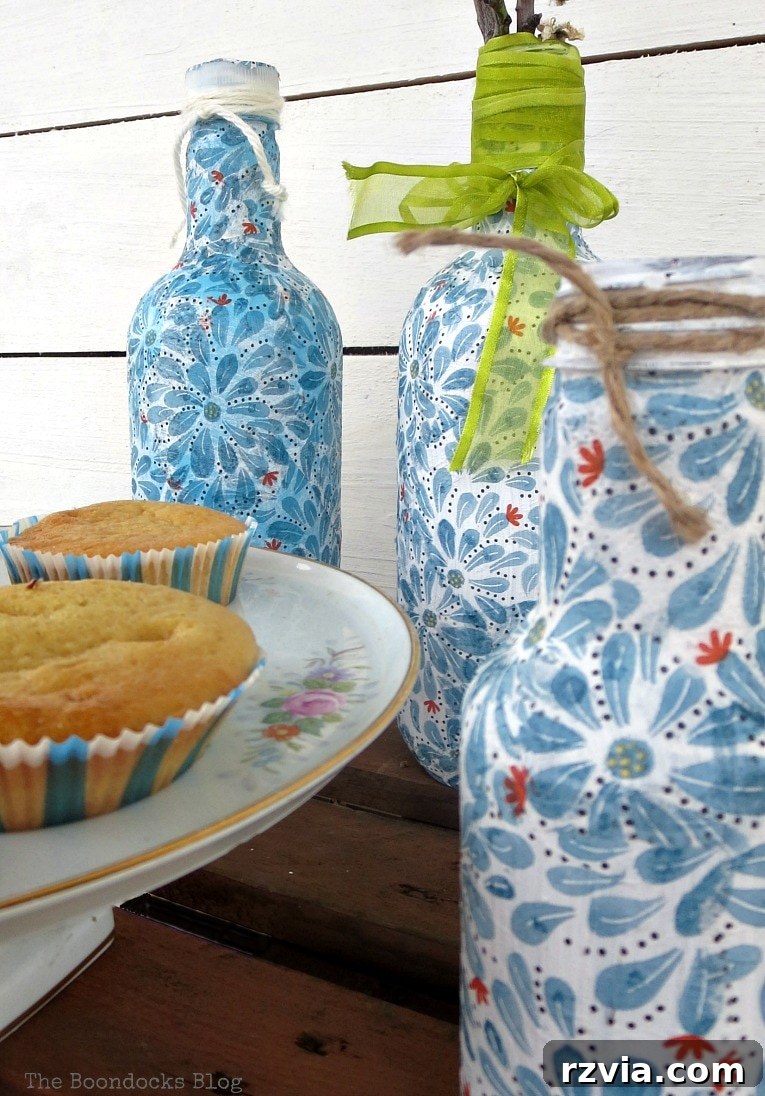
So there you have it: a collection of decoupaged bottles for spring, born from a desire to repurpose and a journey of trial and error. This wasn’t just about how to decoupage plastic bottles with napkins; it was also a valuable lesson in what not to do, and how a little patience (and a few delicious treats) can make all the difference. Have you ever had any epic fails with Mod Podge, or am I truly alone in my crafting misadventures?

For more decoupage inspiration and projects, check out these creative ideas:
This blog is for entertainment purposes only; my DIY tutorials are not professional advice. Read my full disclaimer here.